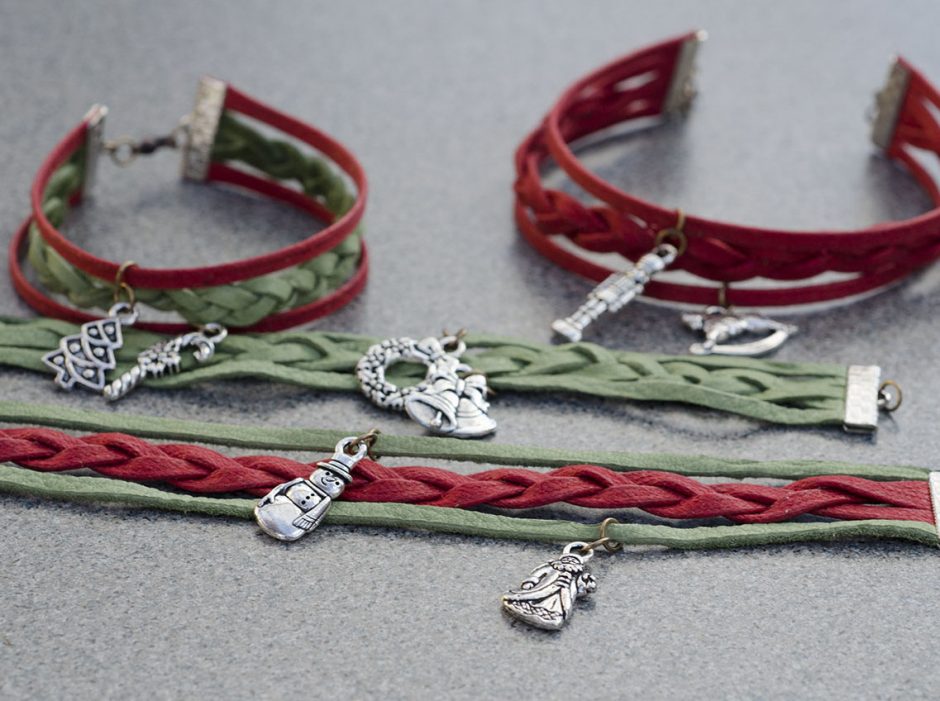
Ever wonder how to fill your wrists with deliciously colorful and fun stackable bracelets? Well here’s a super trendy DIY bracelet design you can make in about 5 minutes! Best yet, you can customize each bracelet with charms that match your interests — or the interests of friends, family, and customers. This design works great for making Awareness jewelry and seasonal themes too. Since I made these in November, I was ready for some Christmas Cheer.
With just cord, charms, jump rings, ribbon clamps, and a clasp you can fill your arms with designs for every holiday!
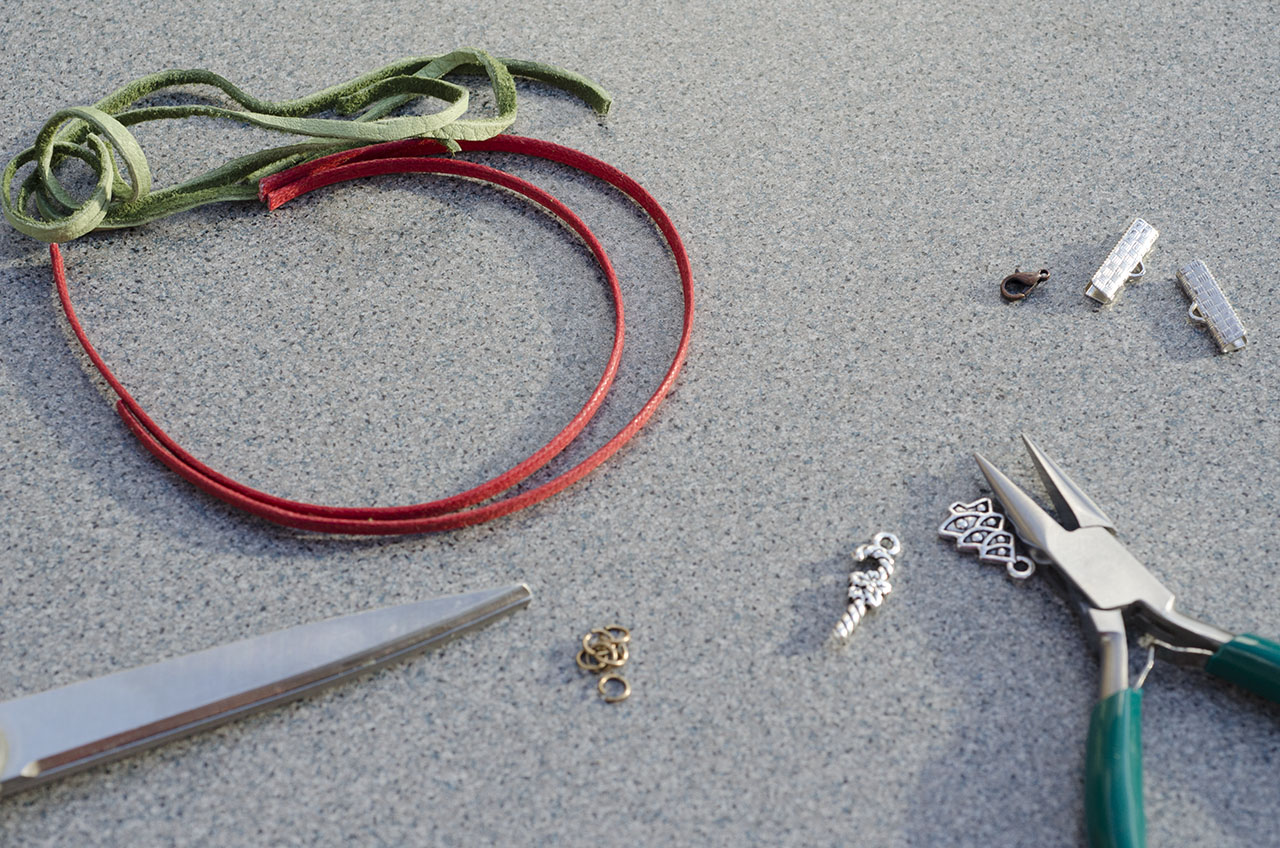
Supplies needed to make 1 bracelet:
- 2 each ribbon clamps
- 5-7 each jump rings (either match the color of your ribbon clamps or mix your metals)
- 2 each charms (pictured are silver-plated Christmas charms)
- 5 ten-inch pieces of flat cotton cord and/or deer hide leather cord
- 1 each lobster clasp (in whatever color matches your other findings)
- Scissors
- Chain-nose pliers
Now, follow these easy steps:

Cut 5 pieces of flat cord approximately 10 inches long each. Line up the ends on one side. Don’t worry about the other ends now. They will get trimmed later.
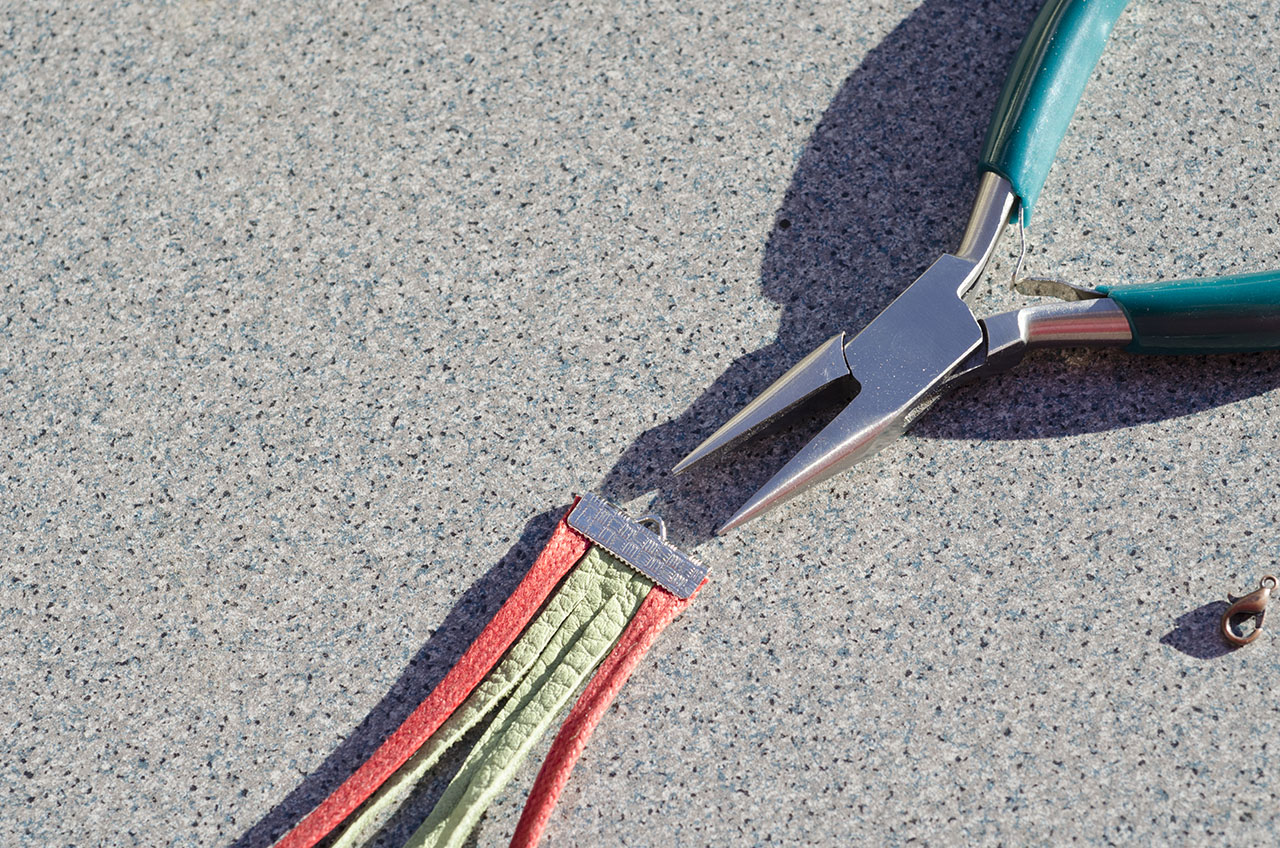
Slide your ribbon clamp onto the straight ends and use chain-nose pliers to crimp the clamp shut along all 5 pieces of cord. The first time you try this, it’s easy to get “overhang” where the outside cords stick out a bit from the clamp. As you close the clamp, watch for this and adjust your cords as necessary to get a nice, clean edge.

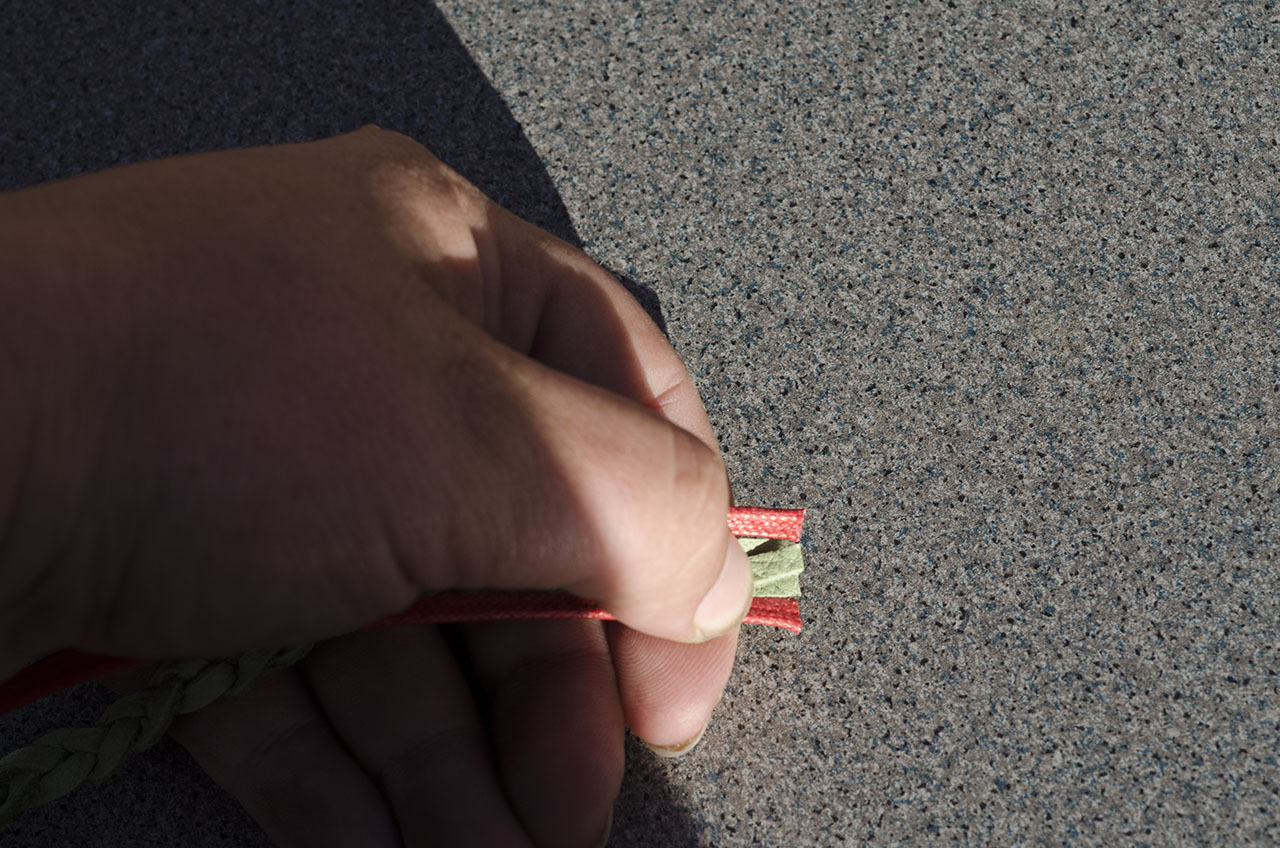
Take the center 3 pieces of cord and braid them together until you have your desired length. If you’re stacking several bracelets, you can make each bracelet slightly bigger or smaller around than the last!
Cut the excess cord evenly for all five pieces at the end of your braid.
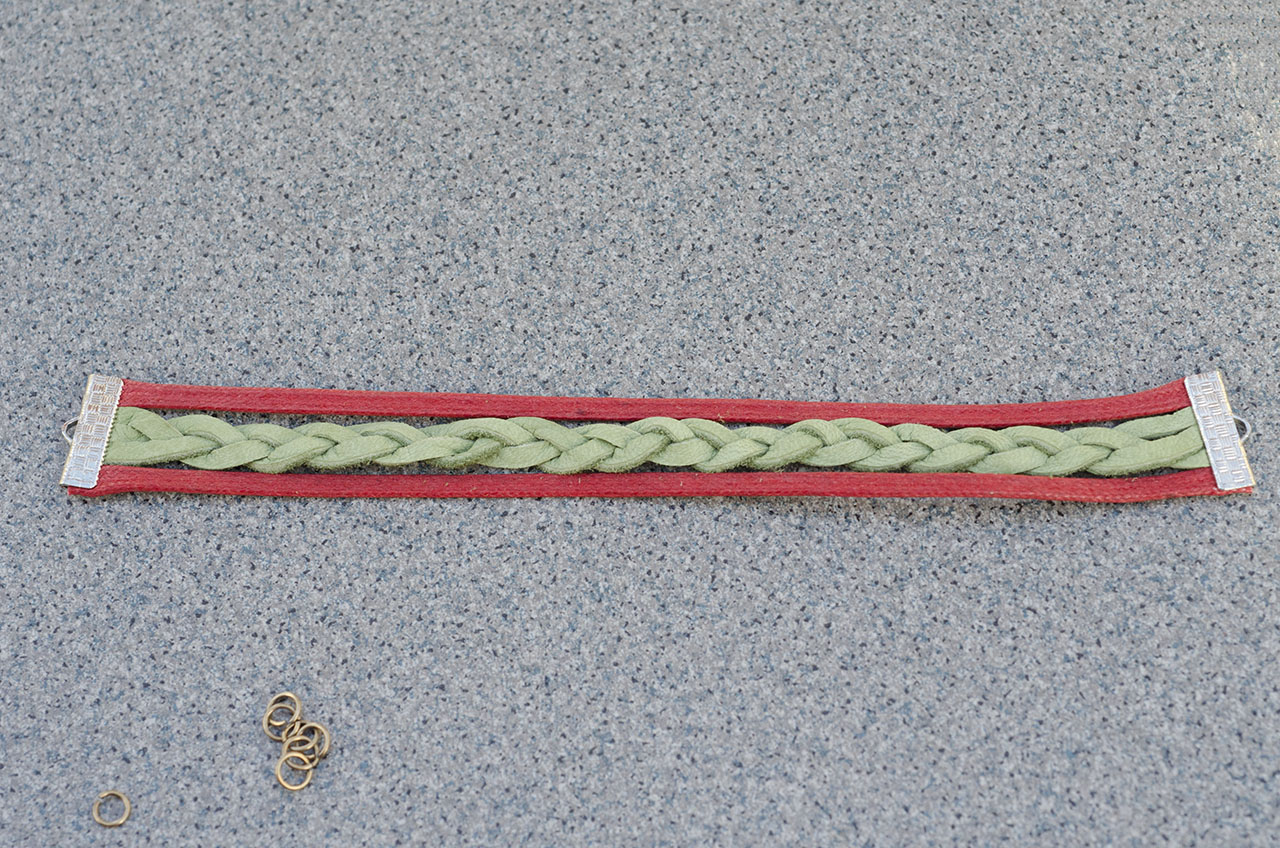
Add your second ribbon clamp and crimp shut, being careful to avoid having your outside cords stick out beyond the clamp. As mentioned before, this may take a bit of practice! Now both ends are on!
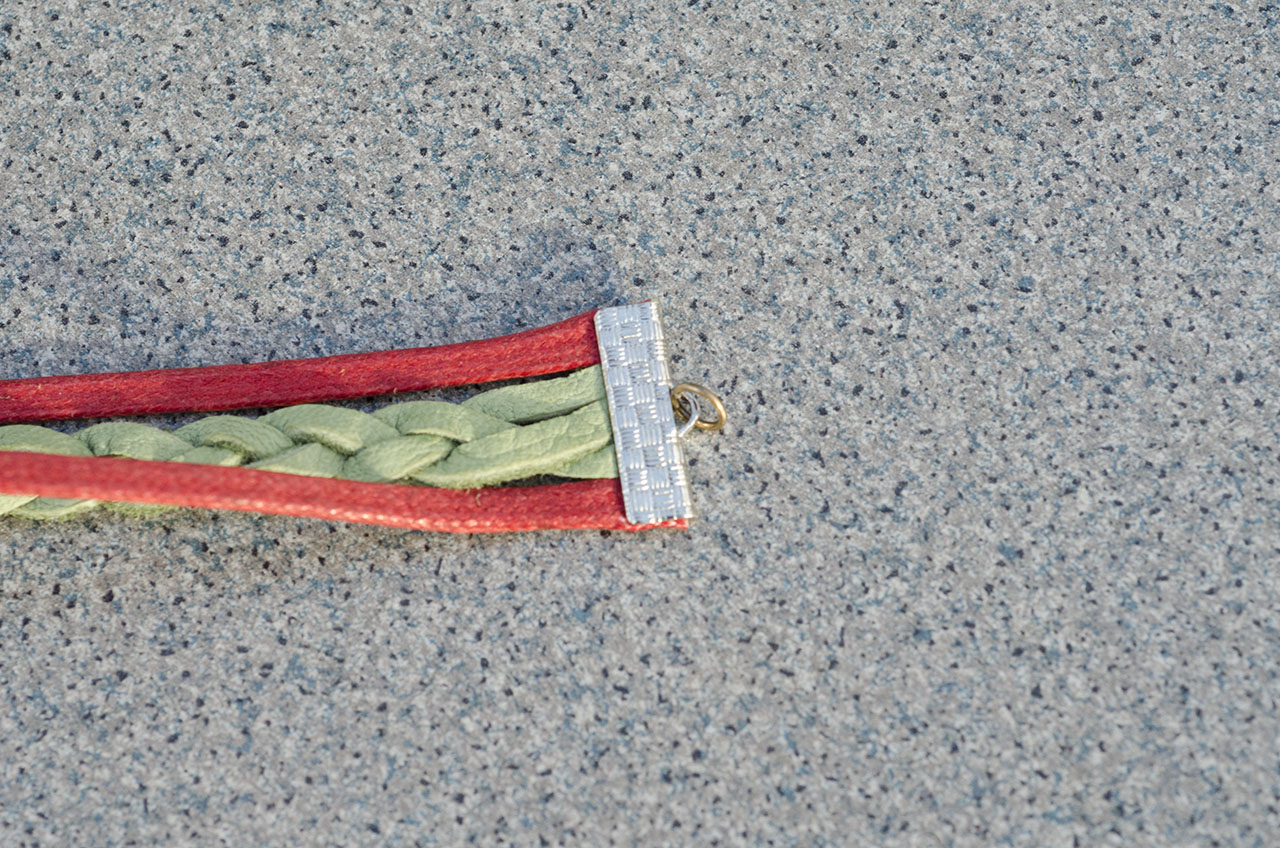
Add a jump ring onto one end of your bracelet.
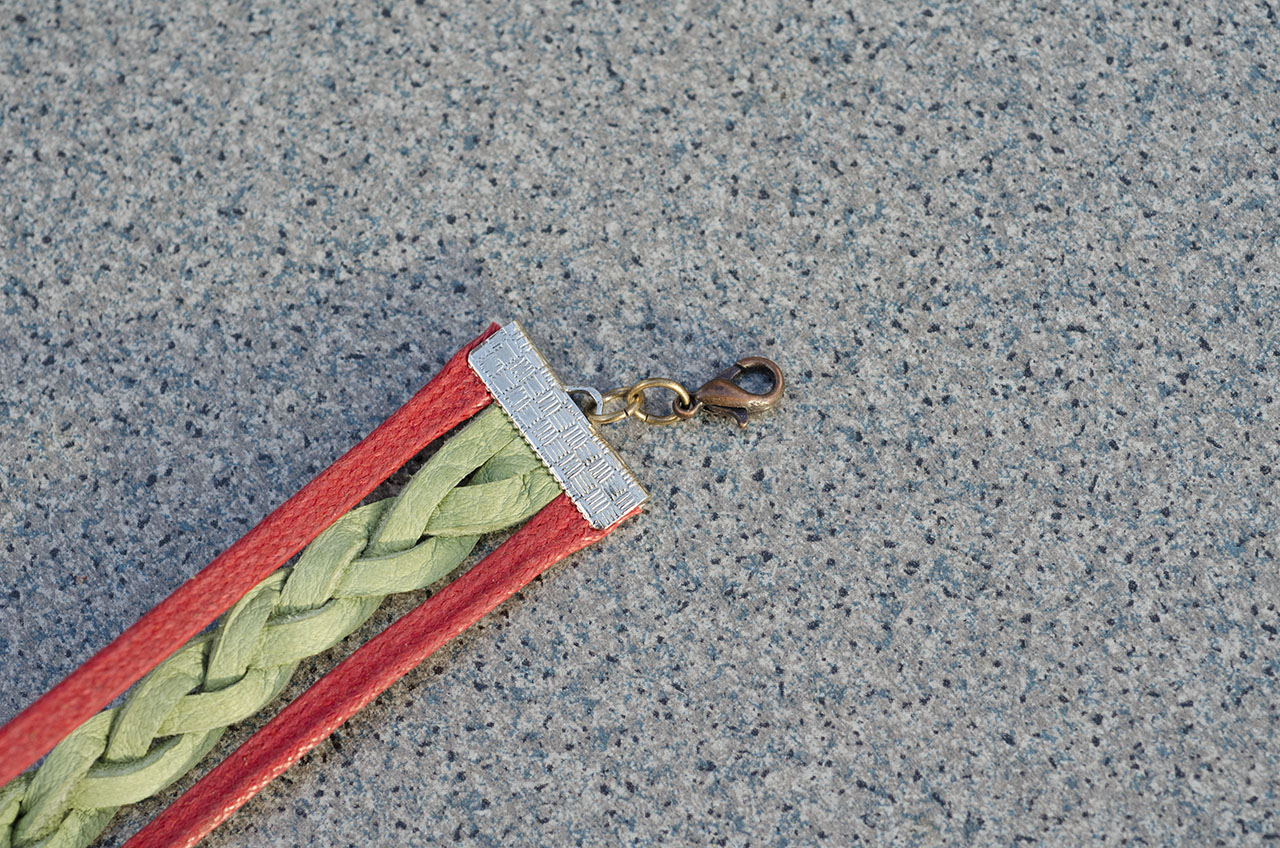
On the other end, add two jump rings and a lobster clasp.
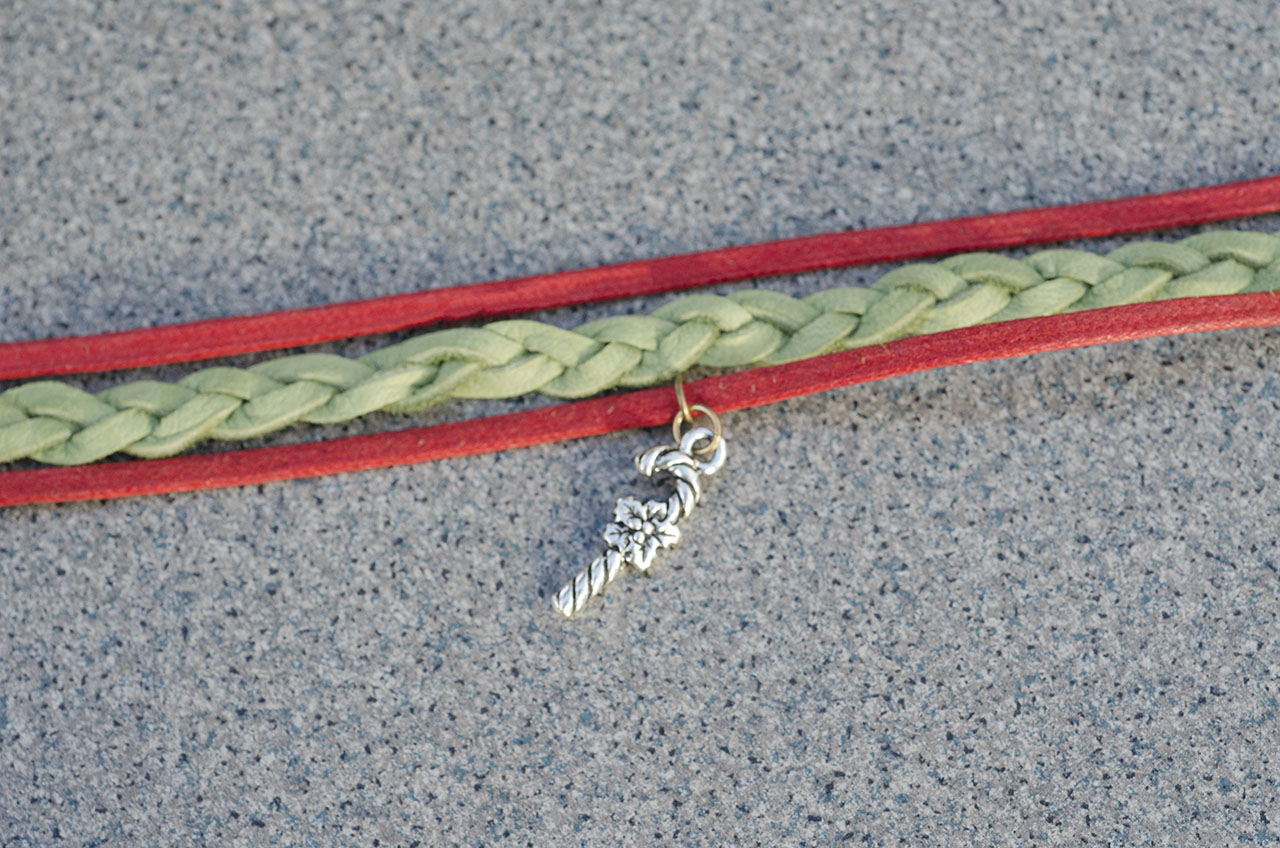
Now, add your charms. You can add 1 charm or several. On this bracelet, I added 2 charms, one to each outer piece of cord. TIP: use 2 jump rings so the charm will lay right.
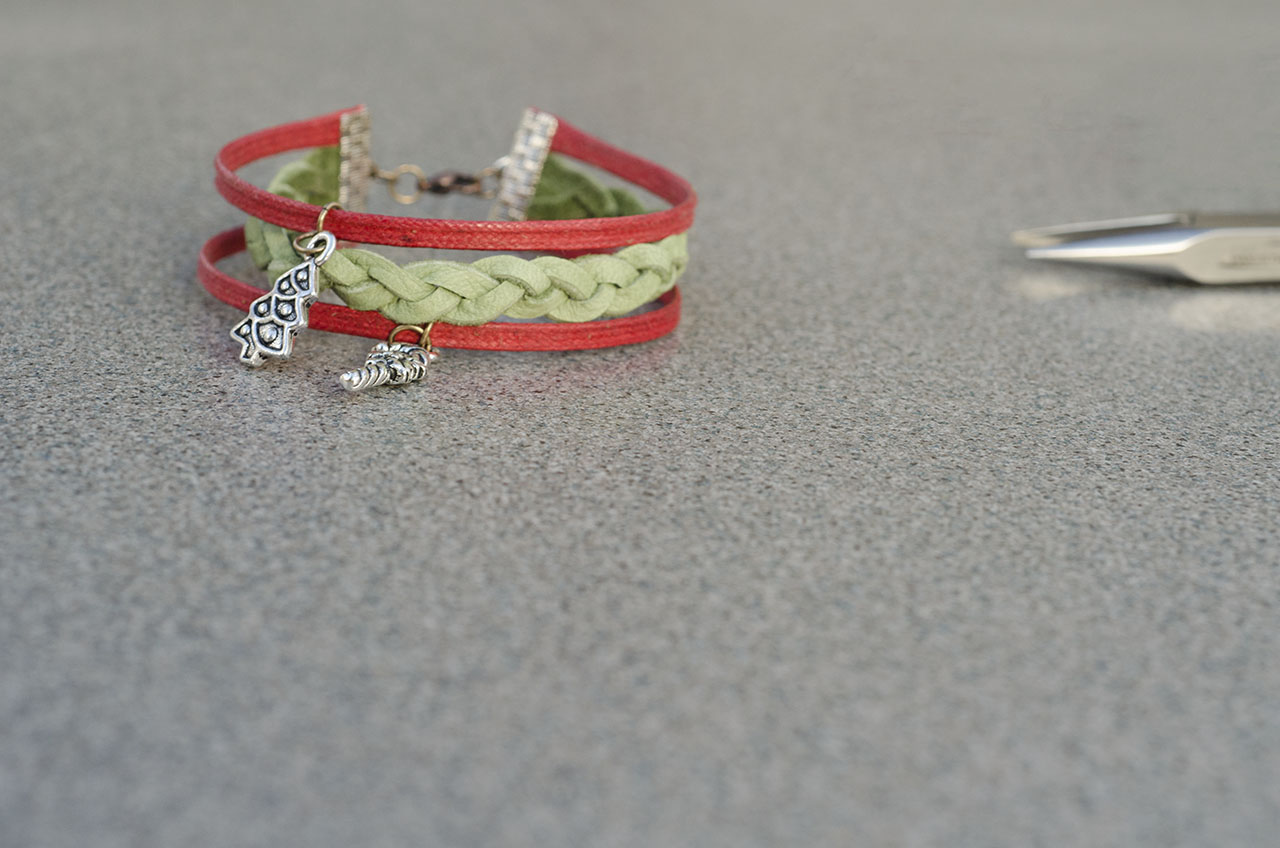
Once your charms are attached, your bracelet is ready to wear!
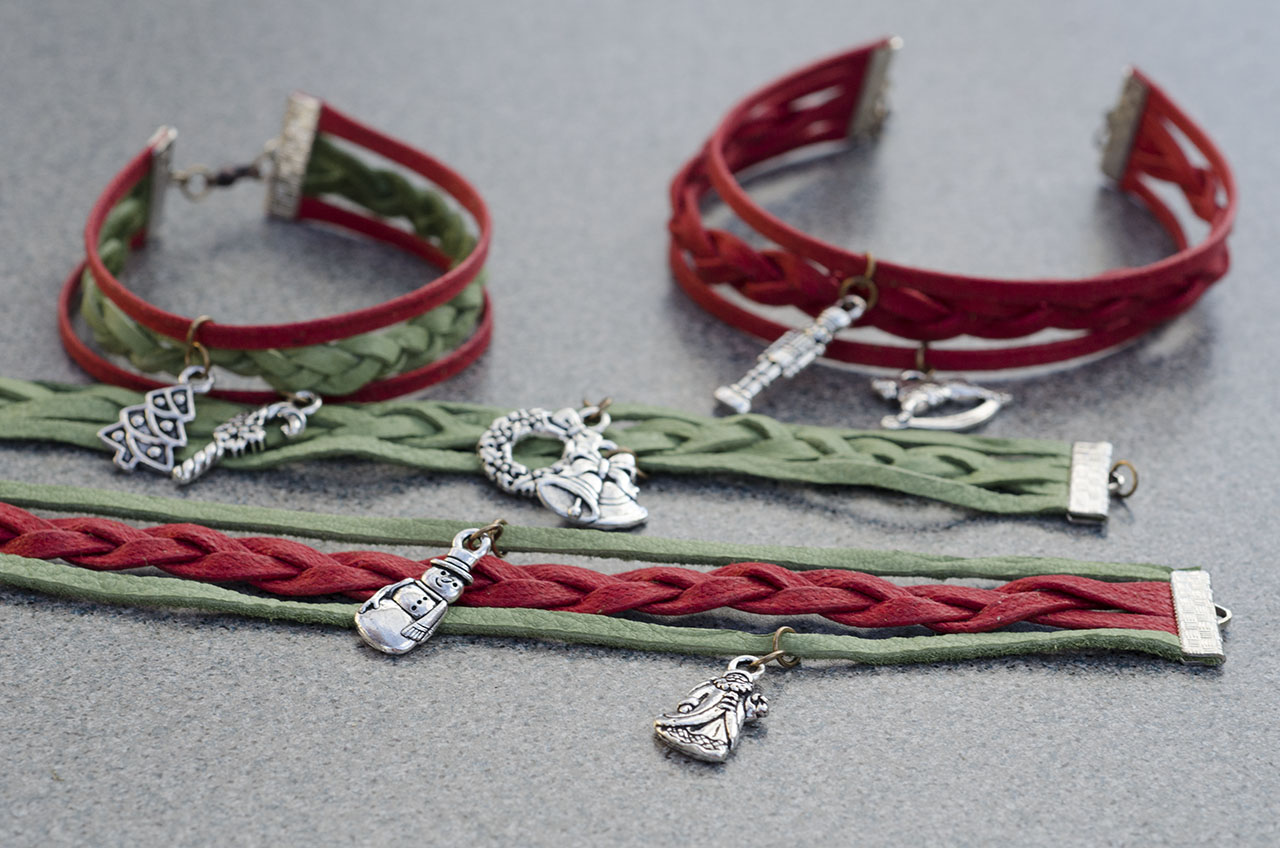
Make several Christmas bracelets and deck your wrists with holiday spirit!

An Easter theme can also combine color and meaning.
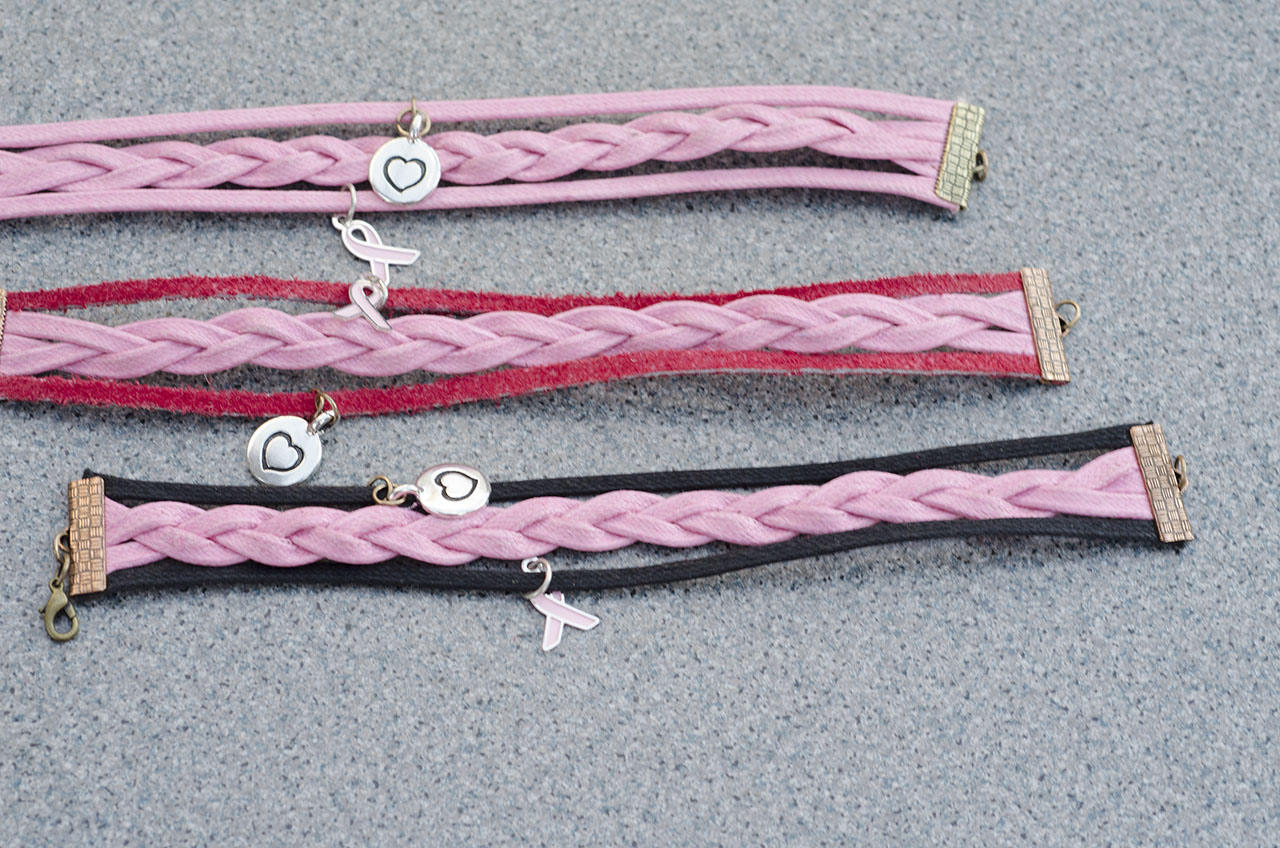
Breast Cancer Awareness is another theme that works well with this bracelet design.
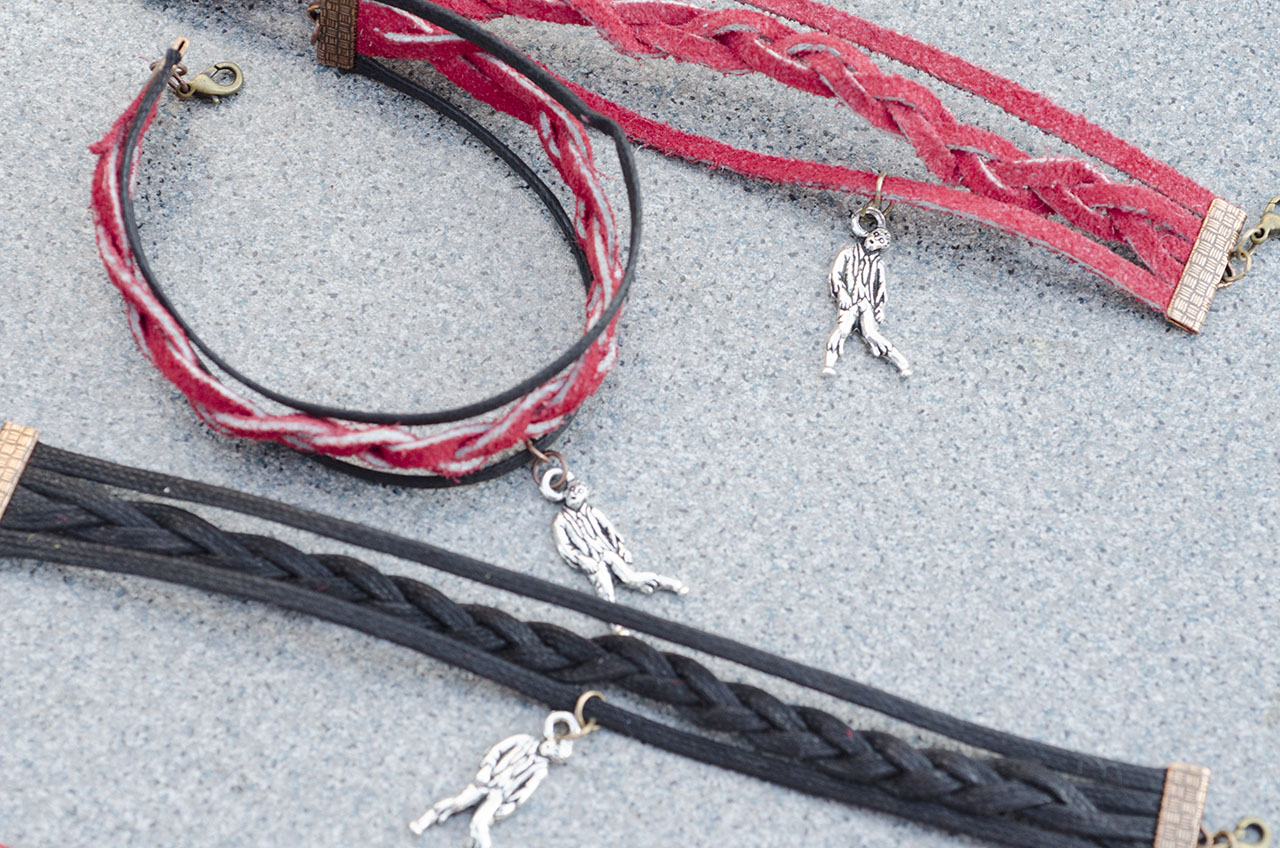
And for Halloween, what’s better than a Zombie Apocalypse?
There are so many things you can do with these lovely bracelets! Enjoy them all year round!
Always, Kayla

2 Comments
such GREAT instructions! thank-you for sharing your ideas & knowledge! ☻ i cannot wait to get those ribbon clamps & get started ☺
Yay, glad you’re going to try these out! Have fun, D’arci! ~ Melissa