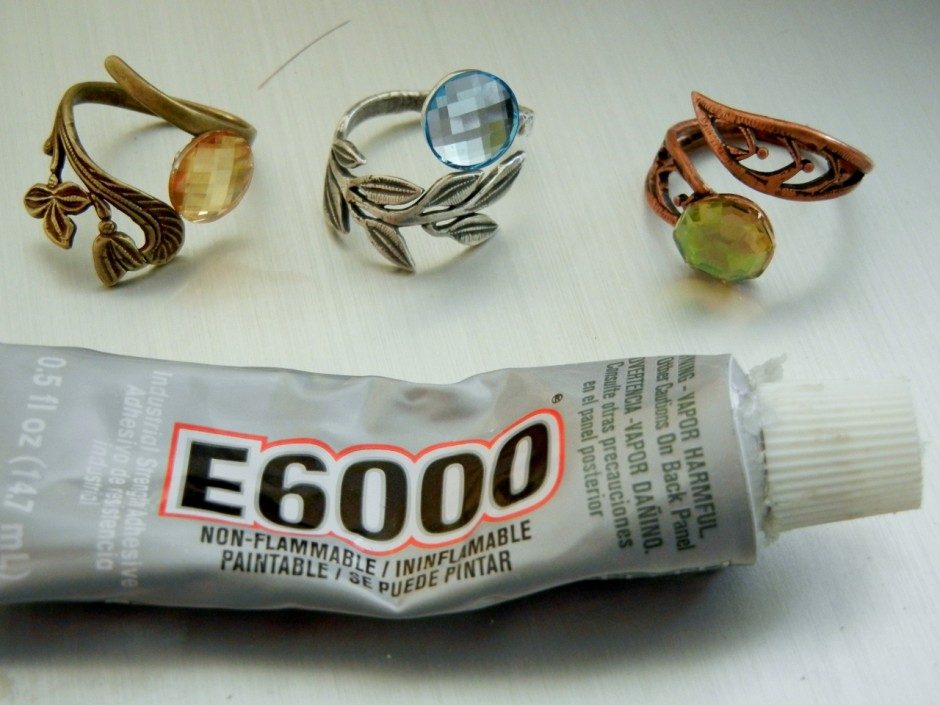
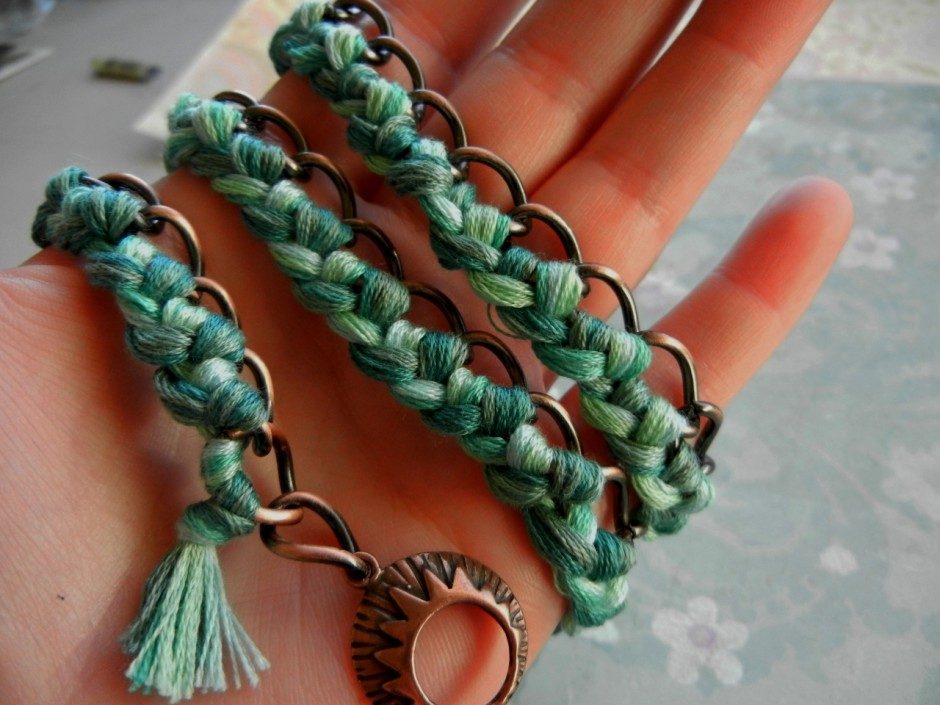
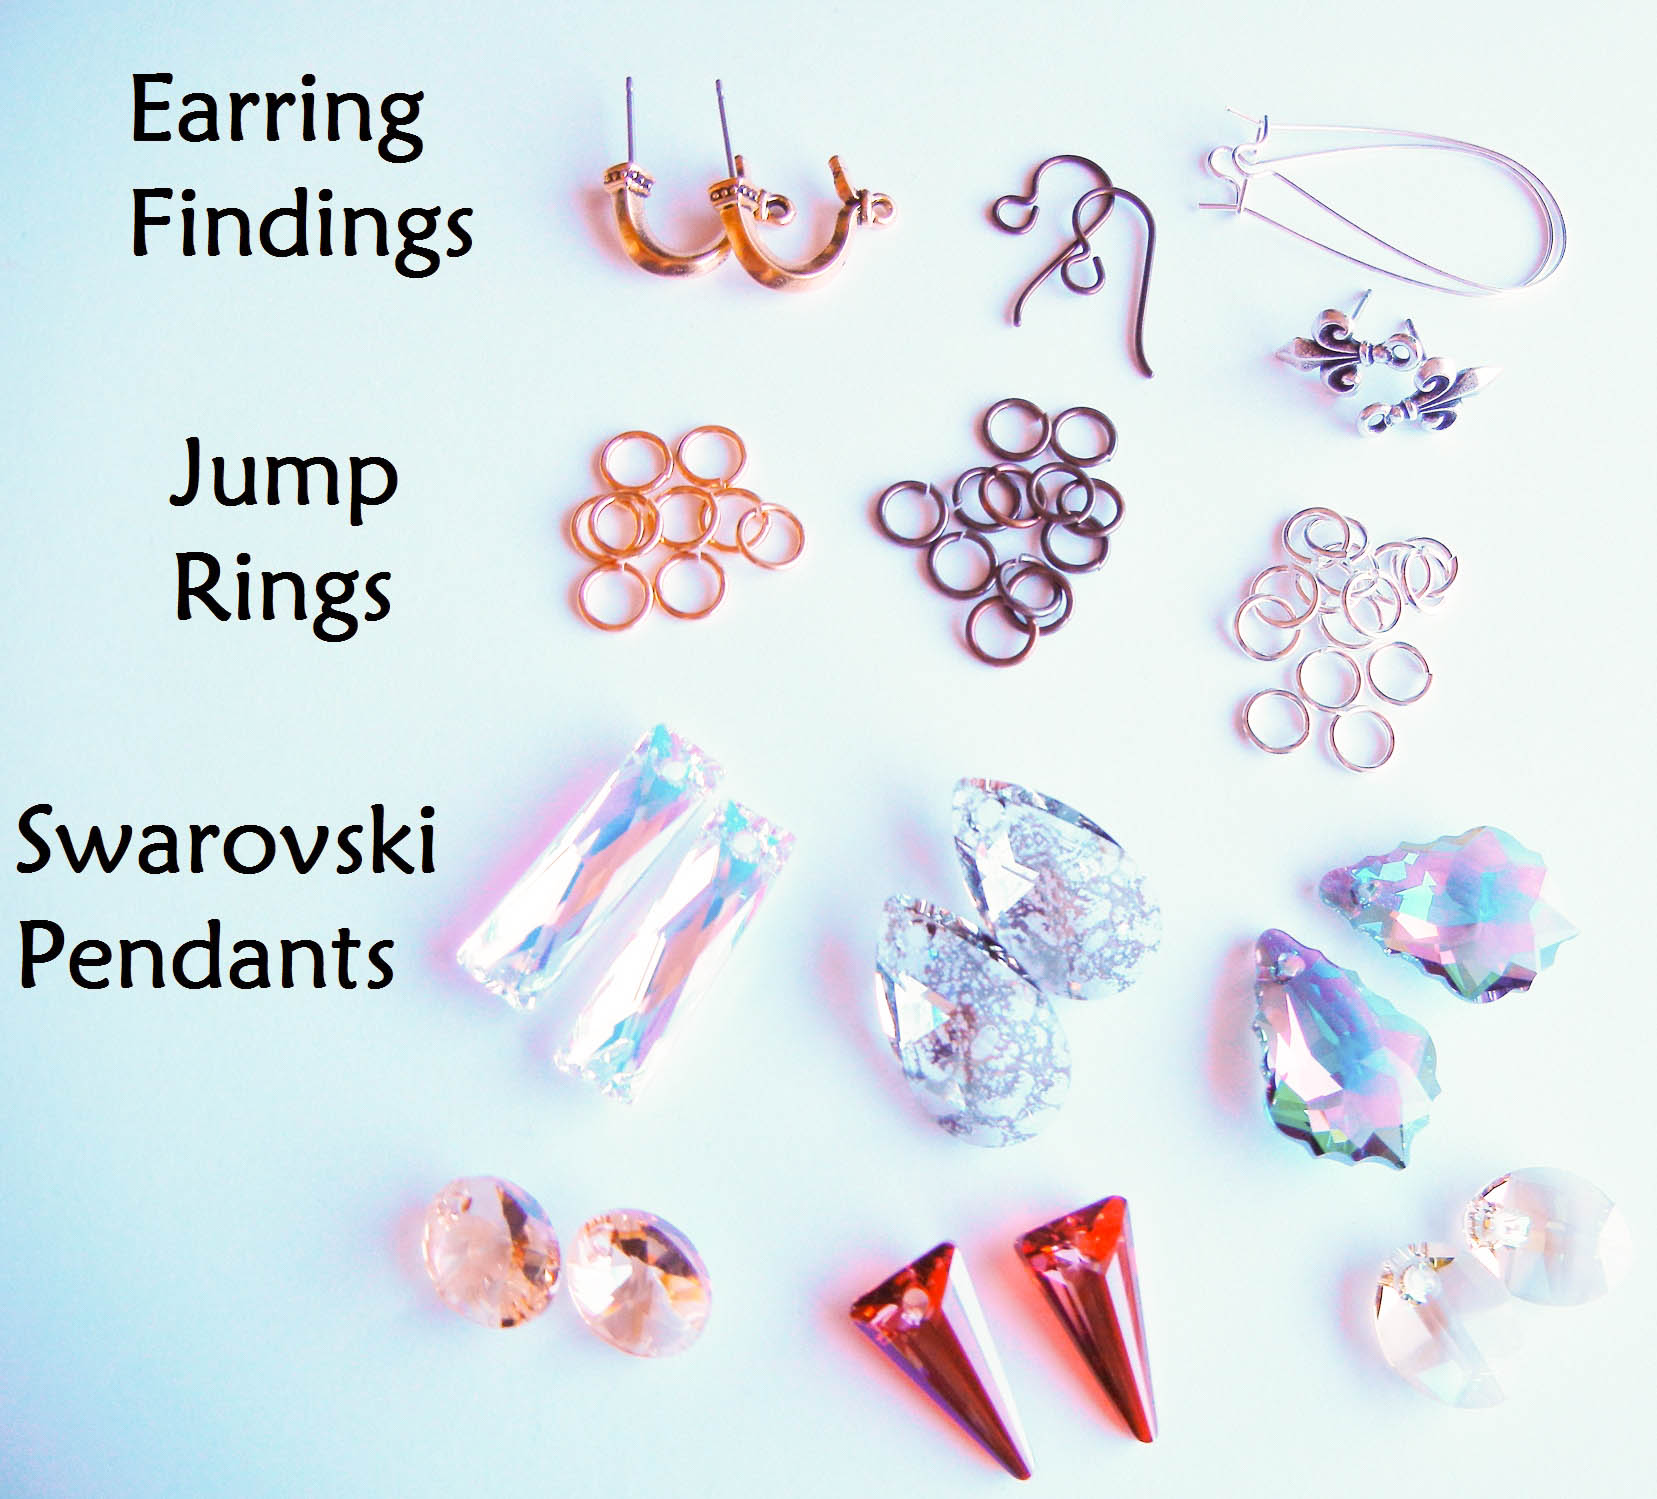
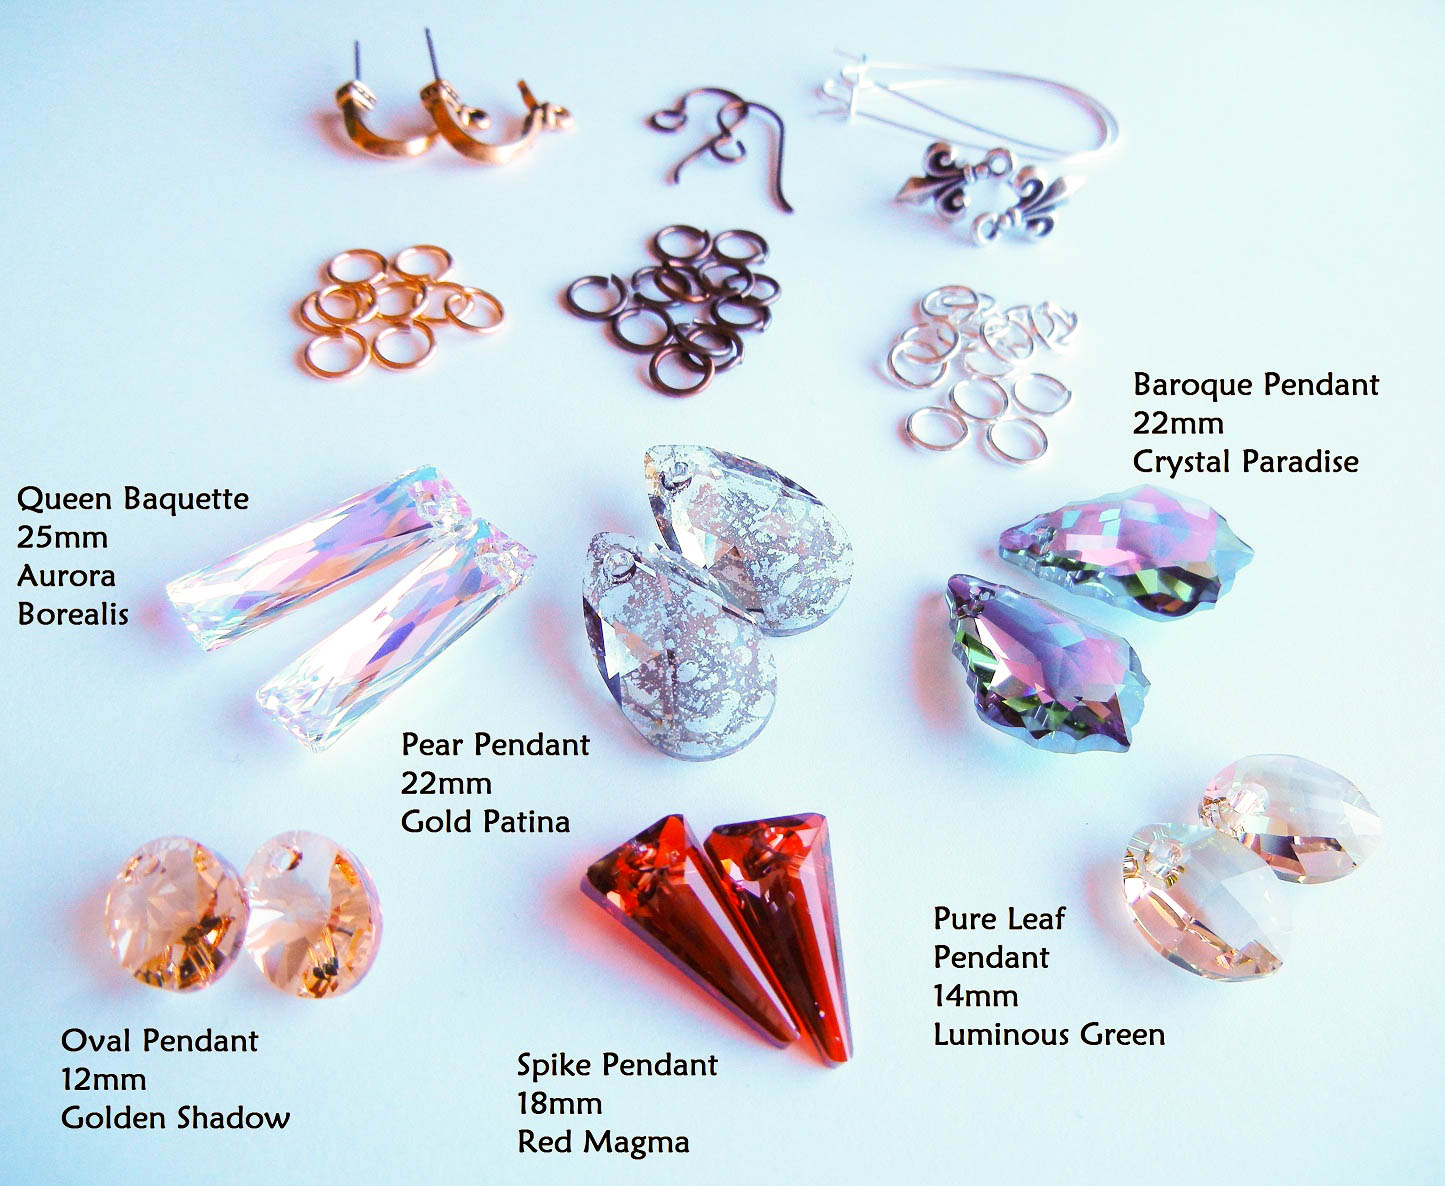
I have been eyeing these fun ring blanks for a while now. They come in several different styles and three finishes, antique copper, antique brass and antique silver. When we started carrying the Swarovski glue-on flatback crystals recently, a light went off in my head! They would be a great duo! And the combinations are endless! (Links updated January 31, 2017!)
Continue Reading…
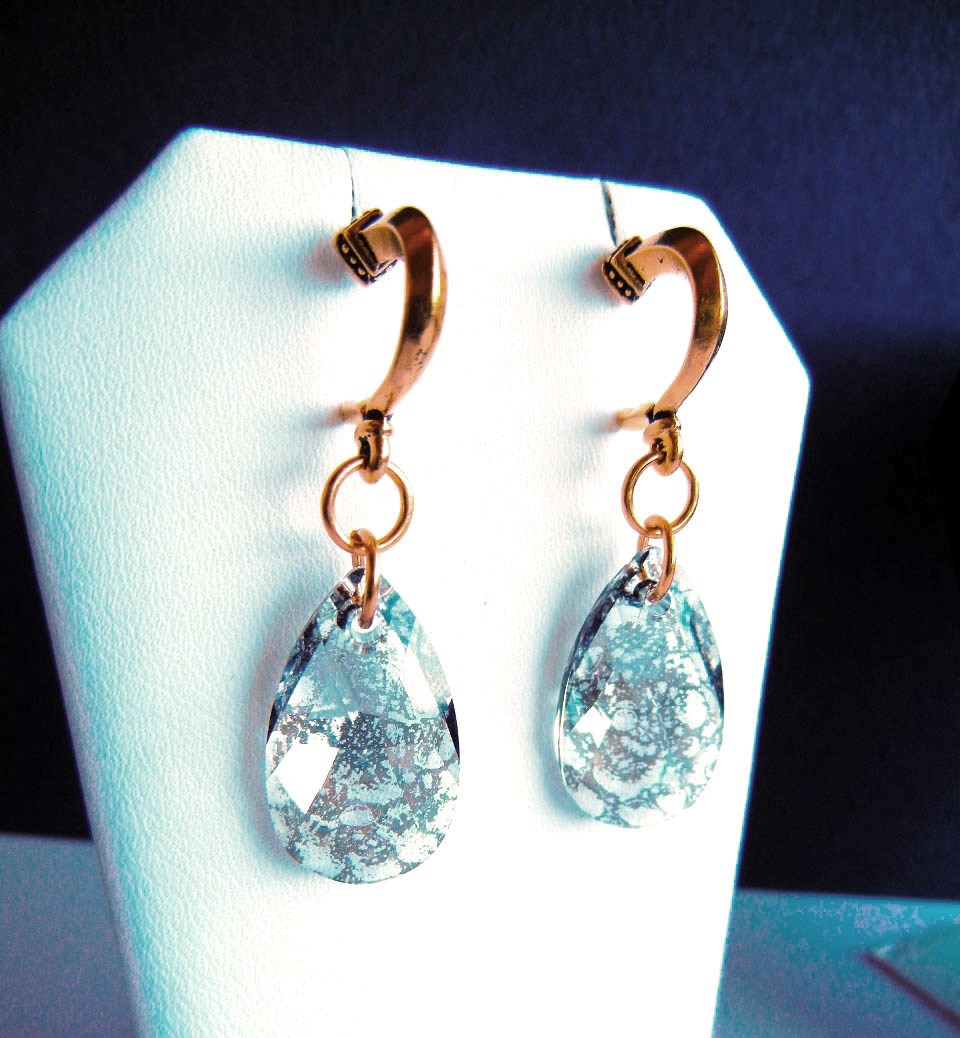
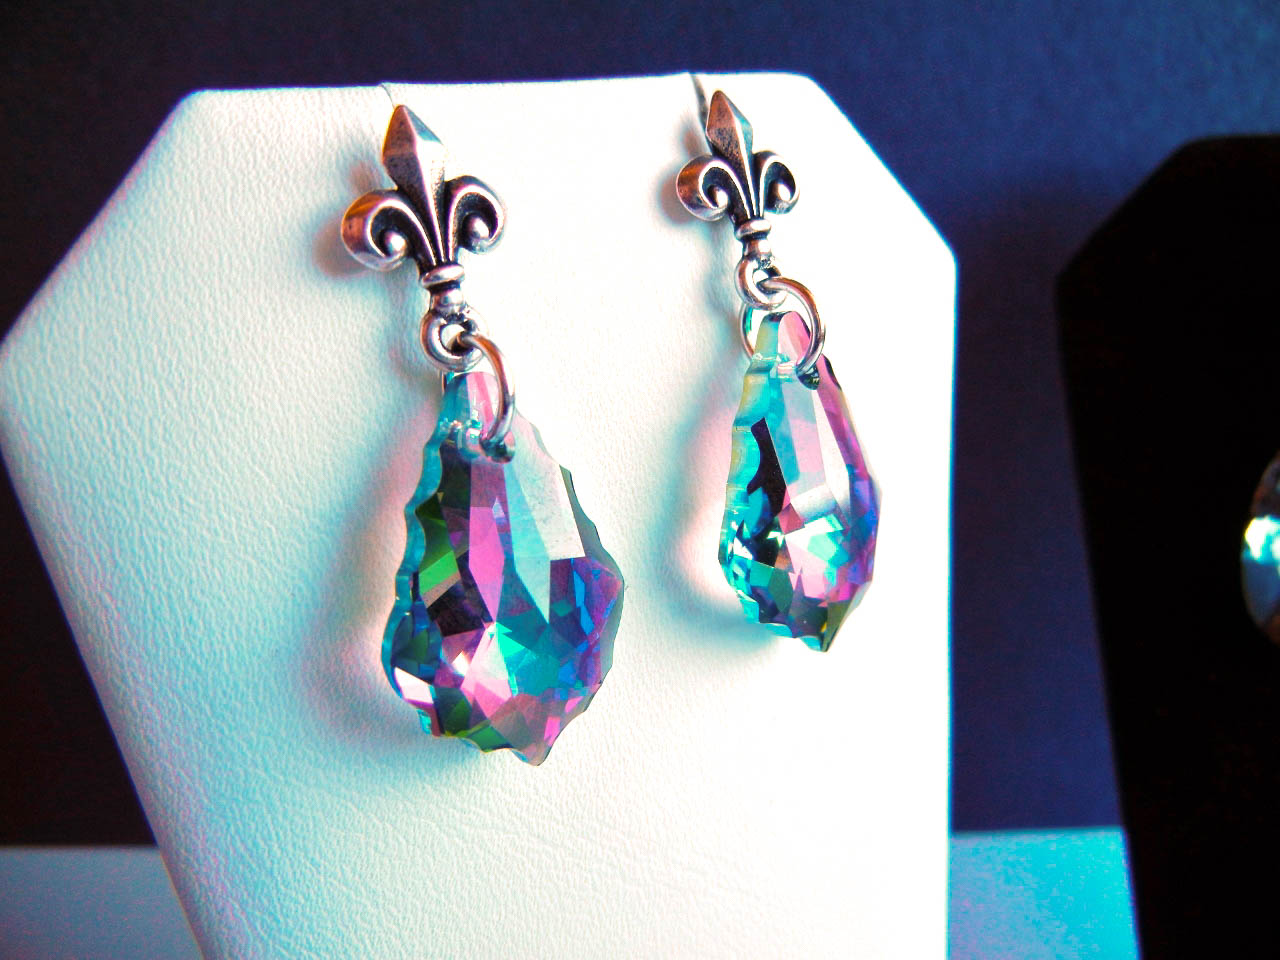
Antique Leaf Rings featuring Swarovski Flat Back Crystals
January 30, 2015