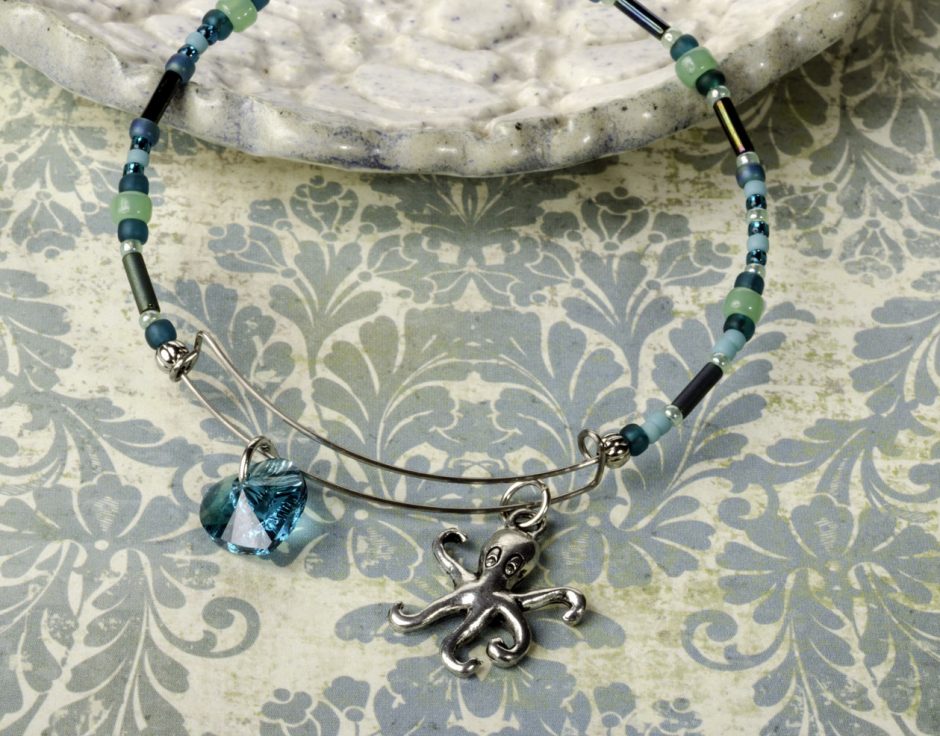
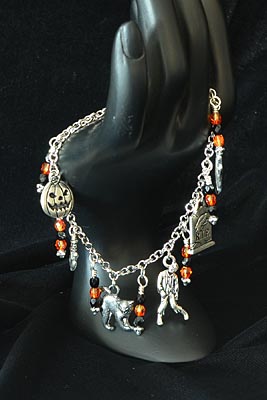
Making your own necklaces from bulk chain, jump rings, and lobster clasps can be a great way to save money when you want to make multiples of the same or similar items. My favorite style of bulk footage chain for this is our 2.2mm cable chain. It is fairly inexpensive, hangs nicely, and is great for adding charms to. And recently I have noticed a trend where charms are placed on lobster clasps, making them interchangeable! You can mix and match different charms and other adornments.
Continue Reading…
Charm Necklaces with Interchangeable Lobster Clasp Charms
April 21, 2015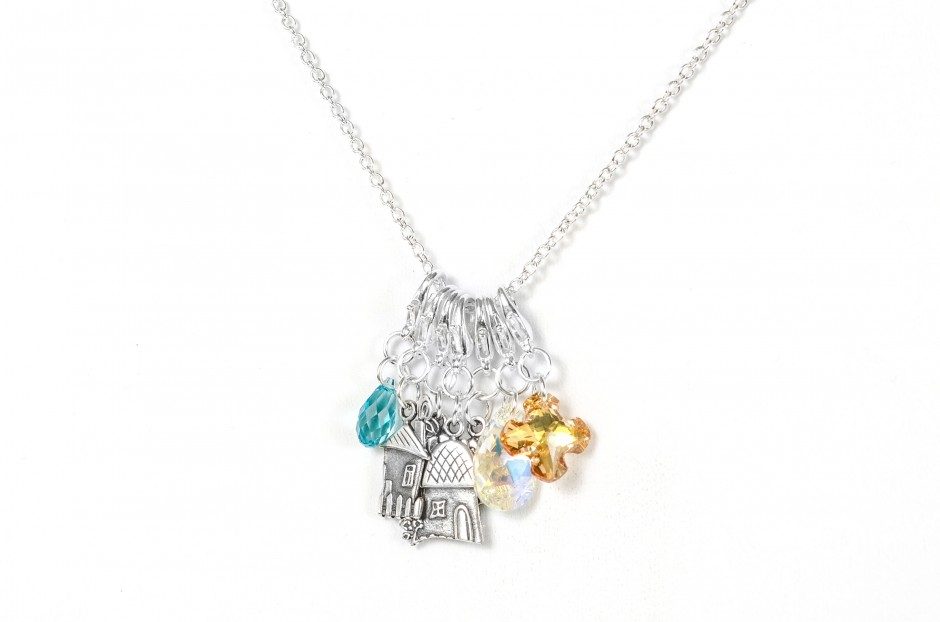


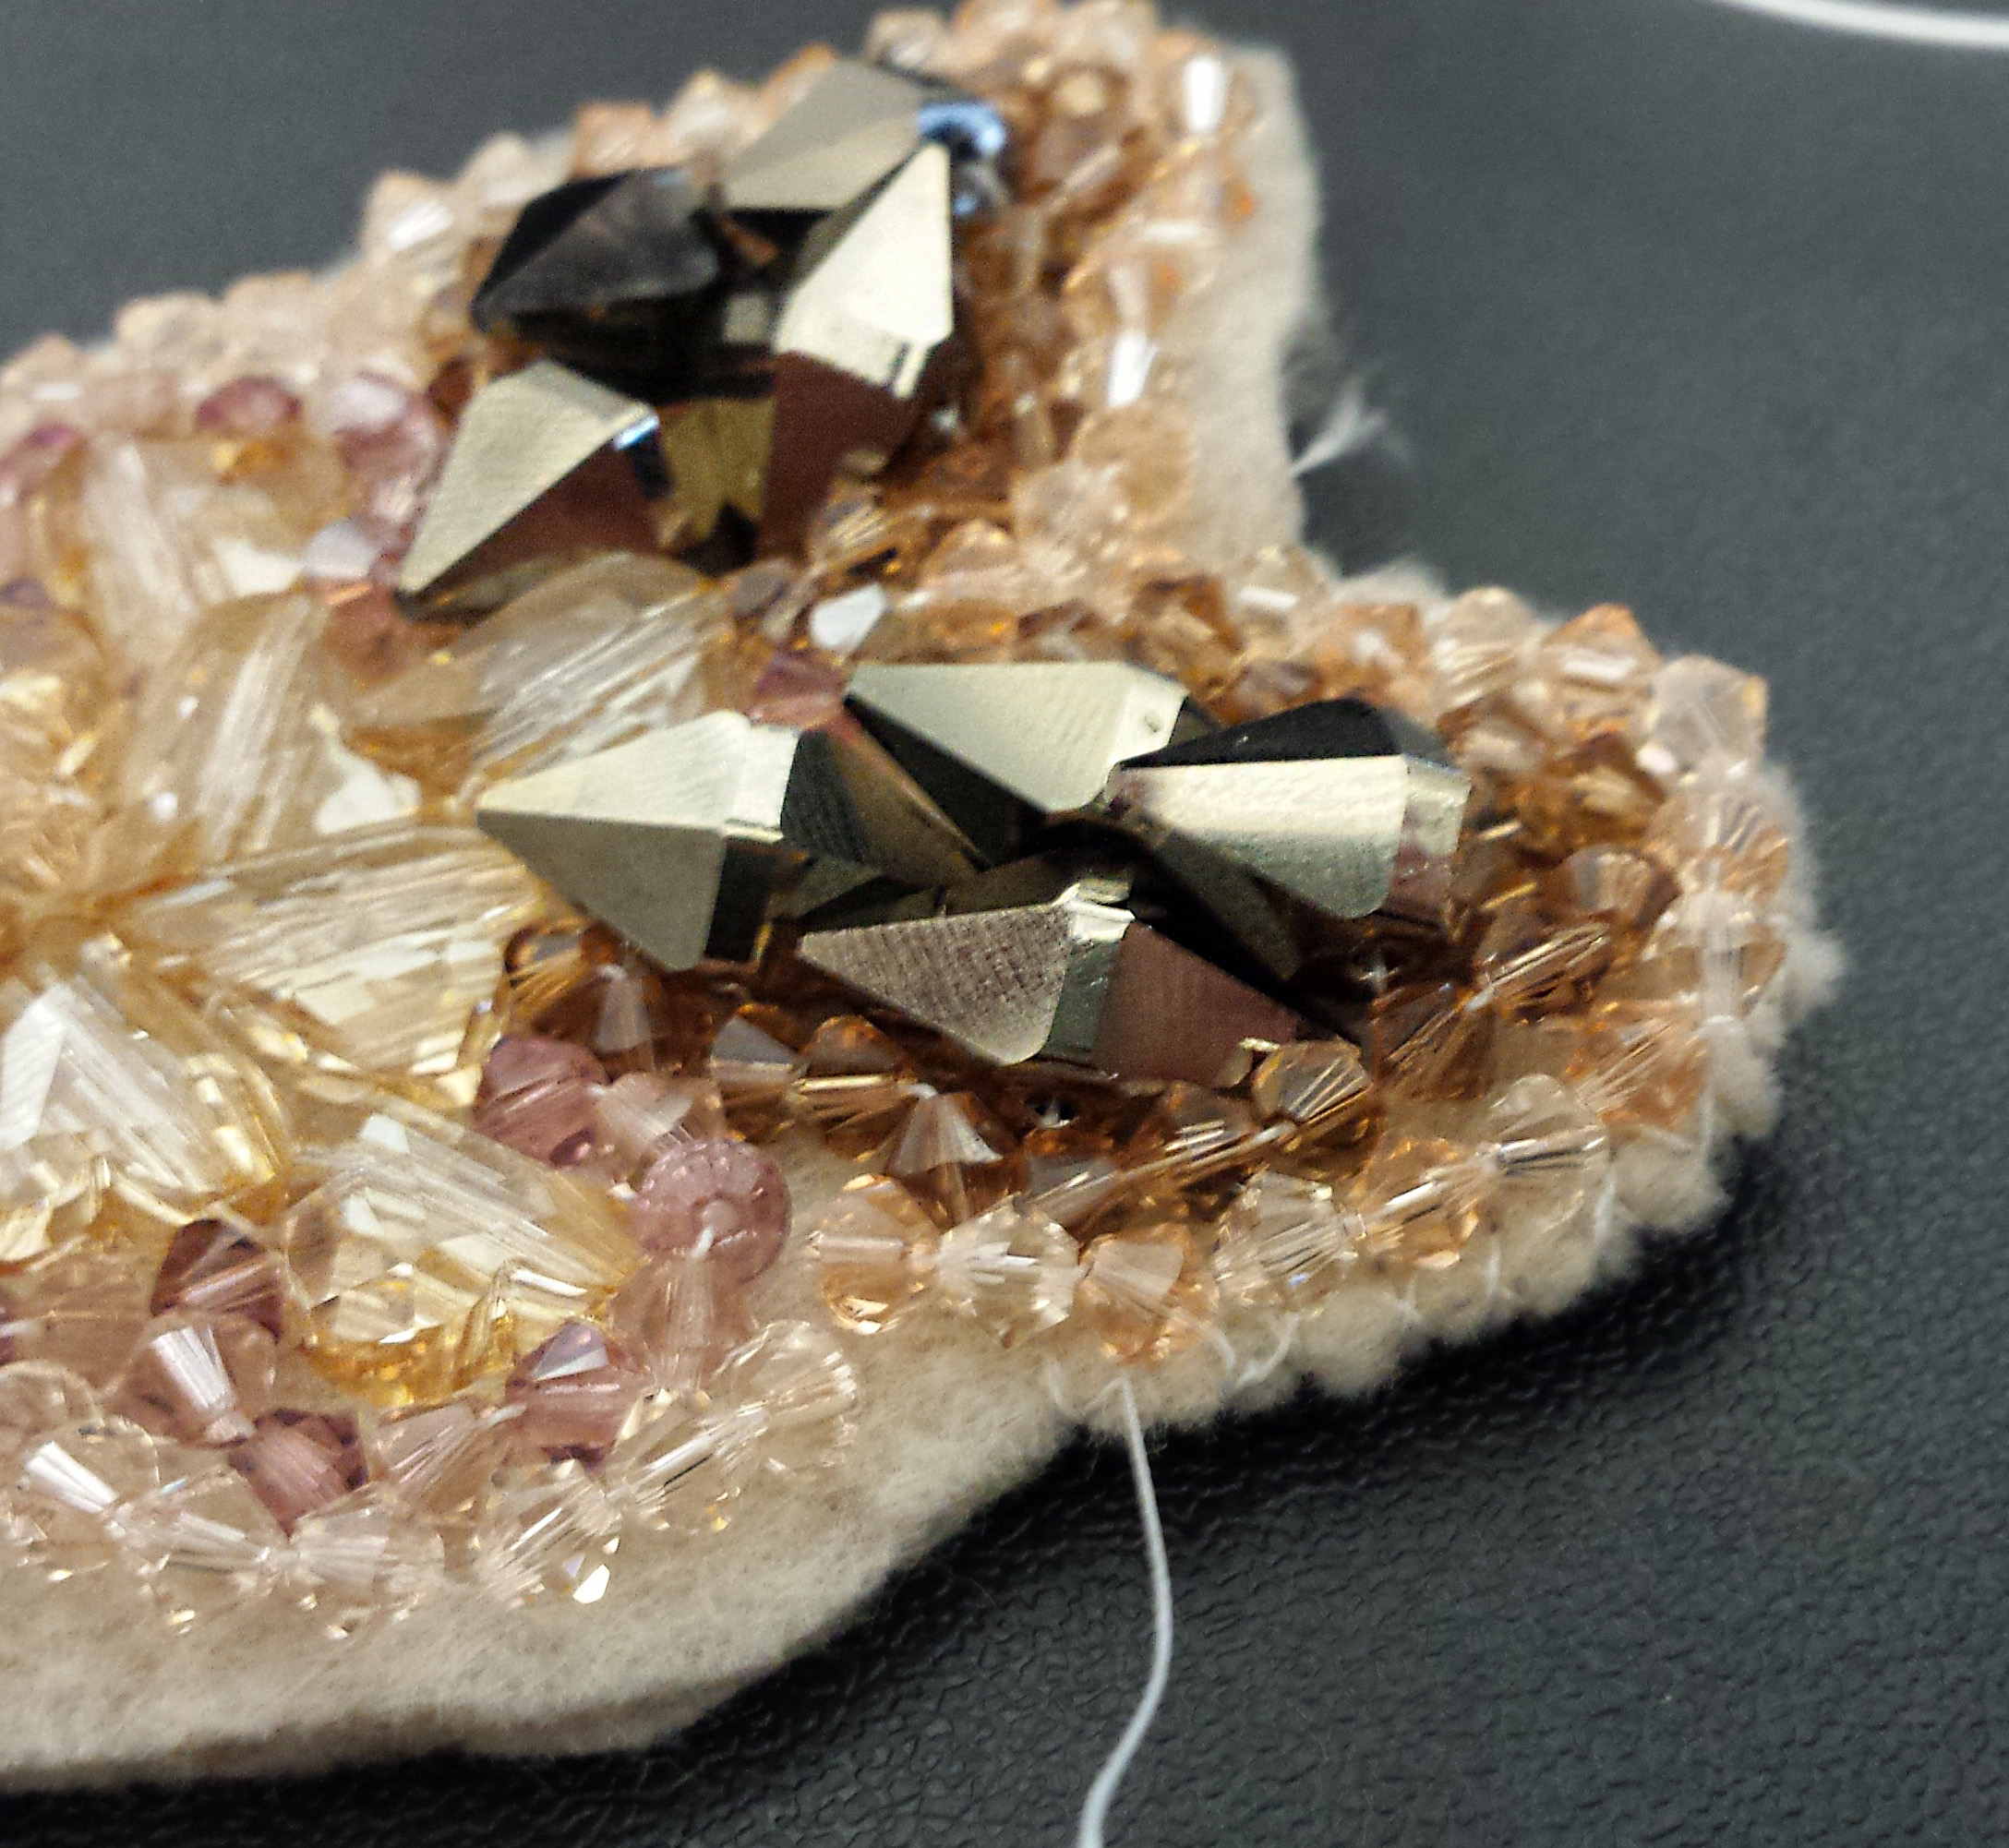
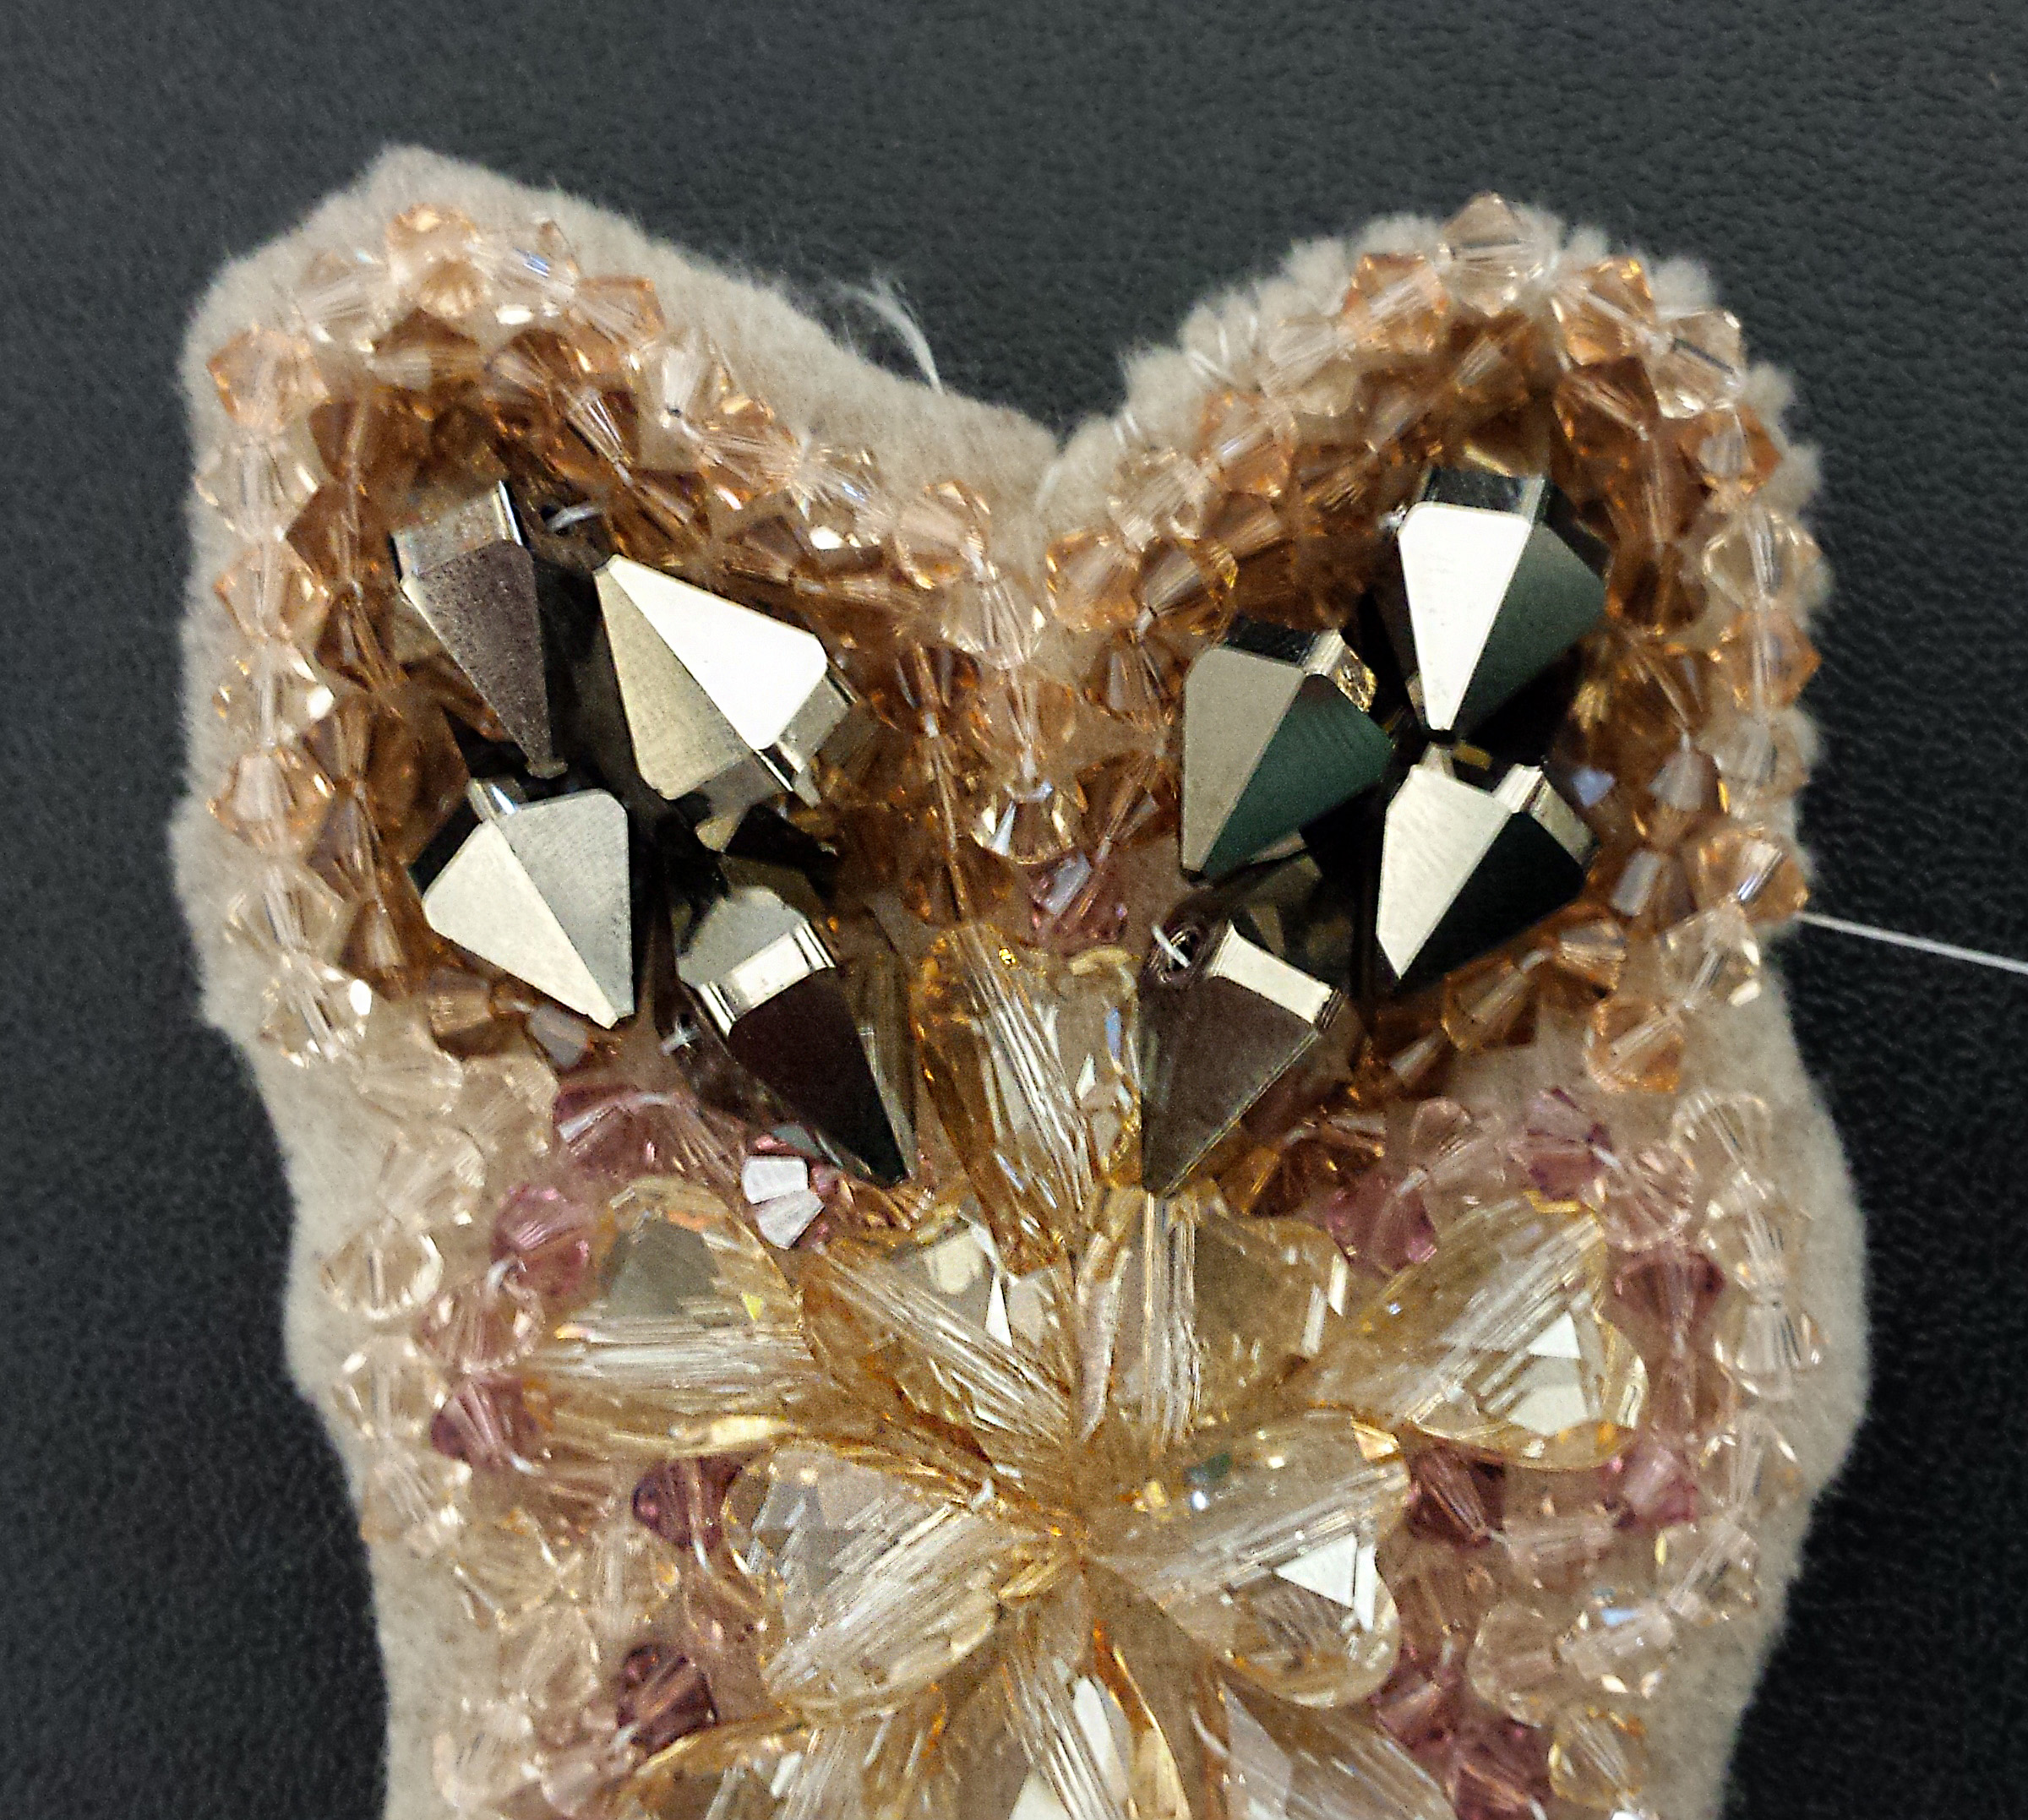

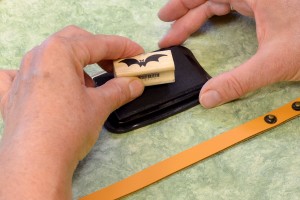
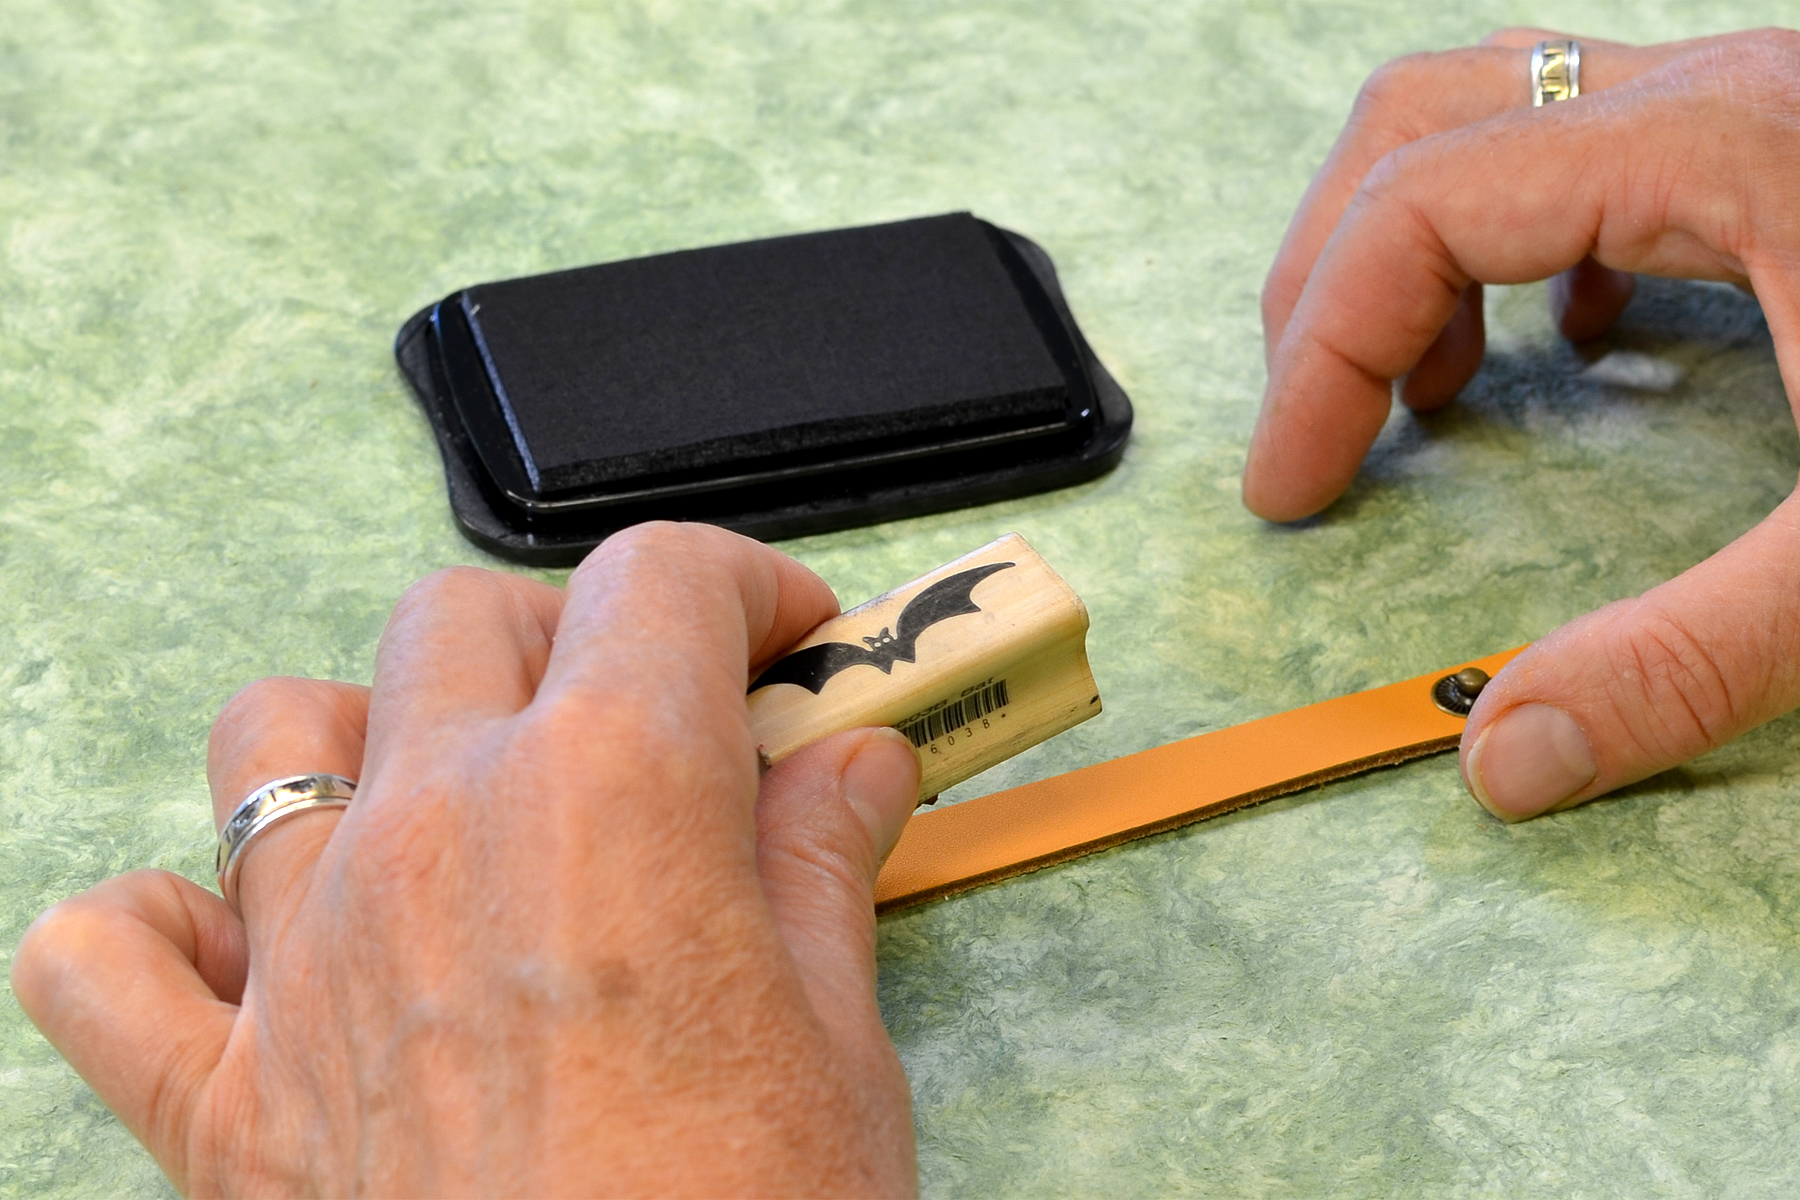

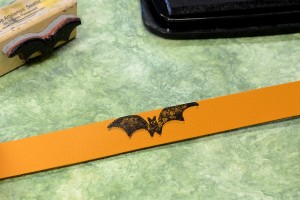
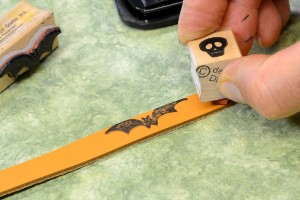

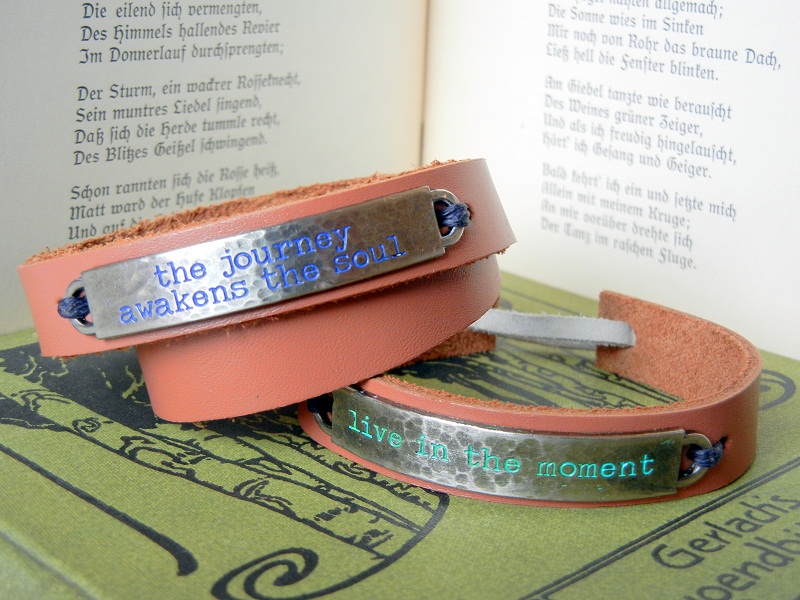


. Mark two \"stitching\" holes on either side of the two word-band loops. Also mark a \"lacing\" hole set 5/16th inch from each leather end.")
 to punch the stitching holes for the bracelet blank; use the largest punch (4.5mm) to punch the lacing holes for the drawstring closure.")


 to punch the stitching holes for the bracelet blank; use the largest punch (4.5mm) to punch the fastener holes for the hitch closure.")


