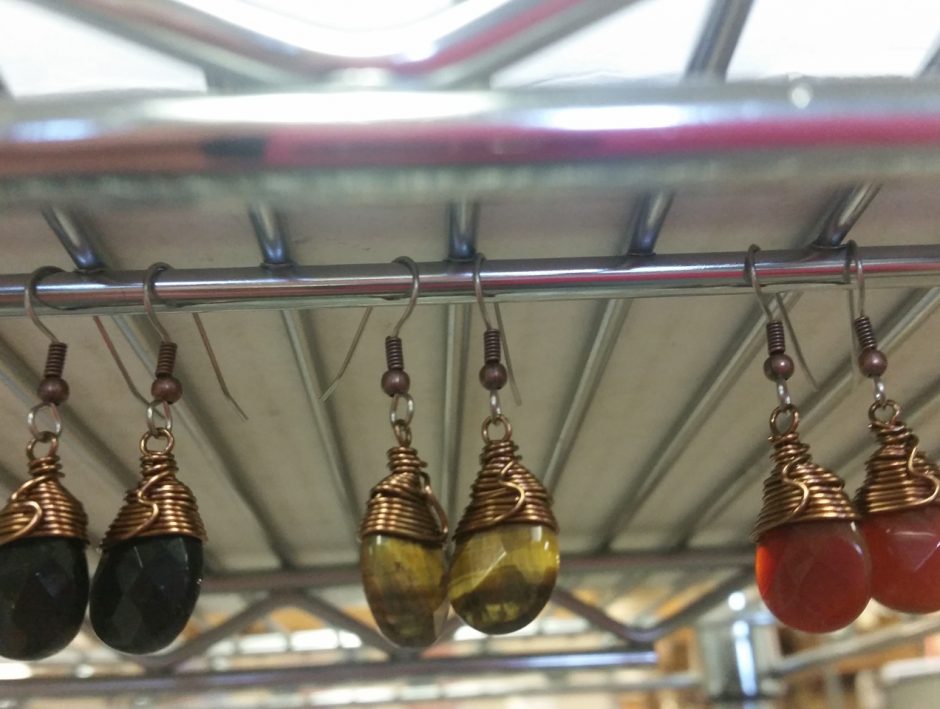
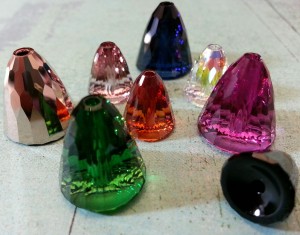
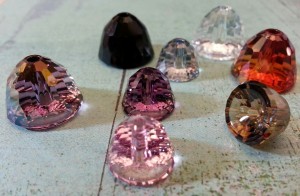
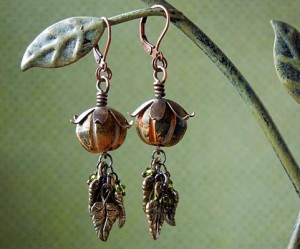
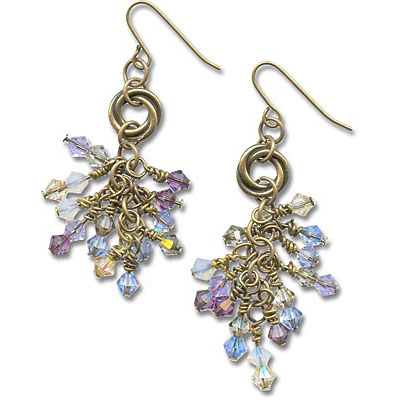
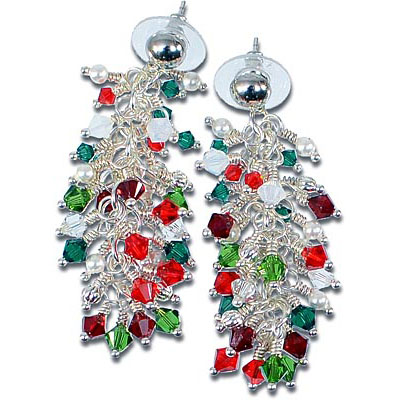
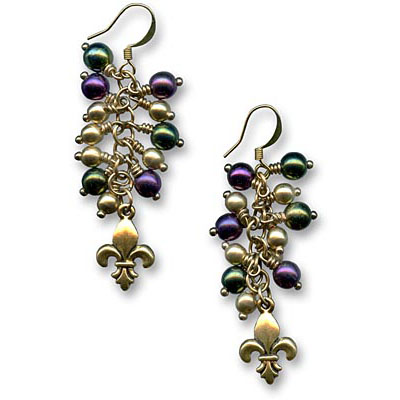
Want a simple and versatile earring design that you can replicate over and over again? This wire-wrapped briolette earring design can be used for any tip-drilled teardrop beads or briolettes. That’s what makes these some of my favorite earrings to make! The result is simple yet can look dramatically different depending on what colors and gemstone beads or crystal pendants you choose.
Continue Reading…
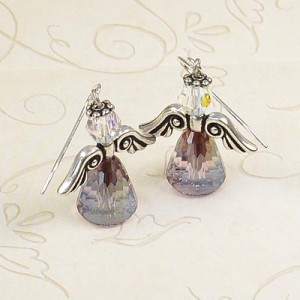
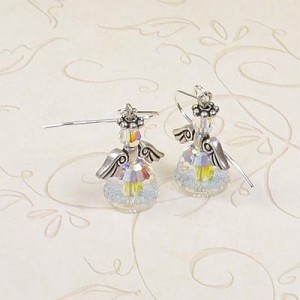
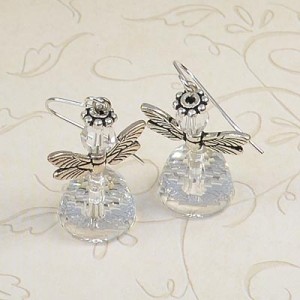
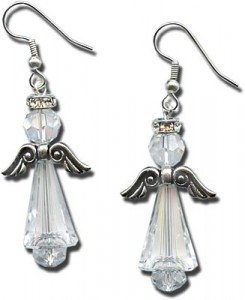
DIY Wire Wrapped Briolette Earrings
July 31, 2015