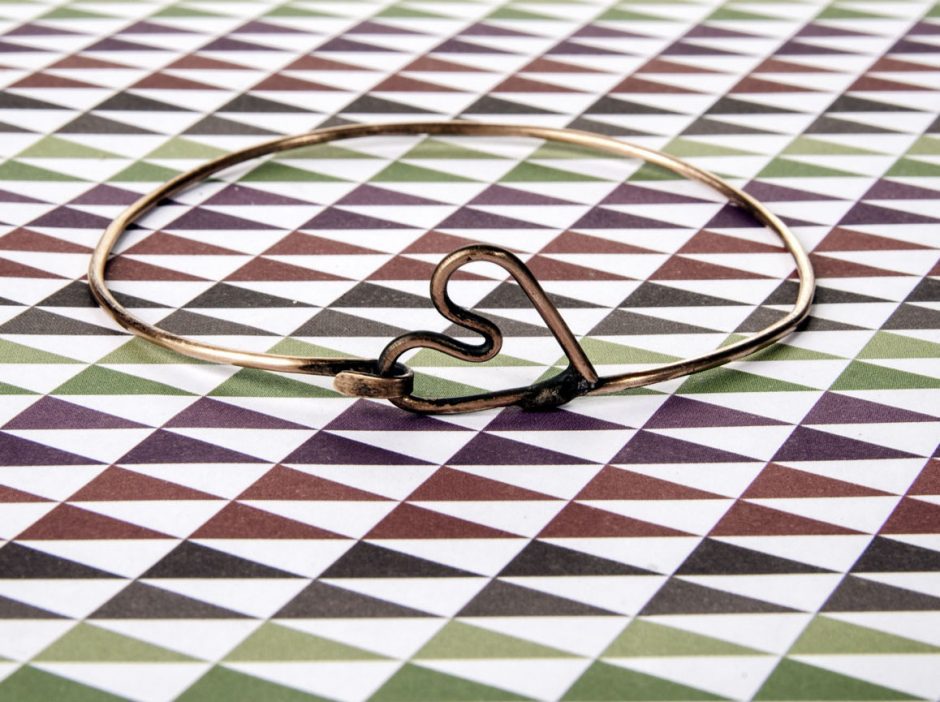
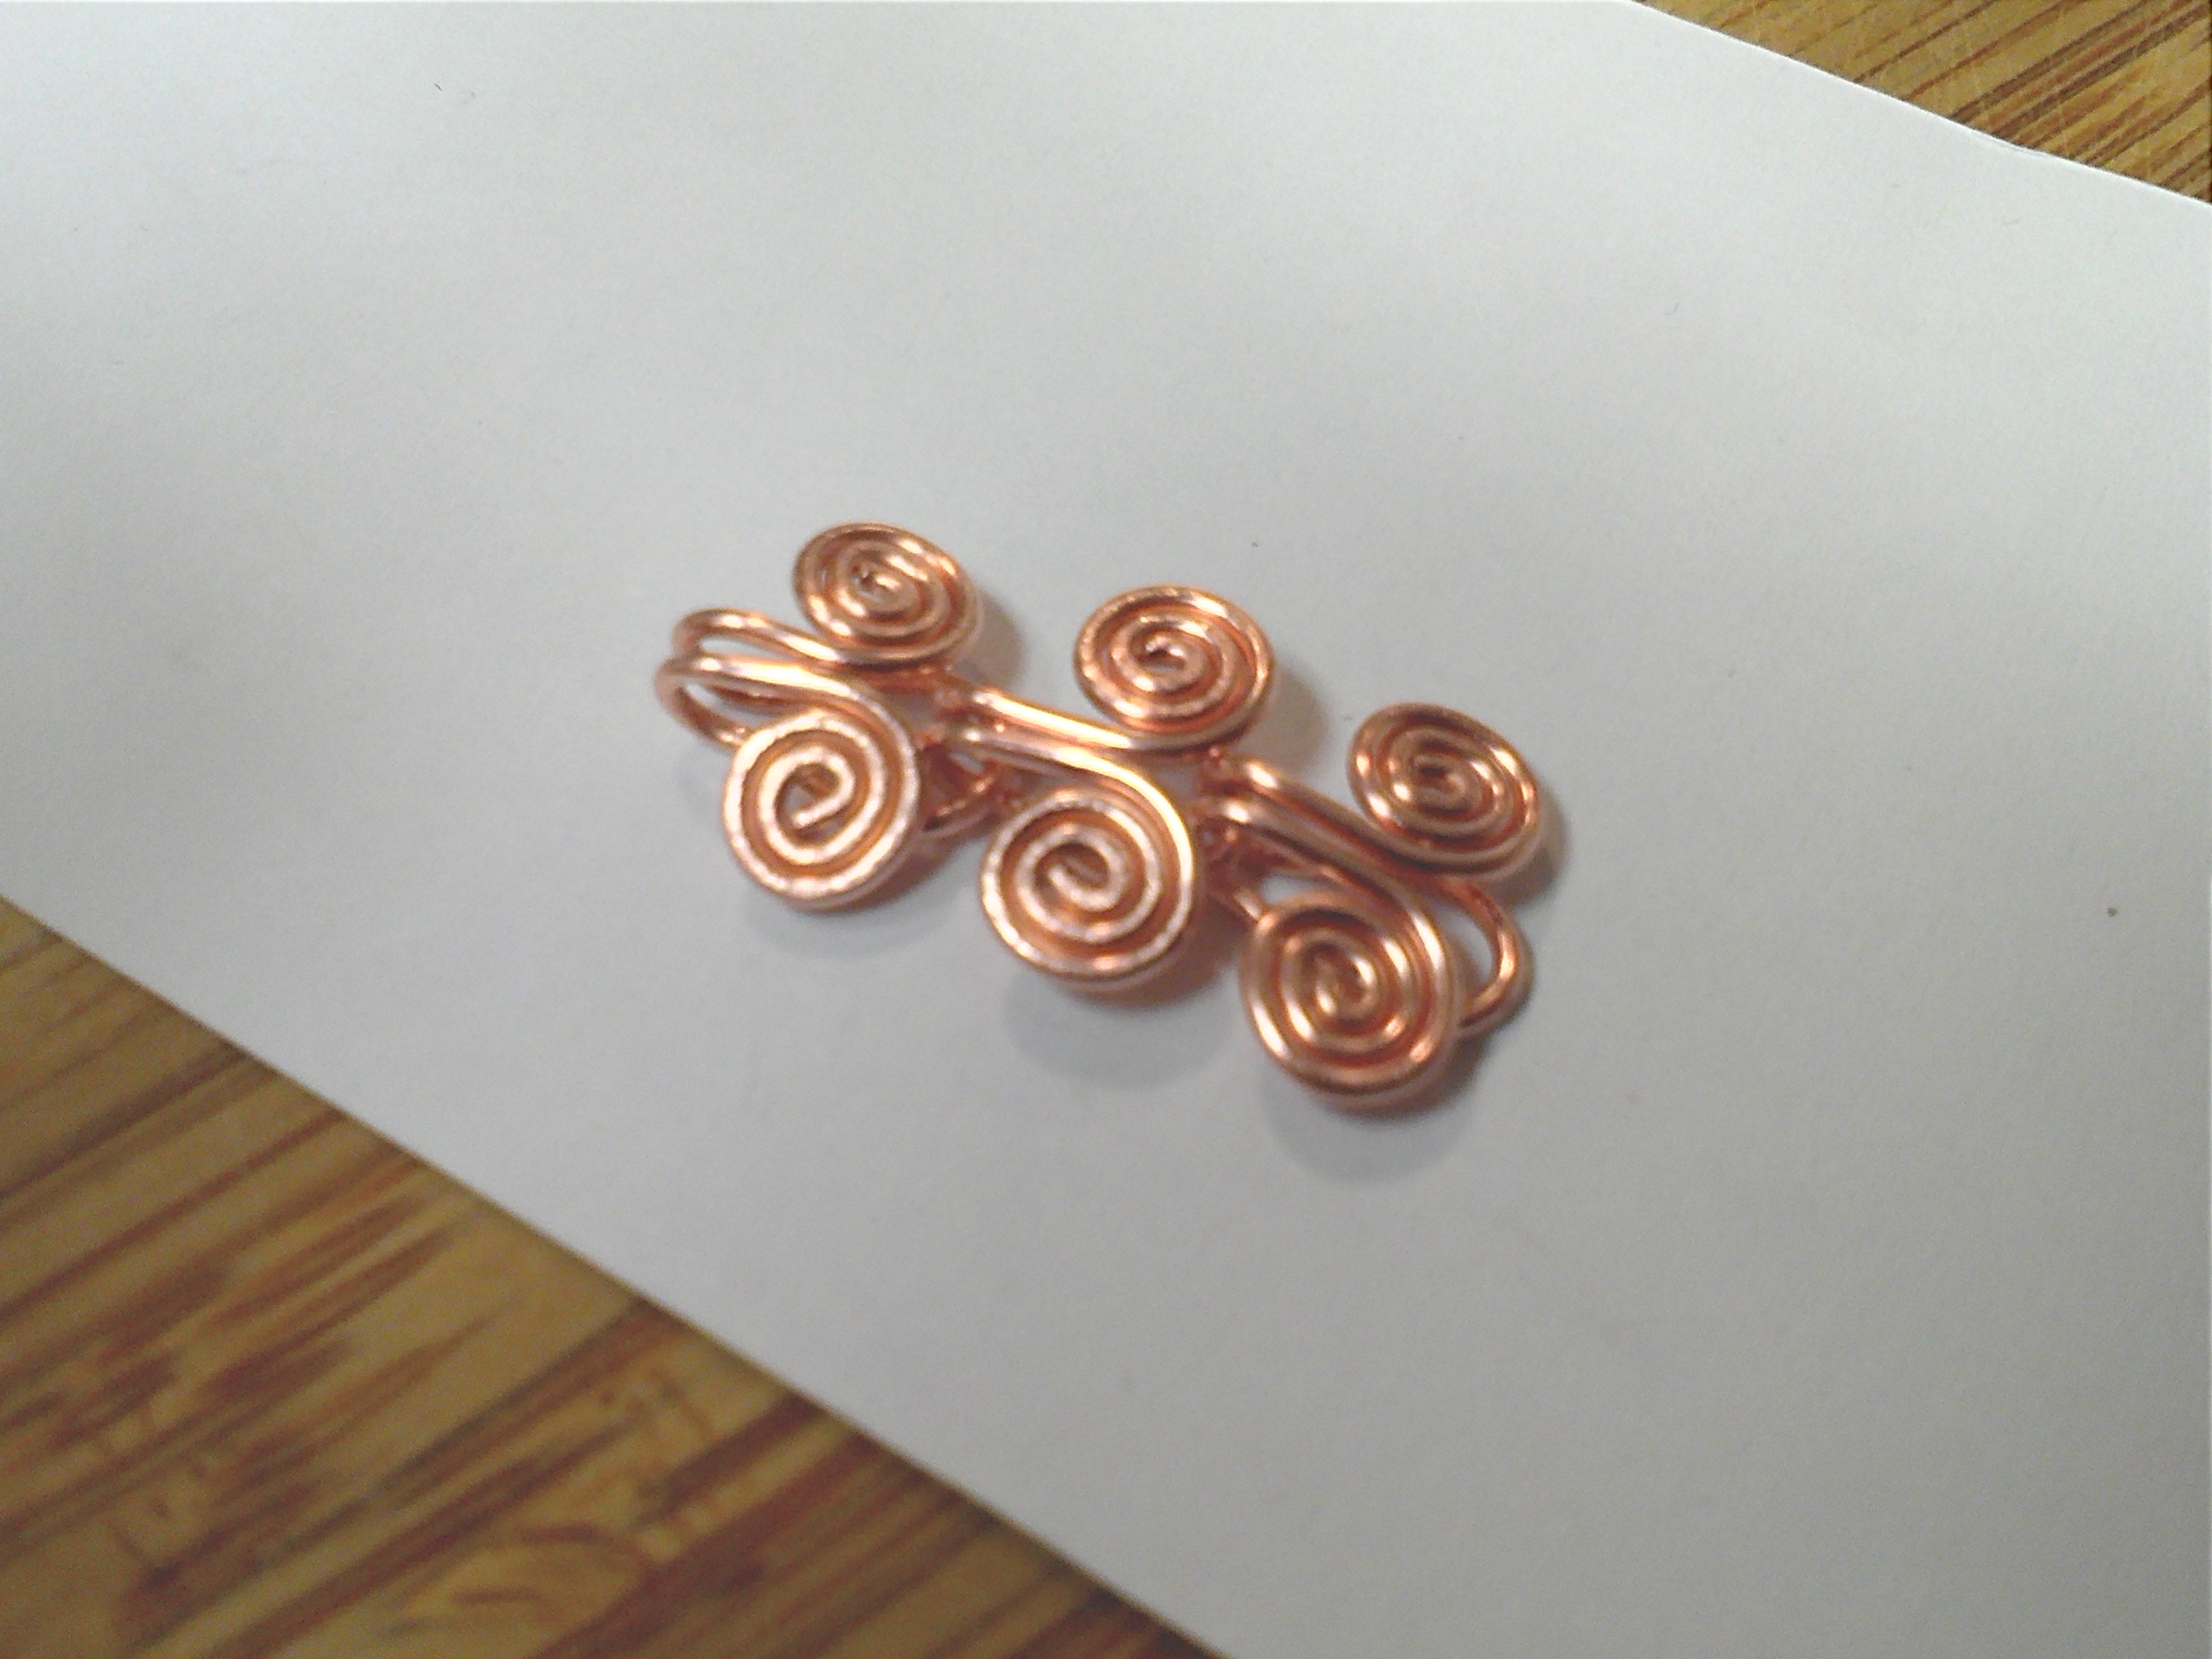
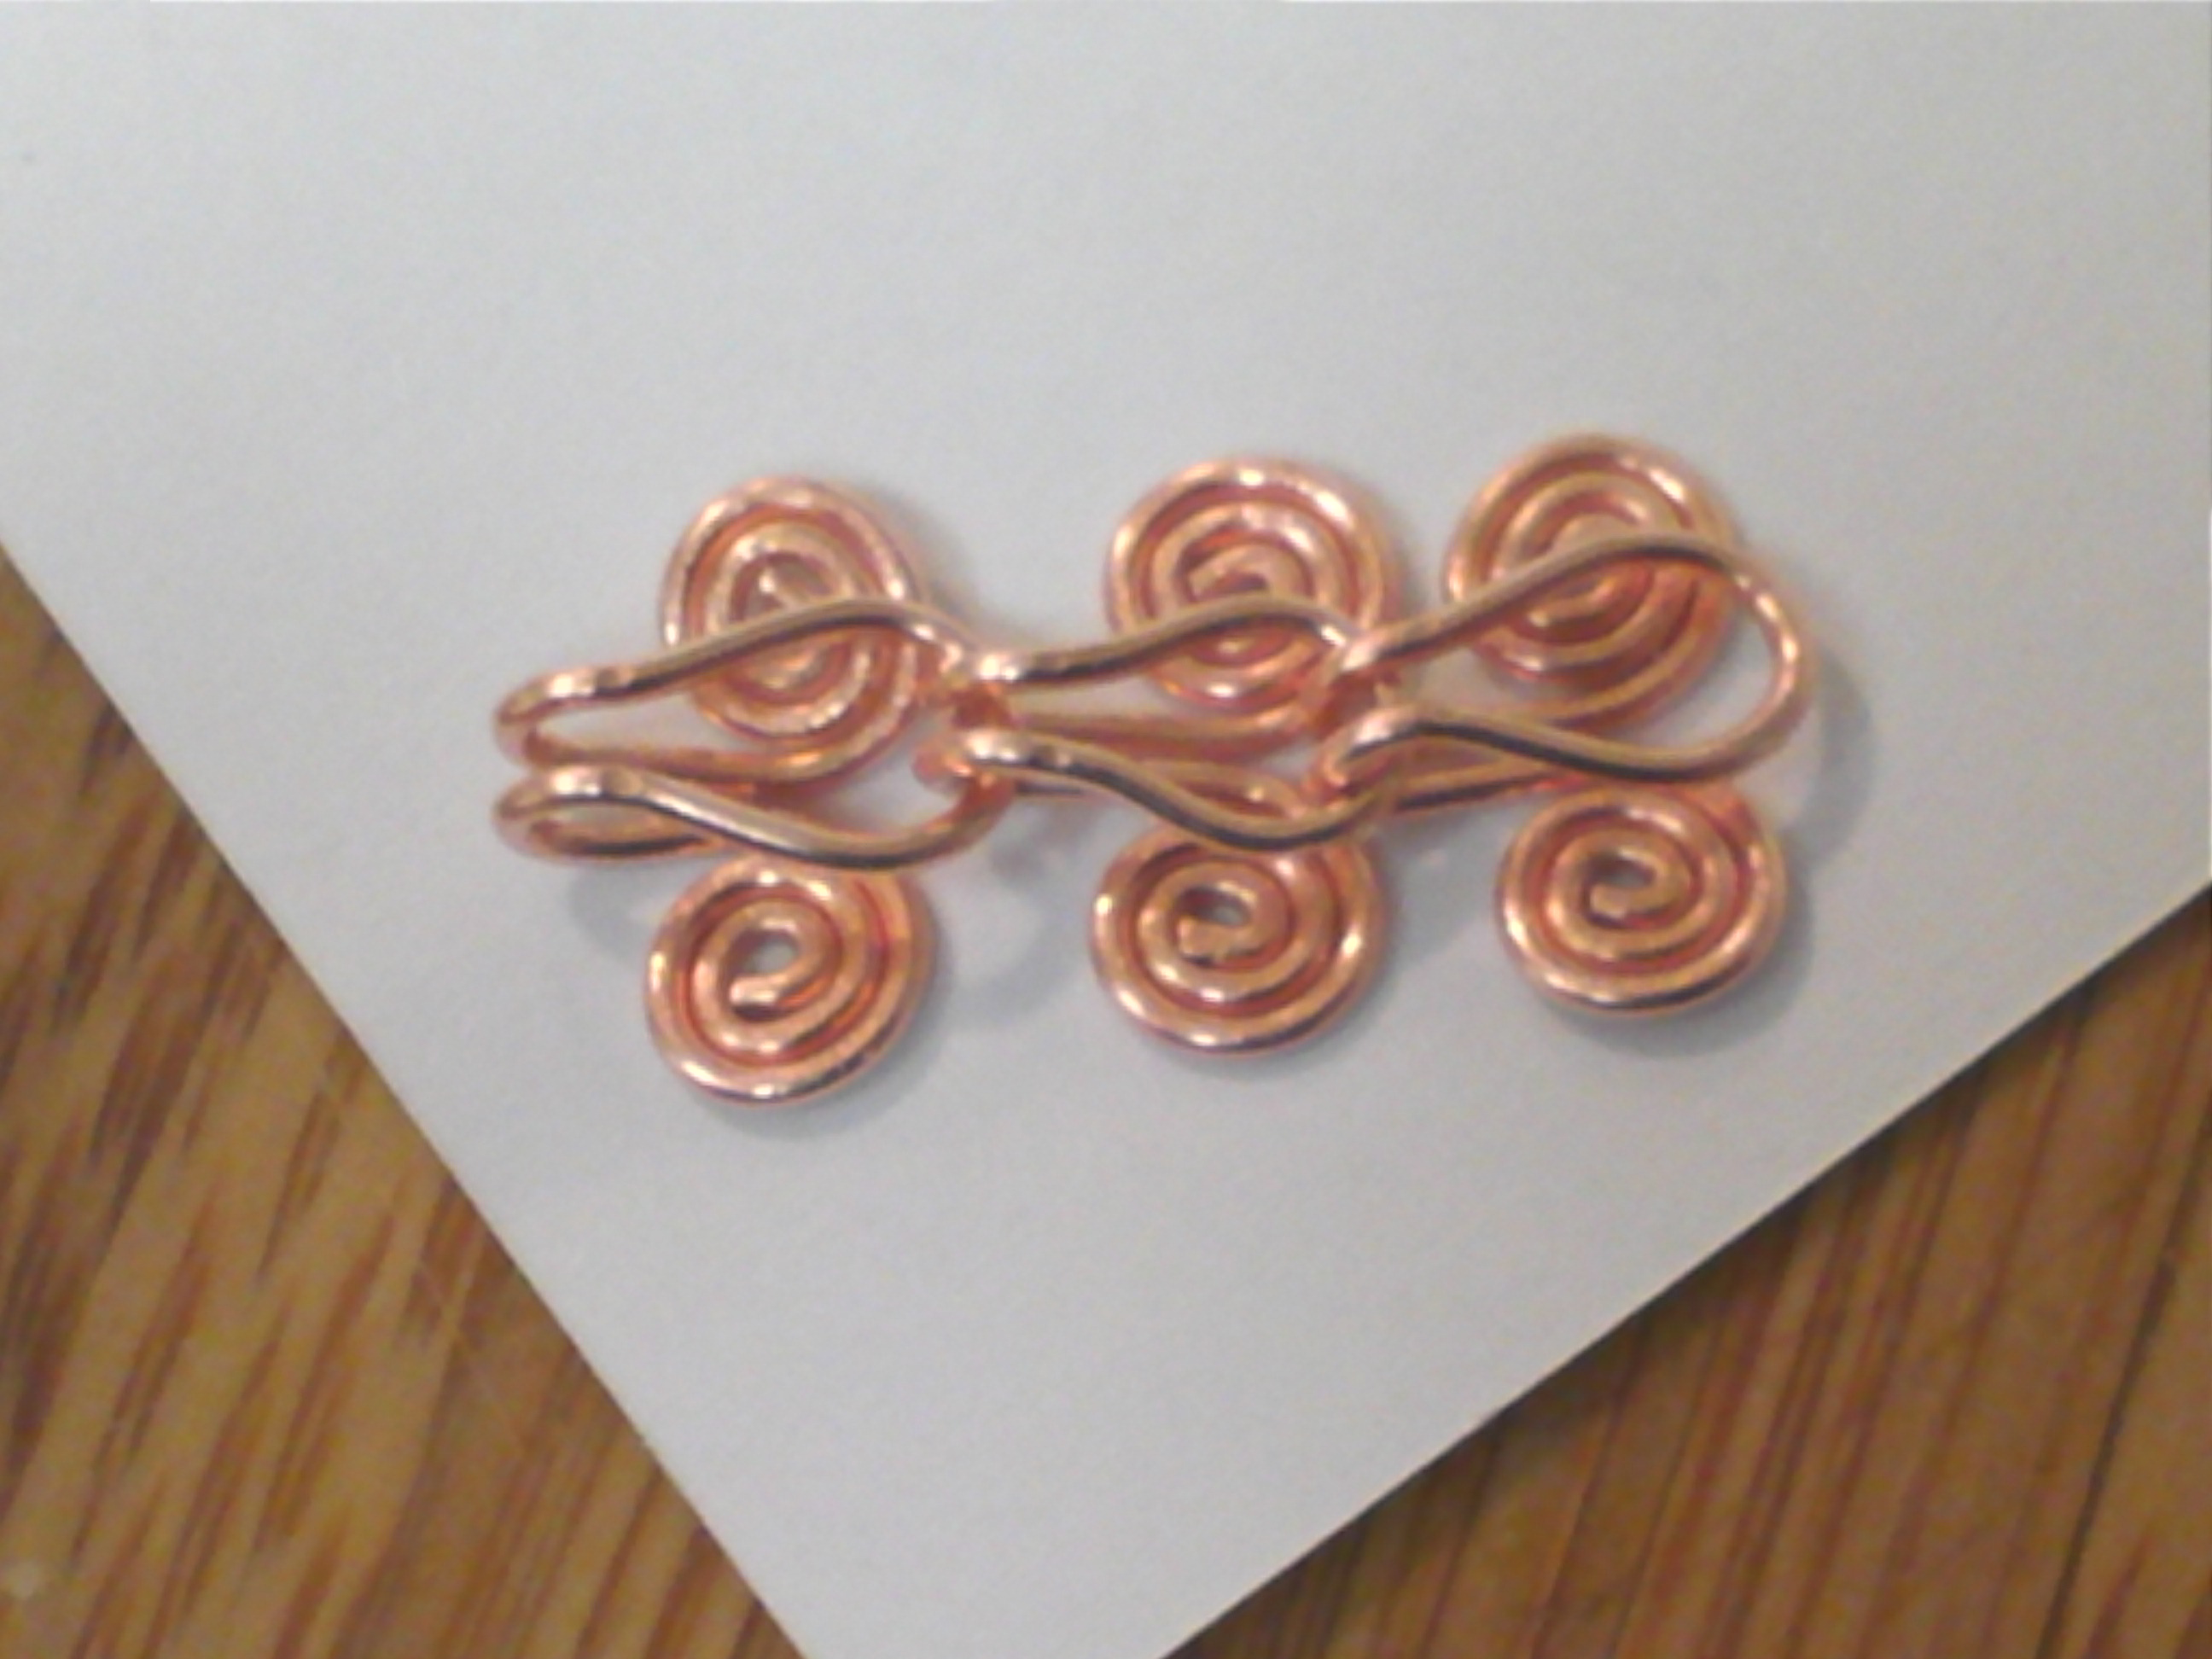
The popularity of bracelets just keeps increasing, and having fallen in love with some similar styles, I decided to tackle copper soldering and hand formed wire bracelet making in the same project.
Continue Reading…
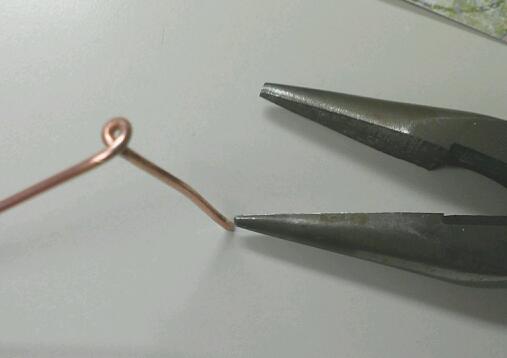
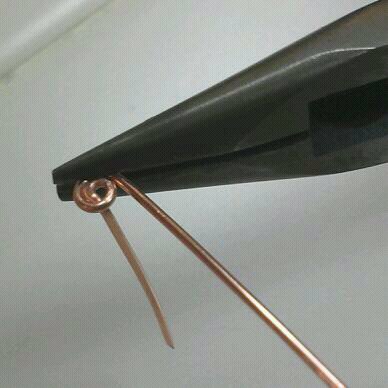
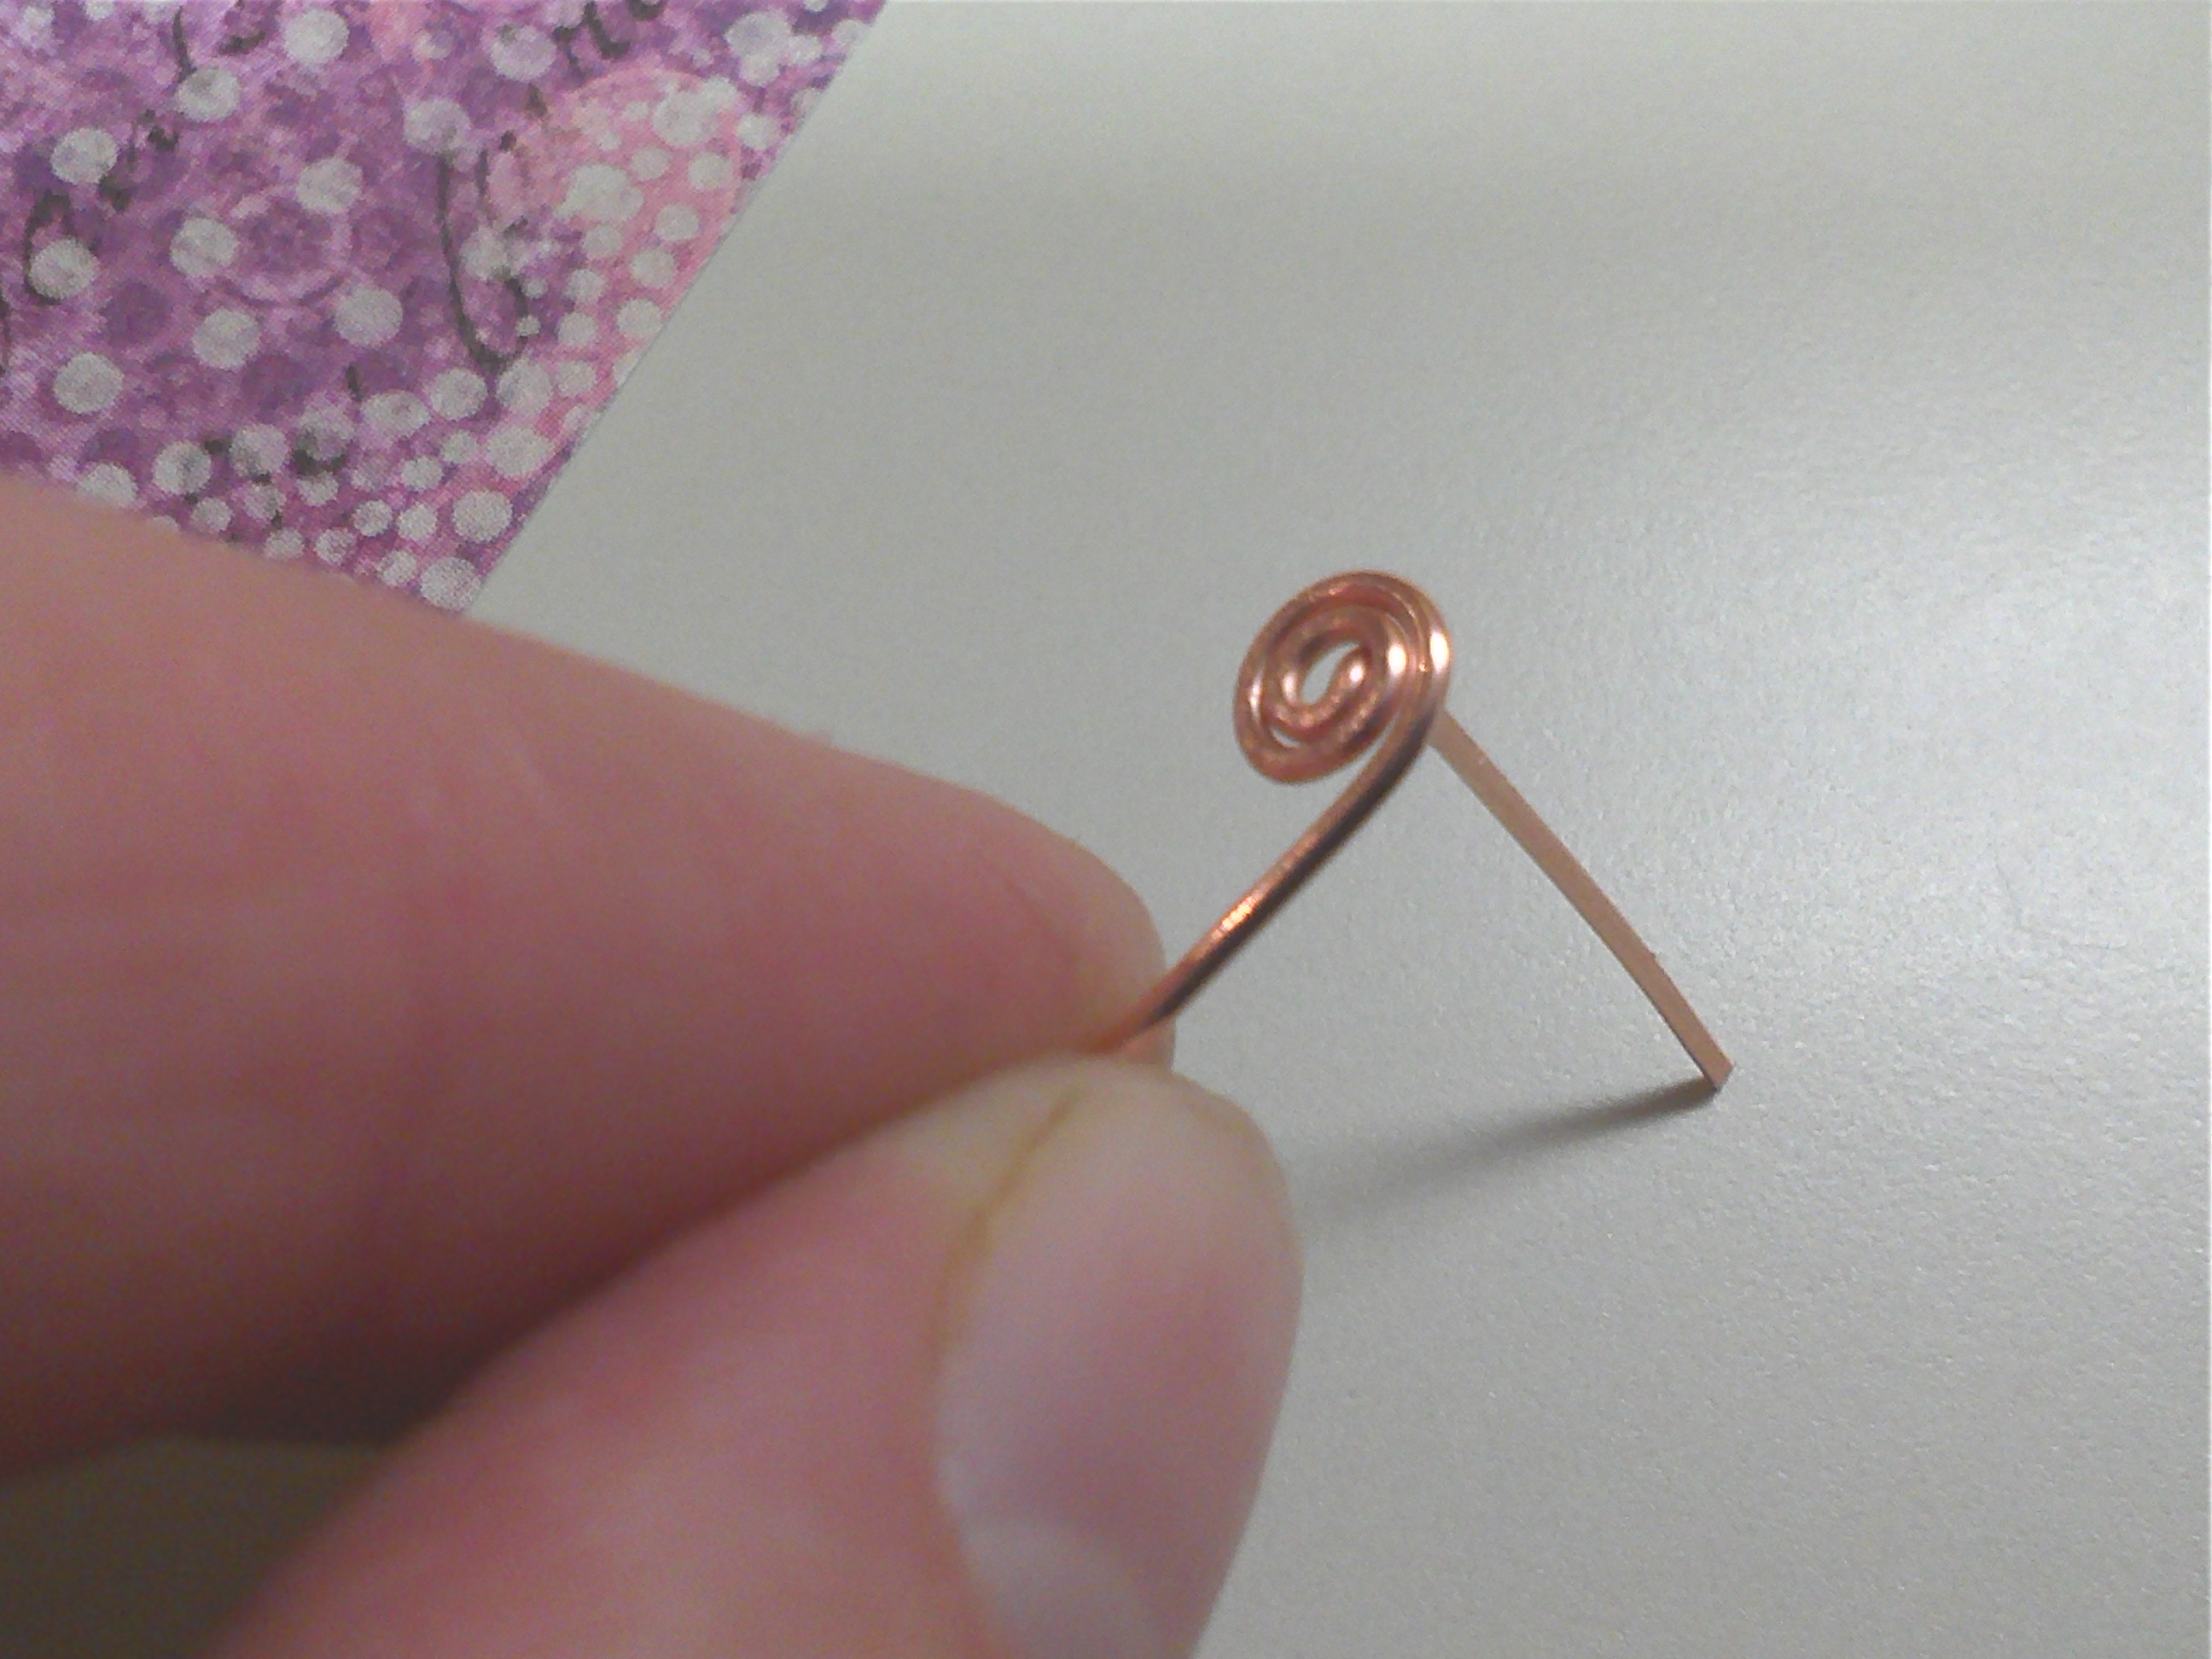
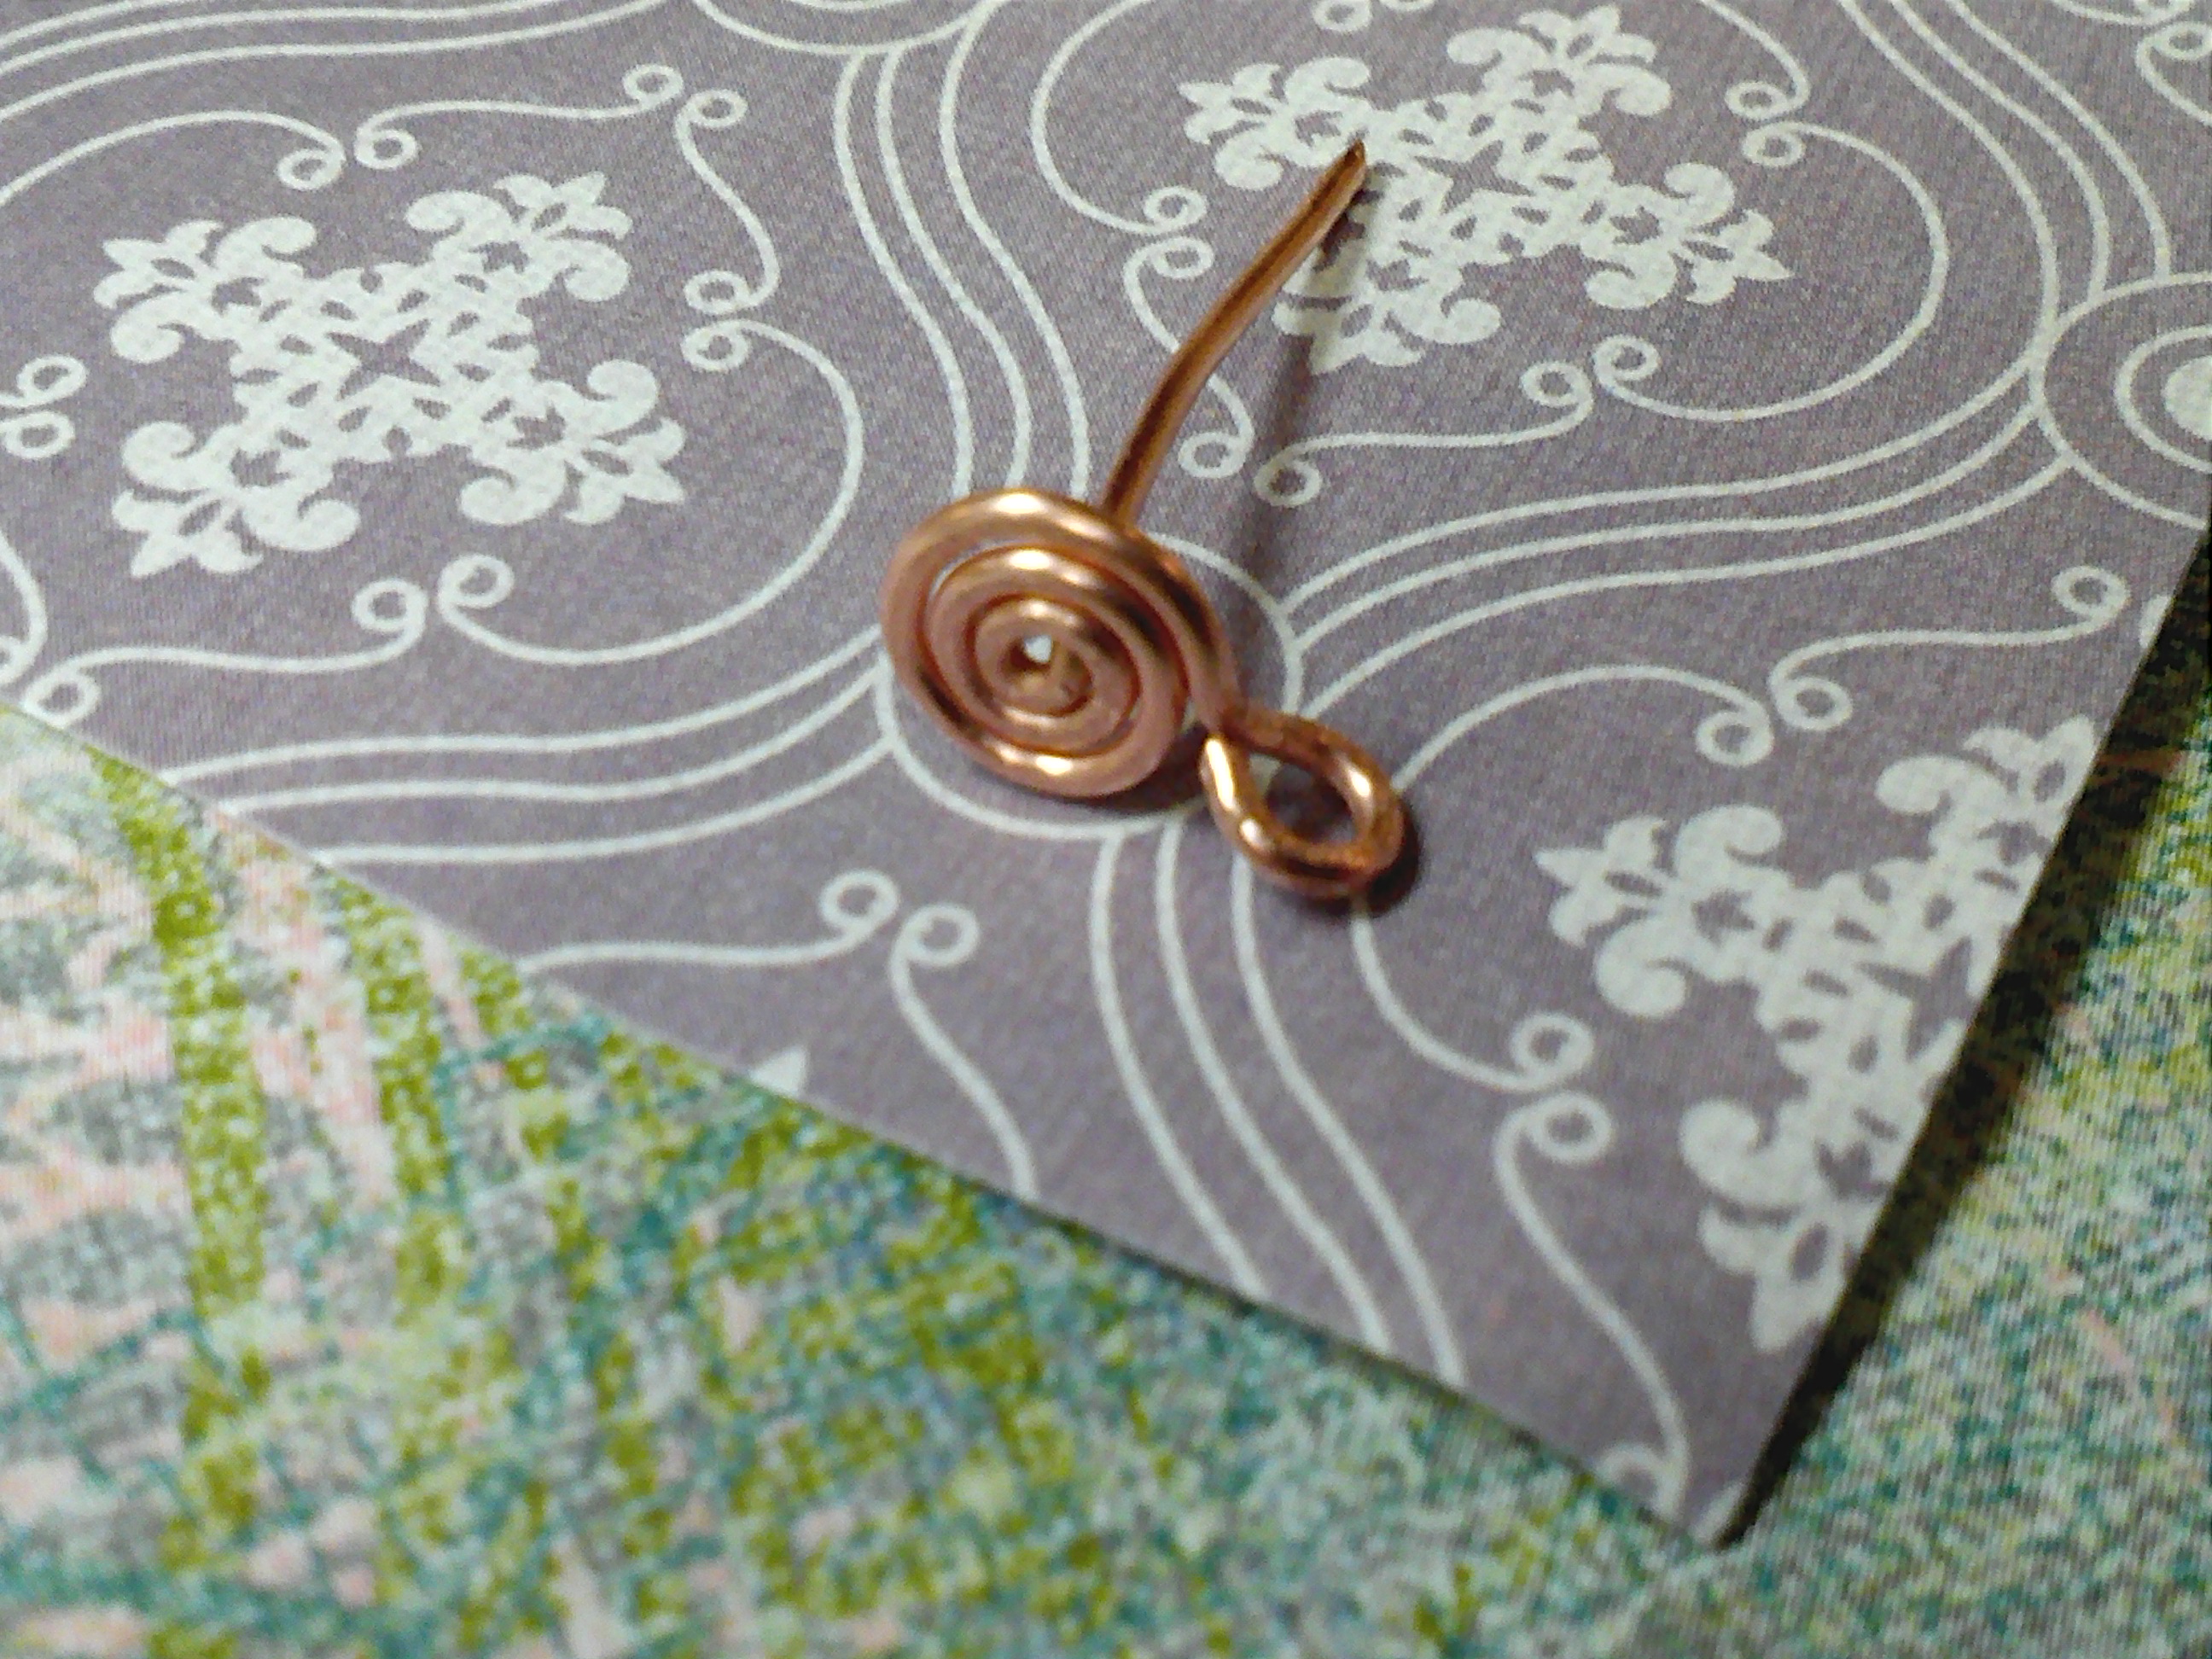
Make Your Own Rustic Copper Heart Bracelet
December 2, 2015