Hi bloglandia! Today’s blog is about how to use a jeweler’s saw. Why? Because if you want to cut clean shapes out of metal without bending the metal, you need a saw. All metal shears, even the really nice ones, bend the metal, at least a bit. It is just the nature of the beast. Also, unless you have the hand strength of ~ I don’t even know who! ~ you probably need a saw to cut metal thicker than 24 gauge.
A saw also allows you to cut very intricate designs. Pierced is the term for designs that are cut from within the metal, as opposed to coming in from the edge. However, “pierced jewelry” brings up a whole different category of jewelry when you search online!
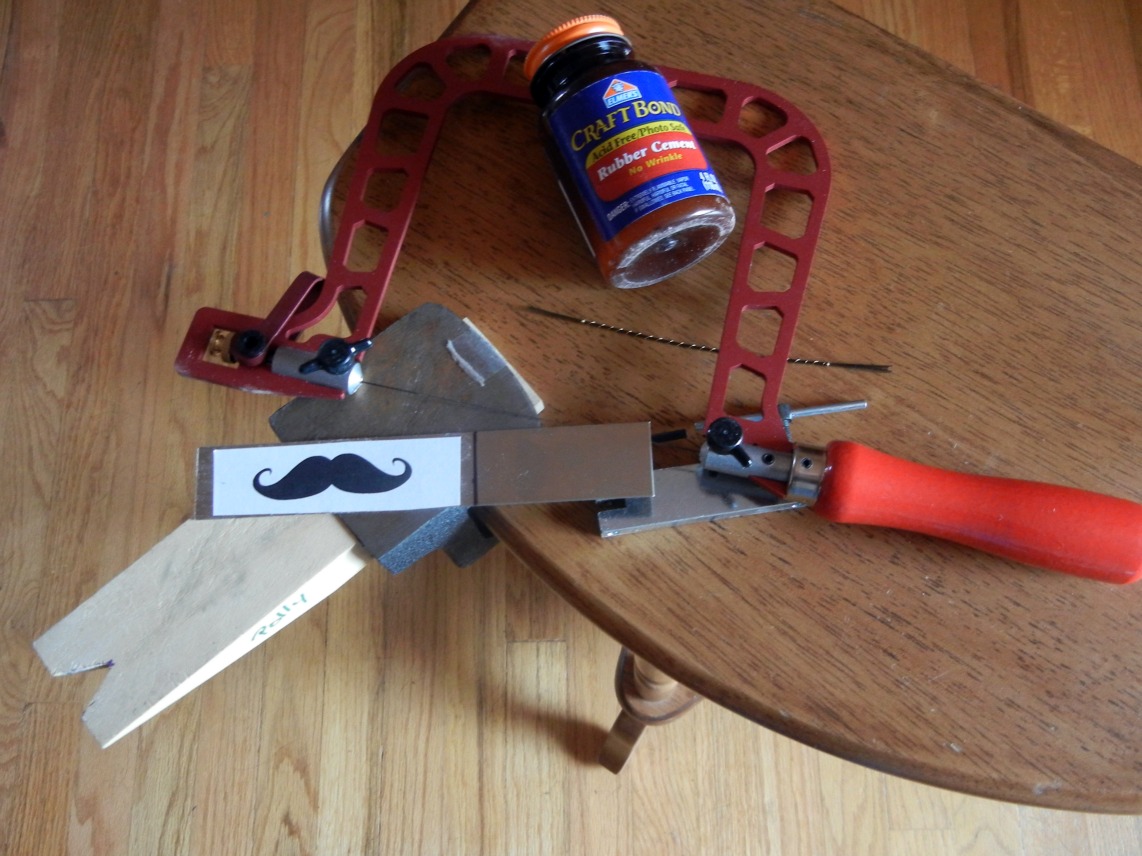
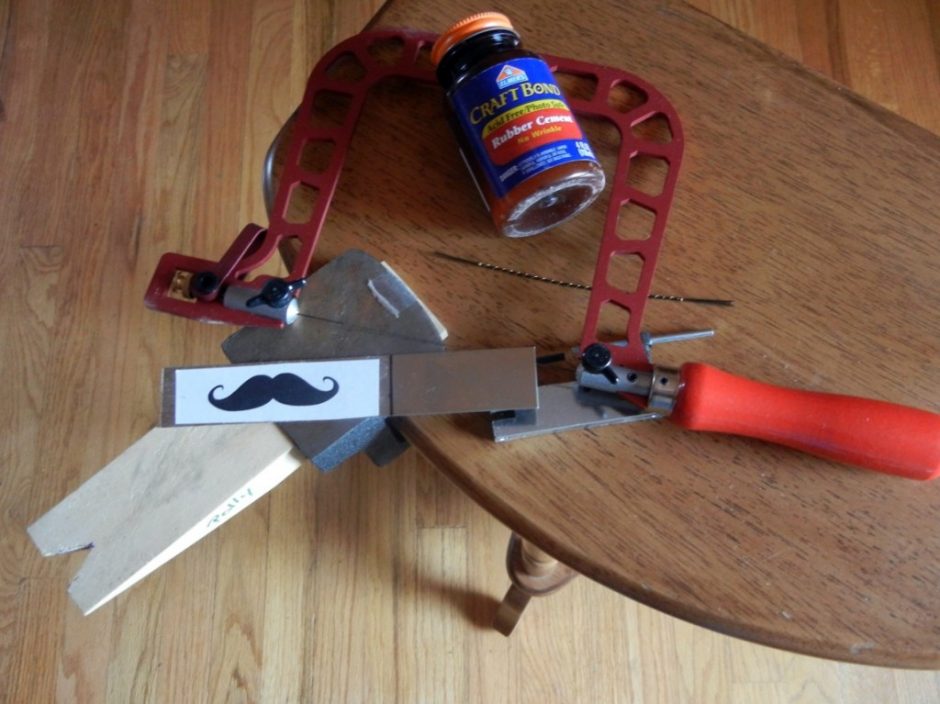
Supplies needed for sawing your own metal shapes:
- Jeweler’s saw frame – I’m using a pretty lux Knew Concepts frame, but the technique is the same no matter which saw frame you use.
- Saw blades – Rings & Things offers both Form d’Arte (entry level) and Antilope (higher quality) saw blades. I think the higher quality is worth the price for less breakage, but it is up to you. Make sure to use the right size for the gauge of metal you are cutting.
- Sheet metal – I like working with 20 gauge, but you might choose thinner metal if you’re planning to layer the pieces, or if you are working with pricey sterling silver.
- Bench pin/ – I’m using a bench pin that’s been modified for sawing. Our bench block already has a V cutout. You’ll see why this V is necessary shortly.
- Paper design – the more ornate the shape, the more you will challenge your skills!
- Rubber cement – for adhering your design to the metal. Don’t think that you can draw your design onto the metal with a marker – it will smudge and blur and be impossible to follow. “Permanent” is a relative term!
- Hole punch – optional – to pierce metal, you need to drill or punch a hole to insert the saw blade into. If you are sawing in from the edge of the metal, you don’t need a hole.
- Cut Lube or beeswax – optional or not, depending on who you ask. Many people swear by it, but I typically prefer to saw without it. The lubricant is meant to keep the blade moving easily across the metal, but sometimes it gunks up the shavings and clogs the blade, so use it sparingly at first.
How to saw metal:
Adhere your design to sheet metal with rubber cement and let dry.
Insert saw blade into saw frame with the teeth pointing out (away from frame) and down (towards floor). Make sure you have the blade in there good and tight – a loose blade very quickly becomes a broken blade! Tension is key. (If you haven’t used a jeweler’s saw before, see post about Knew Concepts frames and tensioning.)
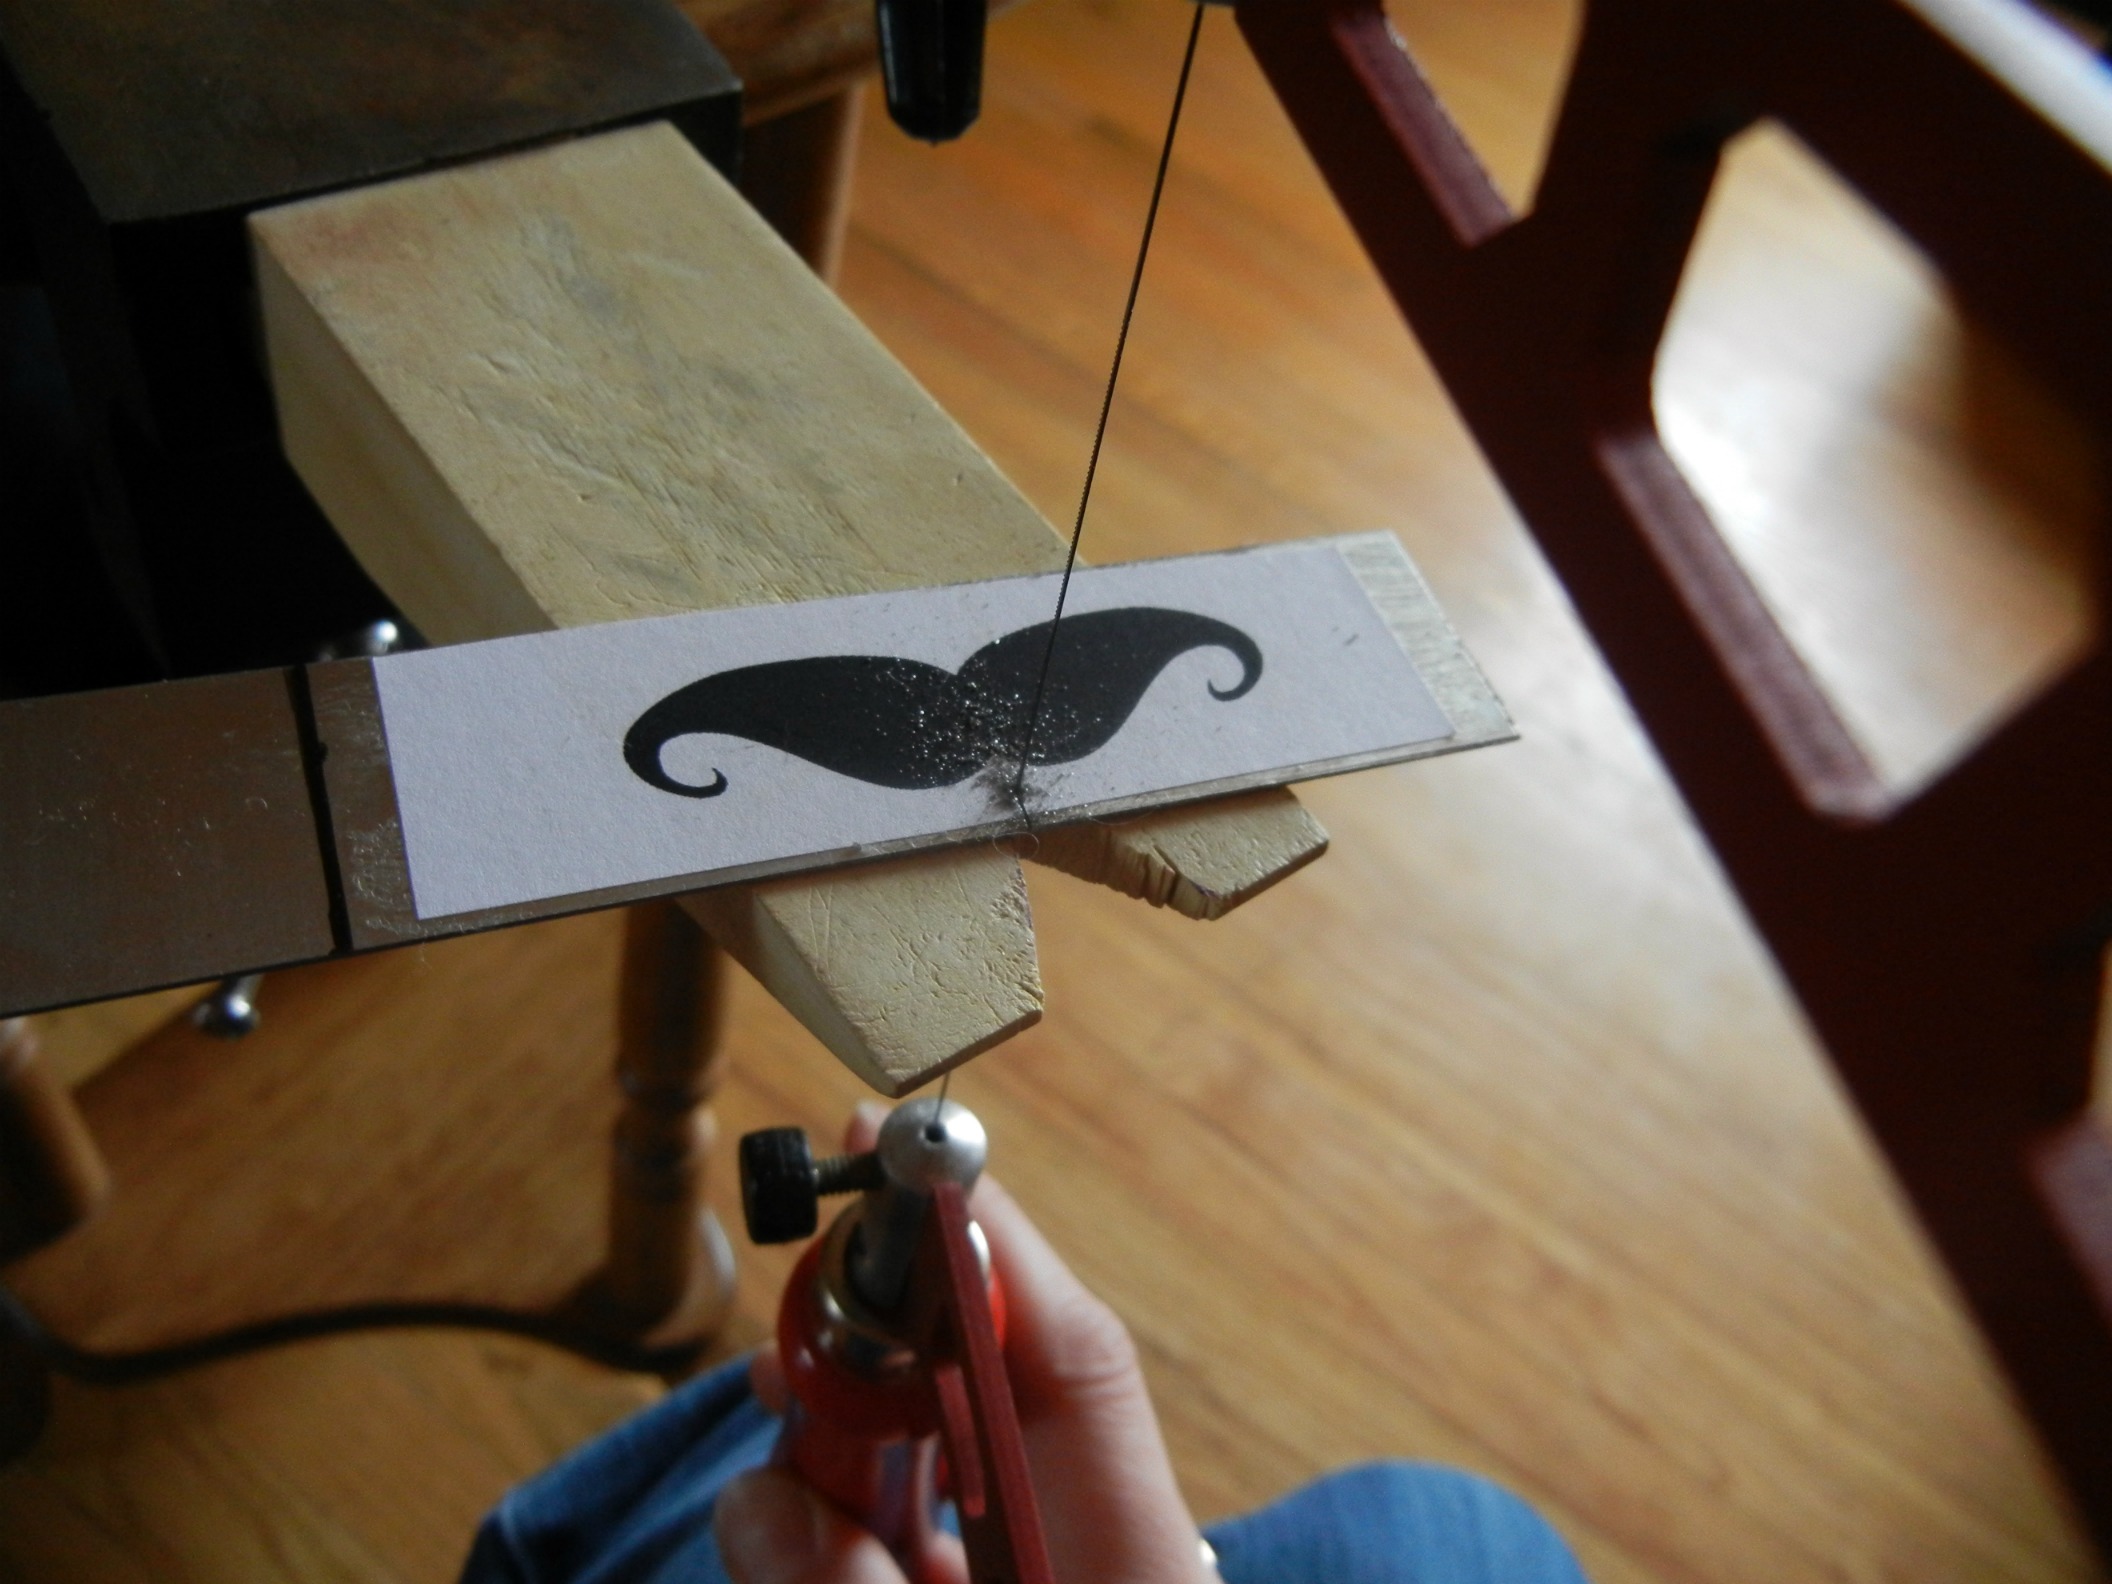
Hold your metal in place on the bench pin with your non-dominant hand.
Hold the saw frame between 90 and 45 degrees to your metal and start sawing. You are only sawing (removing metal) on the down stroke, but try to keep the sawing motion smooth and even on both the upstroke and down stroke.
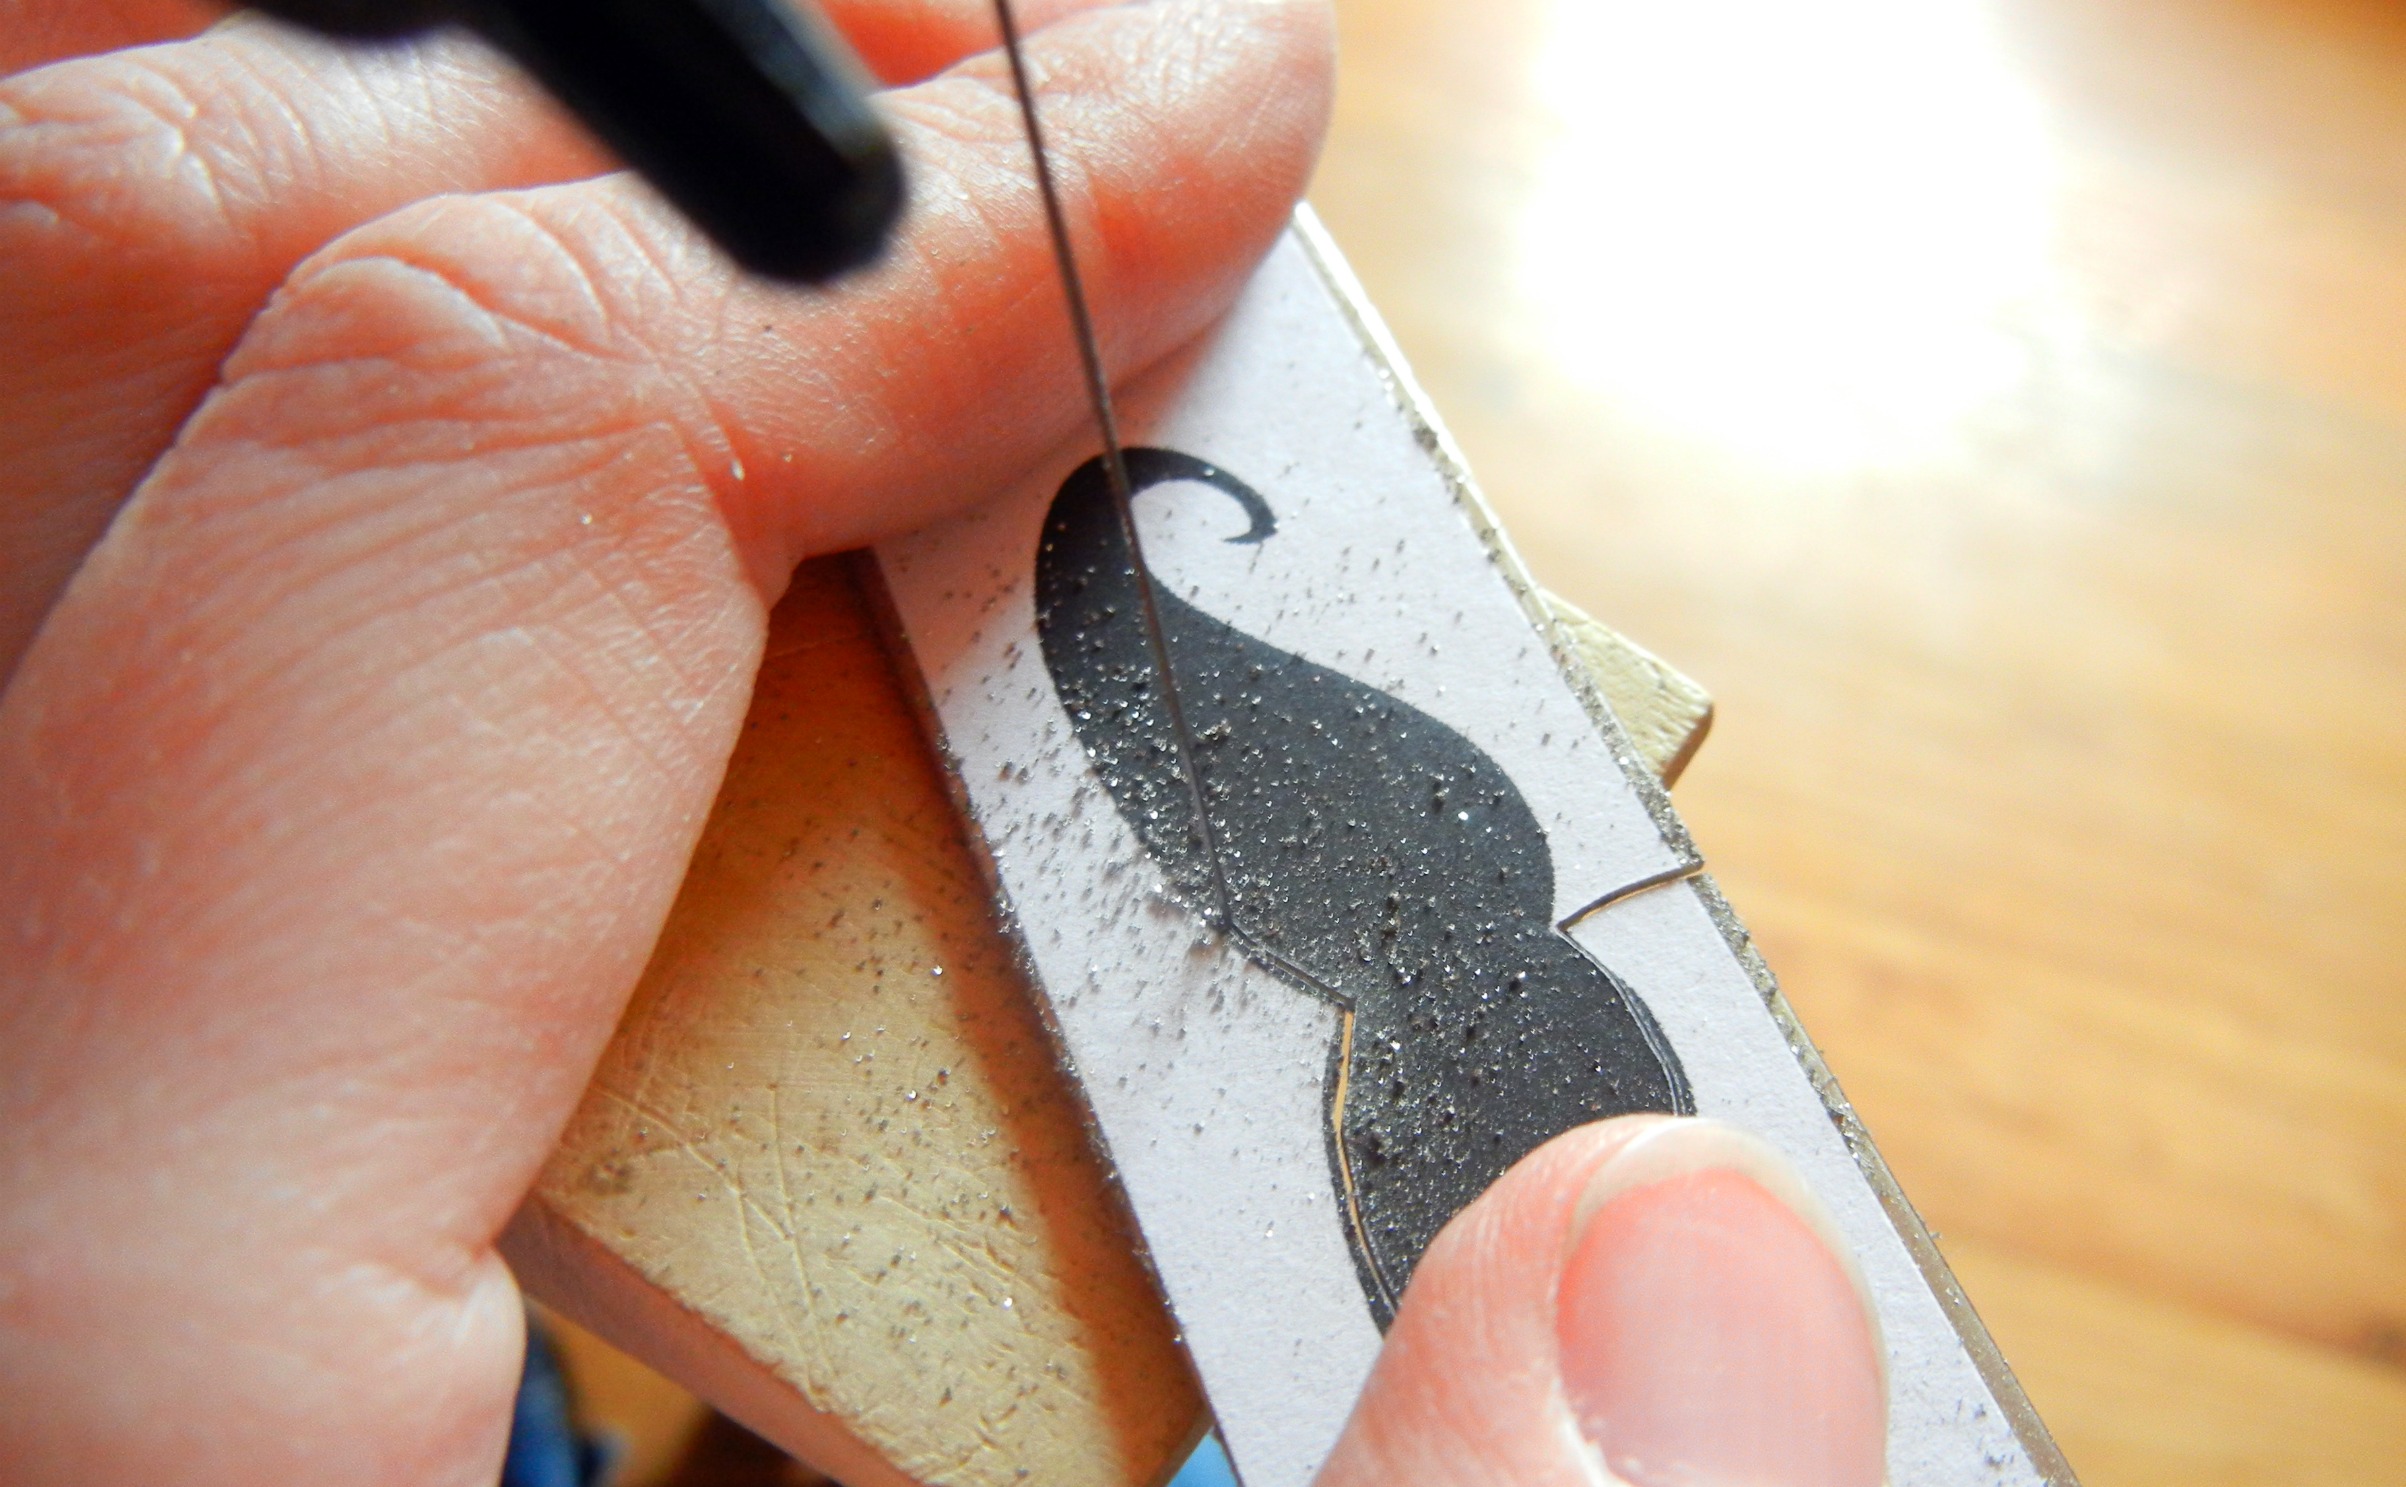
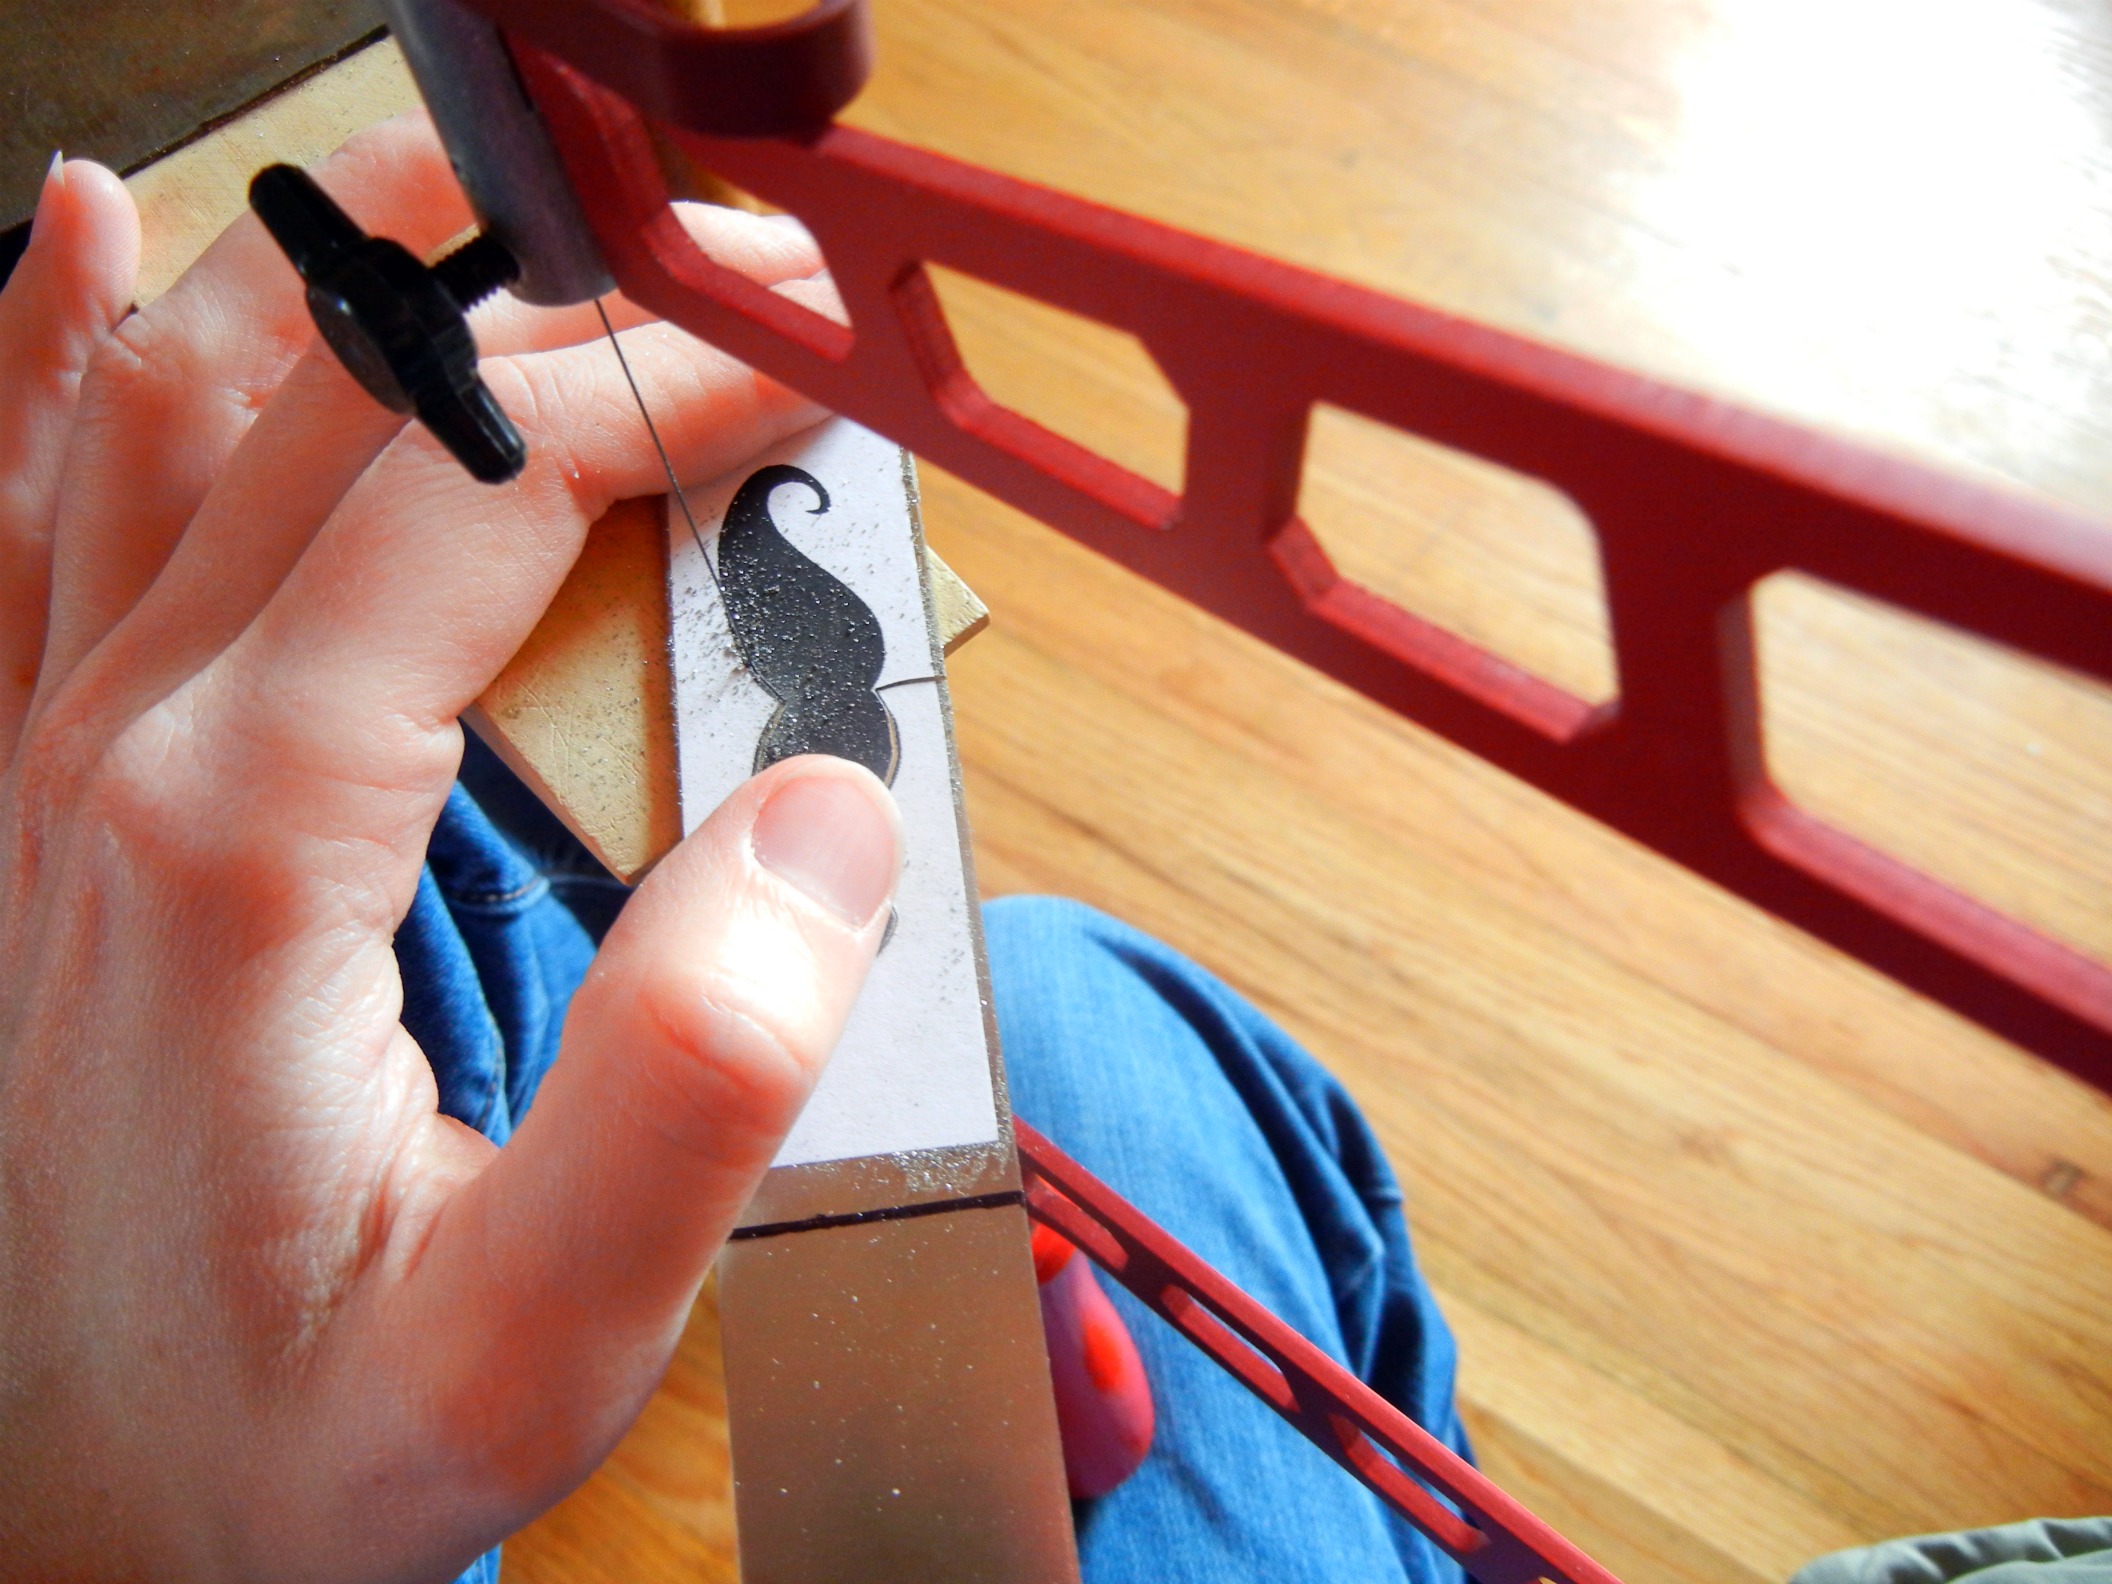
Follow your design! It takes practice, but you’ll pretty quickly learn how to maneuver your metal and/or saw to follow curves. Blow away the shavings every so often so you can stay true to your pattern. If the blade seems to be catching or it feels jerky, check your tension and/or apply a little lubricant to the blade.
Moving too quickly, especially when changing direction, is an easy way to break your blade. Smooth and steady wins the race. One of the most difficult things at first is not pressing too hard with the hand that’s holding the metal down. Hand cramps hurt, so take frequent breaks and be conscious of what you’re doing. It doesn’t take much pressure to keep your metal in place. It does, however, take that V-cut bench pin. You will (er, I did) break lots of blades and have tons of problems if you try to hang your metal off the edge of a table rather than supporting it on both sides of that V.
It is always a good idea to wear safety glasses while you are sawing. Everyone – yes EVERYONE – breaks blades, and you’ll notice yourself getting your face closer and closer to your project. So again, take frequent breaks and also be sure to set up your sawing station at a height that is comfortable for you.
Happy sawing!
Edited January 2022 to update links.