
Whether you make jewelry as a hobby, to sell at craft fairs or to just give as gifts to friends and family, presentation is always an issue. You wouldn’t hang up a beautiful print on the wall without a proper frame. Well, the same goes with your jewelry. It is after all wearable artwork that you have created, and it should be presented in a pretty way! I decided to try and find some DIY earring card ideas that are cute, quick and inexpensive. That way you can spend more time making the jewelry, and less time (and money) worrying about how to display it.
For this project, there are are few basic supplies needed to get started. A paper cutter makes this process much easier and faster. You can find small affordable ones at any craft store. Also, a glue stick is great for layering paper, to make thicker cards. I just use a pushpin to make my holes on the cards, though craft stores will sometimes have paper punches available specifically for creating earring cards. I have tried them, but I still prefer my pushpin. The last two items I recommend are nylon or rubber earring stoppers, to keep your earrings on the cards, and adhesive clip cards, so you can hang the earrings on display racks. The rest of the items I used I found for less than $3 at my local mega store.
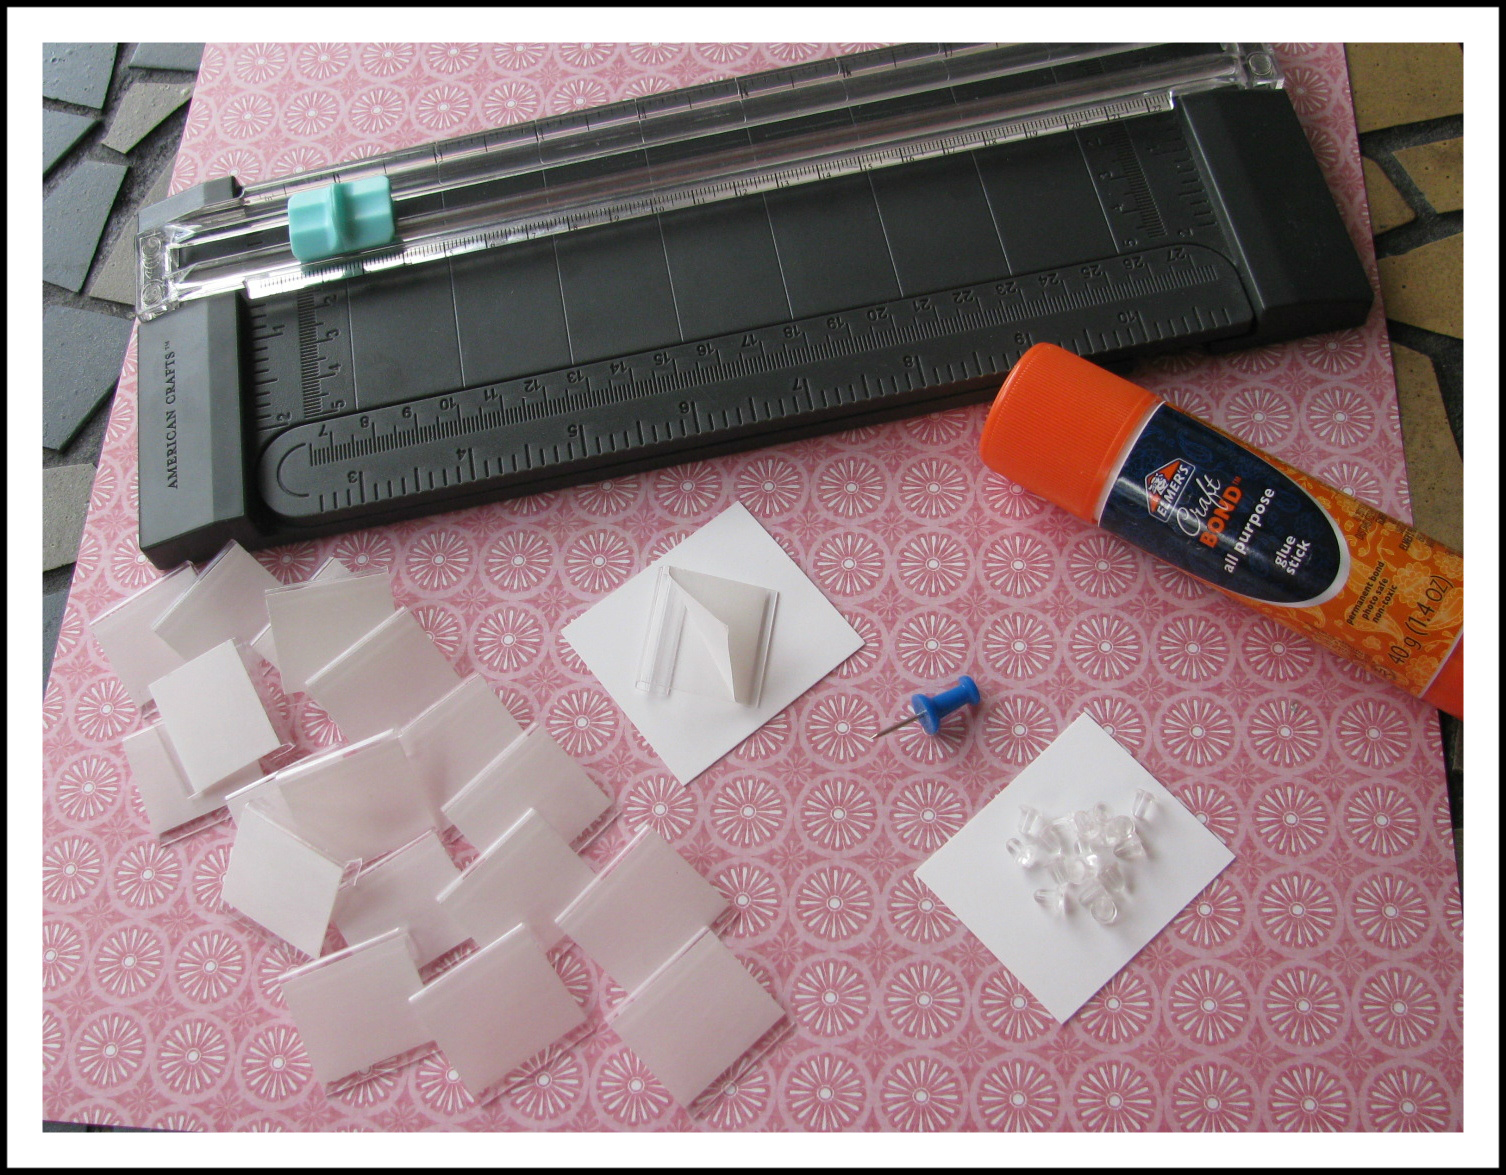
Basic supplies needed. Paper cutter, glue stick, pushpin, adhesive clip cards, and nylon earring backs

Close up of the earring clip cards. Sometimes,you may need to trim the bottom. This can be done easily: just trim them with scissors.
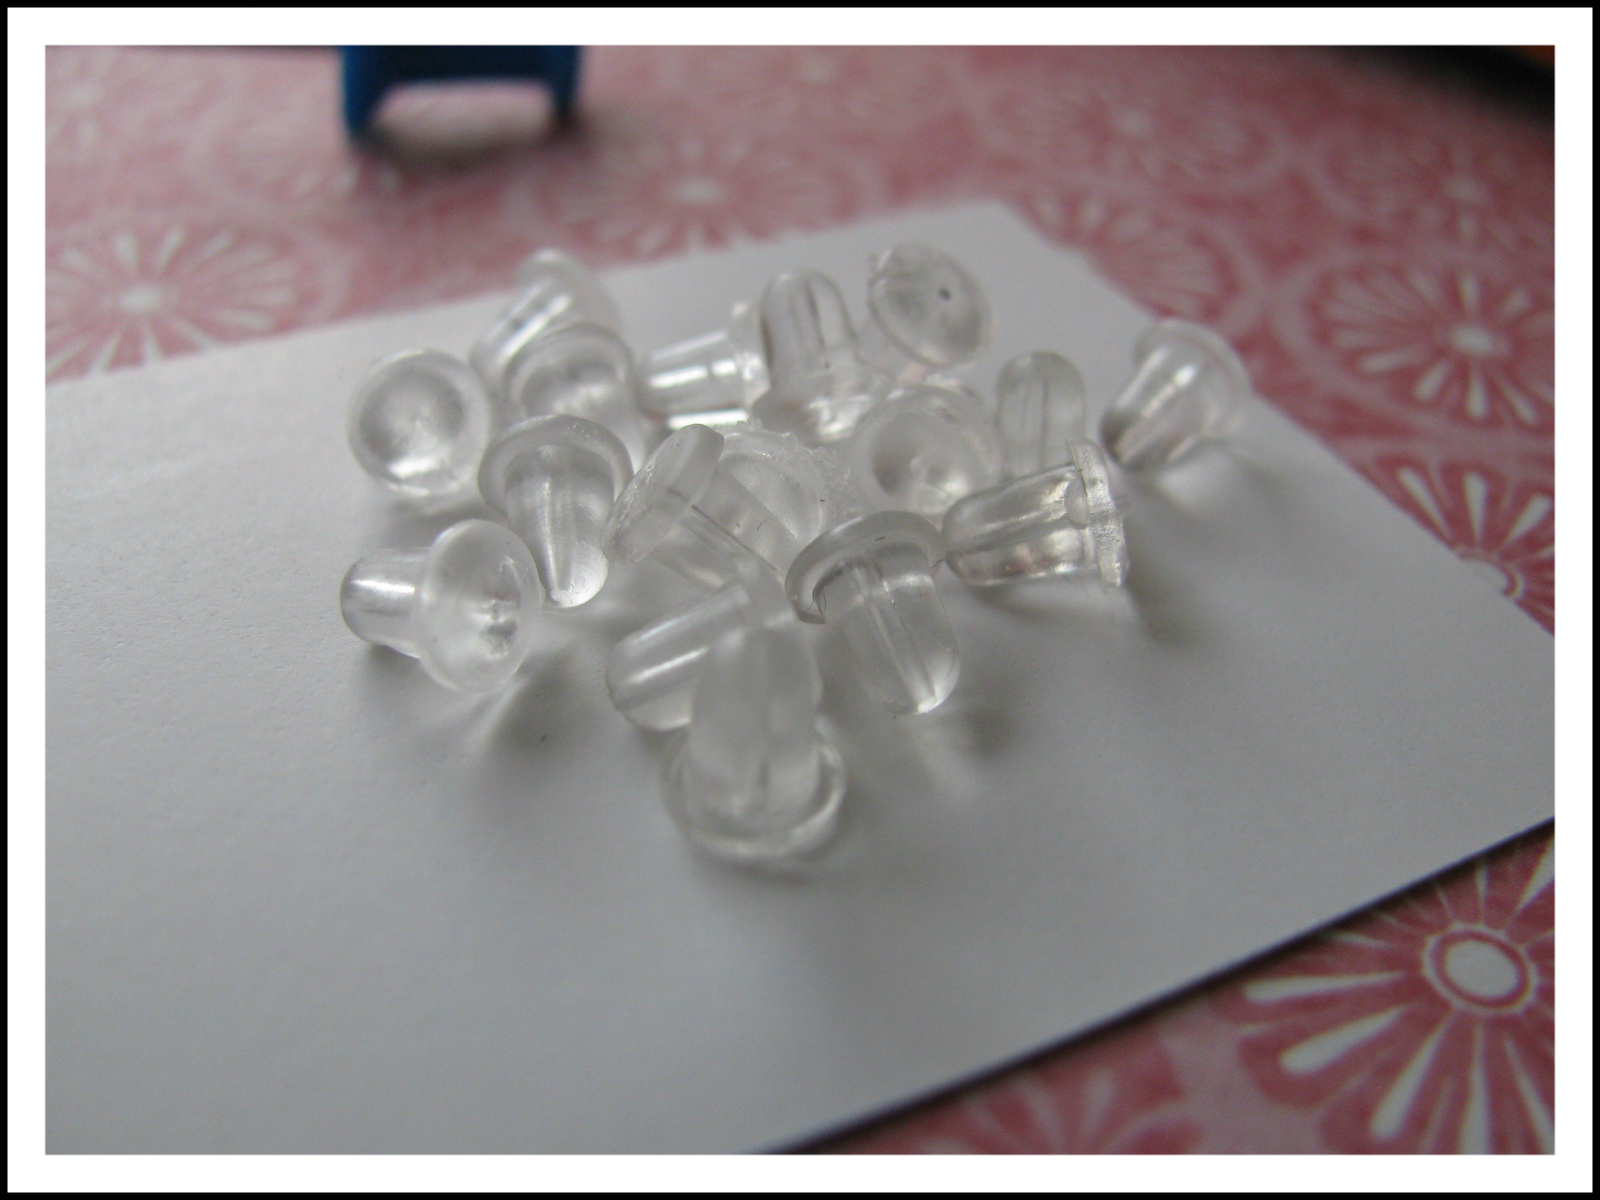
Close up of the nylon earring backs. There are a few different styles of these available, but I like the bell shape best.
NEW ~*~ NEW ~*~ NEW ~*~ NEW ~*~ NEW
Since publishing this post in 2012, Rings & Things has introduces new earring-hole-punch tools. Appropriately named, both punches make the hole-punching task “easy”!
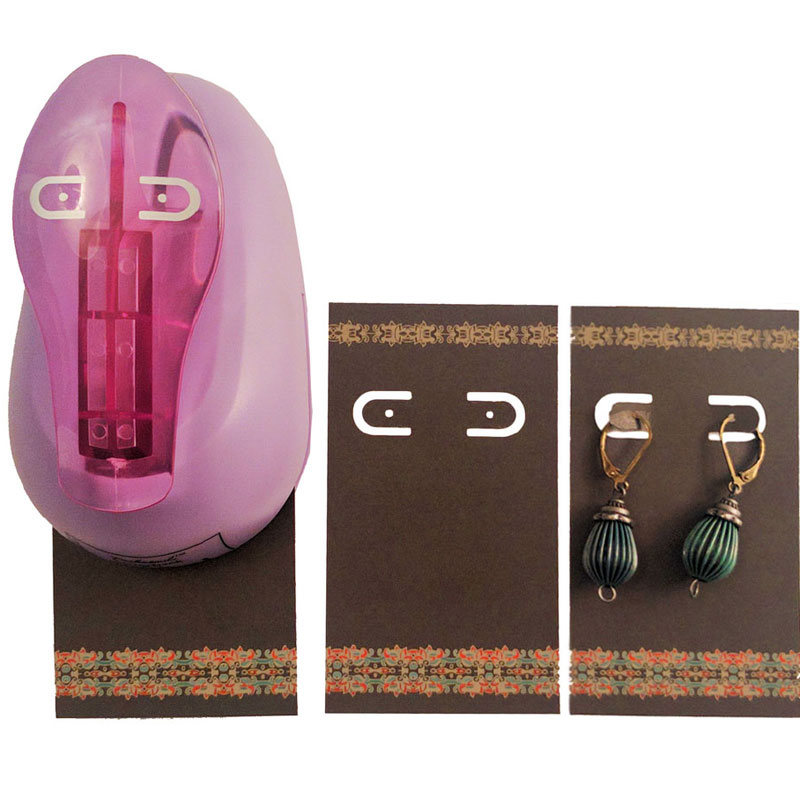 Easy Earring Card Leverback Punch
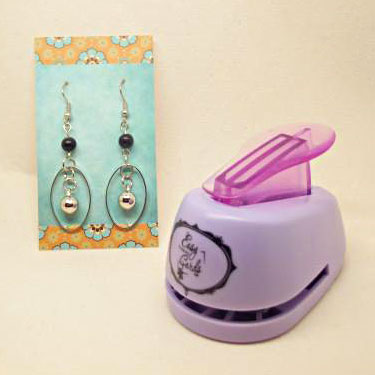
Easy Earring Card Double Post Punch
~*~*~*~*~*~*~*~
Okay, so now that the basics are covered, time to have fun! Check out all the affordable ideas I came up with below!
Playing Cards
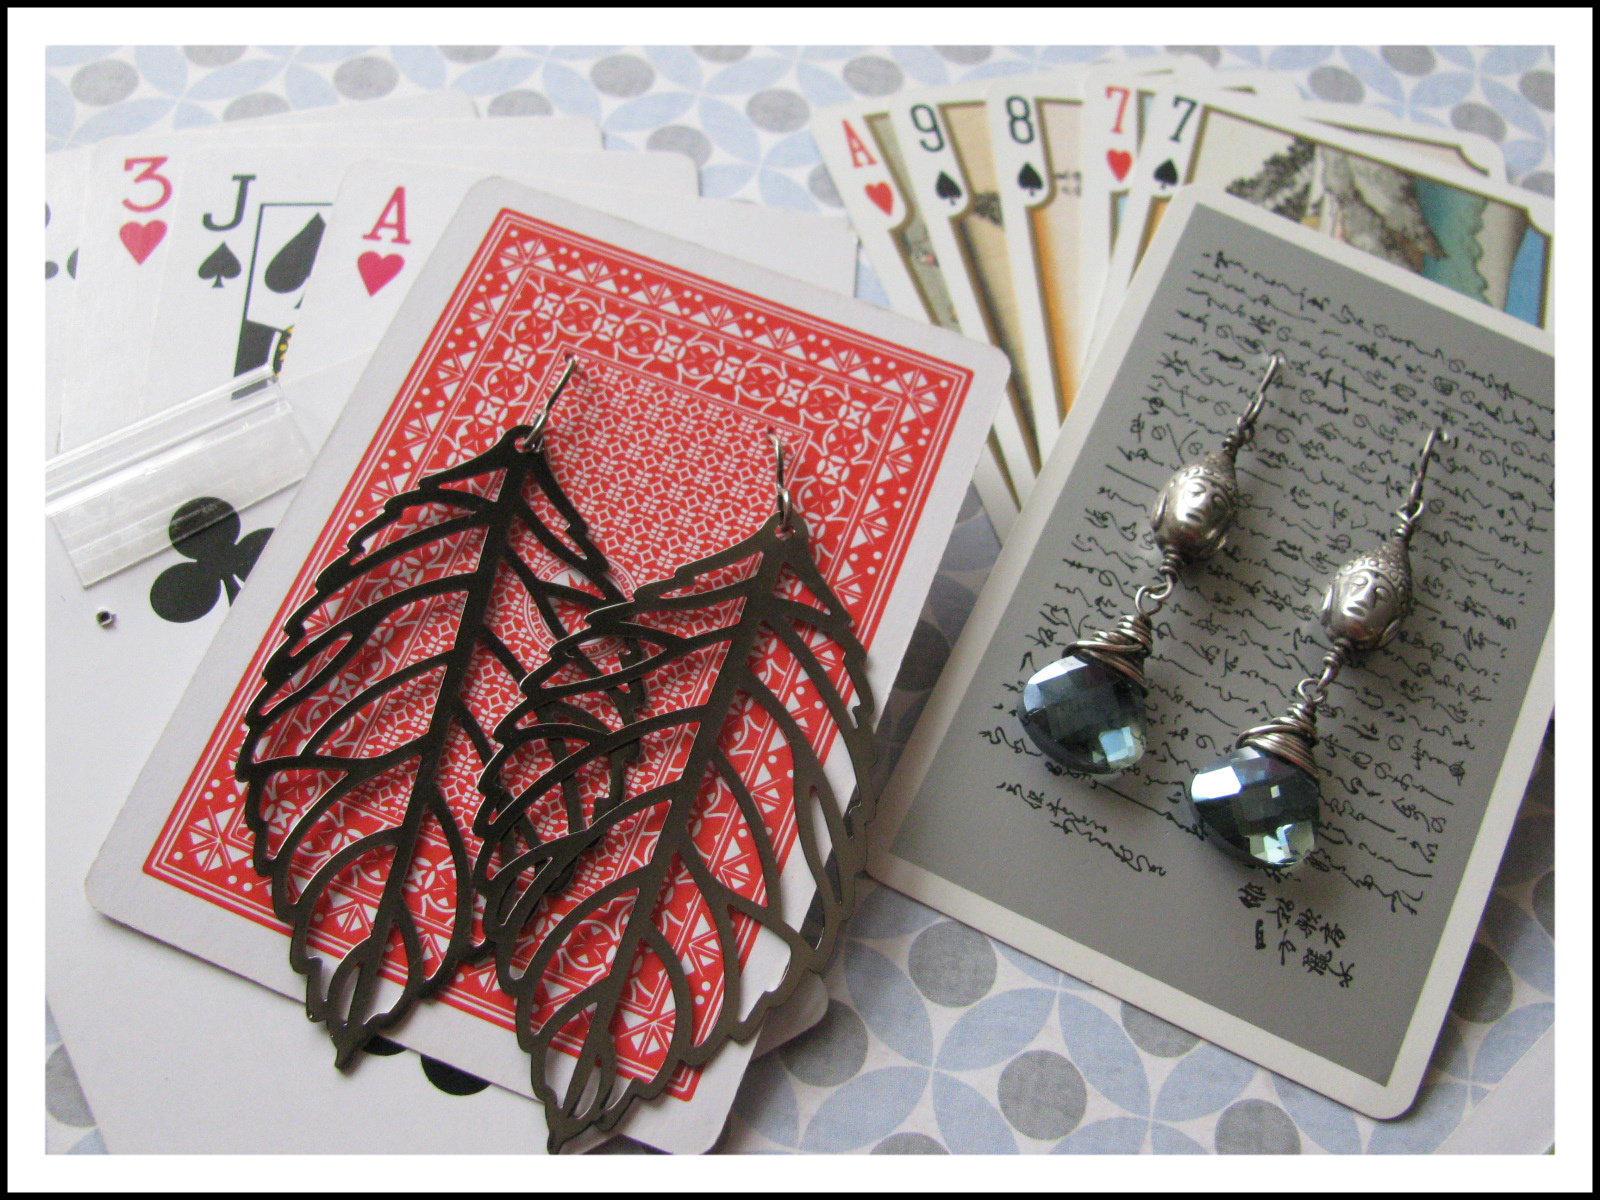
52 cards for a few bucks! And they come in so many different designs!
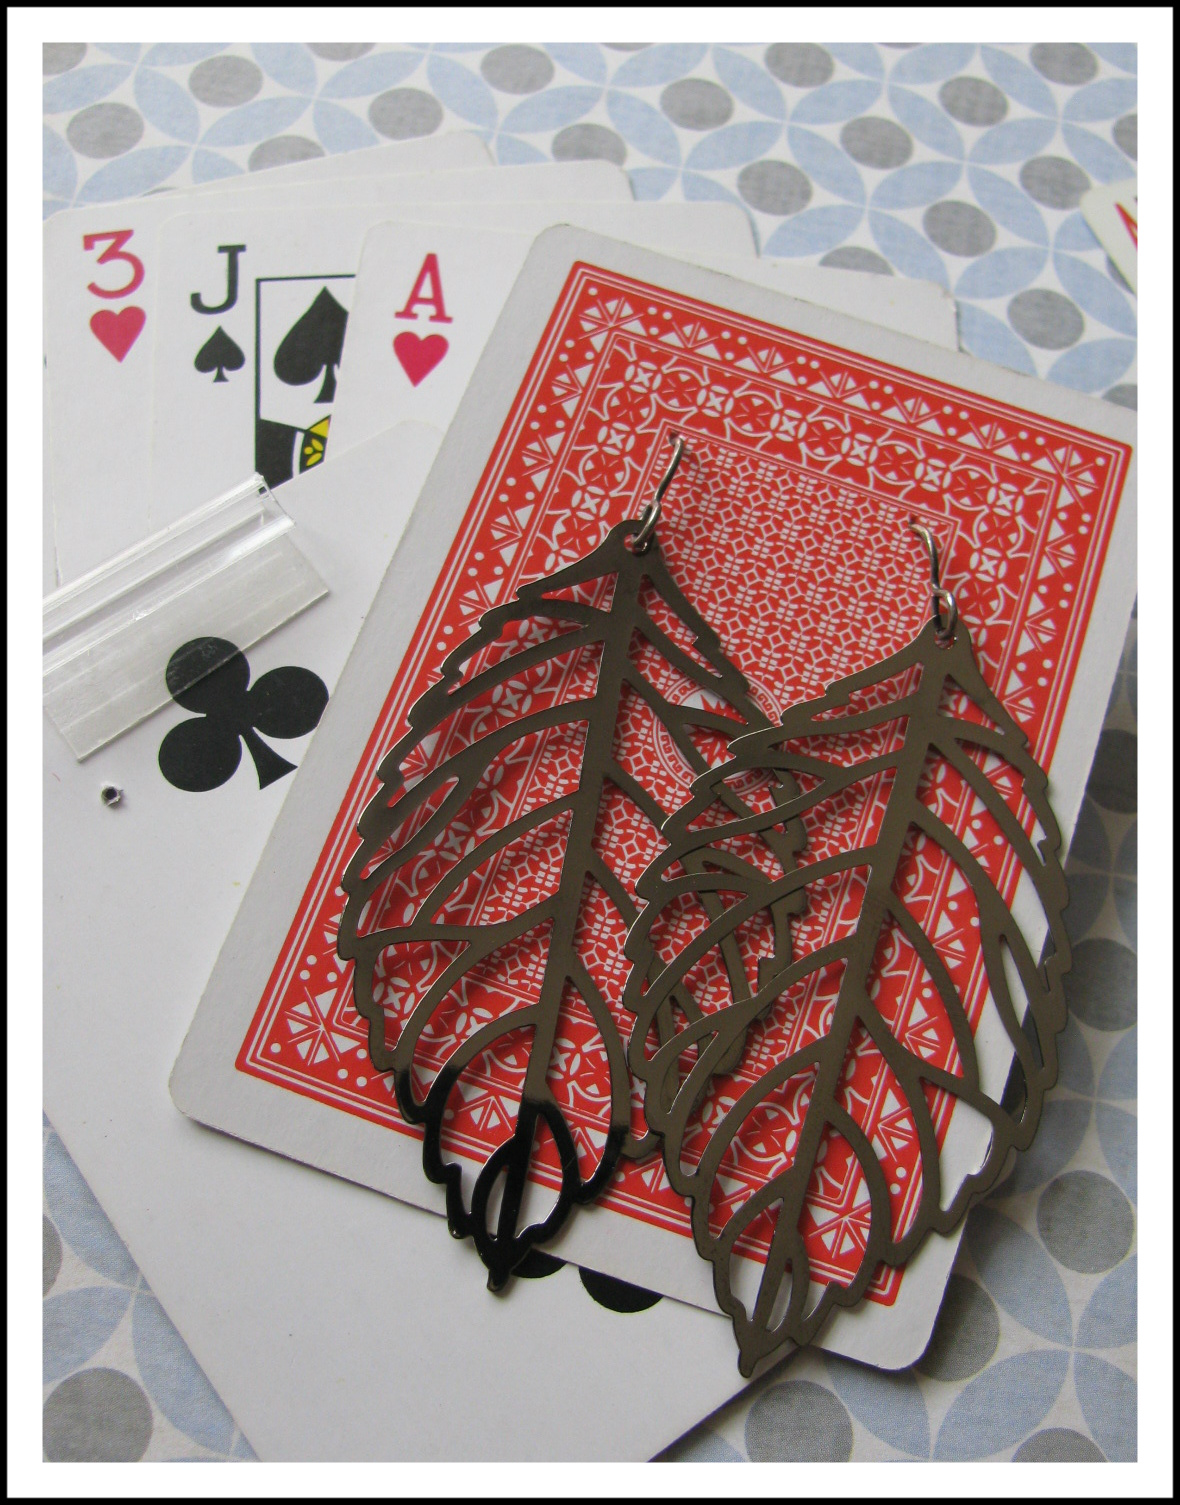
The classic poker card transformed! Simply adhere the clips to the back so they can hang!
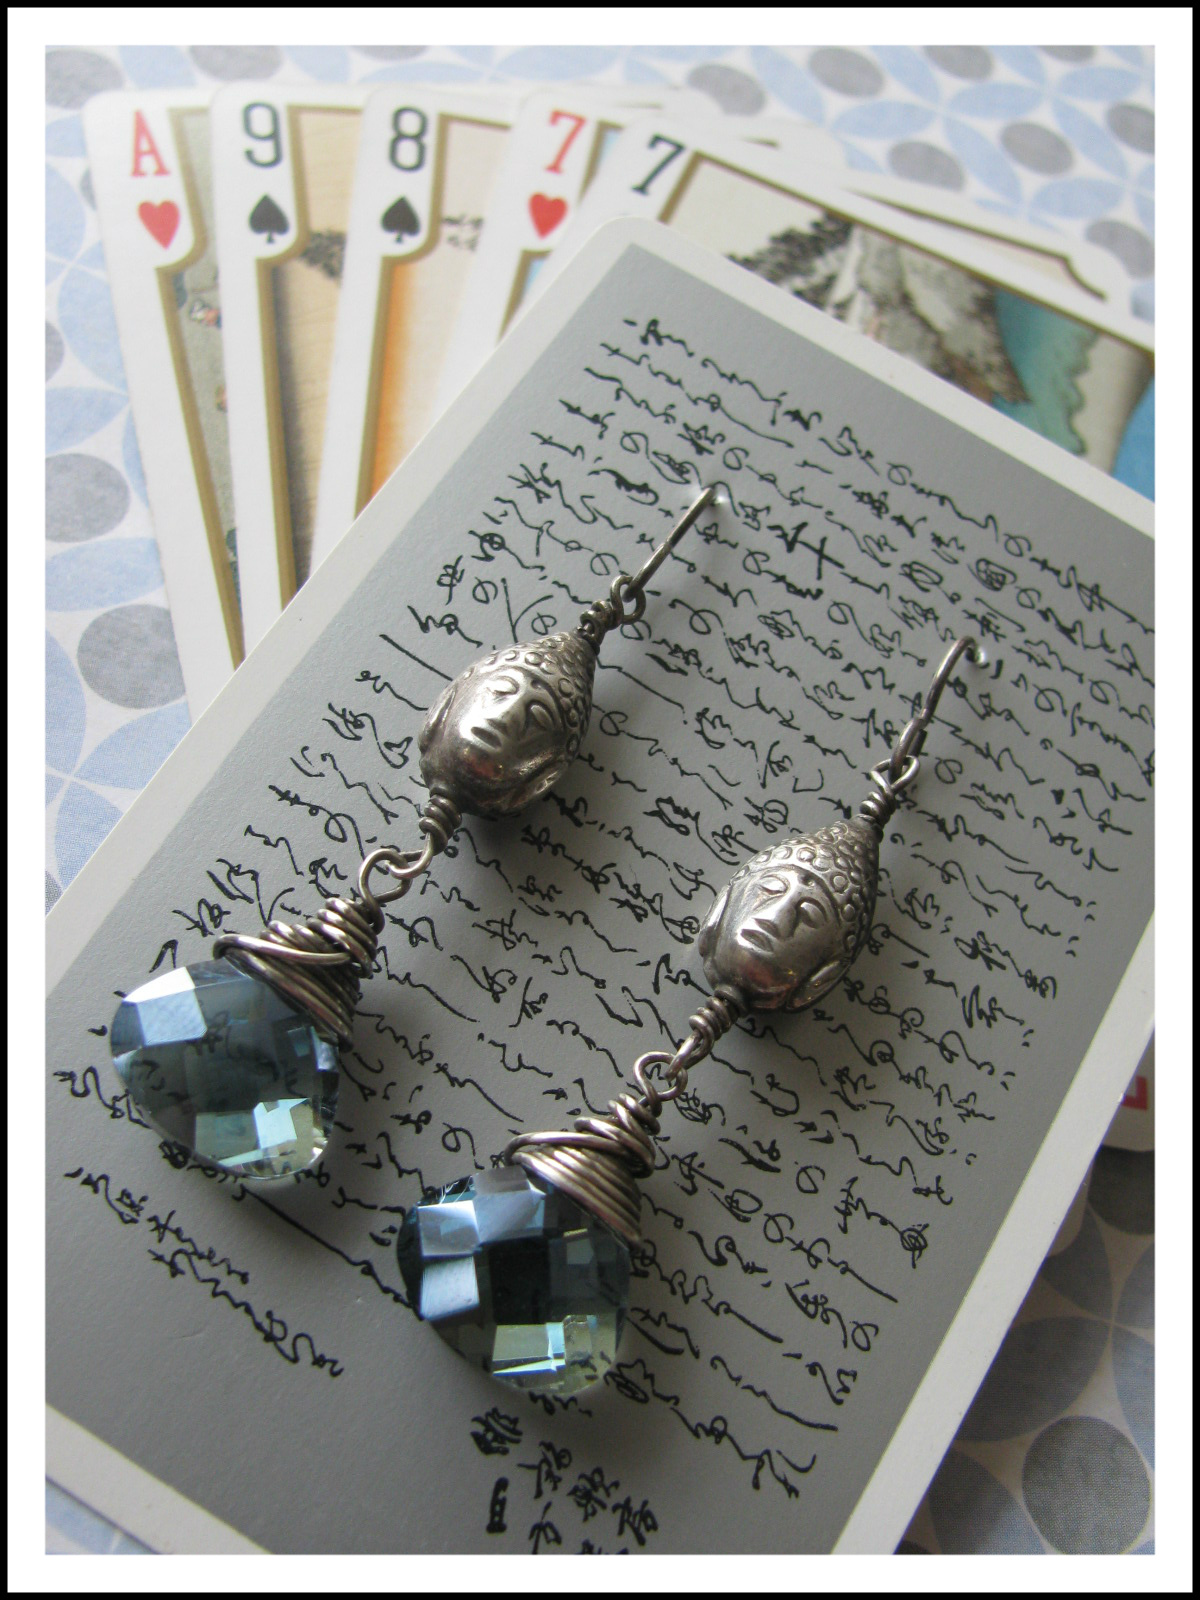
I particularly like these Japanese themed playing cards paired with the Buddha Heads Earrings!
Greeting Cards
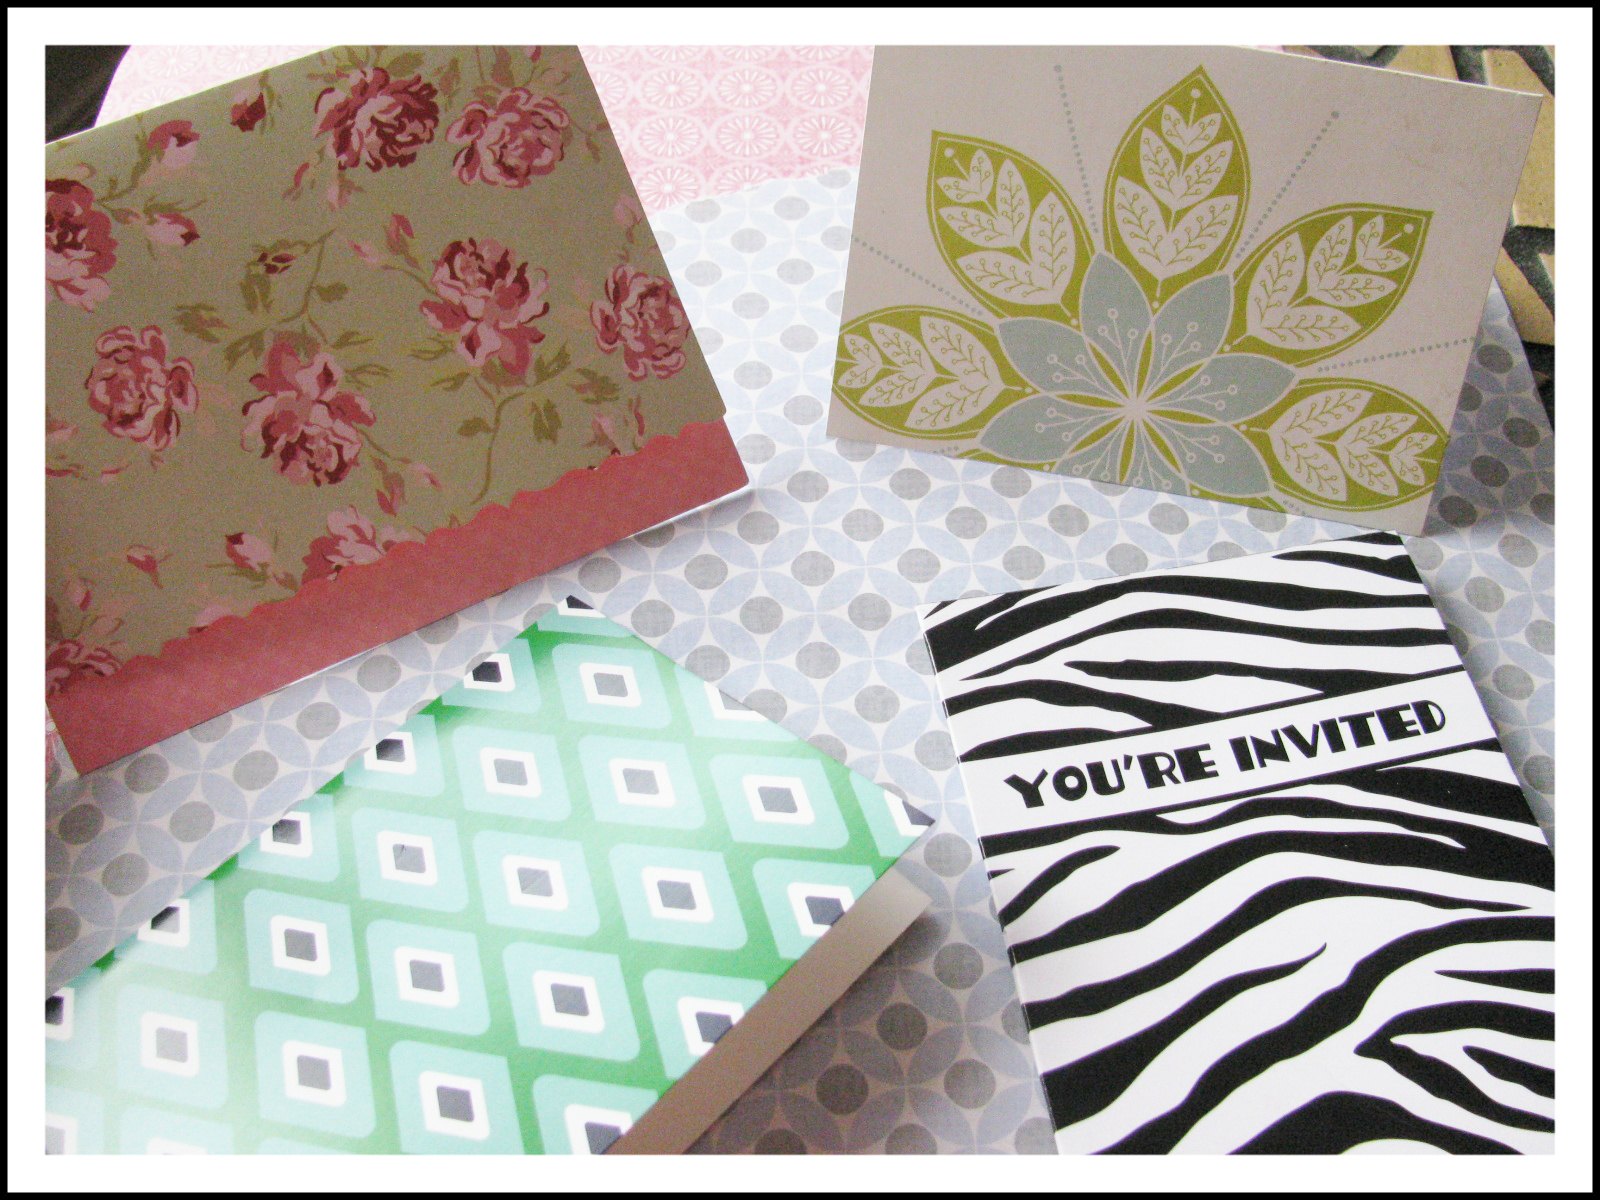
All of these cards came from packages of six or more and were less than $3. A paper cutter can transform them into functioning earring cards in no time!

Use your glue stick to glue a second neutral piece of paper to the back, creating a border. The floral card was perfect for resin flower studs and I just love how the zebra print looks with the neon pink chalcedony!
Paint Chip Samples
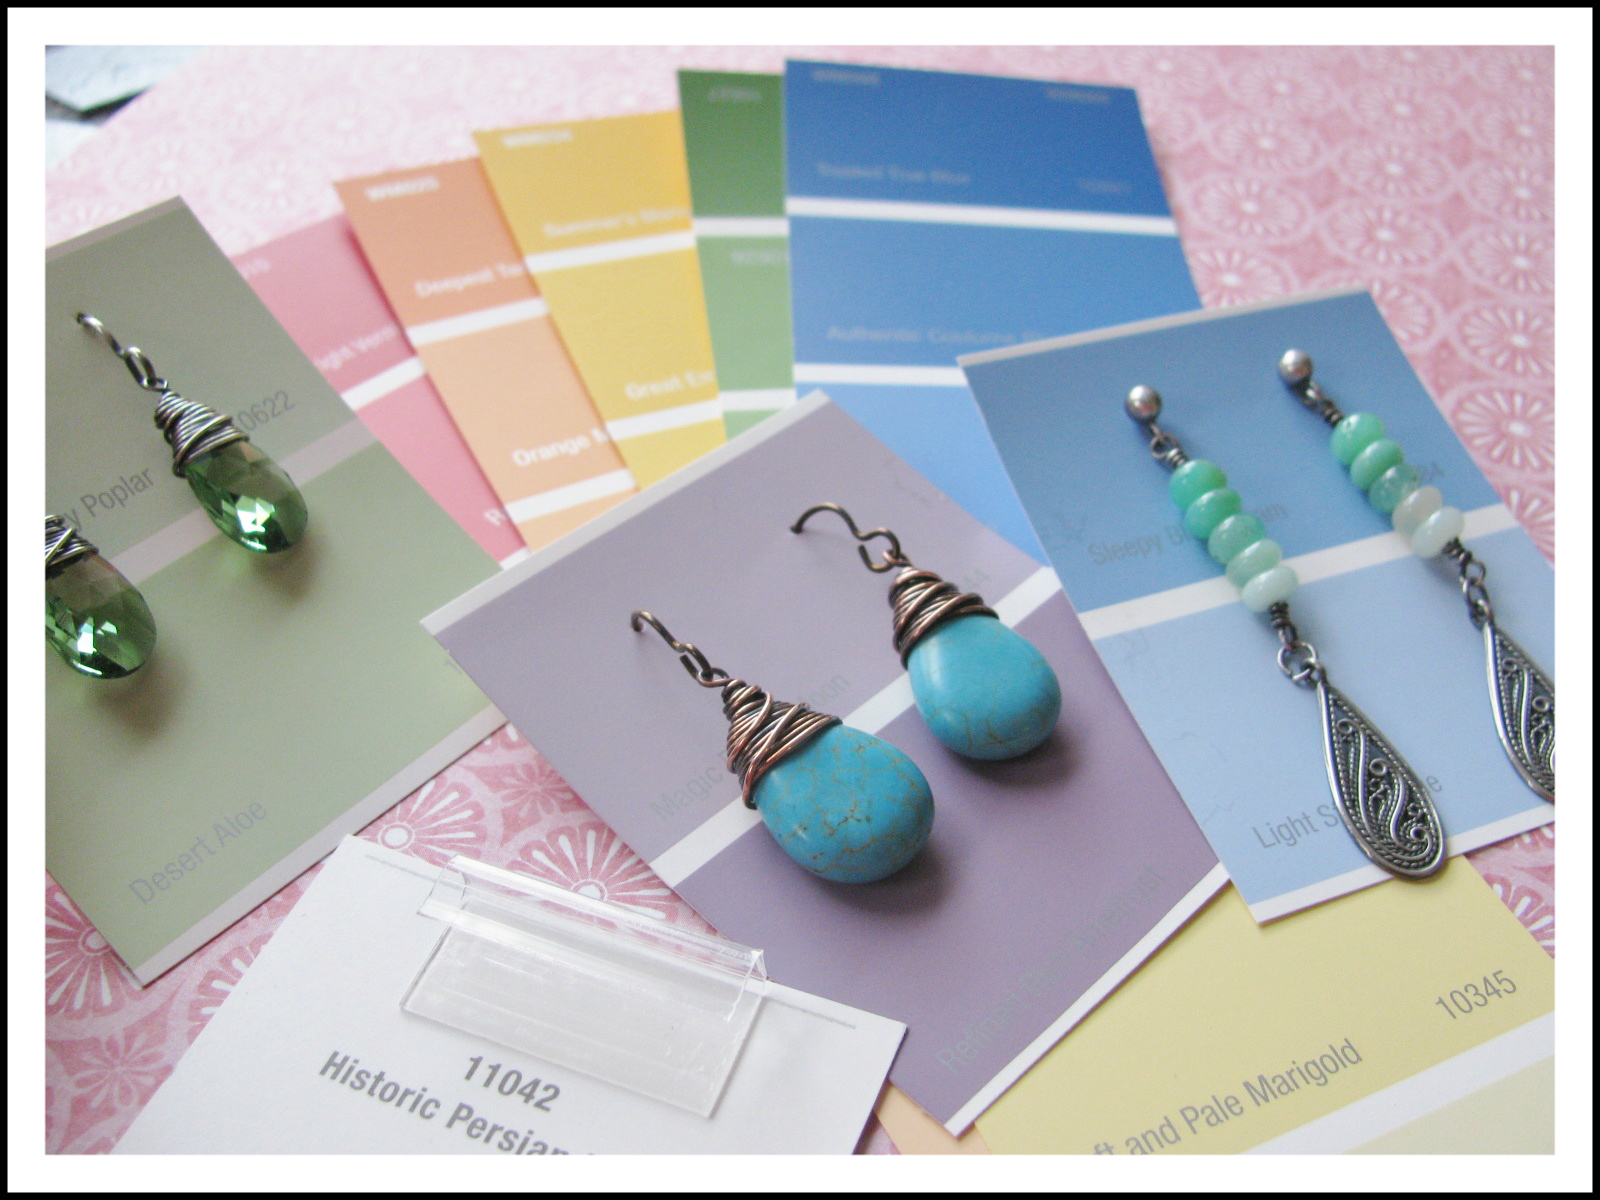
These offer great pops of color! Coordinate your earrings to have matching colored cards!
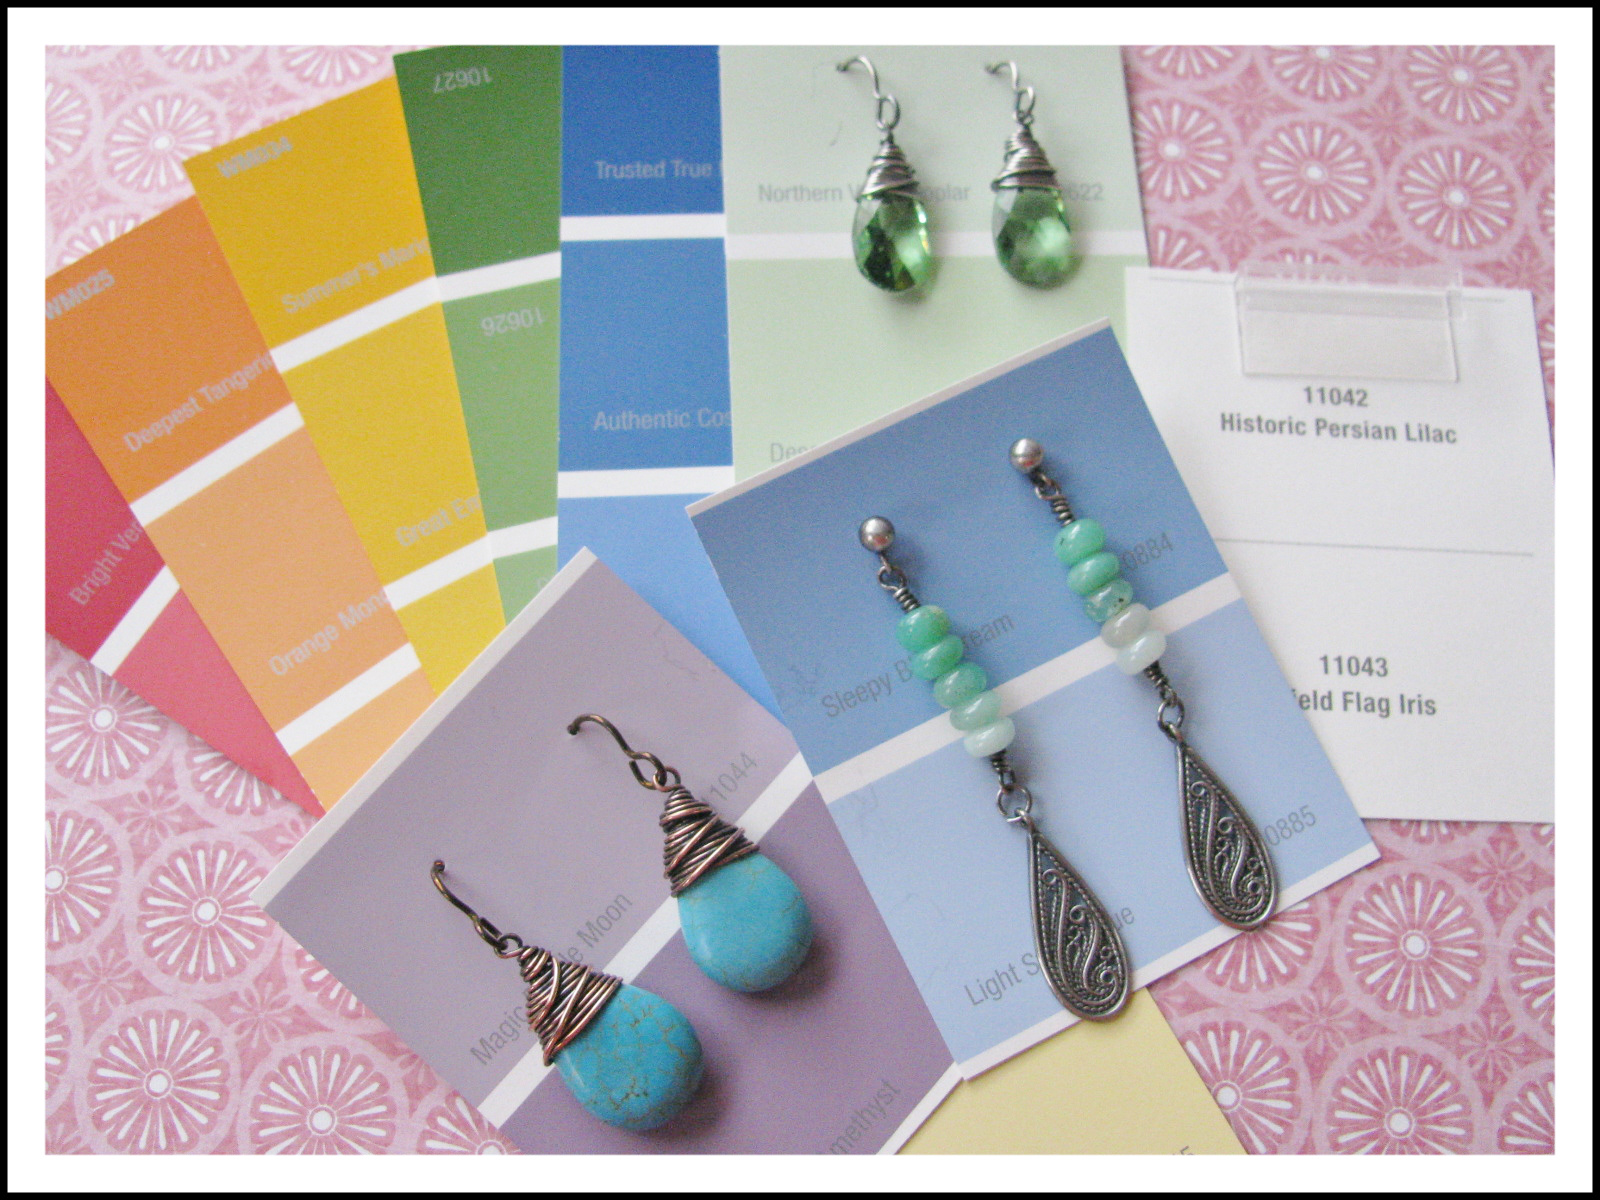
Total cost for paint chips, Free! At least for now, though I am sure due to Pinterest, they are disappearing more quickly from the shelves, so don’t be surprised if they start charging for them soon!
Gift Bag Tags
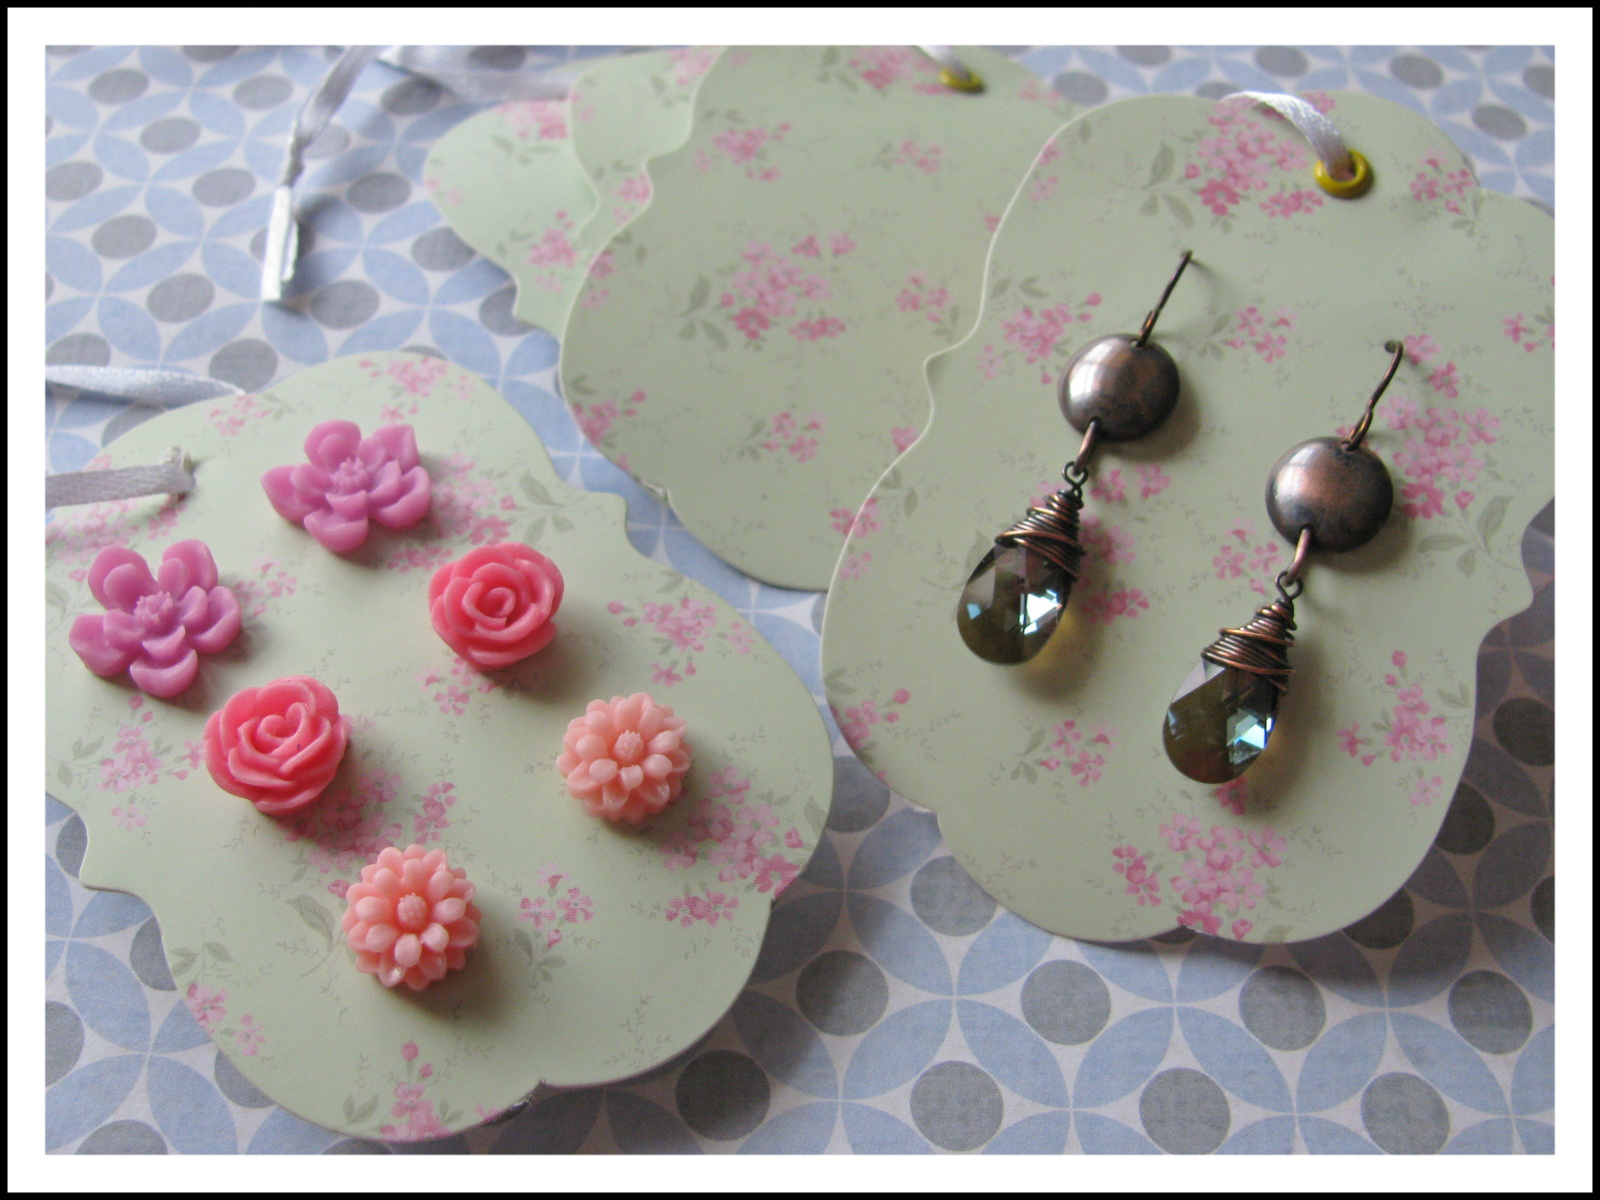
I found a 6-pack of these blank floral gift bag tags for $1! Check the dollar bins at your store, you never know what you might find!
Book pages
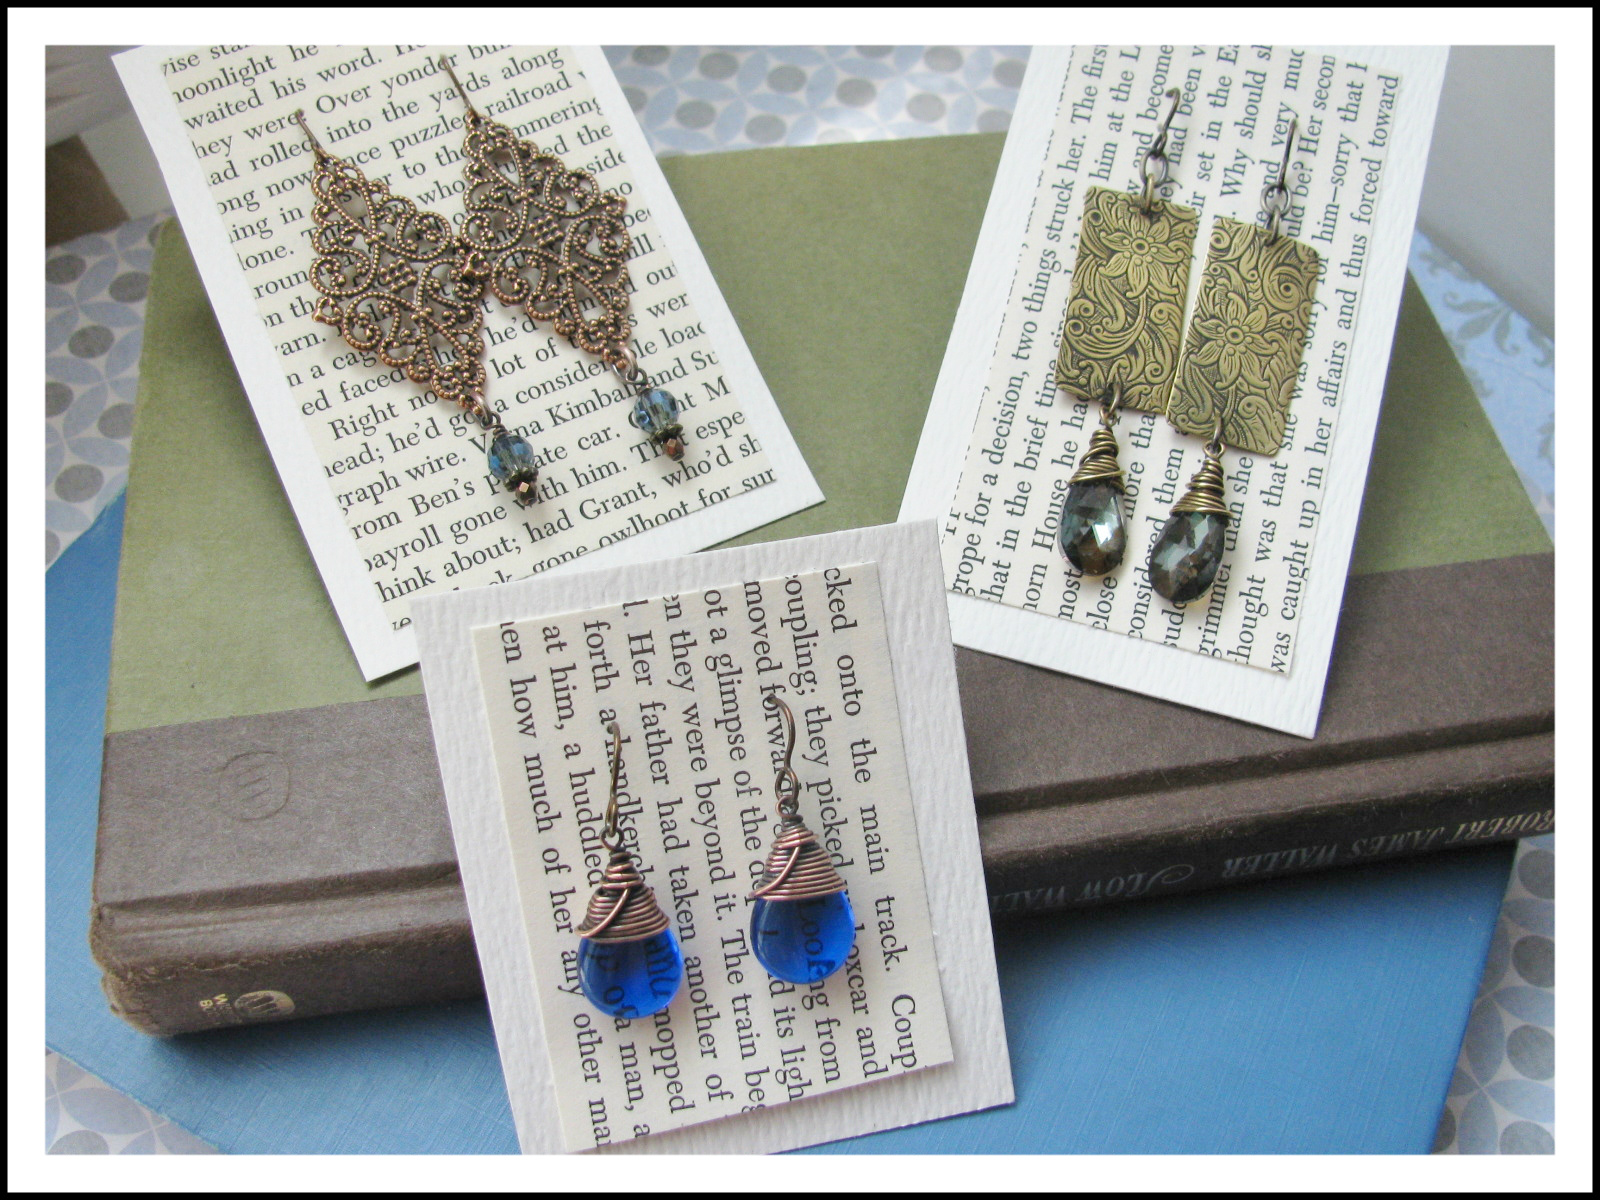
Love this look! Cut the pages vertical or horizontal and use the glue stick to adhere them to thick white construction or scrap book paper. Great for vintage looking earrings!
Maps
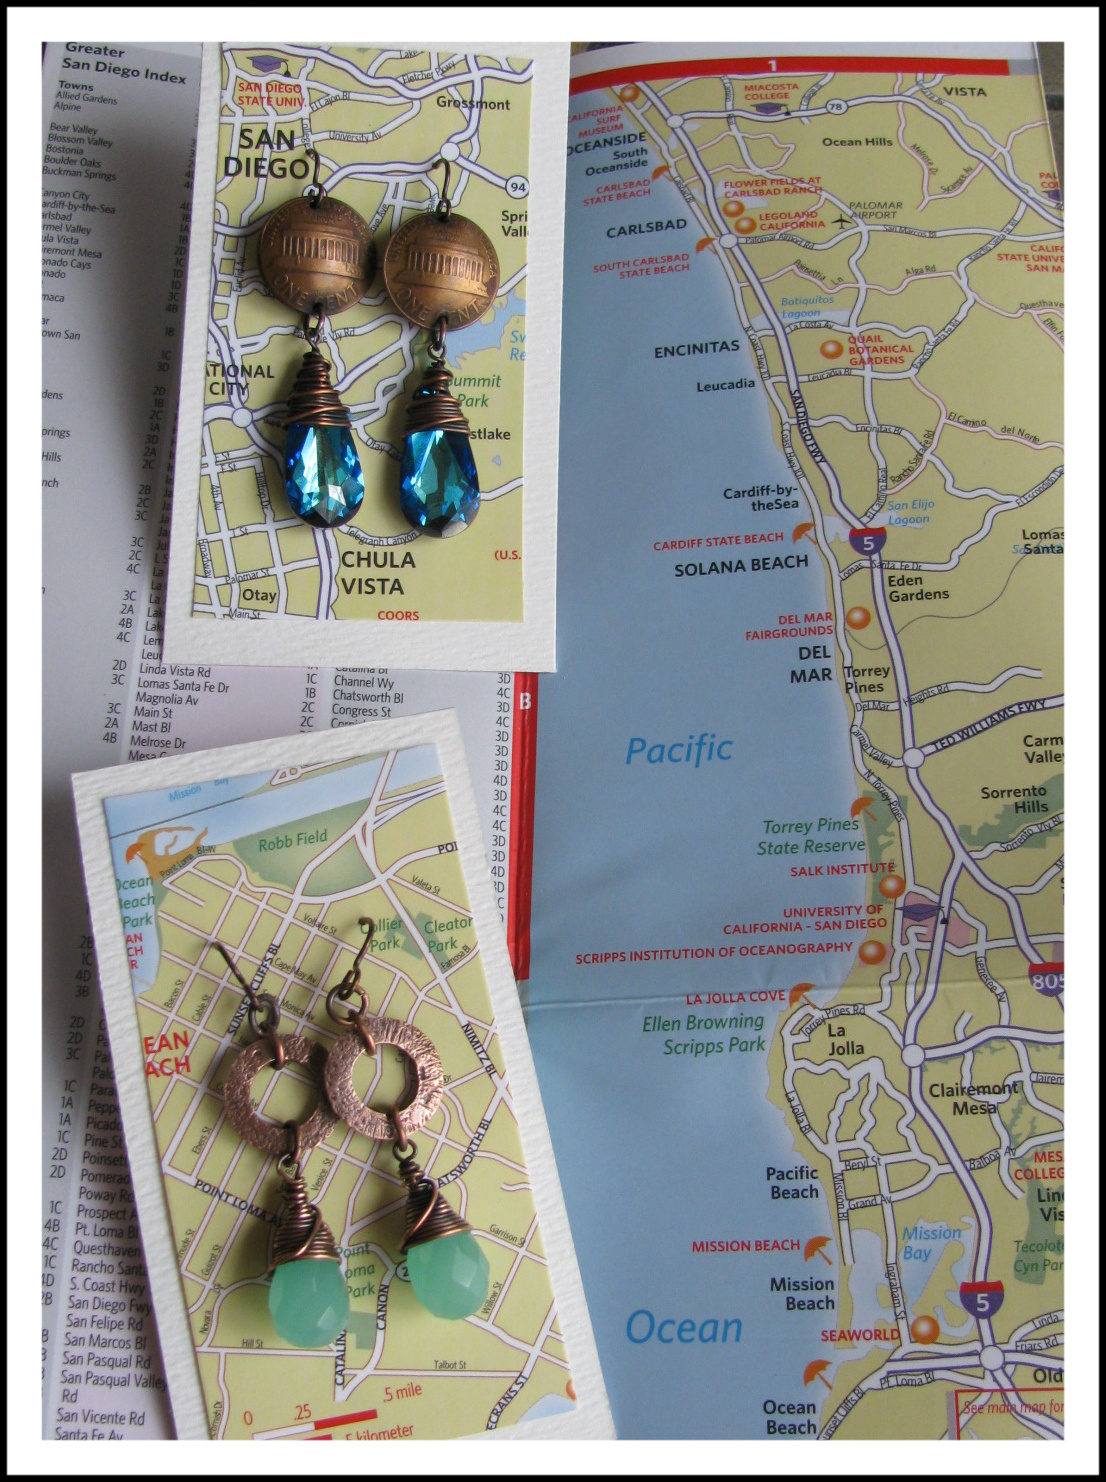
Buy inexpensive road maps, adhere to thick white scrapbook paper. I love this one, because you can pick out your favorite cities or coordinate your jewelry with the maps. Pair beachy earrings with maps of Hawaii of Celtic Earrings with maps of Ireland!
Well I hope I have inspired everyone to make some pretty earring cards! Please feel free to ask me any questions and add any ideas that you have for creating funky earring cards! Look forward to more blog post to help you with displaying and packaging your jewelry!
~~Tiffany