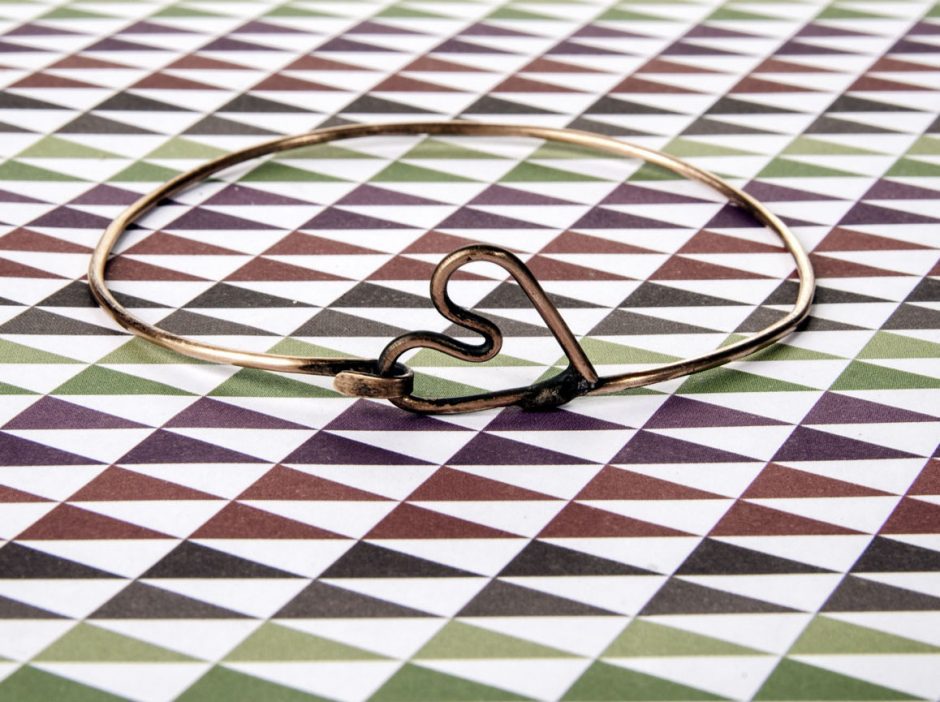
The popularity of bracelets just keeps increasing, and having fallen in love with some similar styles, I decided to tackle copper soldering and hand formed wire bracelet making in the same project.
Continue Reading…
Easy DIY Stackable Bracelets
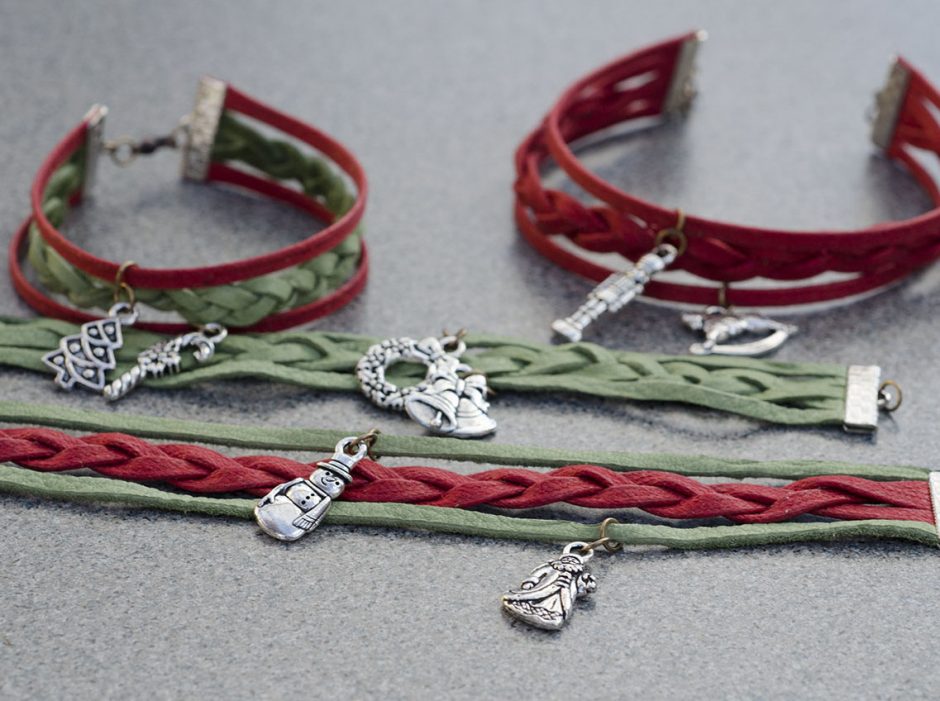
November 30, 2015Ever wonder how to fill your wrists with deliciously colorful and fun stackable bracelets? Well here’s a super trendy DIY bracelet design you can make in about 5 minutes! Best yet, you can customize each bracelet with charms that match your interests — or the interests of friends, family, and customers. This design works great for making Awareness jewelry and seasonal themes too. Since I made these in November, I was ready for some Christmas Cheer. Continue Reading…
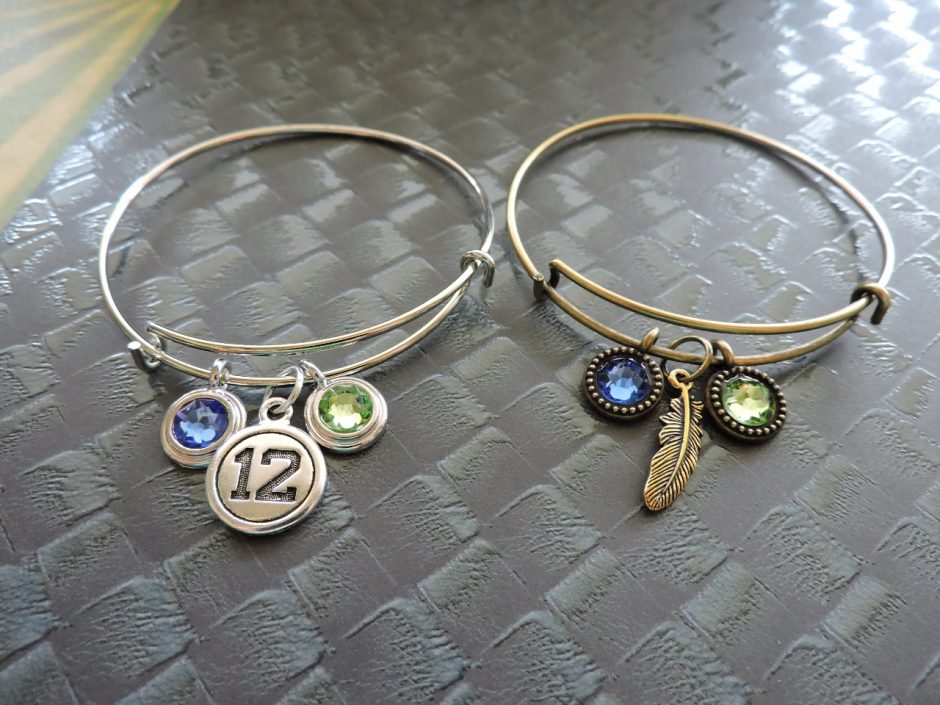
The Spirit of 12 Adjustable Bangle Bracelets
October 23, 2015Charm bangle bracelets are a great way to show team spirit! With a variety of TierraCast charms and Swarovski crystals, you can personalize them with lots of different colors and themes. I like to make ones that celebrate my favorite sports teams. You can use TierraCast charms with Swarovski crystals already set in them, or glue Swarovski crystals into blank bezel charms. Both are beautiful! See how ridiculously easy these bracelets are to make below! —
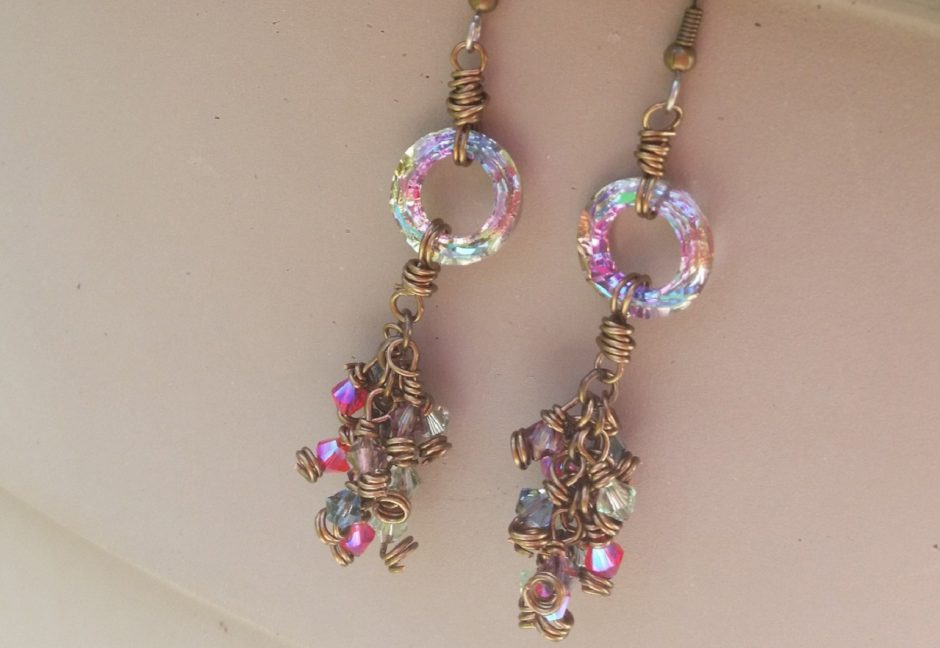
DIY Earrings with Swarovski Cosmic Rings
October 14, 2015I am absolutely in love with Swarovski’s cosmic crystal rings. There are so many things you can do with these! These cosmic rings sparkle everywhere you go. Here is one of my absolute favorite designs using cosmic crystal rings from Swarovski. Continue Reading…
Open Hearted Lariat Necklace
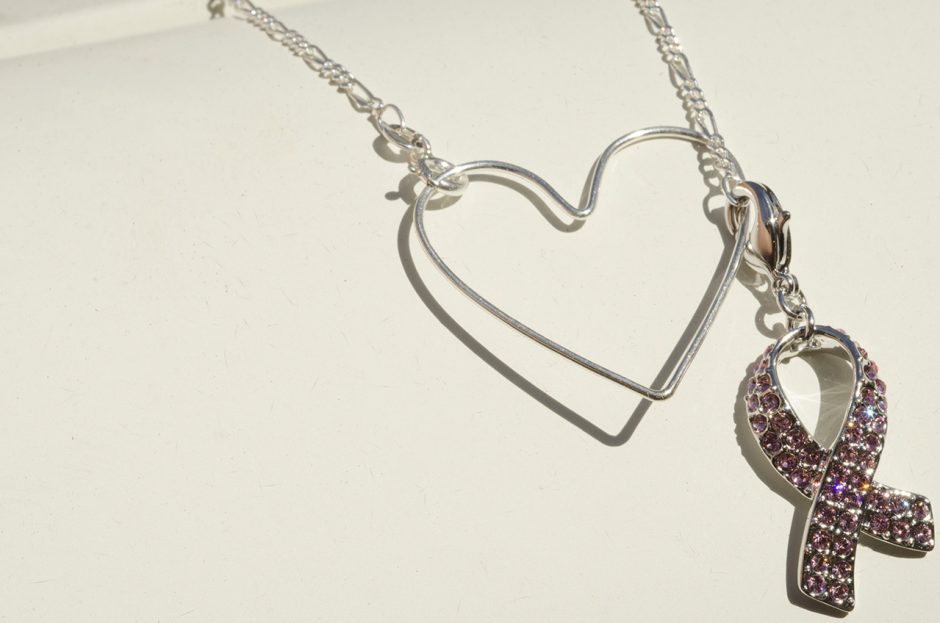
September 28, 2015Since October is Breast Cancer awareness month, I wanted to make a pink ribbon necklace that would do many things at once. I wanted it to look stylish, spread awareness, and encourage hope and solidarity. I came up with this simple but elegant Open Heart Lariat Necklace that literally takes seconds to put together and requires no tools! Read on to make your own. Continue Reading…
DIY Team Spirit Earrings
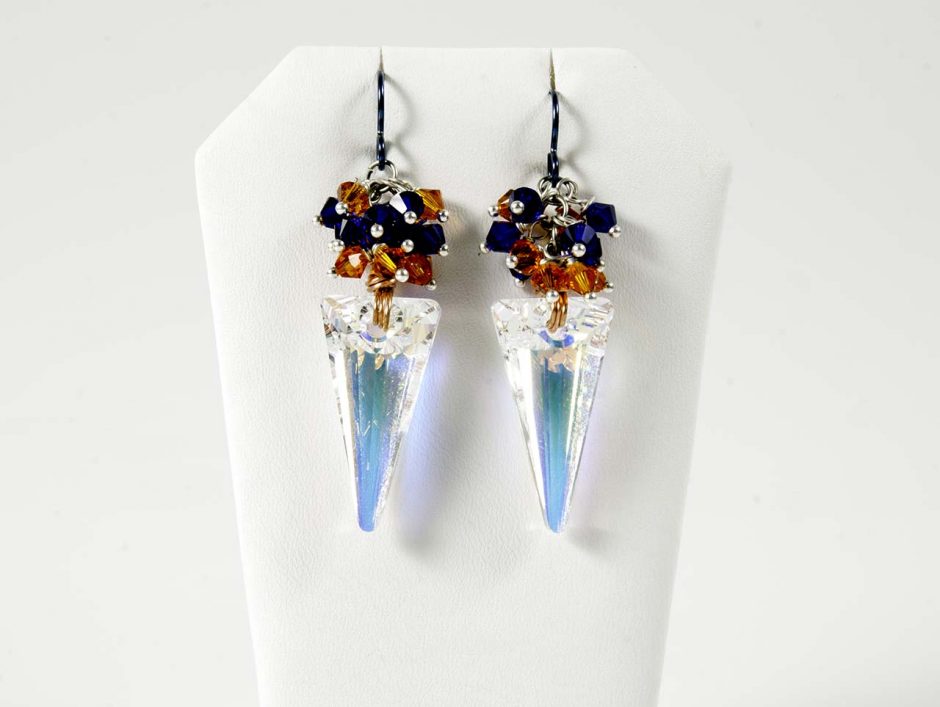
August 31, 2015With football season fast approaching, it’s time to break out your team spirit! Colorful jewelry that shows off team colors will make it easy for everyone to know who you’re cheering for! Simply swap out the Swarovski crystal colors to make earrings that support your favorite team!
Continue Reading…
DIY Wire Wrapped Briolette Earrings
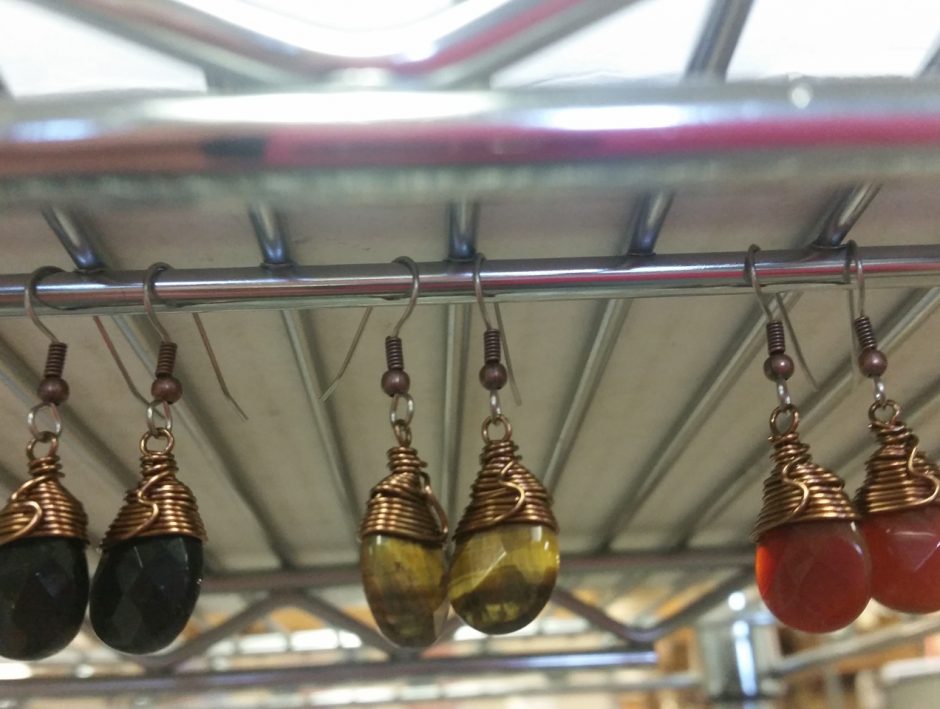
July 31, 2015Want a simple and versatile earring design that you can replicate over and over again? This wire-wrapped briolette earring design can be used for any tip-drilled teardrop beads or briolettes. That’s what makes these some of my favorite earrings to make! The result is simple yet can look dramatically different depending on what colors and gemstone beads or crystal pendants you choose.
Continue Reading…
DIY Swarovski Applique
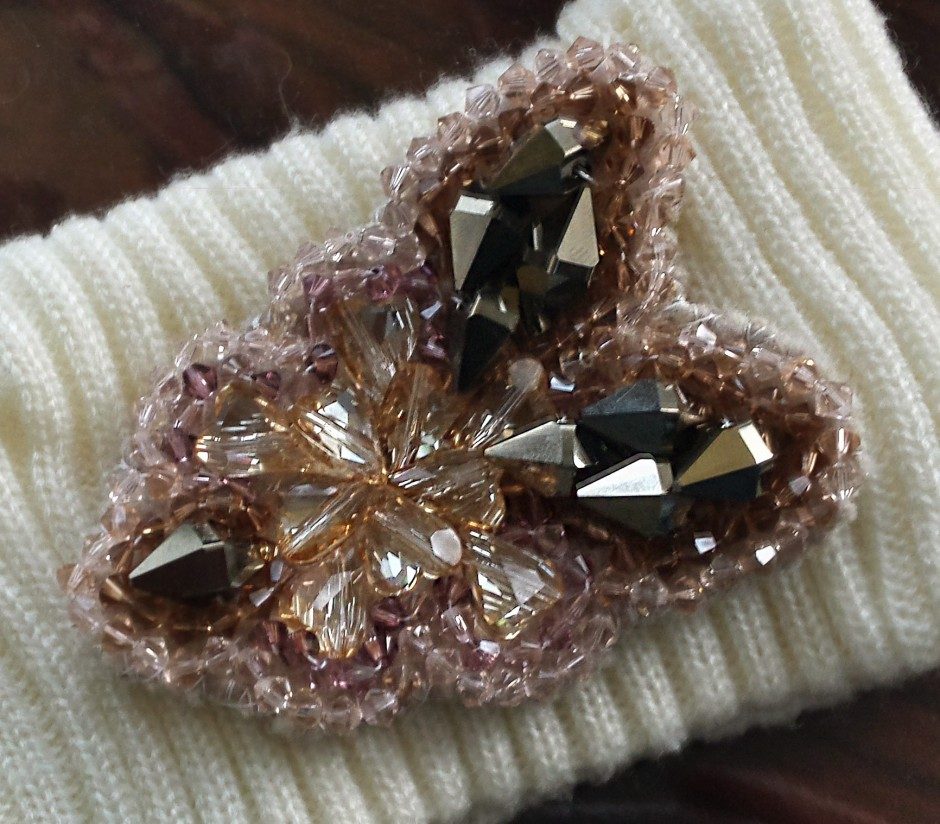
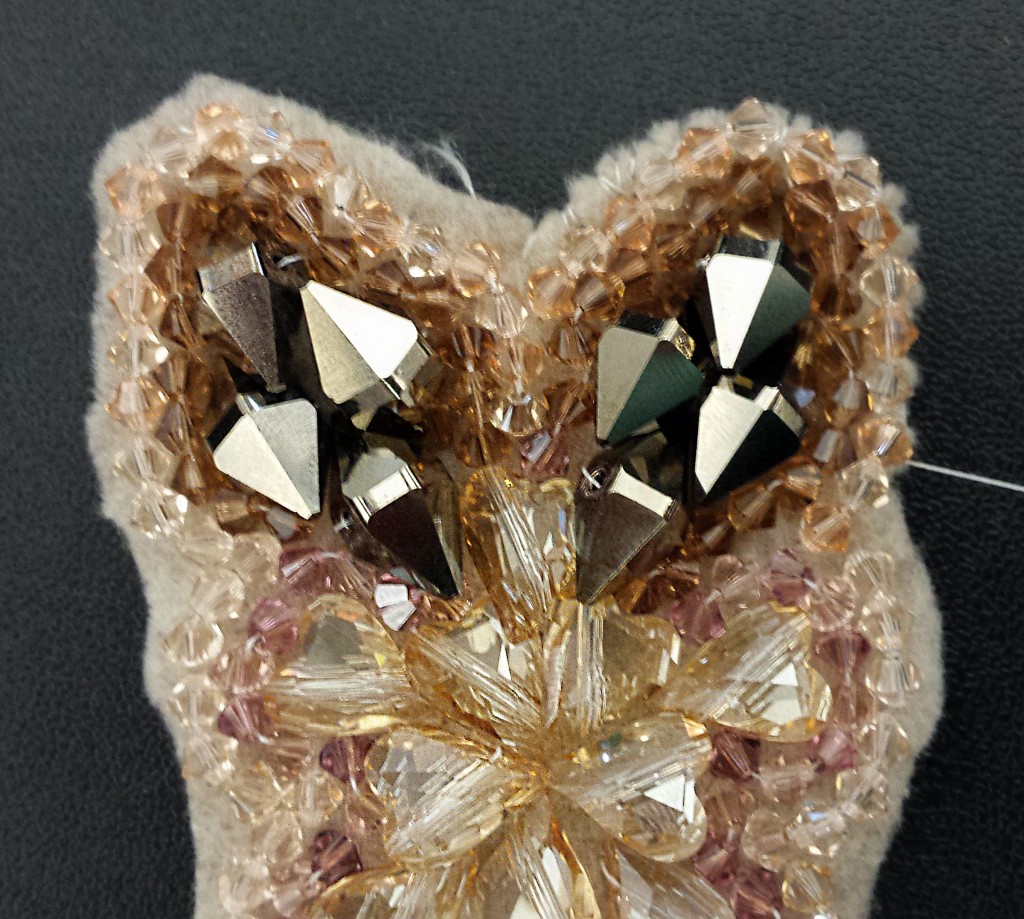
December 9, 2014Did anyone else notice that winter hit overnight? The below-freezing temps are here and it’s time to snuggle up in our warm winter-wear! While I hate being cold, I love wearing coats and all of the fun accessories that go along with them – so I obviously need to be cute while doing it! I’ve also found a passion for the ‘DIY’ trend that seems to be everywhere these days, and I have created a basic tutorial for applique work using Swarovski crystals and an old headband I found in my closet!

Supplies
1 – John James Beading Needle, Size 10
1 – The Beadsmith Braided Bead Thread, .006in, 28yd spool (I used White)
288pcs (2 gr) – Swarovski Crystal Jams, 4mm (I used Bohemian Rhapsody) OR any color Swarovski Crystal Bicones, 4mm
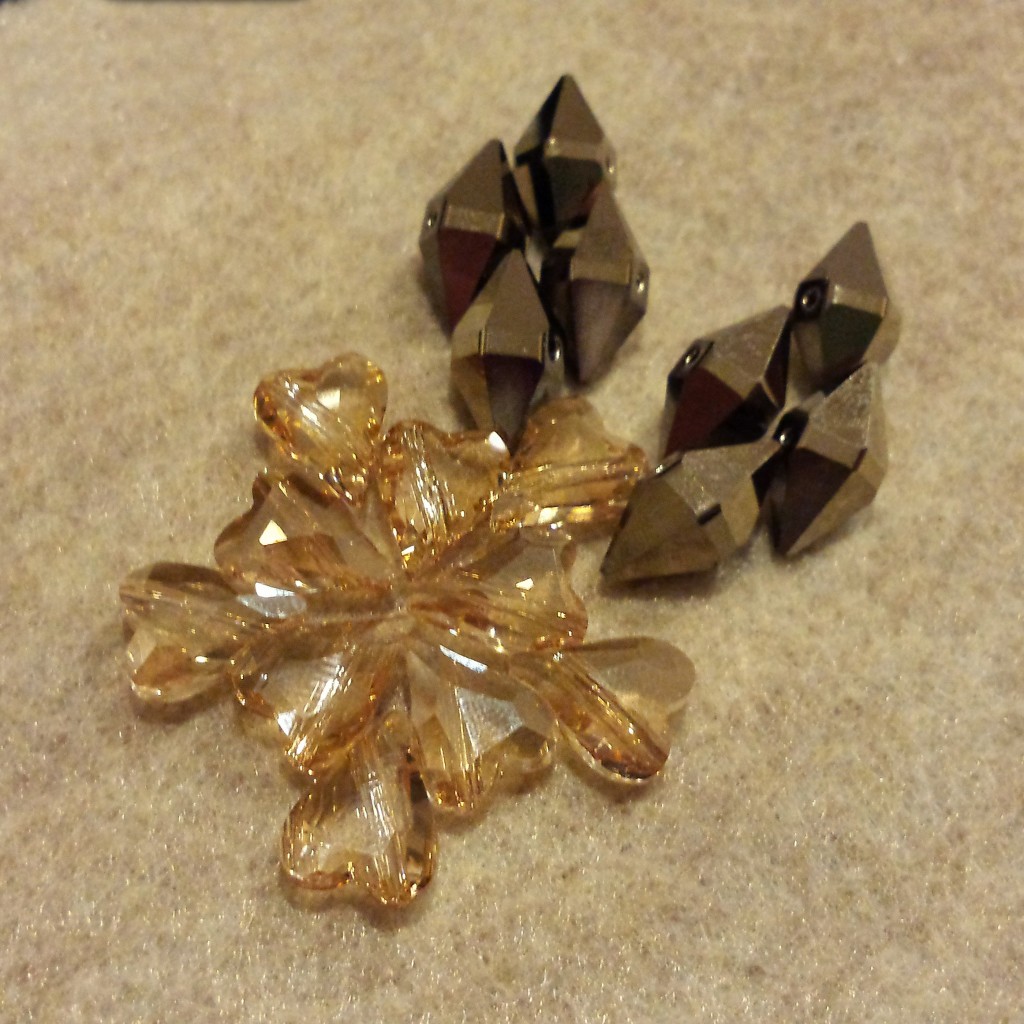
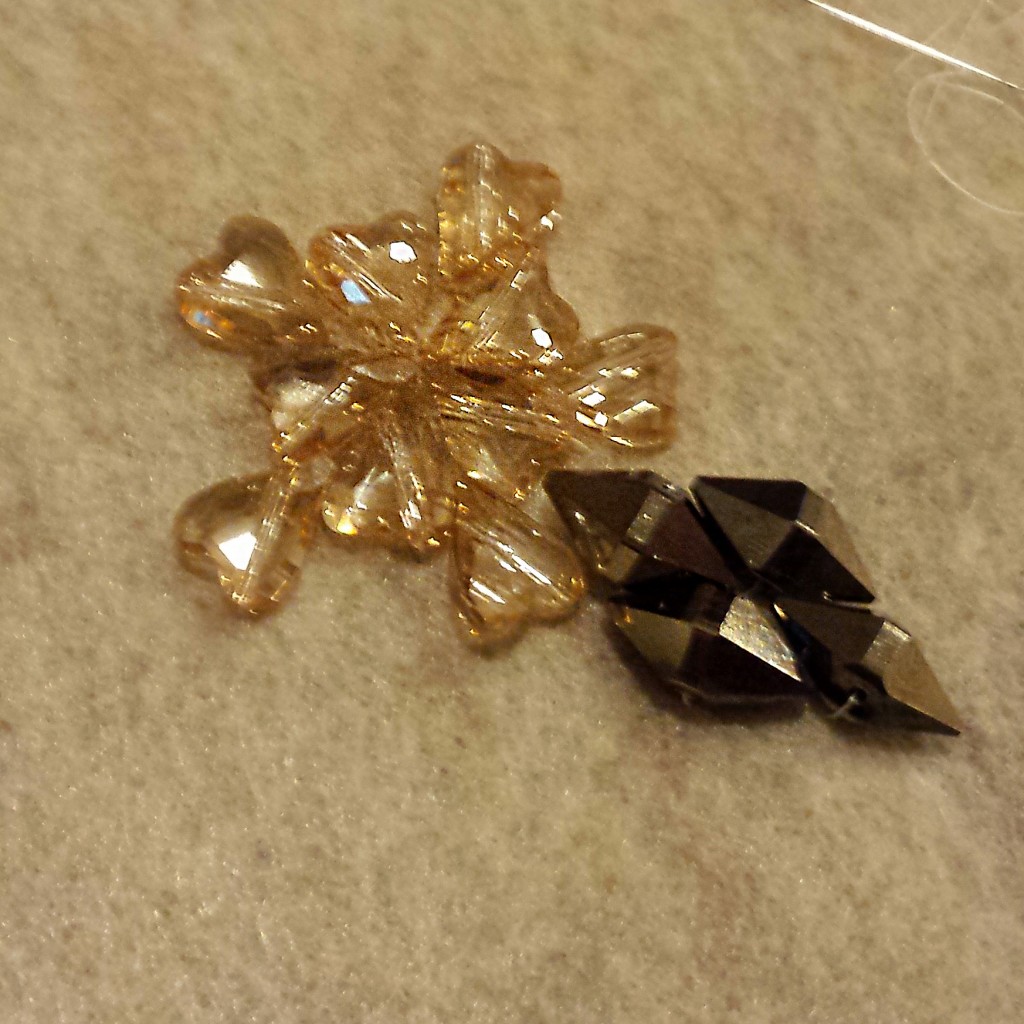
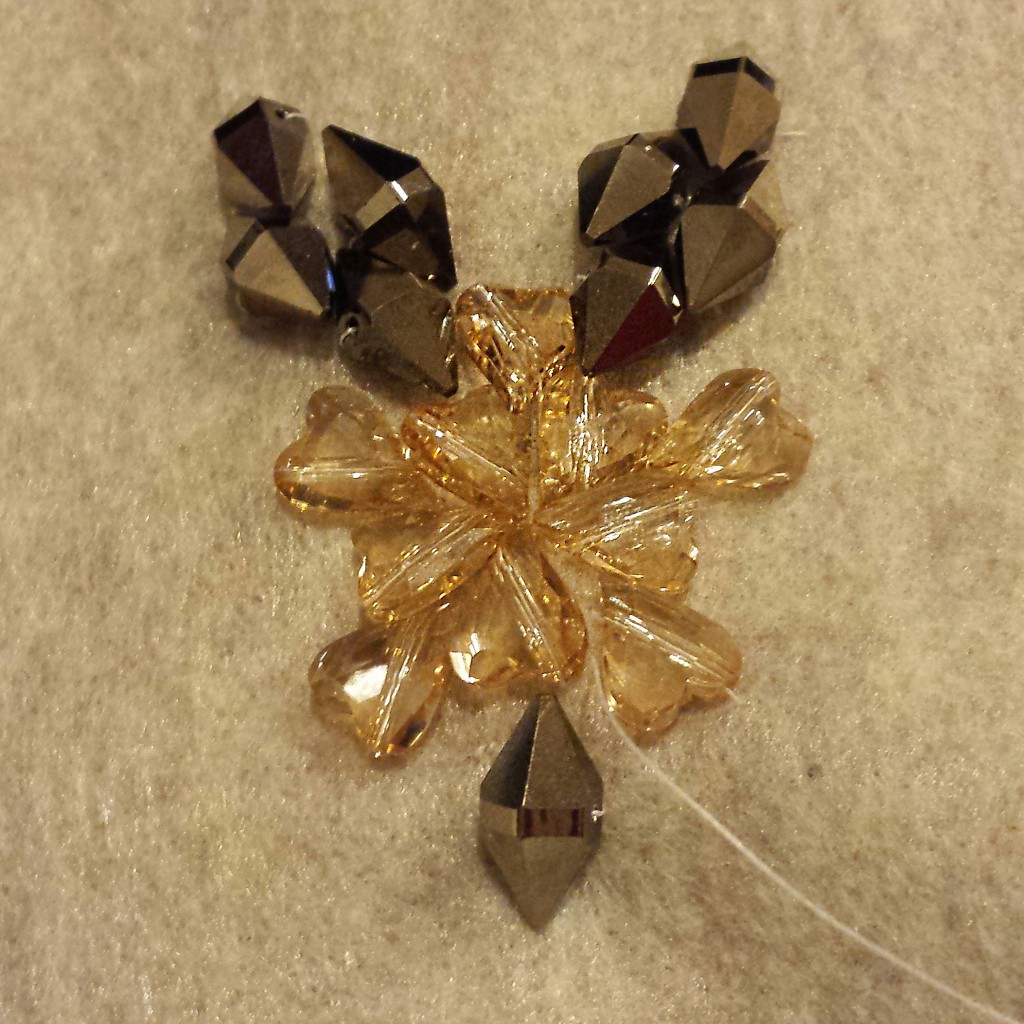
9 – Swarovski Double Spike Beads (I use 12mm Metallic Light Gold 2x)
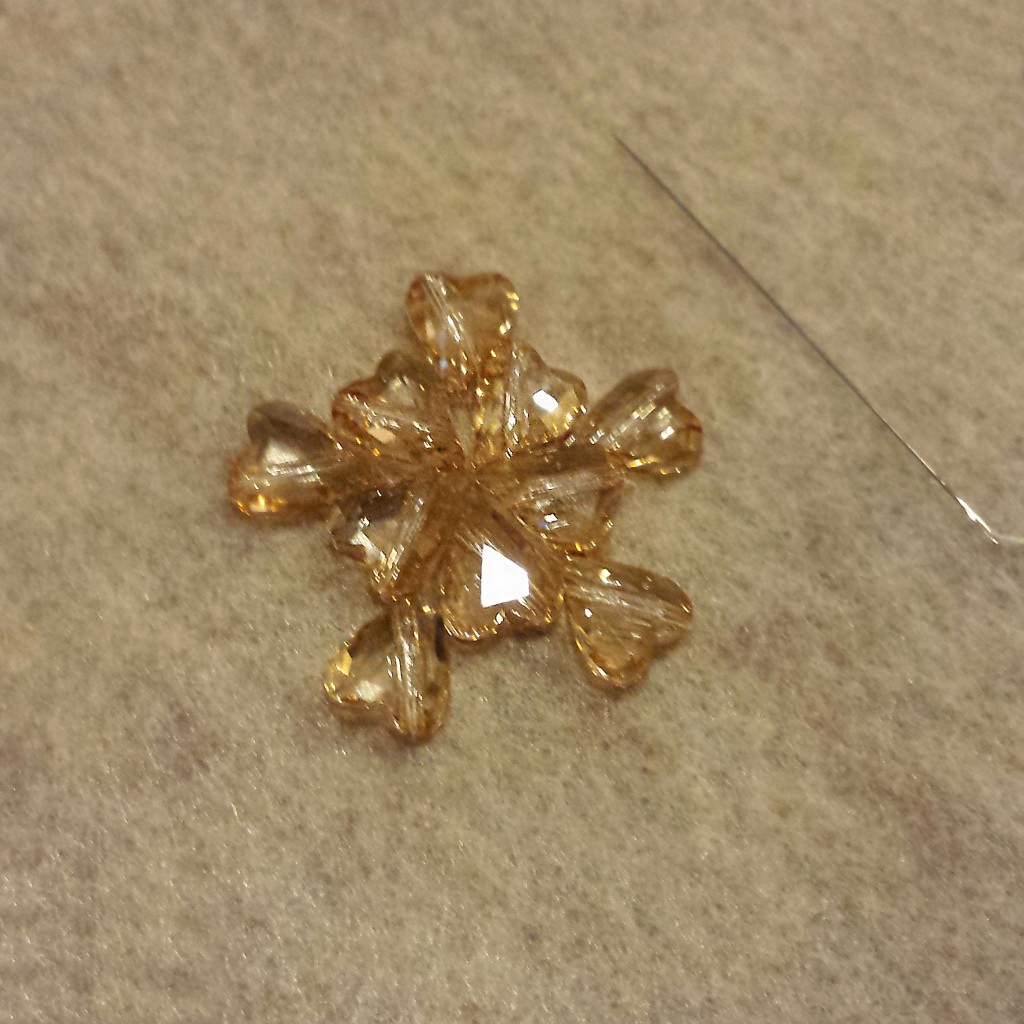
10 – Swarovski Wild Heart Crystal Beads (I used 12mm Golden Shadow)
2 – felt squares, about the size of your hand
Pair of scissors

Now the Fun Part!
The beauty of this project is that you can use an assortment of crystals! I try and keep a good balance of large and small crystals, with the larger ones being the focal point. My image above shows my color and size assortment. I went for more of a neutral color palette, really playing off of the golds and light pinks. The Rings & Things Exclusive Swarovski Crystal Jams bead mixes are great for something like this, as they can help you develop a strong color story from the beginning.
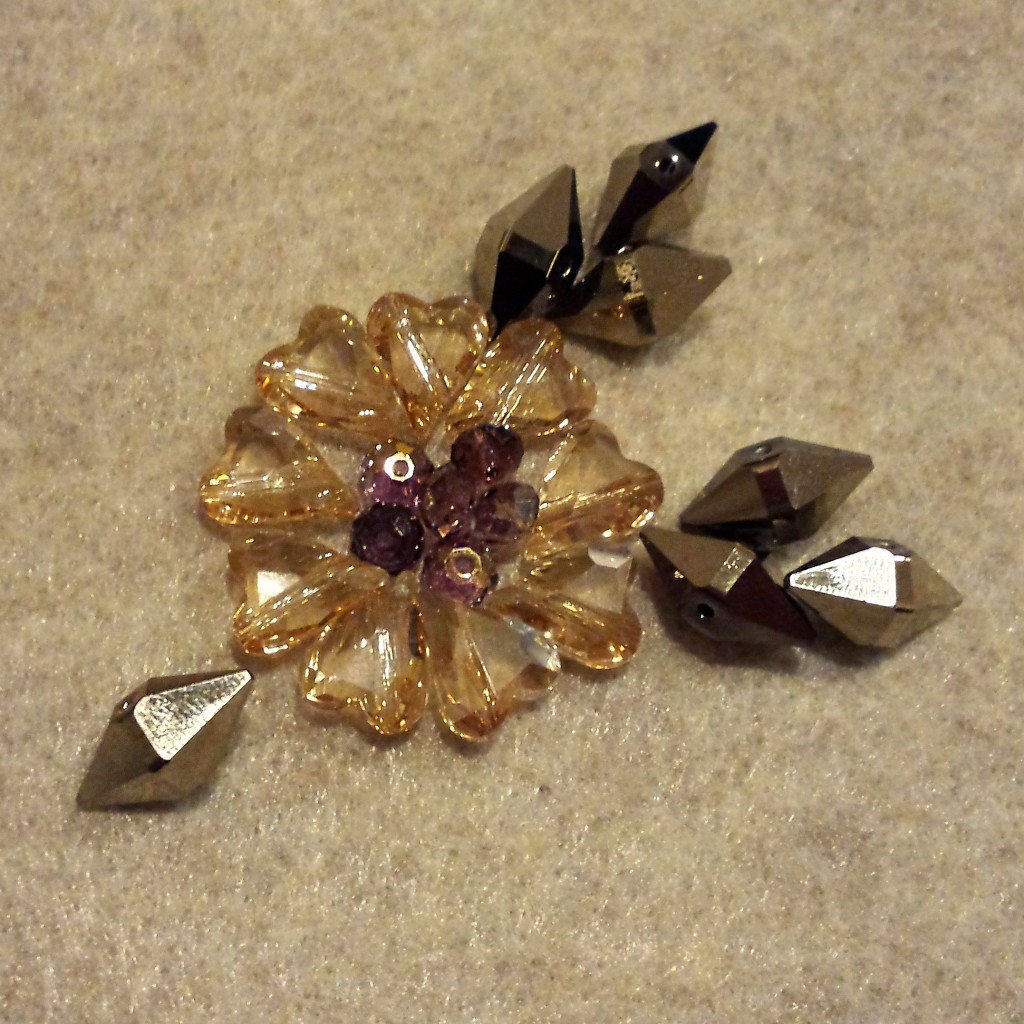
First, I started by arranging my larger beads in various patterns (2 options I came up with are above). I knew I wanted to do some kind of floral-inspired design. For some people, it may be easier to roughly draw something as well.
Needle & Thread Basics
I began by cutting a strand of Power Pro bead thread that was about the span of my arms; you can start with a smaller strand than this as this may be easier to manage at first. This thread is pretty amazing – I would not recommend using other threads that you may find at the fabric store because the crystals can actually cut through that type of thread! Power Pro by The BeadSmith is much more sturdy, and you would hate to lose your Swarovski crystals because of the wrong thread!
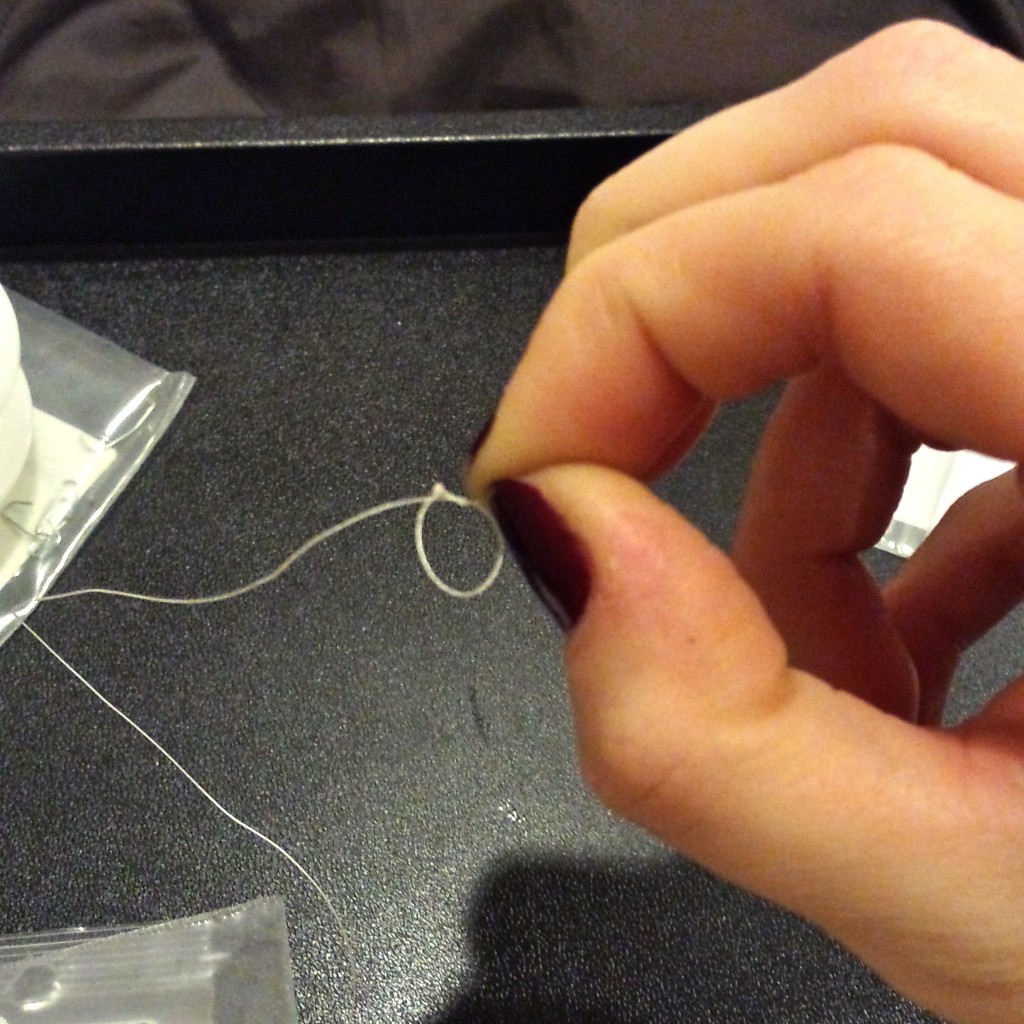
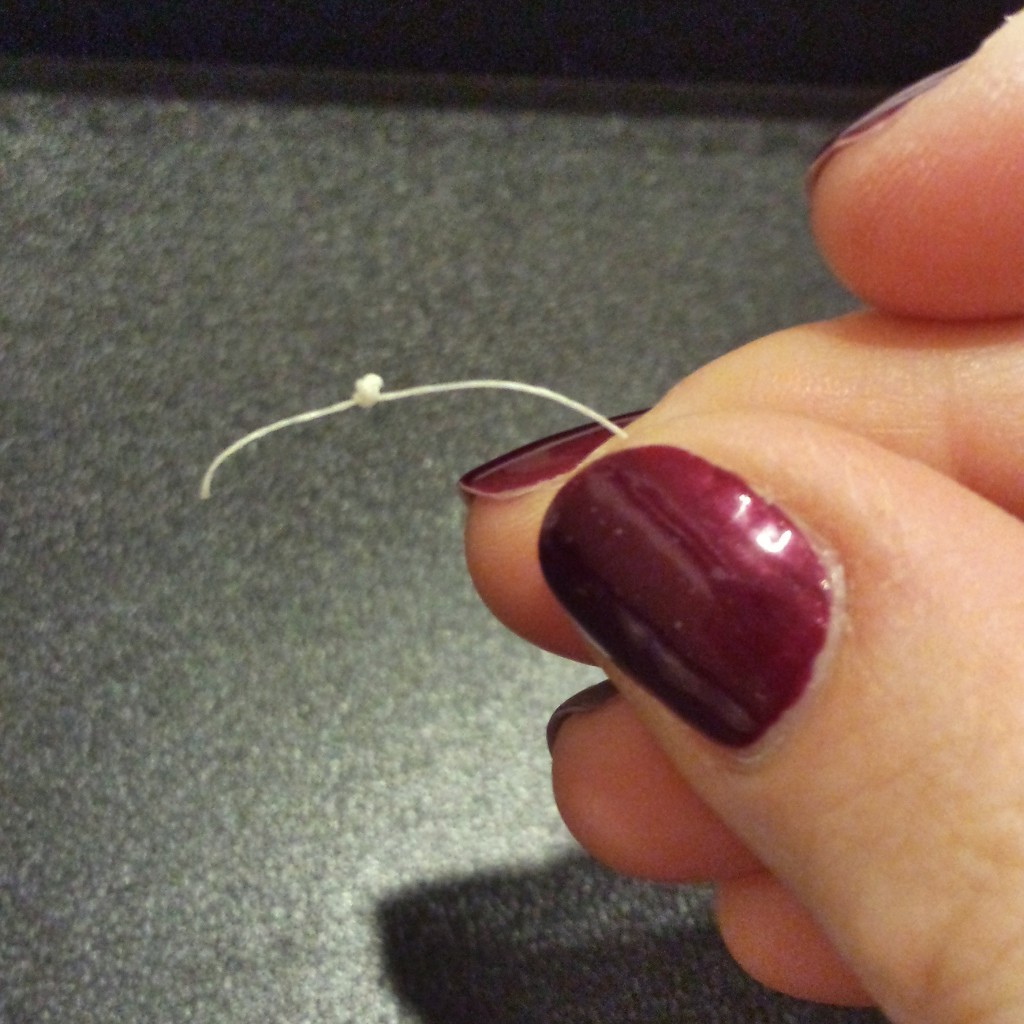
Once the needle is threaded, tie a basic knot; I did three loops to create a thicker knot.
Step by Step
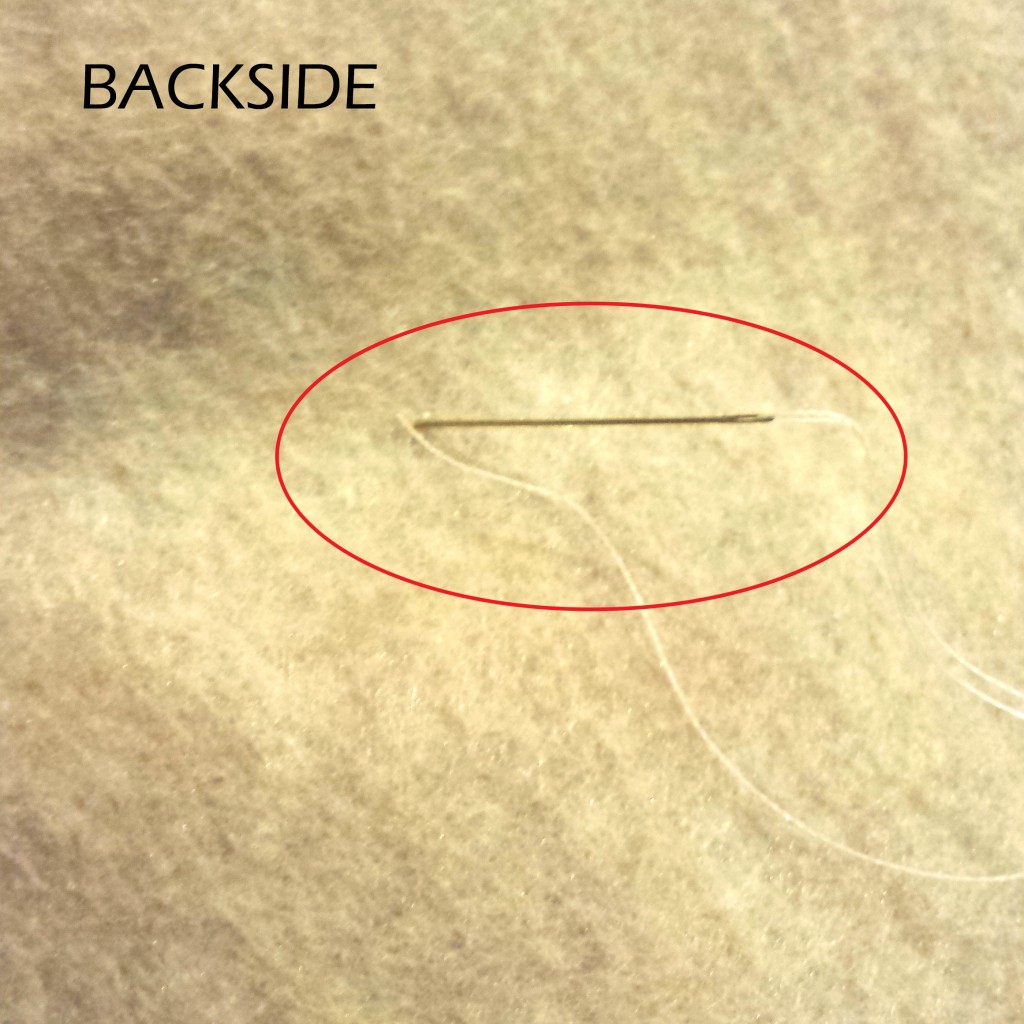
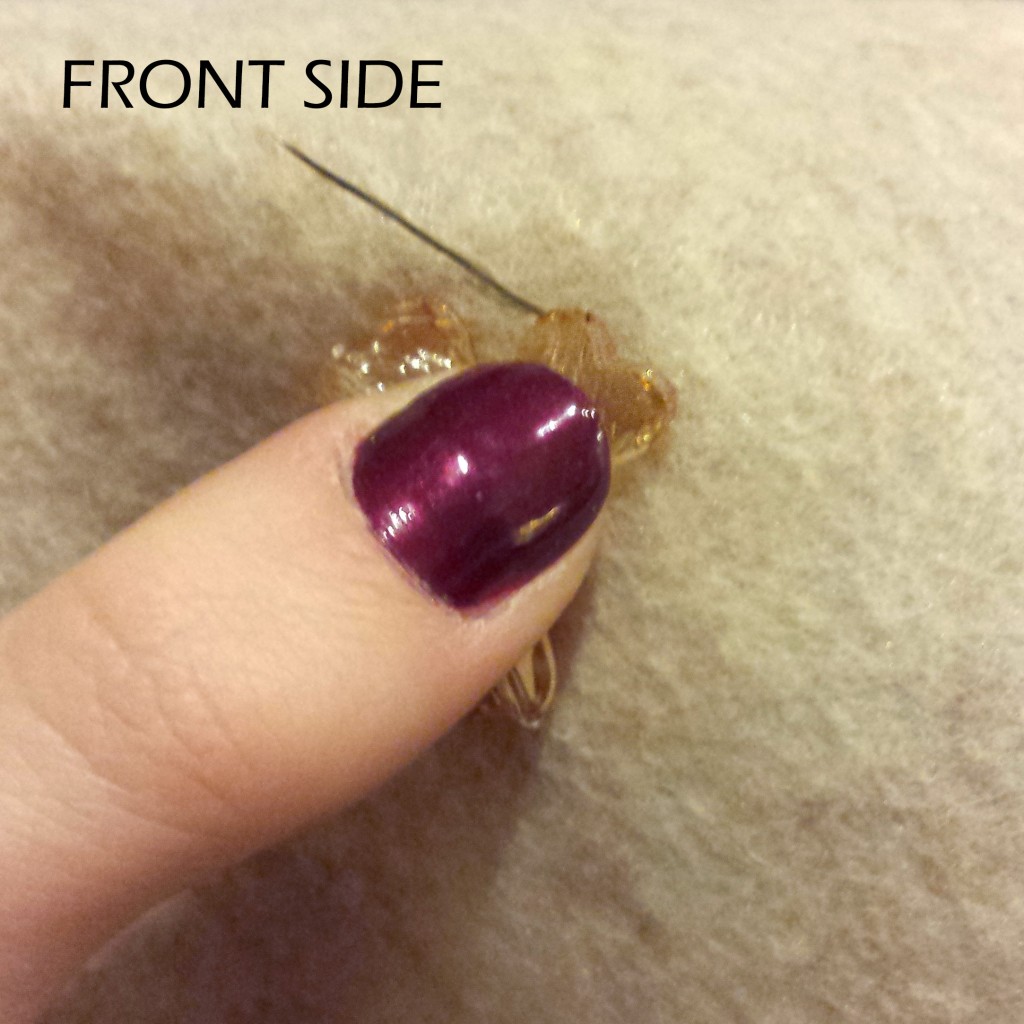
1. Now it’s time to sew the final design onto the felt. I like to start at the center of my design when I’m sewing on the crystals. Since you have the basic design laid out and your needle threaded, start by holding one crystal in place with your thumb and index finger; insert the needle from the BACK SIDE of the felt so that the needle appears near the edge of the crystal where the hole is located (see FRONT SIDE image below). The knot that you made should be on the back side of the fabric.
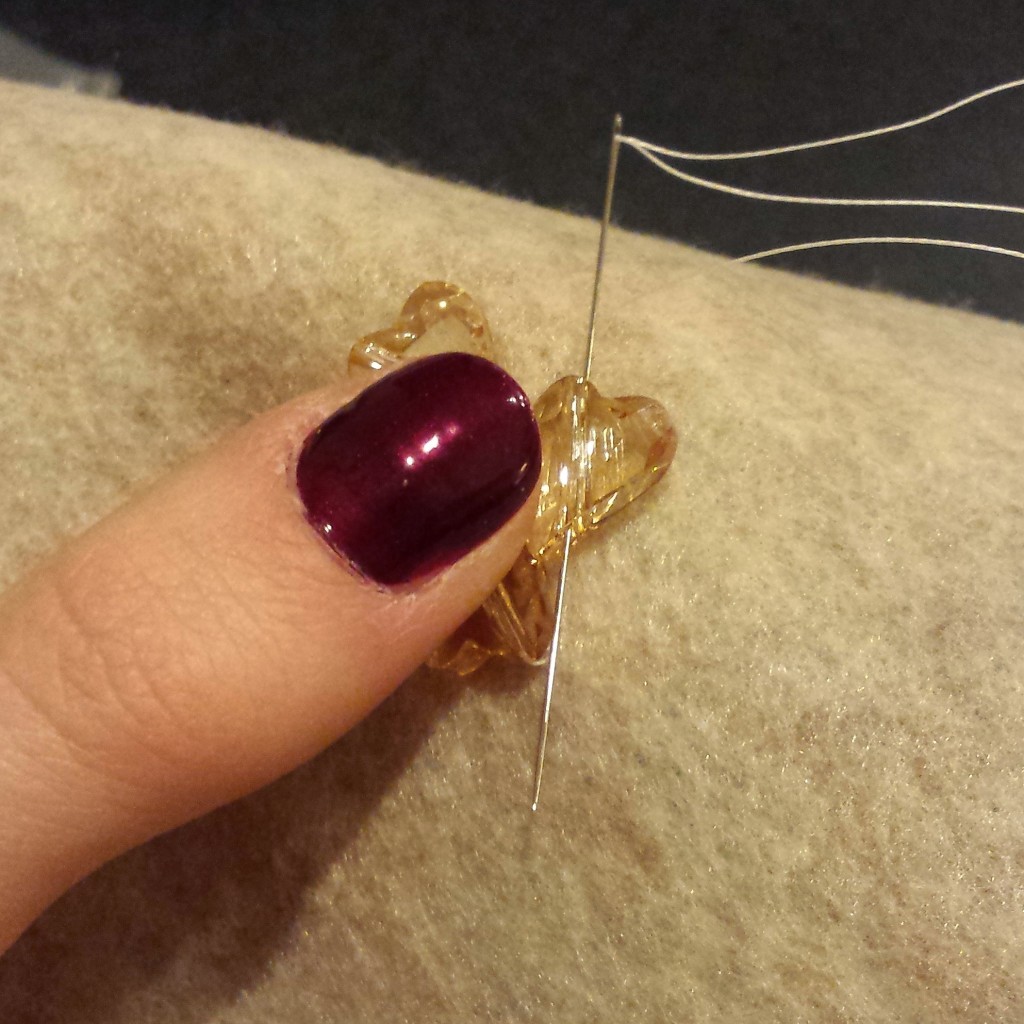
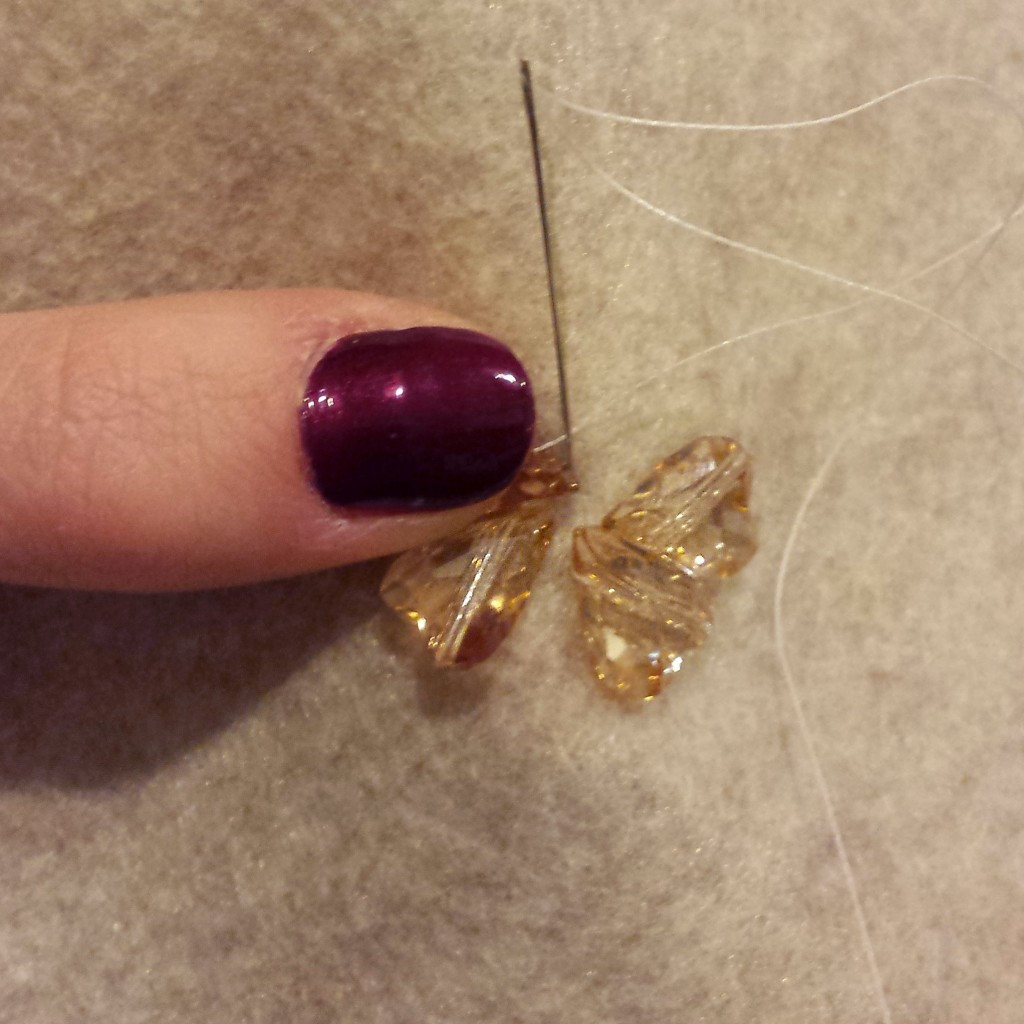
2. Thread the needle through the hole in the crystal, and insert the needle back into the felt. Make sure to stay near the crystal’s edge where the needle just exited the hole.
3. Continue doing this for the center crystals (ie. my ‘petals’) and expand to any other large crystals you have (ie. my ‘leaves’). Once you have each of these sewn on, leave your thread where it is. No need to knot anything.
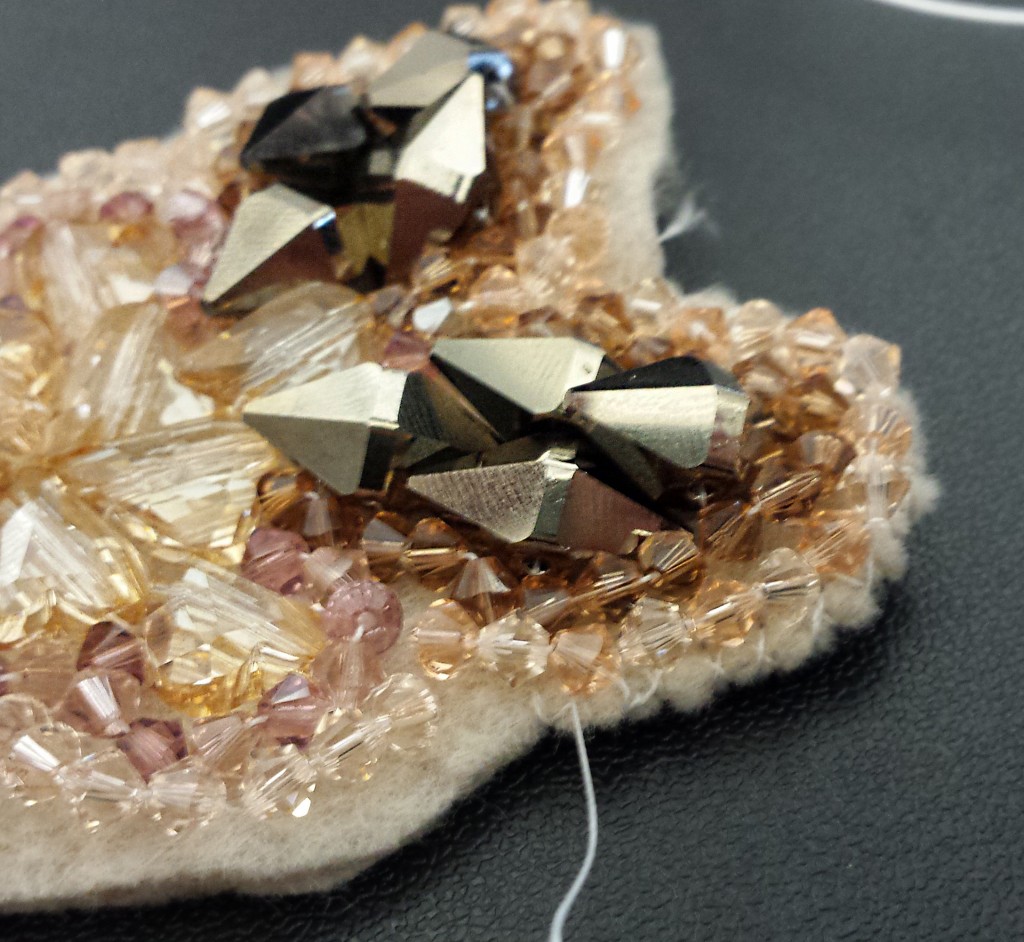
4. Go ahead and grab your smaller beads – Here, I’m using the 4mm Swarovski Bicone Crystal Jams. We will begin where your left your thread after completing the larger crystal beads. Place 2 bicone crystals on your needle and push them down the thread. I wanted to arrange my bicones around my larger crystals as an outline. As soon as they fit snug against the felt, insert your needle back into the felt, staying close to the edge of the bicone. Continue your way around, using two bicones at a time
This is a fun time to play with color! My outlines consist of 3 or 4 different colored bicones, and they really play off of each other in different lights!
**If you ever run out of thread, just tie a knot on the backside of the fabric, and start a new needle & thread!**
5. Once I made my way around, I decided to add a second outline with the bicones. It is completely up to you – be creative and try some different things! Once you have finished sewing all of your Swarovski Crystals, insert the needle down through the front side and tie a knot in the back; you can use the same knot technique that was demonstrated earlier!
Creating a Finished Edge
1. Cut the felt around the crystals, leaving 1/4 inch allowance on the outside.
2. Take your second piece of felt and cut an identical piece
3. Time to start with some fresh thread! Tie the same knot as shown above and insert the needle from the backside, to the front side like below. Pull the needle through until the knot is snug underneath.
4. Grab your second piece of felt and place it underneath your original piece. Insert your needle through both pieces of felt, starting with the new piece. See photo below for reference. Pull all the way through; the felt should curl up as you pull the thread as tight as you can.
This second piece of felt hides all of the thread work you have underneath, while also stabilizing and protecting these stitches from wear and tear.
5. Start working your way around the felt, using the same technique in step 4. You can see the difference in the two photos below – I have completed the technique on the upper right hand side.
6. Once you have completed this step, your applique is complete! You can use this for scarves, headbands, gloves, apparel, etc. I have attached this to a headband, and I used the same technique from steps 4 & 5. It’s that simple!
All of us at Rings & Things would love to see any applique work you have created! Please send us pictures or post them below! 🙂
Happy Winter!
– Laura
Say it Your Way with Easy Metal Stamped Jewelry
September 10, 2014You don’t have to be Frank Sinatra to do things your own way! That’s the beauty of metal stamping as a jewelry technique. Not only do you get to assemble components, you get to make your own components – and they can say whatever you want them to say!
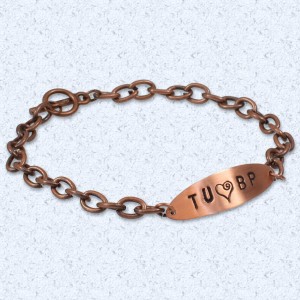
This Young Love bracelet is a perfect example of how you can easily customize jewelry with metal stamps!
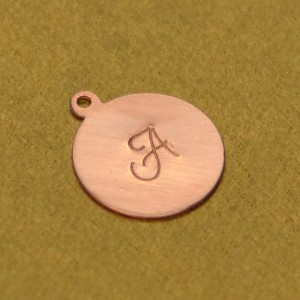
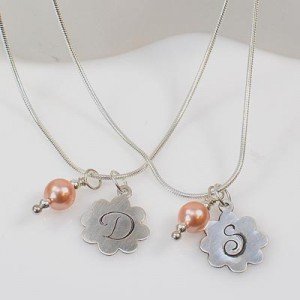
Letter stamps are the perfect way to create monogram jewelry, plus jewelry with names or inspirational sayings. Design metal stamps are the perfect way to add cuteness and panache.
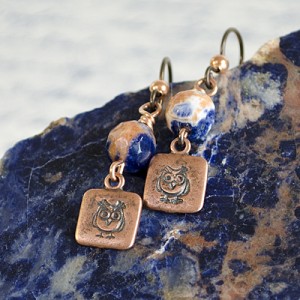
Learn to make these simple metal stamped earrings – just click the image above for the complete parts, ready to buy.
Designer Amy Mickelson’s “Hootie and the Sodalite Earrings” feature custom owl charms she made using an ImpressArt Metal Stamp and a JBB Antiqued Copper Plated Square Tag Charm. These JBB tags are plated especially for stampers – pretty amazing! For more on these components, see the full parts list and tutorial here.
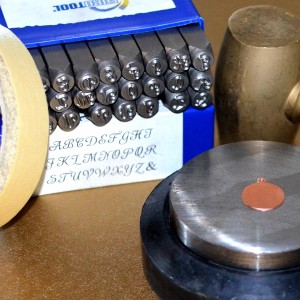
The basics of jewelry stamping are easy and only require a few tools. The tools are a small investment, but will last for years and thousands of impressions!
Supplies you’ll want:
- Letter stamps and/or design stamps
- A steel bench block (the block pictured is #69-123 combo block)
- A Brass hammer (the hammer pictured is #69-346)
- Metal blanks & tags – choose from 100’s of options!
- Optional: Stamp Straight Tape
The basic steps to jewelry stamping:
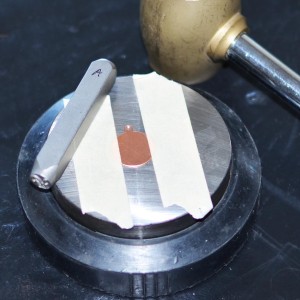
Once you’ve planned your design, secure your metal tag or blank onto your steel block with tape. Stamp Straight Tape by ImpressArt is more expensive than masking tape, but it offers a sturdier edge and does not leave sticky residue.
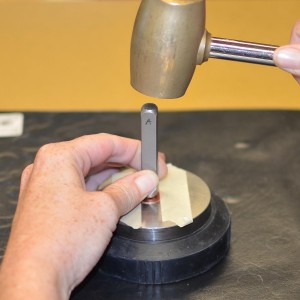
Strike the perfectly vertical stamp with one firm blow. This is important for achieving a clear impression.
That’s all there is to it! It really is that simple. Then, you can use your completed stamped charms to make earrings, necklaces, bracelets, gift tags, and more!
For a great monogram jewelry tutorial, see “Ava’s Ladies in Waiting” Necklace Tutorial in our Design Gallery.

Click this picture for all the parts and instructions you need to make adorable metal stamped owl earrings.
To make fun owl earrings, see the “Hootie and the Sodalite” Earrings Tutorial.

Click this picture for all the parts and instructions you need to make a simple metal stamped bracelet.
For the full how-to on making a metal stamped chain bracelet, see our “Young Love” Bracelet Tutorial.
Rings & Things offers a huge variety of metal stamping blanks, plus jewelry stamping tools and supplies with fast shipping and free returns.
So what are you waiting for? Isn’t it time to say things your way! ~ Melissa
Fast & Fun DIY Flower Cabochon Bobby Pins
May 24, 2014Cabochon flowers are a super easy way to add a splash of color to your life! With flat backs for easy gluing, they’re a cinch to add to any number of craft projects. This tutorial shows you how to embellish the flowers then add them to bobby pins to make sparkling DIY hair accessories. It’s a great project for kids, seniors, girly get-togethers and parties.
Only a few supplies are required:
Flat Pad Bobby Pins
Flower Cabochons
Adhesive Dots
Paint Dabbers
Glitter!
White Glue Paint Brushes or Cotton Swabs for Glue
If desired, color the flower using paint dabbers. While the paint is still wet, dip the outer petals into glitter. If you’re not coloring your flower first, add a light layer of glue to the outer petals before dipping them in the glitter.
Apply the adhesive dot to the pad of the bobby pin.
Attached your embellished posie and you’re done!
Have fun & sparkle on!
Did you know? …
You can buy the supplies to make this project now:
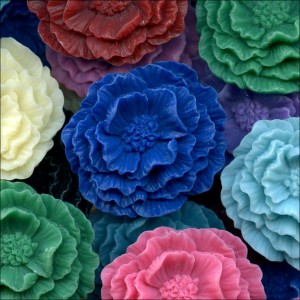
Click to Shop Resin Cabochon Flowers
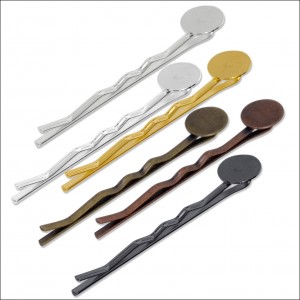
Click to Shop Bobby Pins with Glue Pads
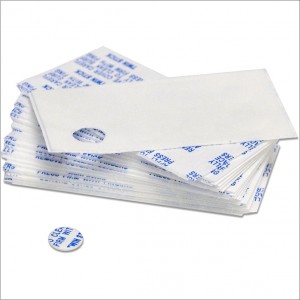
Click to Shop Adhesive Dots

