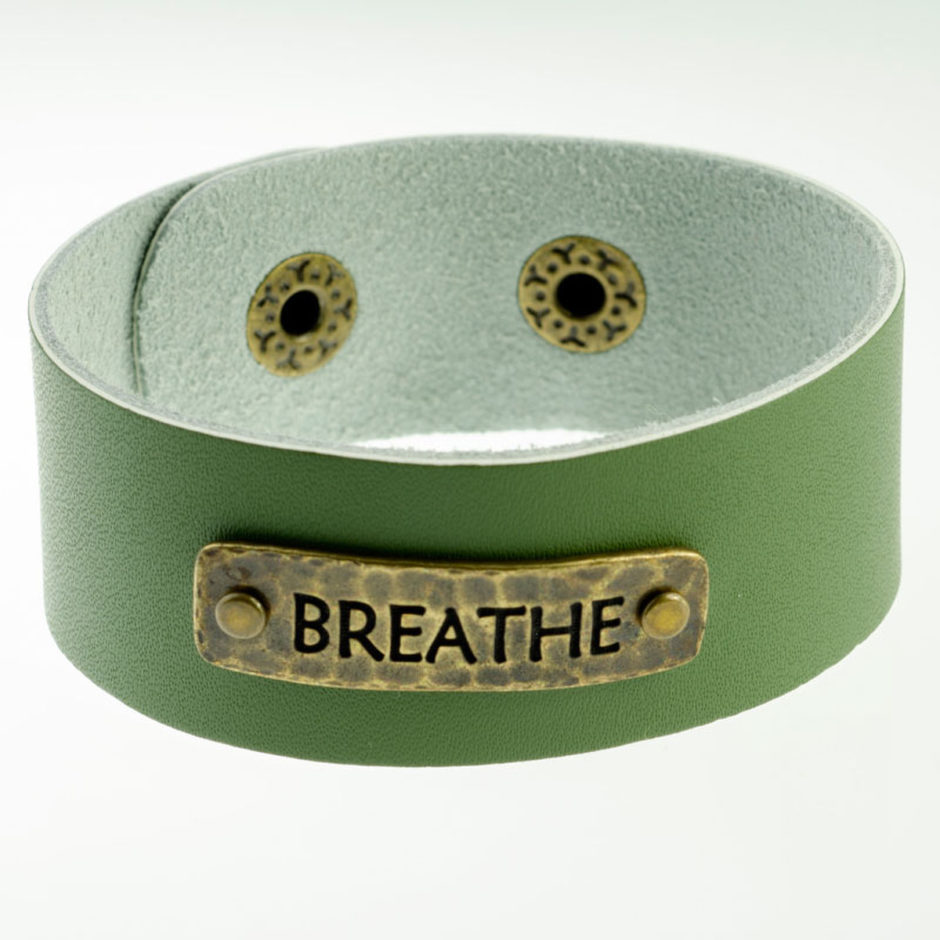
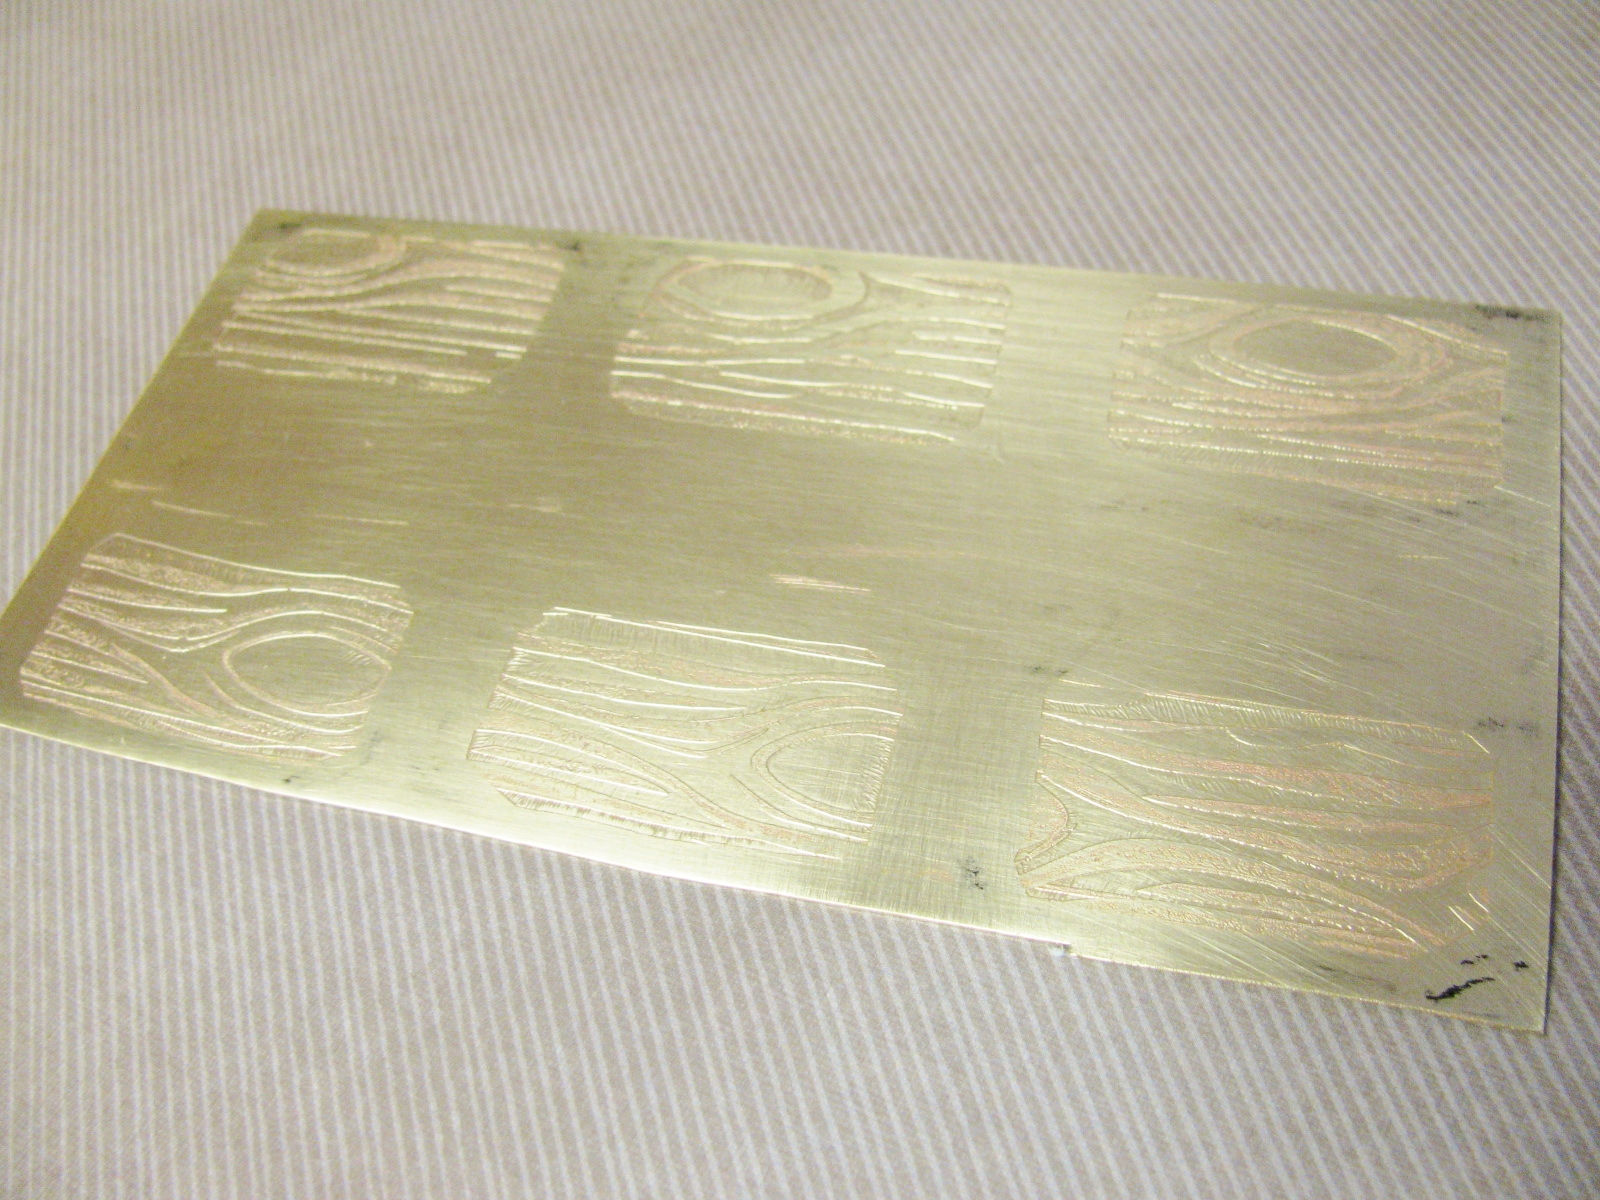
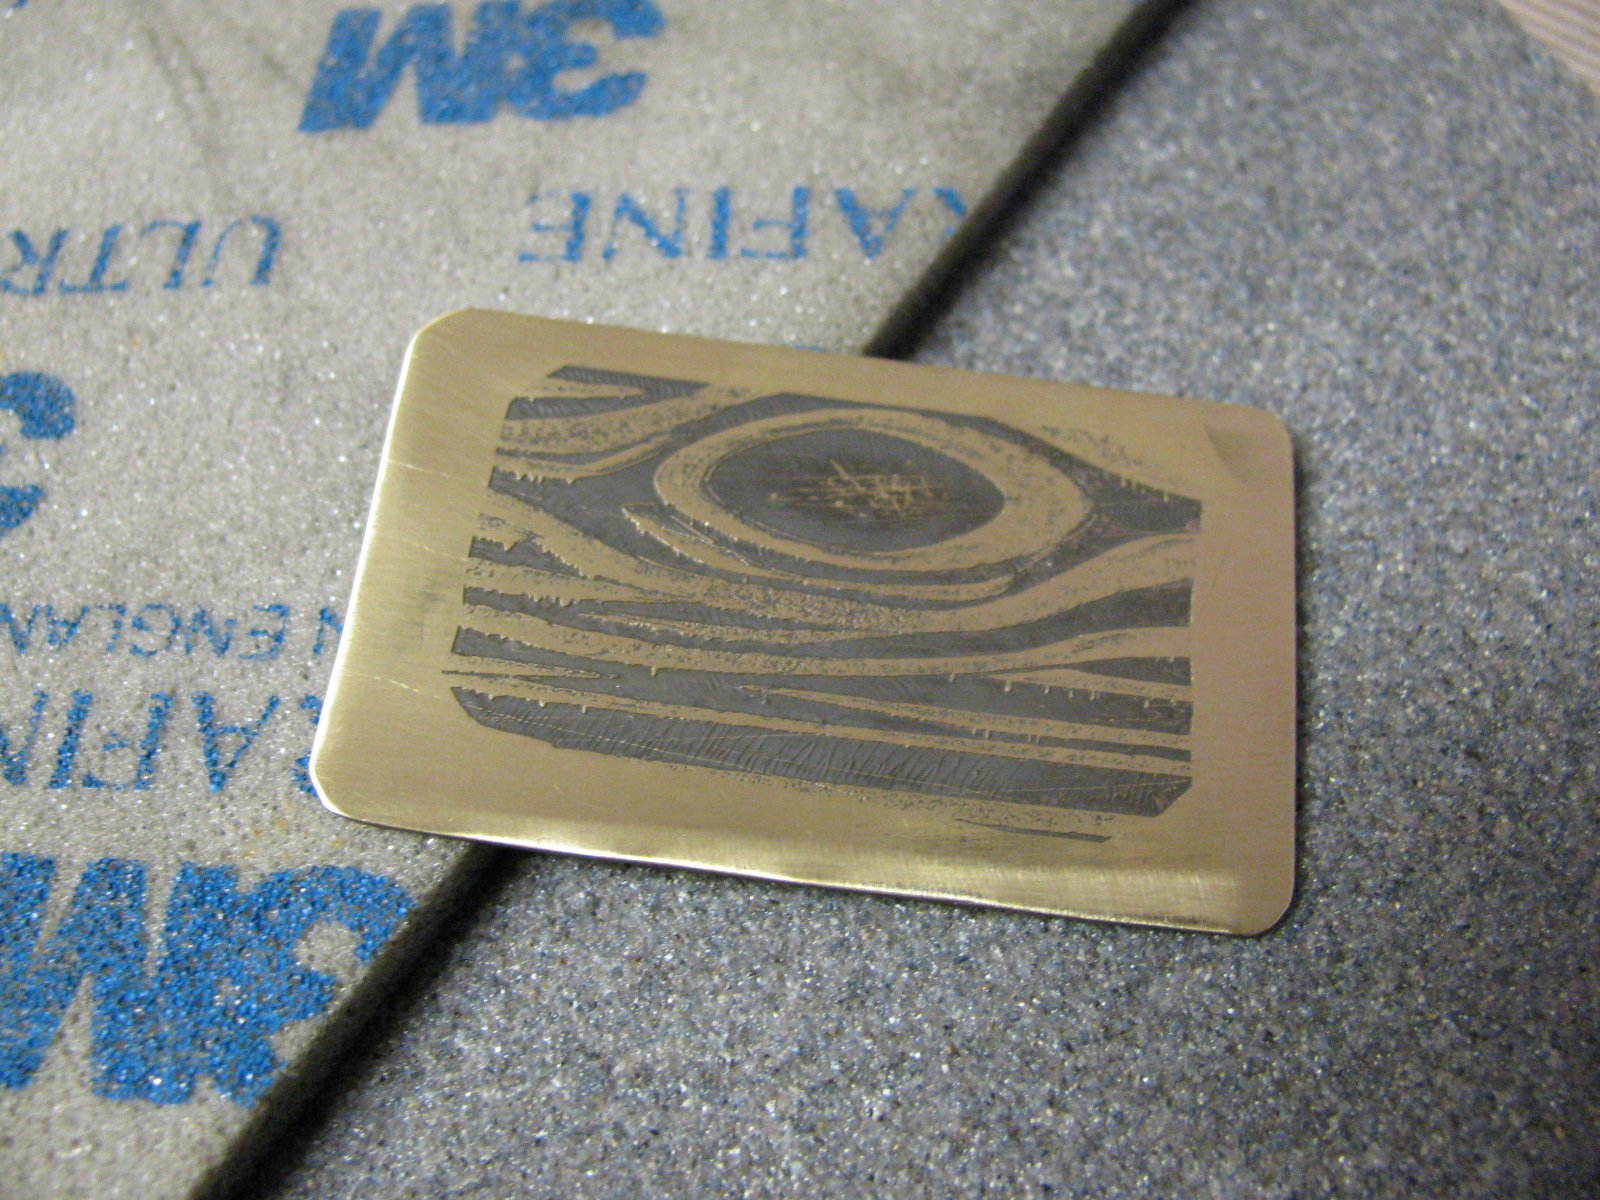
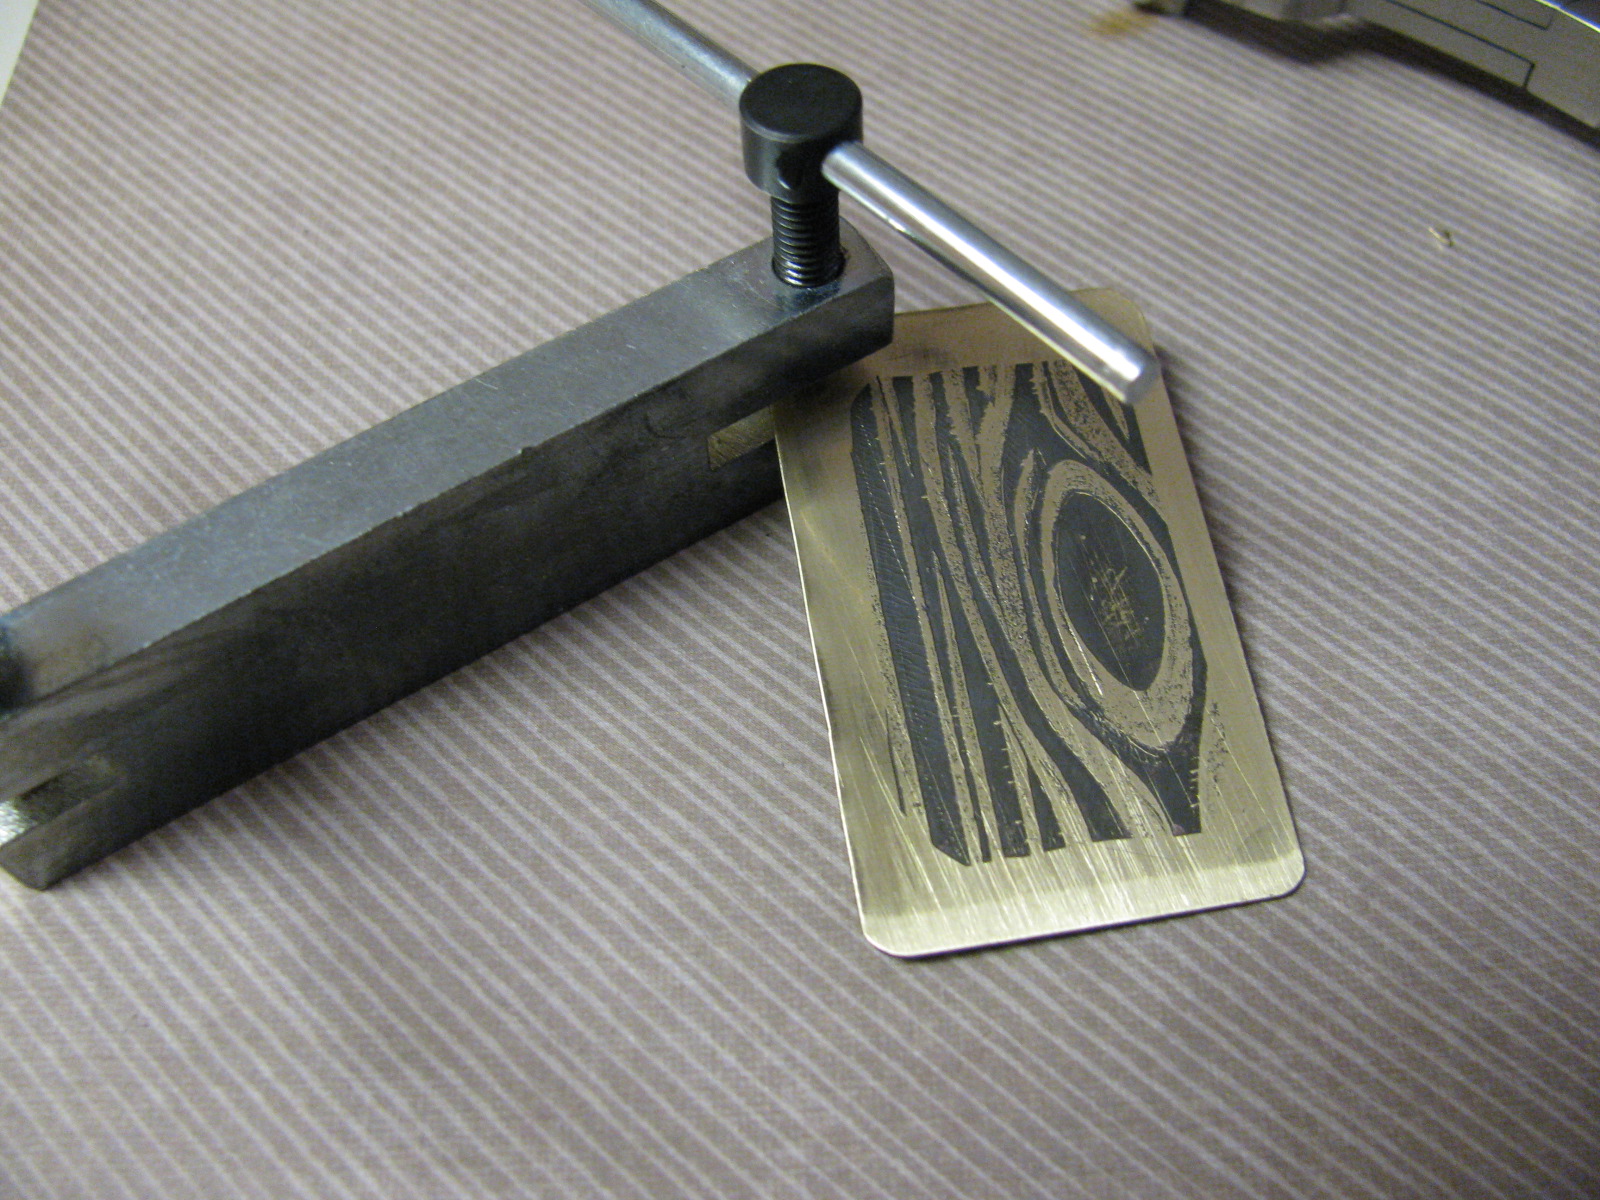
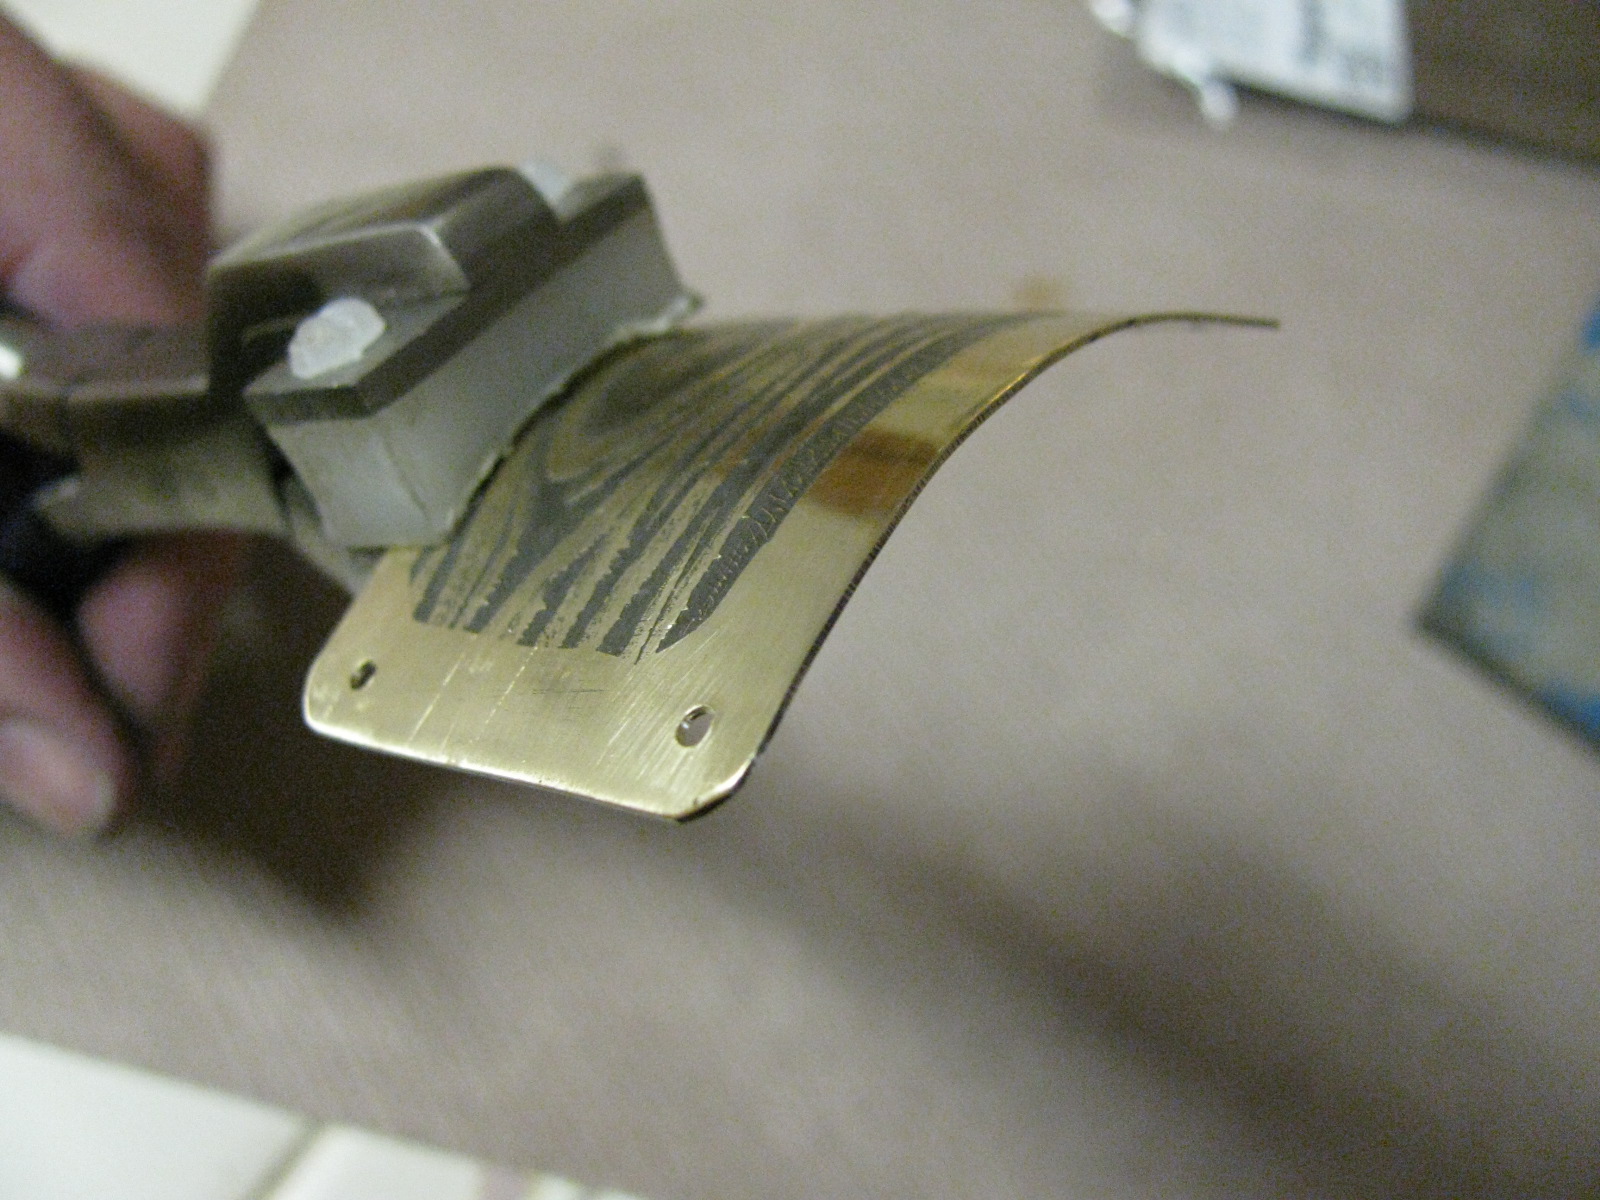
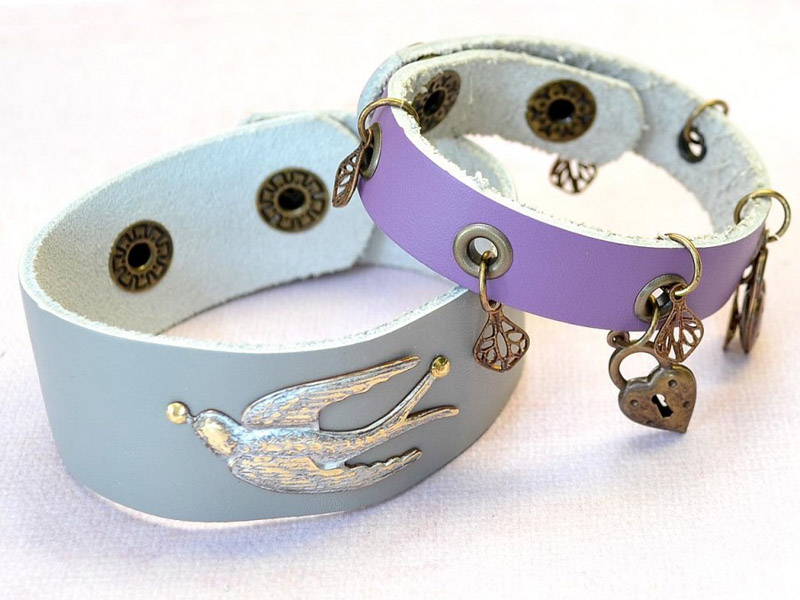
One of my favorite combinations when making bracelets is leather and charms! When deciding what color of leather to use, I chose turquoise because it’s a color that always calms me – plus it seems to work for all seasons. It reminds me of the beach where I would love to be! I decided to make this a multi strand bracelet because the stacked bracelet look is such a huge trend right now. To make your own version of this multi strand leather charm bracelet, read on. It’s easier than you think! Continue Reading…
DIY Multi Strand Leather Charm Bracelet
December 8, 2015
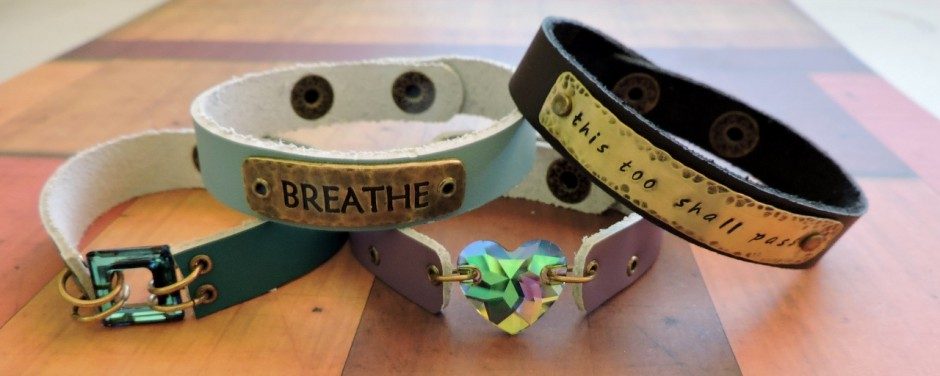
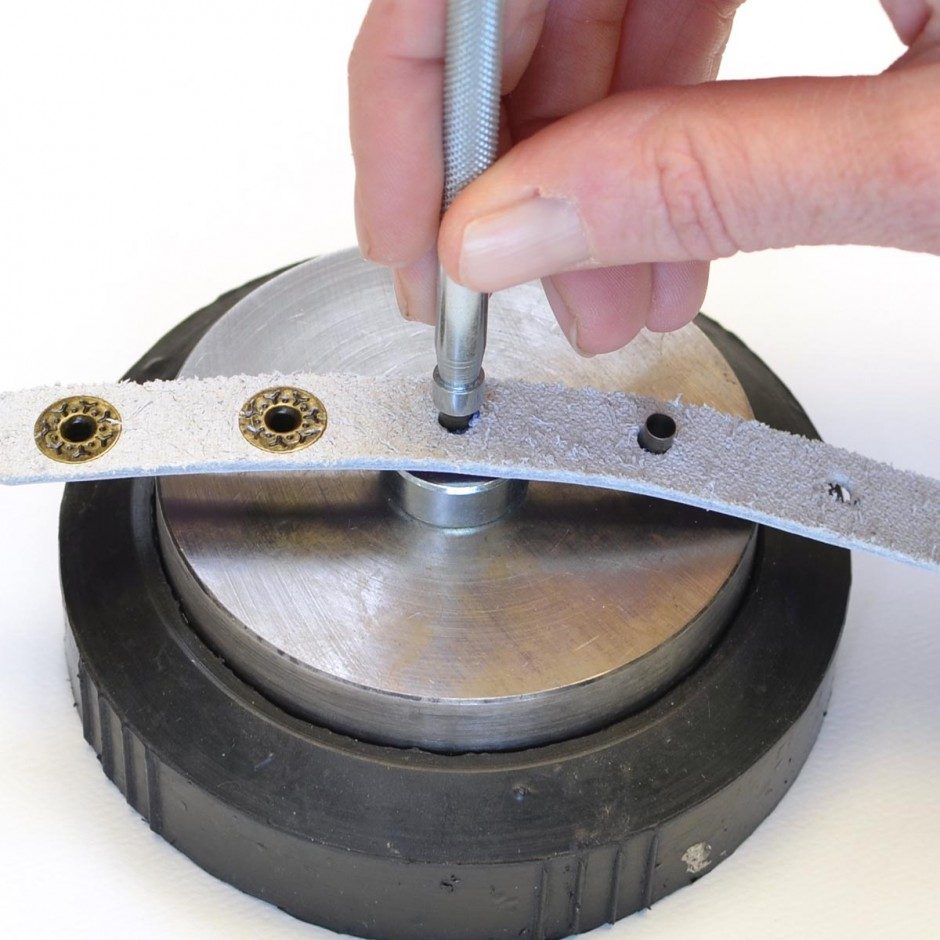


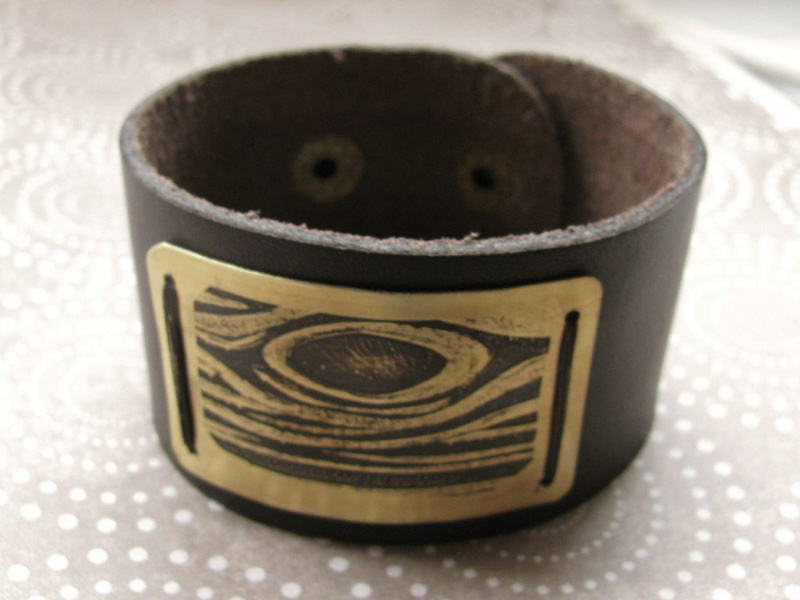
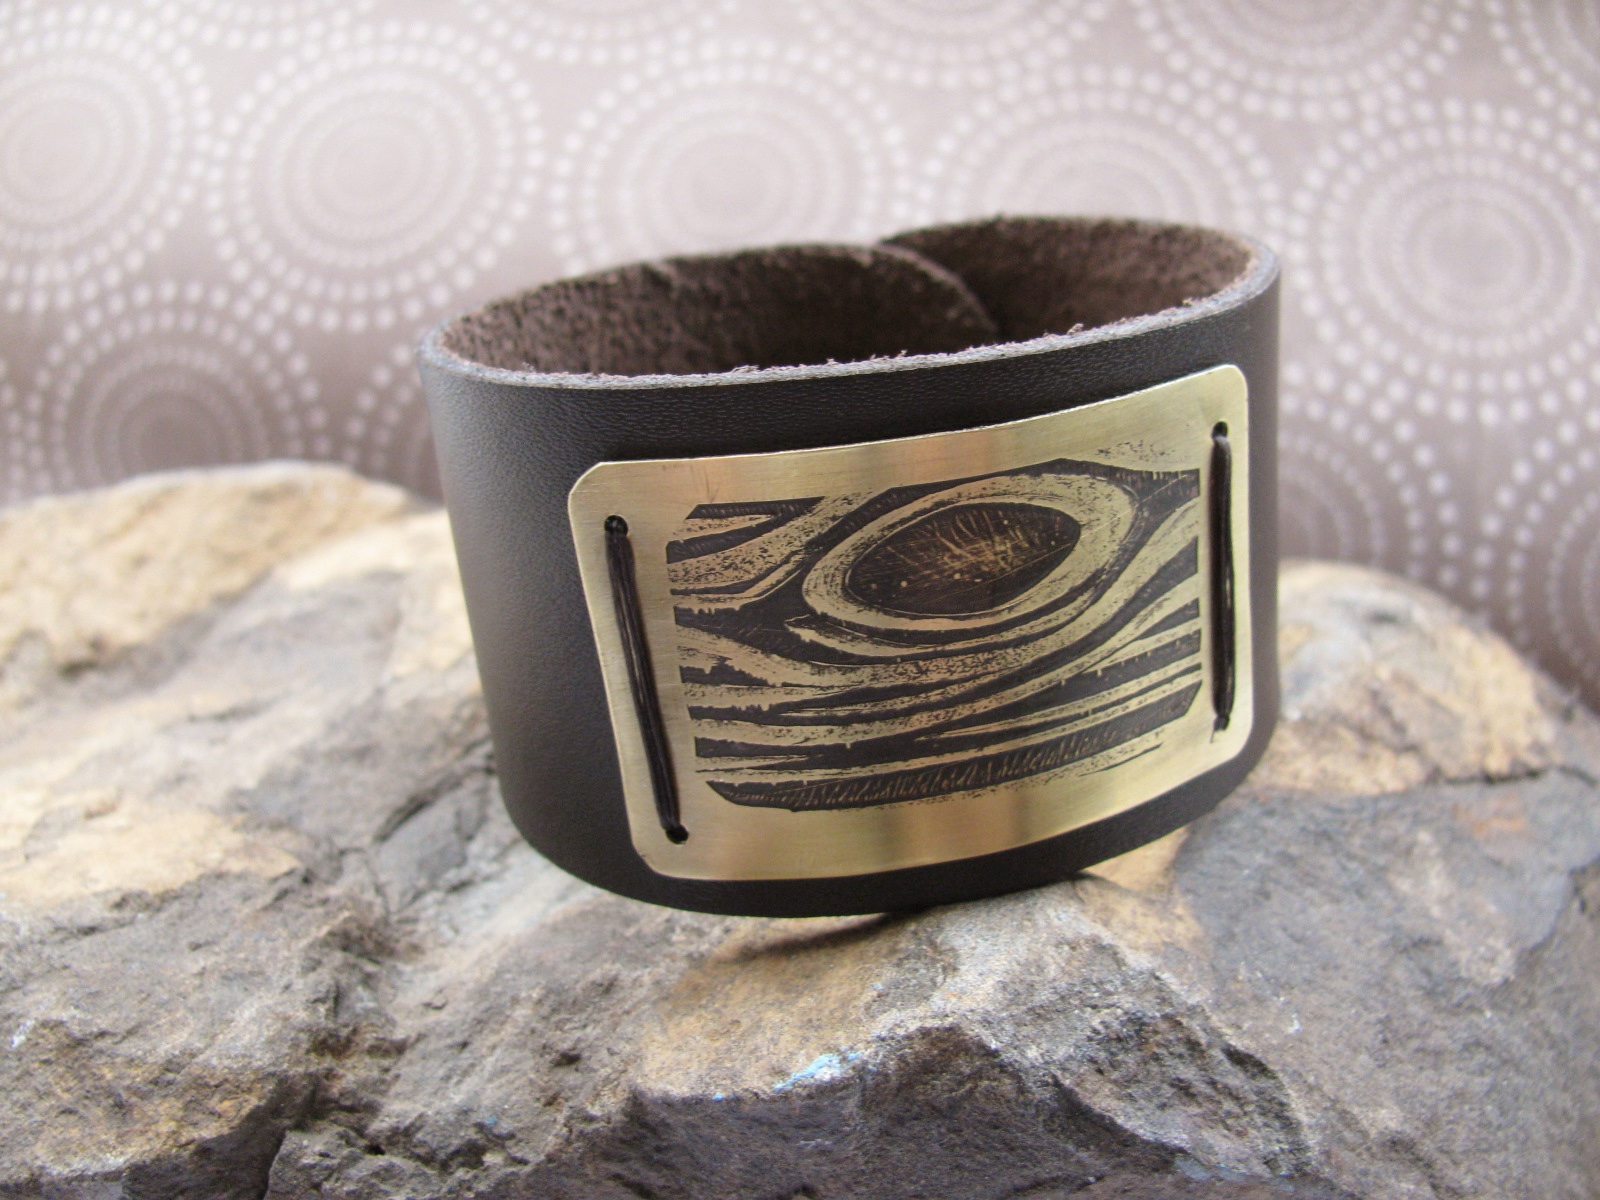
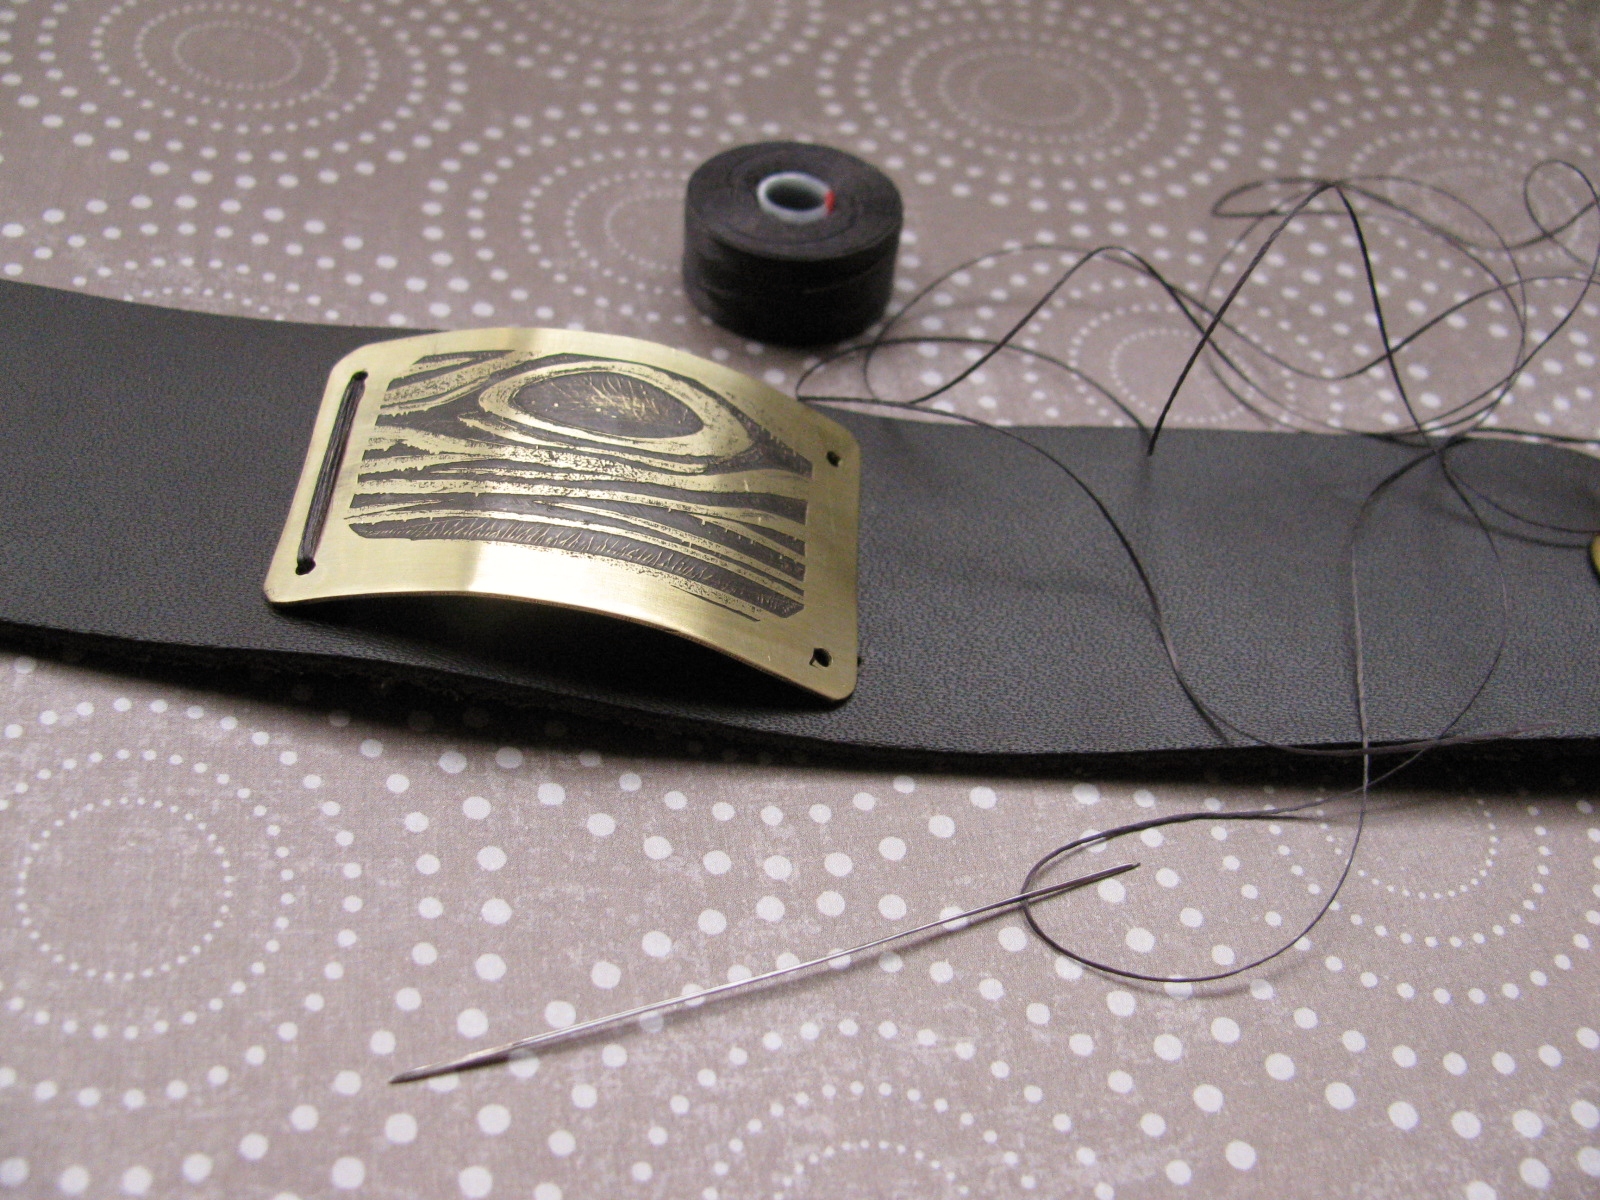
. Mark two \"stitching\" holes on either side of the two word-band loops. Also mark a \"lacing\" hole set 5/16th inch from each leather end.")
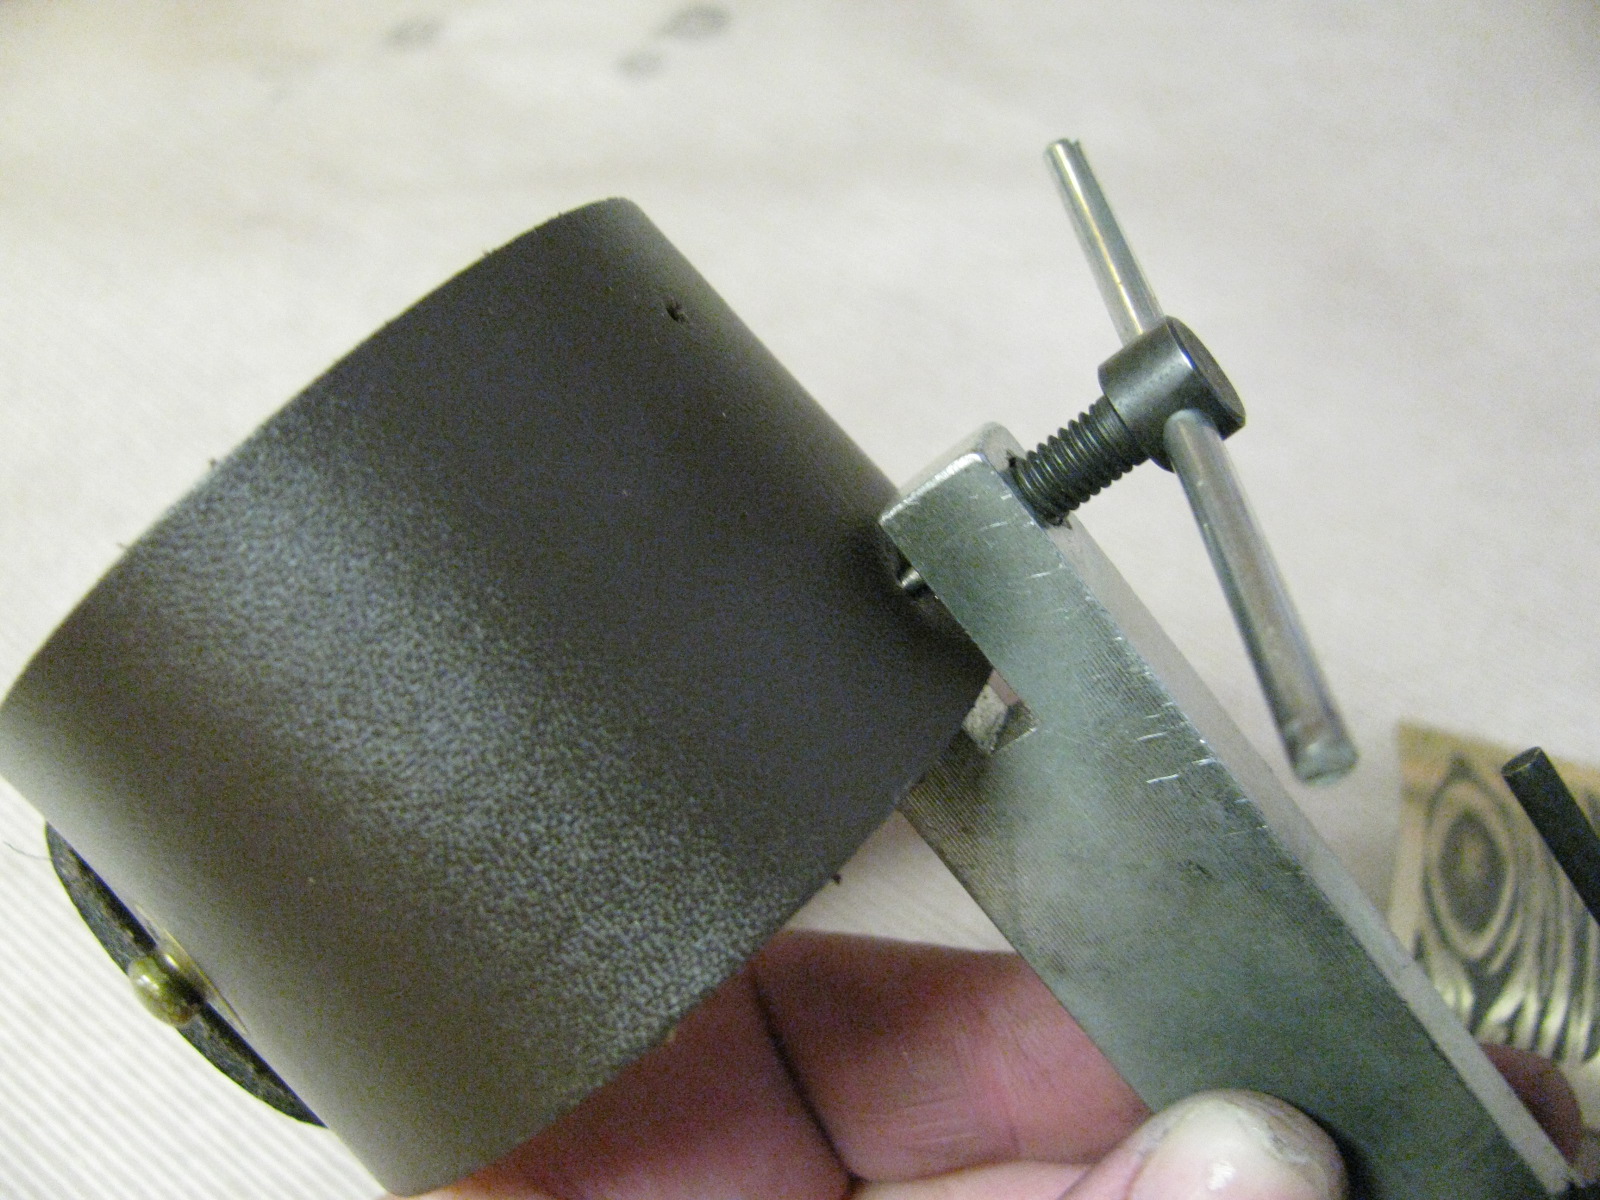
 to punch the stitching holes for the bracelet blank; use the largest punch (4.5mm) to punch the lacing holes for the drawstring closure.")


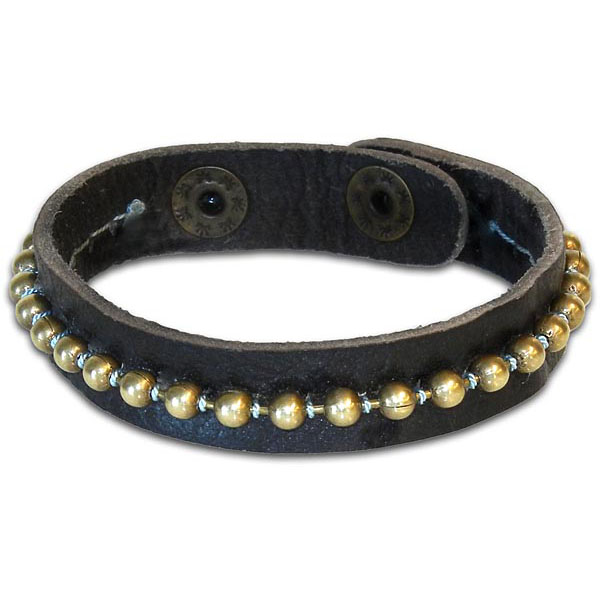
 to punch the stitching holes for the bracelet blank; use the largest punch (4.5mm) to punch the fastener holes for the hitch closure.")