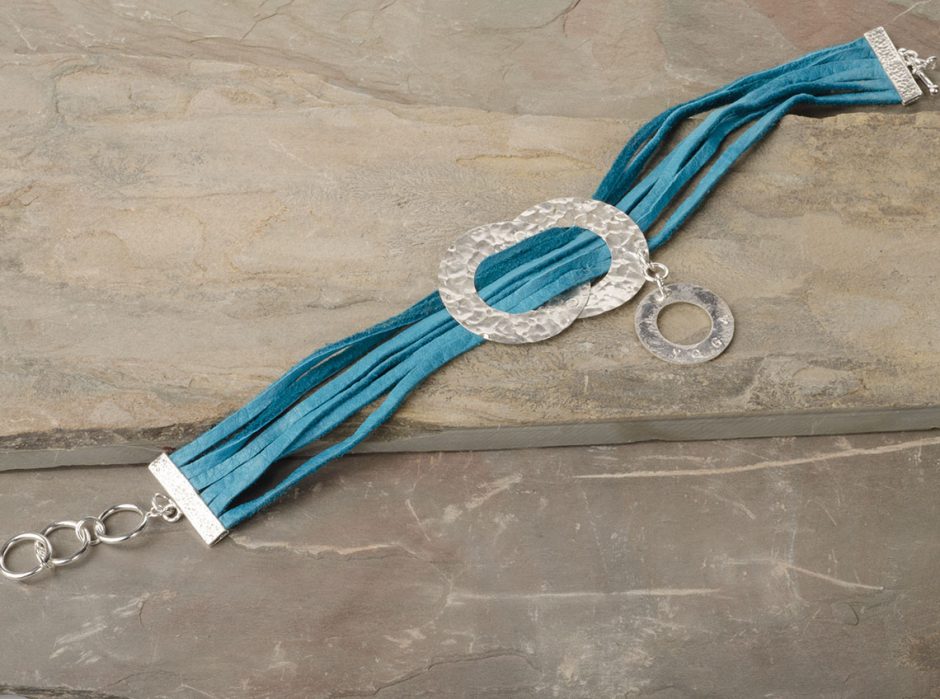
One of my favorite combinations when making bracelets is leather and charms! When deciding what color of leather to use, I chose turquoise because it’s a color that always calms me – plus it seems to work for all seasons. It reminds me of the beach where I would love to be! I decided to make this a multi strand bracelet because the stacked bracelet look is such a huge trend right now. To make your own version of this multi strand leather charm bracelet, read on. It’s easier than you think! Continue Reading…
DIY Leather Bracelets: Setting Rivets and Eyelets
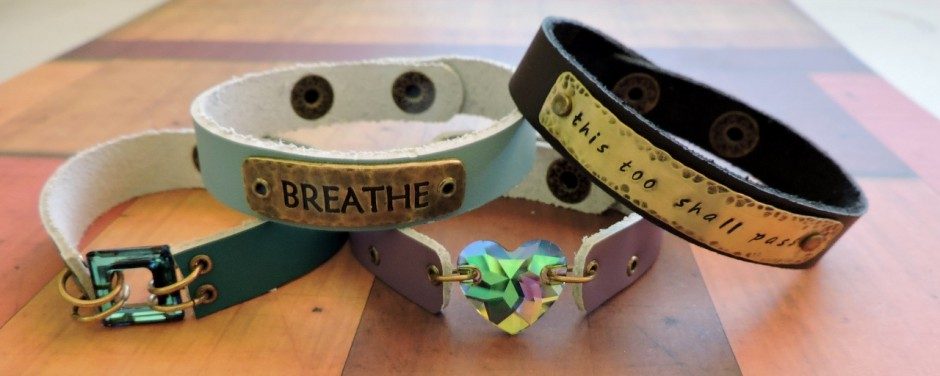
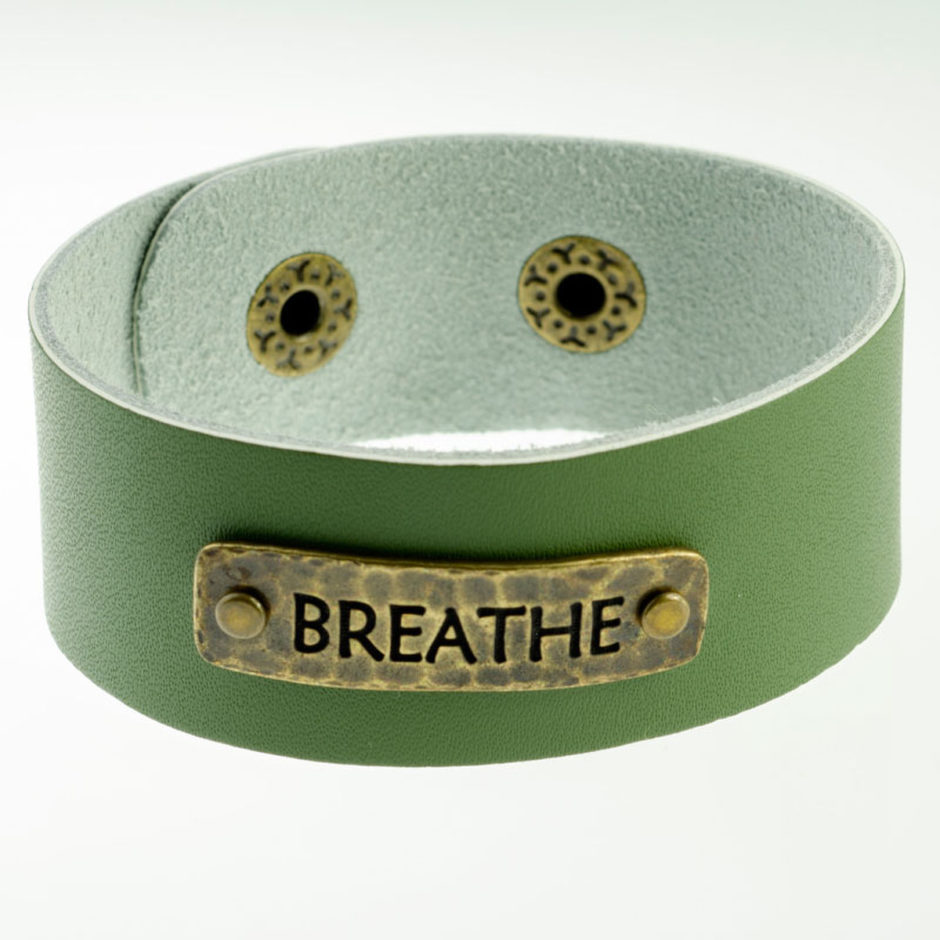
February 19, 2015I love leather cuff bracelets! Whether I wear one alone, or layer them with other metal and leather bracelets, I think they are always in style. They are bohemian, and can be in funky bright colors or subdued earth tones. With the large selection of pre-made cuffs we sell, the possibilities are endless! I made a few examples using the TierraCast eyelet setting tool and eyelets to show you! Check out how to make them below!
Continue Reading…
Futuristic Riveted Earrings with Swarovski Crystal Spikes
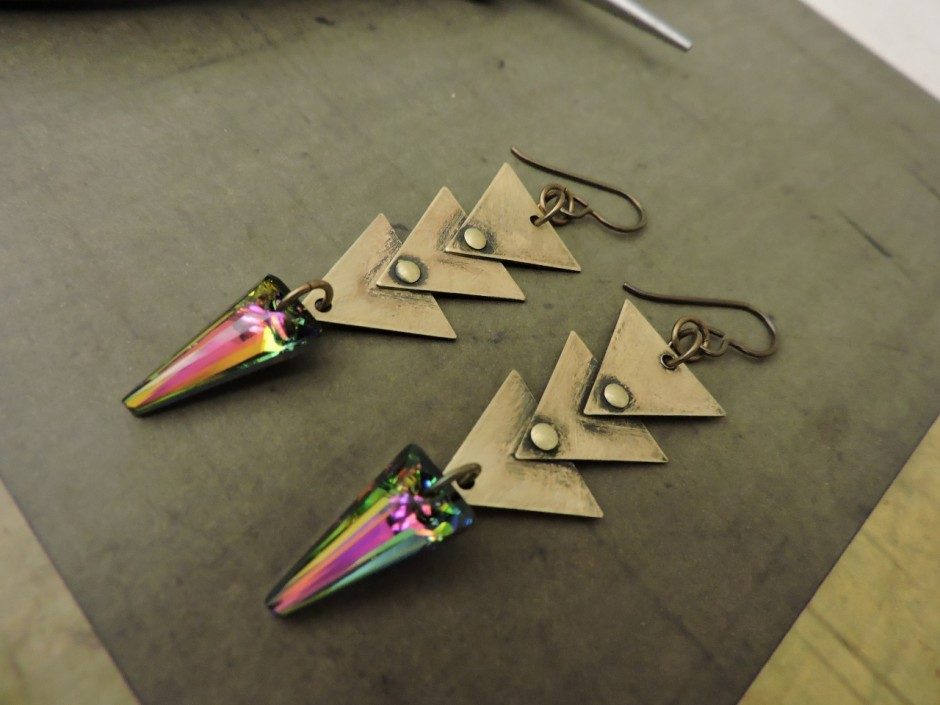
January 11, 2015Last summer I decided to splurge and buy myself a riveting tool. Riveting allows you to cold connect (join) metal pieces without the use of a torch or other heat source. Innovative riveting tools allow you to rivet your own jewelry designs without the hard work (and endless hammer tapping) that traditional riveting requires. I wanted to show an easy design using the riveting tool that also features Swarovski spike pendants. See how to make these earrings by following the easy steps below! Continue Reading…
Best Riveting Tool Set
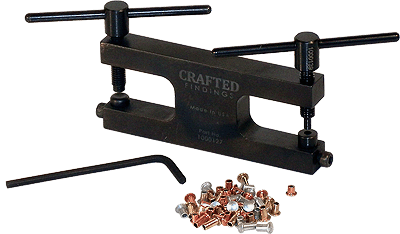
July 22, 2013With 100s of rivets, eyelets, and related tools to pick from, the #2 riveting question I get is:
What are the best tools to easily
set both rivets and eyelets?
The answer depends on whether you want to rivet mostly leather, or mostly metal.
For leather, see my Riveting with TierraCast Leather Findings tutorial.
For metal and mixed media, the best set of riveting tools is…
Create a Hinged Metal Memory Journal
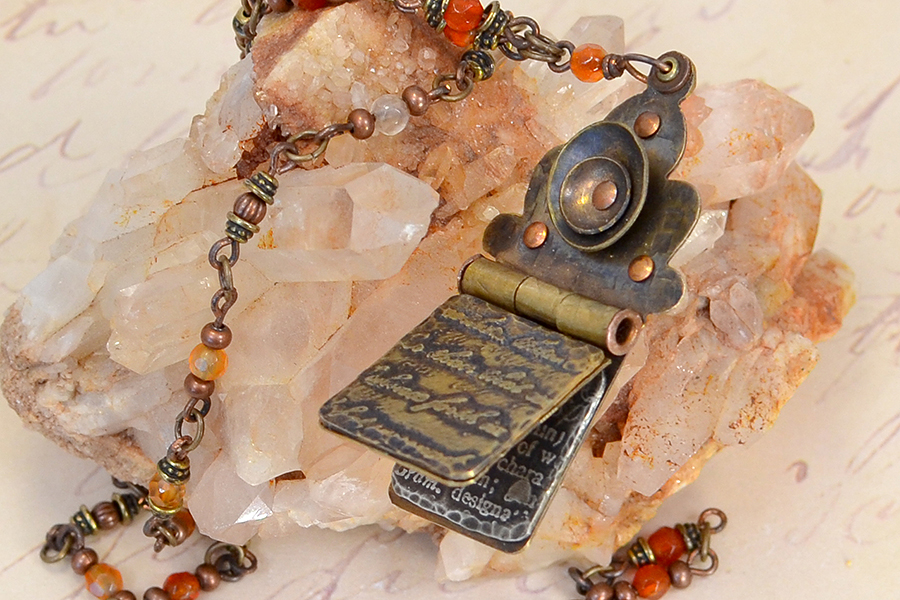
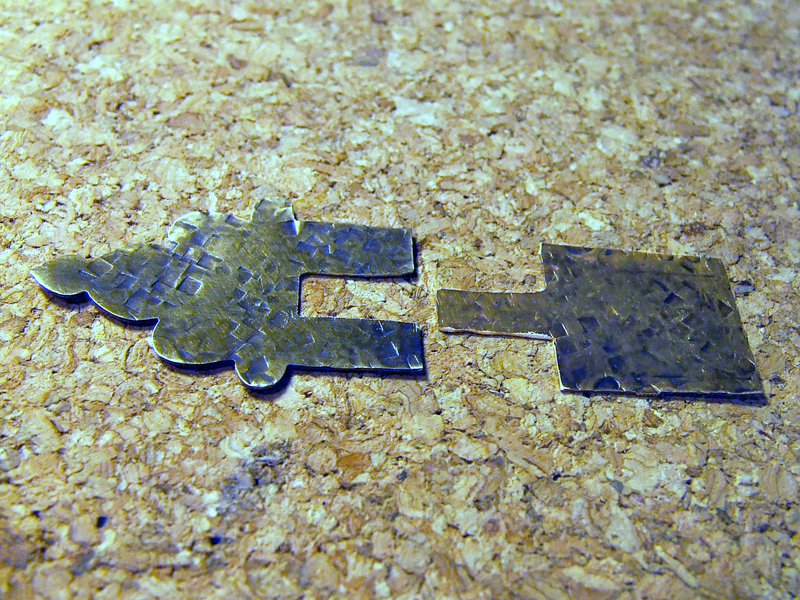
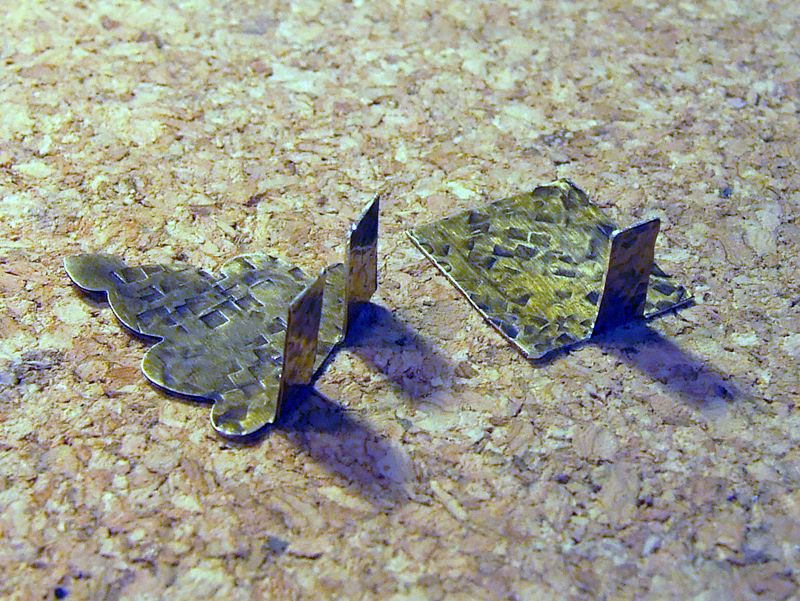
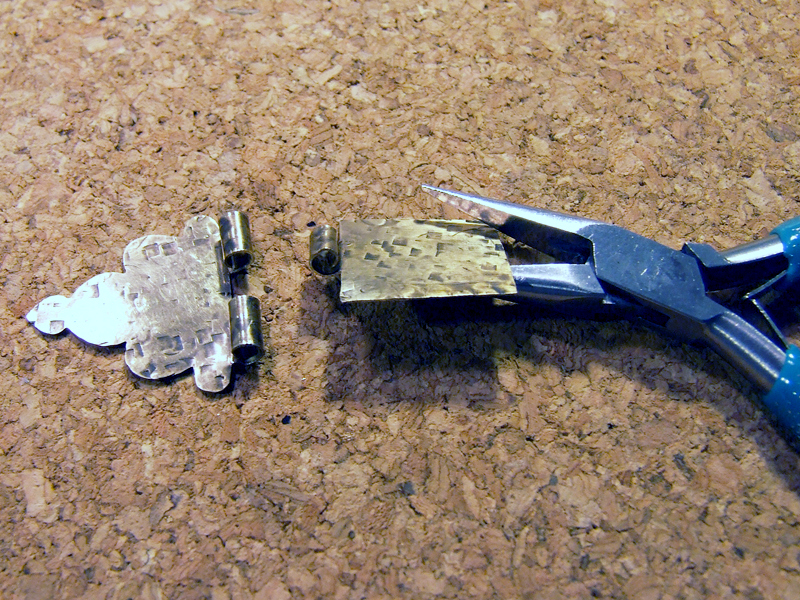
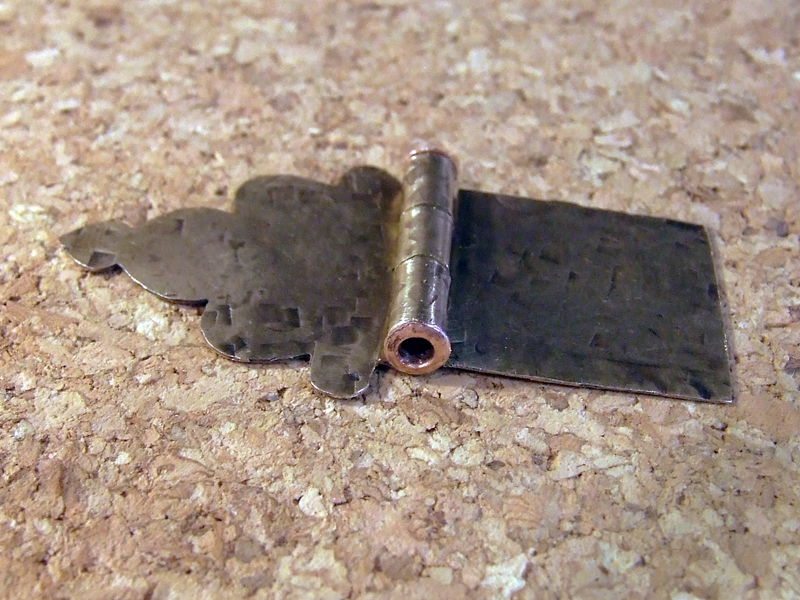
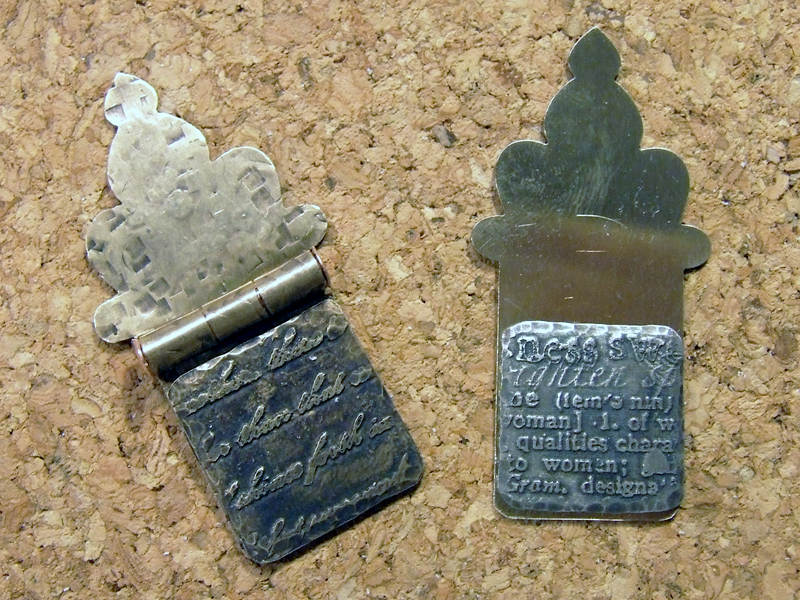
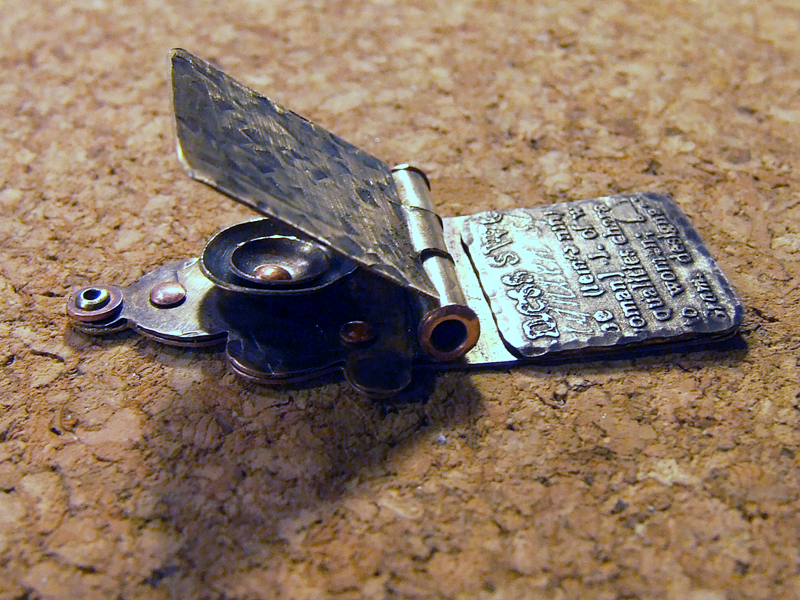
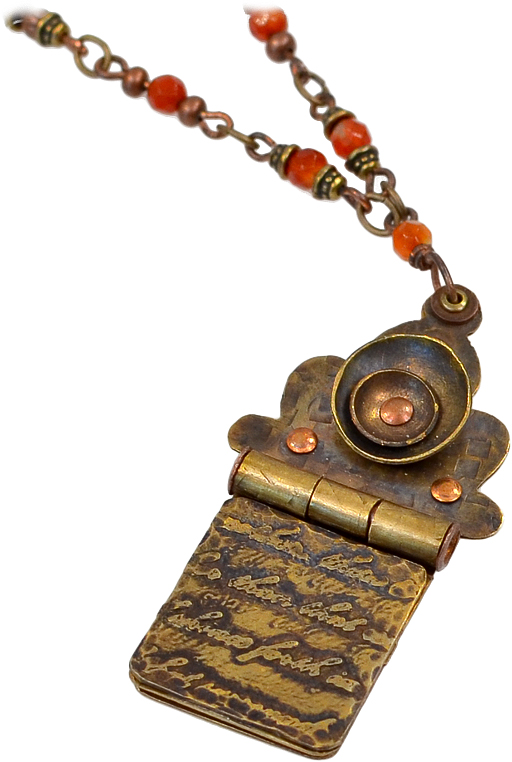
July 18, 2013Use a hinge to turn shrine-shaped metal blanks into a journal!
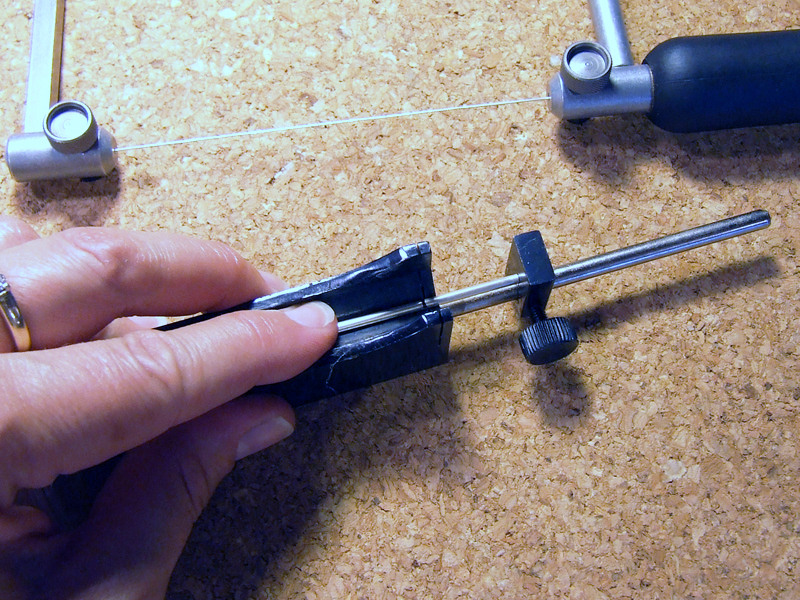
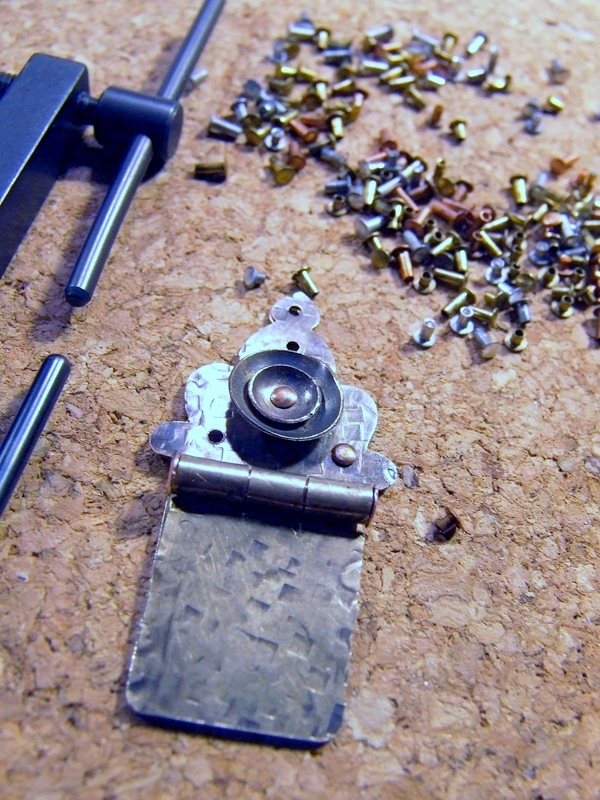
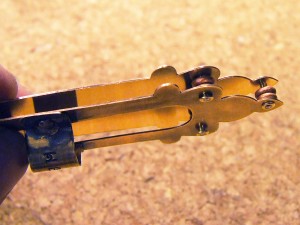
Slide tubing down the channel and finesse hinges as needed. Rivet tubing into place to finish the hinge. Open and close hinge to ensure a proper fit.
Carefully clean and polish the pendant before attaching the necklace chain.
Handmade jewelry looks great on a custom beaded necklace, on leather cording, silk ribbon or chain. I created a necklace by making individual links using the one-step looping plier, eye pins, metal beads and natural agates. The links were connected using jump rings.
Create a Healing Shrine
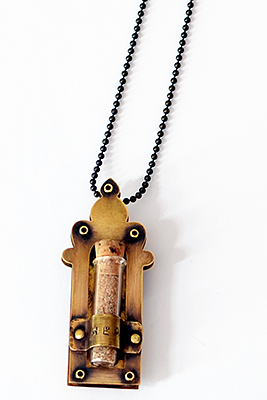
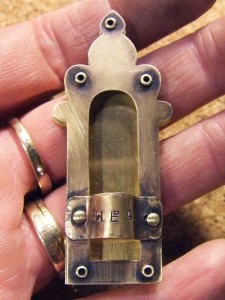
June 6, 2013Making handmade jewelry for someone is a unique and inspiring way to show you care. This “Healing Shrine” was created for a friend suffering from cancer. It was inspired by our new brass “window” blank shapes and a recent trip to Santa Fe, NM.
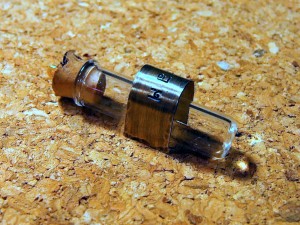
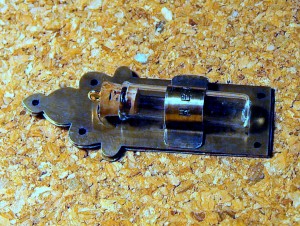
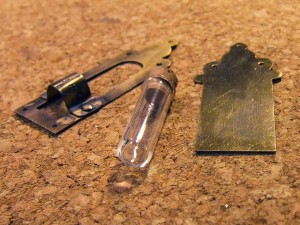
Each year, thousands of people pilgrimage to El Santuario de Chimayo seeking blessings. Many visitors take a small amount of “holy dirt” from the site, in hopes of a miraculous cure for themselves or someone who could not make the trip. I chose to encase my “holy dirt” in a glass portal, that I nested inside a brass reliquary. Following are instructions for how-to create this DIY jewelry design using stacked brass layers and cold connections.
First, envision your shrine and decide how you want it to look and feel. Decide on contents for your glass bottle. Unscrew the top loop from the cork in the glass vial. Measure, mark and punch holes for rivets (using the small side of the hole punch).
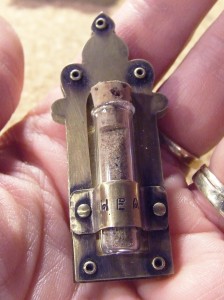
Stamp word “heal” on the metal band designed to hold the glass vial. Measure the band to ensure that it is going to fit.
Using bail making pliers, bend the center of the band into a curved shape, leaving each end flat. Cut to shorten as needed. File the ends.
Rivet the stamped metal band into place after double-checking that it will snugly hold the glass once it is assembled.
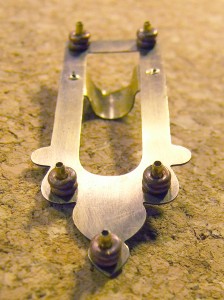
Insert tube rivets in holes between the front and back of shrine, stacking copper heishi trade beads between the layers (to fill the space and strengthen the connection between the top and bottom layers).
Rivet them into place. Note: Be careful, it is very difficult to reinstall the heishi spacer beads if they fall off the tubes!
Patina and clean. Using two-part epoxy, attach a magnet to the back side of the shrine. Carefully fill vial with contents.
Once the glue has cured, pop the glass vial inside the band. This DIY jewelry project can be a pendant, magnet or pin.
Riveting with TierraCast Leather Findings
April 22, 2013The links, beads and rivets in TierraCast’s Leather Findings Collection are refreshingly easy to use — especially for those of you who are still nursing bruised fingertips from my previous riveting blog!
Upcycle cans and tins into jewelry!
October 7, 2011We all know recycling is a good thing, but upcycling is even better! Aluminum and tin cans can easily be turned into jewelry, but there are a couple of things to keep in mind:
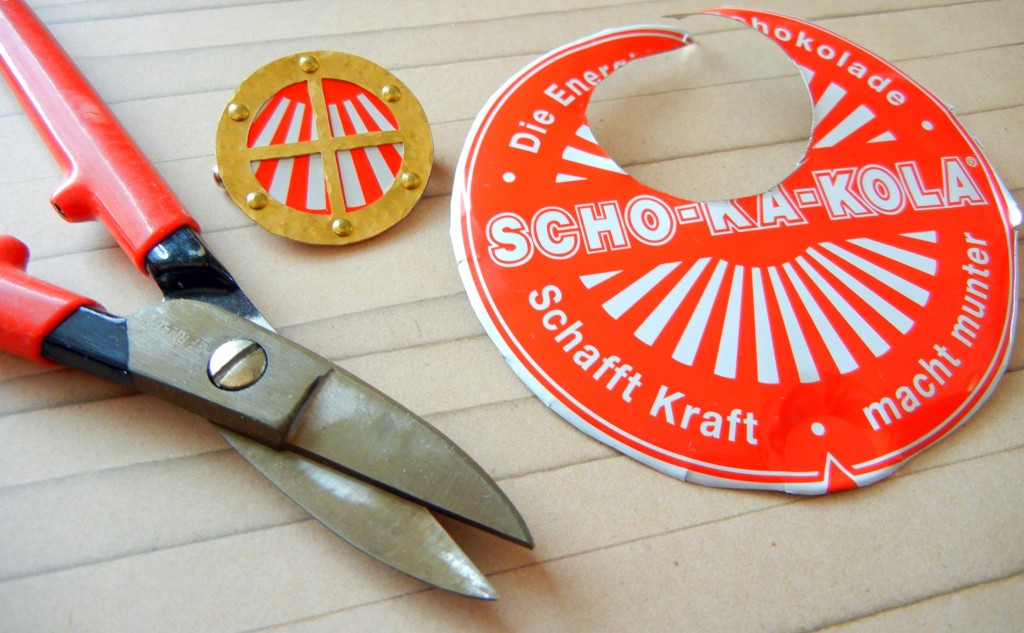
- Metal edges can be wicked sharp. Make clean cuts and file off any jagged points. Quality jewelry metal shears make this much easier! Most tin snips and other shears from hardware stores are difficult to grip.
- Aluminum cans and most tins are too thin to be durable enough for jewelry by themselves. We suggest layering the metal you cut from recycled items. Three ways of doing this are riveting, gluing and/or coating the metal pieces.
Here are a few examples of how to turn packaging into lovely adornments:
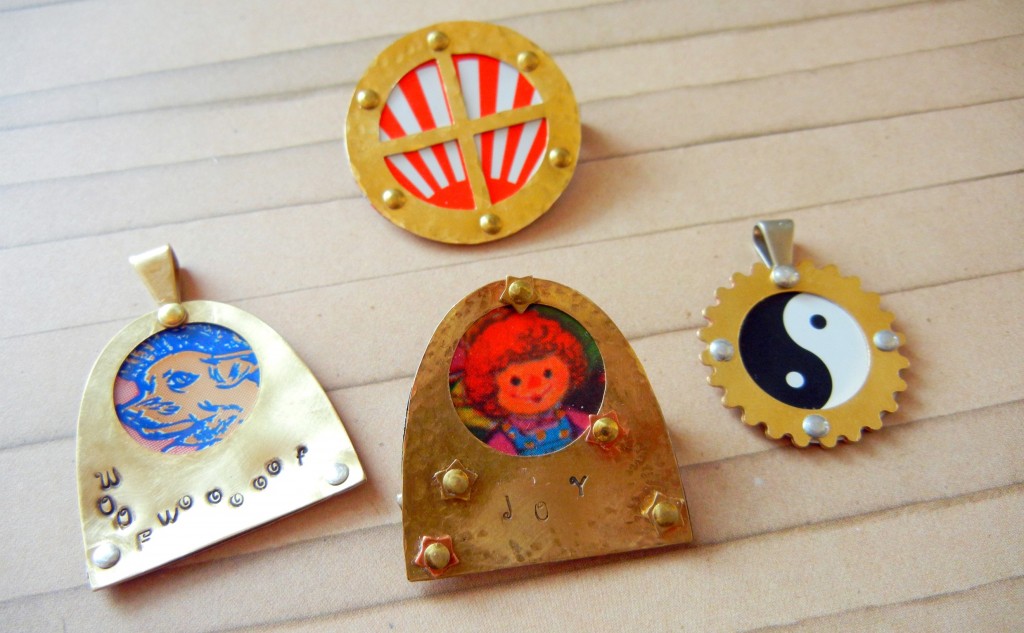
Polly sandwiched her recycled metal elements between brass fairy doors, disks and gears. She riveted the pieces together using Crafted Findings’ riveting tool. Learn more about the riveting tool system here.
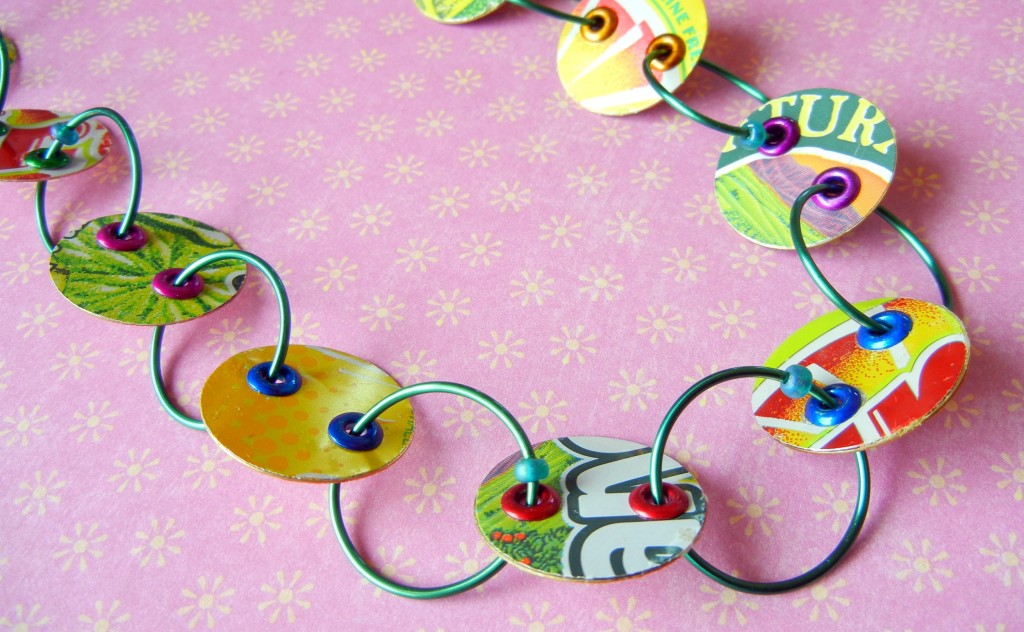
For this Soda Pop necklace, we cut disks out of cans and then glued them to brass disks to make them thicker. A circle template (commonly found in Art Supply stores and sometimes Craft Store) makes this task easier. Get more info in our design gallery.
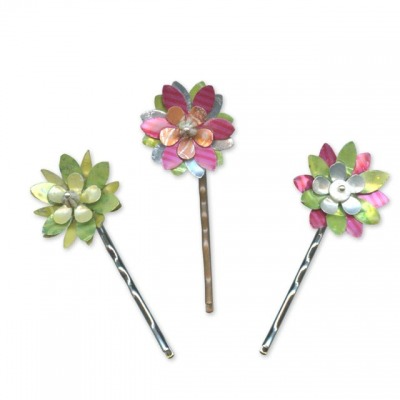
Instructions for how Toni coated these pins with liquid polymer clay to make them safe to wear are in our design gallery.
Start looking at soda cans and other product packaging in a different way! I for one always check the bottle cap design when deciding on a beverage.
How I wish every city had an Upcycle Exchange Market (yikes! Link removed in 2019 … that link goes to something COMPLETELY different and unsavory now). It is a brilliant idea for reusing and redistributing crafty supplies and recyclables! Until then, ask your friends and family to help collect interesting materials for you. You might just upcycle something wonderful!
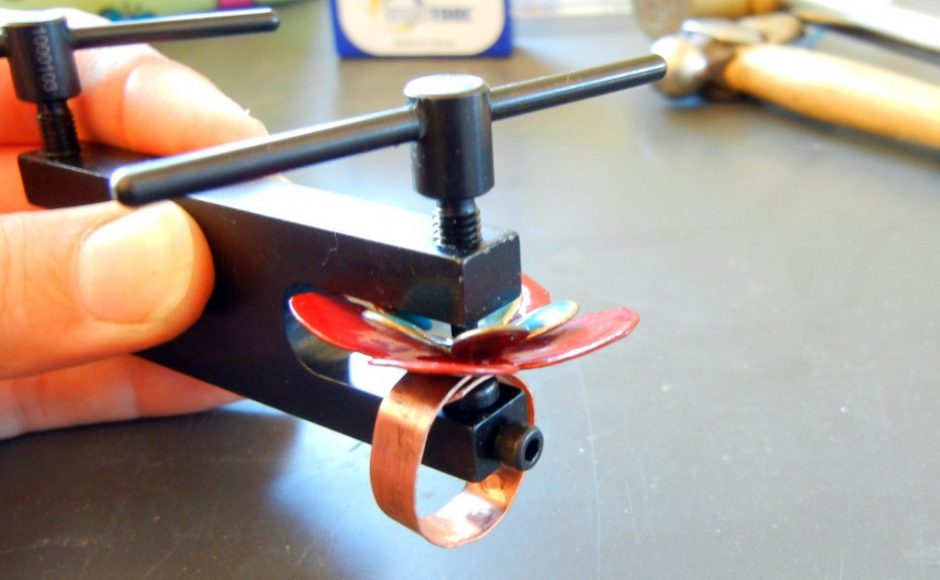
Riveting tool comparison – long reach vs. standard
September 21, 2011Hello, bloglandia! Today, I failed repeatedly at the project I undertook with the Crafted Findings semi-tubular riveting tool. But, as many wise people have stated, wisdom rarely comes from success. It is our failures that we learn the most from. And besides, these particular failures were actually wins in a way.

