Browsing Tag

rubber stamps etching

DIY copper etching tutorial

December 28, 2011

It is easy to etch your own designs into metal for jewelry. This tutorial will teach you how! (Check out our etching kit too!)

etched-stamped-metal
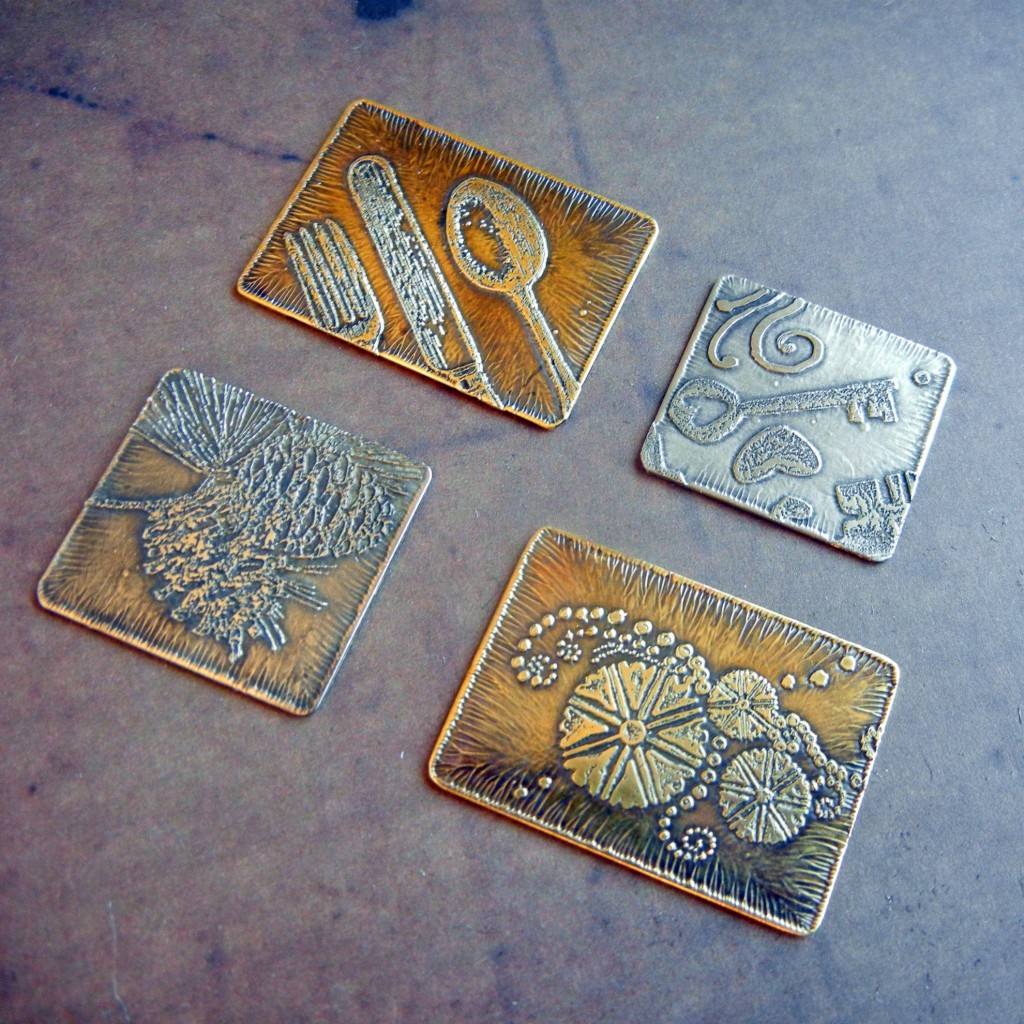
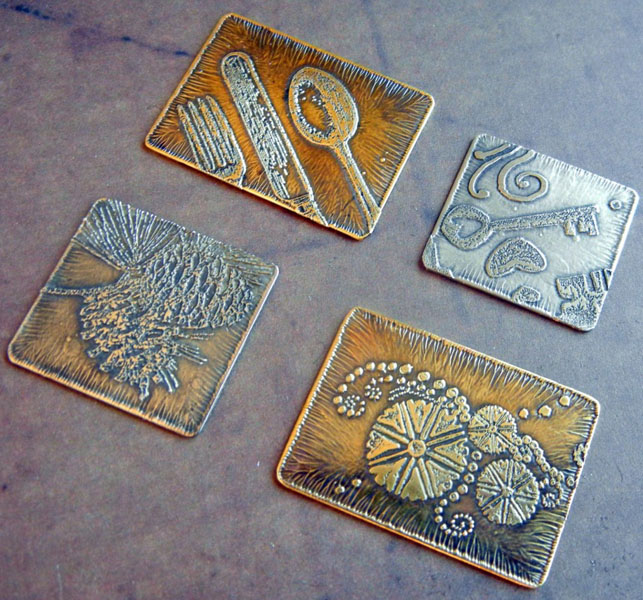
Rubber stamp designs etched into brass sheet metal.

Before you begin, please read the safety considerations for etching metal with chemicals blog post.

You’ll also probably want to read the design considerations for etching metal blog post too!

Now, here are the steps for etching metal with ferric chloride:

1. Choose your metal(s). Ferric chloride works on copper, brass and nickel silver. It will not work on actual silver (fine or sterling). Do NOT use ferric chloride on aluminum. Metal as thin as 24-gauge can be etched – just leave it in for less time than you would for thicker metal. If you want to etch both sides or etch really deeply, use at least 20-gauge metal.

2. Clean metal with Penny Brite (our favorite) or an abrasive cleaner and scrubbie. The metal must be very clean. Water will sheet off (not bead up) on the surface when it is truly clean.

3. Apply resist. Stazon ink, Sharpies, toner transfers – there are many options! (Read the design considerations.)

Continue Reading…
Design considerations for etching metal

December 28, 2011

Creating attractive etched metal pieces for jewelry requires masking portions of the metal to prevent the etchant from etching those areas. The unetched areas will be the high points on the metal.

artist-etched-metal-jewelry

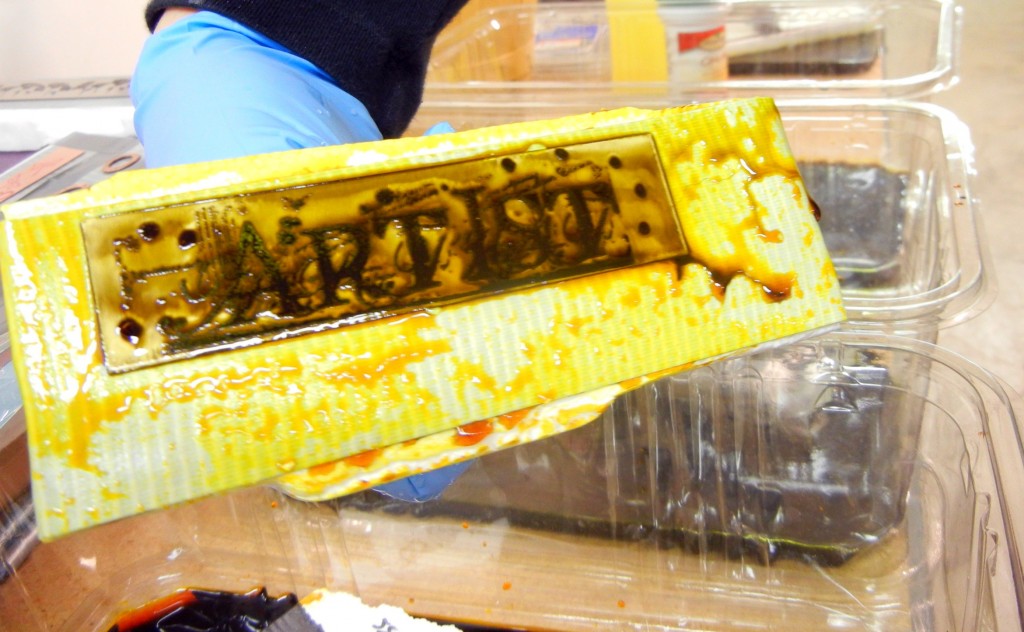
This rubber stamp design transferred and etched nicely.

Lines need to be at least as wide as the etch will be deep. Lines should be a little wider than how you’d like them to be when the etching is done to allow for the fact that the etchant will typically undercut your design lines a bit.

If you’re doing a deep etch, use lines that are at least 1/32″ wide. Finer details might be lost.

There are a variety of resists you can use to created etched designs on metal. Here are some of our favorites:

  • Fine point Sharpie pens
  • Staedler red ink pens
  • Stazon ink pads (black and red work best) and rubber stamps.
  • Press-n-Peel (PnP) Blue paper or other toner transfers. If using transfers, be sure to reverse the text and images before you print them.

If you mess up your design, use Stazon cleaner to remove the ink and try again. The etchant will eat through faint, blurry or thin ink, so make sure your lines are dark and crisp.

That’s basically it! Please feel free to add any experiences you’ve had with etched designs by leaving a comment. The DIY etching tutorial has full instructions for etching metal. Please also read the safety considerations. Thanks! ~ Cindy