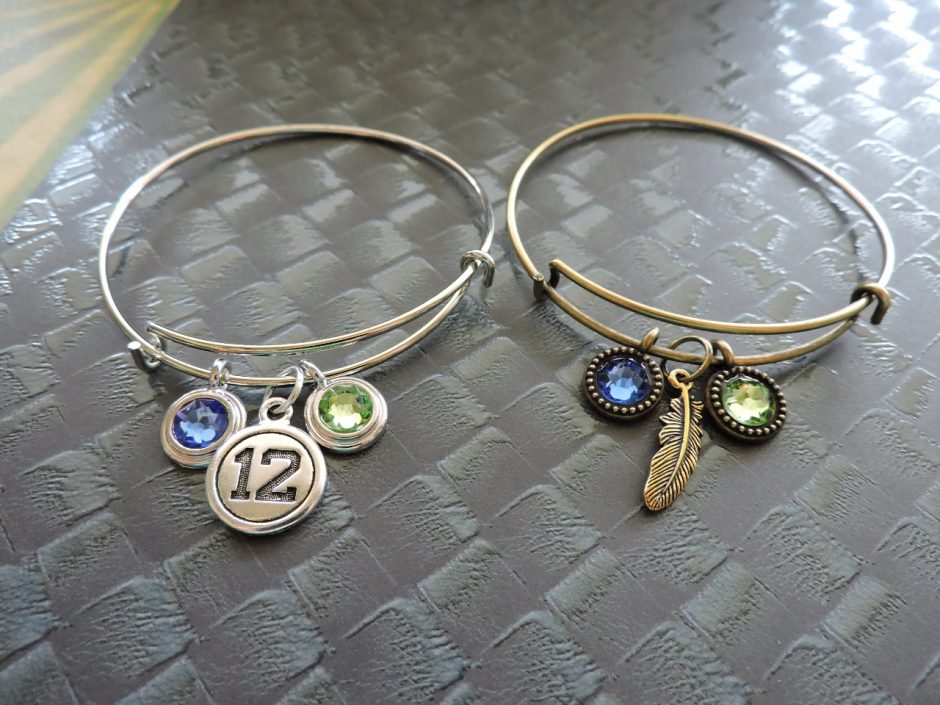
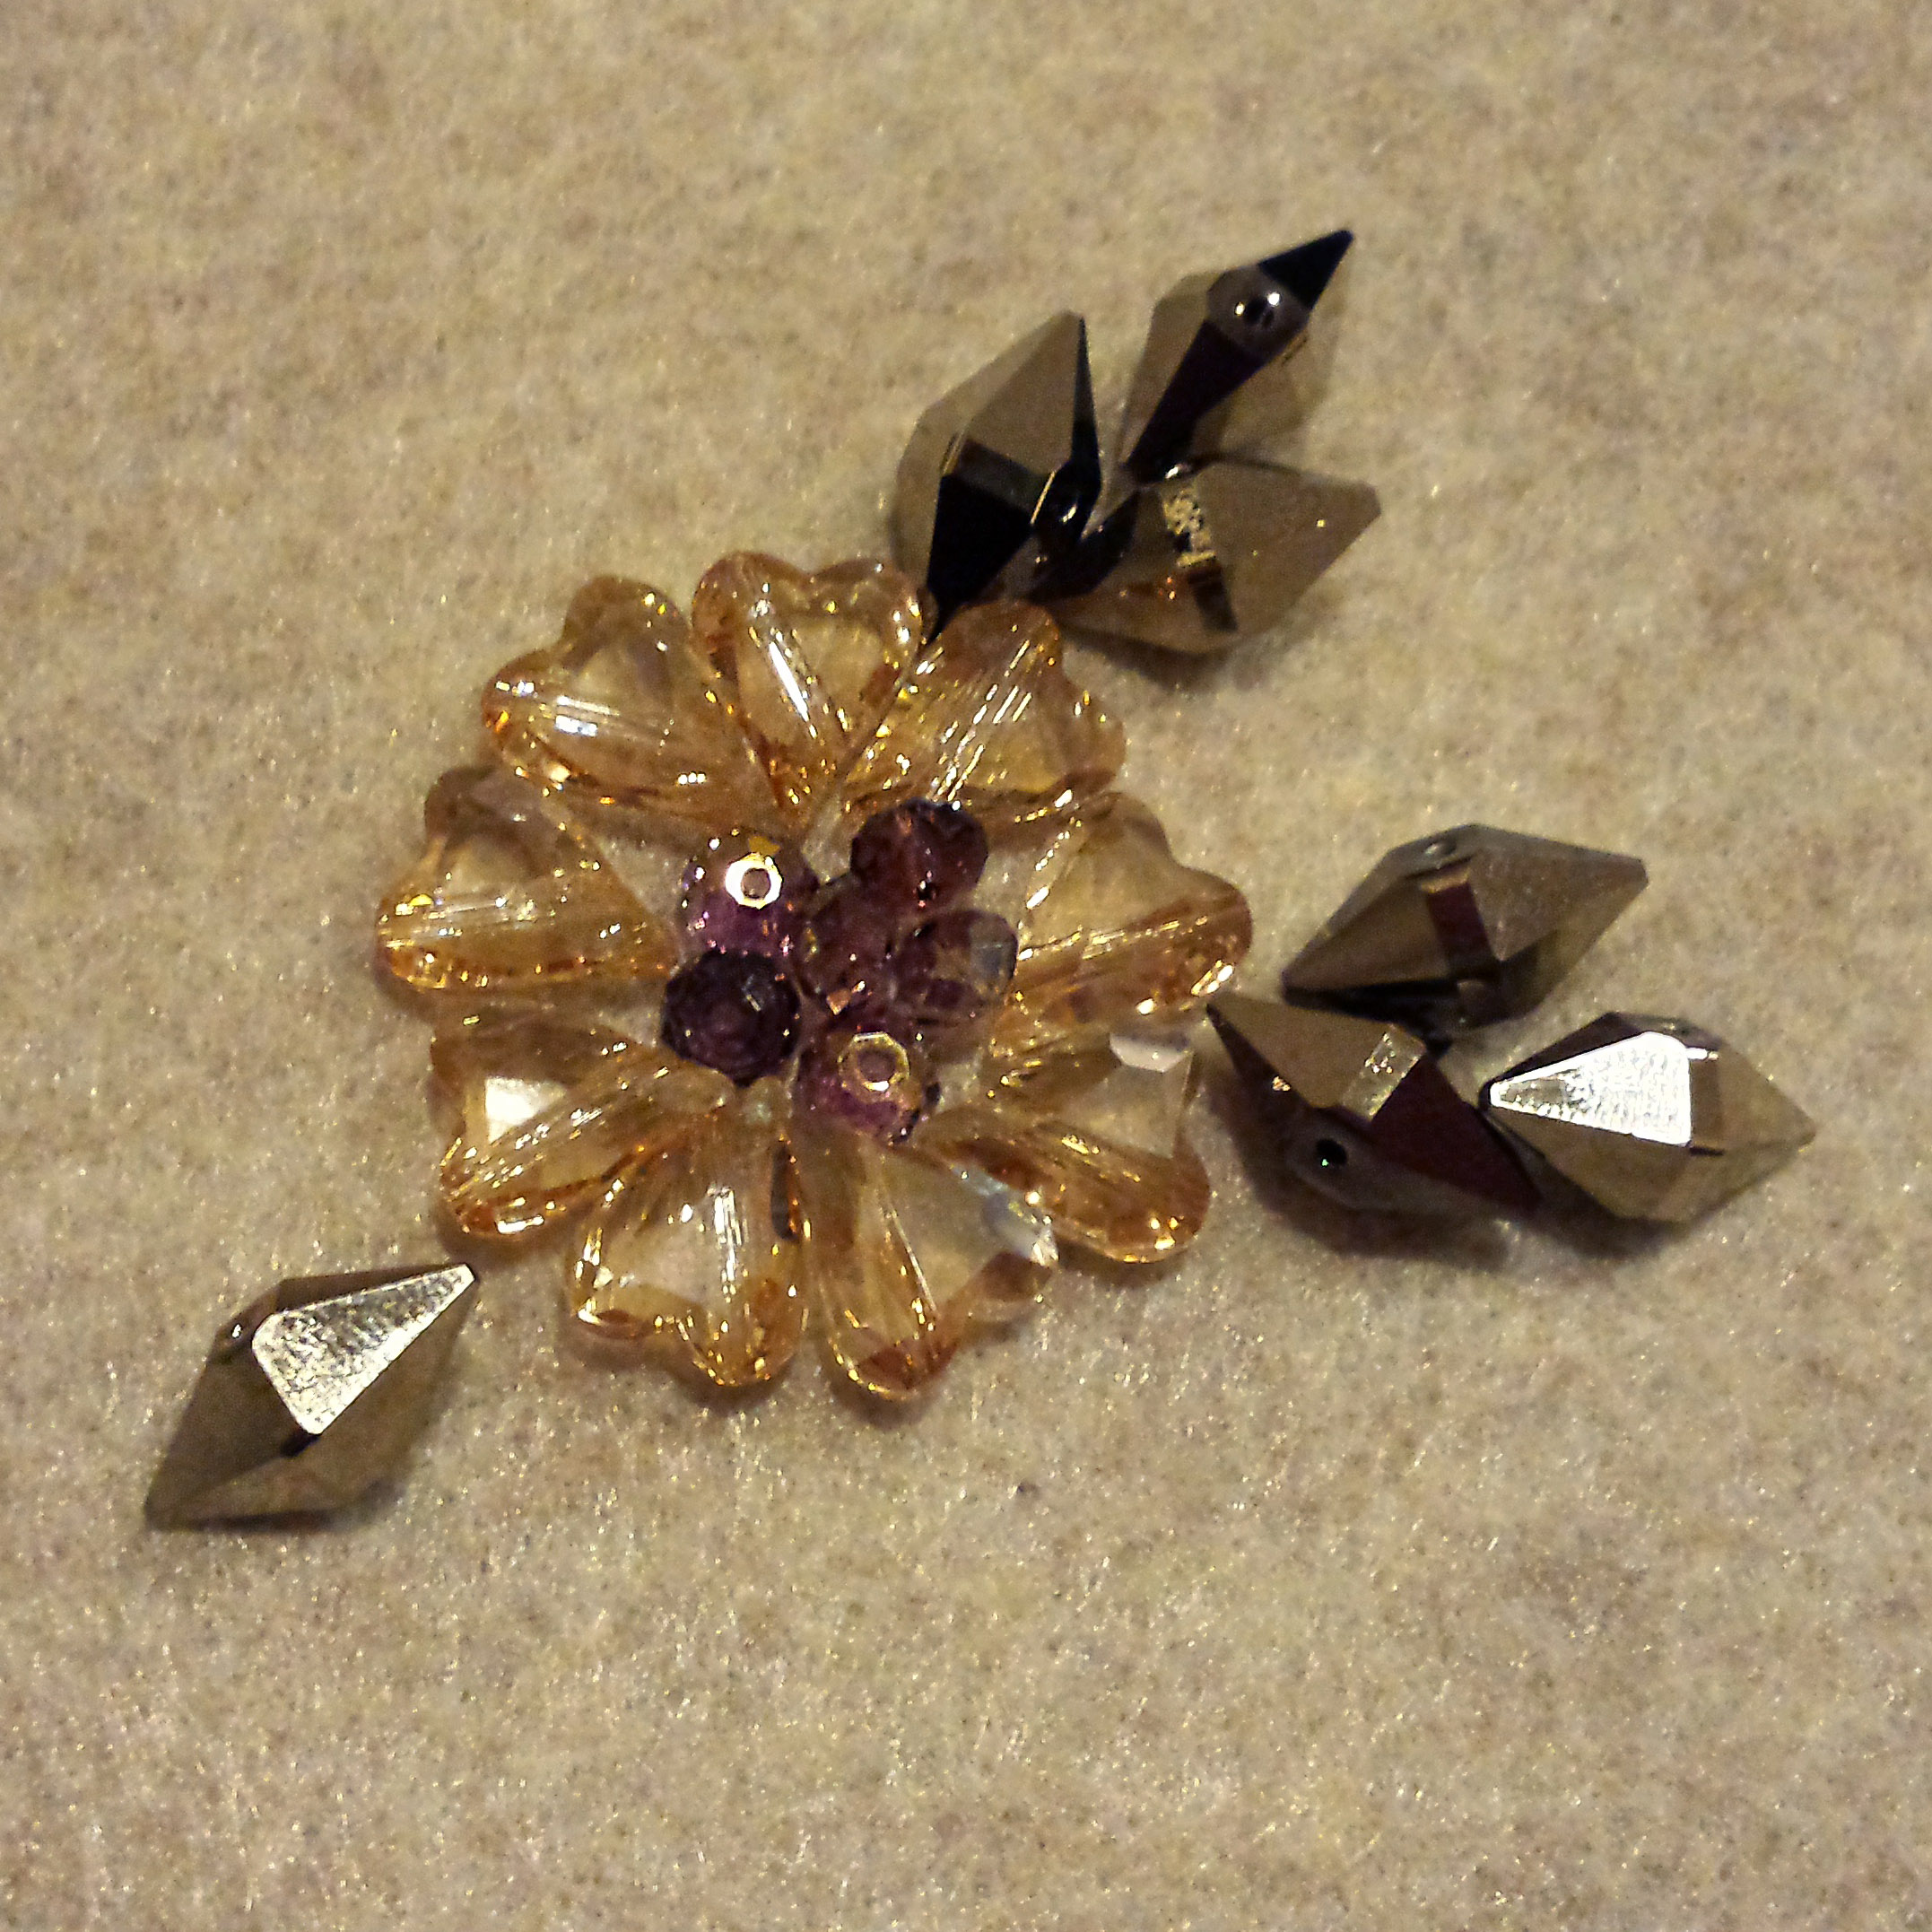
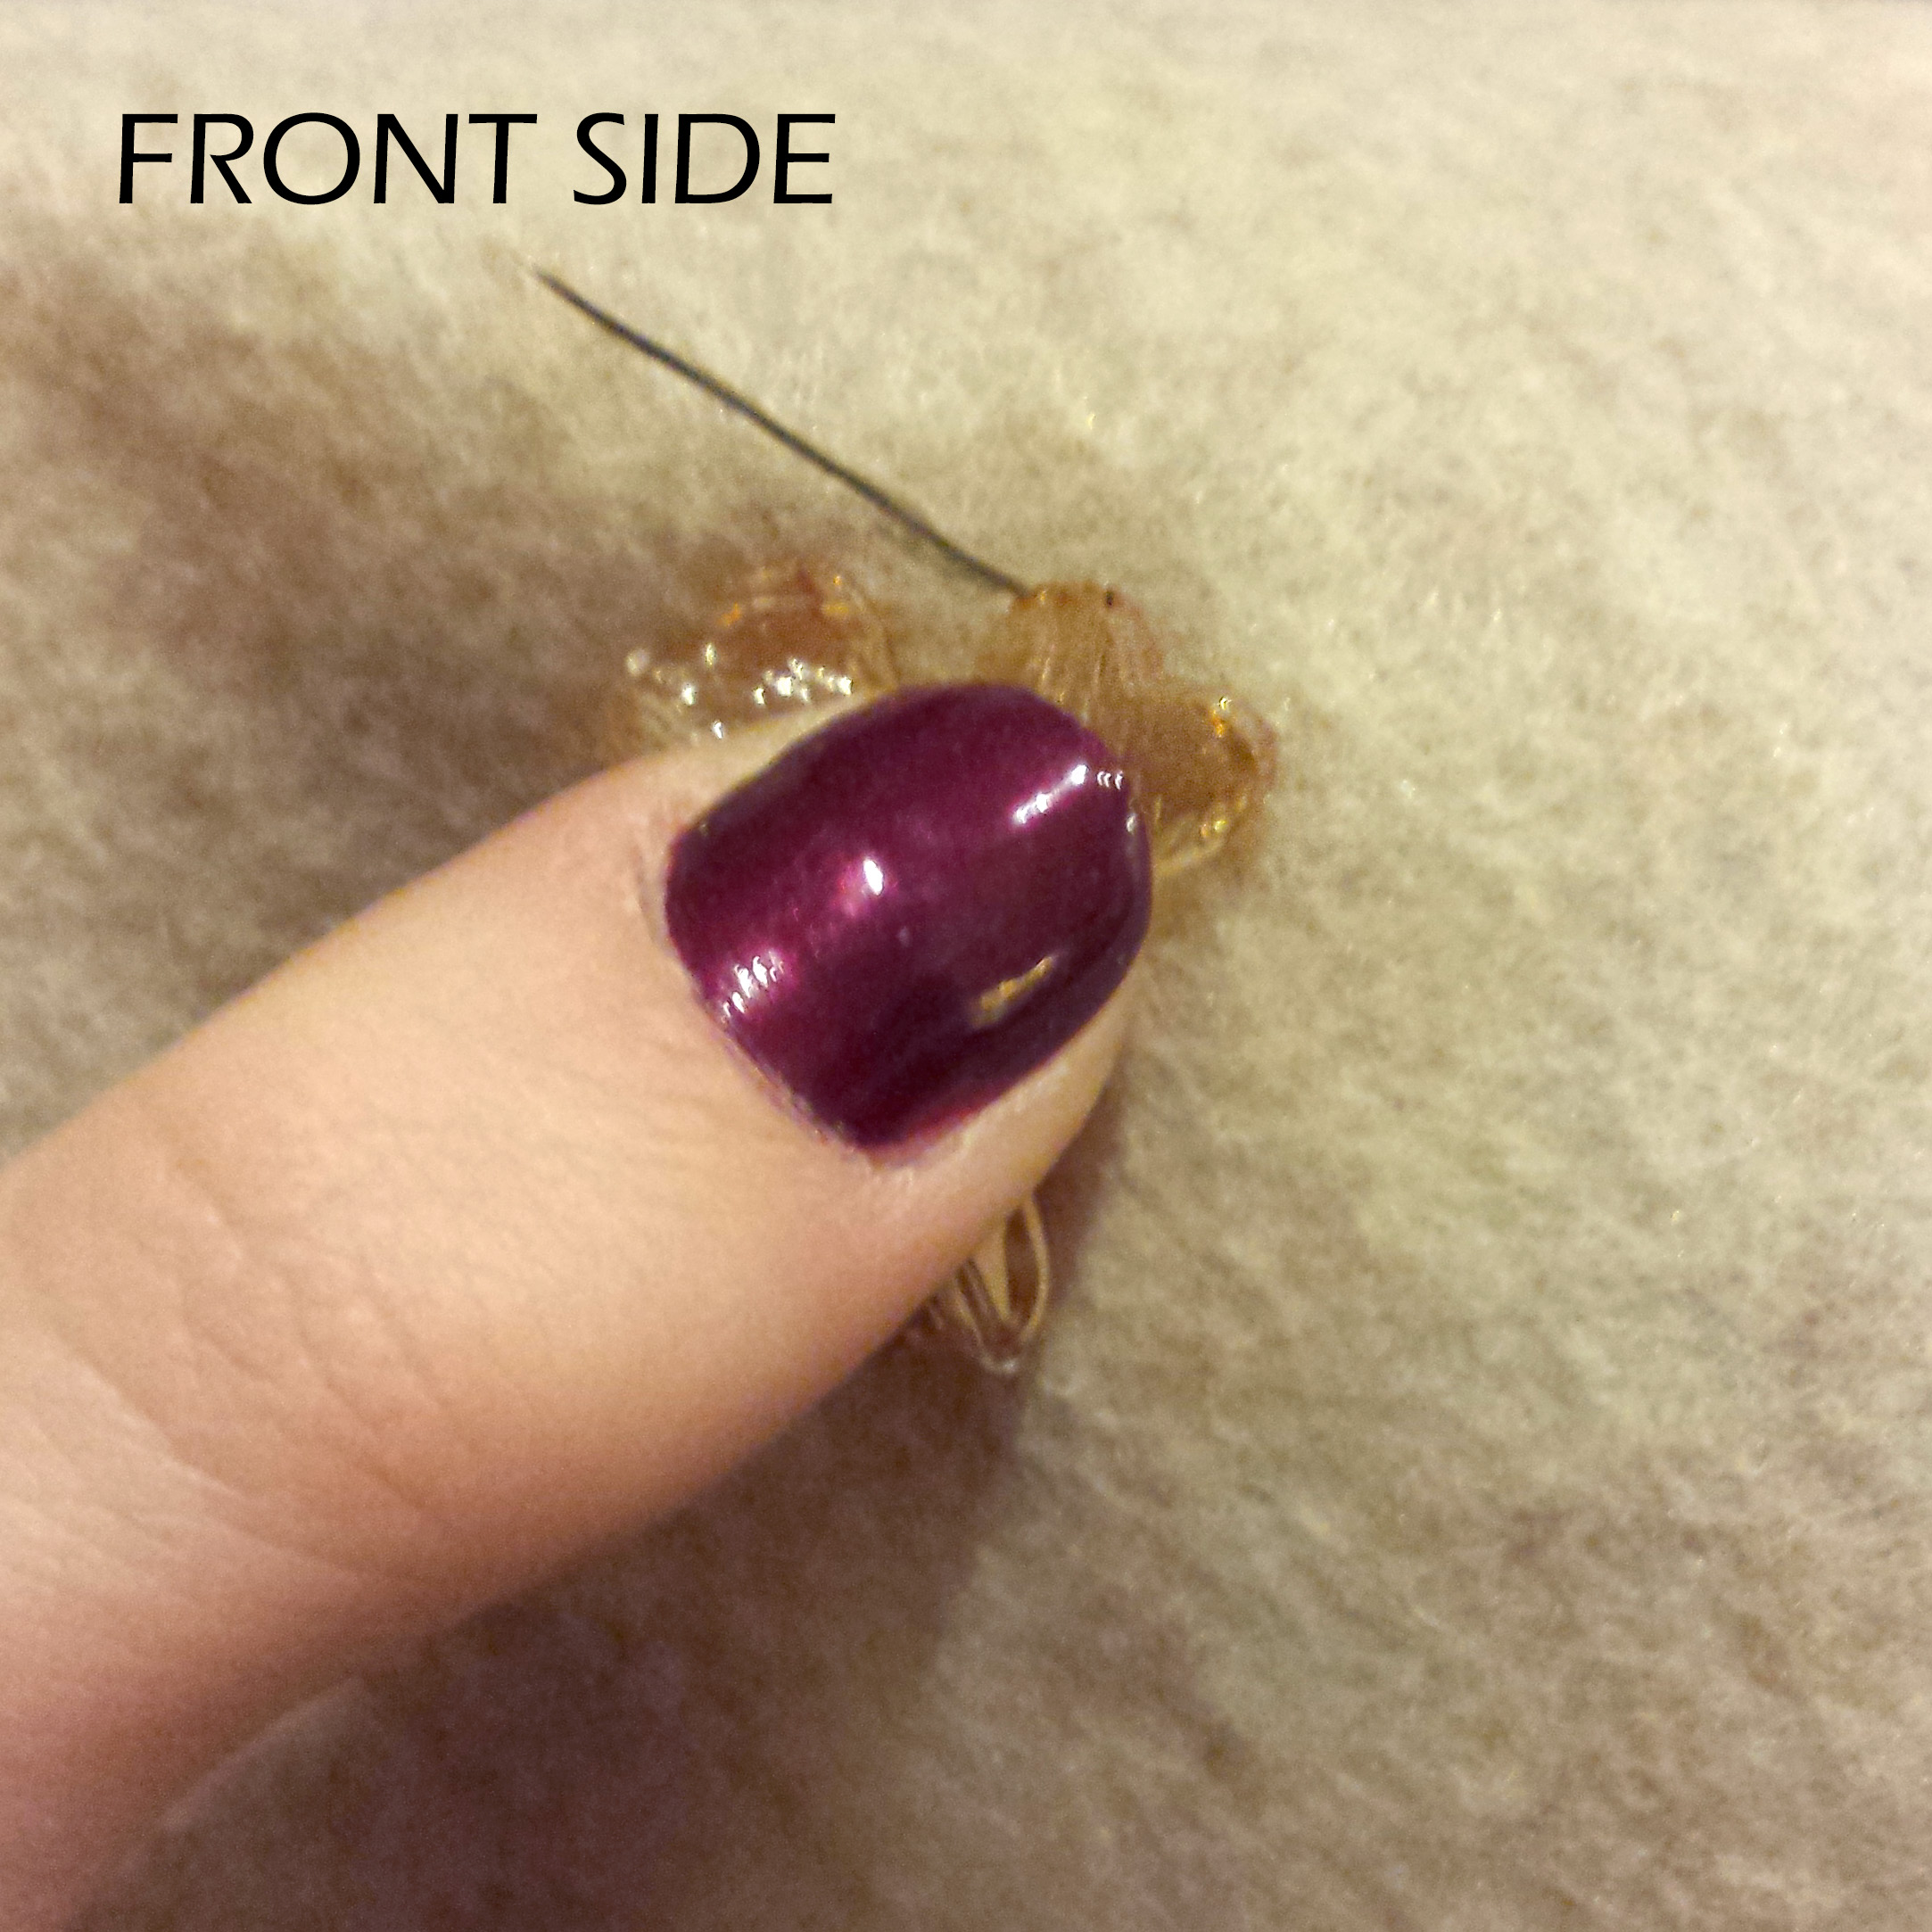
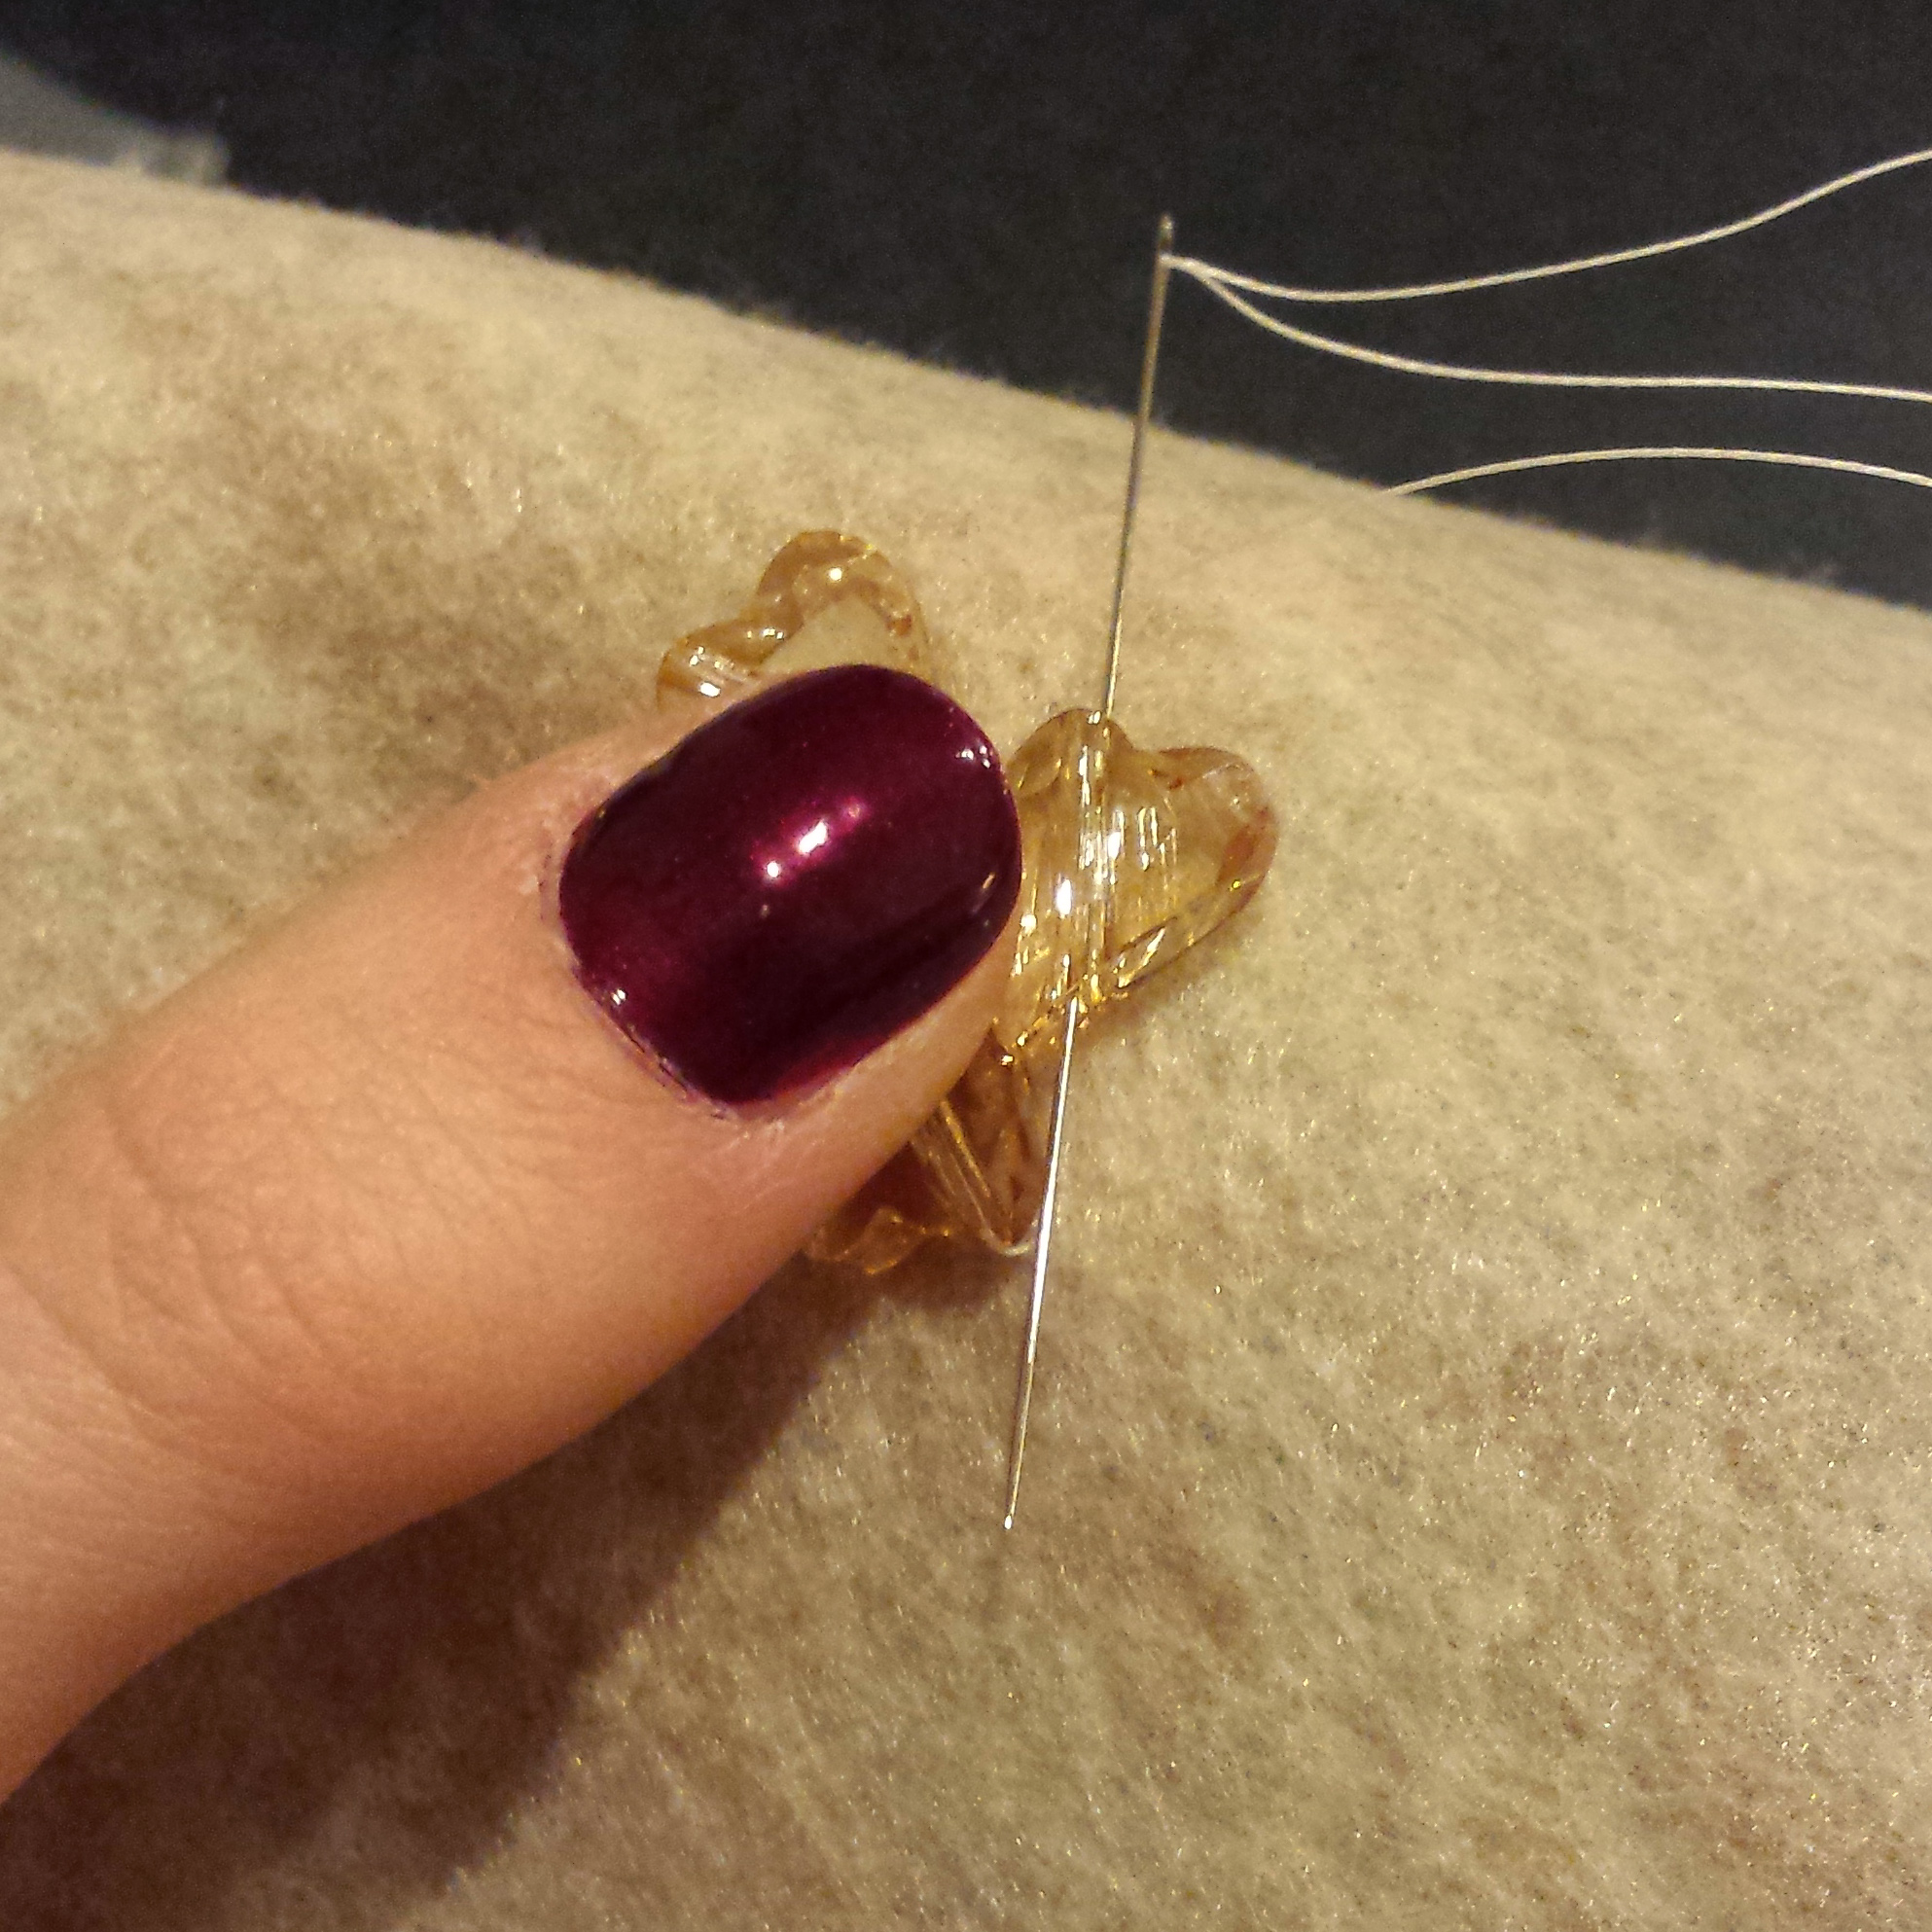
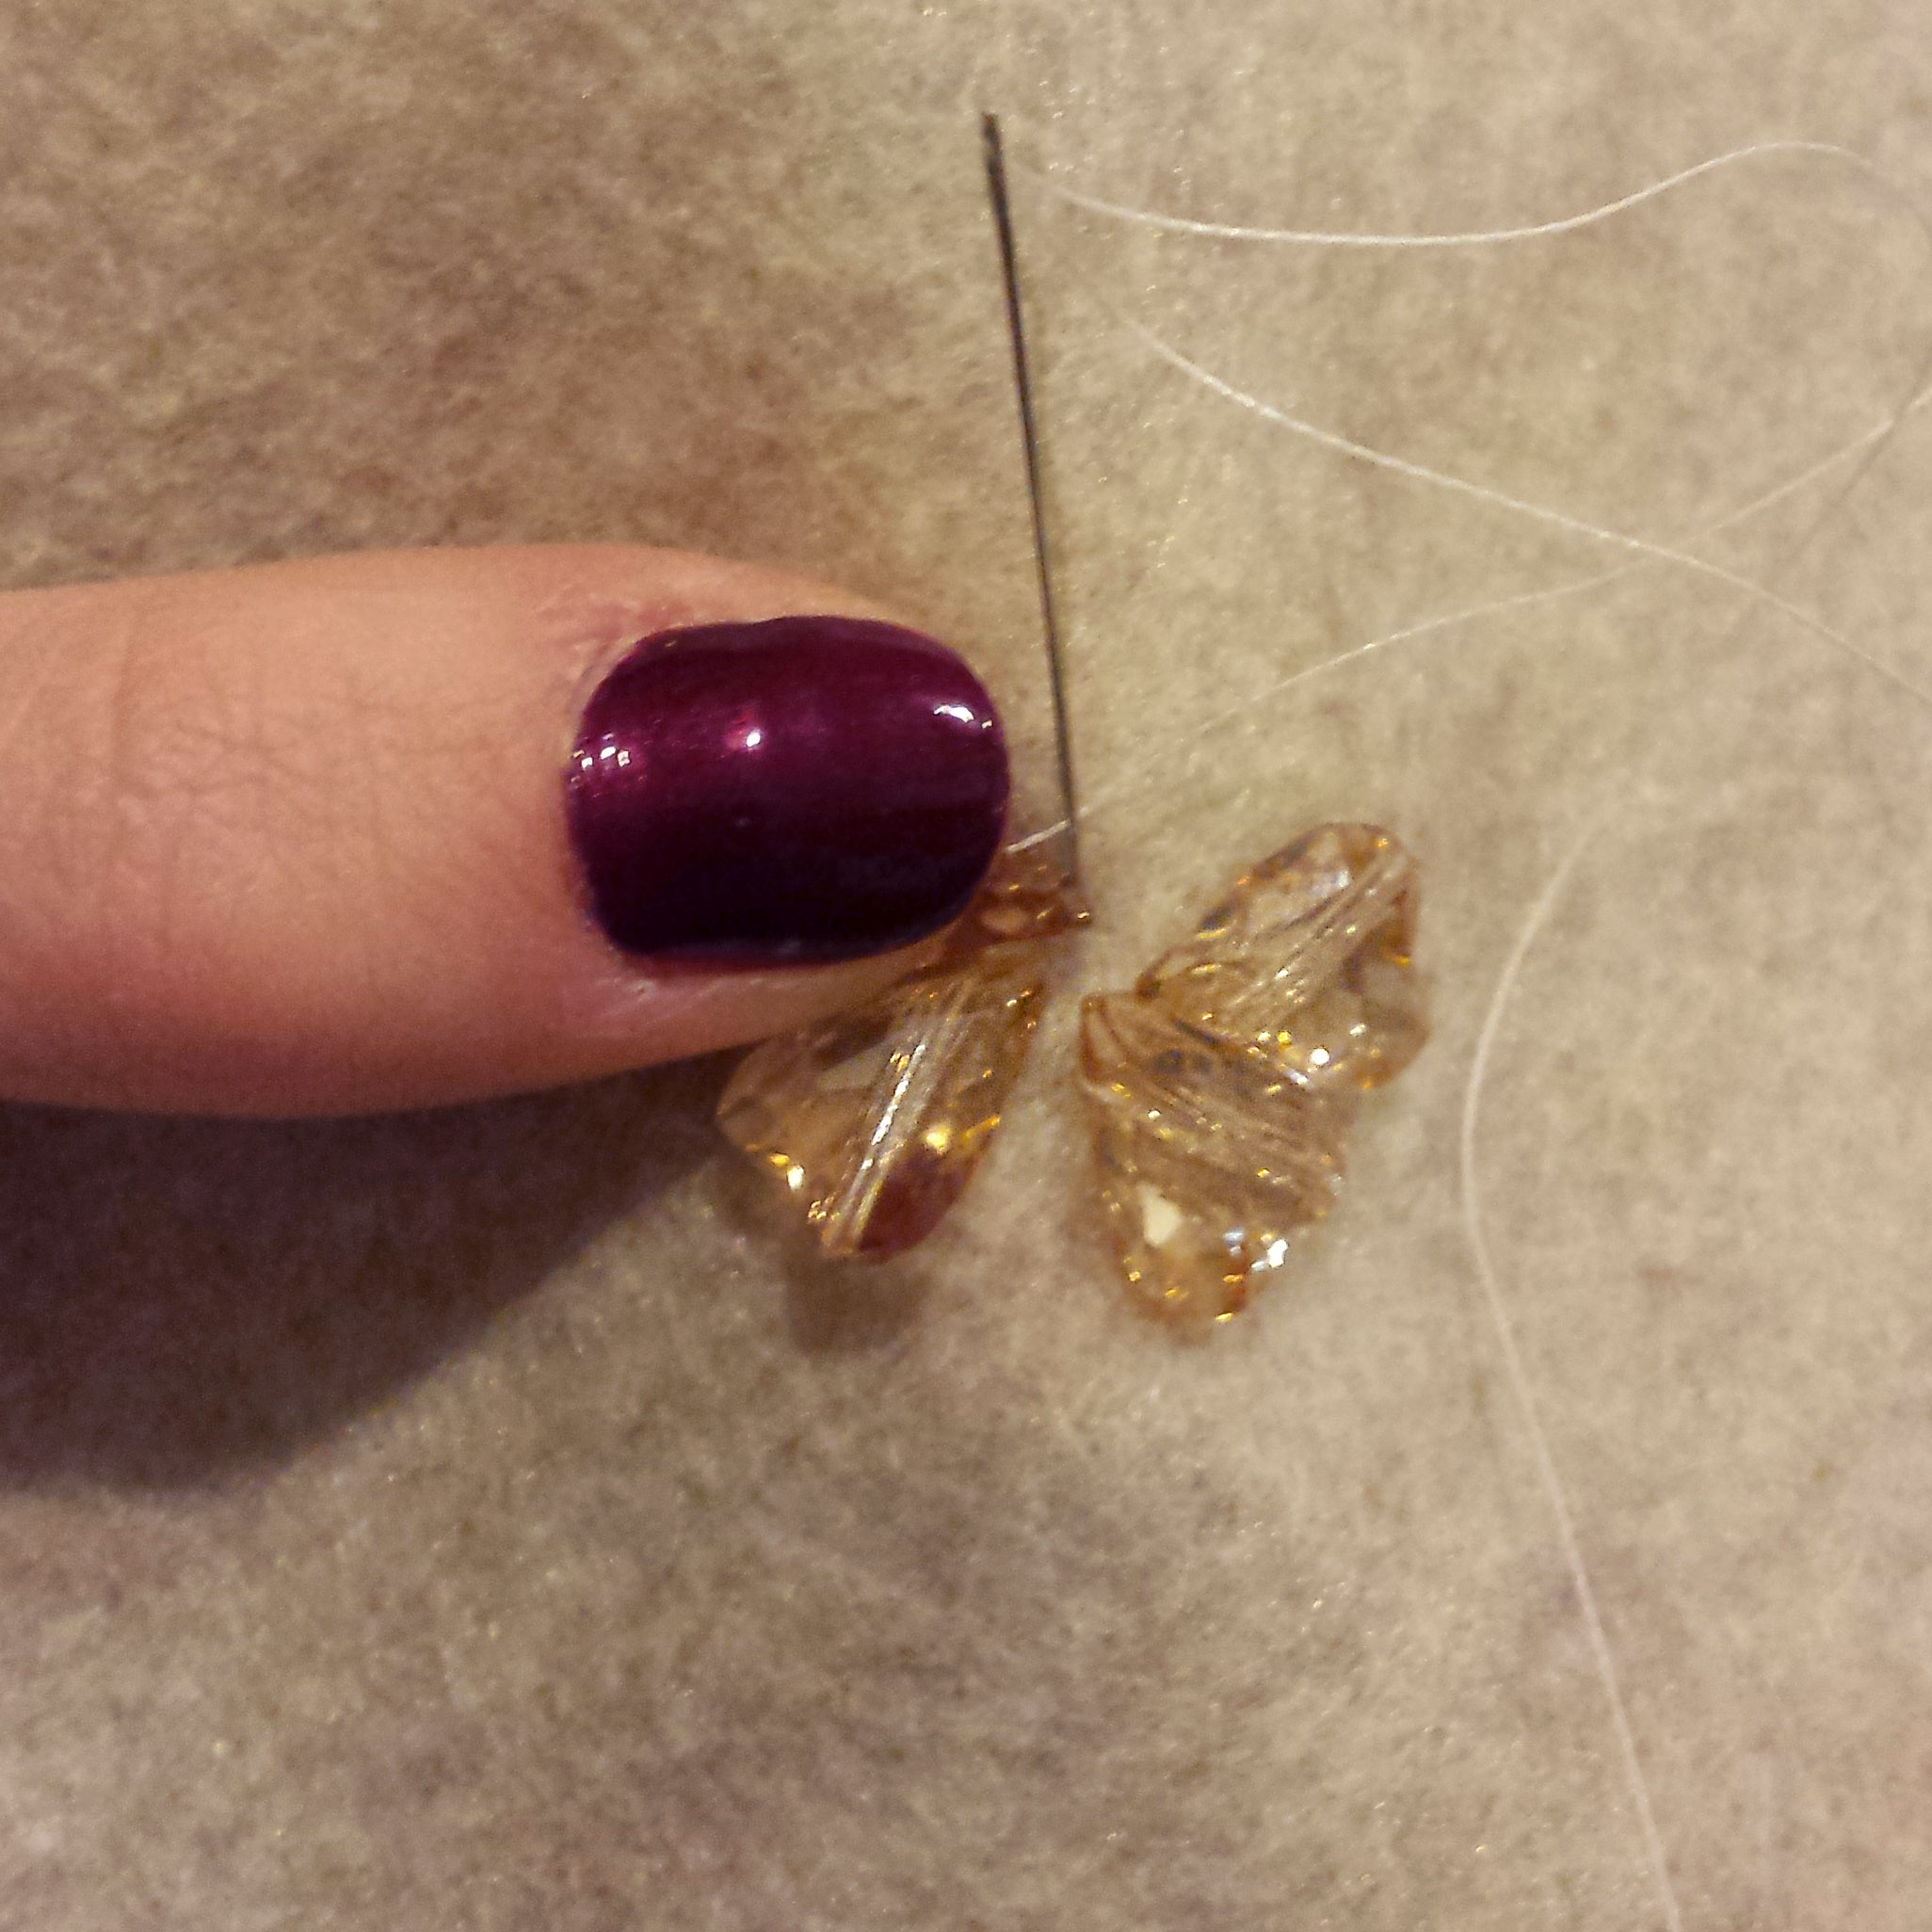
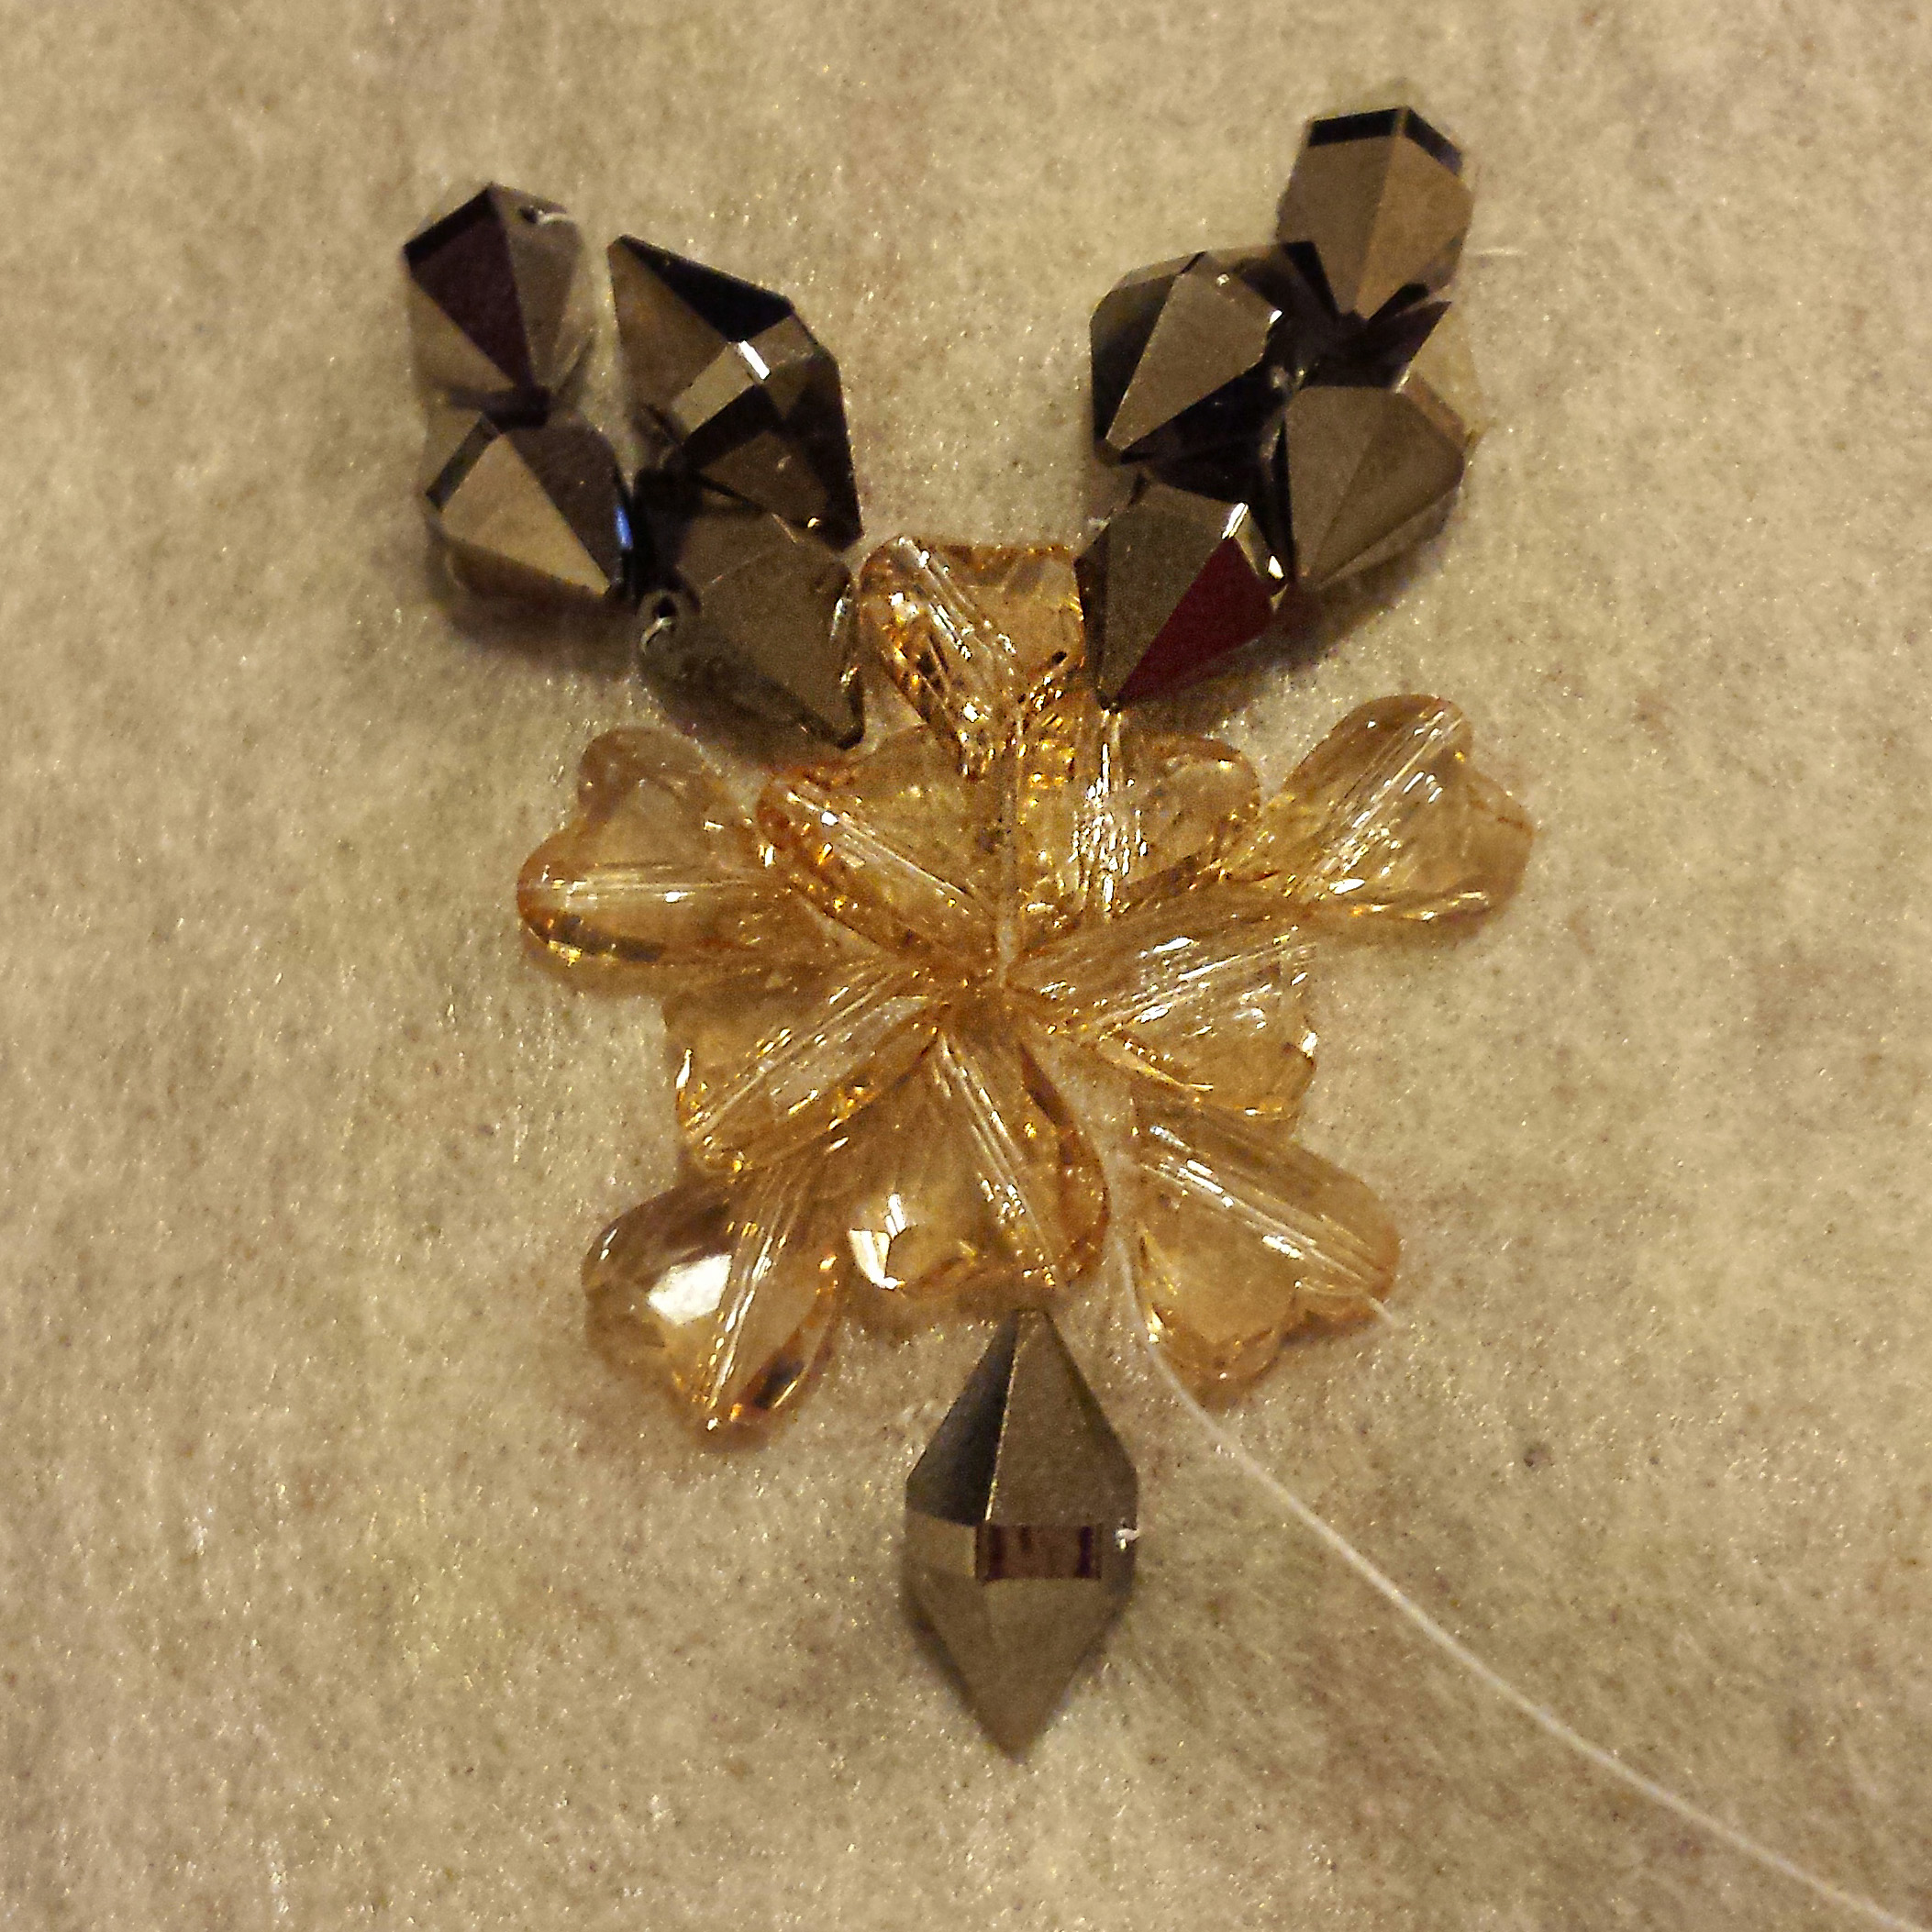
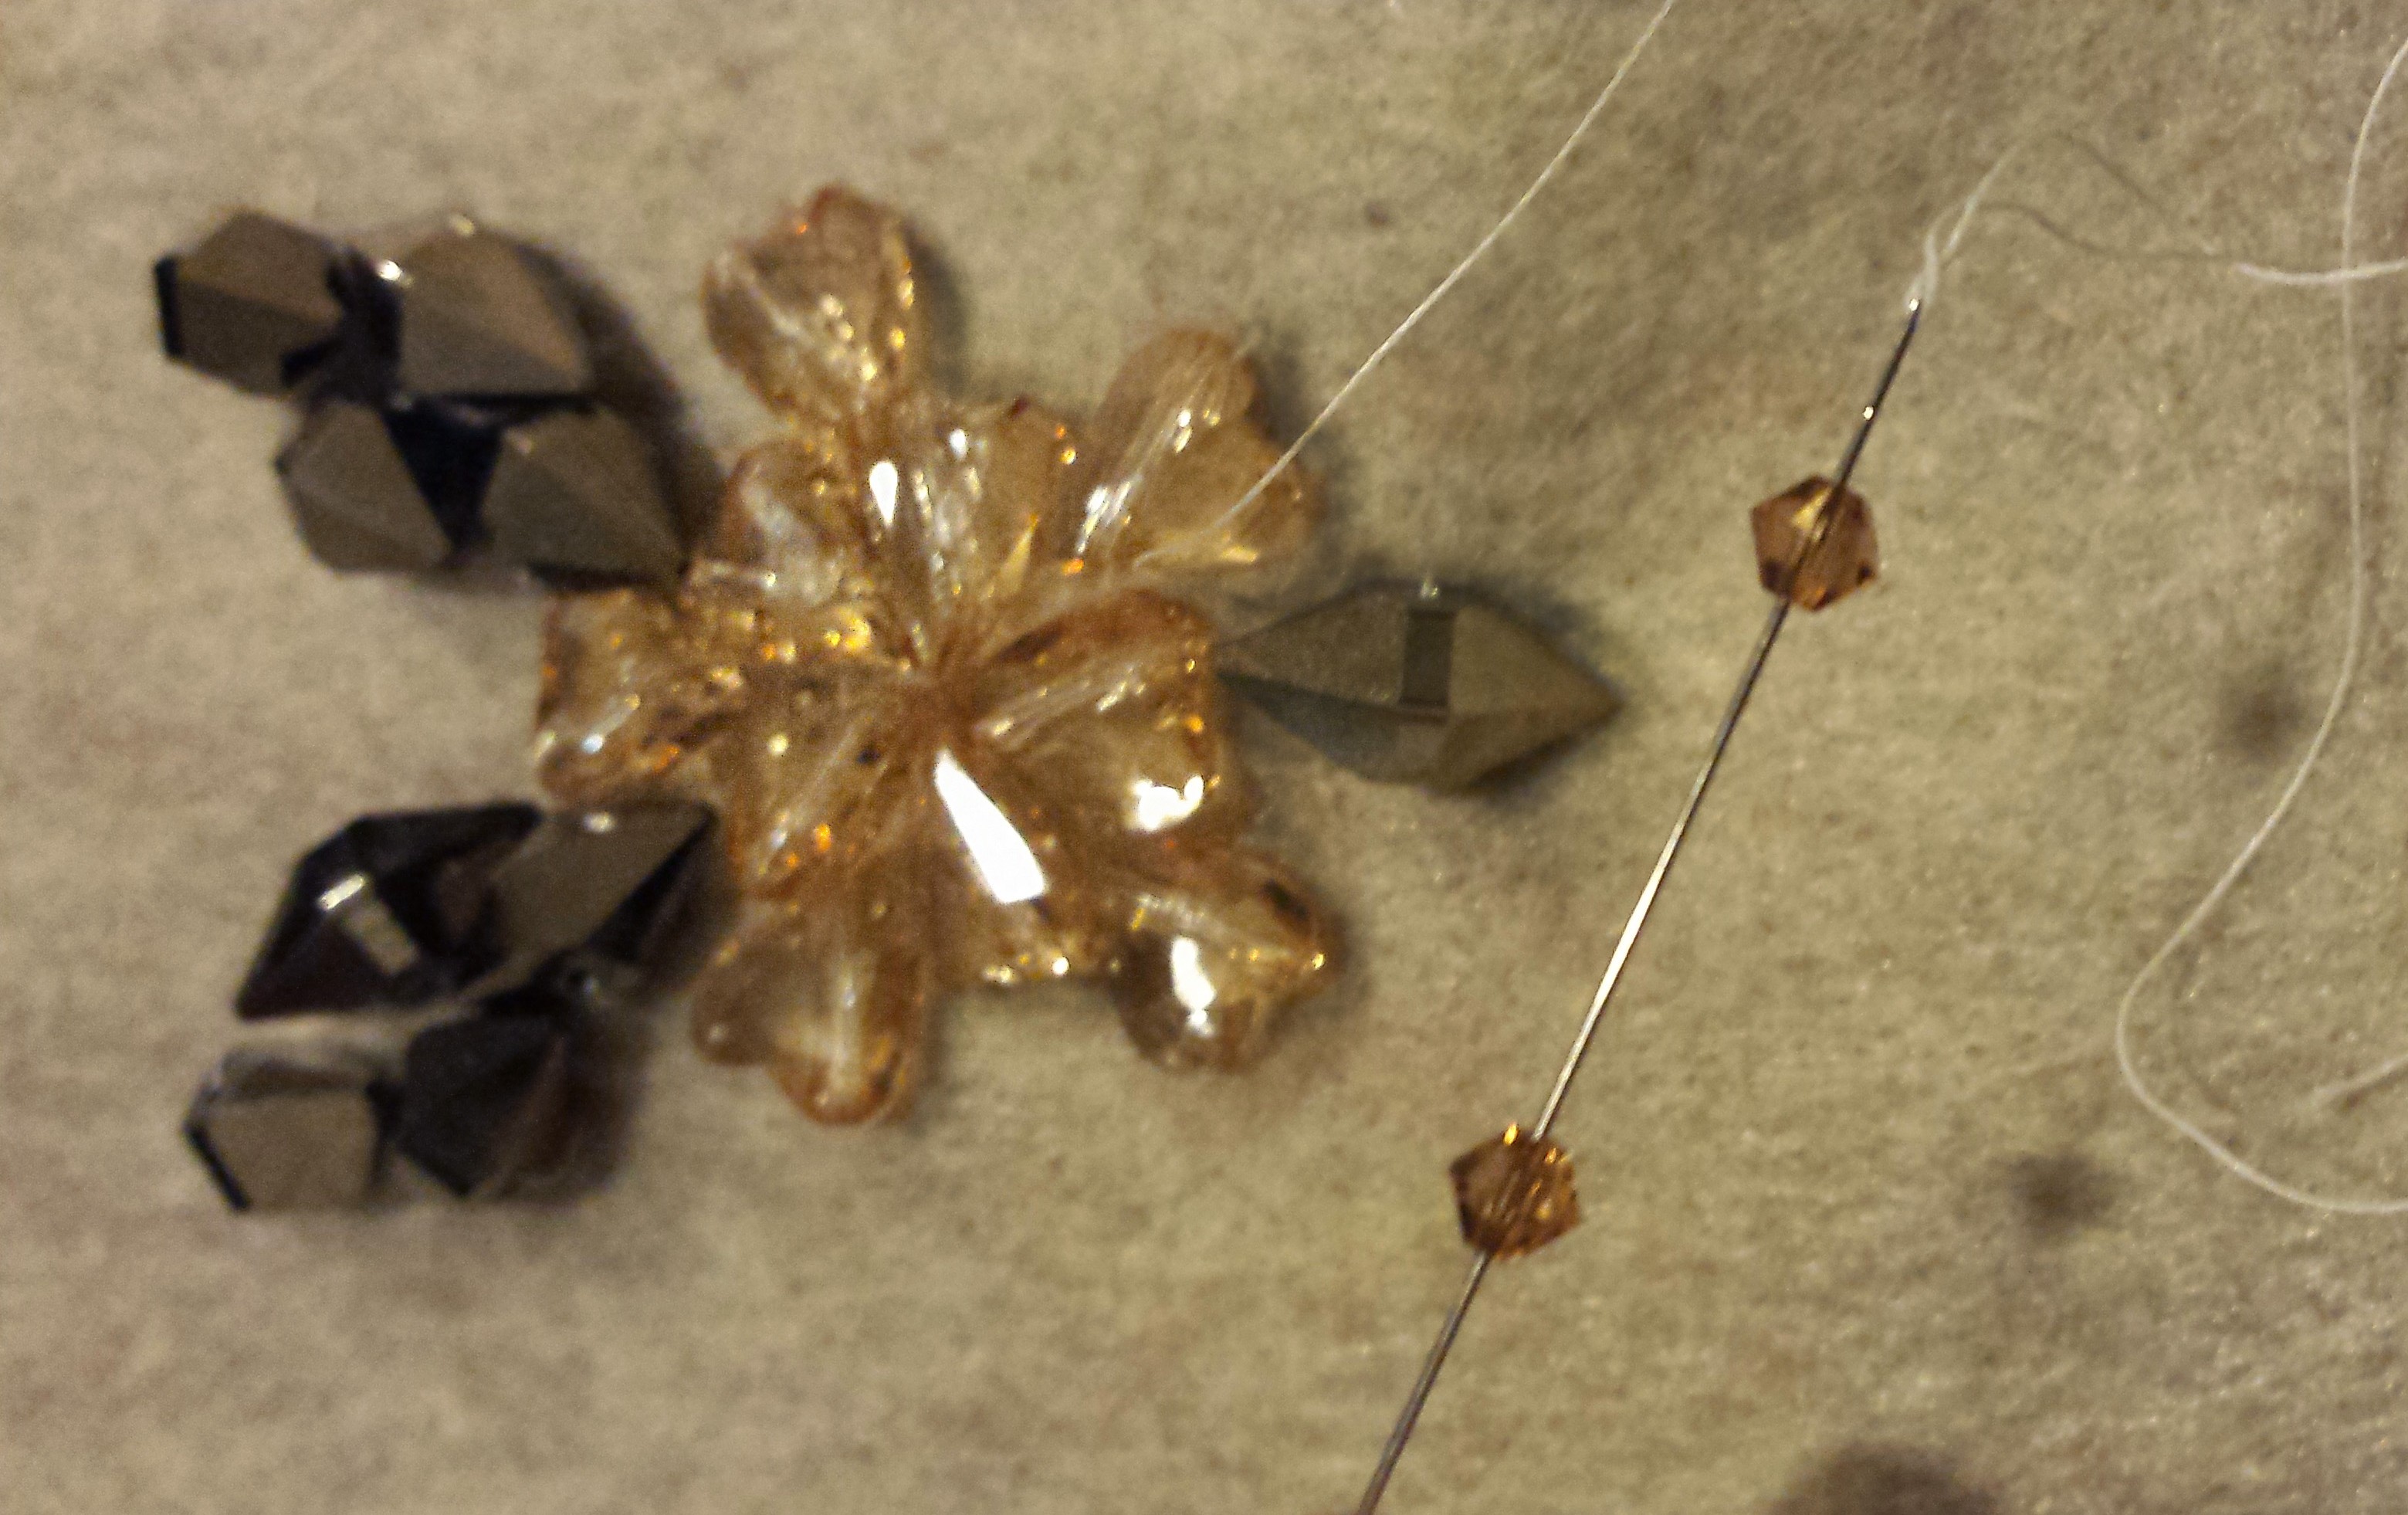
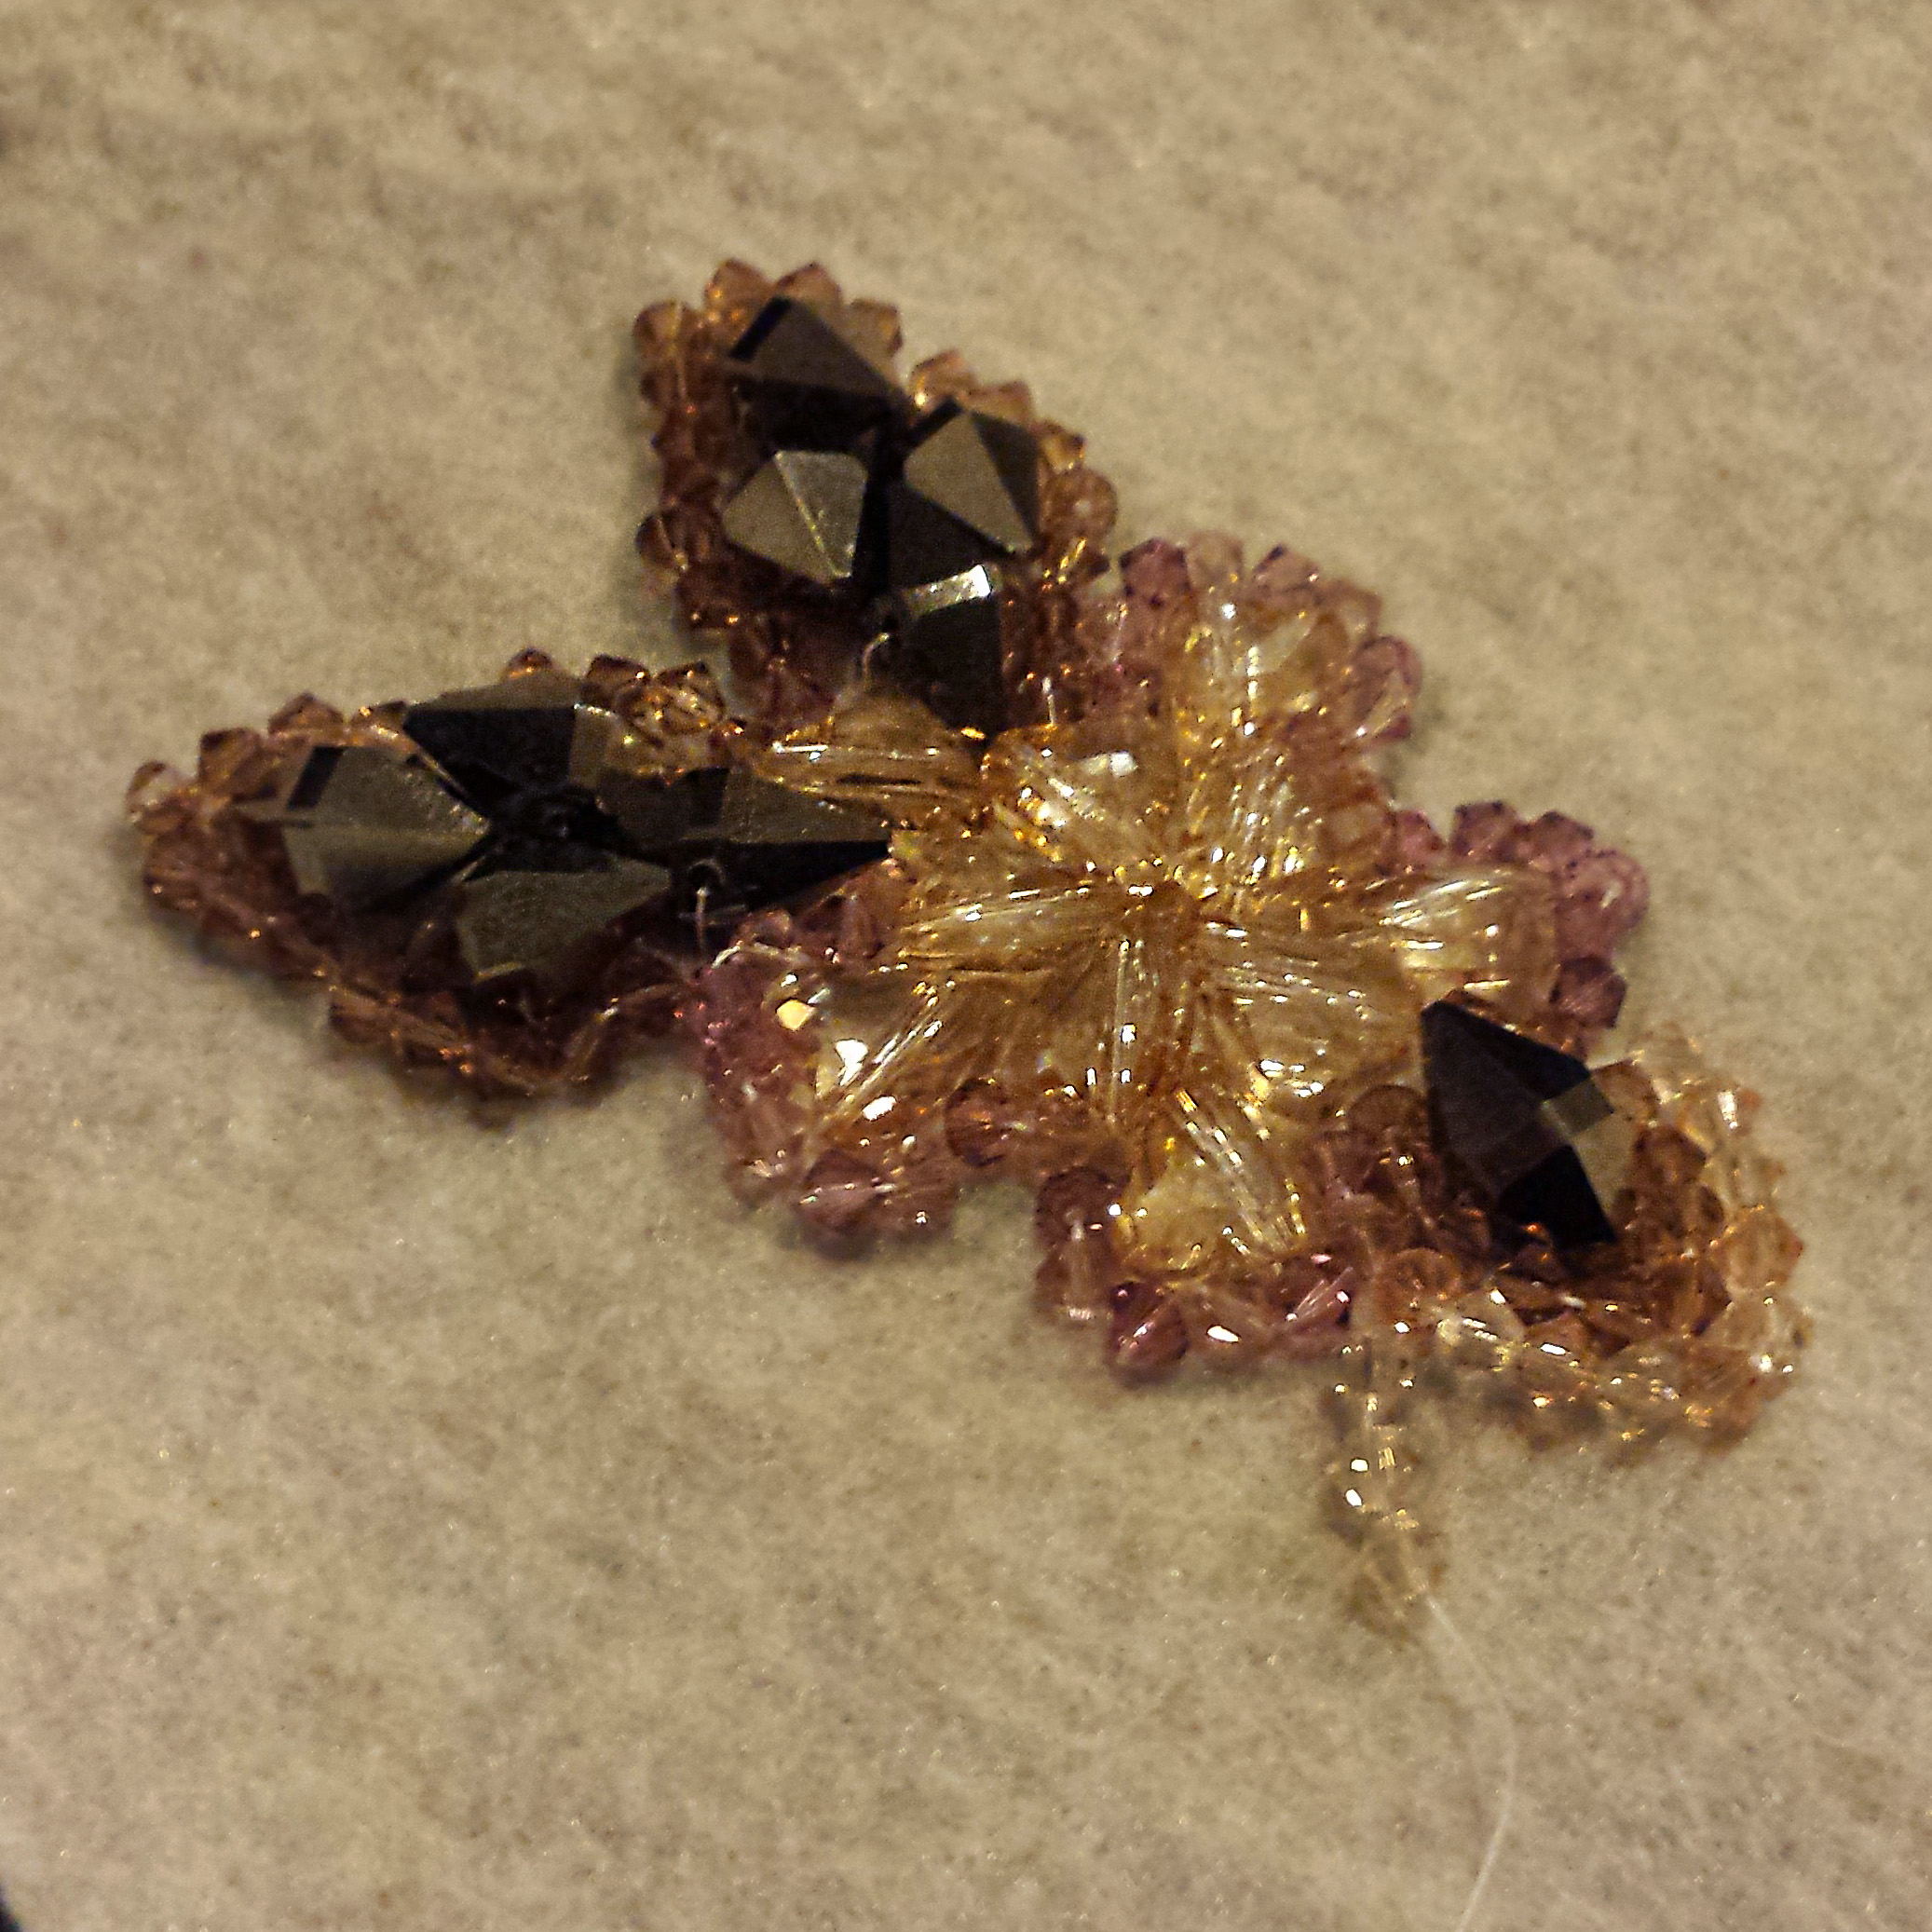
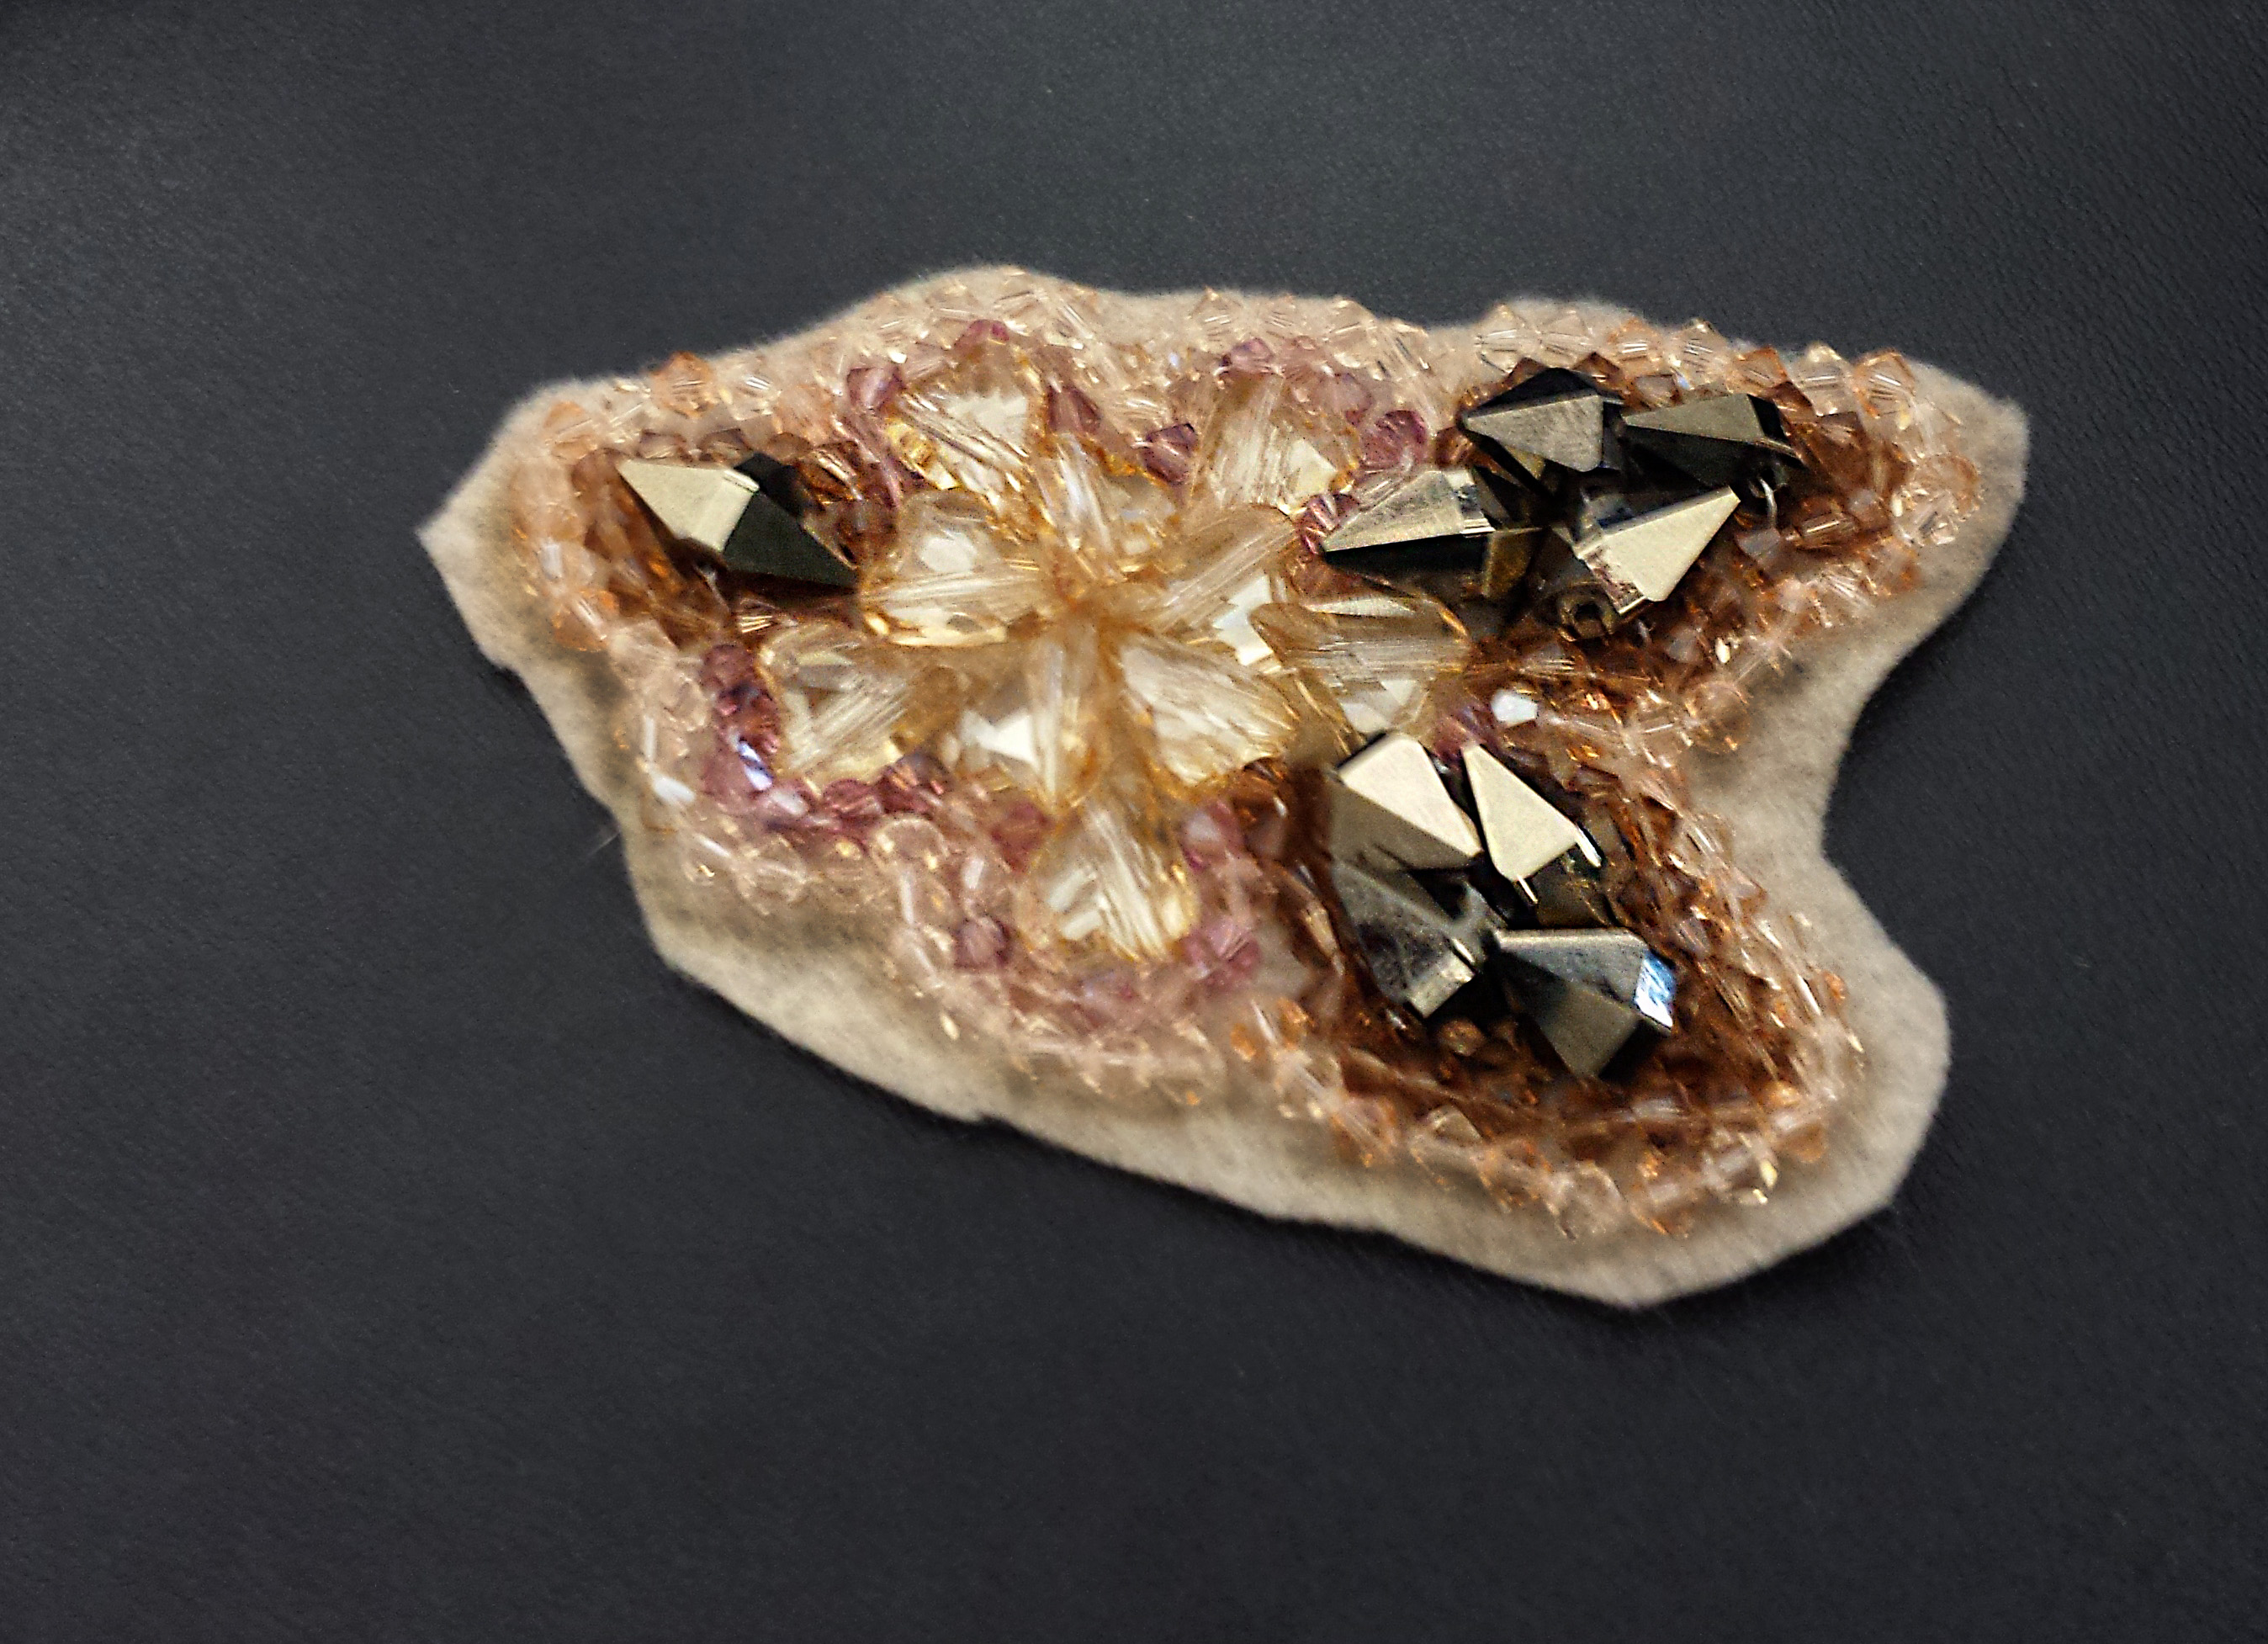
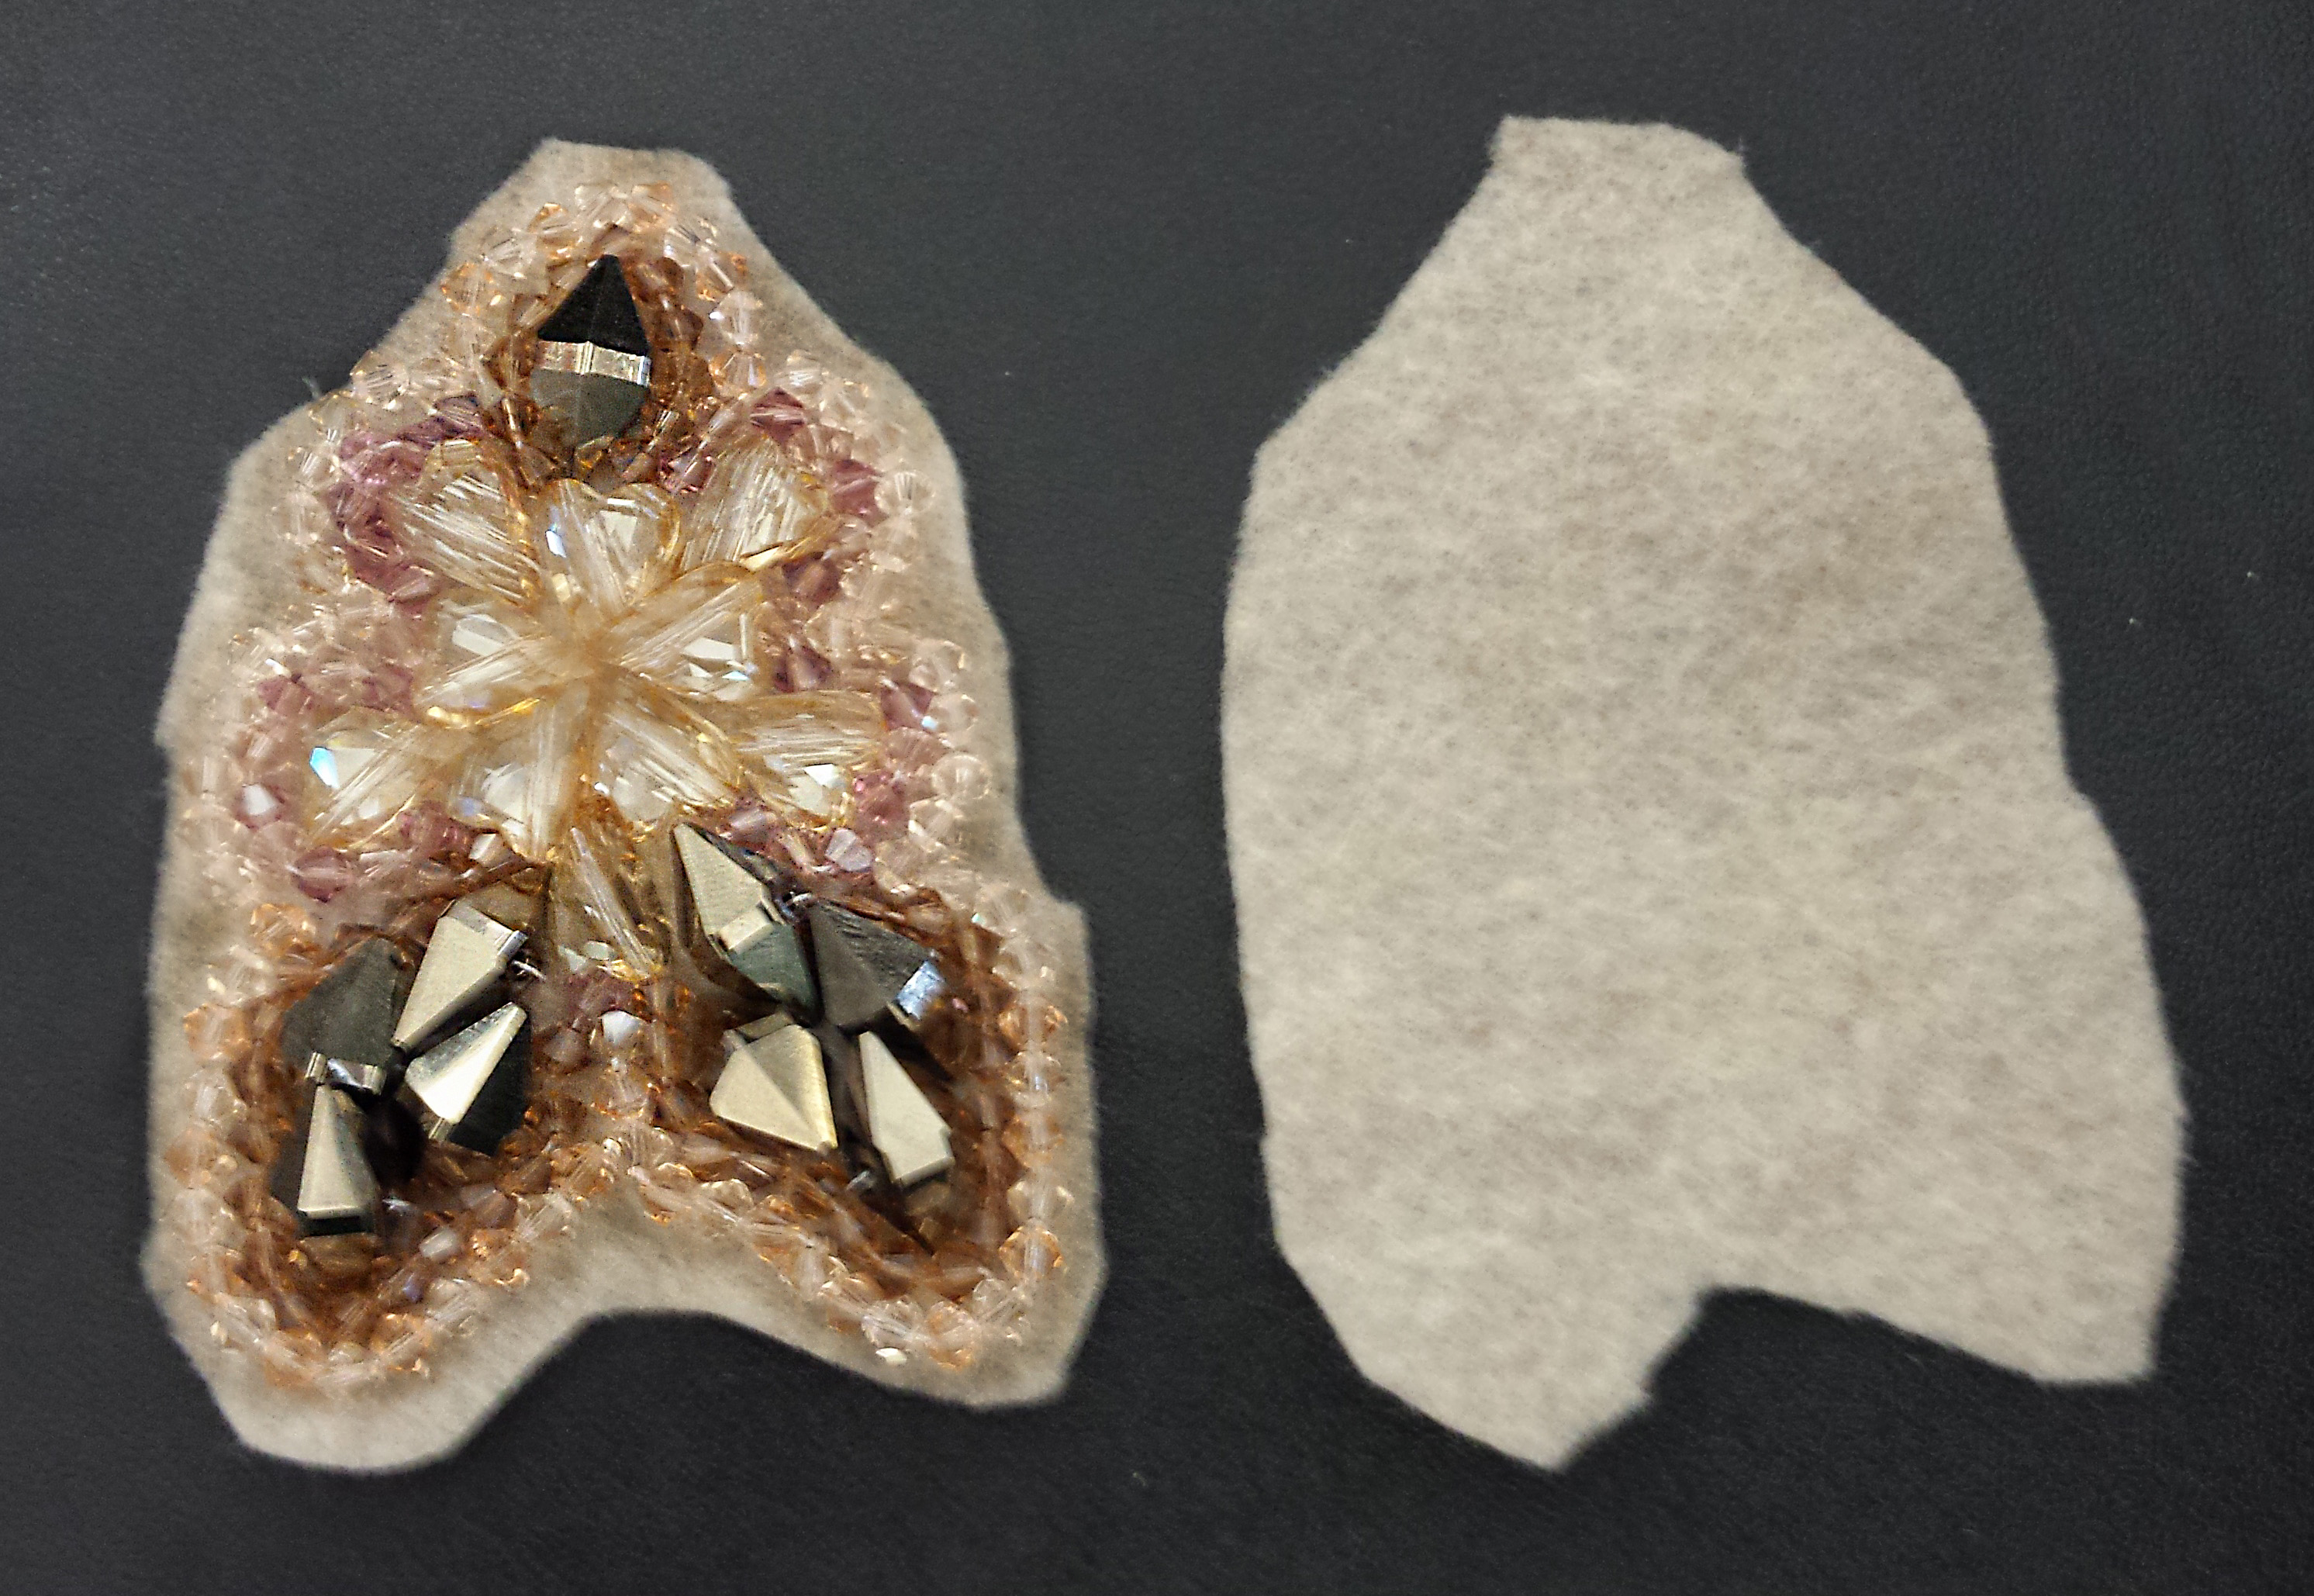
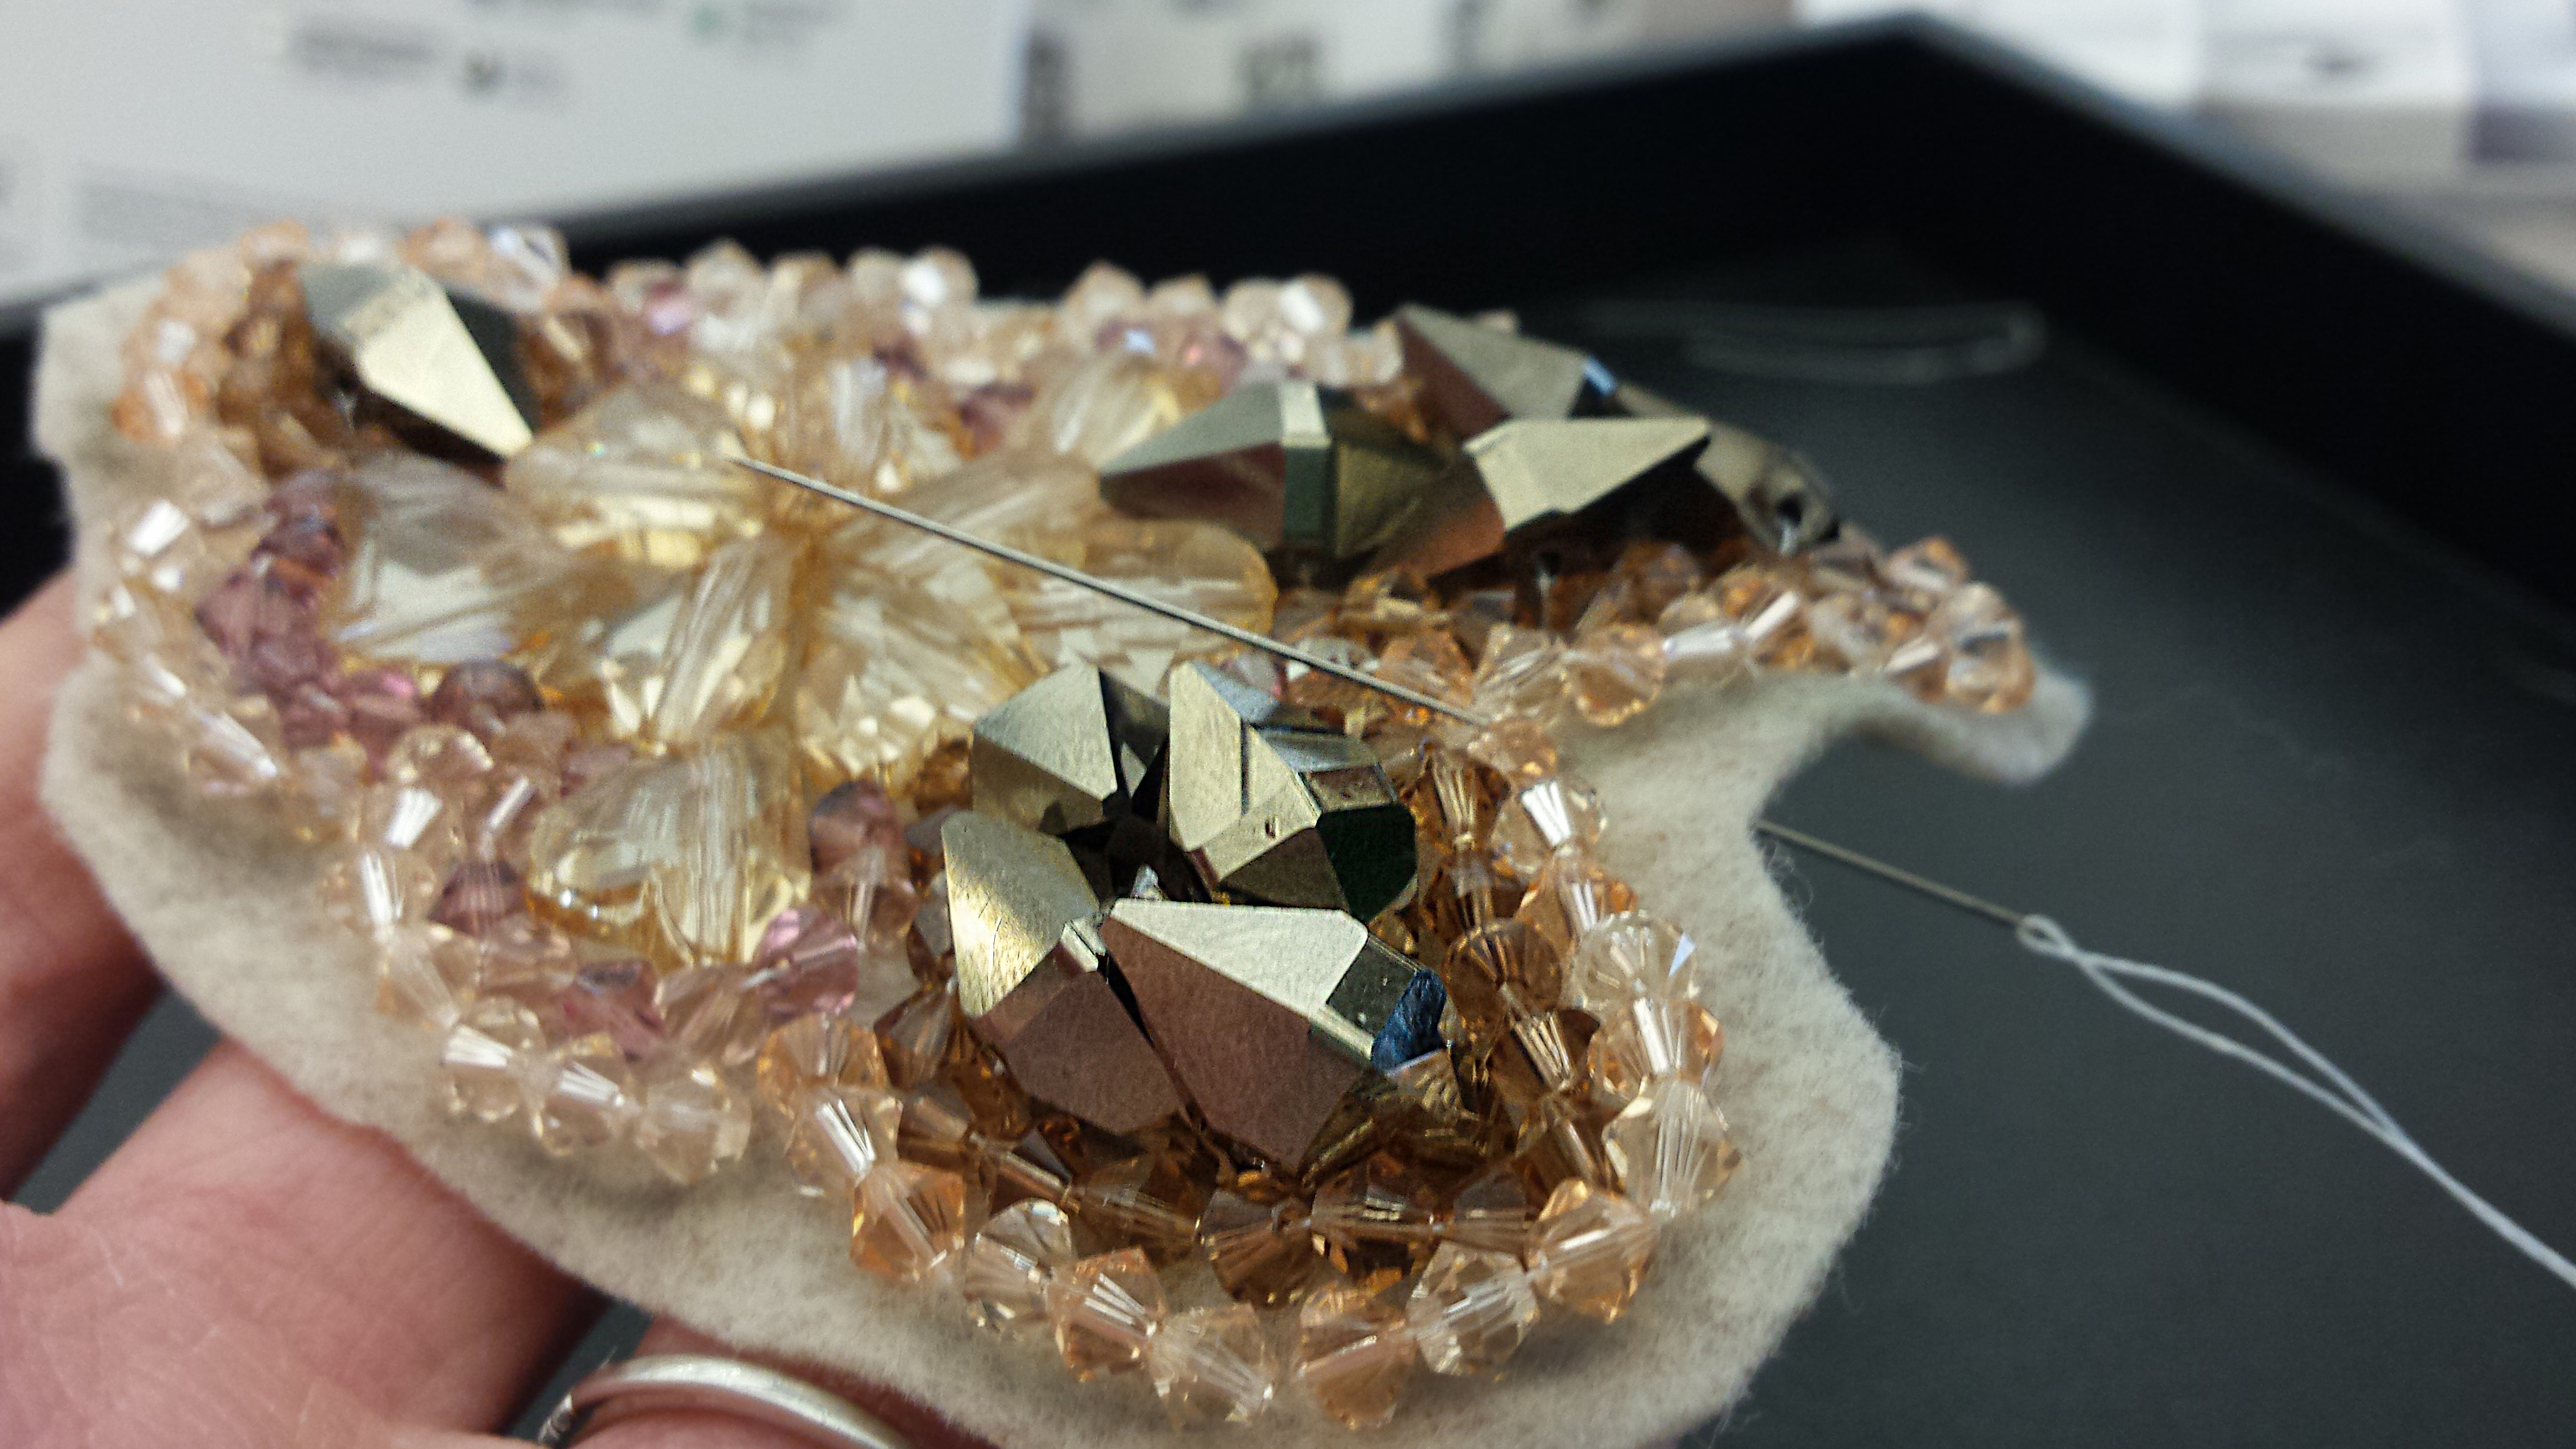
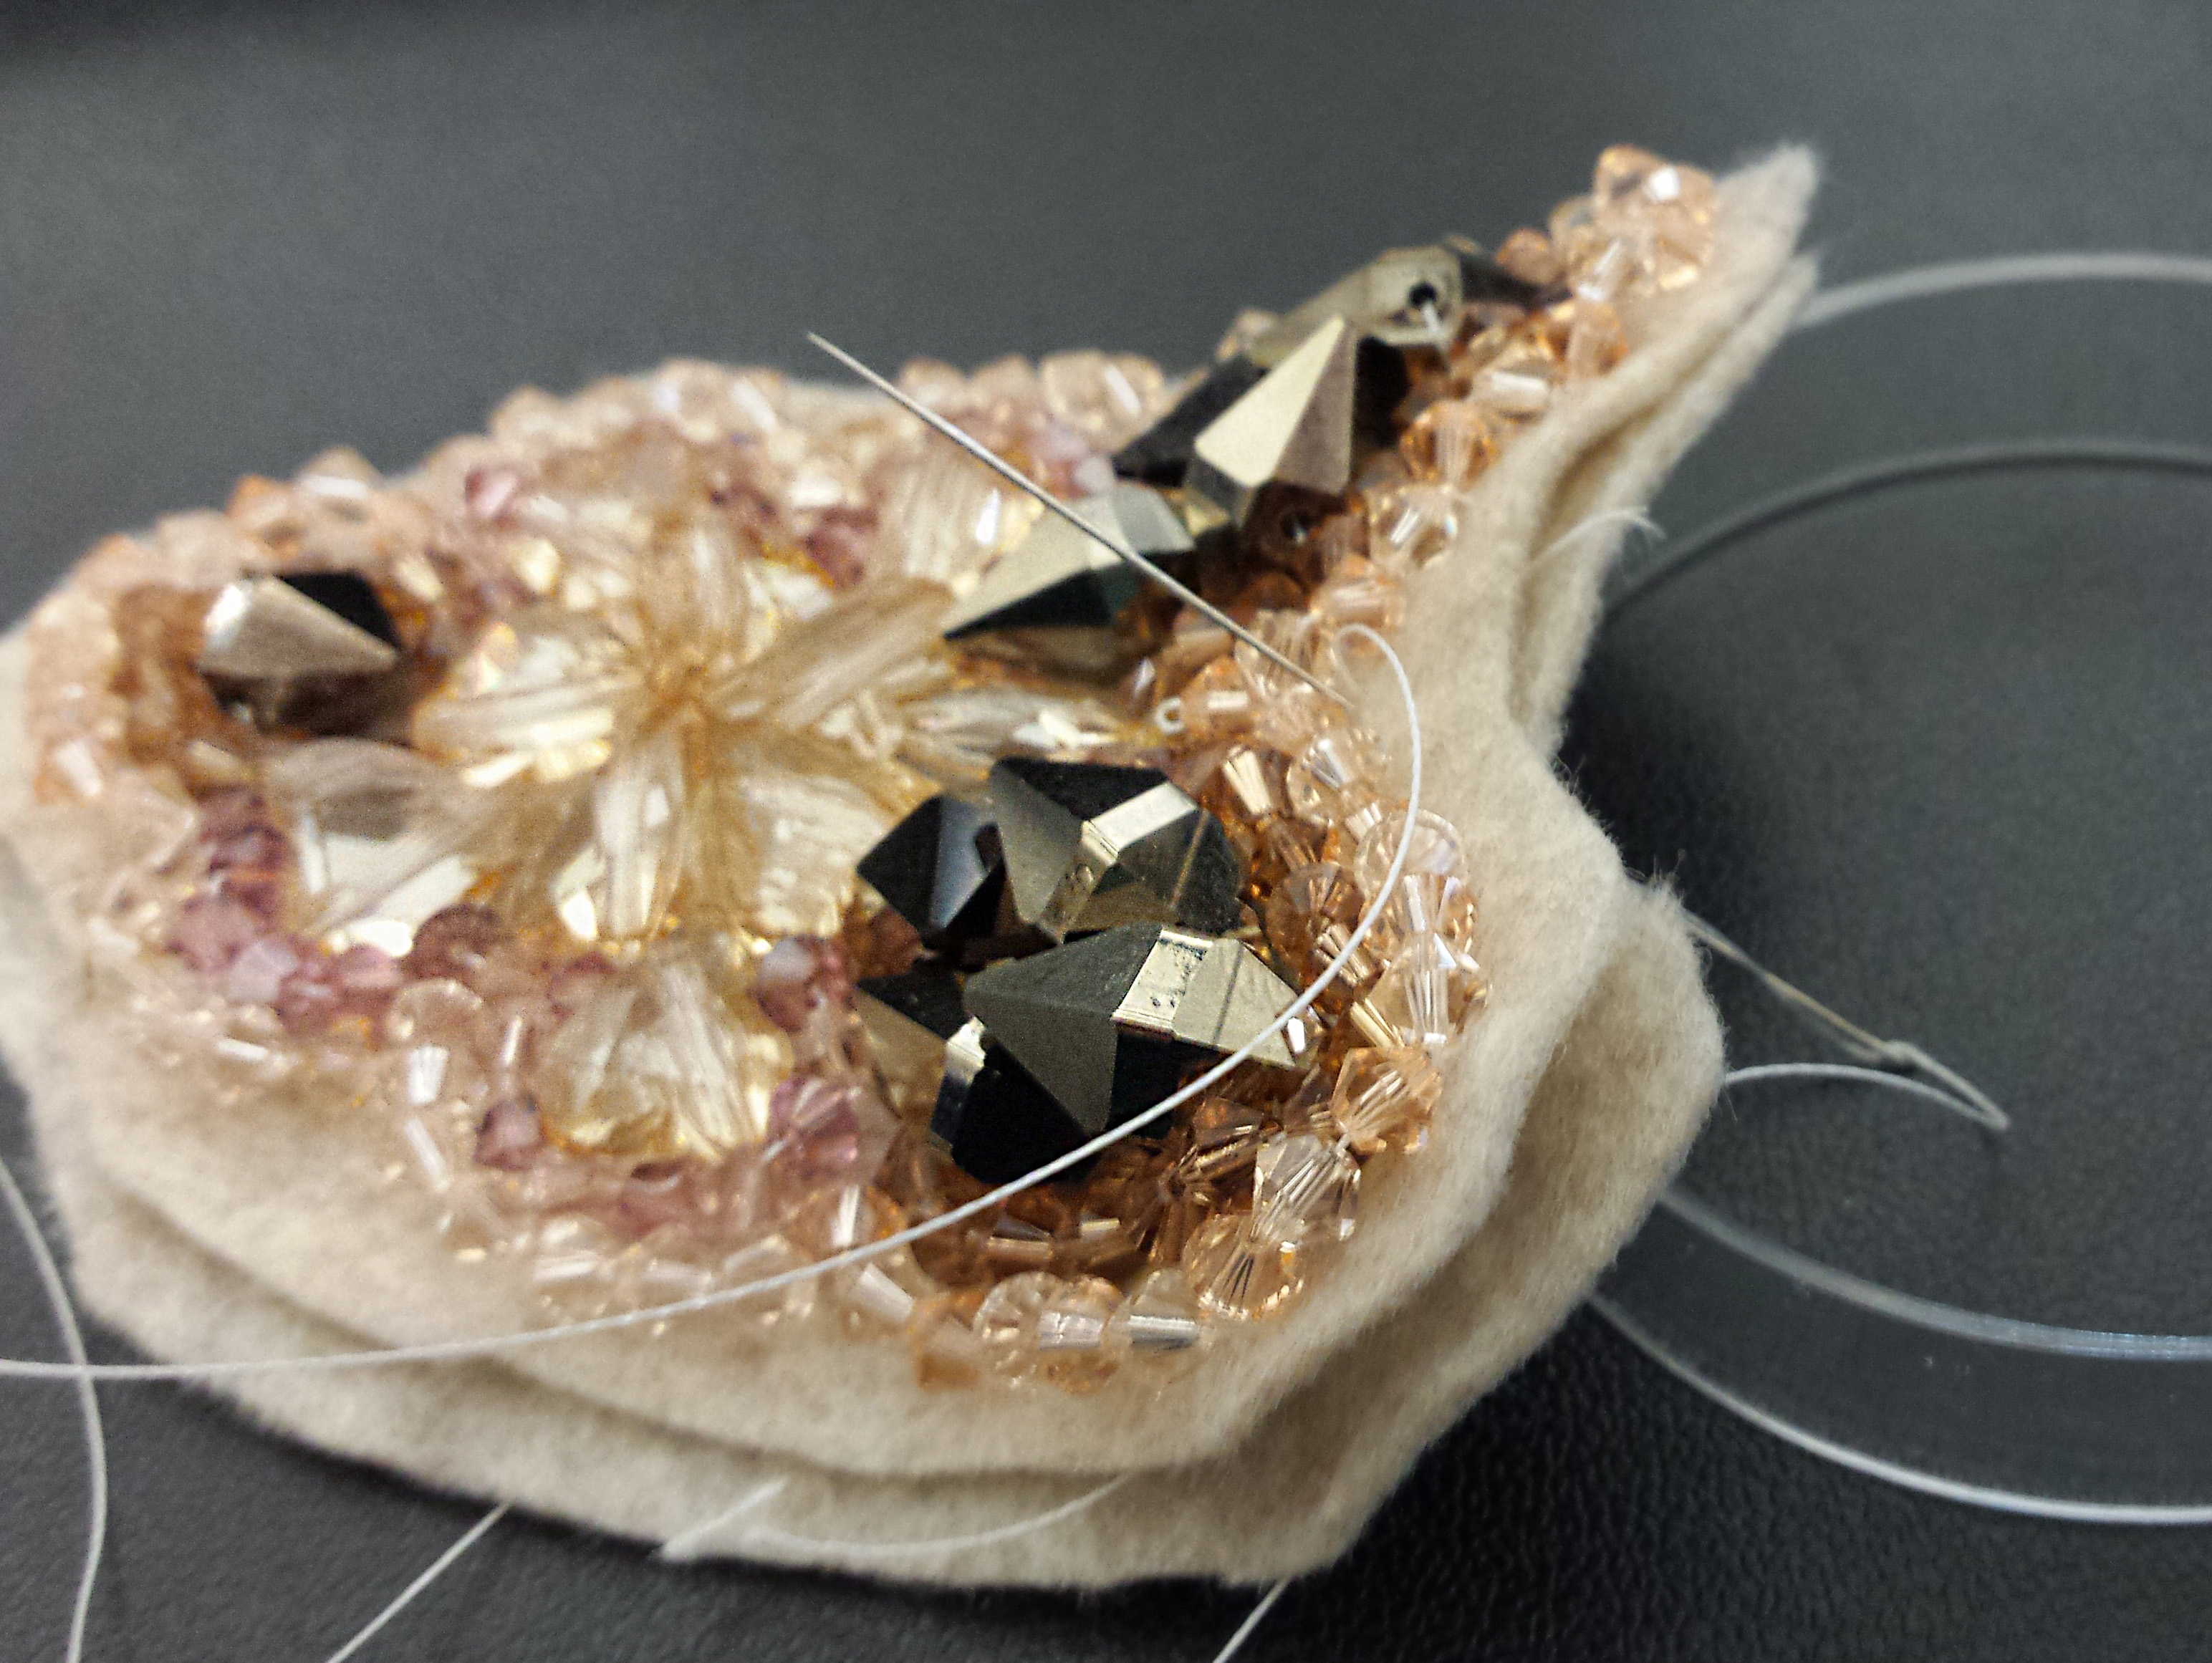
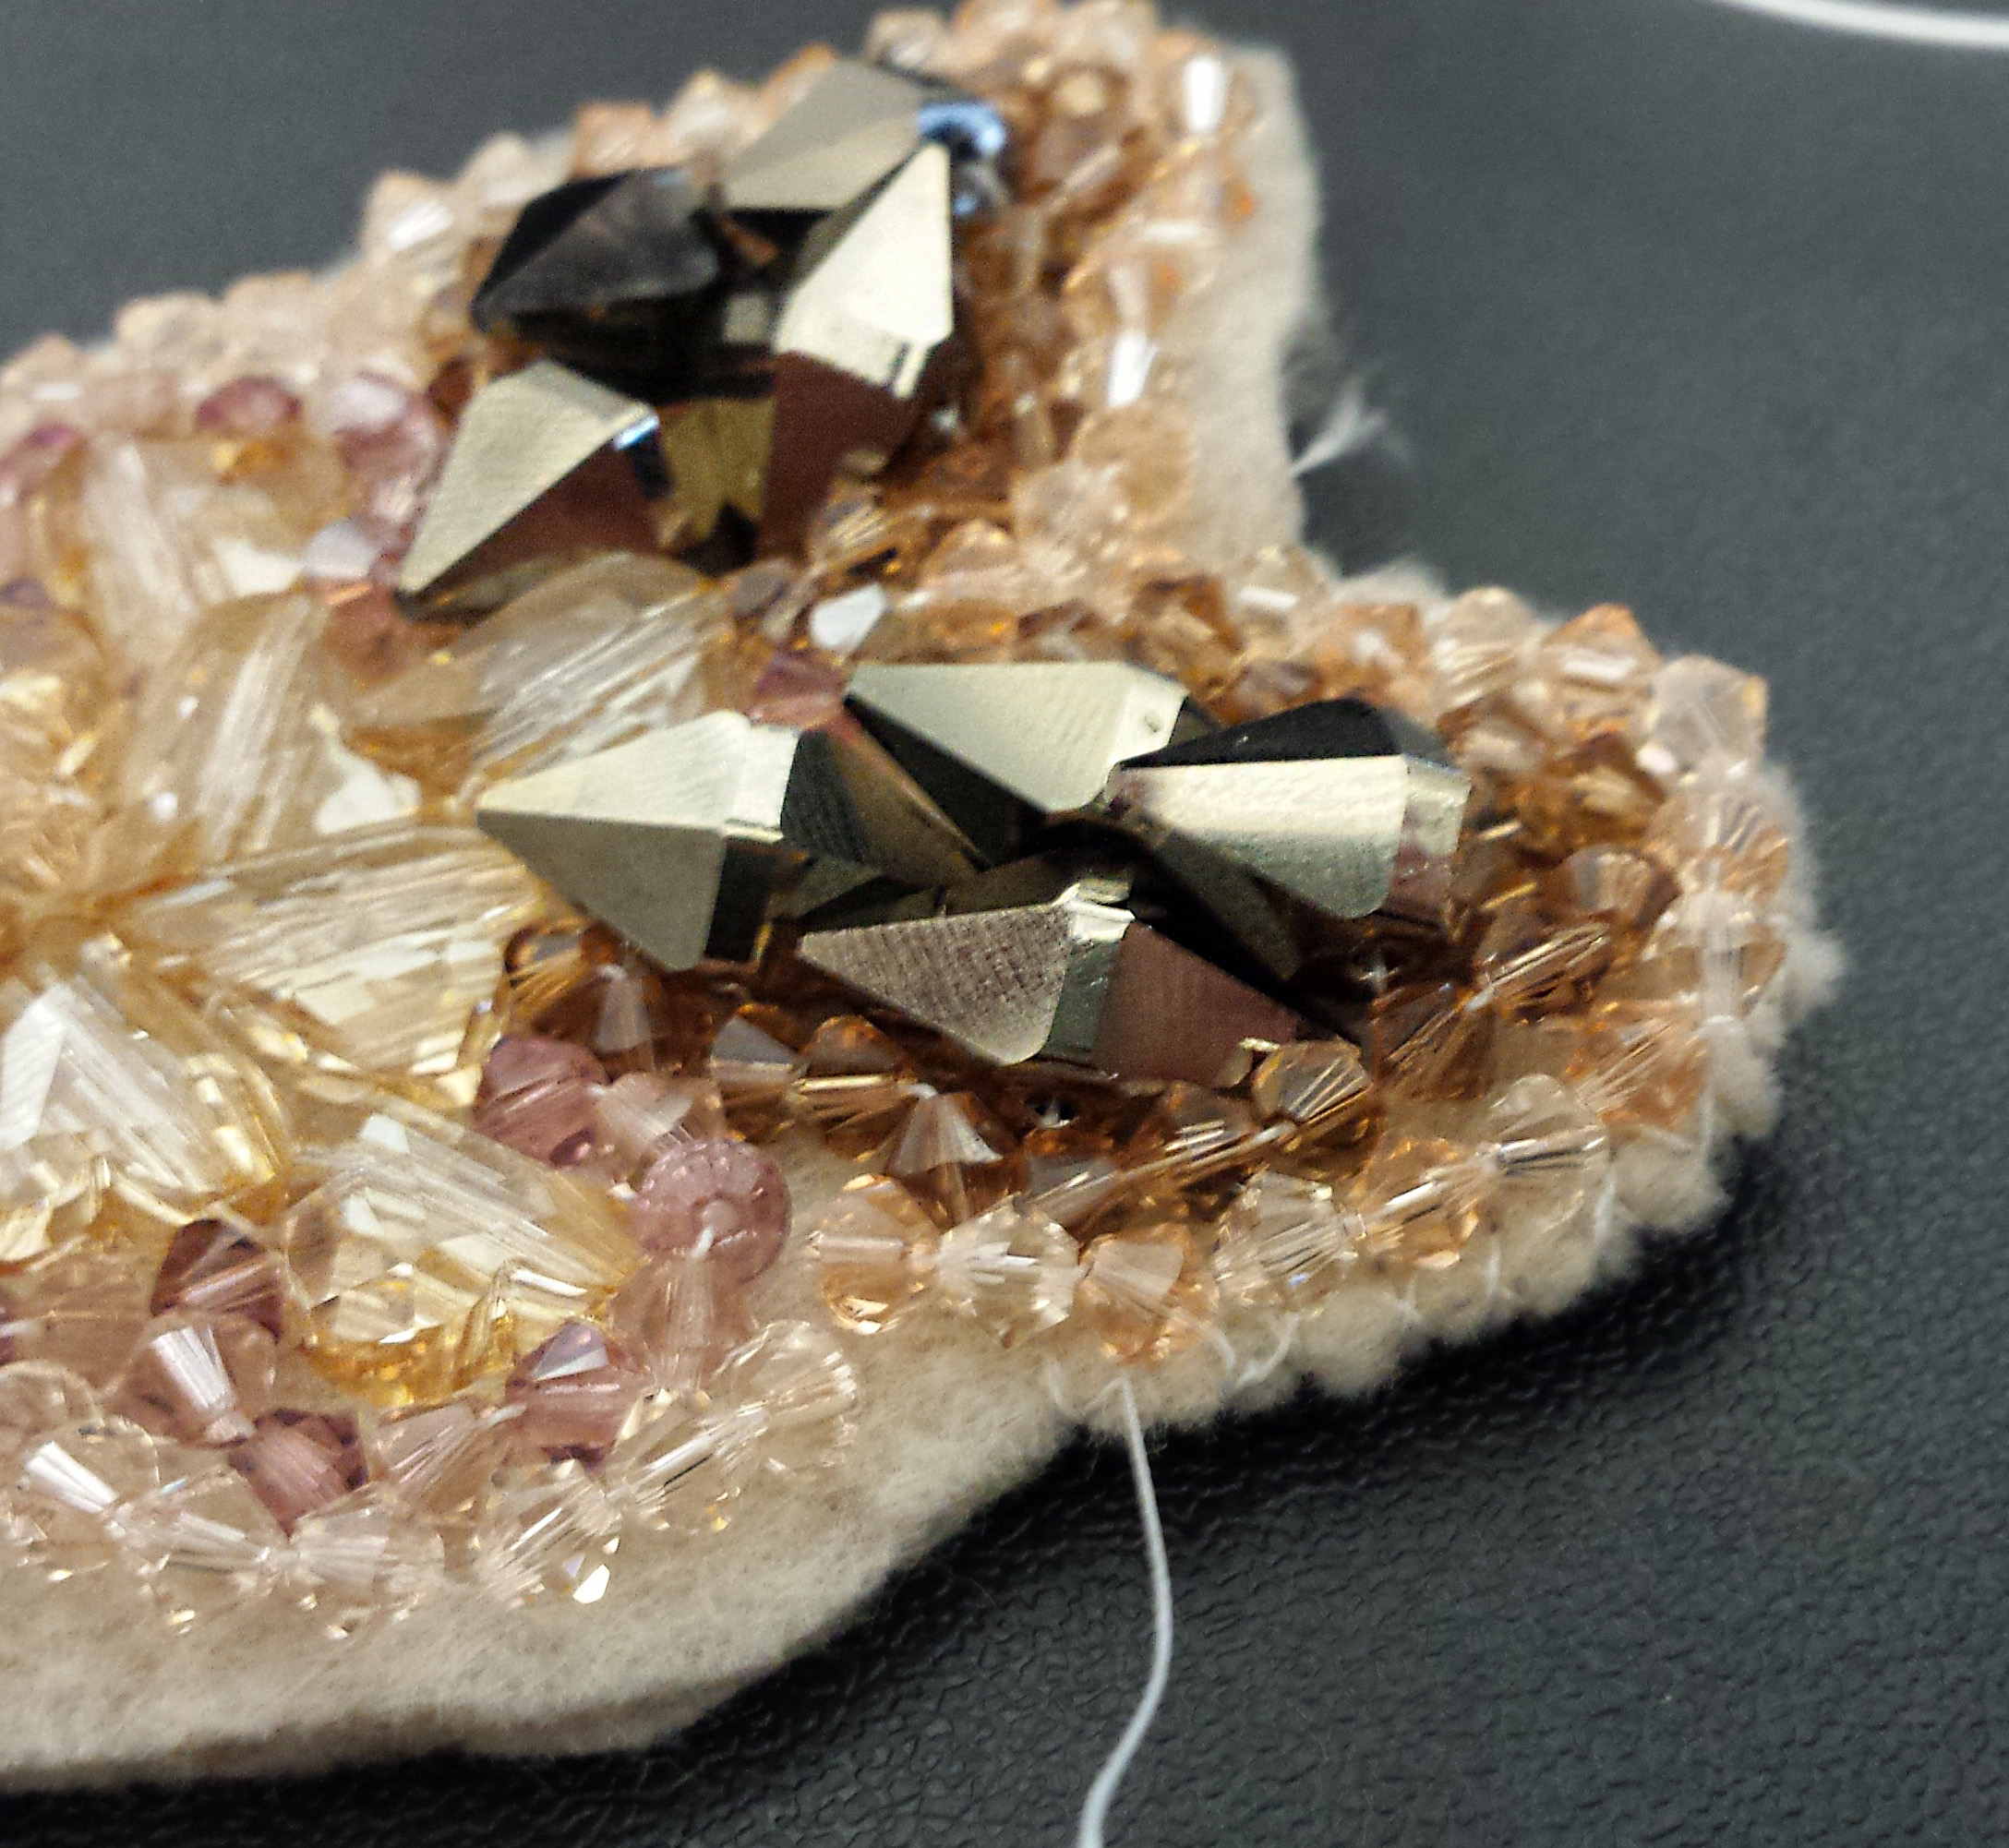
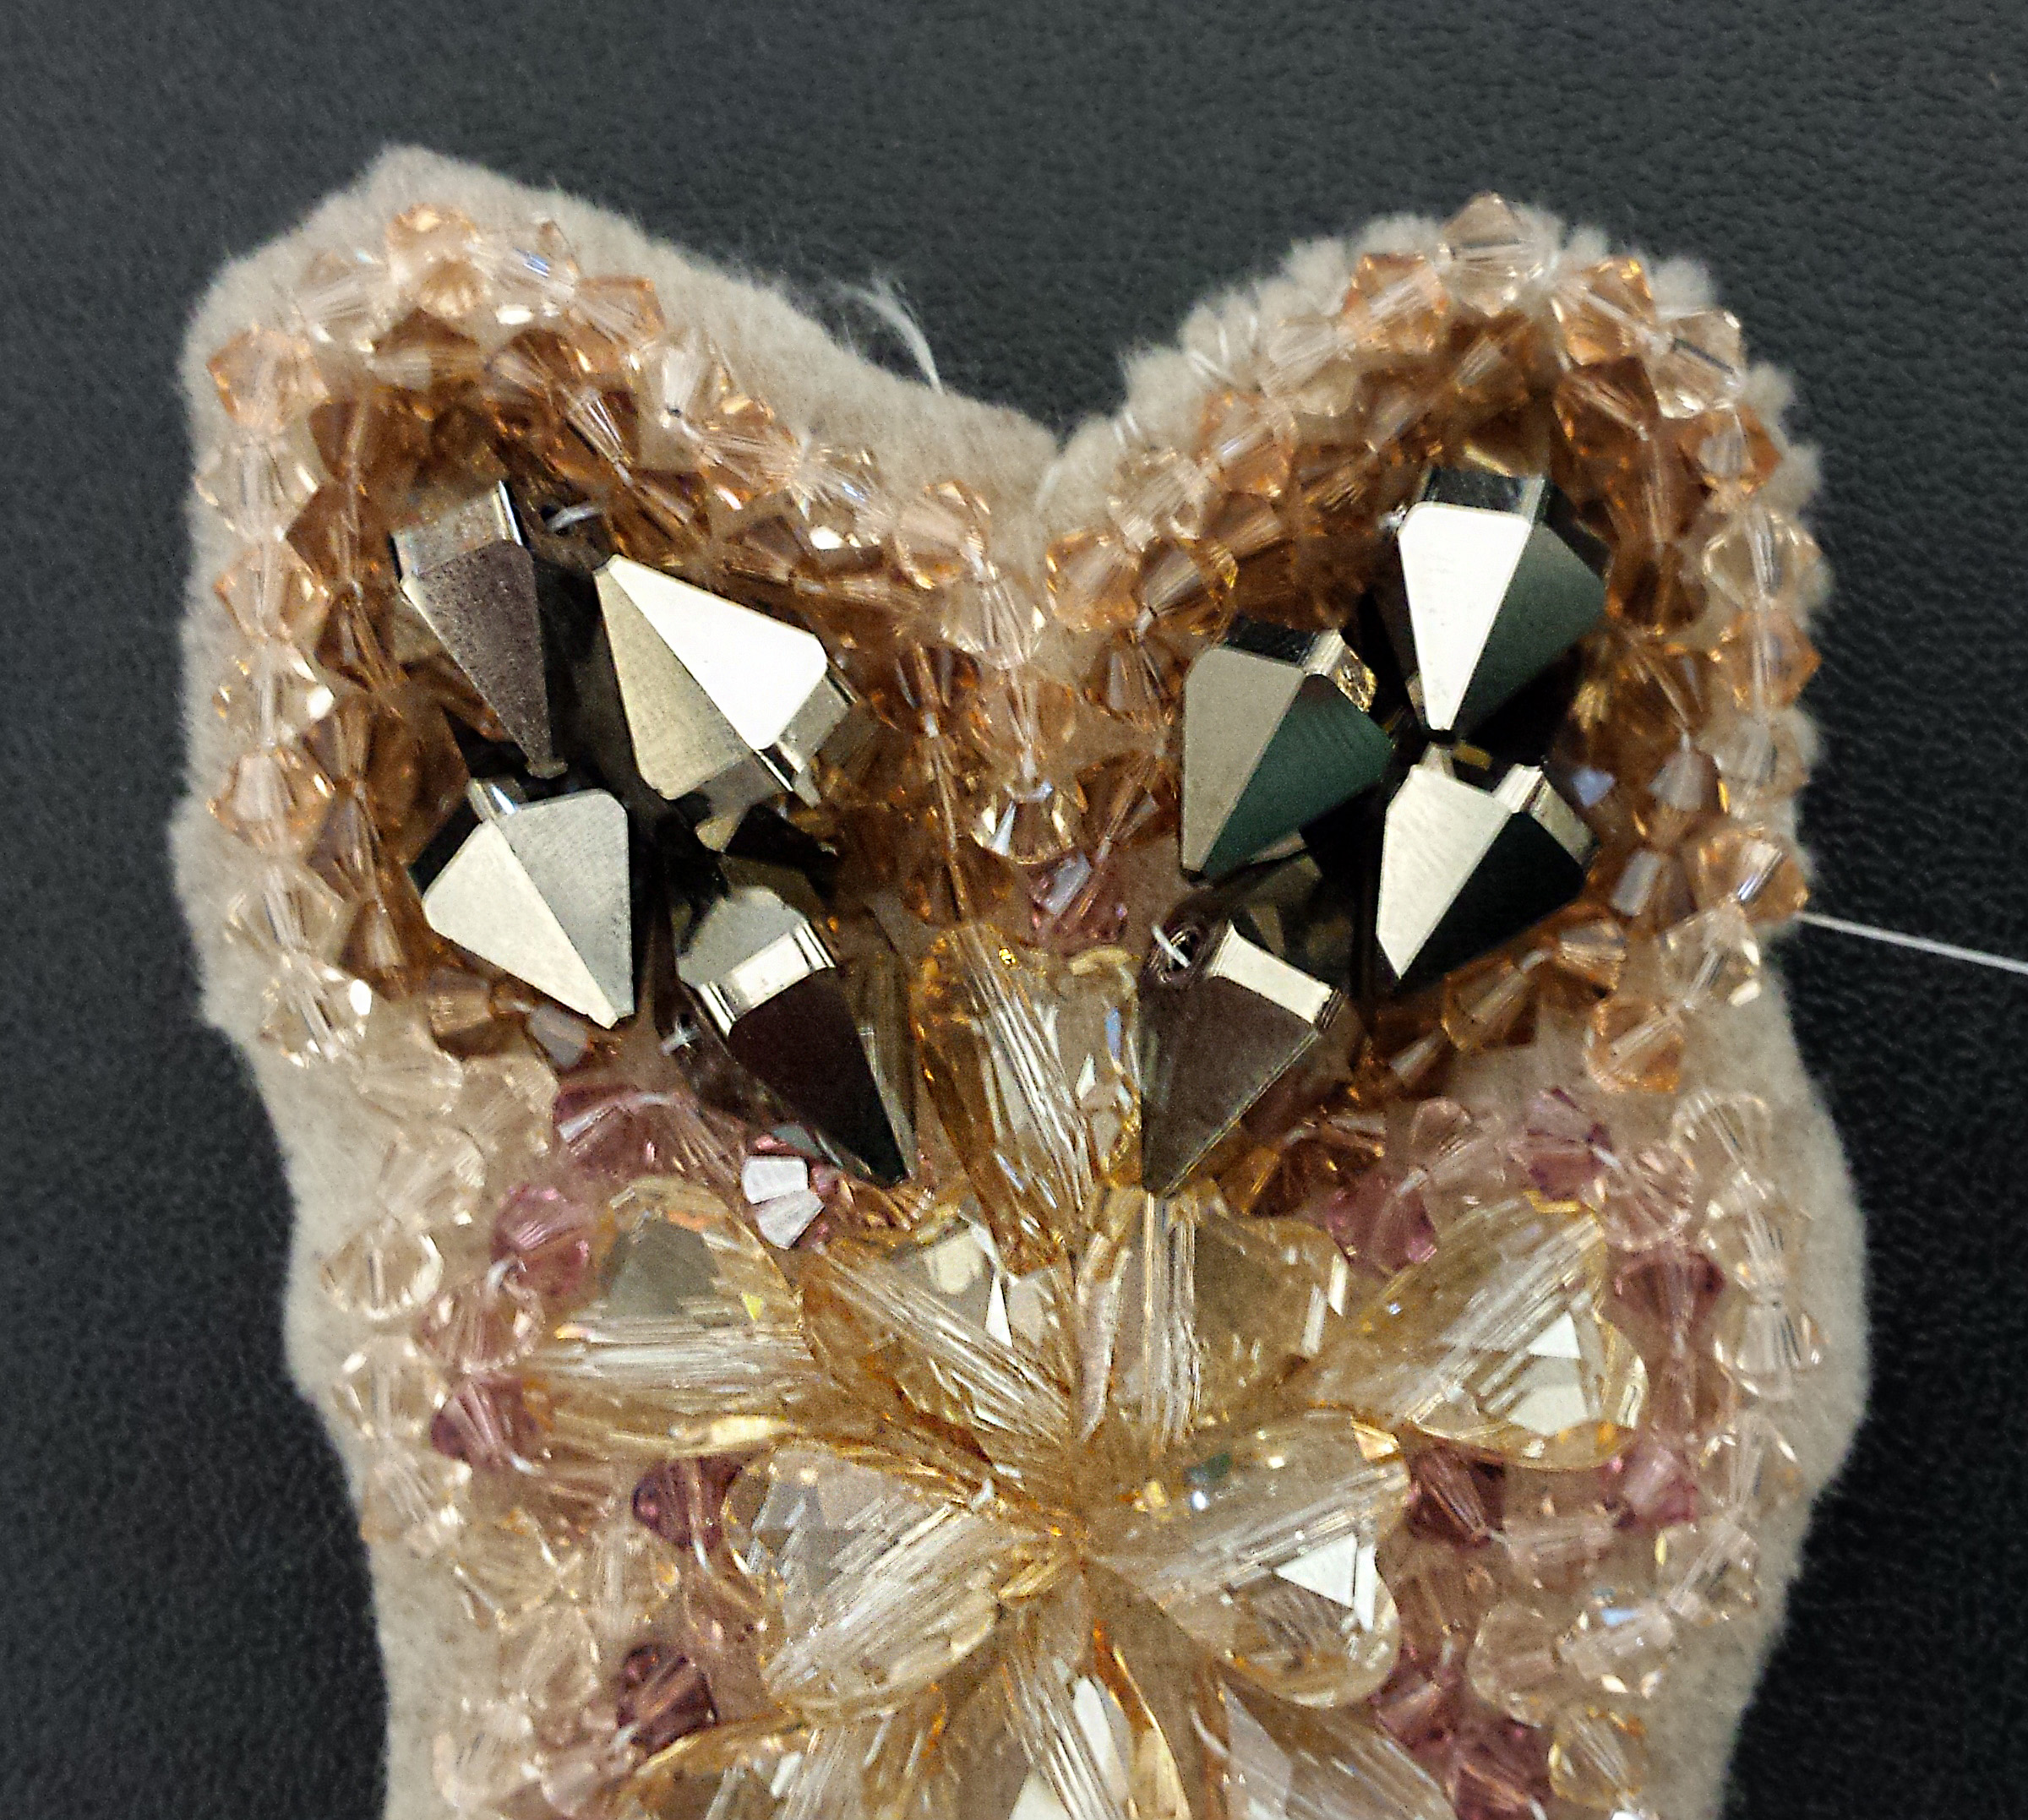
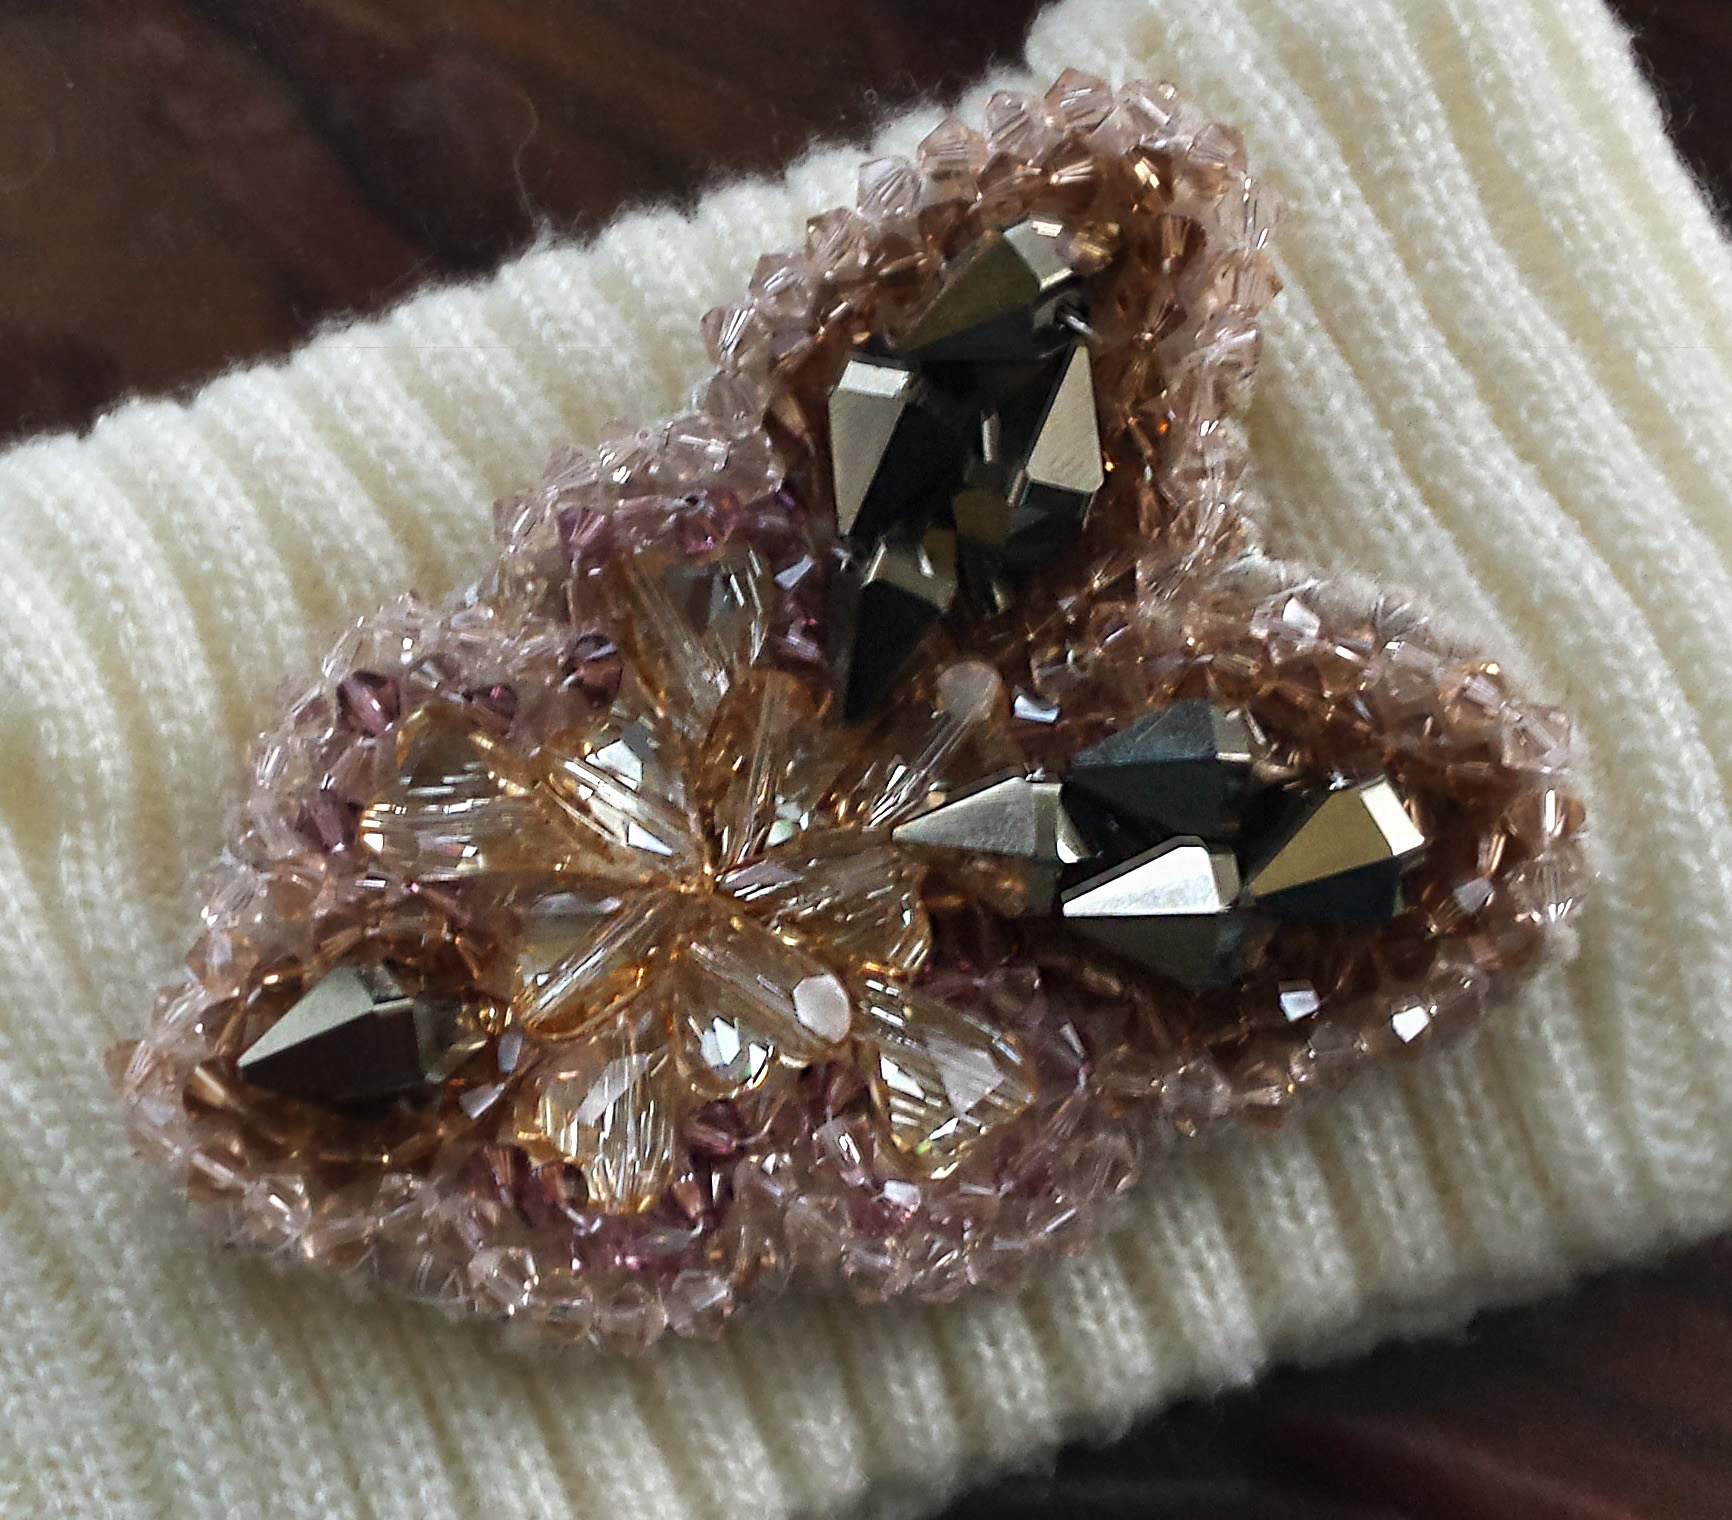
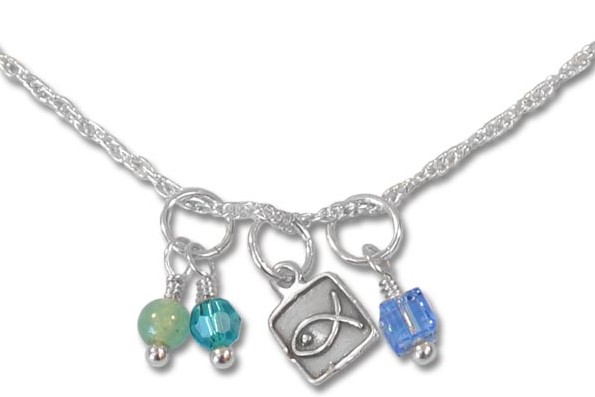
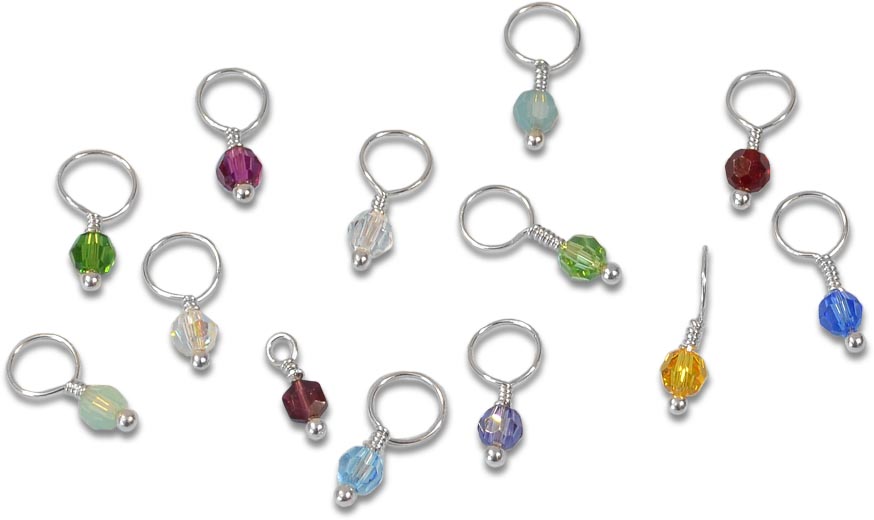
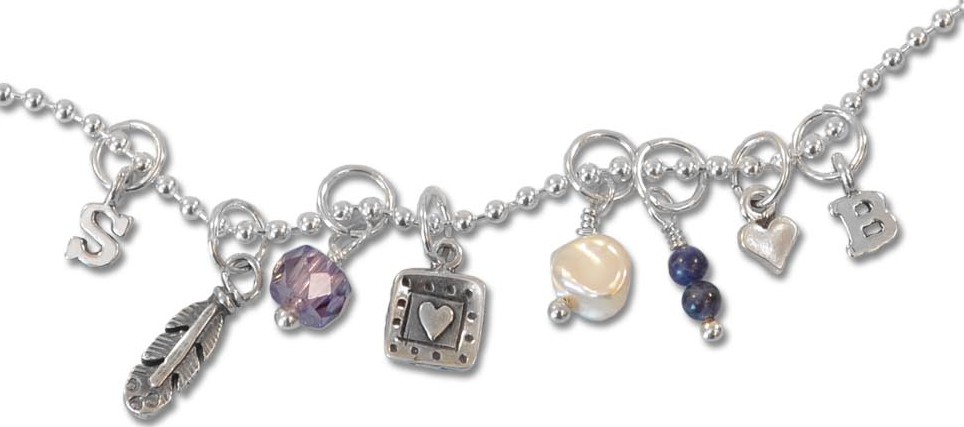
Charm bangle bracelets are a great way to show team spirit! With a variety of TierraCast charms and Swarovski crystals, you can personalize them with lots of different colors and themes. I like to make ones that celebrate my favorite sports teams. You can use TierraCast charms with Swarovski crystals already set in them, or glue Swarovski crystals into blank bezel charms. Both are beautiful! See how ridiculously easy these bracelets are to make below! —
Open Hearted Lariat Necklace
September 28, 2015Since October is Breast Cancer awareness month, I wanted to make a pink ribbon necklace that would do many things at once. I wanted it to look stylish, spread awareness, and encourage hope and solidarity. I came up with this simple but elegant Open Heart Lariat Necklace that literally takes seconds to put together and requires no tools! Read on to make your own. Continue Reading…
DIY Team Spirit Earrings
August 31, 2015With football season fast approaching, it’s time to break out your team spirit! Colorful jewelry that shows off team colors will make it easy for everyone to know who you’re cheering for! Simply swap out the Swarovski crystal colors to make earrings that support your favorite team!
Continue Reading…
DIY Swarovski Applique
December 9, 2014Did anyone else notice that winter hit overnight? The below-freezing temps are here and it’s time to snuggle up in our warm winter-wear! While I hate being cold, I love wearing coats and all of the fun accessories that go along with them – so I obviously need to be cute while doing it! I’ve also found a passion for the ‘DIY’ trend that seems to be everywhere these days, and I have created a basic tutorial for applique work using Swarovski crystals and an old headband I found in my closet!
Supplies
1 – John James Beading Needle, Size 10
1 – The Beadsmith Braided Bead Thread, .006in, 28yd spool (I used White)
288pcs (2 gr) – Swarovski Crystal Jams, 4mm (I used Bohemian Rhapsody) OR any color Swarovski Crystal Bicones, 4mm
9 – Swarovski Double Spike Beads (I use 12mm Metallic Light Gold 2x)
10 – Swarovski Wild Heart Crystal Beads (I used 12mm Golden Shadow)
2 – felt squares, about the size of your hand
Pair of scissors
Now the Fun Part!
The beauty of this project is that you can use an assortment of crystals! I try and keep a good balance of large and small crystals, with the larger ones being the focal point. My image above shows my color and size assortment. I went for more of a neutral color palette, really playing off of the golds and light pinks. The Rings & Things Exclusive Swarovski Crystal Jams bead mixes are great for something like this, as they can help you develop a strong color story from the beginning.
First, I started by arranging my larger beads in various patterns (2 options I came up with are above). I knew I wanted to do some kind of floral-inspired design. For some people, it may be easier to roughly draw something as well.
Needle & Thread Basics
I began by cutting a strand of Power Pro bead thread that was about the span of my arms; you can start with a smaller strand than this as this may be easier to manage at first. This thread is pretty amazing – I would not recommend using other threads that you may find at the fabric store because the crystals can actually cut through that type of thread! Power Pro by The BeadSmith is much more sturdy, and you would hate to lose your Swarovski crystals because of the wrong thread!
Once the needle is threaded, tie a basic knot; I did three loops to create a thicker knot.
Step by Step
1. Now it’s time to sew the final design onto the felt. I like to start at the center of my design when I’m sewing on the crystals. Since you have the basic design laid out and your needle threaded, start by holding one crystal in place with your thumb and index finger; insert the needle from the BACK SIDE of the felt so that the needle appears near the edge of the crystal where the hole is located (see FRONT SIDE image below). The knot that you made should be on the back side of the fabric.
2. Thread the needle through the hole in the crystal, and insert the needle back into the felt. Make sure to stay near the crystal’s edge where the needle just exited the hole.
3. Continue doing this for the center crystals (ie. my ‘petals’) and expand to any other large crystals you have (ie. my ‘leaves’). Once you have each of these sewn on, leave your thread where it is. No need to knot anything.
4. Go ahead and grab your smaller beads – Here, I’m using the 4mm Swarovski Bicone Crystal Jams. We will begin where your left your thread after completing the larger crystal beads. Place 2 bicone crystals on your needle and push them down the thread. I wanted to arrange my bicones around my larger crystals as an outline. As soon as they fit snug against the felt, insert your needle back into the felt, staying close to the edge of the bicone. Continue your way around, using two bicones at a time
This is a fun time to play with color! My outlines consist of 3 or 4 different colored bicones, and they really play off of each other in different lights!
**If you ever run out of thread, just tie a knot on the backside of the fabric, and start a new needle & thread!**
5. Once I made my way around, I decided to add a second outline with the bicones. It is completely up to you – be creative and try some different things! Once you have finished sewing all of your Swarovski Crystals, insert the needle down through the front side and tie a knot in the back; you can use the same knot technique that was demonstrated earlier!
Creating a Finished Edge
1. Cut the felt around the crystals, leaving 1/4 inch allowance on the outside.
2. Take your second piece of felt and cut an identical piece
3. Time to start with some fresh thread! Tie the same knot as shown above and insert the needle from the backside, to the front side like below. Pull the needle through until the knot is snug underneath.
4. Grab your second piece of felt and place it underneath your original piece. Insert your needle through both pieces of felt, starting with the new piece. See photo below for reference. Pull all the way through; the felt should curl up as you pull the thread as tight as you can.
This second piece of felt hides all of the thread work you have underneath, while also stabilizing and protecting these stitches from wear and tear.
5. Start working your way around the felt, using the same technique in step 4. You can see the difference in the two photos below – I have completed the technique on the upper right hand side.
6. Once you have completed this step, your applique is complete! You can use this for scarves, headbands, gloves, apparel, etc. I have attached this to a headband, and I used the same technique from steps 4 & 5. It’s that simple!
All of us at Rings & Things would love to see any applique work you have created! Please send us pictures or post them below! 🙂
Happy Winter!
– Laura
How to make crystal angel earrings
October 28, 2014When I first saw the cool shape of Swarovski’s crystal dome beads (from their Fall/Winter 2014/15 Innovations), two thoughts immediately came to my mind – bell and angel skirt.
This tutorial shows you how to use these sparkling faceted beads to make angel skirts for earring designs. The exact same combinations can also be used to make single angels for pendants, bookmarks, gift tags, and more!
There are two styles of Swarovski dome beads to choose from. The large dome beads give you a more elongated shape:
The small dome beads have a more rounded out bell shape:
The main components of any crystal angel design are: halos, heads, wing beads, and bodies:
TierraCast makes a variety of wing bead styles. Additional wing beads are also available in base metal and sterling silver.
Popular bead styles for halos include heishi, and beaded heishi beads as well as rhinestone rondelles.
Here are several combinations of halos, wings, and bodies in different colors and sizes. For a complete parts list of supplies ready to buy, click each image below! (Or browse our Rings & Things Design Gallery.)
Other popular shapes for body include the Teardrop bead and the cone-shaped Swarovski Crystal Artemis bead.
Keep in mind that angels can be any color! Choose whatever colors you like for whatever mood you’re in!
No matter whether you’re preparing for Christmas or you’re a year round angel aficionado, take inspiration from these designs and create your own heavenly host.
~ Rita
How to Use Center Crimp Cord Ends
October 14, 2014When you’re making jewelry, center crimp cord ends are an easy way to cleanly finish the ends of a wide variety of jewelry cord including but not limited to leather, silk ribbon, and chain.
You can finish your necklace or bracelet with a loop and a hook:
Or, use two loops and the clasp of your choice (shown here is an “S” hook clasp):
Here is how to apply the crimp ends:
1. Gather your supplies. All you really need are the crimp ends, some round nose pliers (or non serrated chain nose pliers) and of course your cording material. Super glue is optional, but adds extra security.
2. For added security, put a dab of super glue inside the crimp end. Slide the cording end(s) into the crimp end. Do this quickly before that dab of glue dries.
3. Holding the crimp in place over the cording, use your pliers to firmly squeeze the center portion of the crimp and clamp it down on the cording.
4. Once crimped, the center of the end piece will be flattened down on the cording. Crimping the metal on top of the glue will ensure a secure connection for jewelry designs.
Here are some jewelry inpirations that incorporate the use of center crimp ends. These designs and more can be found in our Jewelry Design Gallery where you will find the complete supplies list as well as tips from the designer. Click on the images to take you there.
Now that you know what to do with center crimp cord ends, don’t be shy! Use them to make bracelets, necklaces, earrings and more.
Did you know? You can Shop for center crimp cord ends here.
Happy creating! ~ Val
Vintaj® & Leather Go So Well Together!
July 16, 2014Vintaj Natural Brass findings and leather bracelets go together like butter on bread! You can unite them with rivets, thread, jump rings and more.
With just a few supplies, you can create stylish and unique cuff bracelets, incorporating popular and trendsetting Vintaj Natural Brass findings. For this riveted version, all you need is:
Continue Reading…Fast & Fun DIY Flower Cabochon Bobby Pins
May 24, 2014Cabochon flowers are a super easy way to add a splash of color to your life! With flat backs for easy gluing, they’re a cinch to add to any number of craft projects. This tutorial shows you how to embellish the flowers then add them to bobby pins to make sparkling DIY hair accessories. It’s a great project for kids, seniors, girly get-togethers and parties.
Only a few supplies are required:
Flat Pad Bobby Pins
Flower Cabochons
Adhesive Dots
Paint Dabbers
Glitter!
White Glue Paint Brushes or Cotton Swabs for Glue
If desired, color the flower using paint dabbers. While the paint is still wet, dip the outer petals into glitter. If you’re not coloring your flower first, add a light layer of glue to the outer petals before dipping them in the glitter.
Apply the adhesive dot to the pad of the bobby pin.
Attached your embellished posie and you’re done!
Have fun & sparkle on!
Did you know? …
You can buy the supplies to make this project now:
Create a Custom Personalized Necklace
December 6, 2013Personalized jewelry is very popular, and quite simple to create! A four-piece jewelry making tool set and basic assembly techniques are all you need to create custom necklaces.
It is easy to personalize jewelry using birthstone-color gemstones and Swarovski crystal, along with a sterling silver charm or two. Rings & Things sells a huge selection of lightweight budget-friendly sterling charms and necklace chains.
Chains are easily adorned with add-a-dangle, or add-a-gemstone charms. To create these assorted dangles, you just need a selection of small beads from your stash and some sterling ball-end head pins.
These colorful dangles allow you to add several birthstones to a custom piece, or accessorize it according the whimsy of the wearer. A mixture of natural stones, freshwater pearls and Swarovski crystals is very popular. Making oversized loops on the dangles makes it easy to slide them onto nearly any chain without adding a jump ring.
If you sell custom necklaces, consider displaying the basics in a fun display (along with a few completed samples):
- A tray of sterling silver charms
- An assortment of pre-made add-a-gemstone dangles
- A variety of pre-made add-a-birthstone crystal dangles
- A few styles of sterling silver necklace chains.
This jewelry also makes great gifts and mementos for friends, family and other loved ones. Have fun making these darling necklaces!
Embellish Jewelry Blanks with Crystal Chatons
November 11, 2013It doesn’t matter if you’re a rhinestone cowgirl or an urban fashionista – dressing up belt buckles and other jewelry blanks with sparkling crystal chatons is just plain fun!
Use the steps below to either recreate the Zen Yin belt buckle by Jan or to embed you own designs in a wide range of jewelry components including bezel cups, buckle blanks, cuff links, and more.
Supplies:
- Belt buckle blank or bezel cup
- EnviroTex Jewelry Clay
- Crystal chatons with pointed backs
- Jewel setting tool
- Beads, buttons, coins, resin flowers and/or other embeddable objects
- Vinyl, nitrile or latex gloves
- Vegetable oil and/or baby powder (optional)
To make the exact belt buckle pictured in this blog, see the “Zen Yin” belt buckle full parts list in our Design Gallery.
Tip: A jewel setter makes it much easier to set small objects into the clay! While bare fingers can hinder your field of vision and upset other elements of the design, jewel setters provide a wax tip to lightly pick up and place small objects in just the right spot.
Plan your layout before you unwrap the clay. This allows you to tinker with design options without the clay drying prematurely. This is especially important on large objects like a belt buckle.
Wear thin gloves to protect your hands. Measure equal amounts of “A” and “B” types of clay, and form each material into a separate ball. If the clay sticks, apply a thin coat of vegetable oil.
Combine the two balls together until they are well blended and uniform in color.
Press the clay into your jewelry blank. You can smooth it out by adding a little vegetable oil on top. If it gets too sticky, dust it lightly with baby powder.
Place larger objects and focal points into your clay first. Tip: To save time, you can leave strung beads on the string, rather than placing them individually in the clay. Trim excess string once the beads are in place.
Next, fill in the remaining exposed clay with sparkling crystal chatons. As mentioned above, a jewel setter can make this task quicker and easier. When you are placing your chatons into the clay, be sure not to press or tap them in to deeply. The clay will rise up a little bit around them particularly when it is very wet.
Set aside your design in a safe spot and allow the clay to thoroughly dry, based on the manufacturer’s instructions. EnviroTex Jewelry Clay fully cures in 24 hours to a hard, durable, and shock resistant substance with a smooth, porcelain like surface. It does not shrink as it cures!
Below, check out more fun designs Jan made with EnviroTex Clay and crystal chatons.
Homer Simpson wouldn’t be able to resist this whimsical bit of bling! It’s made with donut beads, aurora borealis crystals, and a square bezel-cup pendant blank.
Heart-shaped bezel cups add an extra bit of love to jewelry designs.
Rectangle bezel-cups provide a great shape for custom pendants with a touch of bling. The design pictured above is adorned with shell beads and freshwater pearls surrounded by blue zircon and aquamarine crystal chatons.
Bezel cup ring blanks come in several colors and shapes. Some styles are exclusive to Rings & Things, and all styles are adjustable to fit any ring size. They’re perfect for making blingy costume jewelry.
Embed seed beads and other objects in the crystal clay to see what other effects you can achieve! This winter-themed ring has a polar bear bead and a “Snow Ball” seed bead mix embedded in the clay. Let your imagination be your guide as you have fun making mosaic jewelry and a whole lot more! 🙂