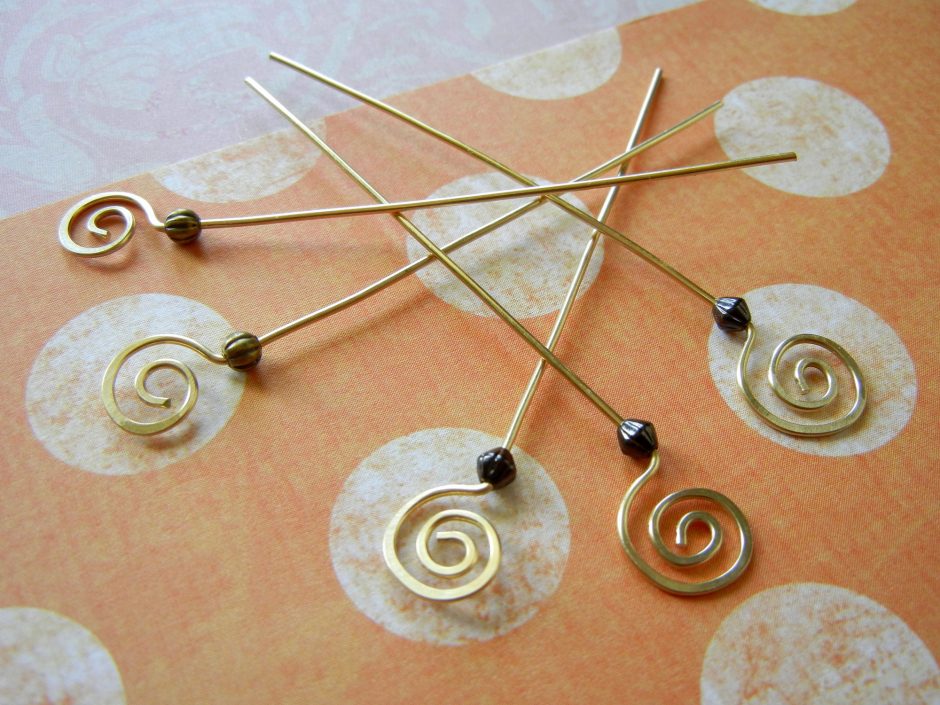
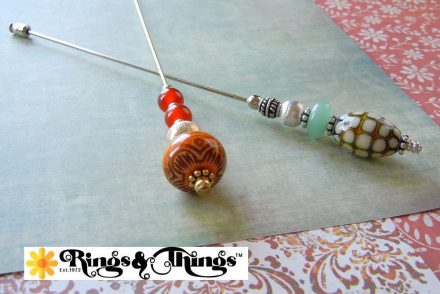
Head pins are a jewelry-making staple. But in many cases, though they are necessary, they don’t add much in design value to a jewelry piece. Rings & Things offers several styles of ready-made head pins. And yes, some of the head pins Rings & Things carries are rather fancy, but not what I had in mind for a simple mixed-metal pair of earrings I was making. I needed something dramatic to combine with my favorite primitive India metal beads and a spiral shape seemed like the perfect thing. So, not having ready-made spiral head pins available, I set out to make some. (And you can too!)
Gather your tools and supplies:
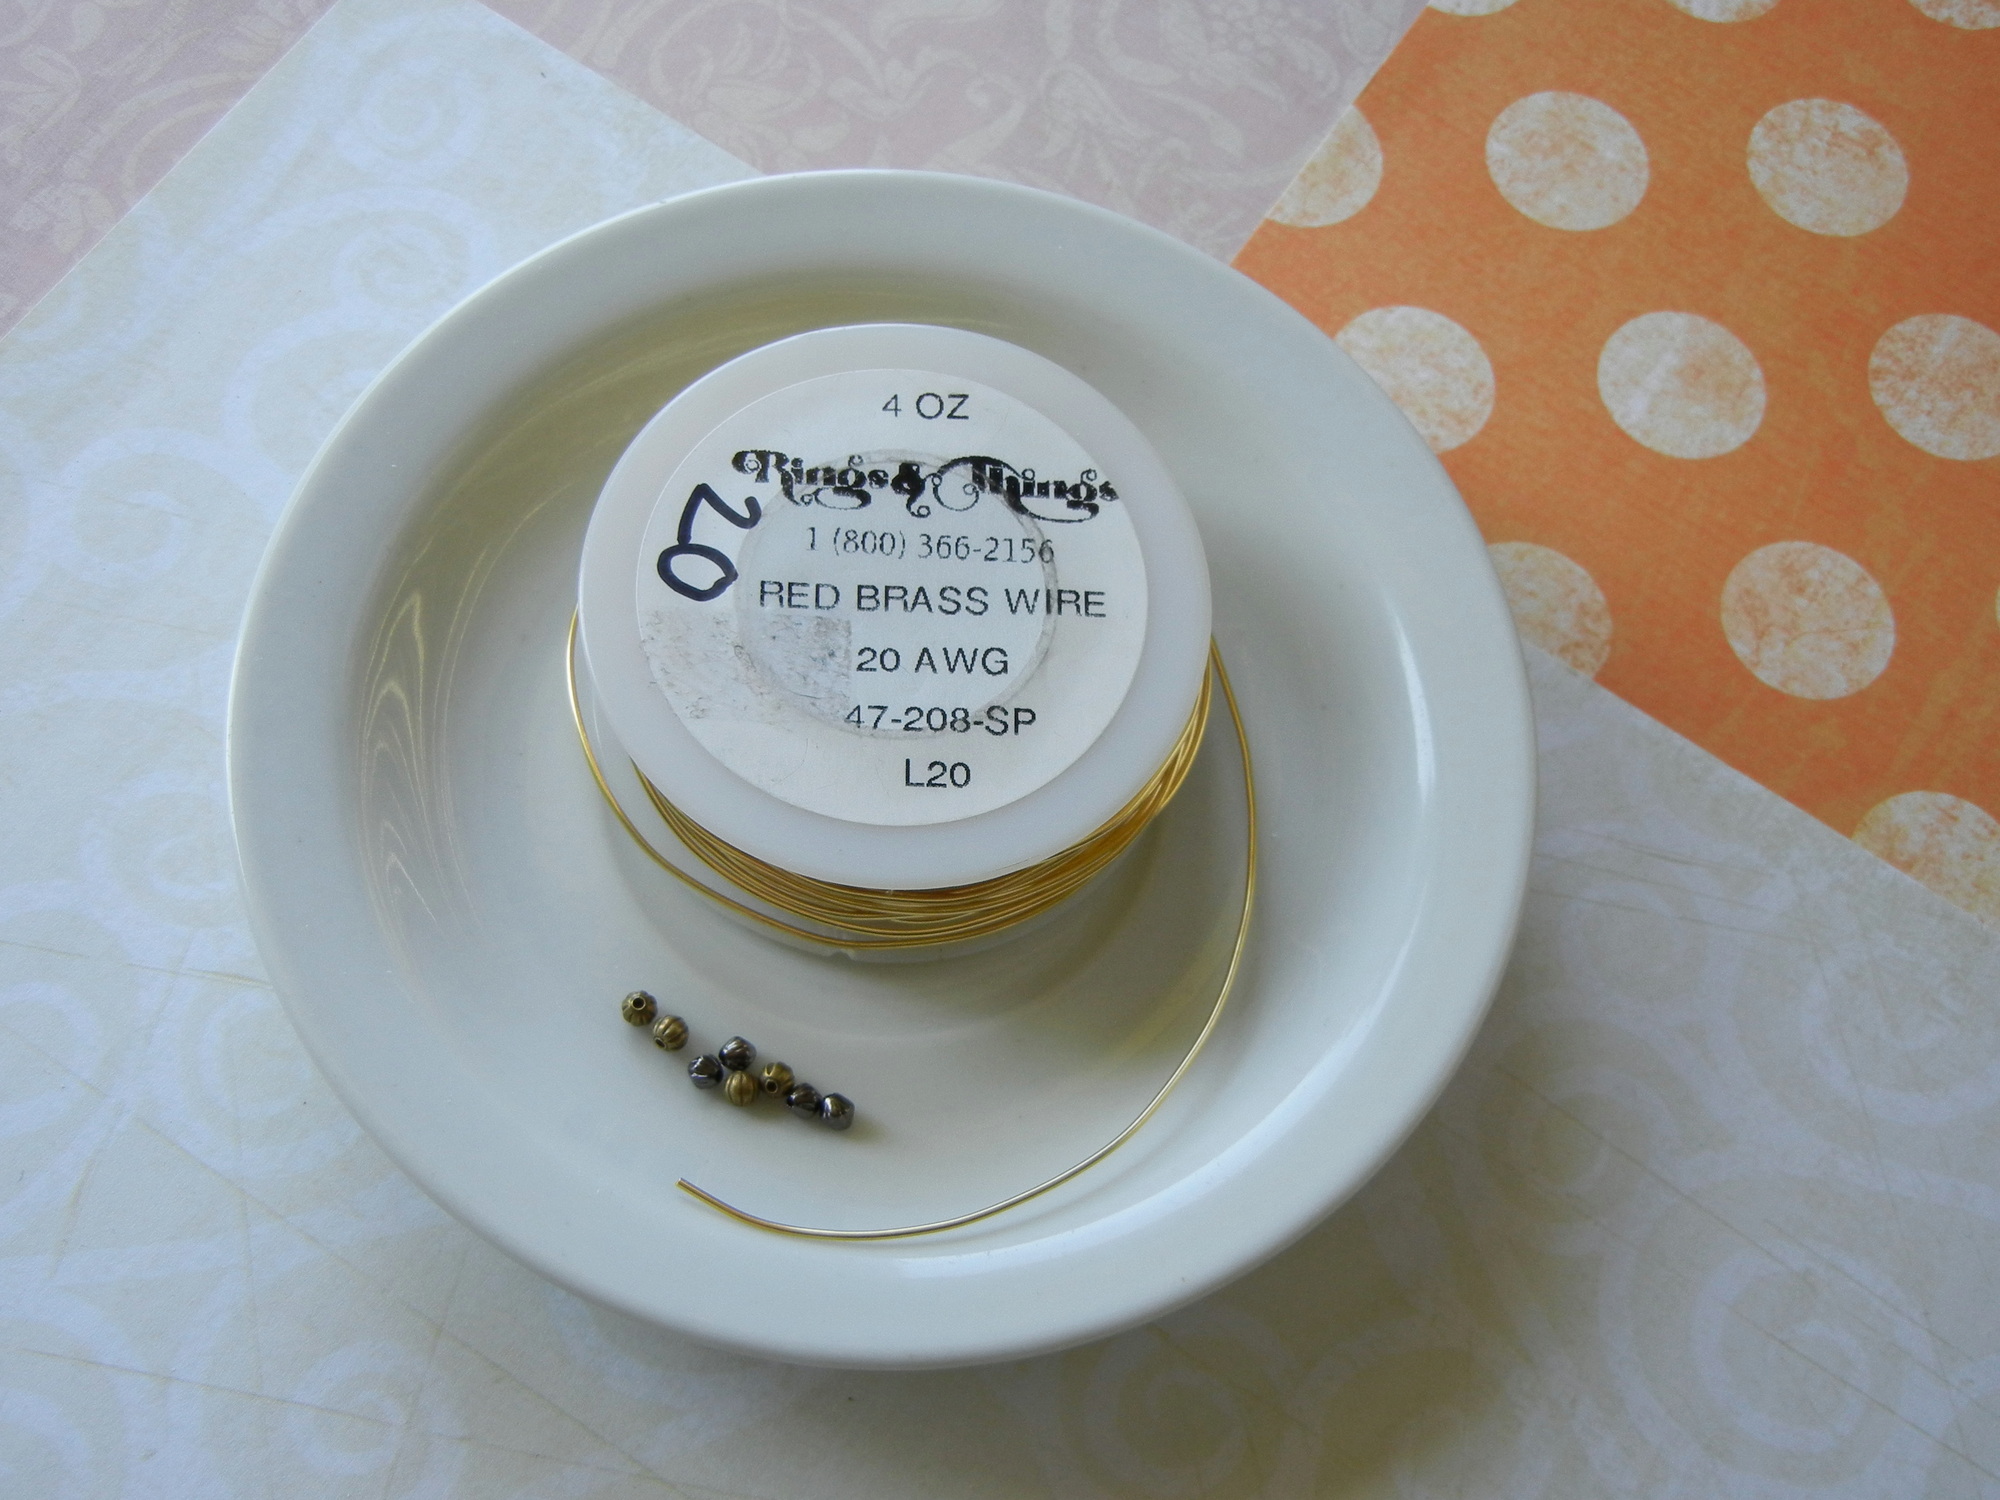
You will need these supplies:
- 3-4″ per head pin jewelry wire (I used item #47-205-20)
- 1 each per head pin metal beads (I used items #26-453-9 and #26-463-6
I chose to make my spiral head pins with 20-gauge red-brass wire because I wanted a substantial head pin. You can use lighter gauge or heavier gauge wire–just make sure the size you select is a good fit for the focal bead and accent beads. You can also work in other wire materials, just avoid wire that is plated, as the plating may crack from hammering (silver-filled and gold-filled wire are different than plated wires and will work).
Here is a list of wires that will work great for making spiral head pins:
- Brass wire
- Bare (raw) copper wire
- Nickel-silver wire
- Bronze wire
- Sterling-silver wire
- Argentium-silver wire
- Silver-filled wire
- Gold-filled wire

You will need these tools:
- #69-056 EURO TOOL Side Flush Cutter
- #69-271-02 EURO TOOL Glitter, Round-Nose Jewelry Pliers
- #69-271-91EURO TOOL Glitter, Nylon Jaw, Flat-Nose Jewelry Pliers
- #69-271-08 EURO TOOL Glitter, Flat-Nose Jewelry Pliers
- #69-138 EURO TOOL Hammer, Chasing
- #69-125 Steel 4″ Square Block
- ruler
Follow these steps to make spiral head pins:
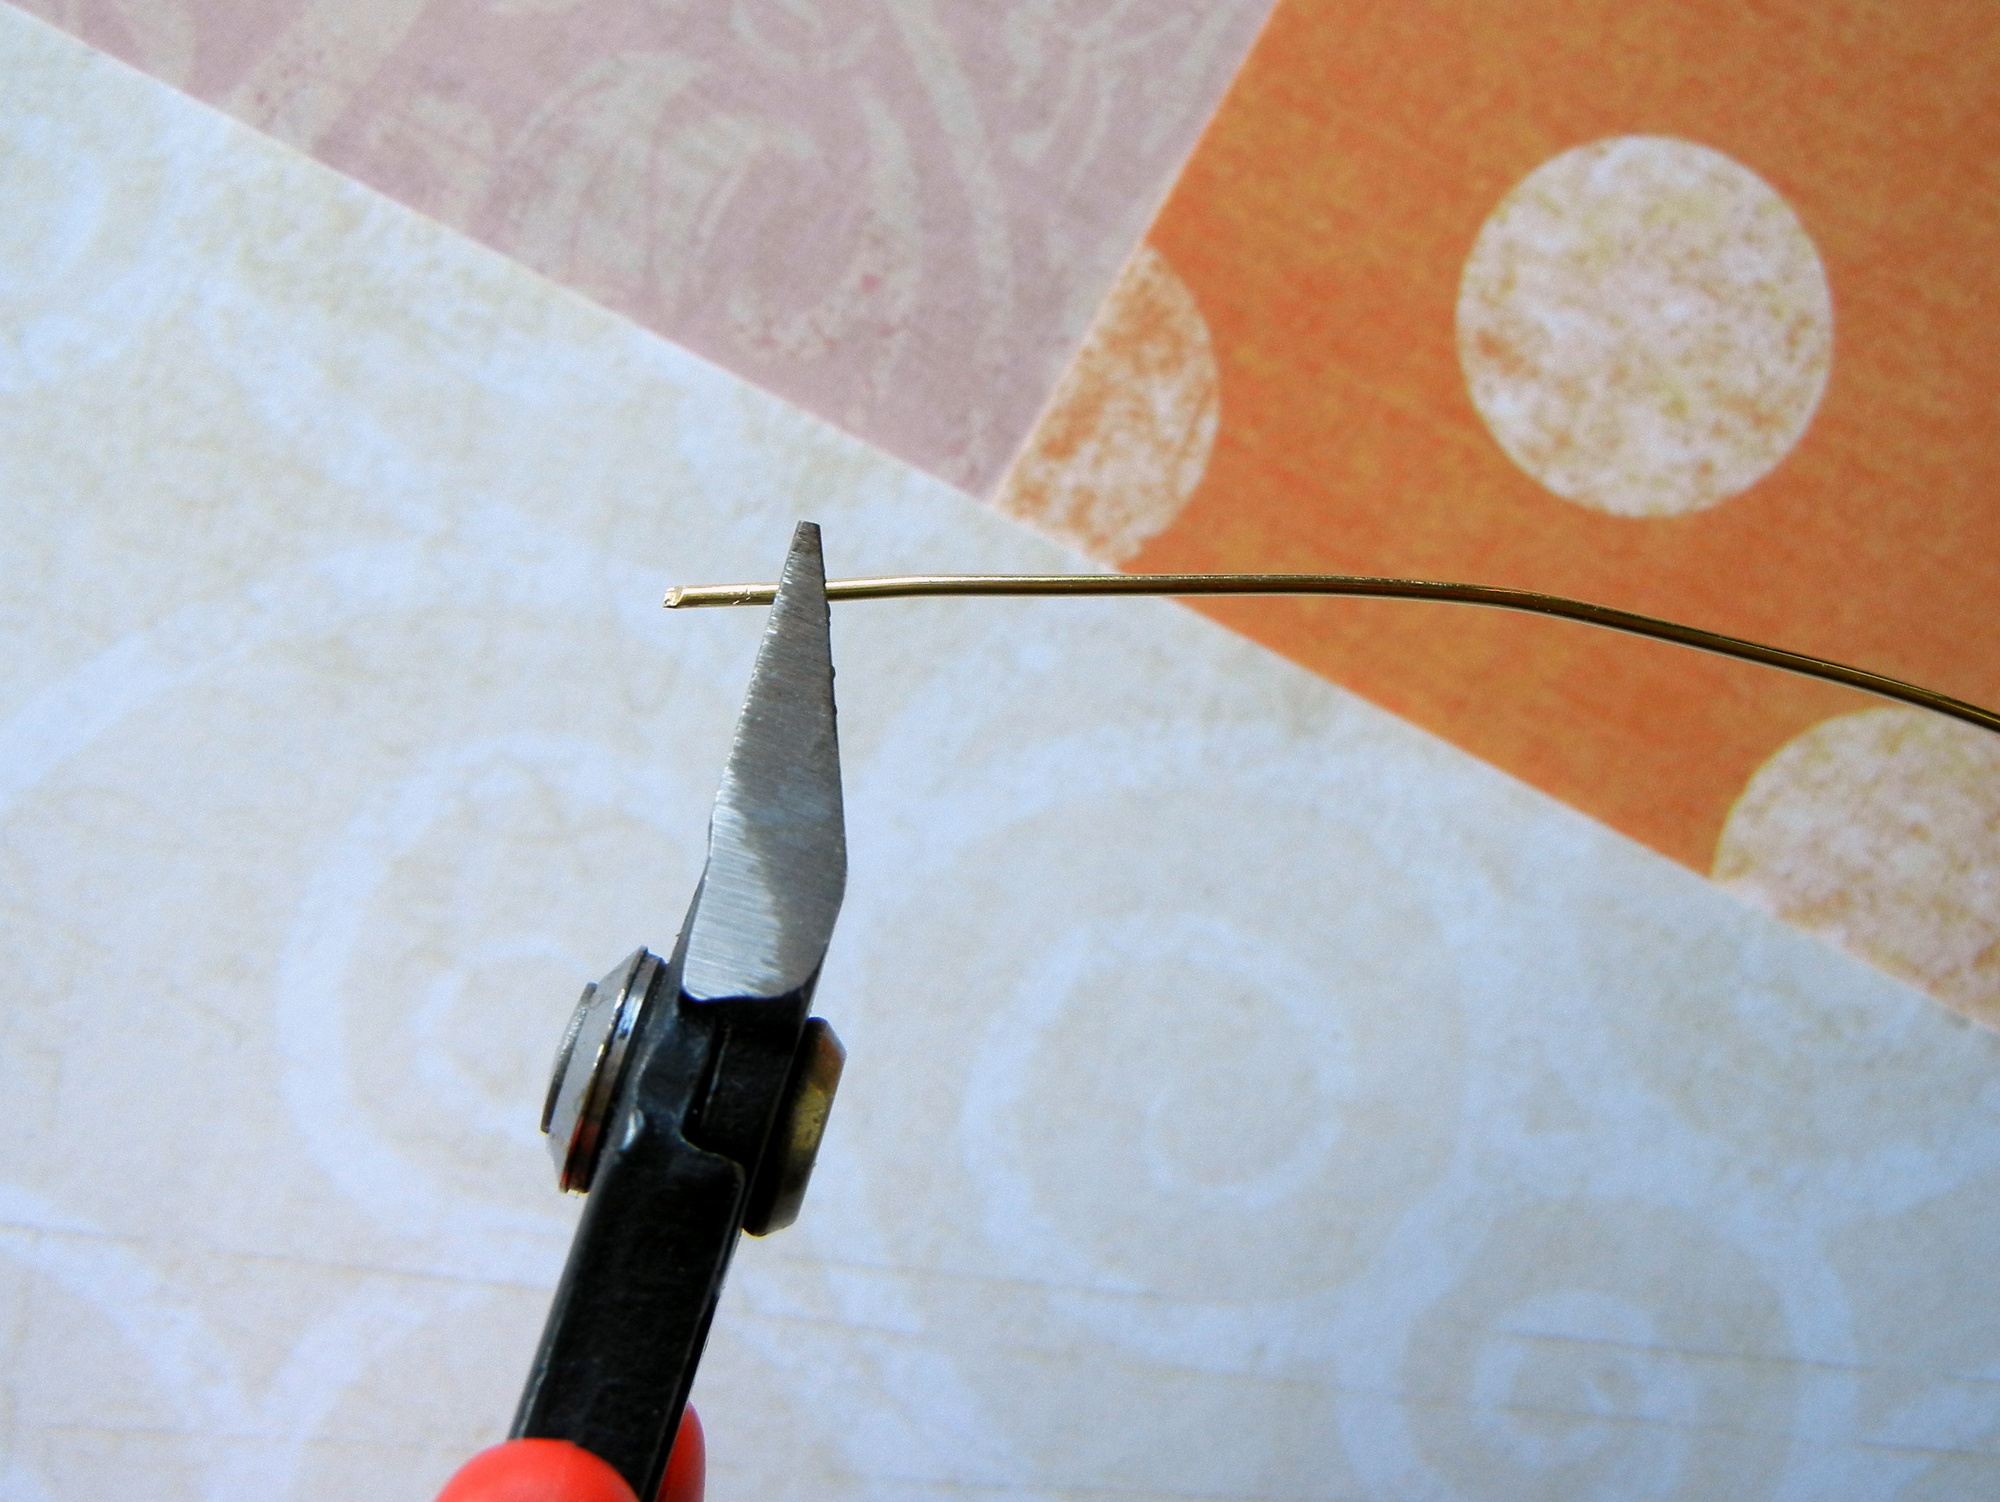
Use the side flush cutters to make a straight cut on the end of the wire.
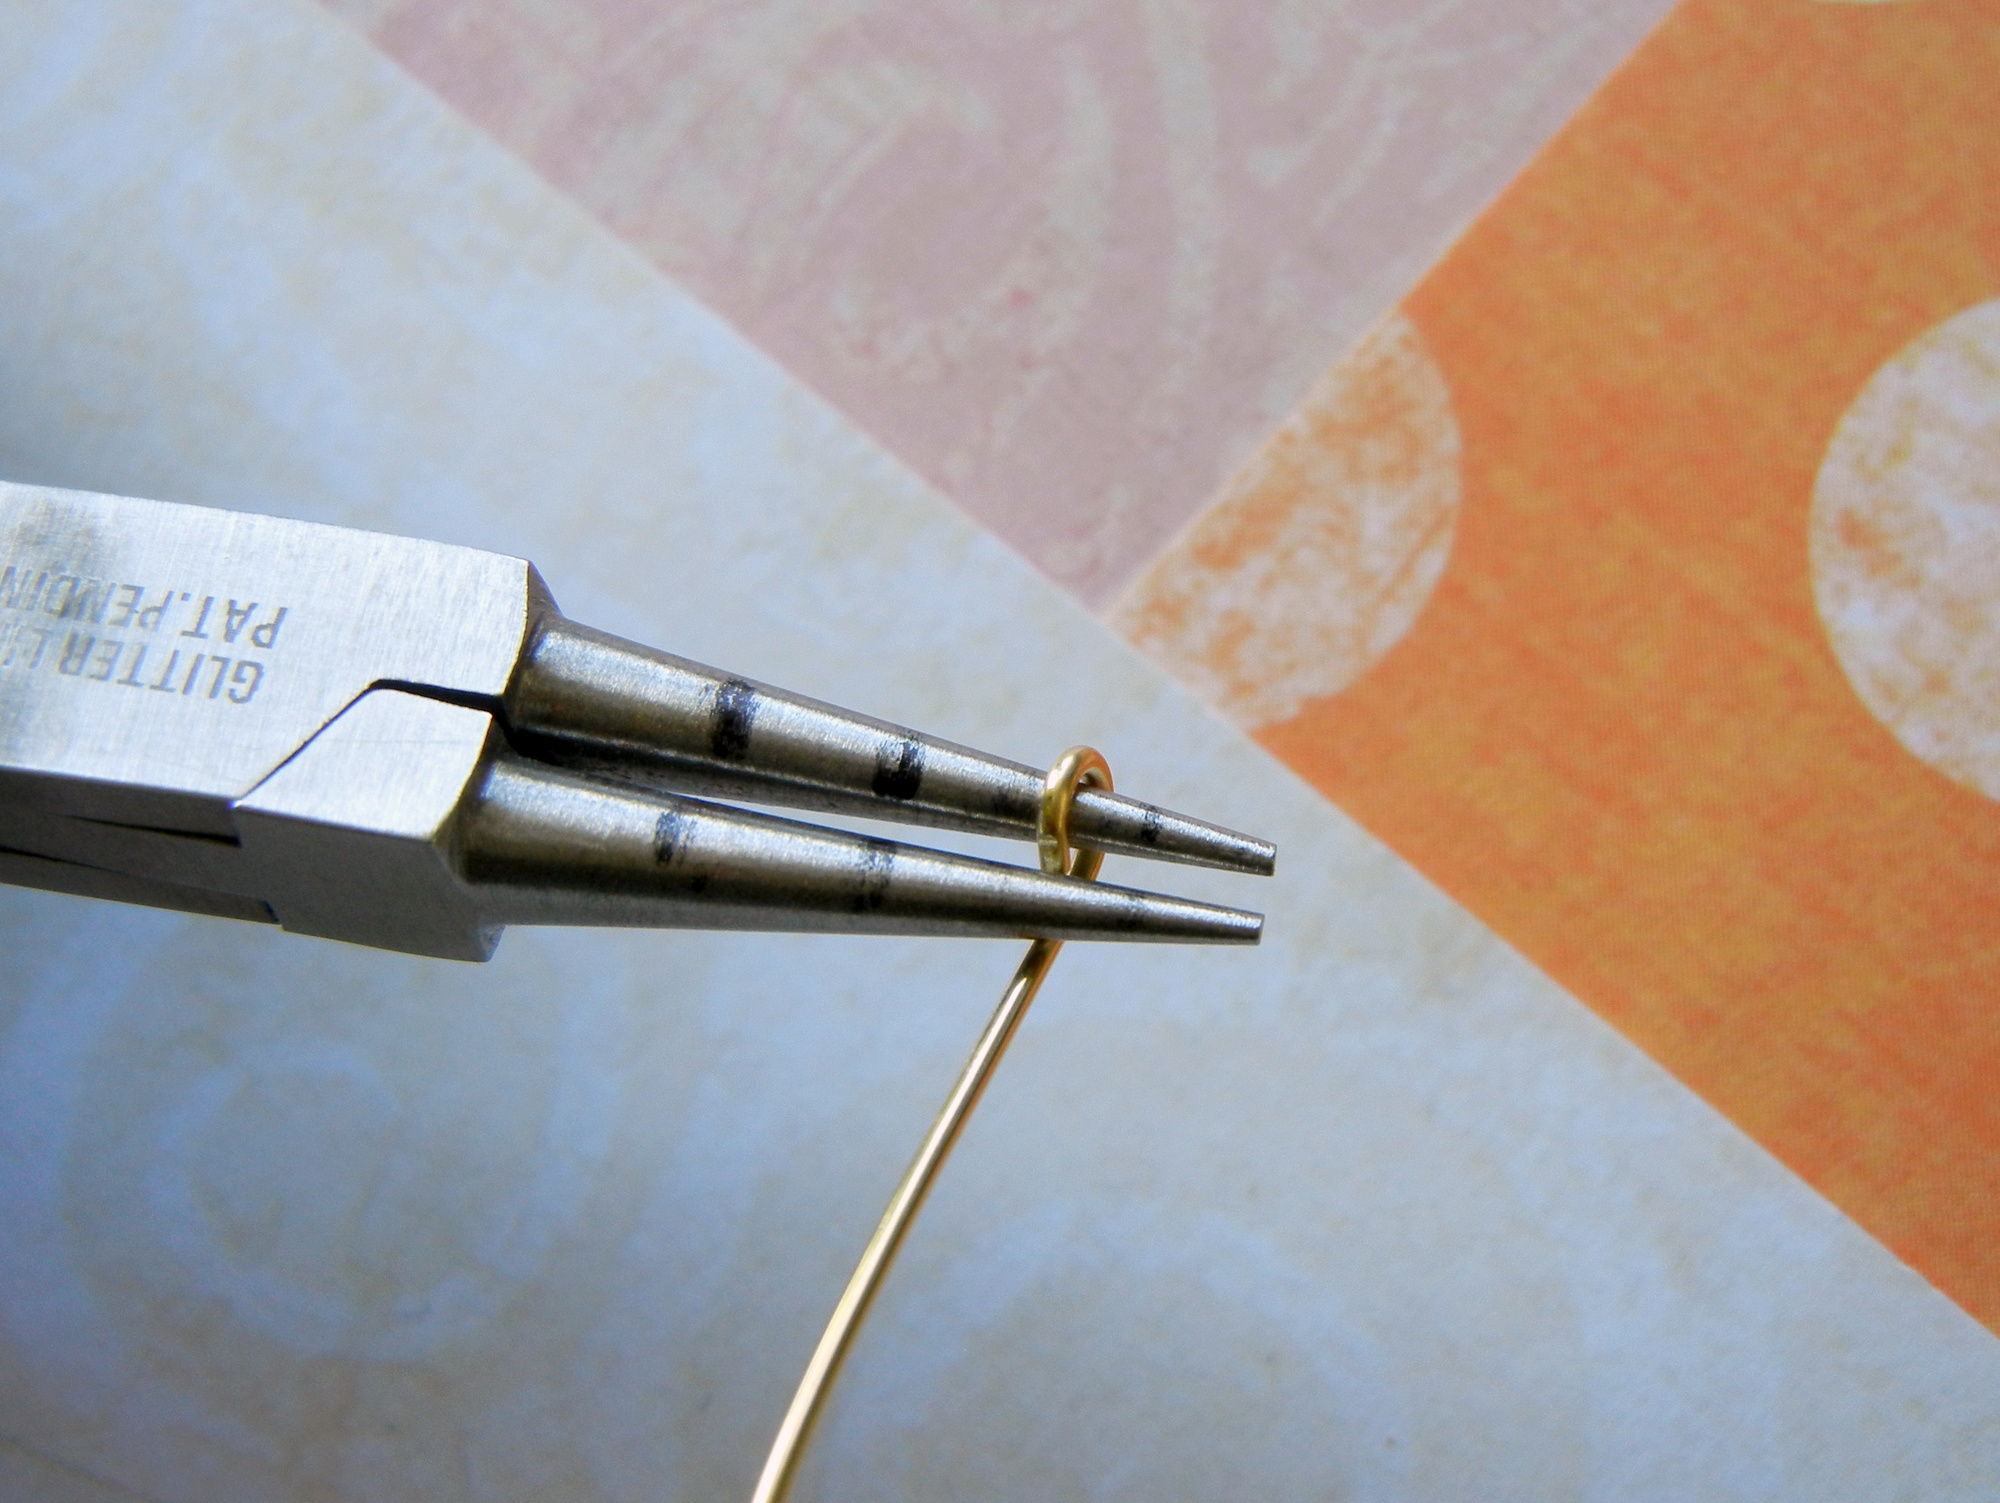
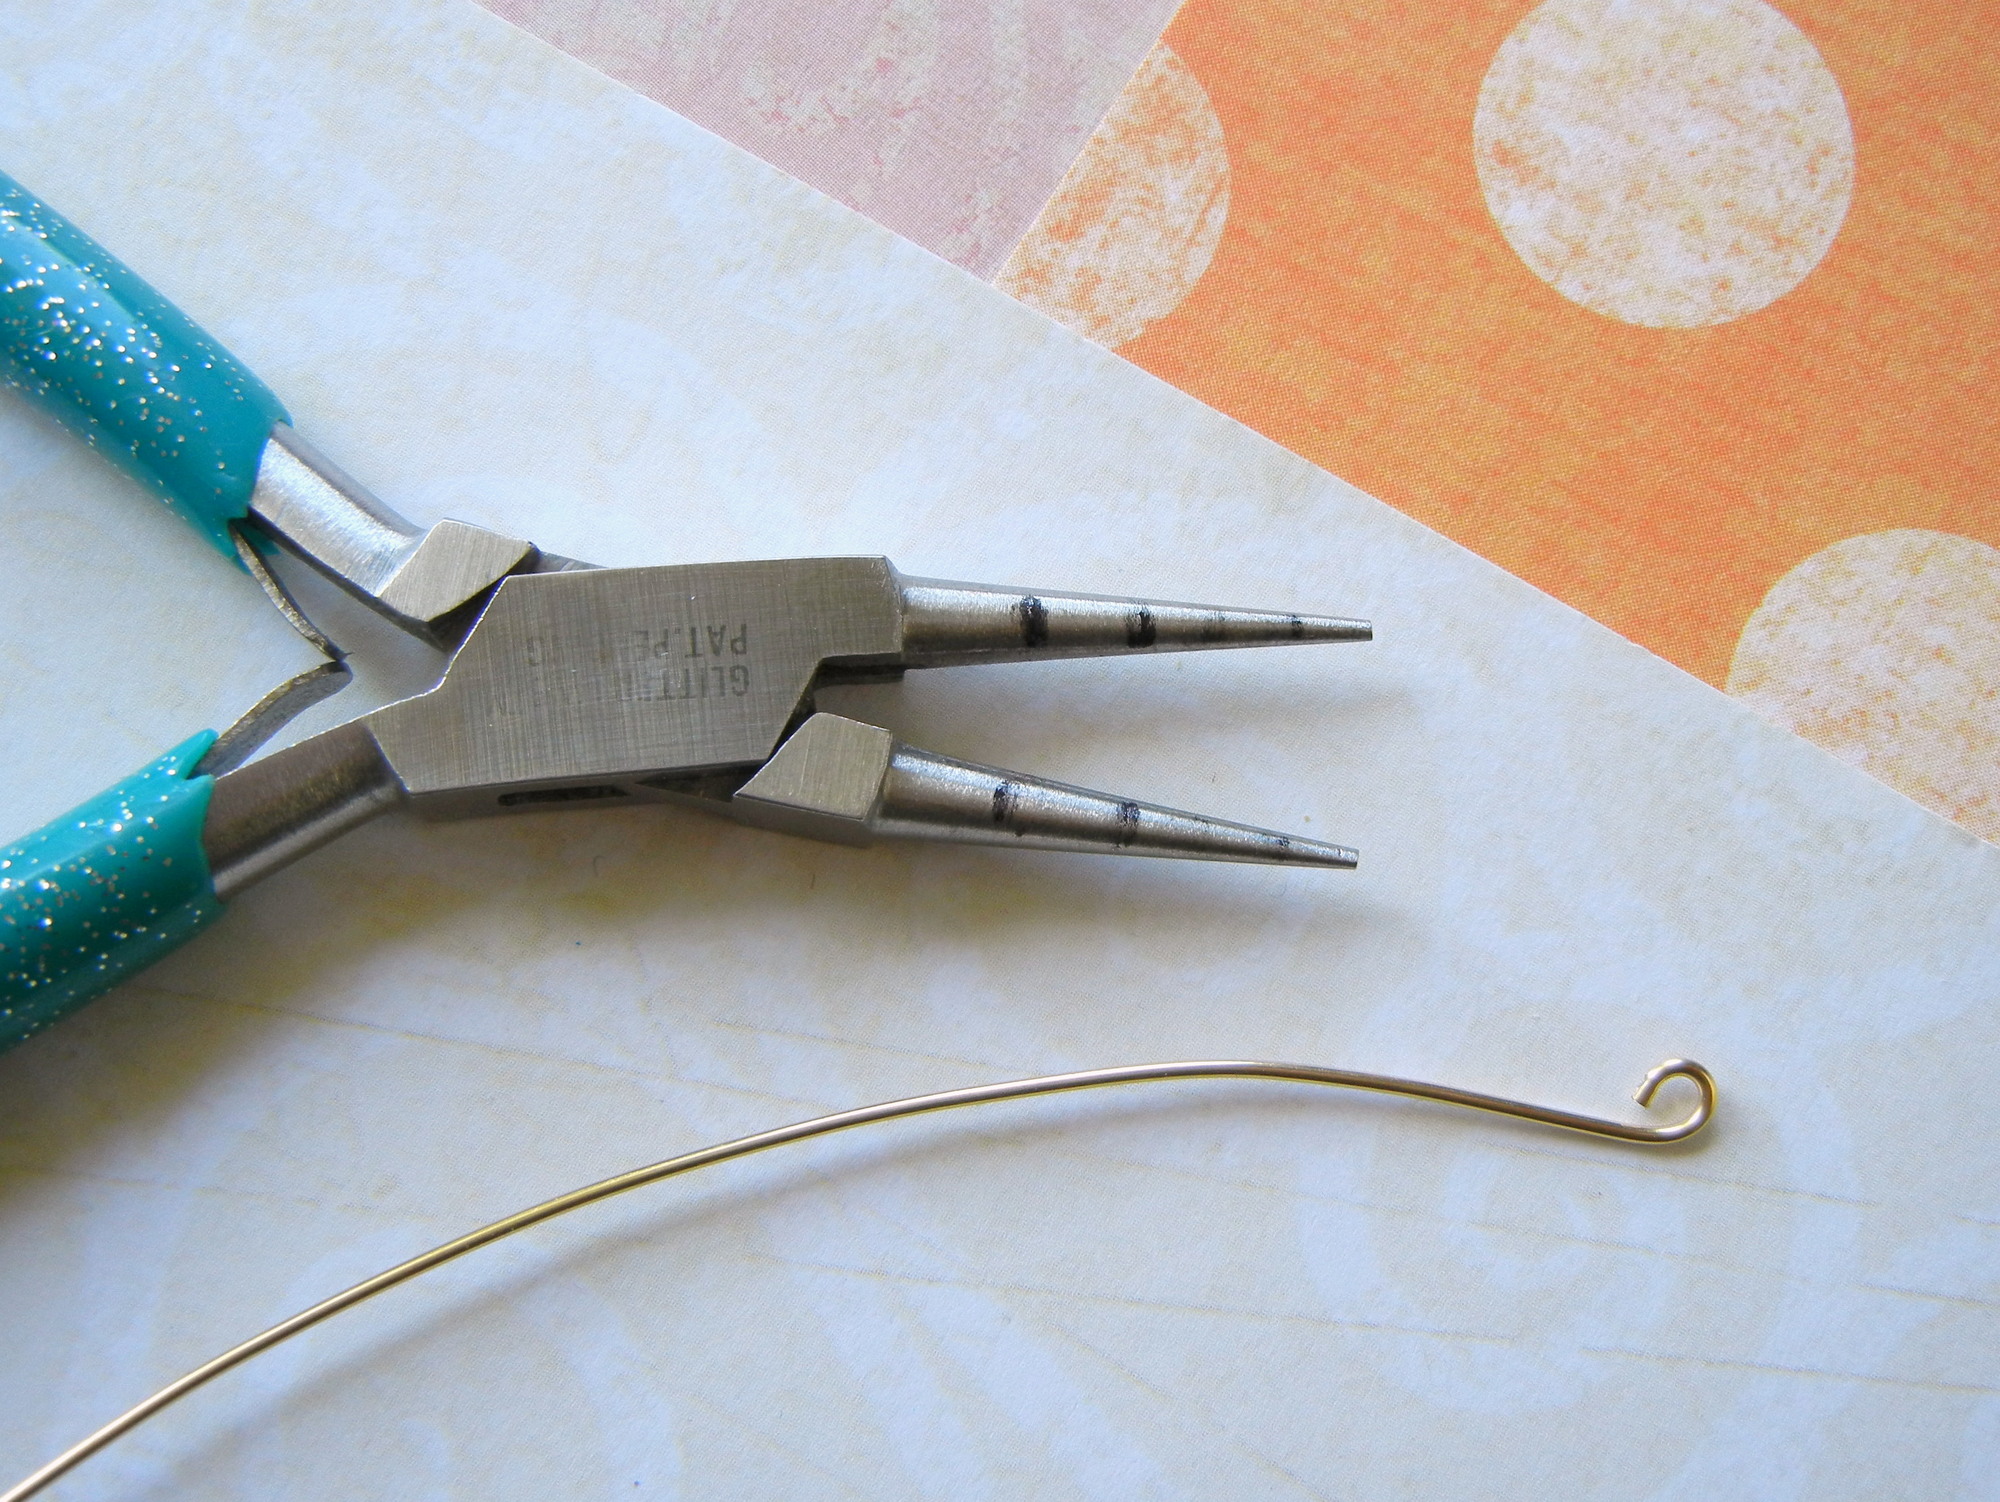
Use round-nose pliers to form a tightly-wound loop on the end of the wire; this is the center of the spiral. Just grasp the wire end and wrap it around the pliers tip.
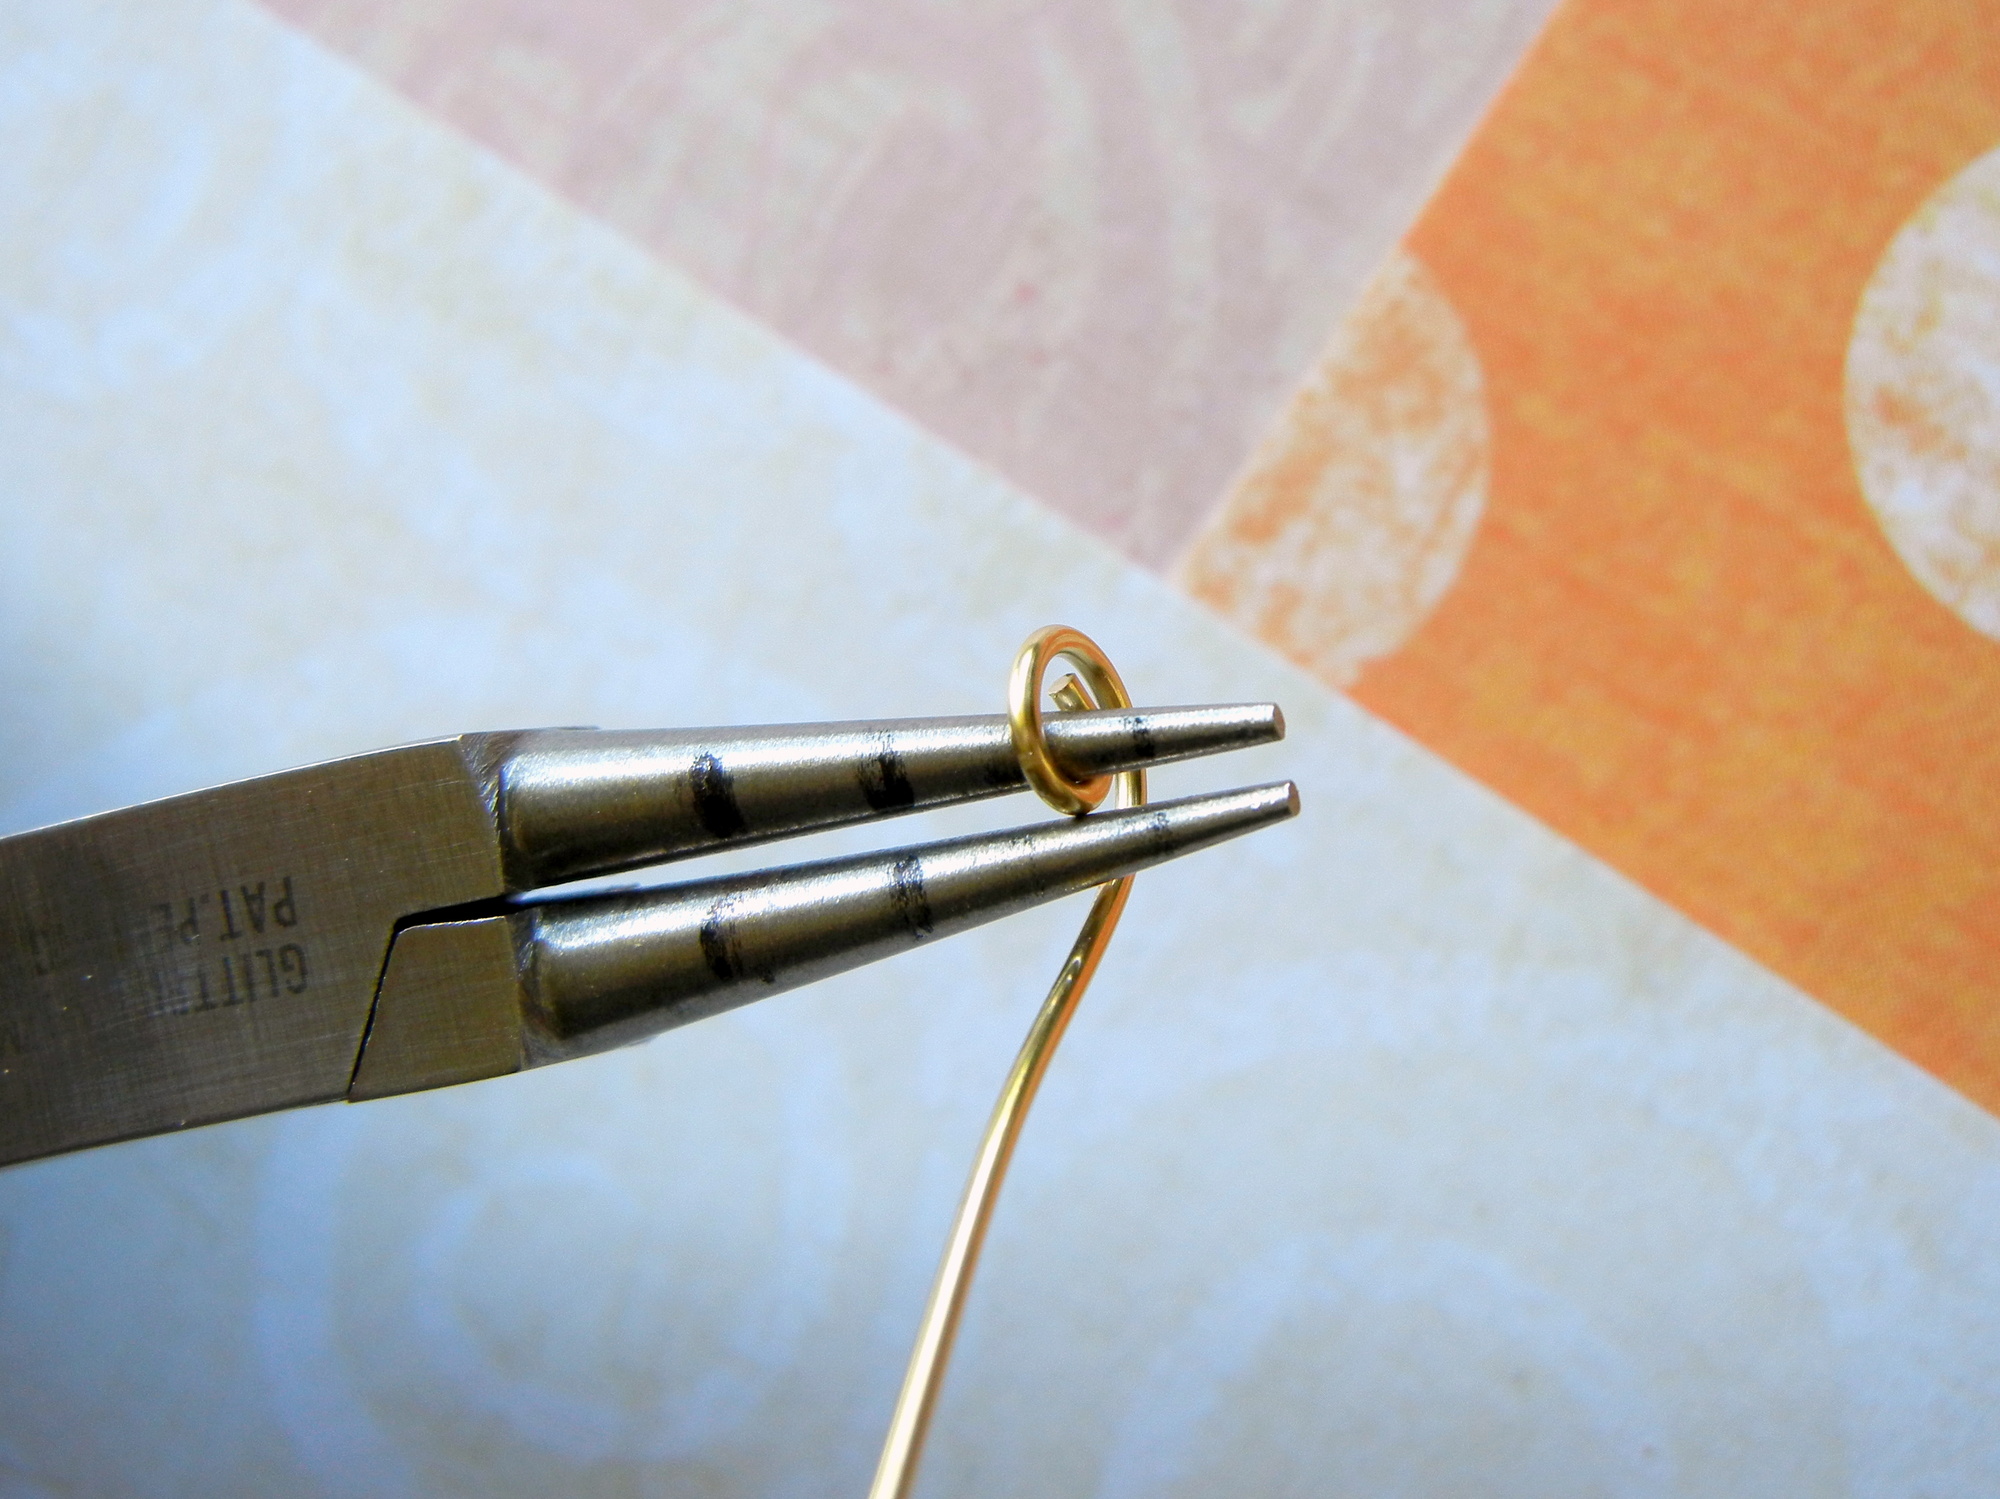
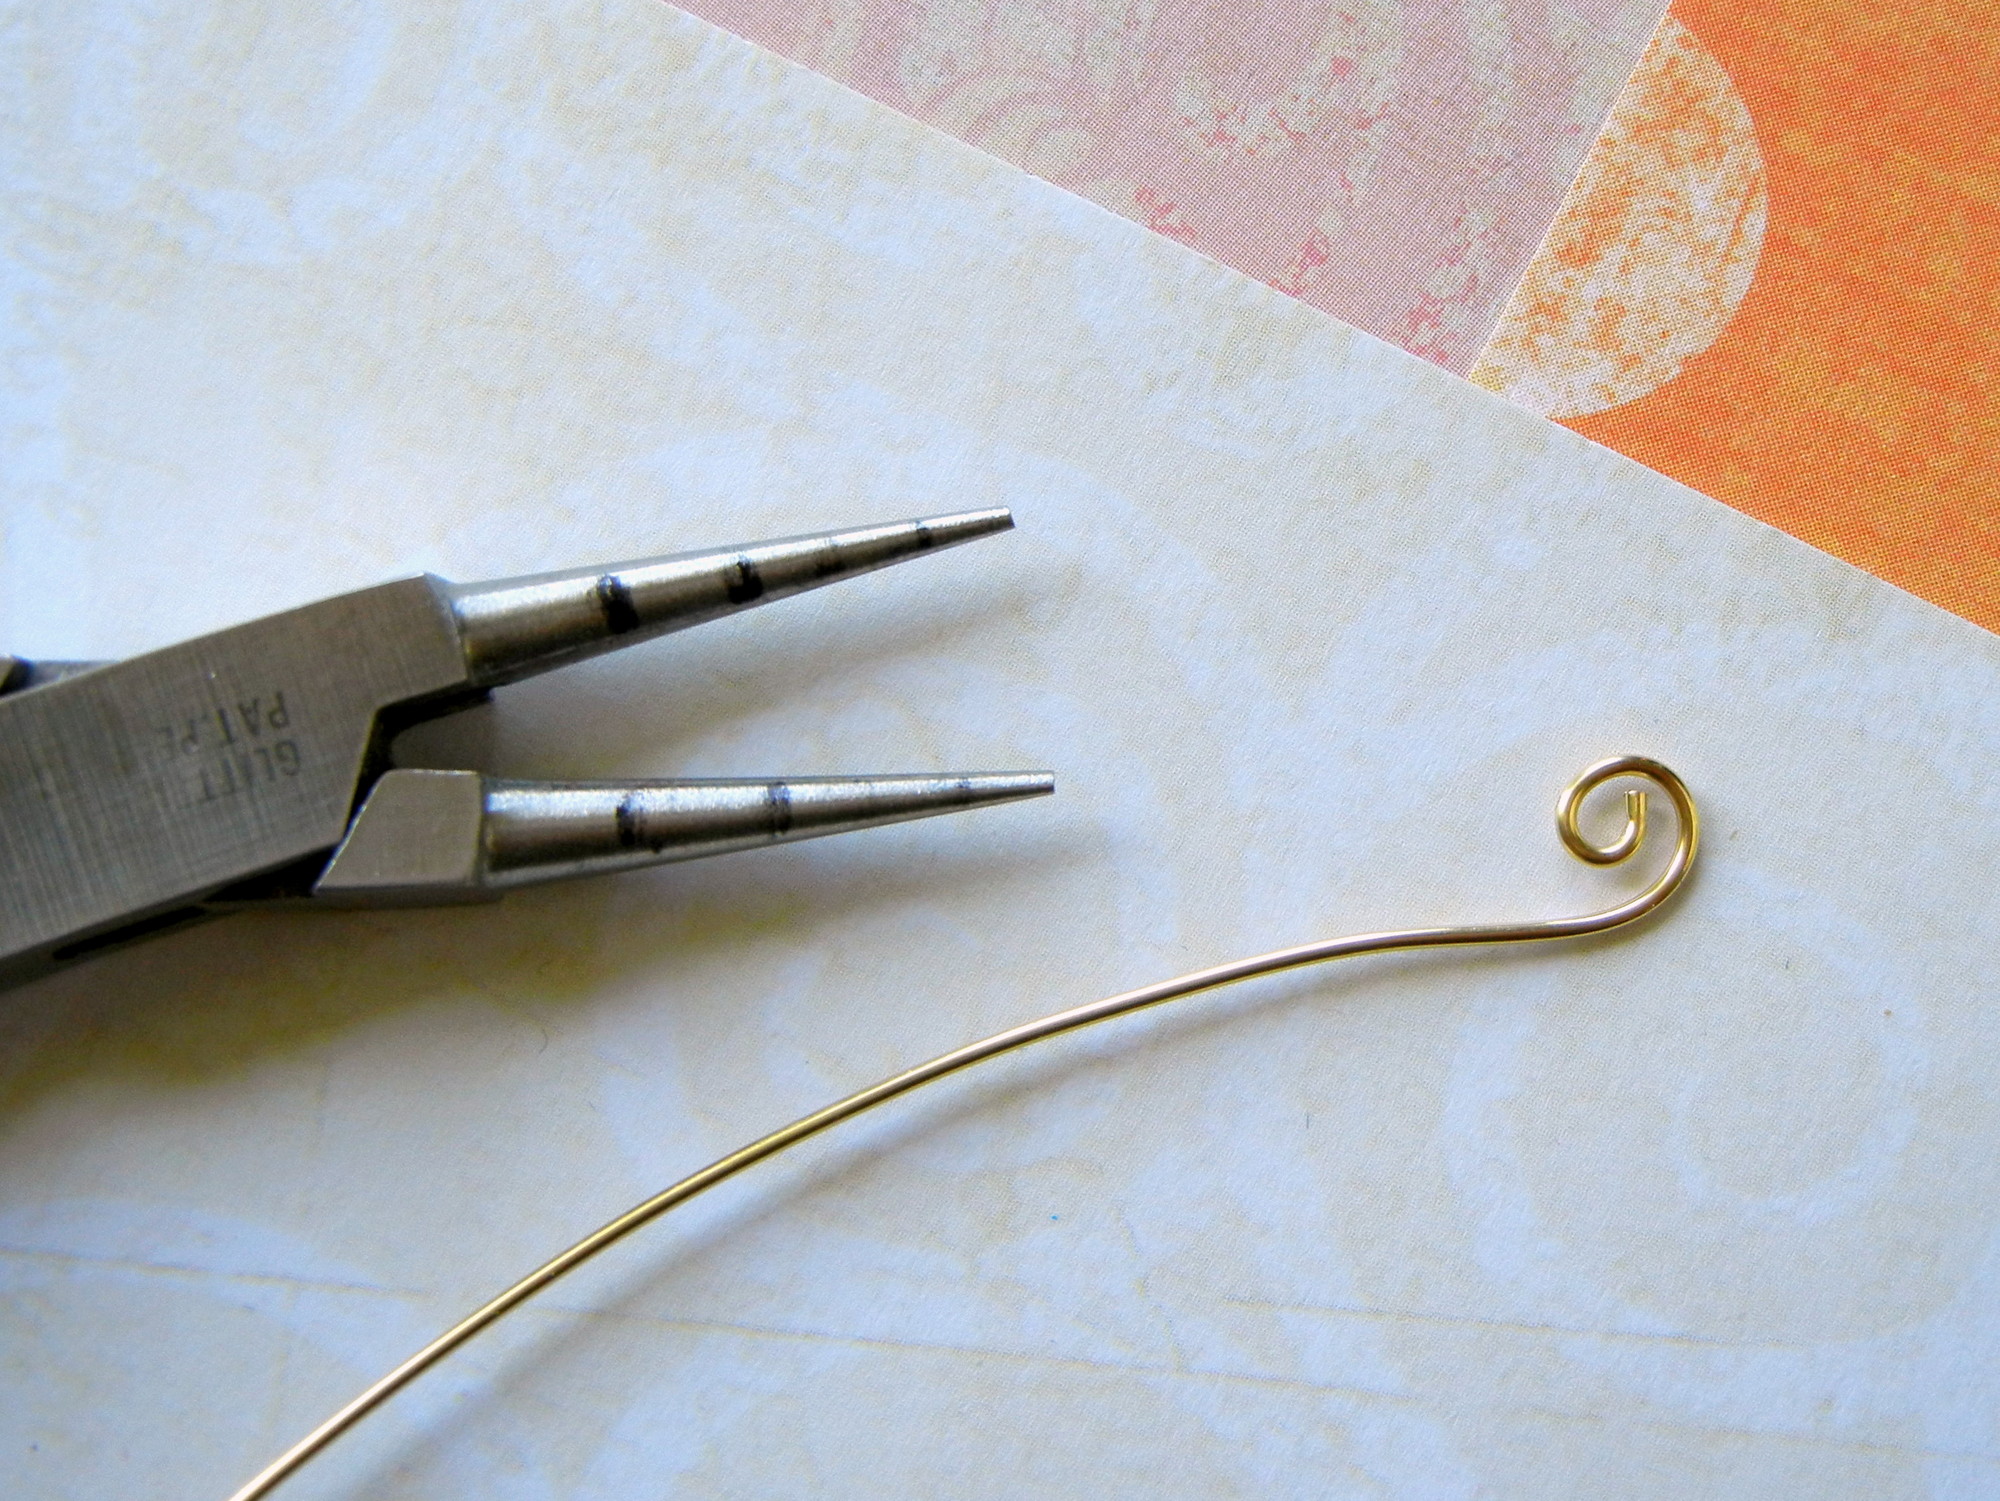
Continue winding the wire in a spiral pattern using the pliers’ tips as a spacing guide.
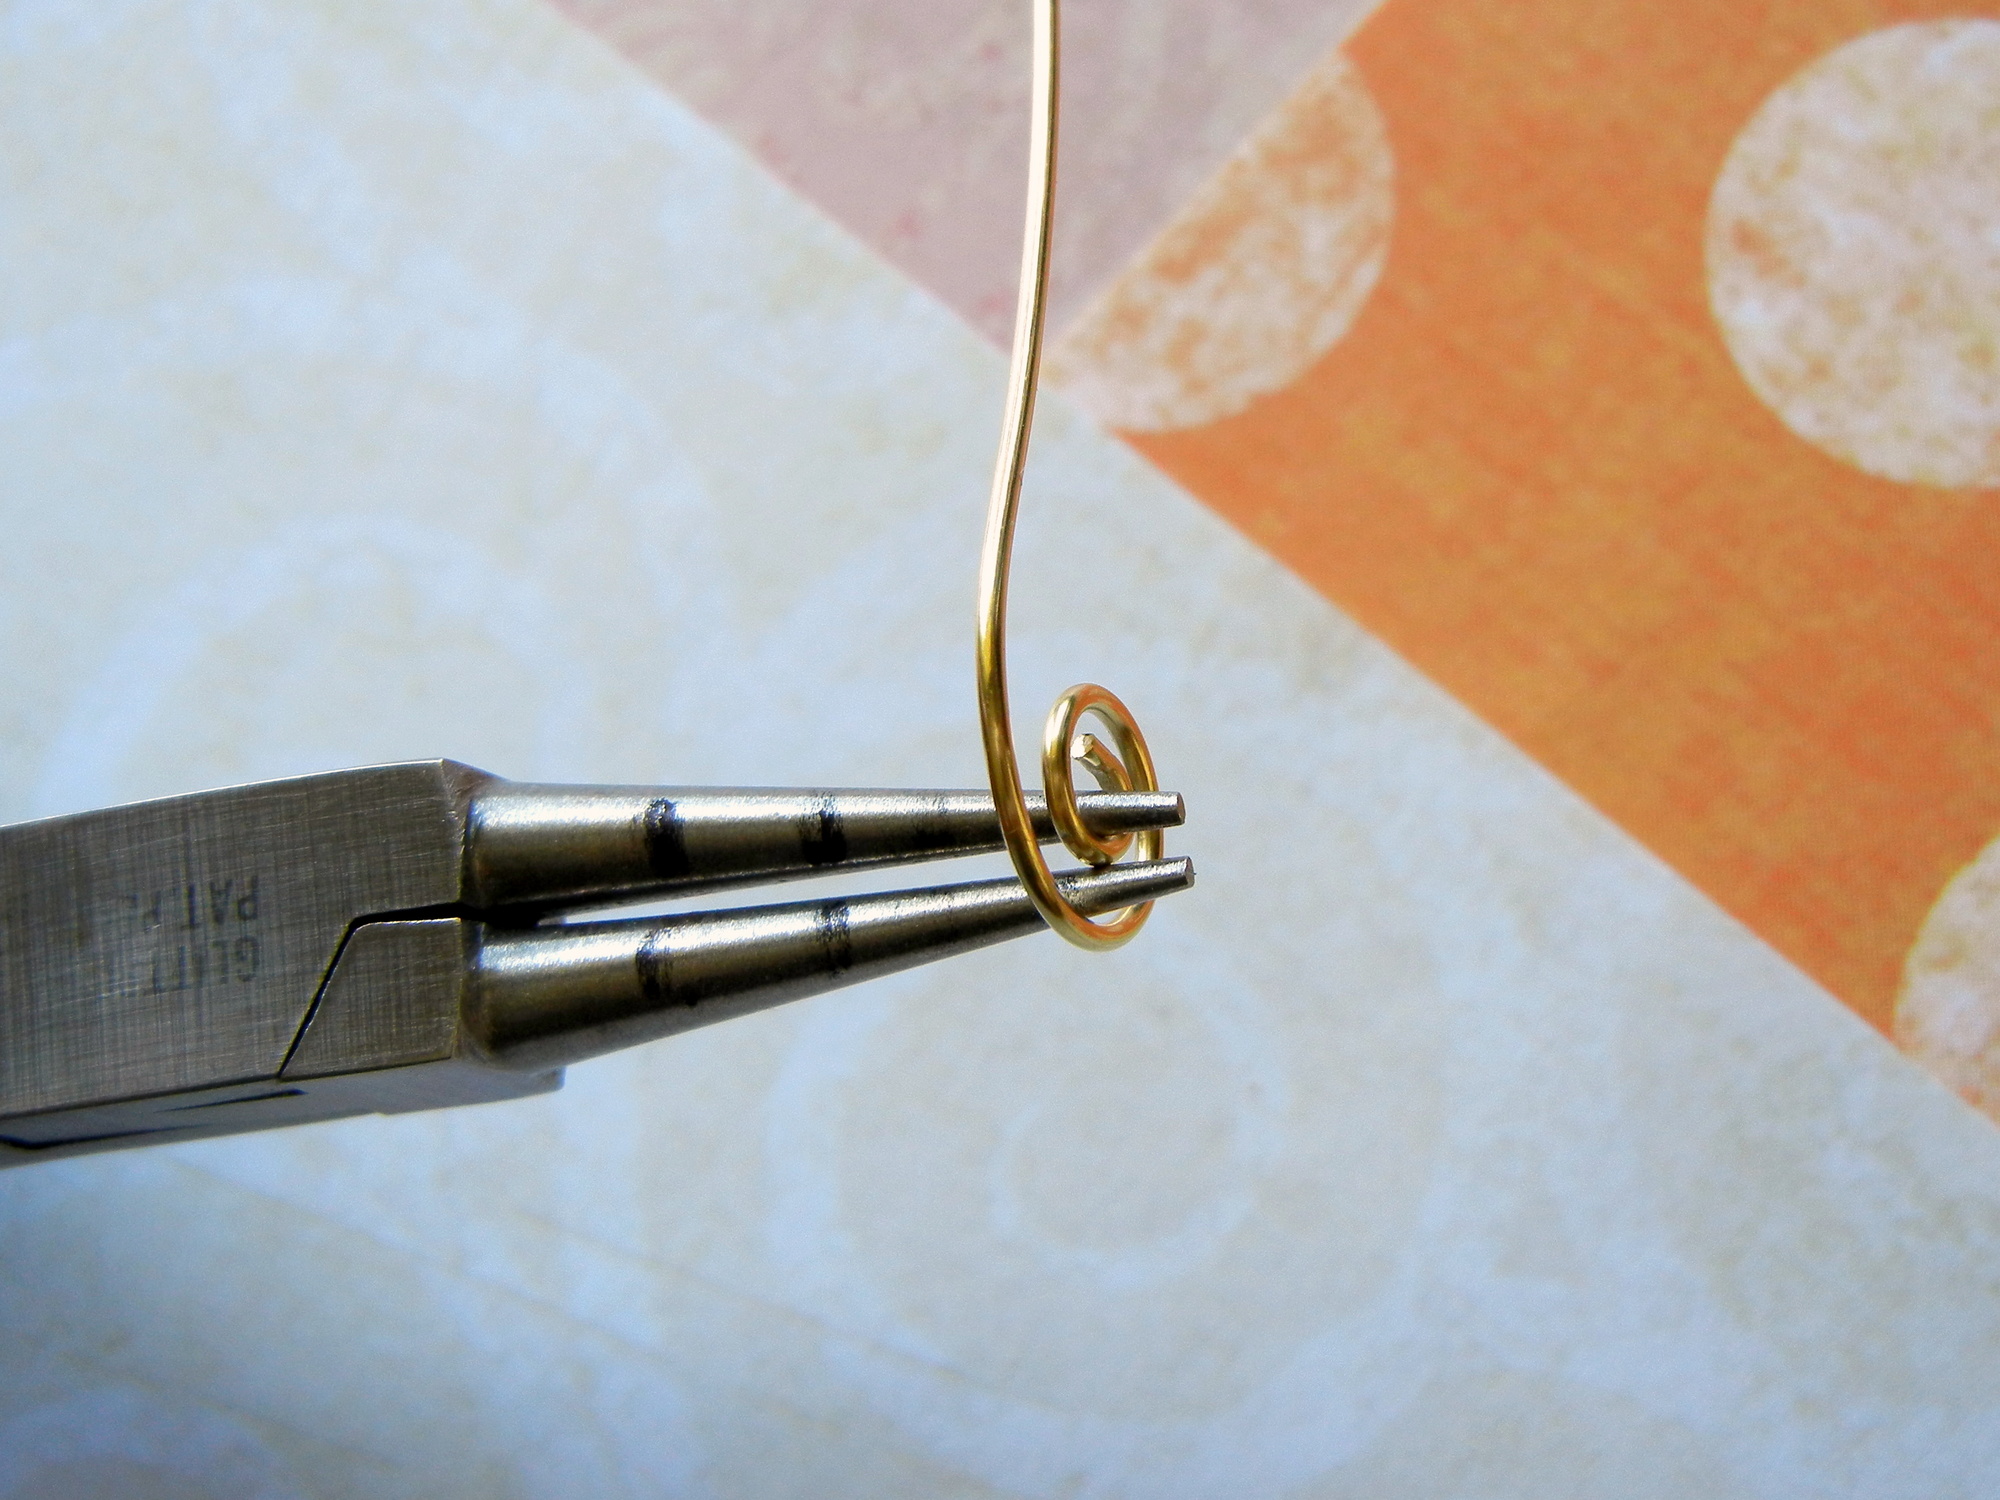
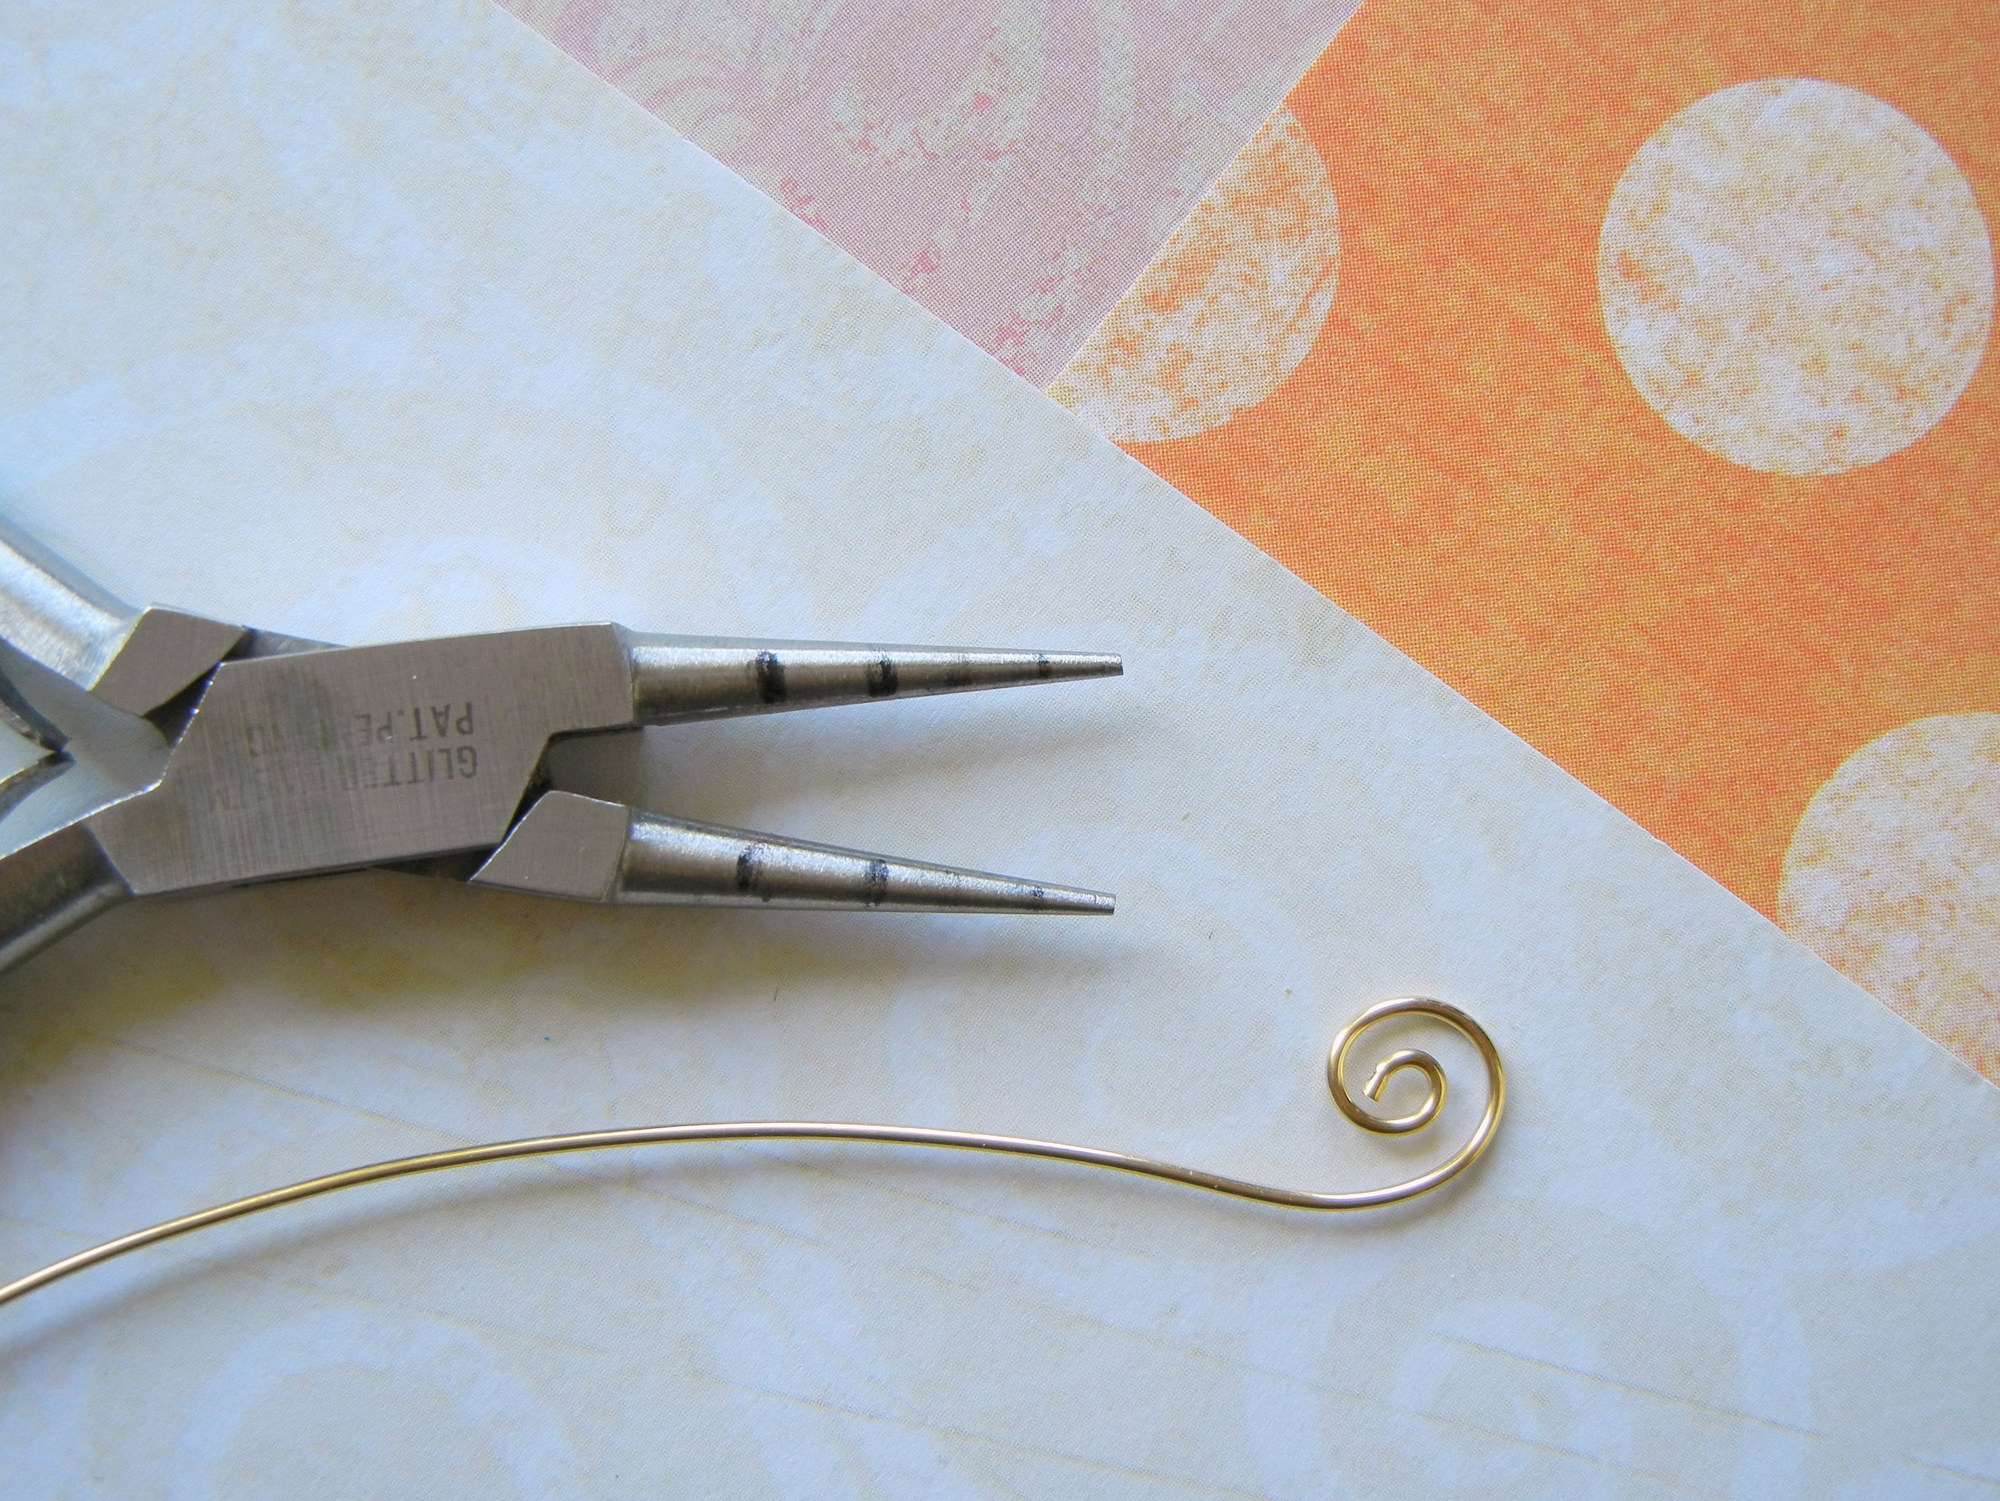
Pivot the pliers’ tips to maintain spacing as you form the wire into a spiral. Spiral size can vary based on the project or your preference.
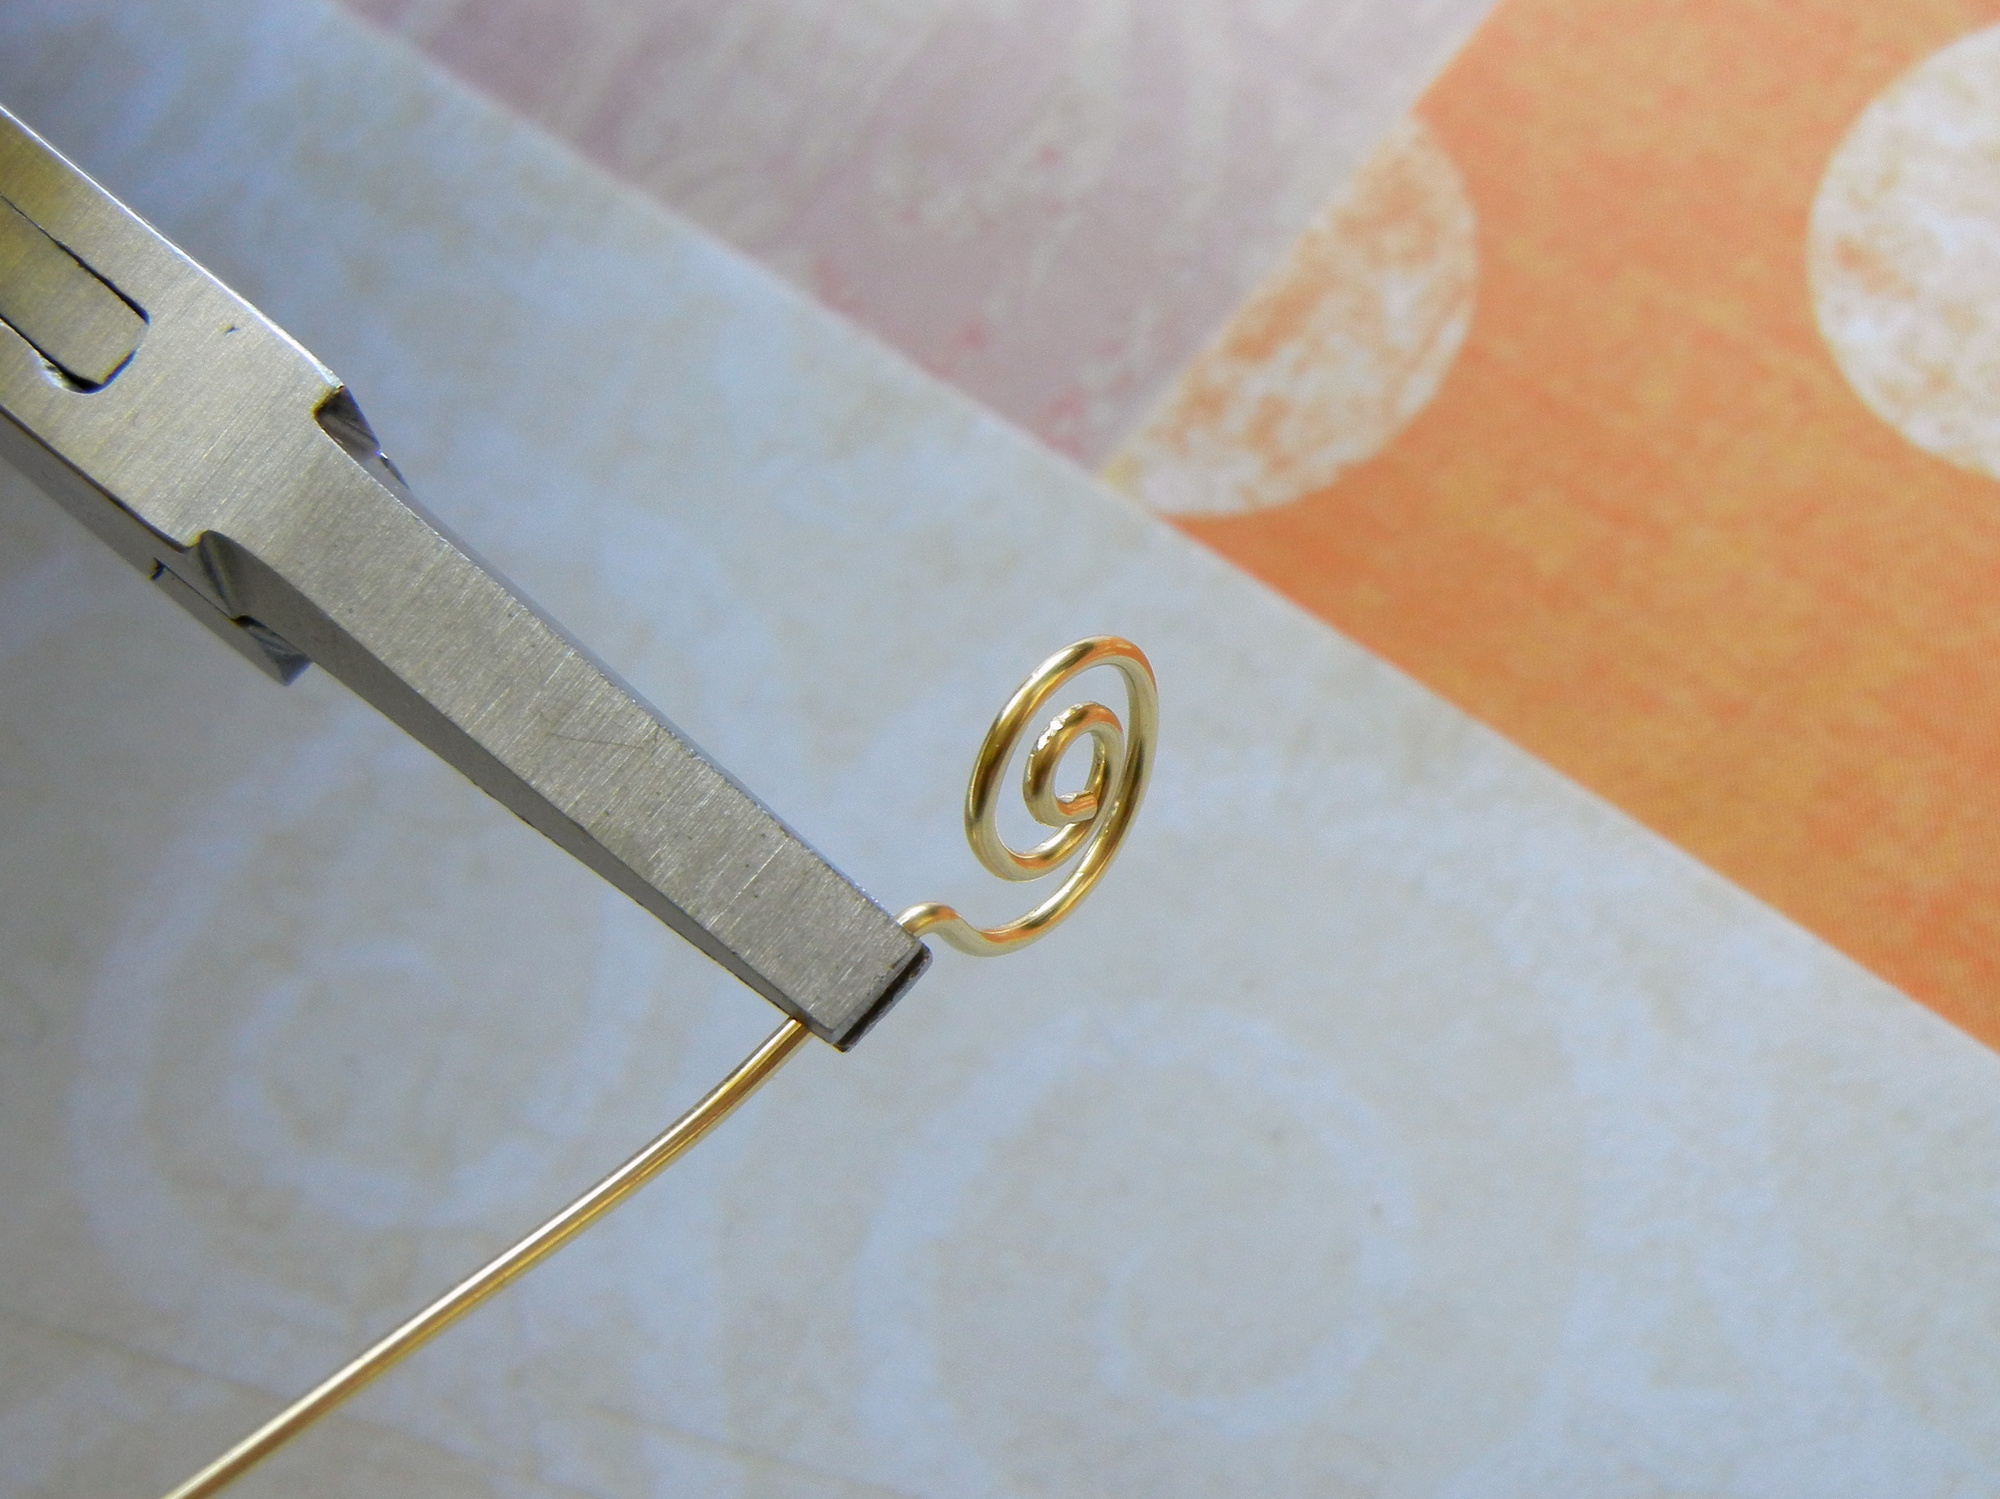
At the base of the spiral, use flat-nose pliers to bend the wire at a right angle. The straight wire beyond the bend is the “pin” portion of the spiral head pin.
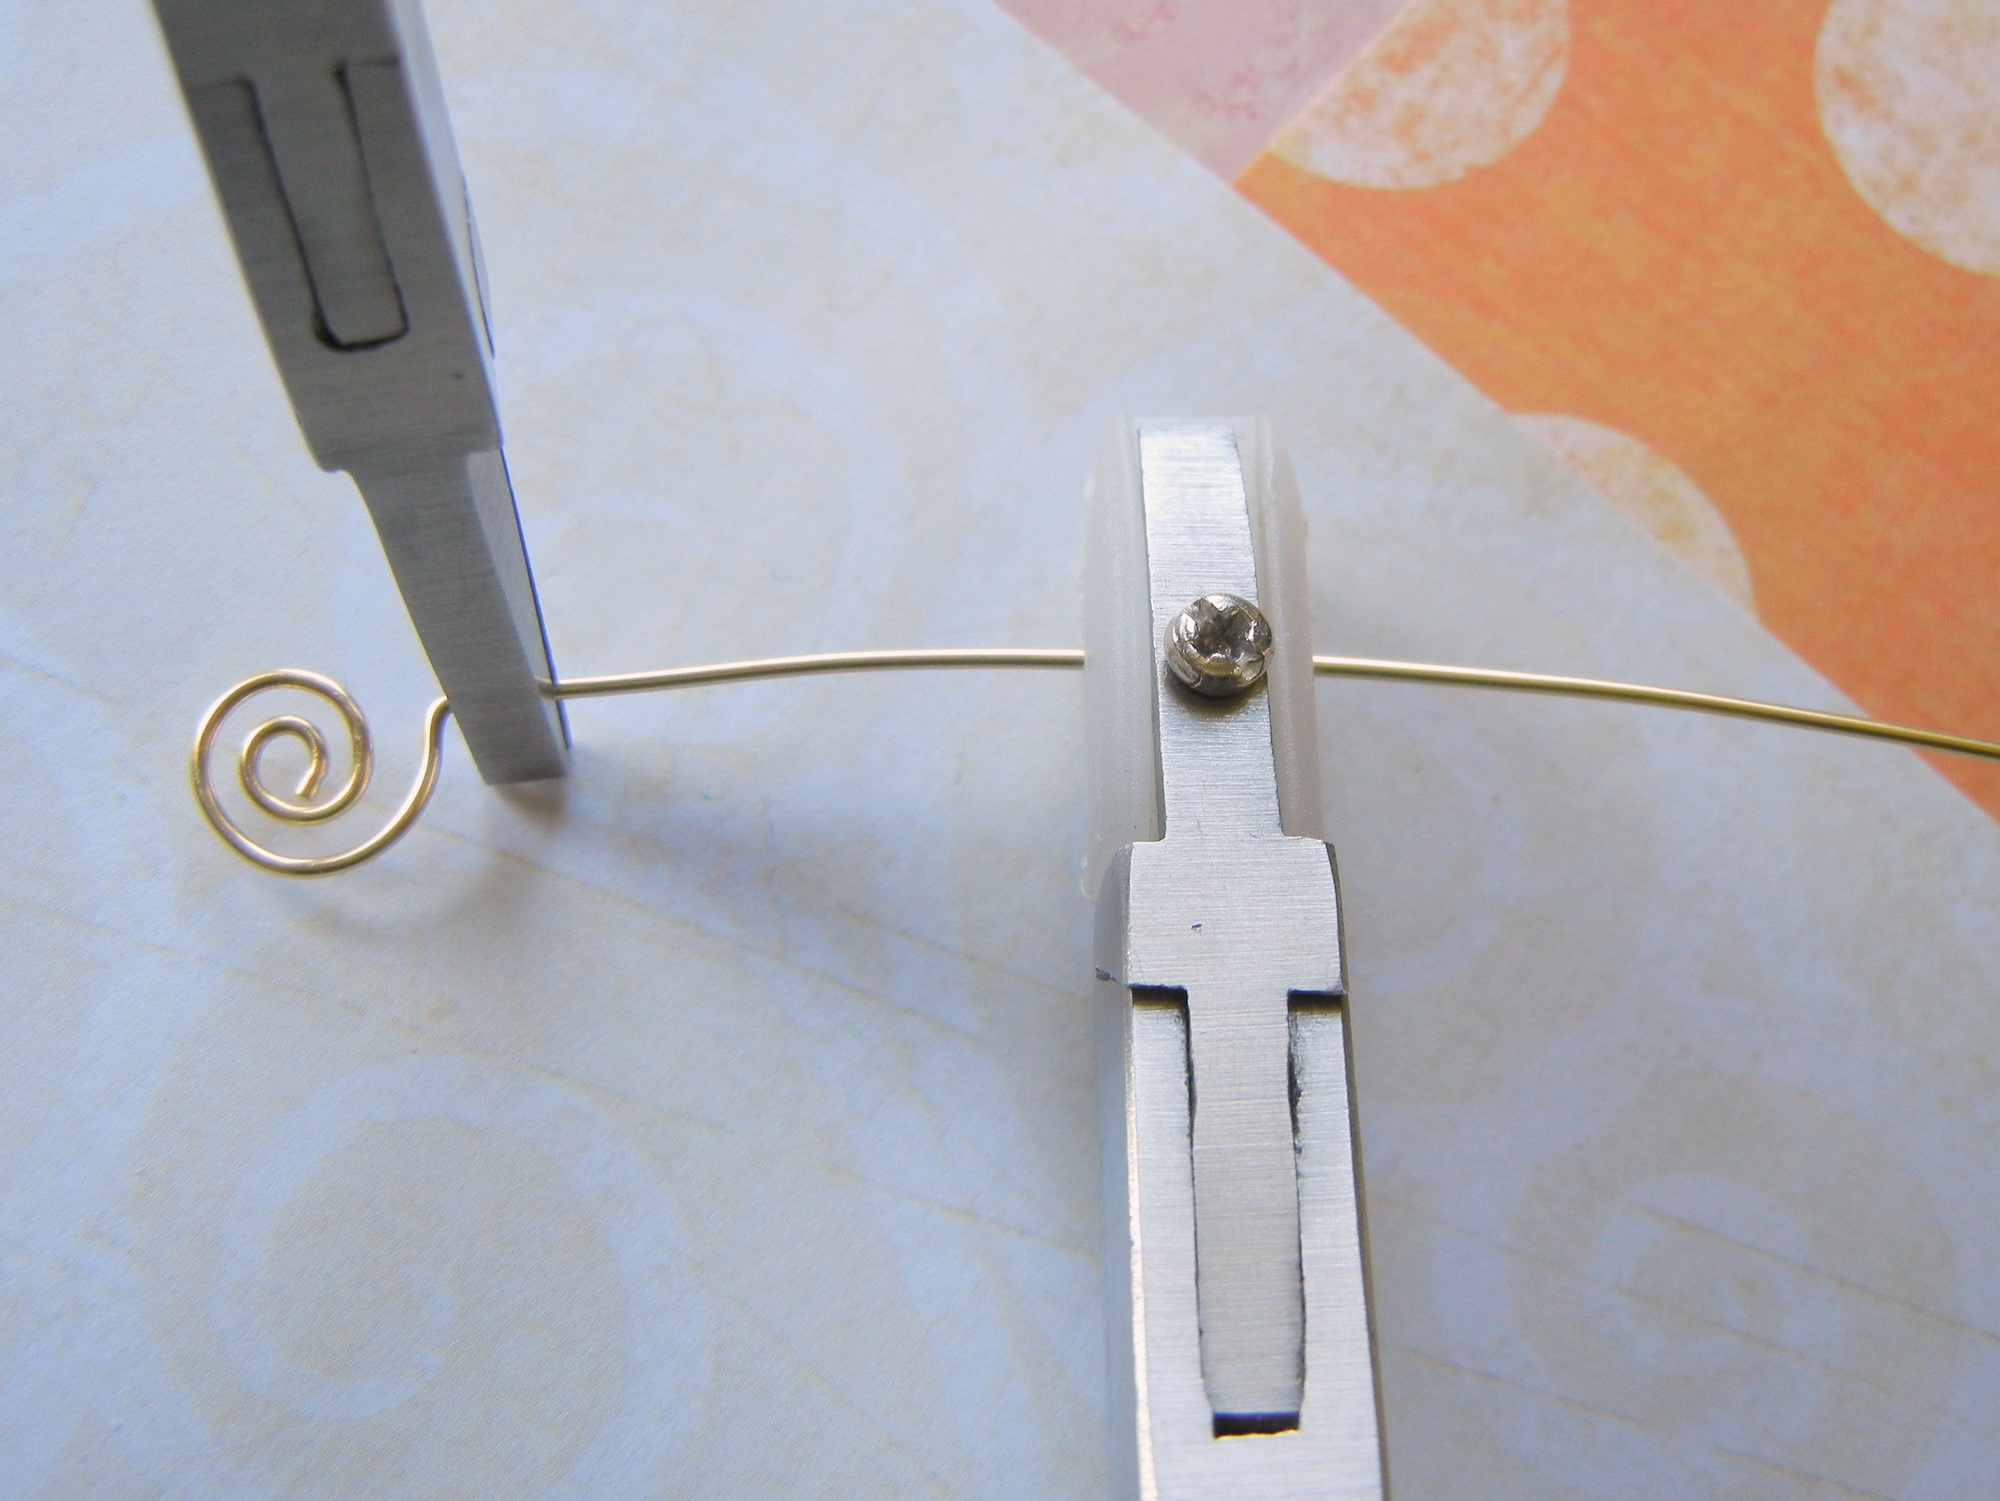
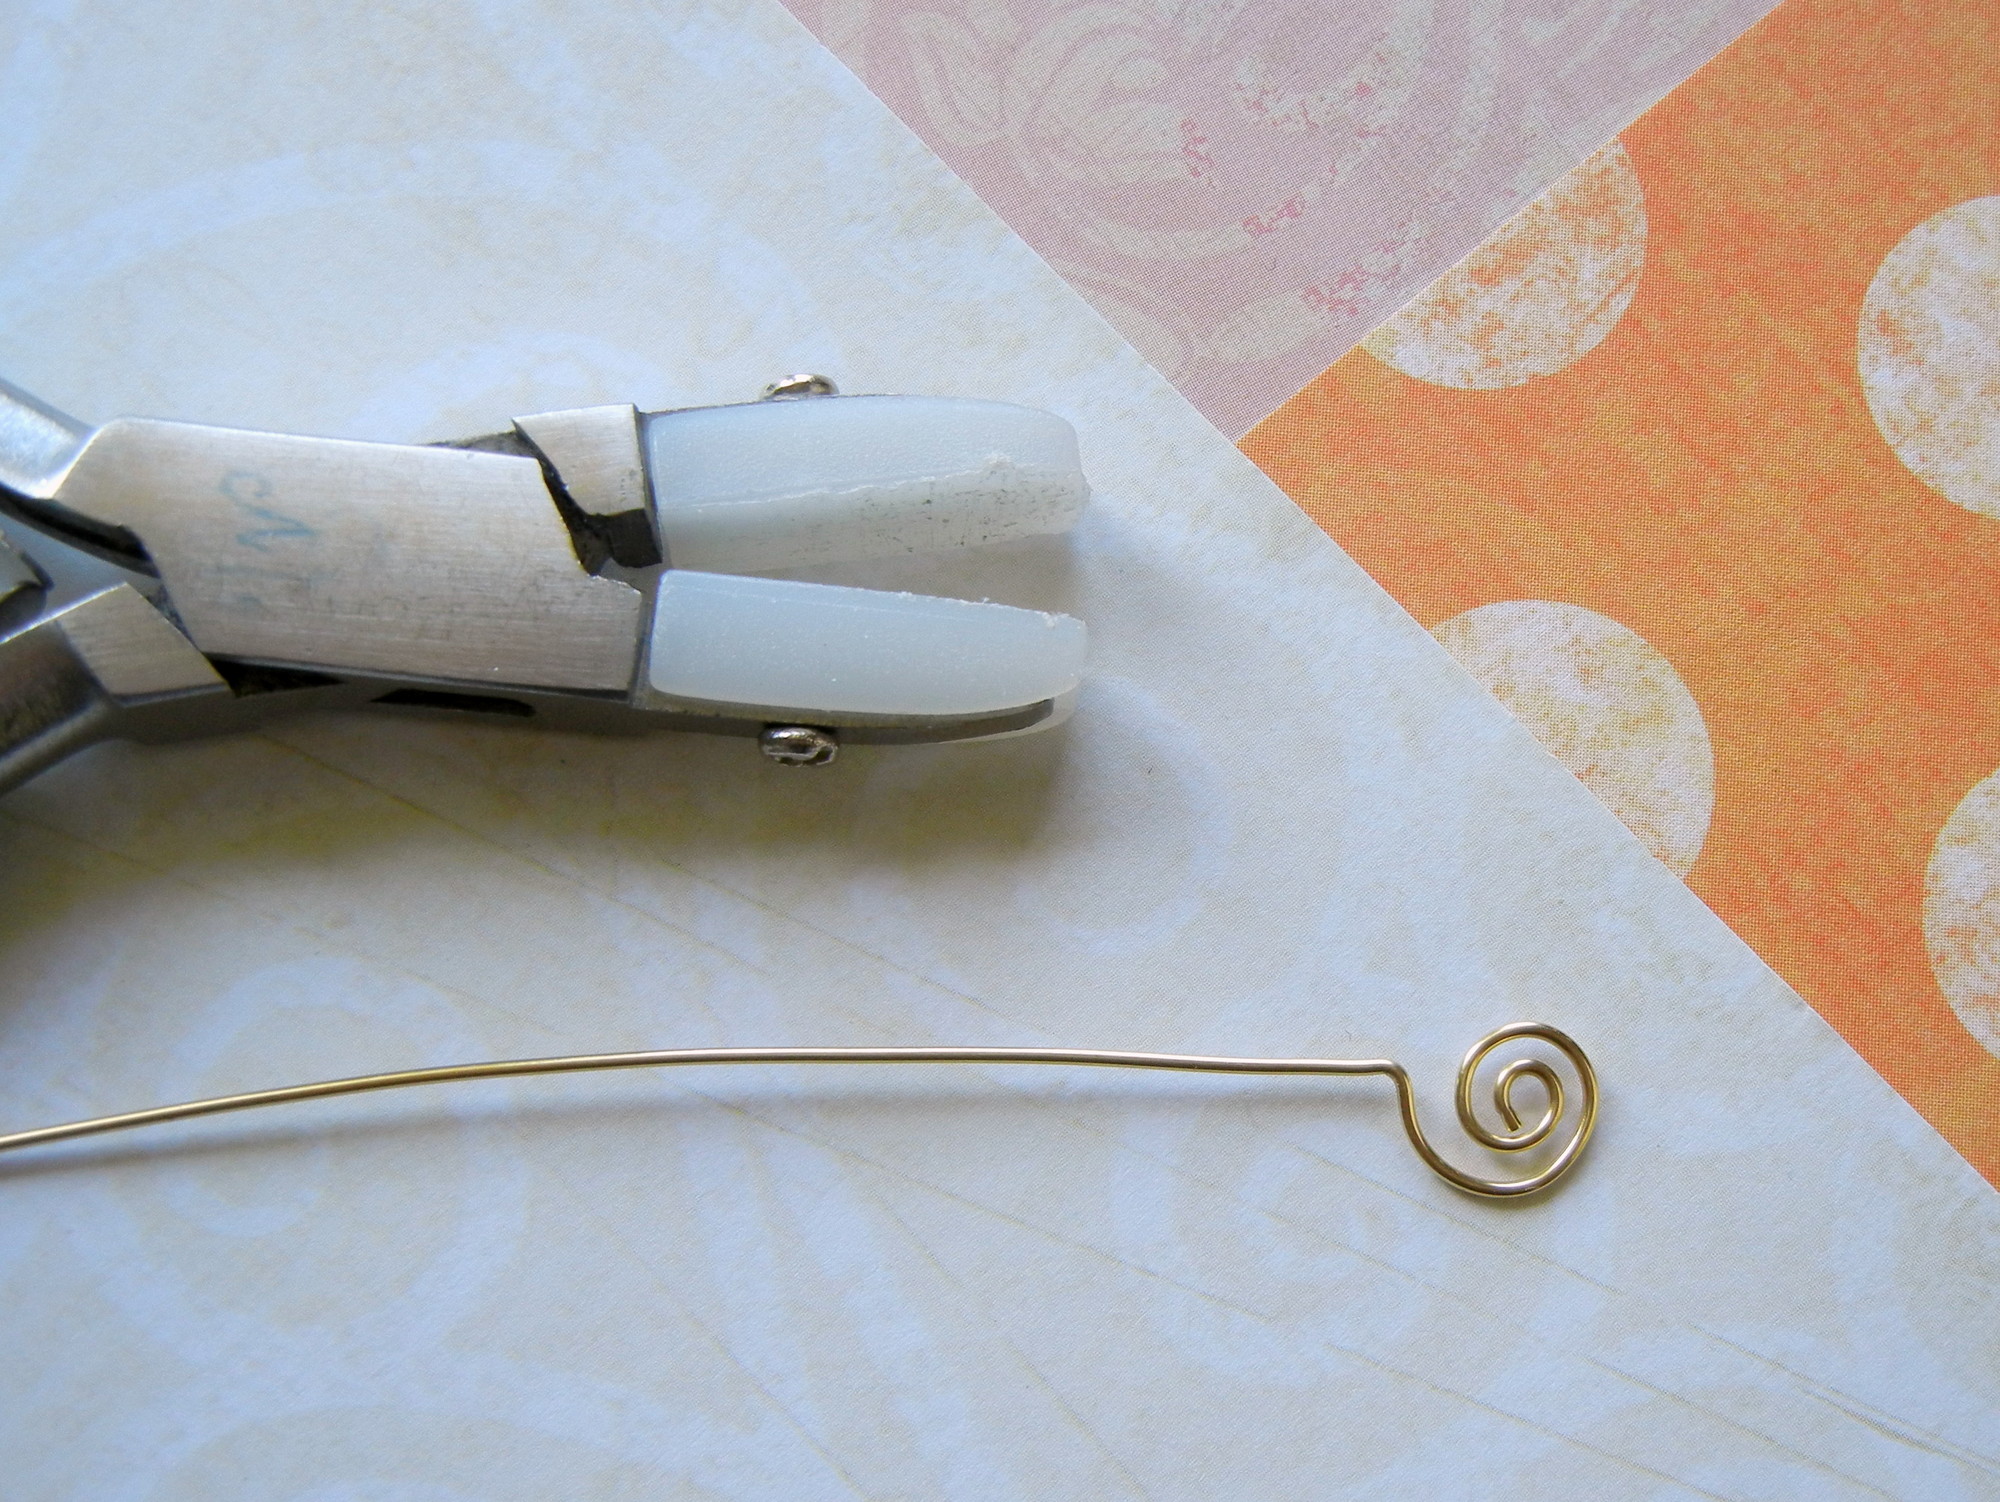
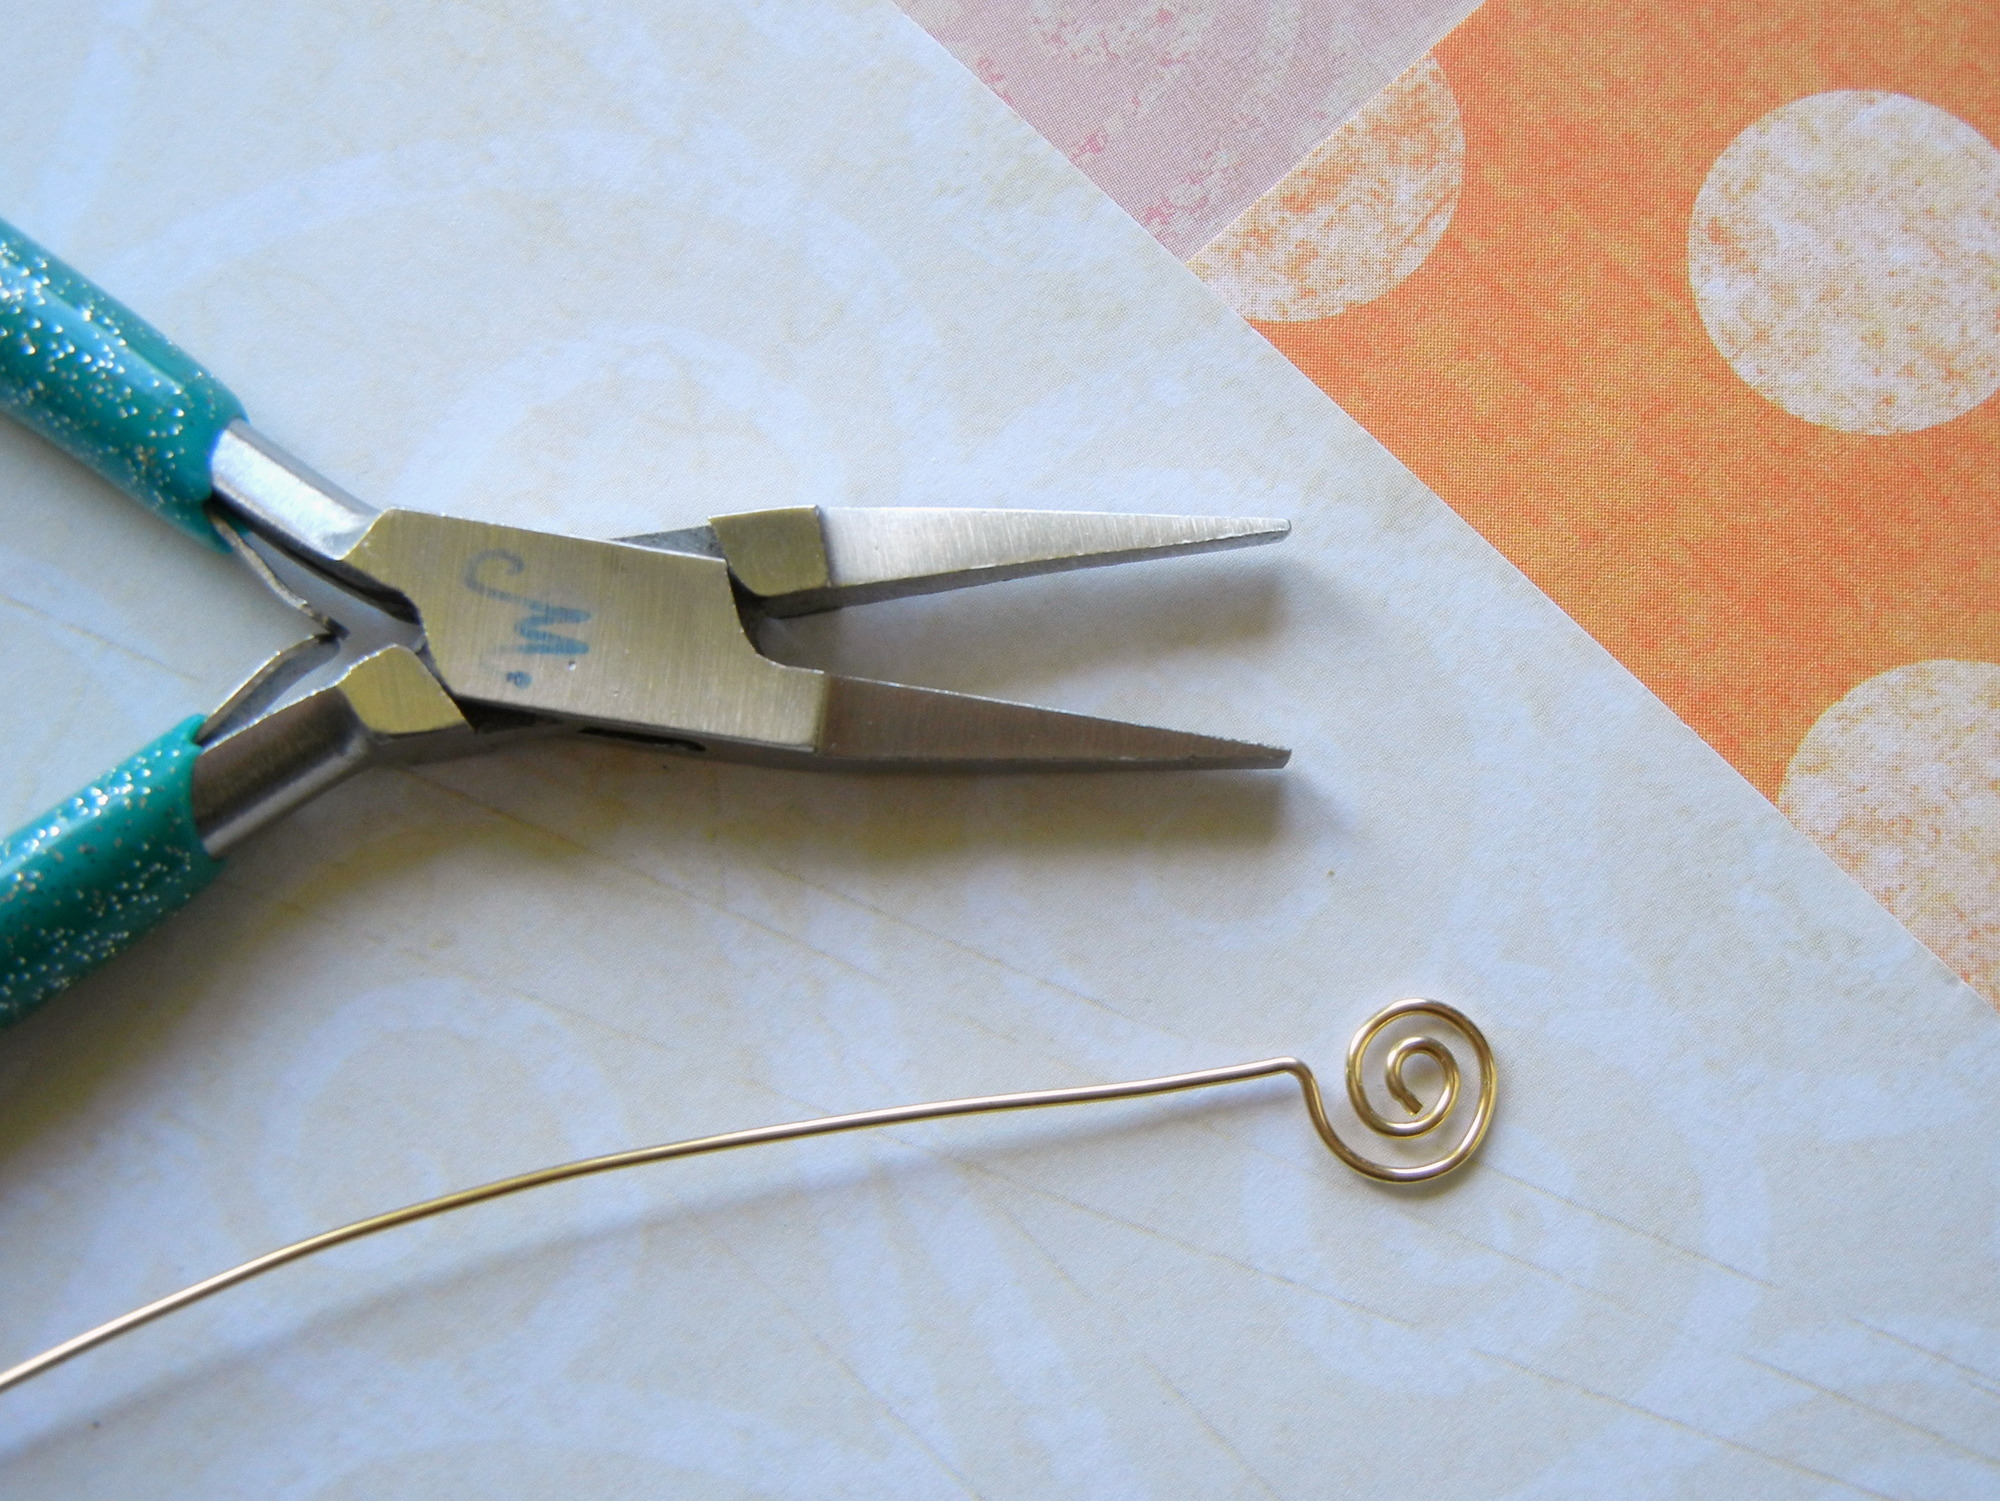
Straighten the wire pin by pulling the length of it through the nylon-jaw, flat-nose pliers several times.

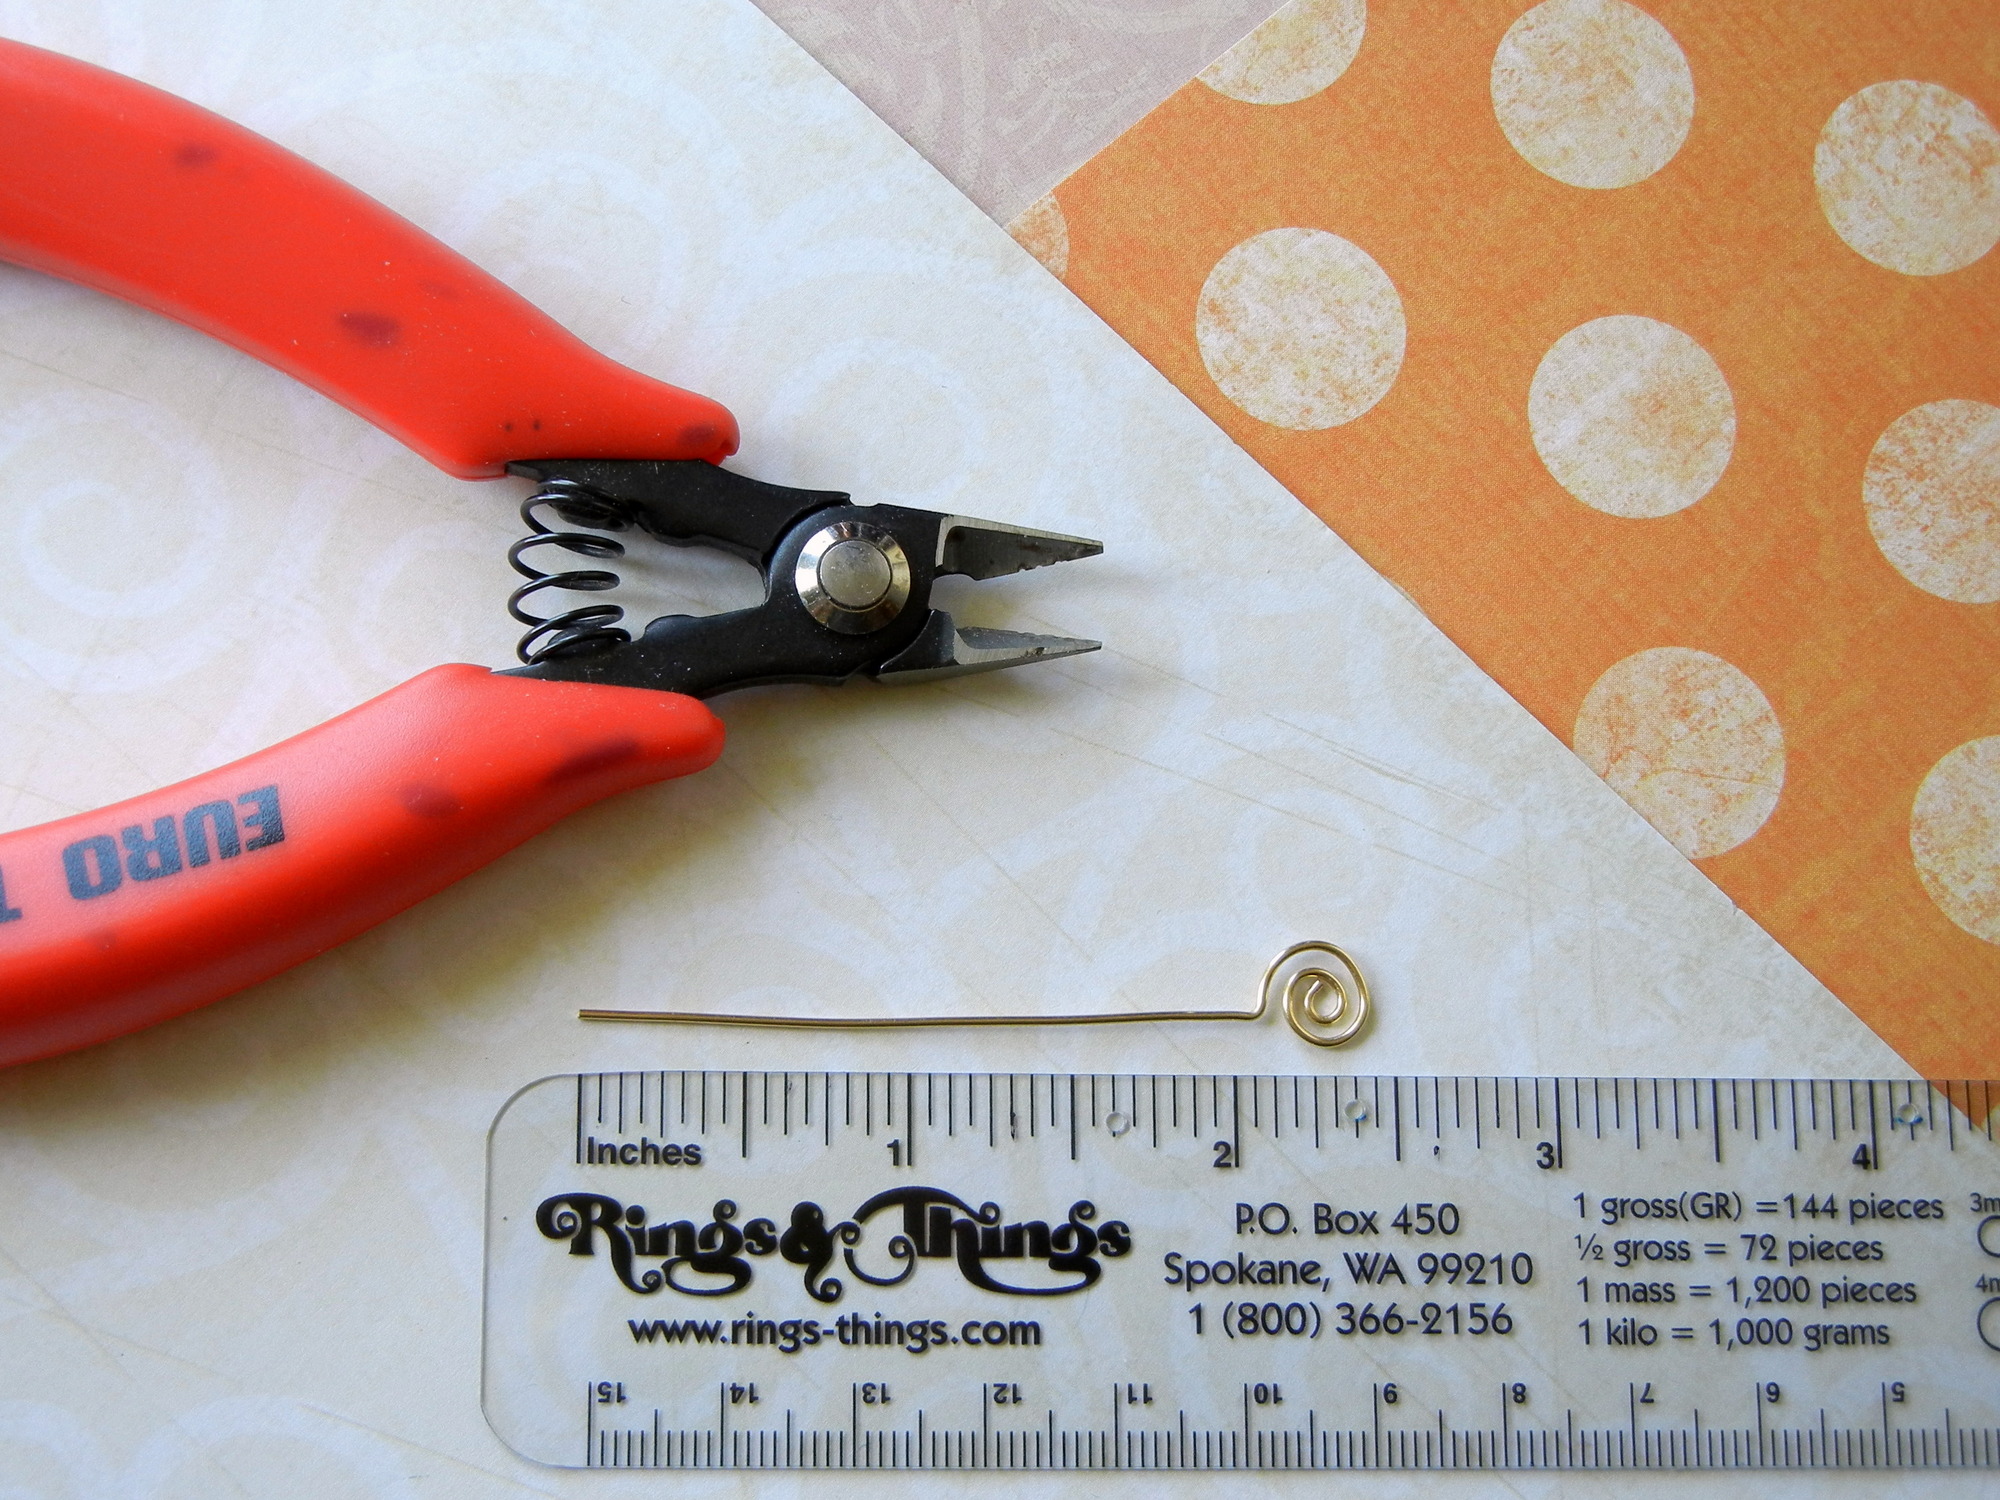
Measure the wire pin and cut to your desired length.
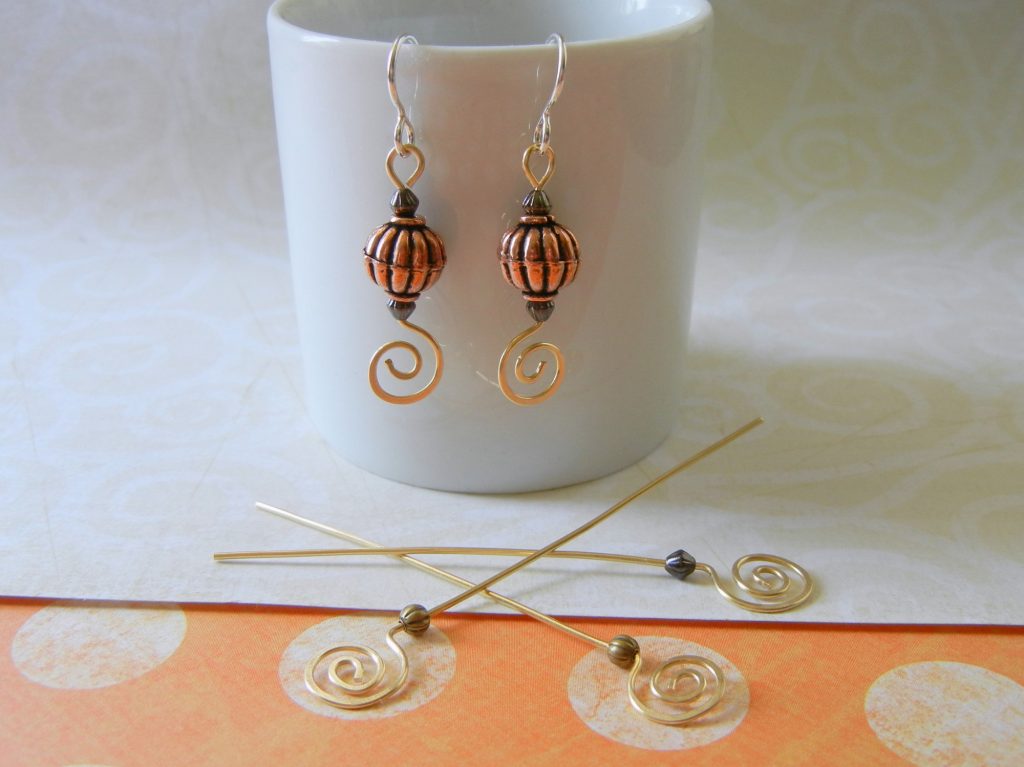
When making matching spiral head pins (such as for earring pairs), it is easiest to form a group of spiral head pins and then pair the similar ones.
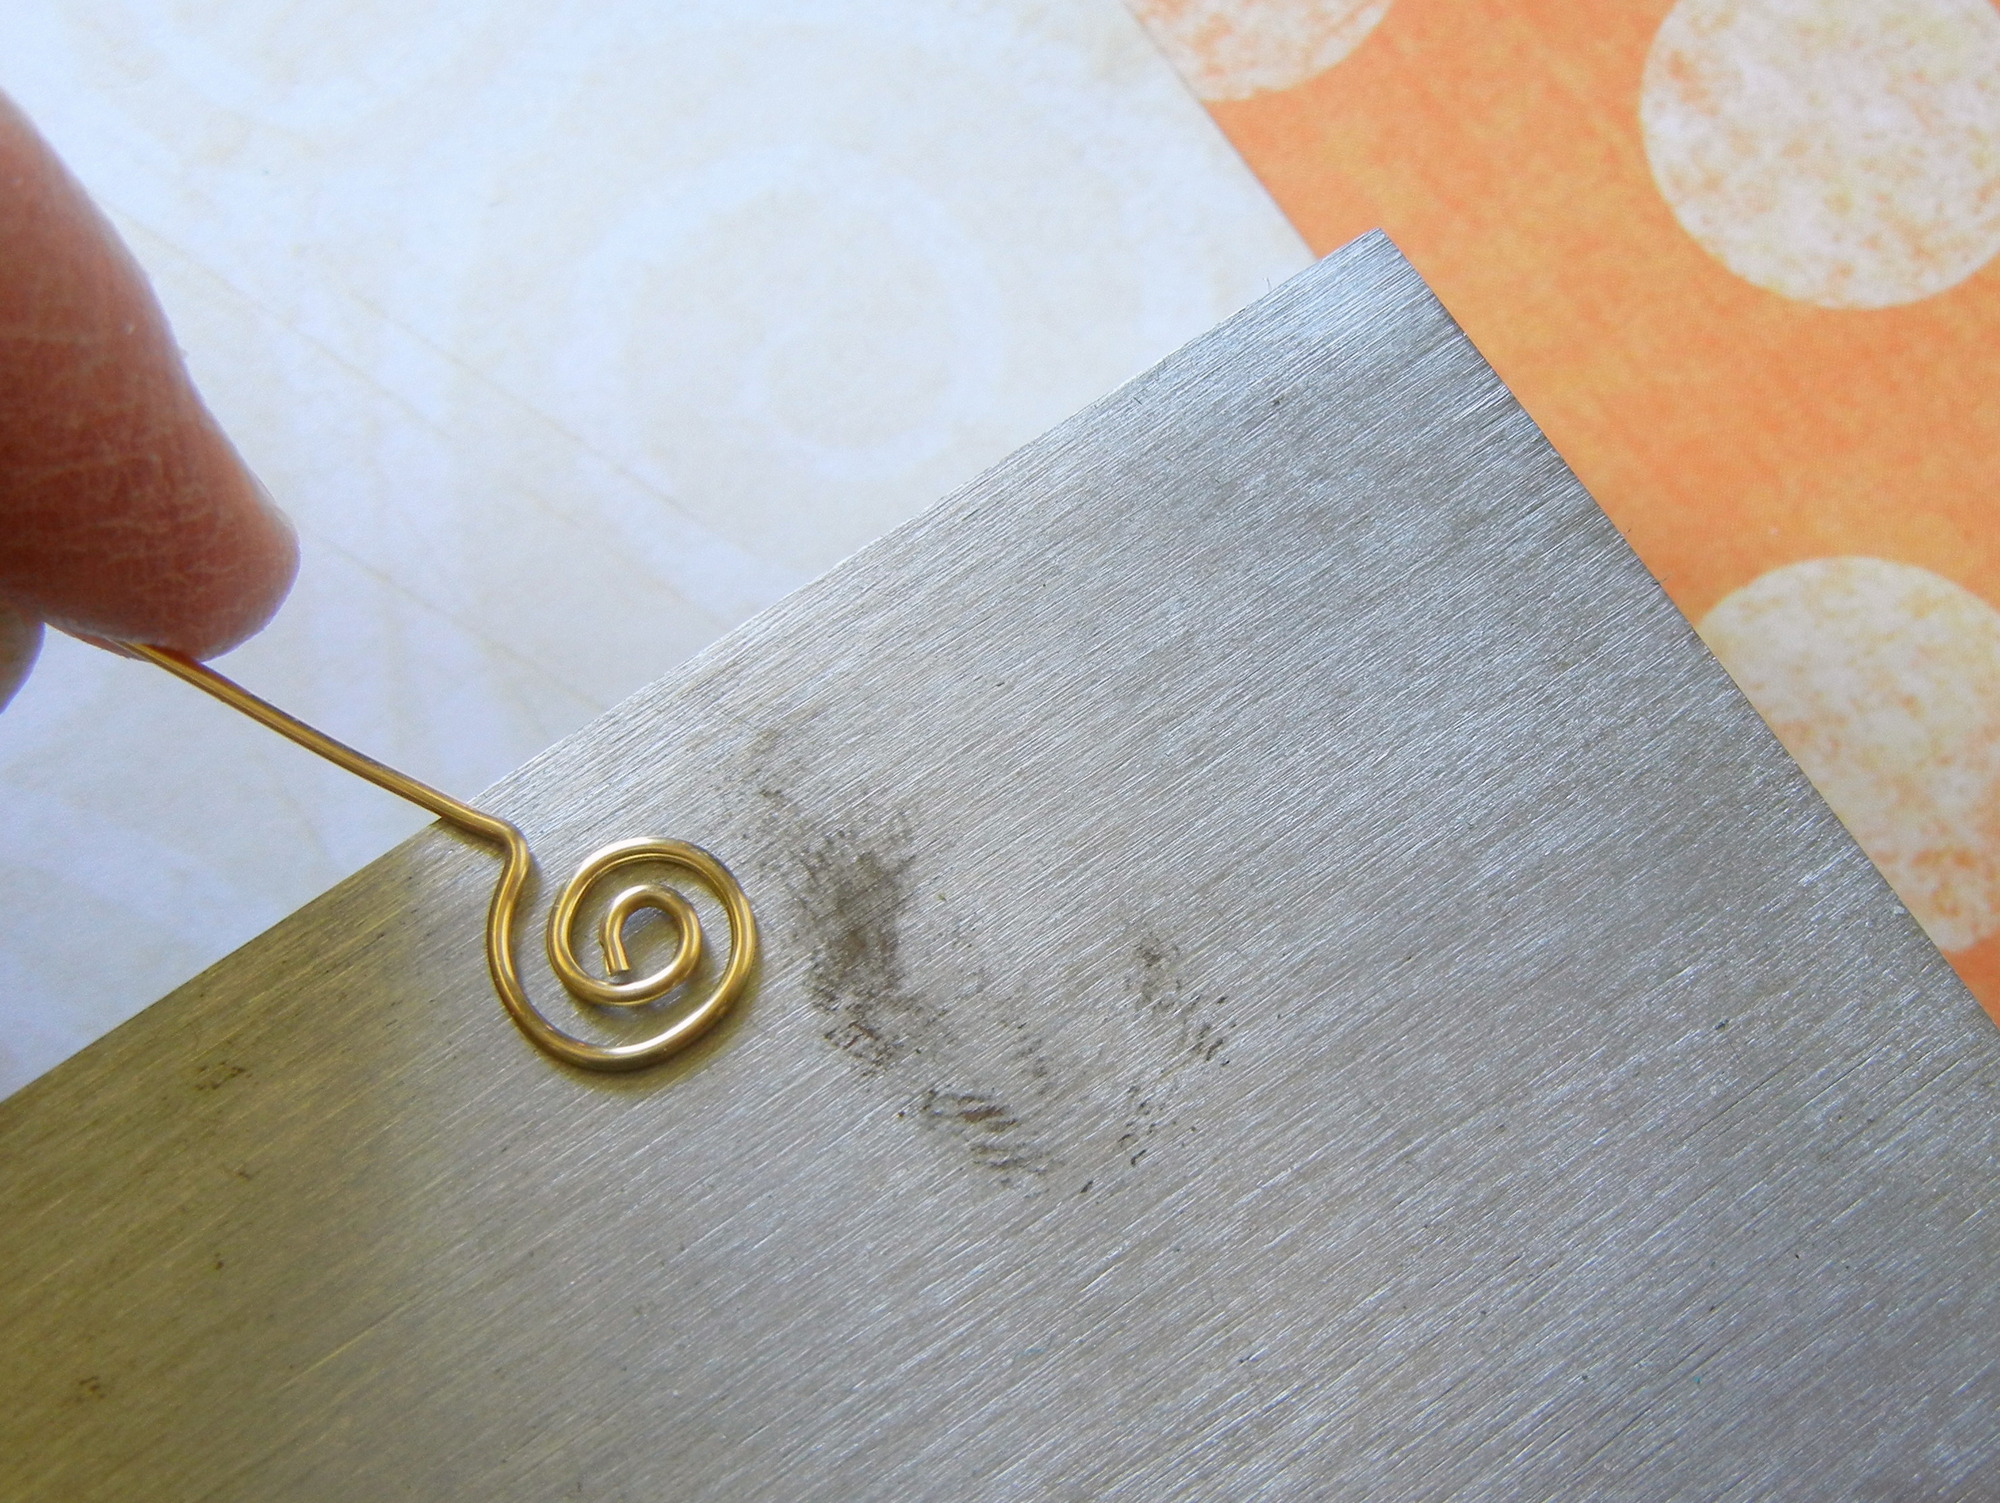
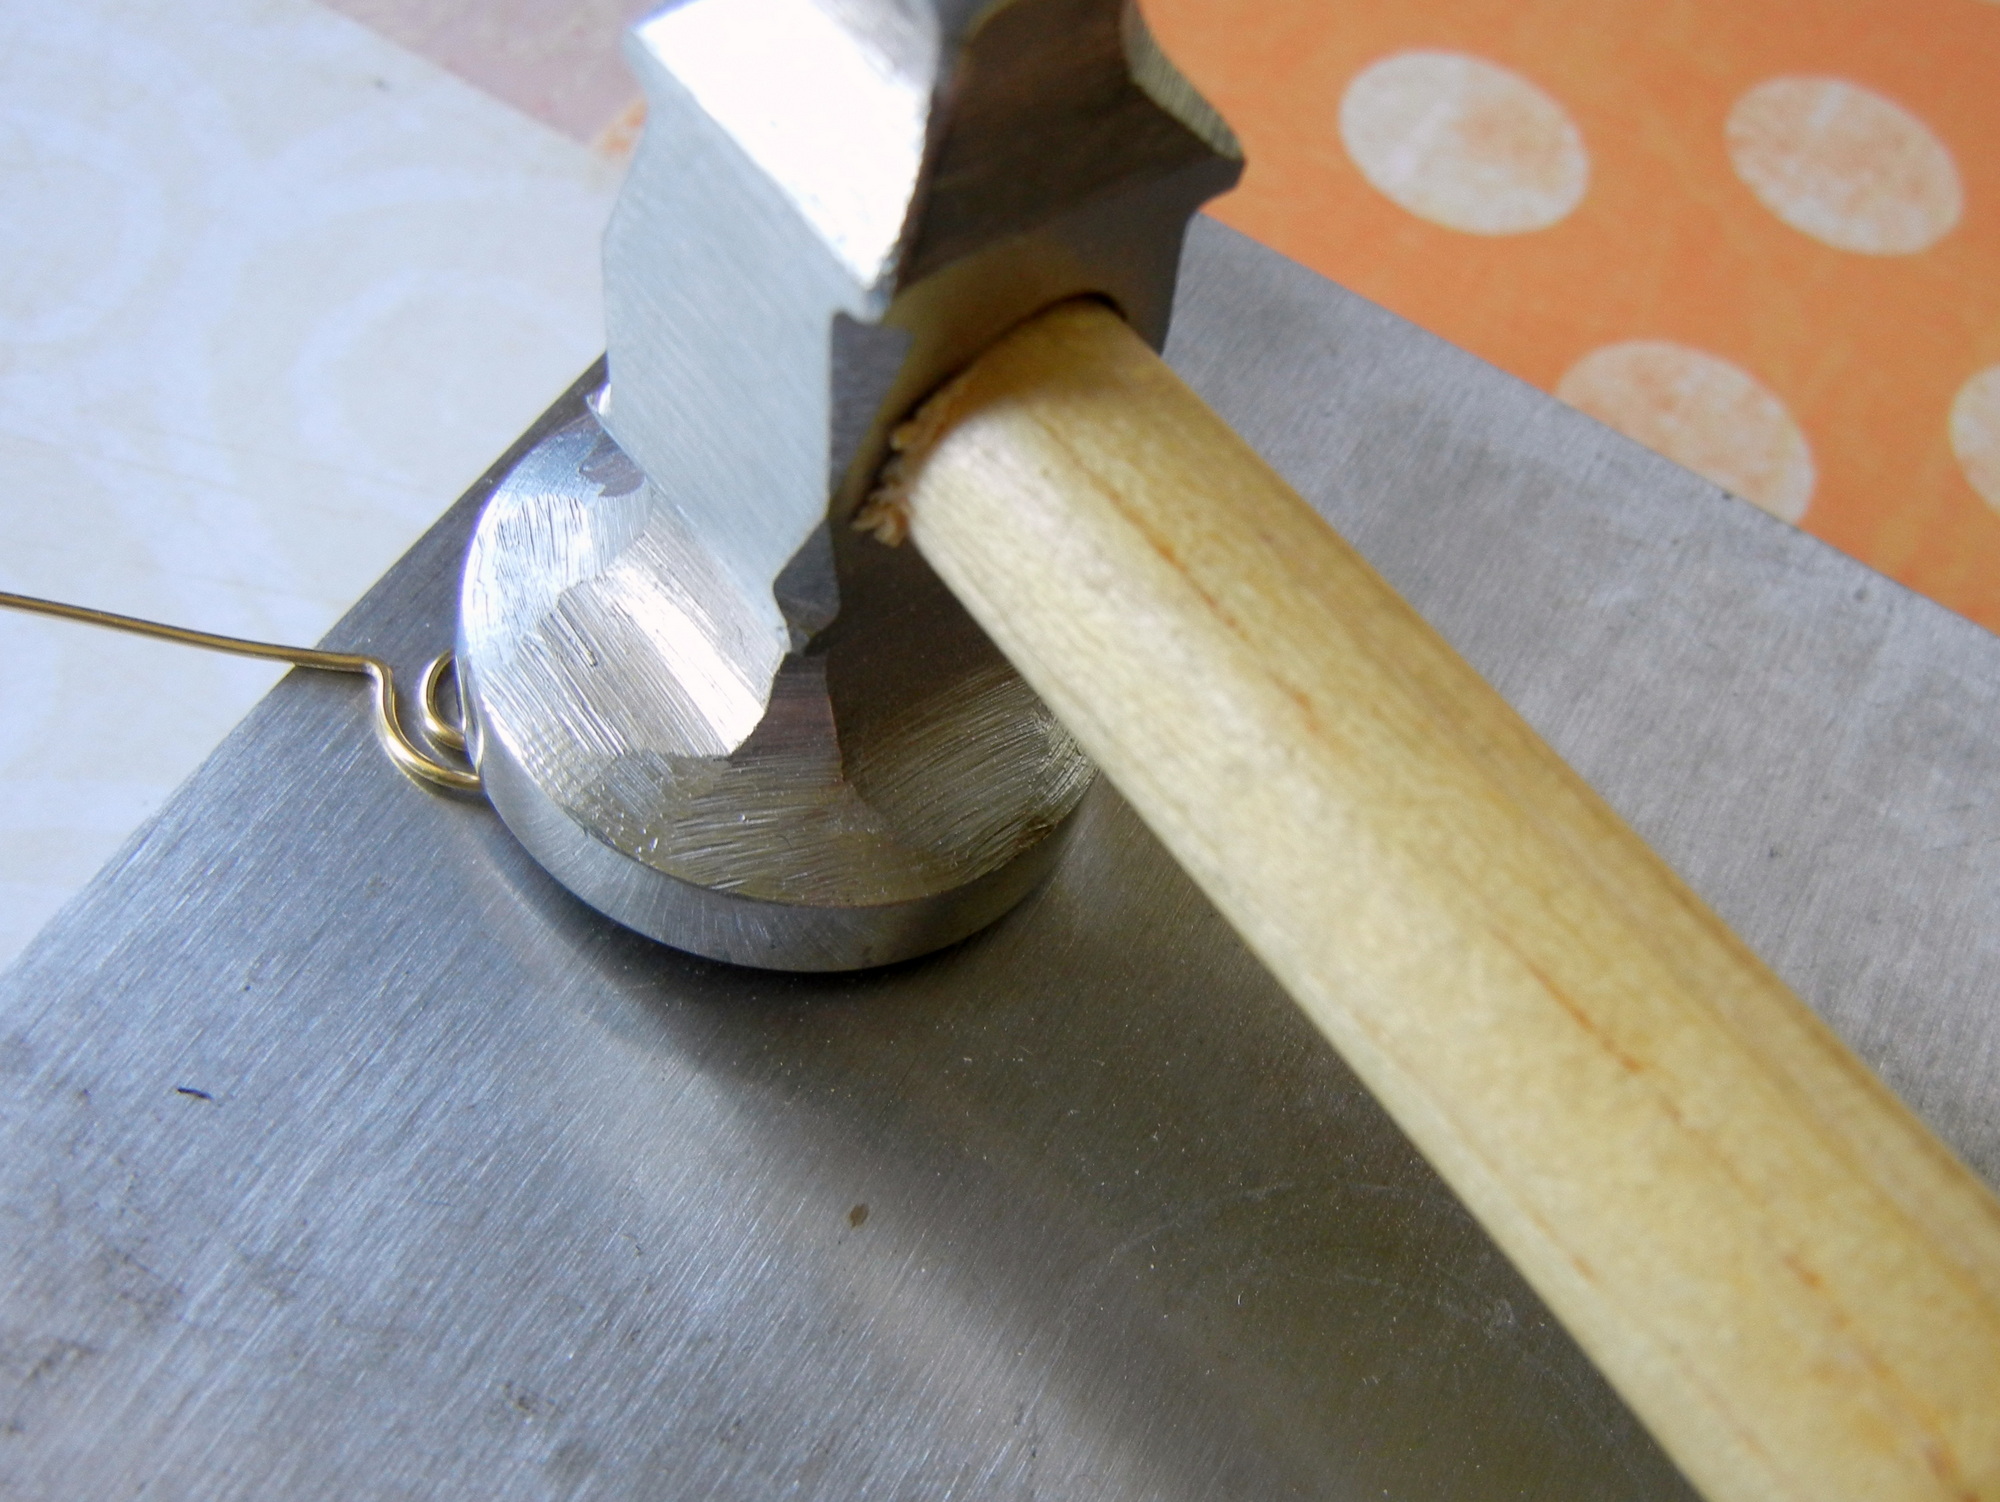
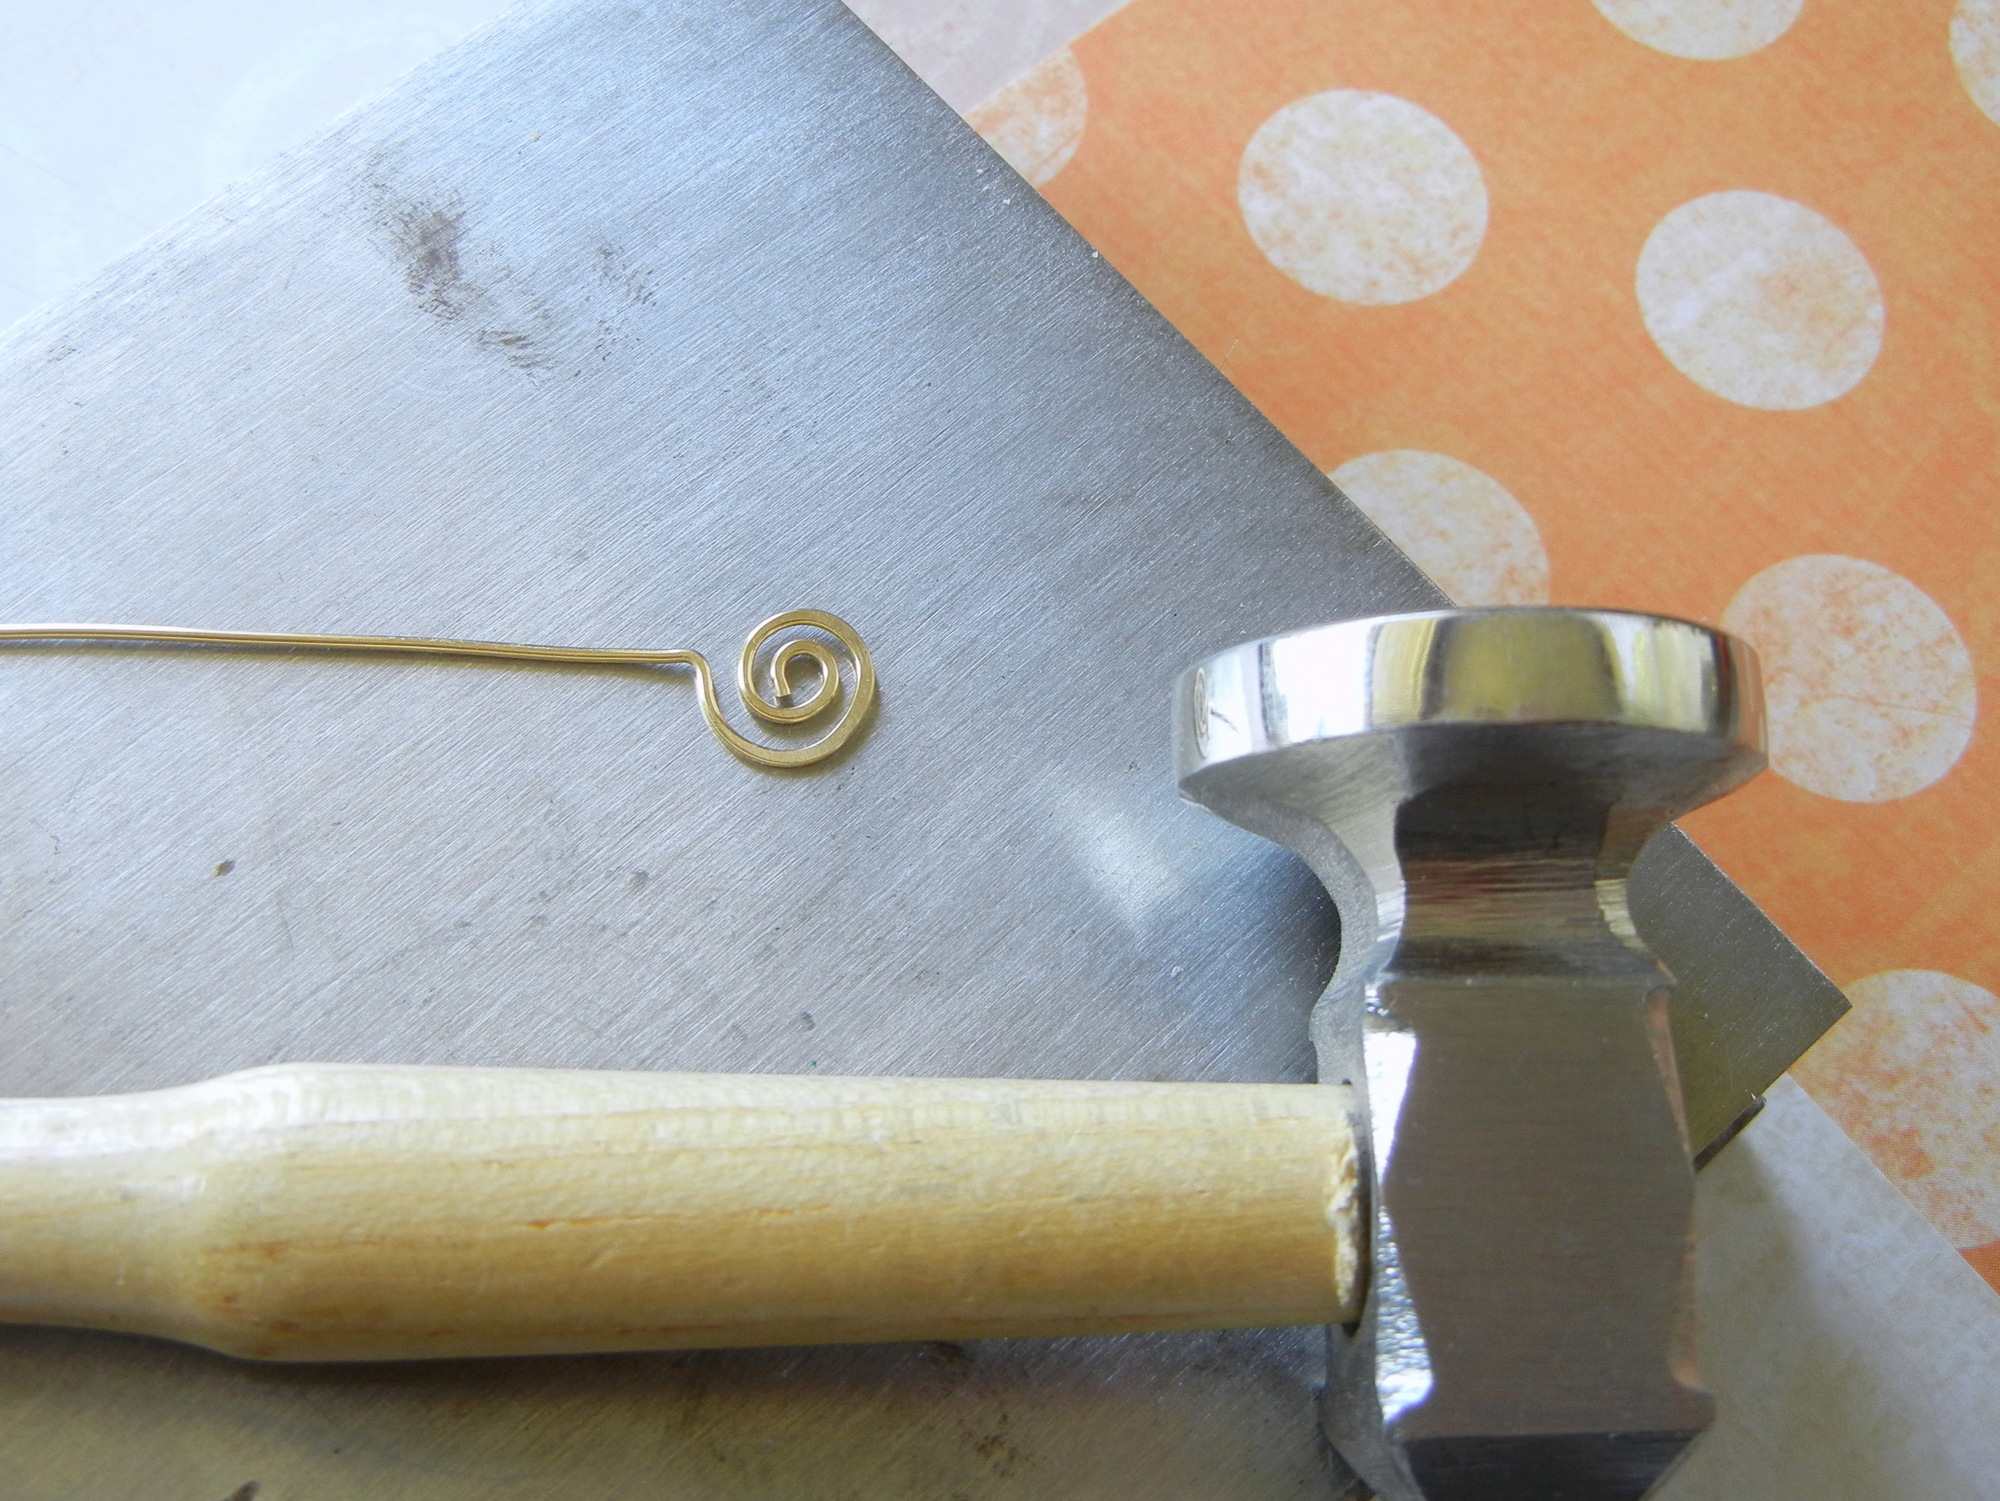
Lay spiral head pin flat on the steel block. Use the rounded-face hammer to flatten the wire by striking it from different angles. Flattening the wire adds a decorative feature and also work hardens the wire so it holds its shape.

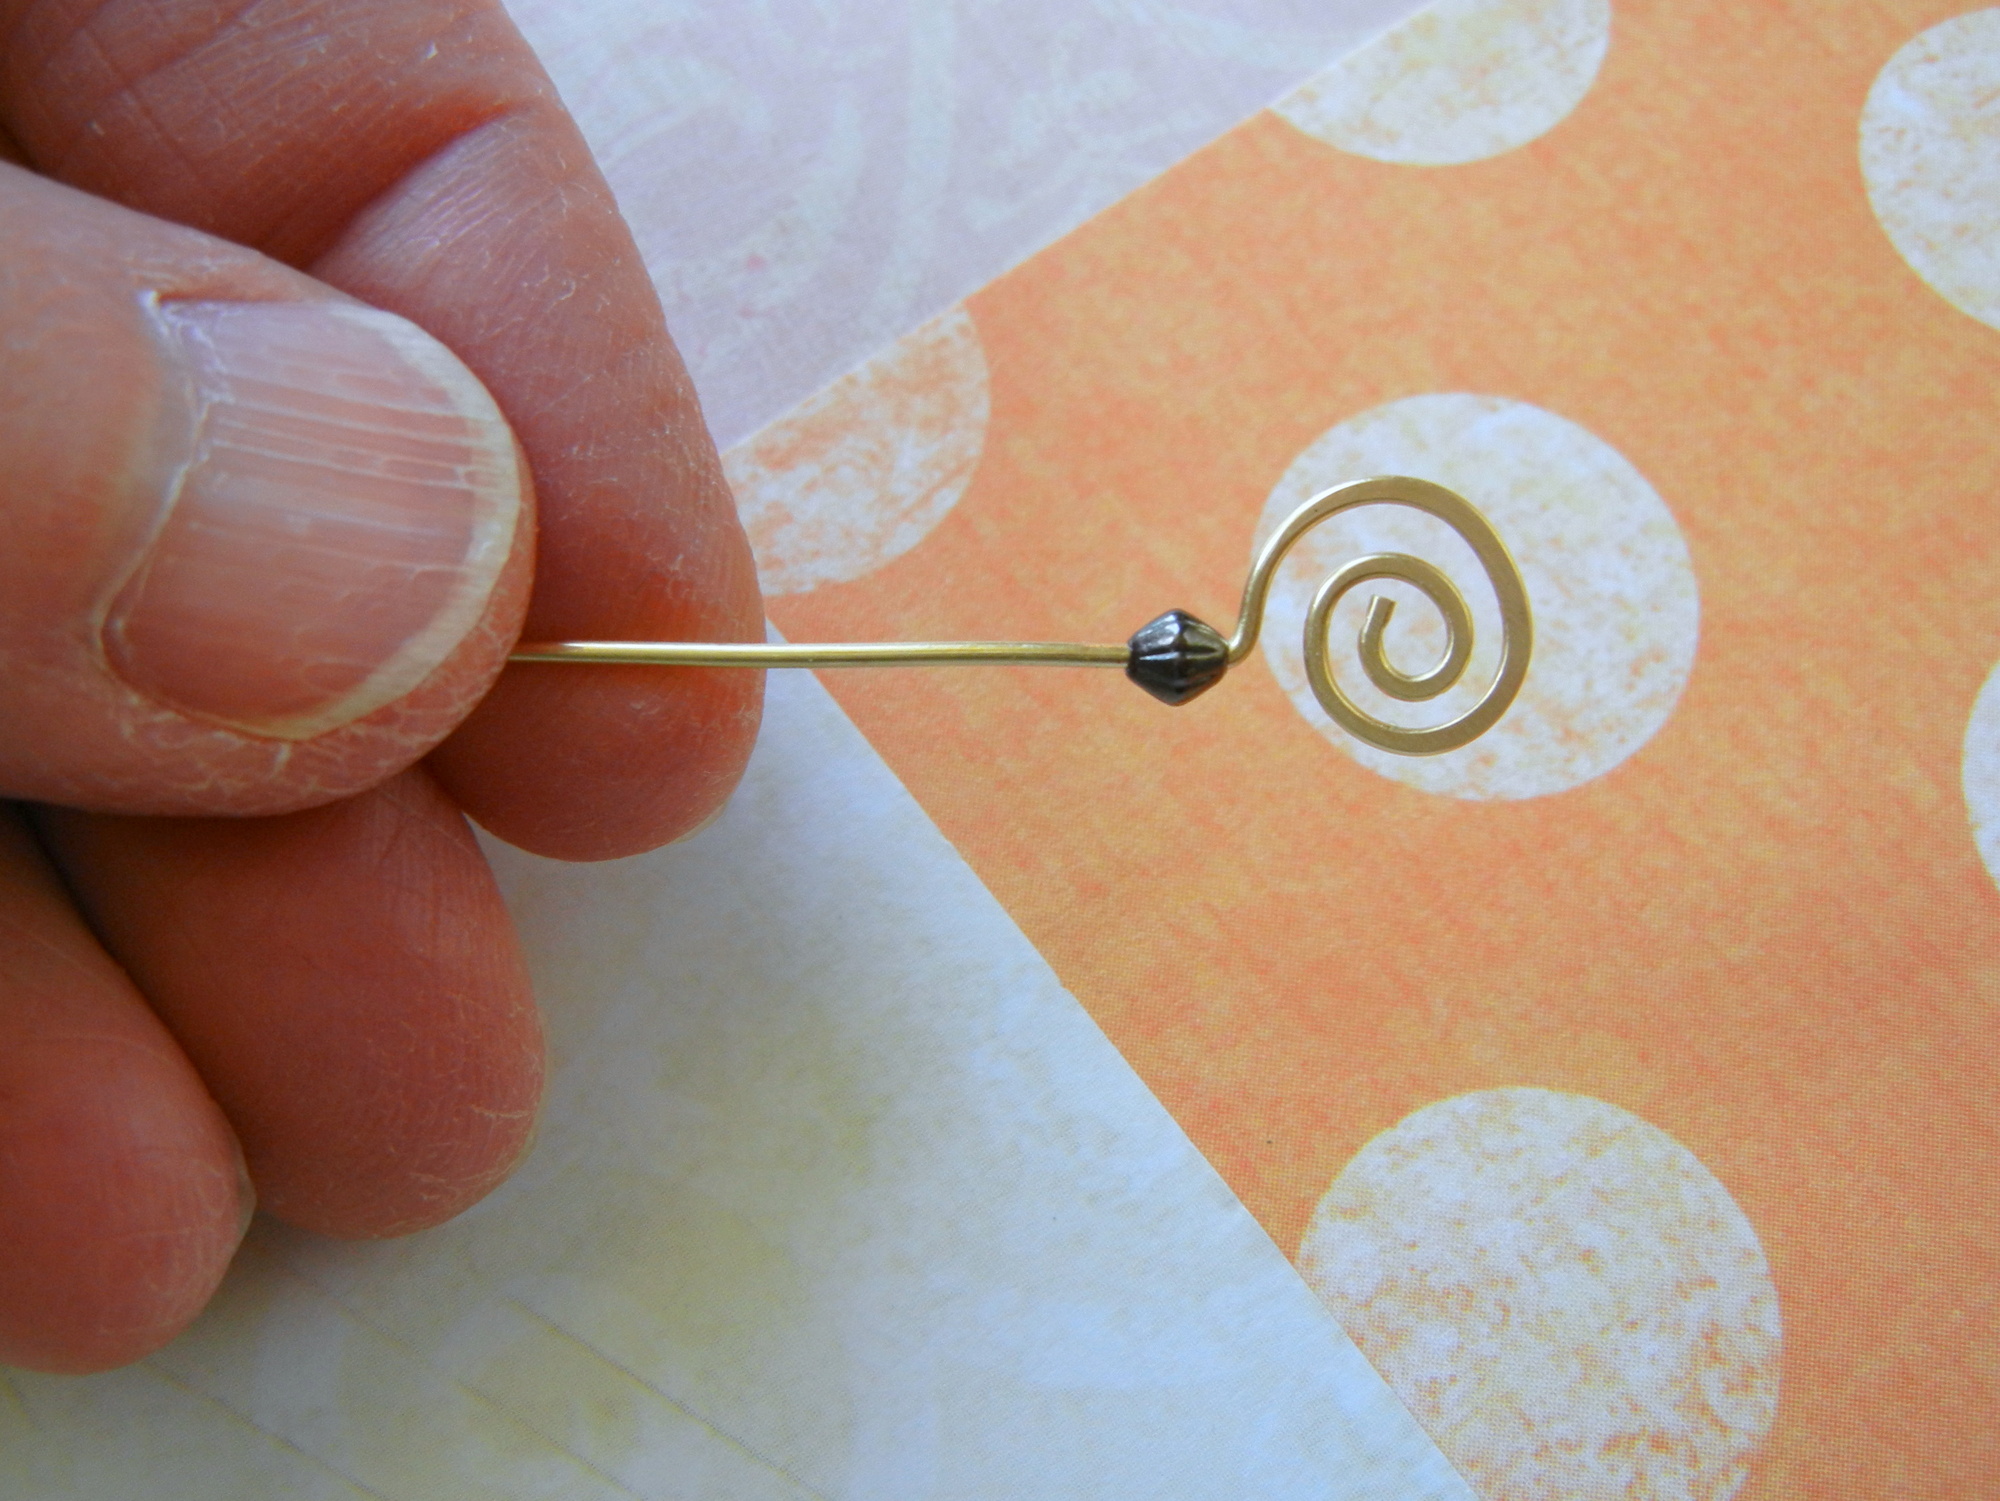
Add a small-sized bead (3mm-ish) to the pin so it sits next to the spiral. The bead is an accent feature and a works as a stable even surface to bead against.
~***~
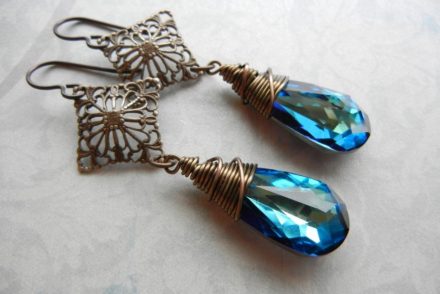
“Pumpkin on the Vine” Earrings by Rings & Things designer Mollie Valente. Visit Rings & Things Design Gallery for free project instructions and to resource tools and supplies.
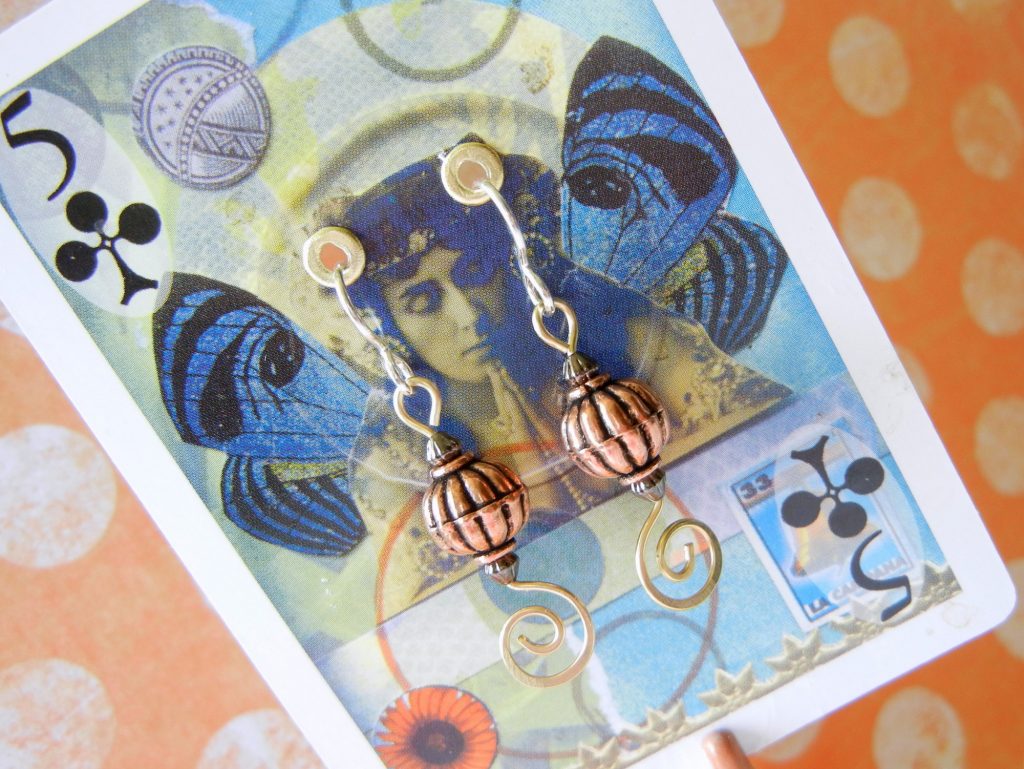
Earrings aren’t truly complete without a striking display card. I was inspired to make my own earring display card by upcycling an old Art Chix Studio ATC. And you can make your own display card too! Check out Tiffany’s 2012 Rings & Things blog post “DIY Earring Cards that won’t break the bank!“.
Make things,
Mollie


No Comments