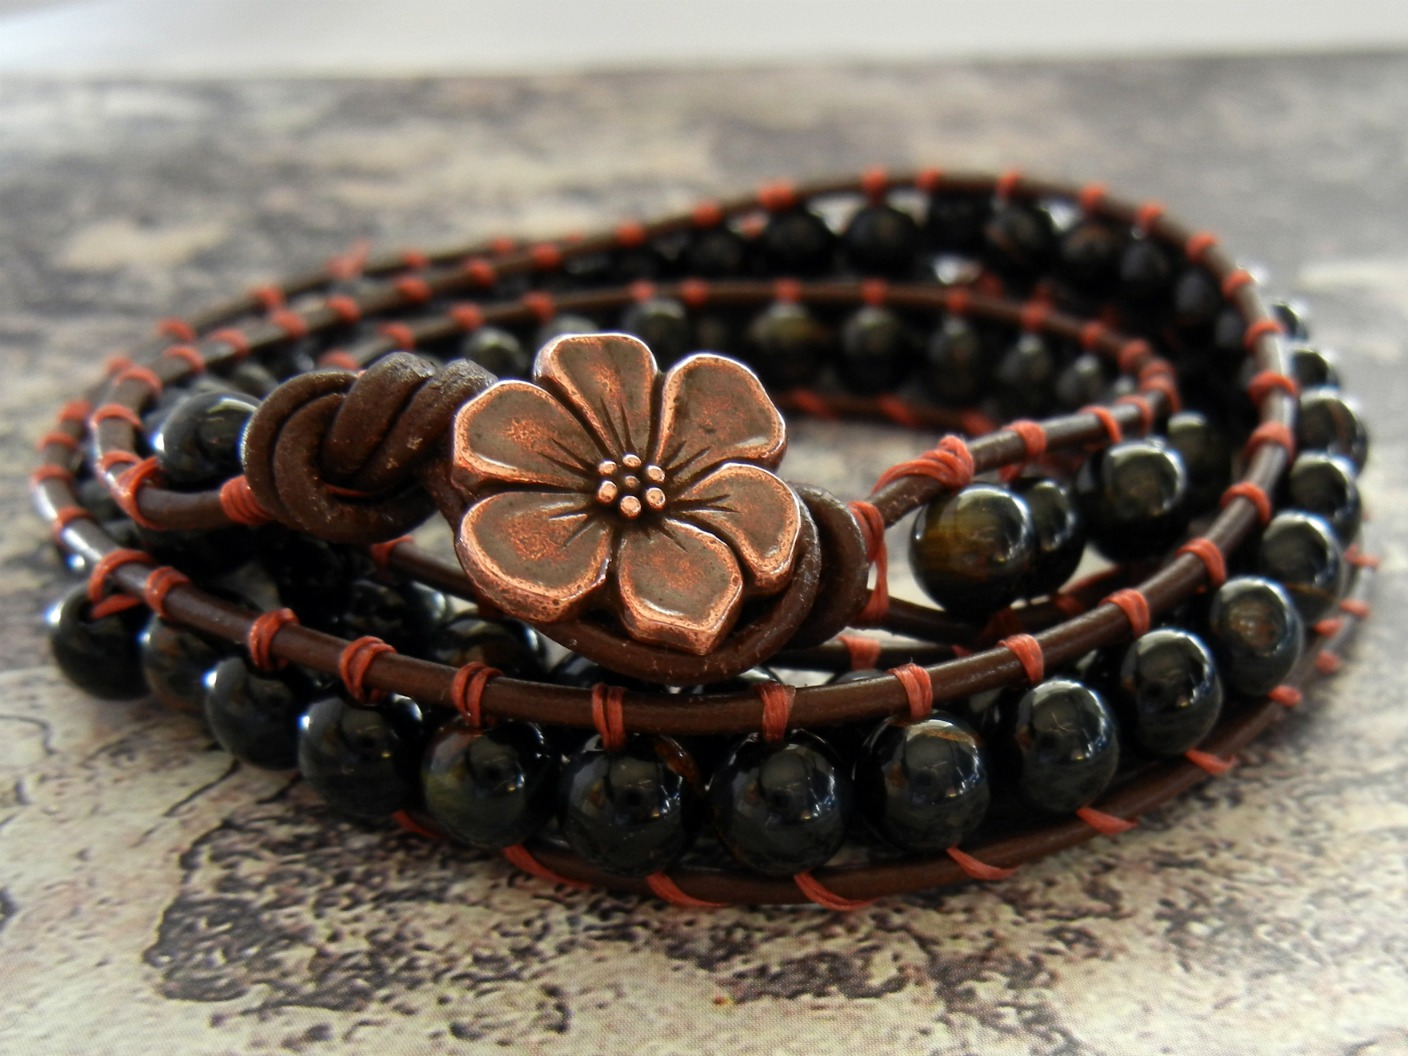
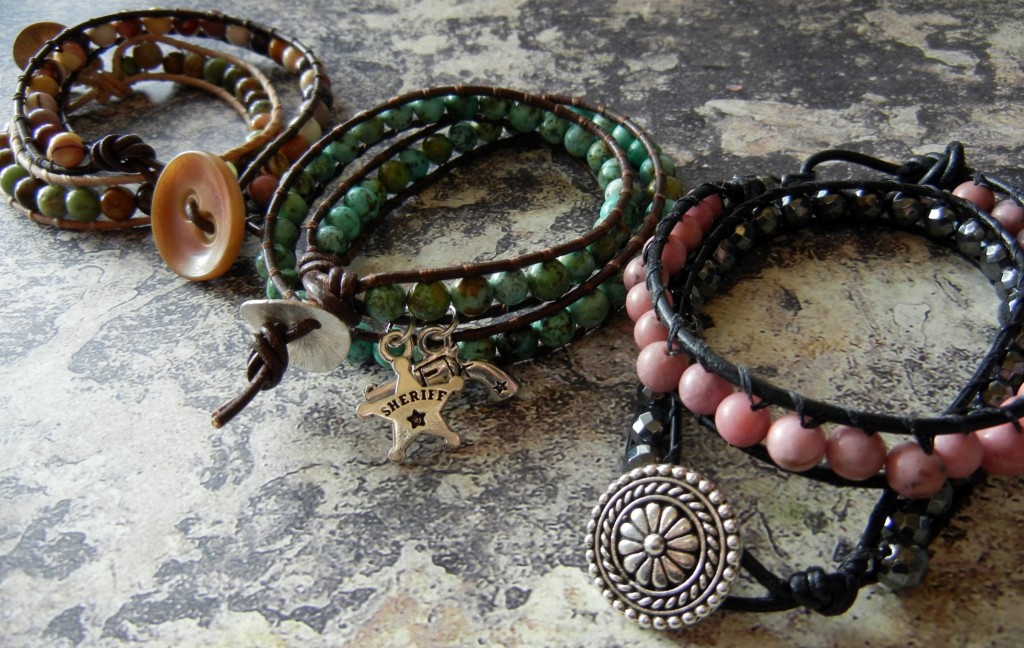
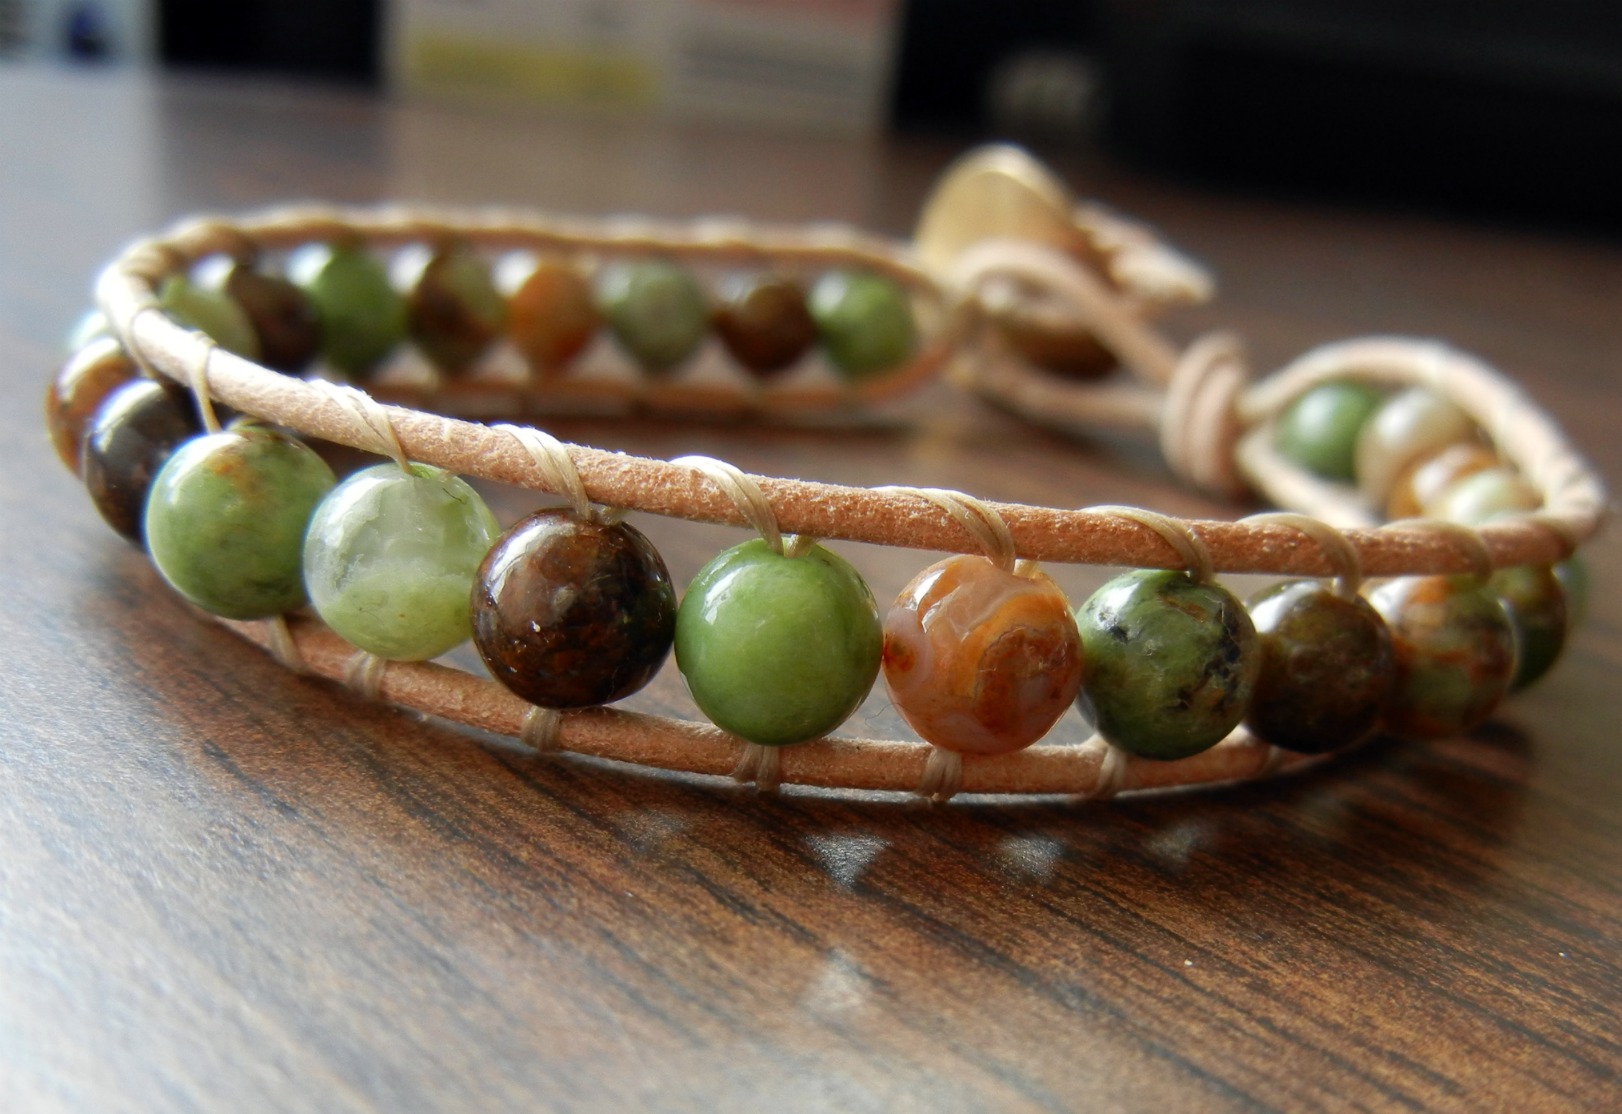
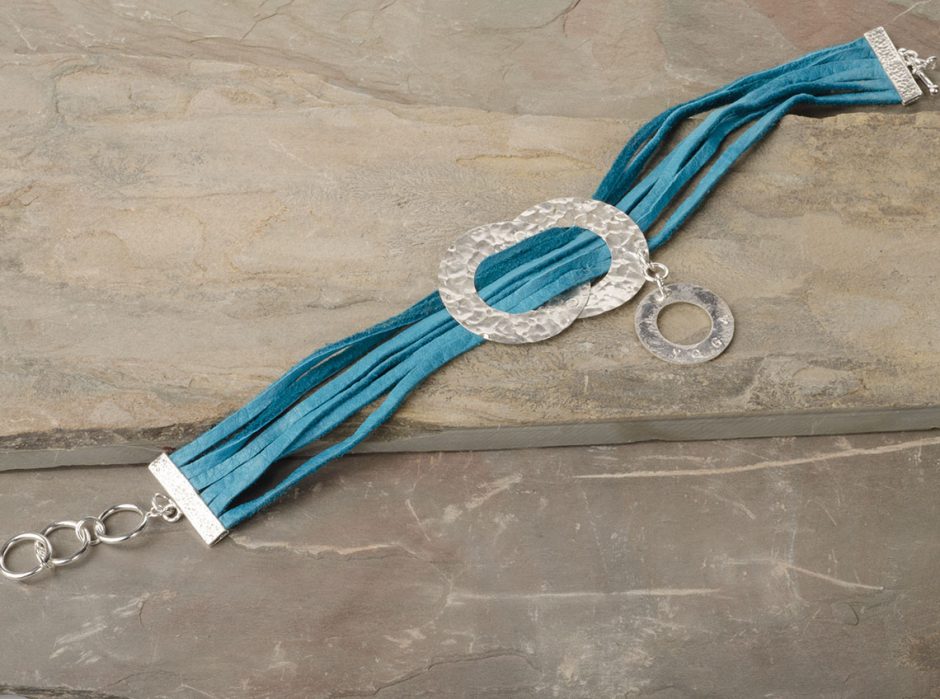
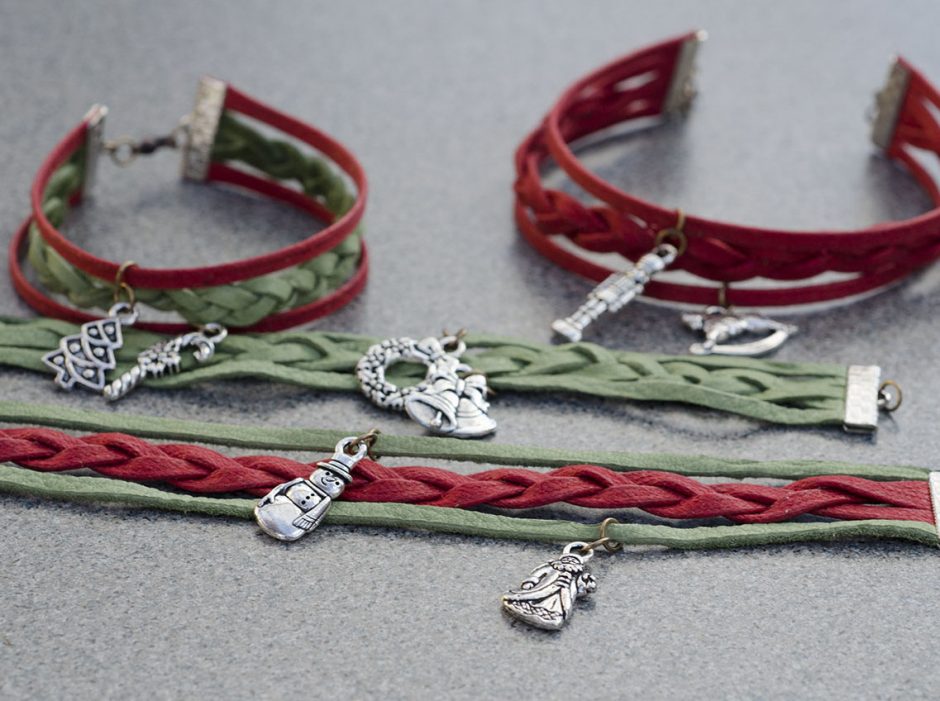
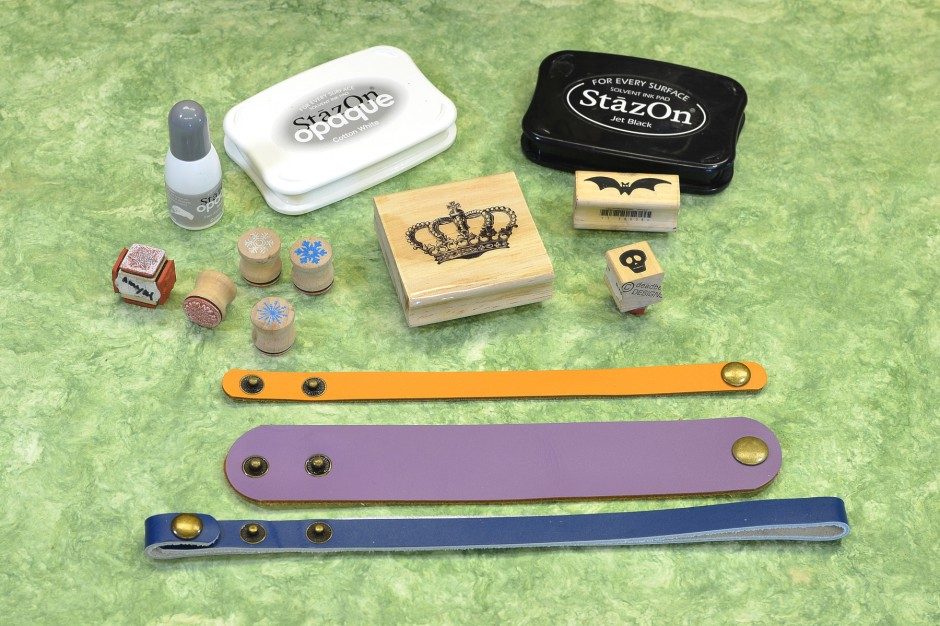
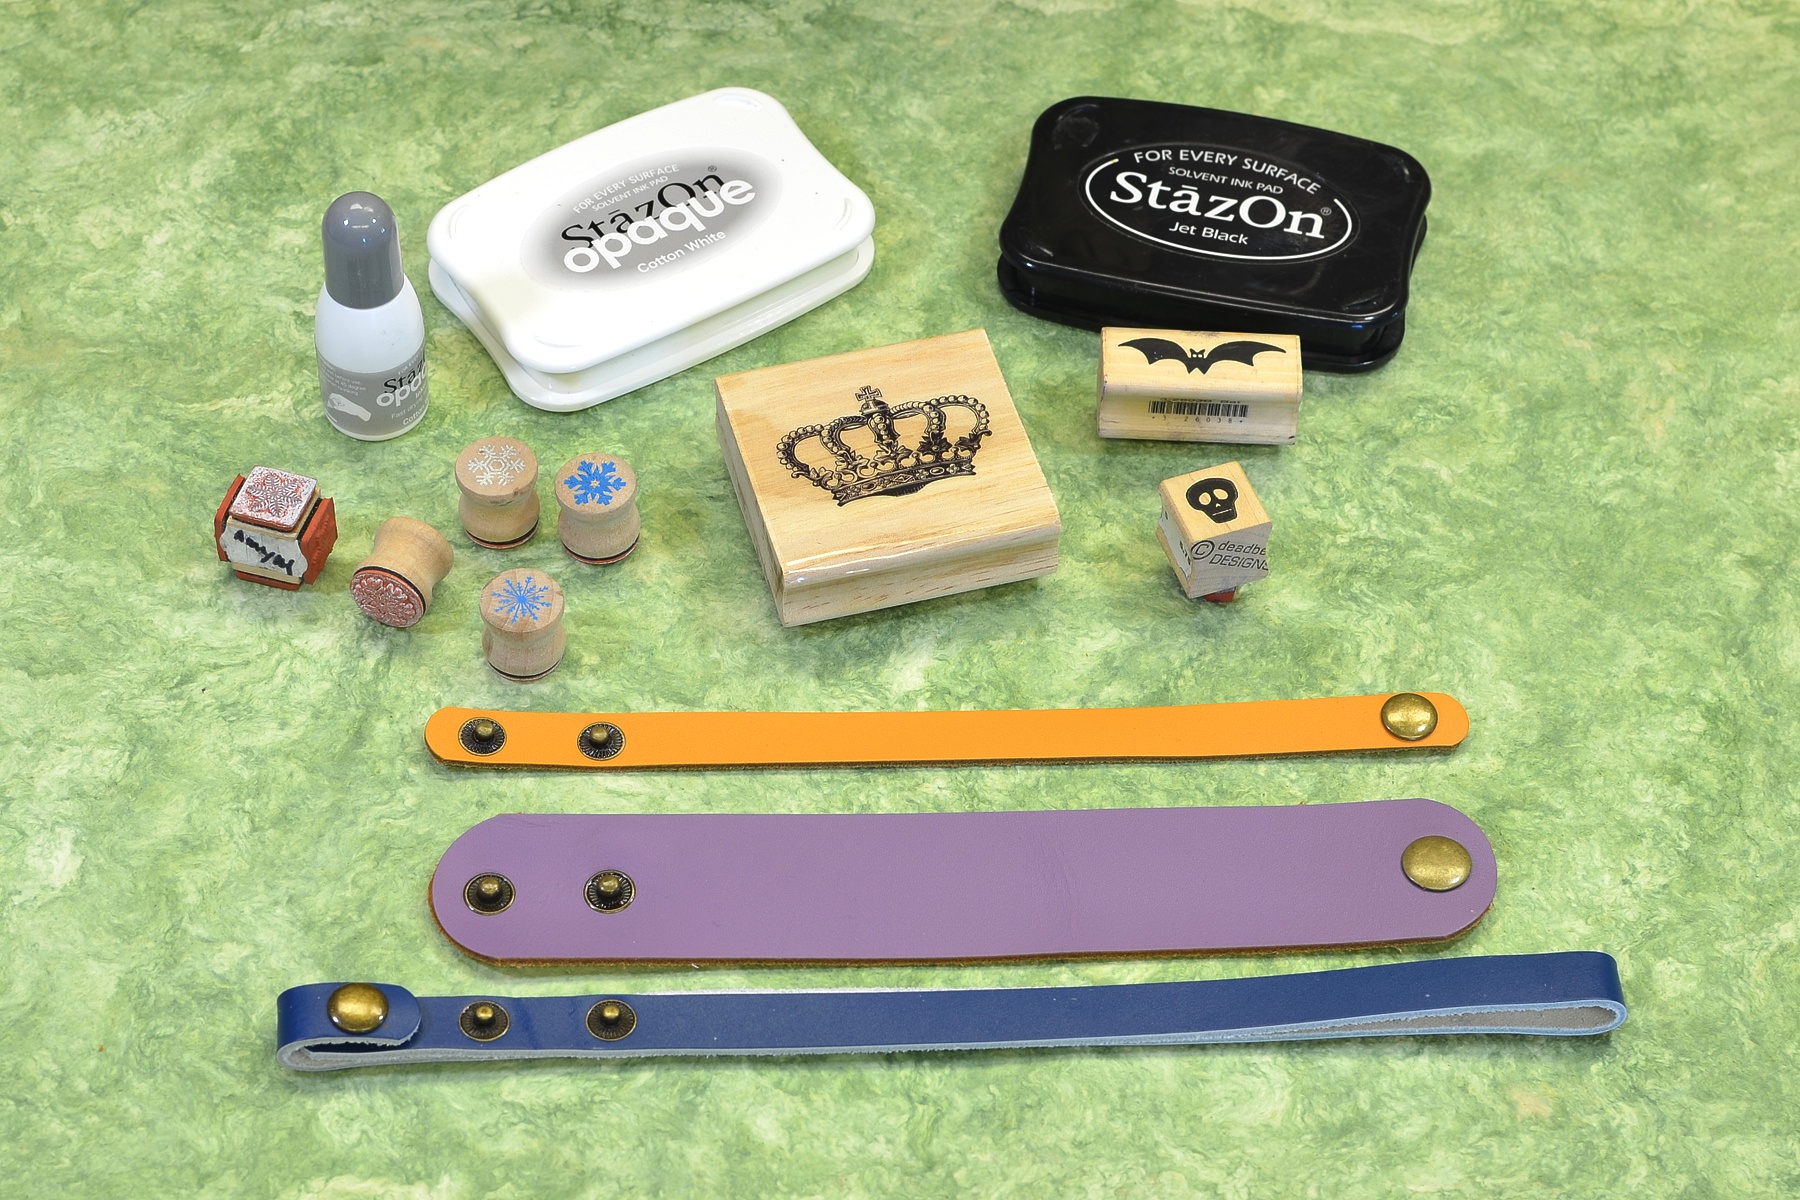
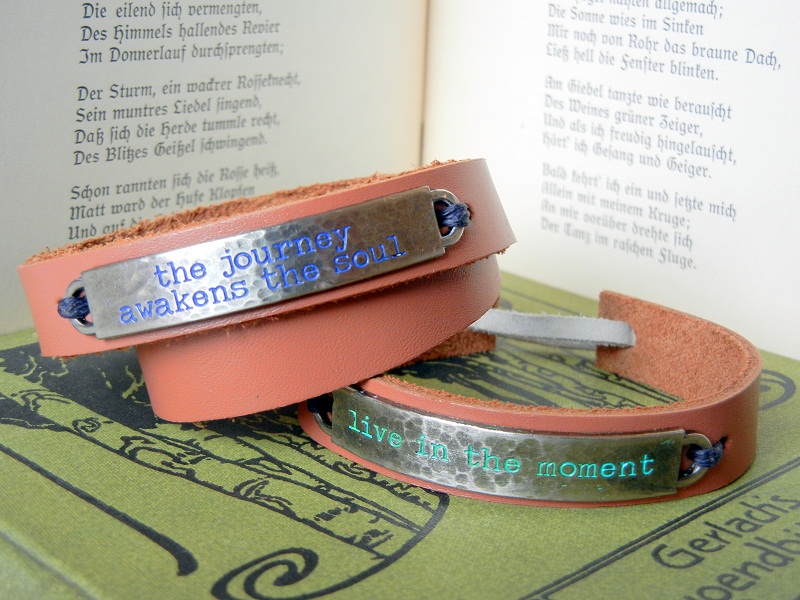
I love leather cuff bracelets! Whether I wear one alone, or layer them with other metal and leather bracelets, I think they are always in style. They are bohemian, and can be in funky bright colors or subdued earth tones. With the large selection of pre-made cuffs we sell, the possibilities are endless! I made a few examples using the TierraCast eyelet setting tool and eyelets to show you! Check out how to make them below!
Continue Reading…
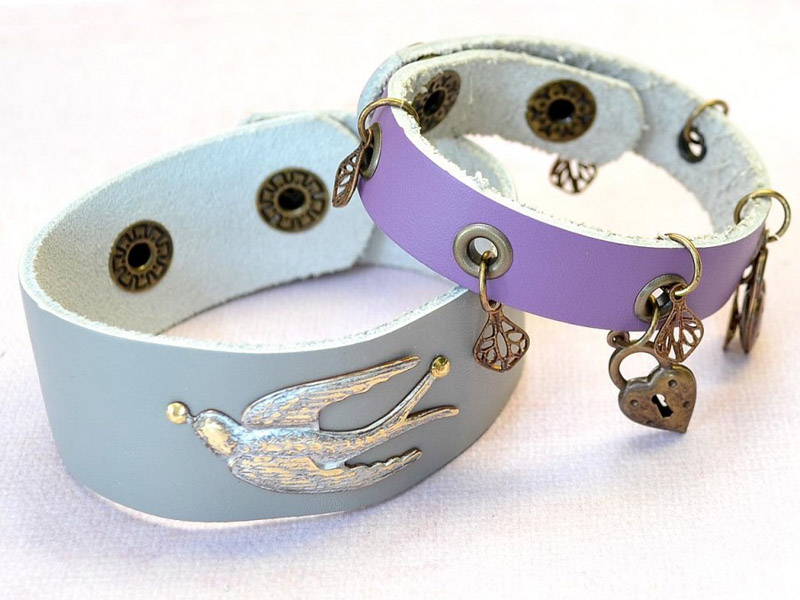
DIY Leather Bracelets: Setting Rivets and Eyelets
February 19, 2015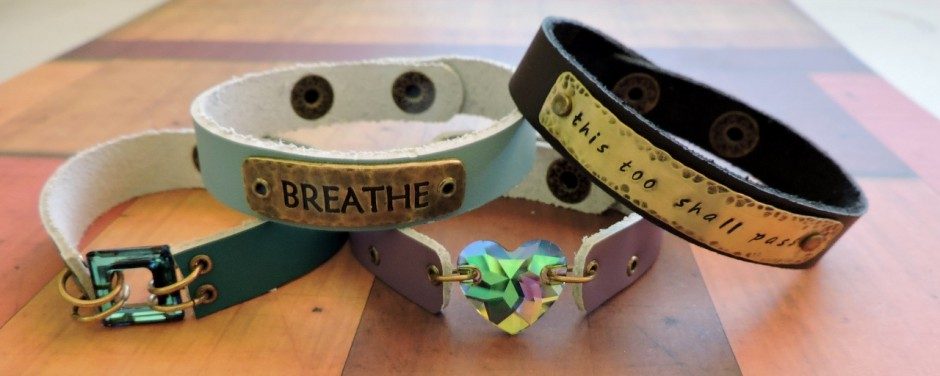


. Mark two \"stitching\" holes on either side of the two word-band loops. Also mark a \"lacing\" hole set 5/16th inch from each leather end.")
 to punch the stitching holes for the bracelet blank; use the largest punch (4.5mm) to punch the lacing holes for the drawstring closure.")


 to punch the stitching holes for the bracelet blank; use the largest punch (4.5mm) to punch the fastener holes for the hitch closure.")