Easy Elegant Earrings
Using one-step looping pliers and a few supplies, you can have a set of fantastic earrings in under 30 minutes!

Step One:
Gather supplies

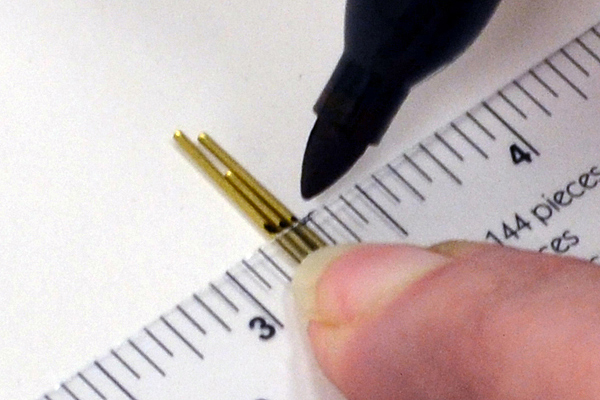
Step Two:
Lay out pattern and mark paddles
Step Three:
Loop paddle-end head pins


Step Four:
Adjust and tighten loops

Step Five:
Assemble


Step Six:
Repeat for other earring & enjoy!

For more information, scroll down to see the video tutorial and review tips on this one-step looping pliers page.


