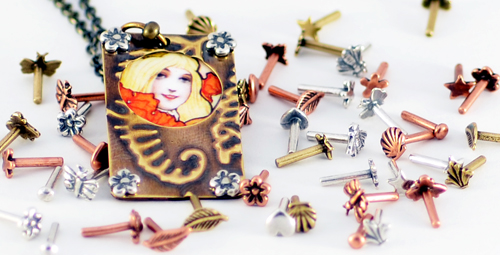
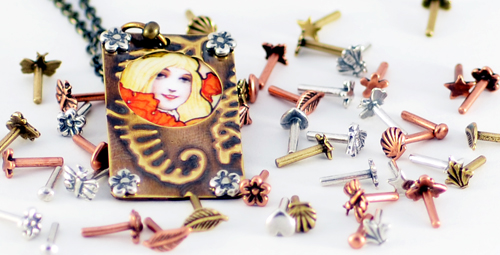
Bees ~ Fleur-de-Lis ~ Leaves ~ Simple Domed ~ Shells ~ Hearts ~ Stars
If you already know how to make and set traditional wire rivets, then you only need to know one new thing about setting these fun decorative rivets:
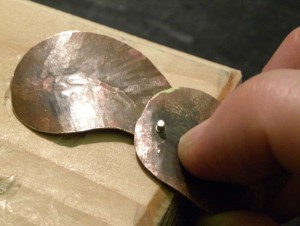
- To prevent marring the decorative rivet head, don’t hammer with your rivet head directly on the usual steel block. Instead, set the rivet head on a piece of wood (a scrap of 2×4″ works great), or use a piece of heavy leather between the rivet head and steel block.
If you’ve never set a wire rivet before, these are great rivets to learn with, because one end is already finished — you only need to set the back side of the rivet.
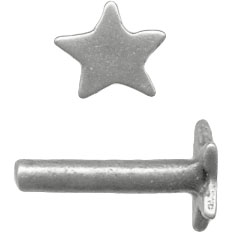
#69-971-10-5 Silver star rivet
I should mention that everything described here works for Vintaj’s nail-head rivets too.
To use these fun rivets, you will need:
- Safety Glasses — Any time you cut or hammer metal, you should protect your eyes.
- Riveting hammer – I normally prefer the rounded side of a 4-oz ball pein or chasing hammer, but sometimes I need the skinny riveting hammer to rivet in small areas.
- Durable flush cutters
- Flat file — these diamond needle files are a great multipurpose set
- 1.25mm hole punch (or equivalent drill bit)
- Bead reamer (and Beeswax or Cut Lube)
- Sharpie or other permanent marker
- Smooth flat piece of scrap wood, roughly 4×4″ (a square chunk of 2×4″ with the edges sanded, works great!)
- Rivets!
- Something to rivet: Metal blanks, sheet metal, etc.
Instructions for setting fancy wire rivets:
- Lay out your design, and mark dots where you want holes for the rivets.
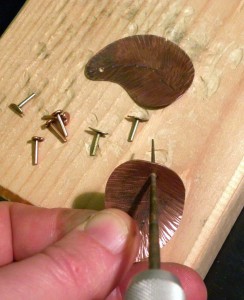
- Use the 1.25mm hole punch to punch each hole, then enlarge each hole slightly with the bead reamer, until the rivet just barely squeaks through. (You can rivet with a too-large hole, but it is more difficult and should be avoided.)
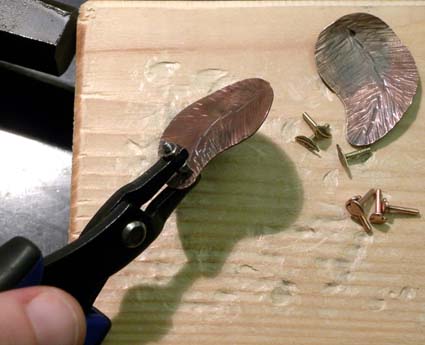
Punch holes
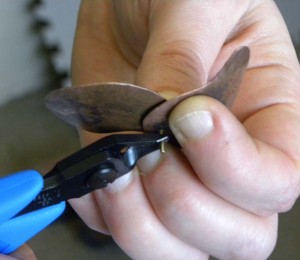
- Assemble the layers to be riveted, and use flush cutters to snip off the excess rivet length, leaving approximately 1.5mm sticking out past the components. Cut off too much, and you won’t have enough left to make a durable rivet head. Leave it too long and you’ll end up with a time-consuming messy-looking rivet.
Not sure how to make flush (smooth, straight) cuts? See Tips for cutting wire with straight ends.
- If necessary, file the end smooth and flat.
- Place the assembled layers rivet-head down on a wooden block.
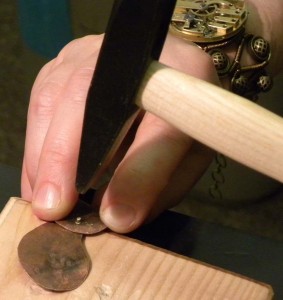
- Using the flat side of the riveting hammer or 4-oz ballpein hammer, tap a few times on the top of the wire post. This starts flaring the wire.
Hammering too hard at this point, will bend your rivet. Bent rivets are rarely recoverable. -
Hammer the wire gently in an outward, circular motion: you need to spread the metal outwards into a mushroom head, rather than smashing it straight downward. Think about the compass points as you tap around in a circle– North tap, North tap, East tap, East tap, South, South, West, West, repeat. As the rivet spreads and shortens, you can hammer harder.
- When it is nicely rounded and looks done, run your thumb around the edges of the rivet — if it feels rough, keep hammering.
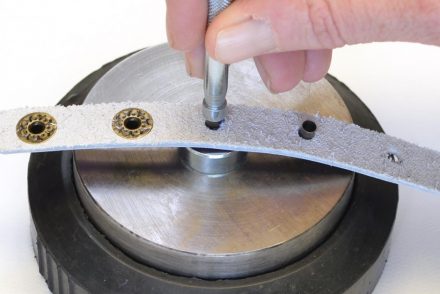
This riveting process works for Vintaj nail-head brass rivets as well as the fancy decorative rivets. (It works great for 1/16″ and 3/32″ semi-tubular rivets too. Just be sure to punch a 1/16″ or 3/32″ hole instead of a 1.25mm hole.)
Examples of unfinished or not-quite-right rivets:
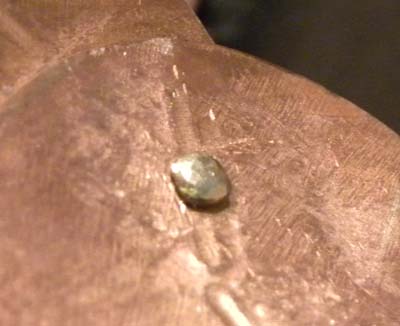
This rivet is almost done. It feels sharp / rough to the touch where you can see the shadow near the bottom. The sheets of metal are also a bit loose; both are clues you need to keep tap-tap-tapping!
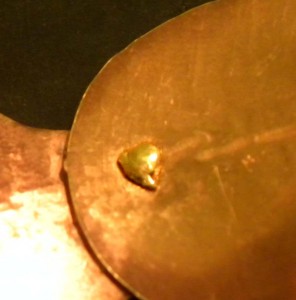
This rivet’s pin was cut a bit too long. Not only does it take longer to flare an over-long pin (more metal to push around), it can work-harden and split like this. It is still secure, but not as attractive.
The finished riveted bracelet!
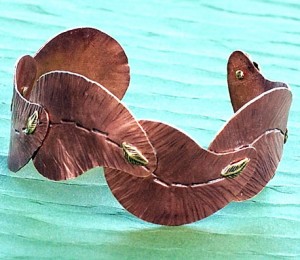
The finished, riveted bracelet!
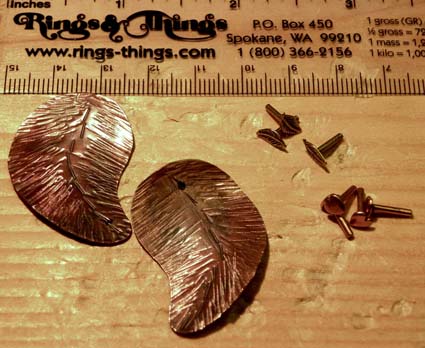
For a tutorial on turning these paisley charms into leaves, see Falling Leaves bracelet tutorial.
How to hide mistakes:
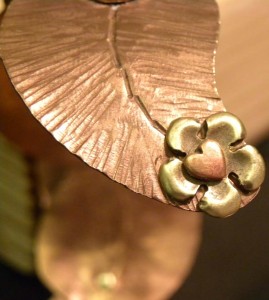
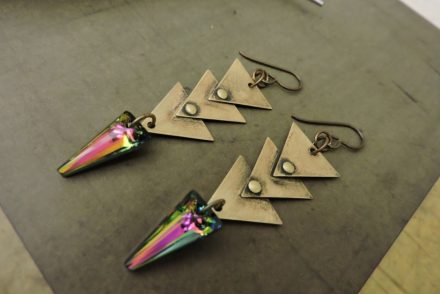
Riveted Accent – this rivet is purely decorative. (Actually, it covers a mistake. I got carried away and punched an extra hole … which then needed to get hidden.)
A tutorial with decorative flower rivets:
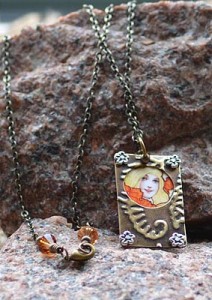
Poppy Girl Necklace by Mollie Valente – See full tutorial.
To learn more about traditional wire riveting, download our (free!) Riveting Techniques PDF (#68-007-12).
Or try these great books:
- #62-929 Making Connections: A Handbook of Cold Joins for Jewelers and Mixed-Media Artists, by Susan Lenart Kazmer
- #62-140 Metal Style: 20 Jewelry Designs with Cold Join Techniques, by Karen Dougherty
- #62-900 Mixed Metal Mania: Solder, Rivet, Hammer and Wire Exceptional Jewelry, by Kim St. Jean
- #62-380 Stamped Metal Jewelry: Creative Techniques and Designs for Making Custom Jewelry, by Lisa Niven Kelly
- #62-010 The Complete Metalsmith: An illustrated handbook, by Tim McCreight
~Polly



1 Comment
Discovered this sight when trying to find out what I was doing wrong on using the decorative eyelet/rivots on cards. I think this is my new favorite sight…so informative. Thanks!!