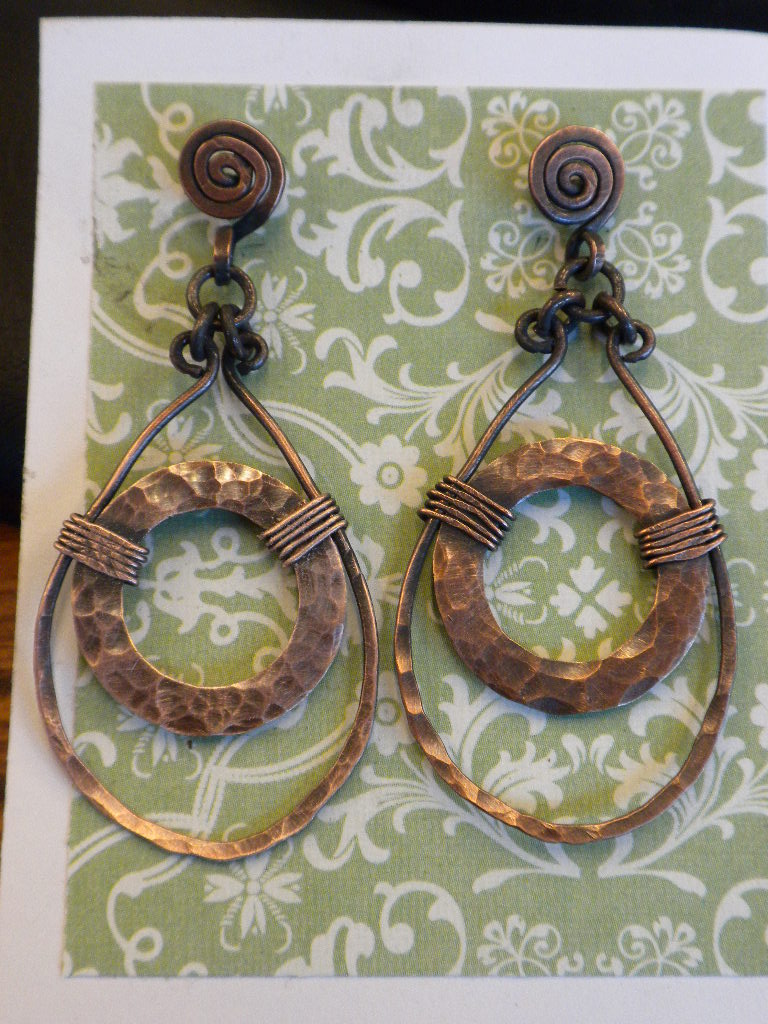
Earrings made with copper washers and copper wire
Copper washers may seem overly industrial for jewelry, but with a little manipulation, they work great. Ever since we started carrying them a couple of weeks ago, I have been experimenting and the results have been fabulous! And I have only scratched the surfaced. These washers would be great linked as bracelets, soldered together for fabulous bib necklaces or dapped into pretty dome shapes!
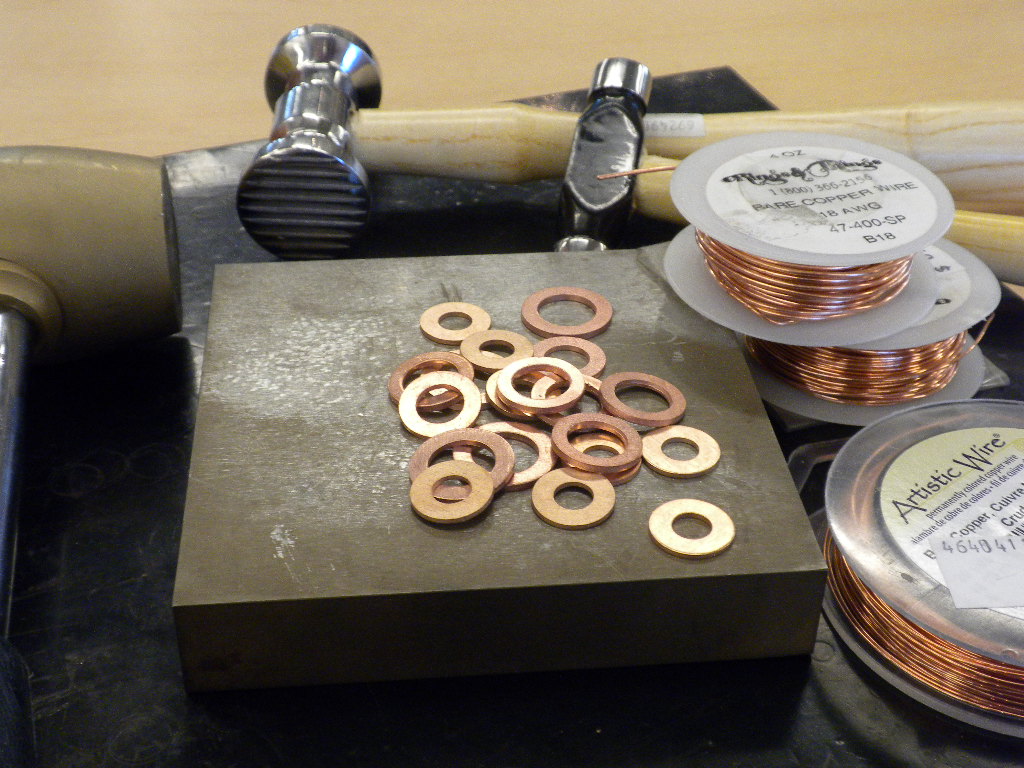
Everything you need to create hammered copper links: Washers, steel block, and hammers. Oh and some copper wire can add a nice touch!
I chose to distress the washers using a steel block and multiple hammers. Then I used a little liver of sulfur to blacken the washers and some steel wool to buff them up. The result is the antiqued hammered links that can be used anywhere you would use any other link.
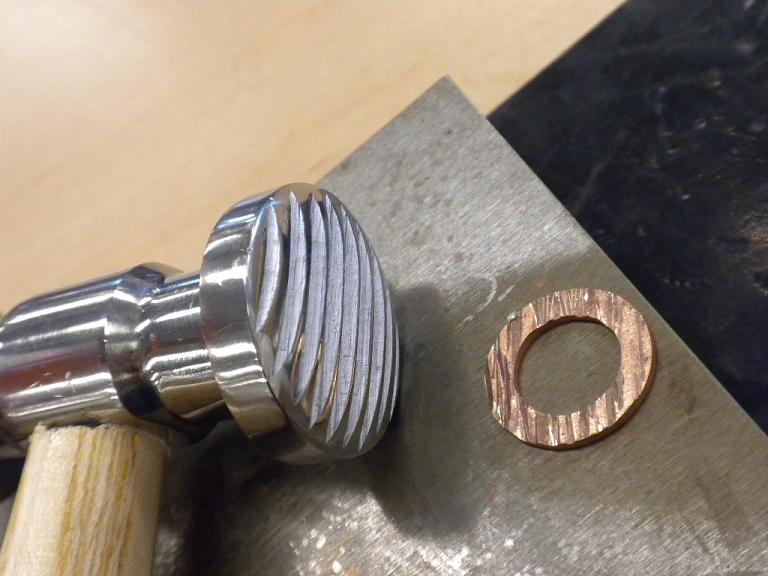
Cool lines created by a texturizing hammer!
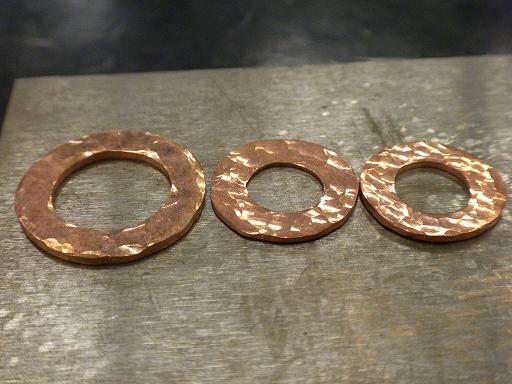
Hammered look created using a ball pein or chasing hammer

Look at all the pretty washers! The assortment pack is great because there are several sizes.
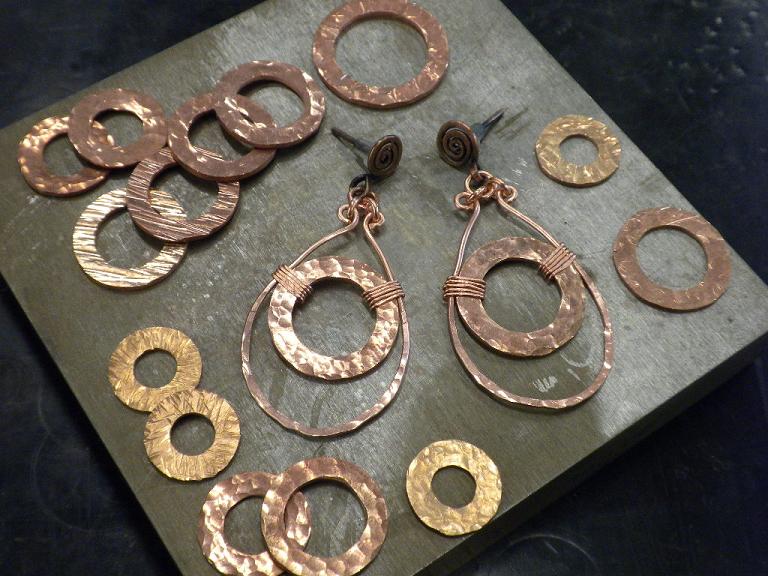
In the center are the earrings seen above before being antiqued!
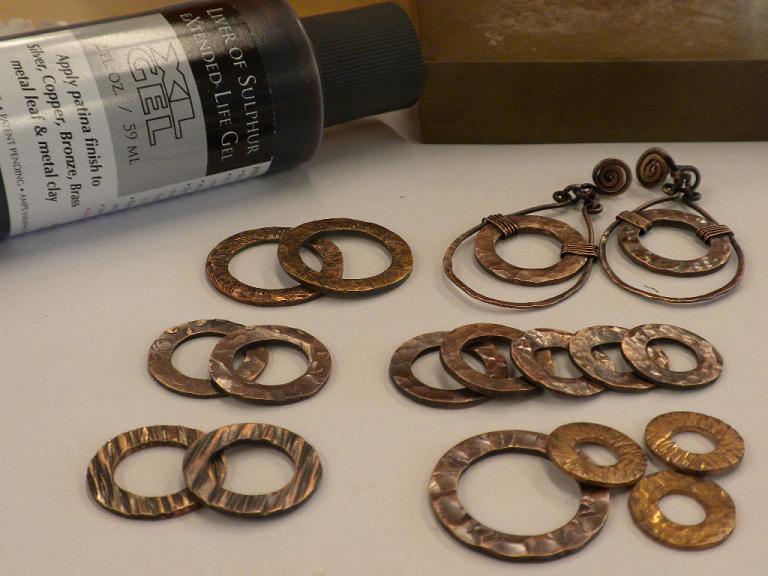
A little liver of sulfur will easily blacken your washers since they are solid copper. These are all the same washers as above!
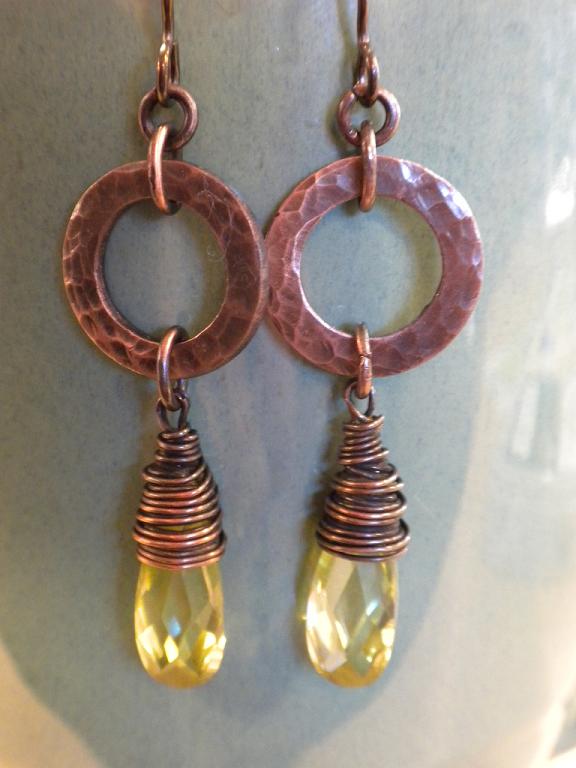
Earrings made with copper washers and cubic zirconia briolettes! I love the new cubic zirconia briolettes that we are carrying!
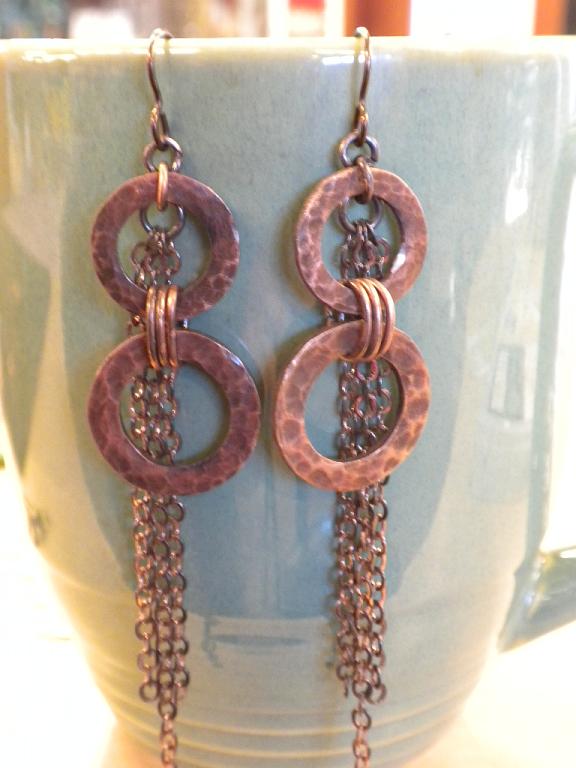
Hammered copper washers with a little chain 🙂
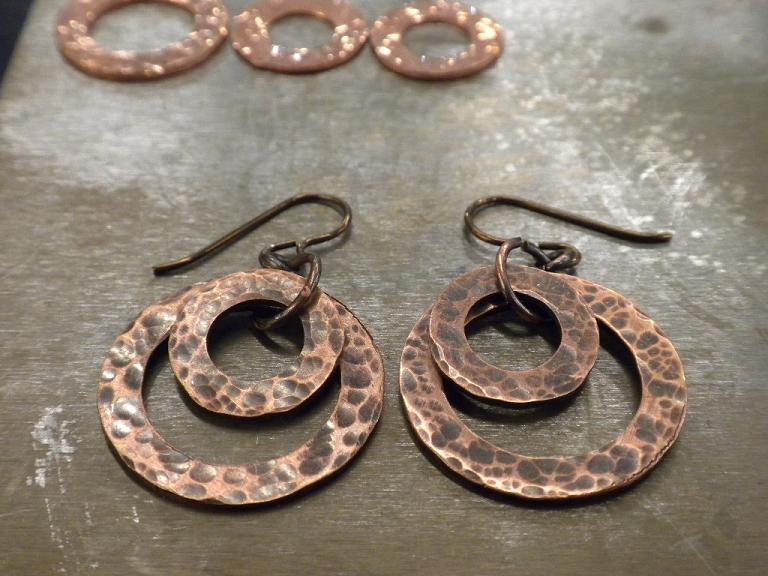
Two sizes of hammered washers, slightly sanded to show off the deep hammering
Well I hope you have enjoyed my washer blog! Please feel free to ask me any questions about the washers, tools or beads that I used. :0
~~Tiffany
Suggested supplies for the designs in this blog:
- Copper Washers
- Liver of Sulfur XL Gel
- Copper Earring Posts
- Copper French Hook Ear Wires
- Raw Copper Wire (14 or 16g and 20 or 22g)
- Cubic Zirconia Briolettes
- 2.8mm Cable Chain
- Assorted Copper Jump Rings and/or Solid Copper Jump Rings
Solid copper jump rings are nice, because it’s great to say that nothing in your design is plated. But they are only available in a few sizes, so I love to have the assorted copper jump ring mix on hand too, because then I always have the right size.


