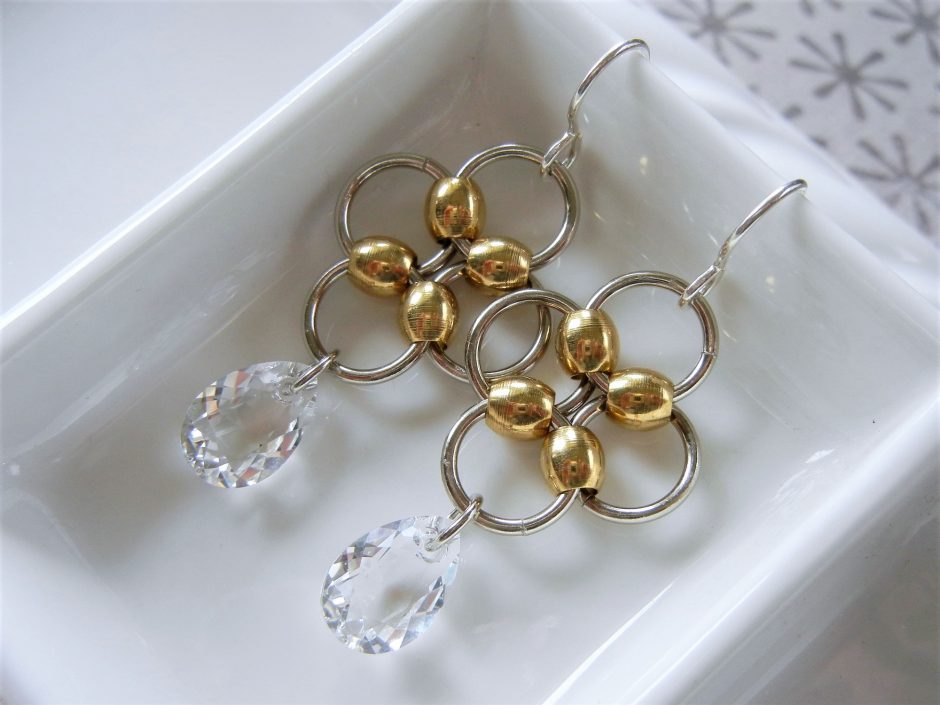
If you love the look of chainmaille, but lack the necessary skills (count me in), then this “beaded-jump-ring” earrings project is just for you. I designed this project with ease of assembly and classic design in mind, resulting in a pair of earrings that look fancy complicated, but aren’t. Plus, the components I selected are available in a myriad of finishes and/or colors, so you can customize this project to your individual preferences. Read on for everything you need to know!
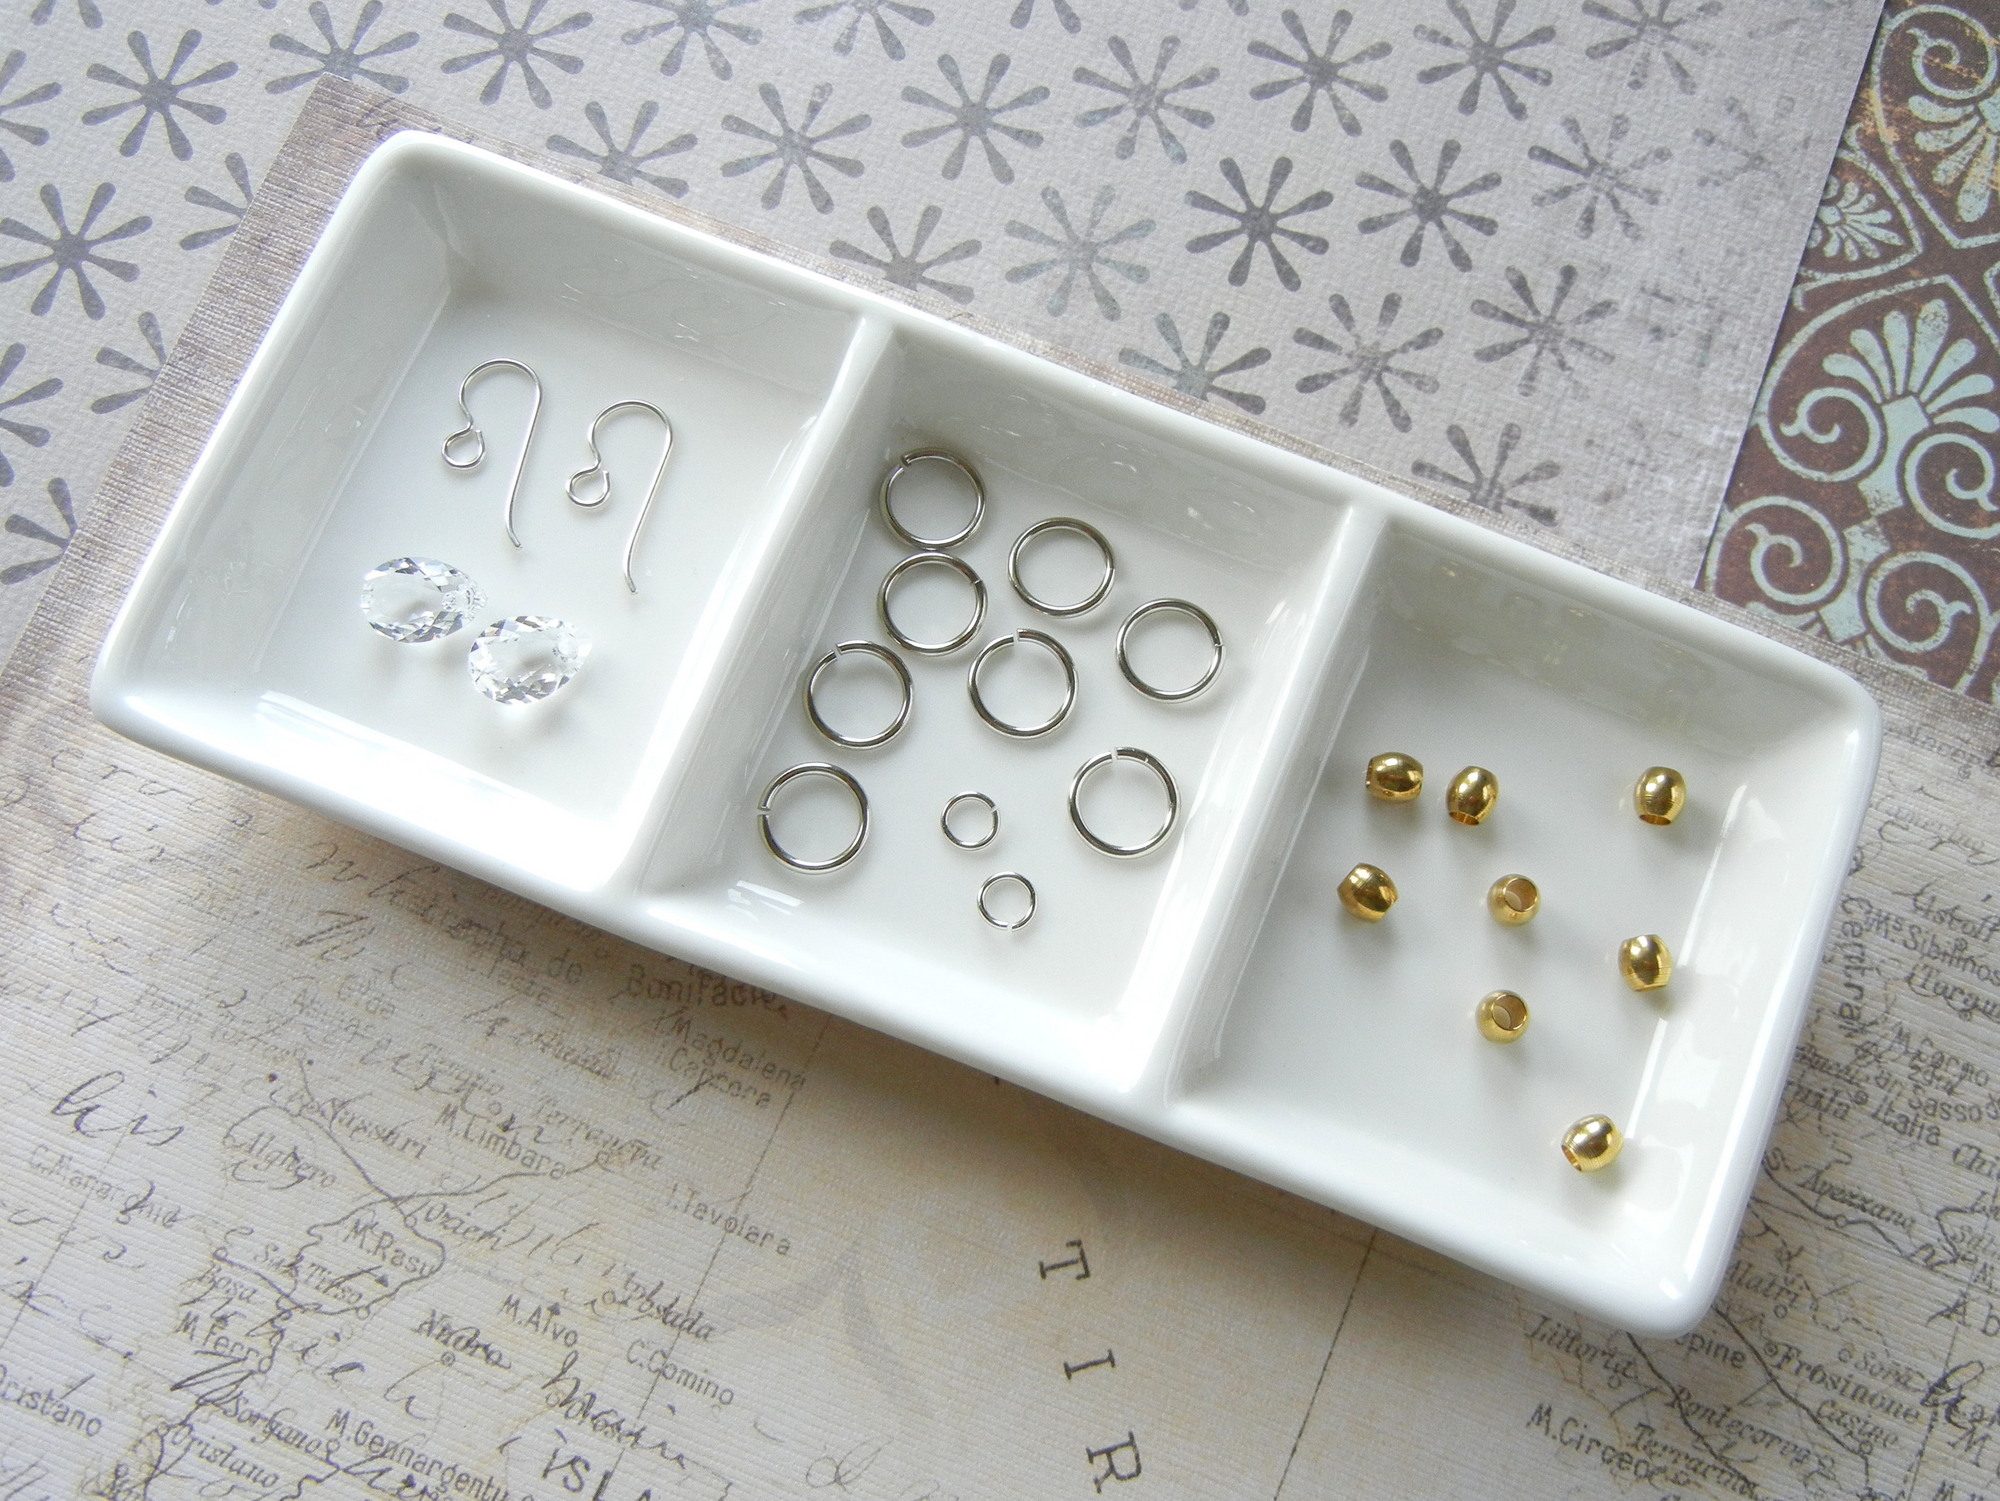
You will need these supplies:
- 8 each 10mm jump rings (I used item # 37-178-1)
- 2 each 5m jump rings (I used item #37-136-1)
- 8 each 5x5mm large-hole metal barrel beads (I used item #26-114-0)
- 2 each 11.5mm Swarovski 6433 Pear Cut Pendant (I used item #06-433-11-01)
- 1 pair French hook ear wire (I used item #34-563-20-SF)
Swarovski 6433 Pear Cut Pendant
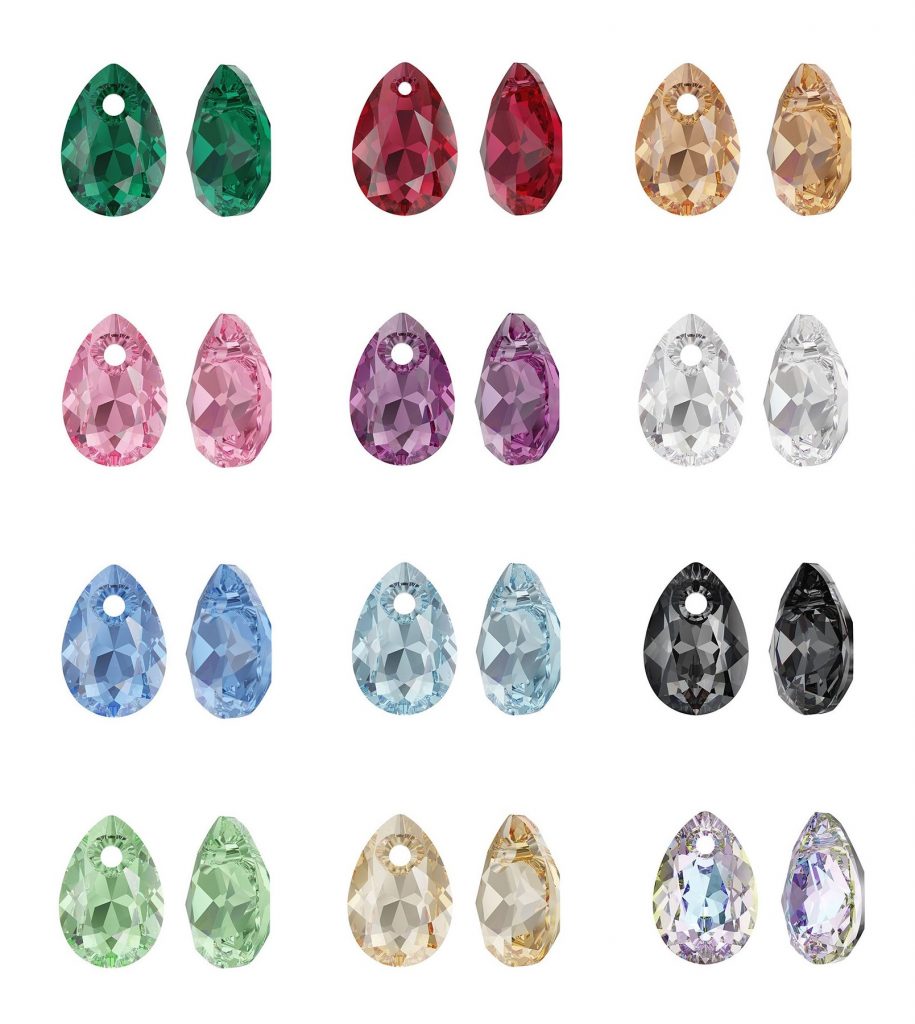
Select your favorite color from these choices and more!
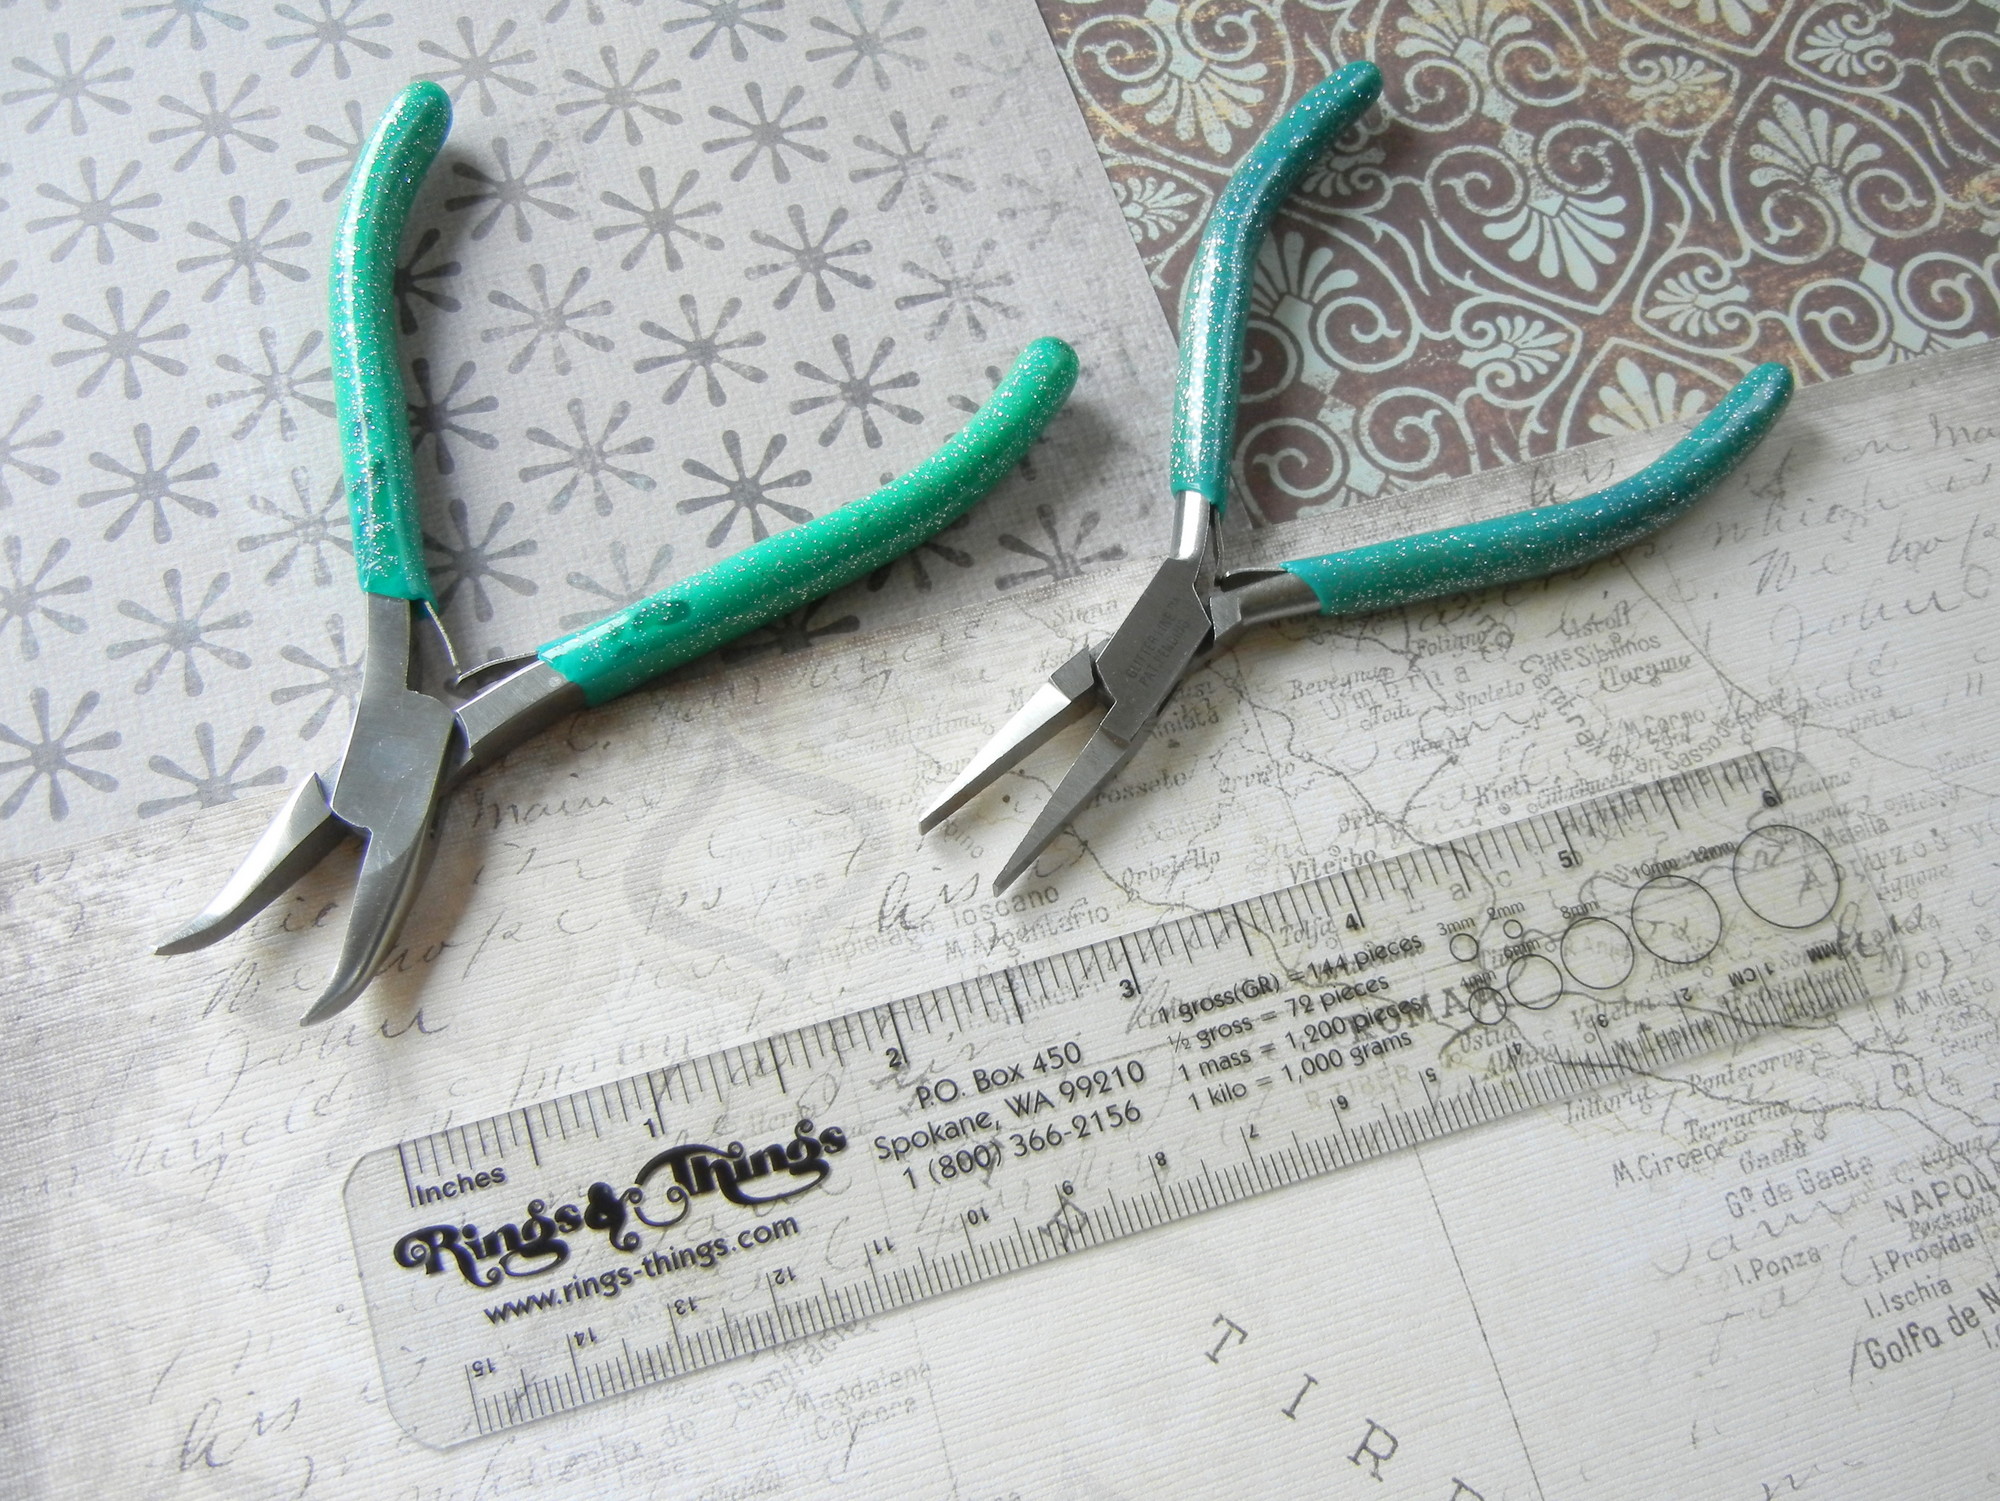
You will need these tools:
- #69-271-06 EURO TOOL Glitter, Bent Chain-Nose Jewelry Pliers
- #69-271-08 EURO TOOL Glitter, Flat-Nose Jewelry Pliers
Follow these steps:
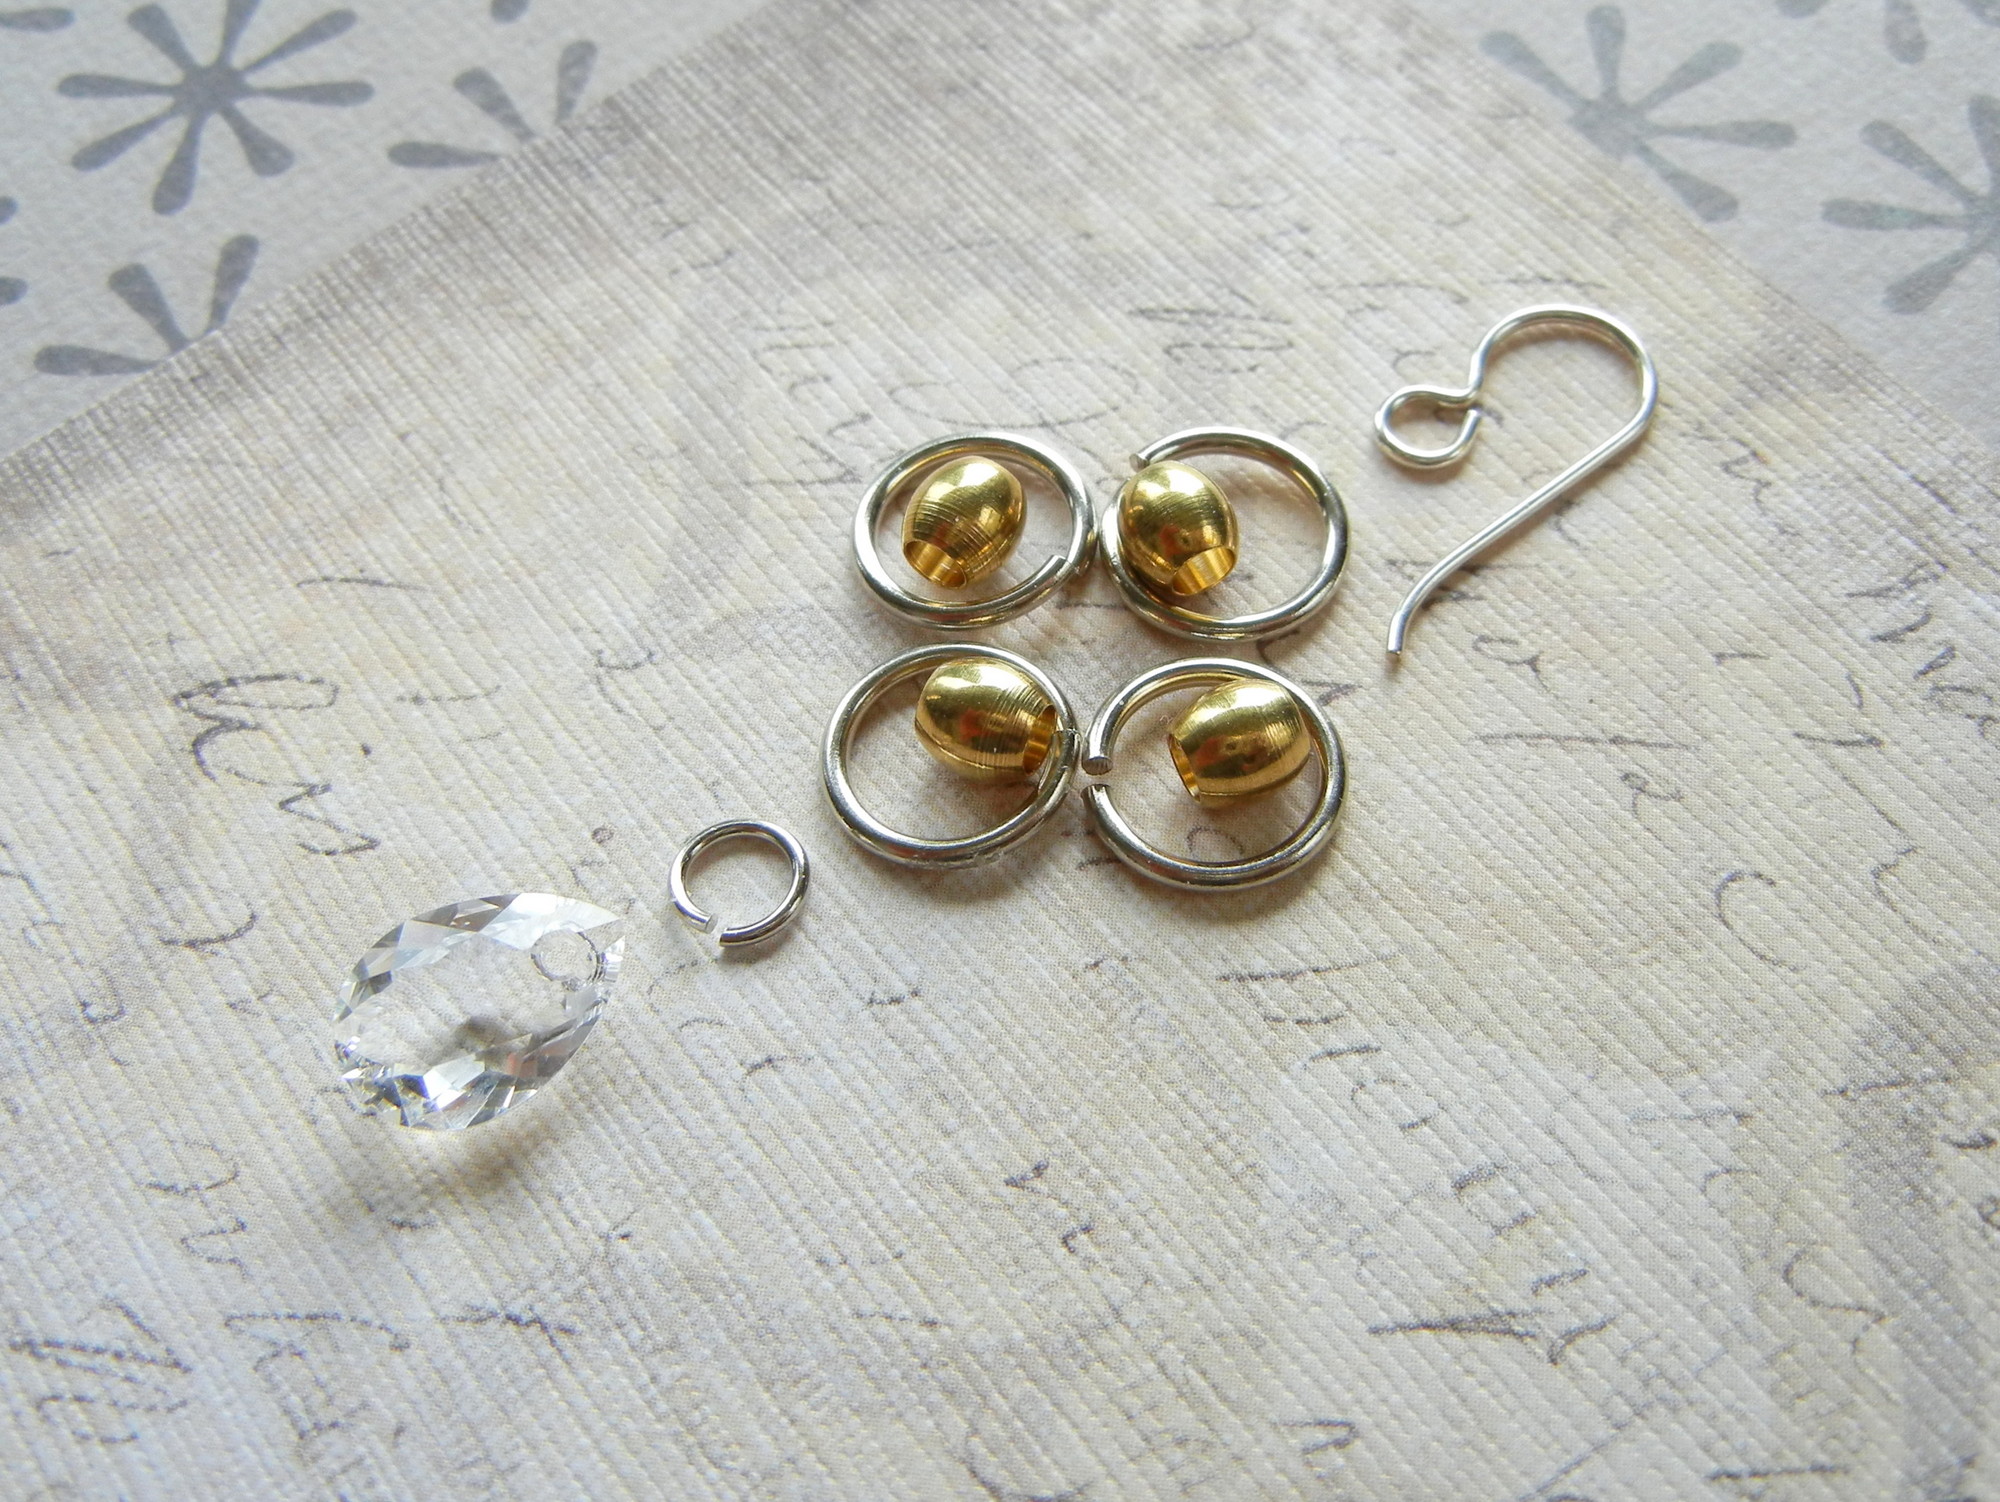
Lay out the jewelry components in order of assembly. Components include an ear wire, four large jump rings, four large-hole beads, a small jump ring, and a pear cut crystal pendant.
If you have never used jump rings, here is a quick helpful how-to!
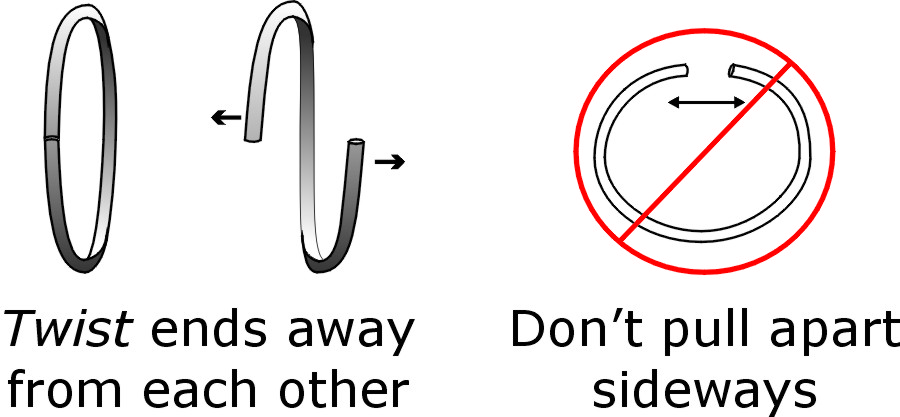
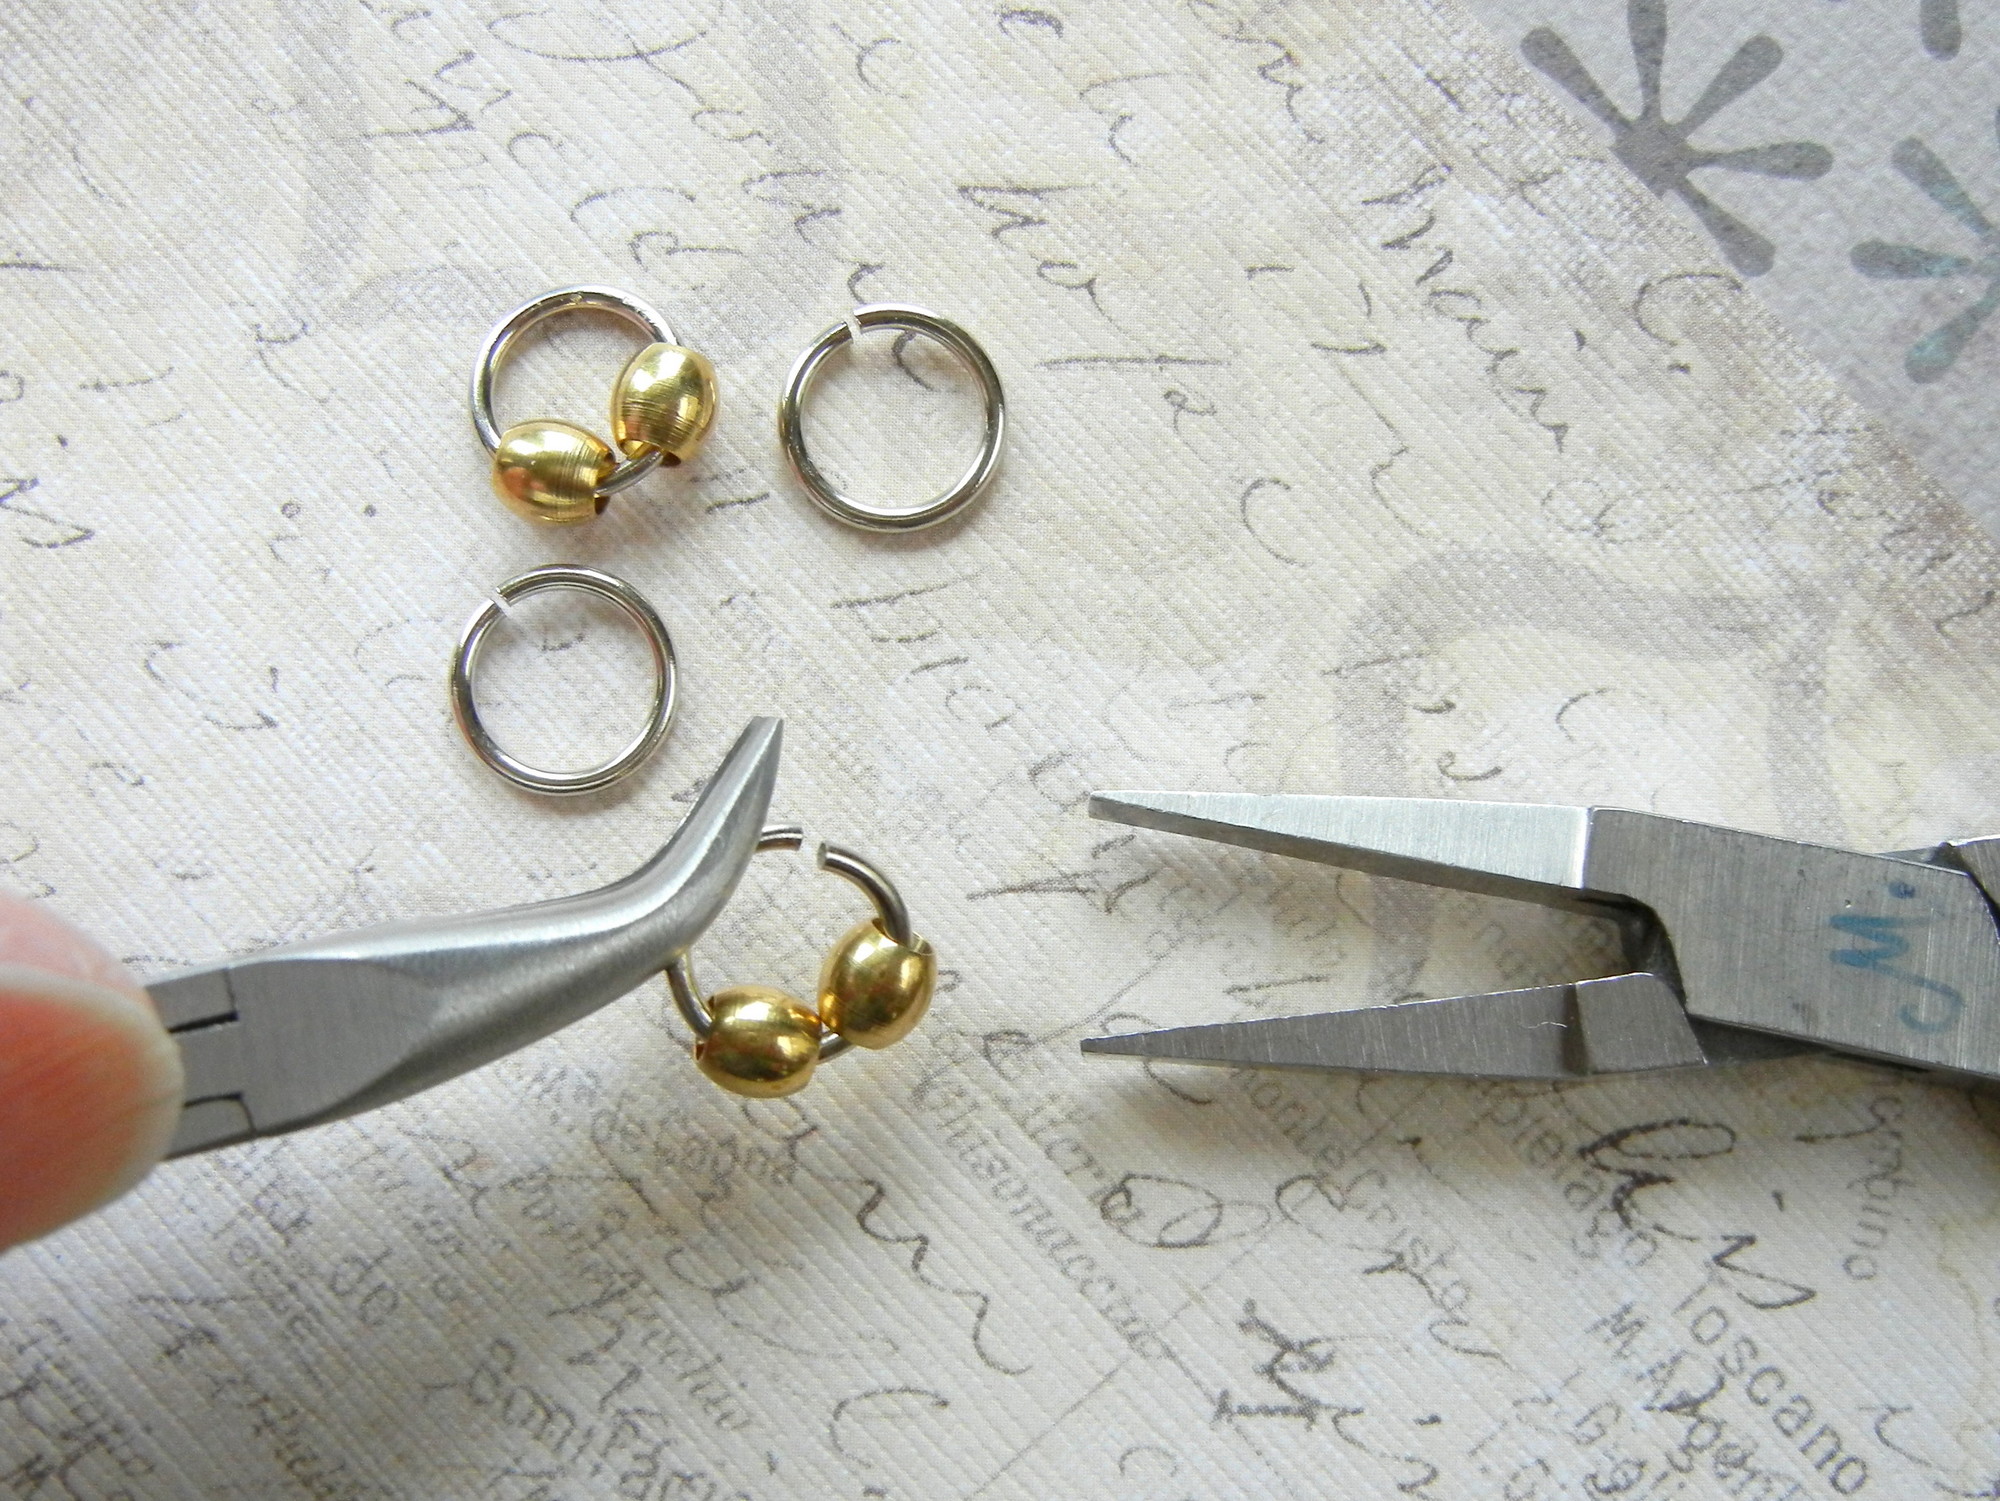
Twist open a 10mm jump ring and add two beads; then twist the jump ring closed. Repeat this step with a second jump ring and two more beads.
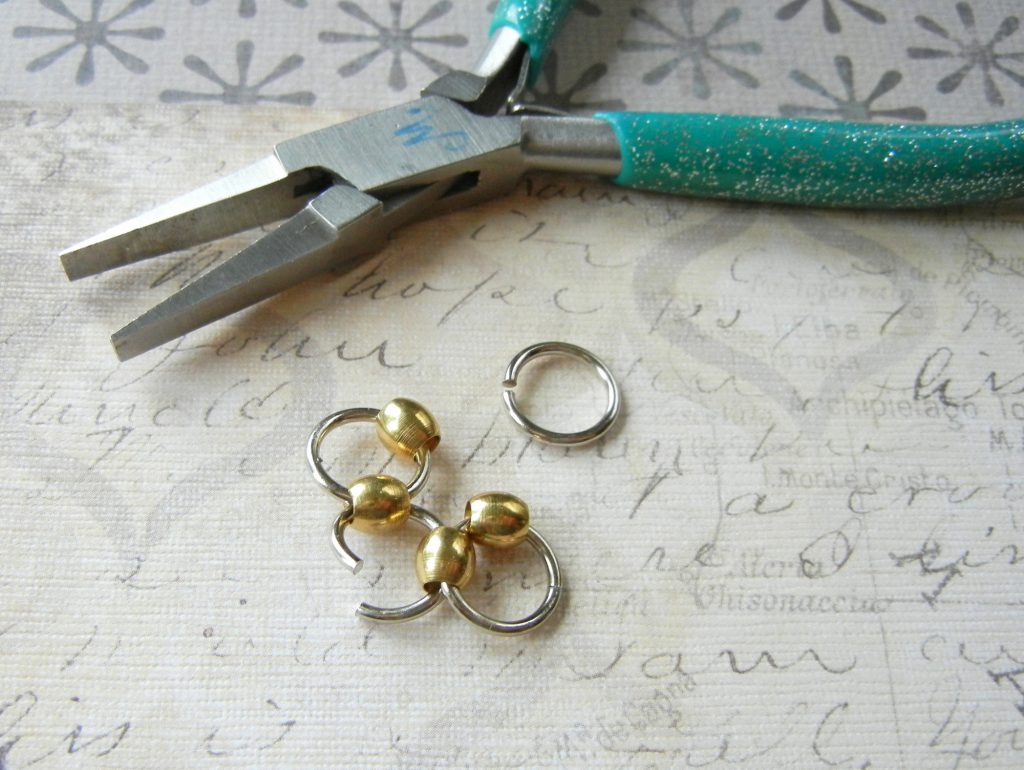
On your work surface, position the two beaded jump rings opposite each other. Twist open a third jump ring and string it through a single bead on each beaded jump ring.
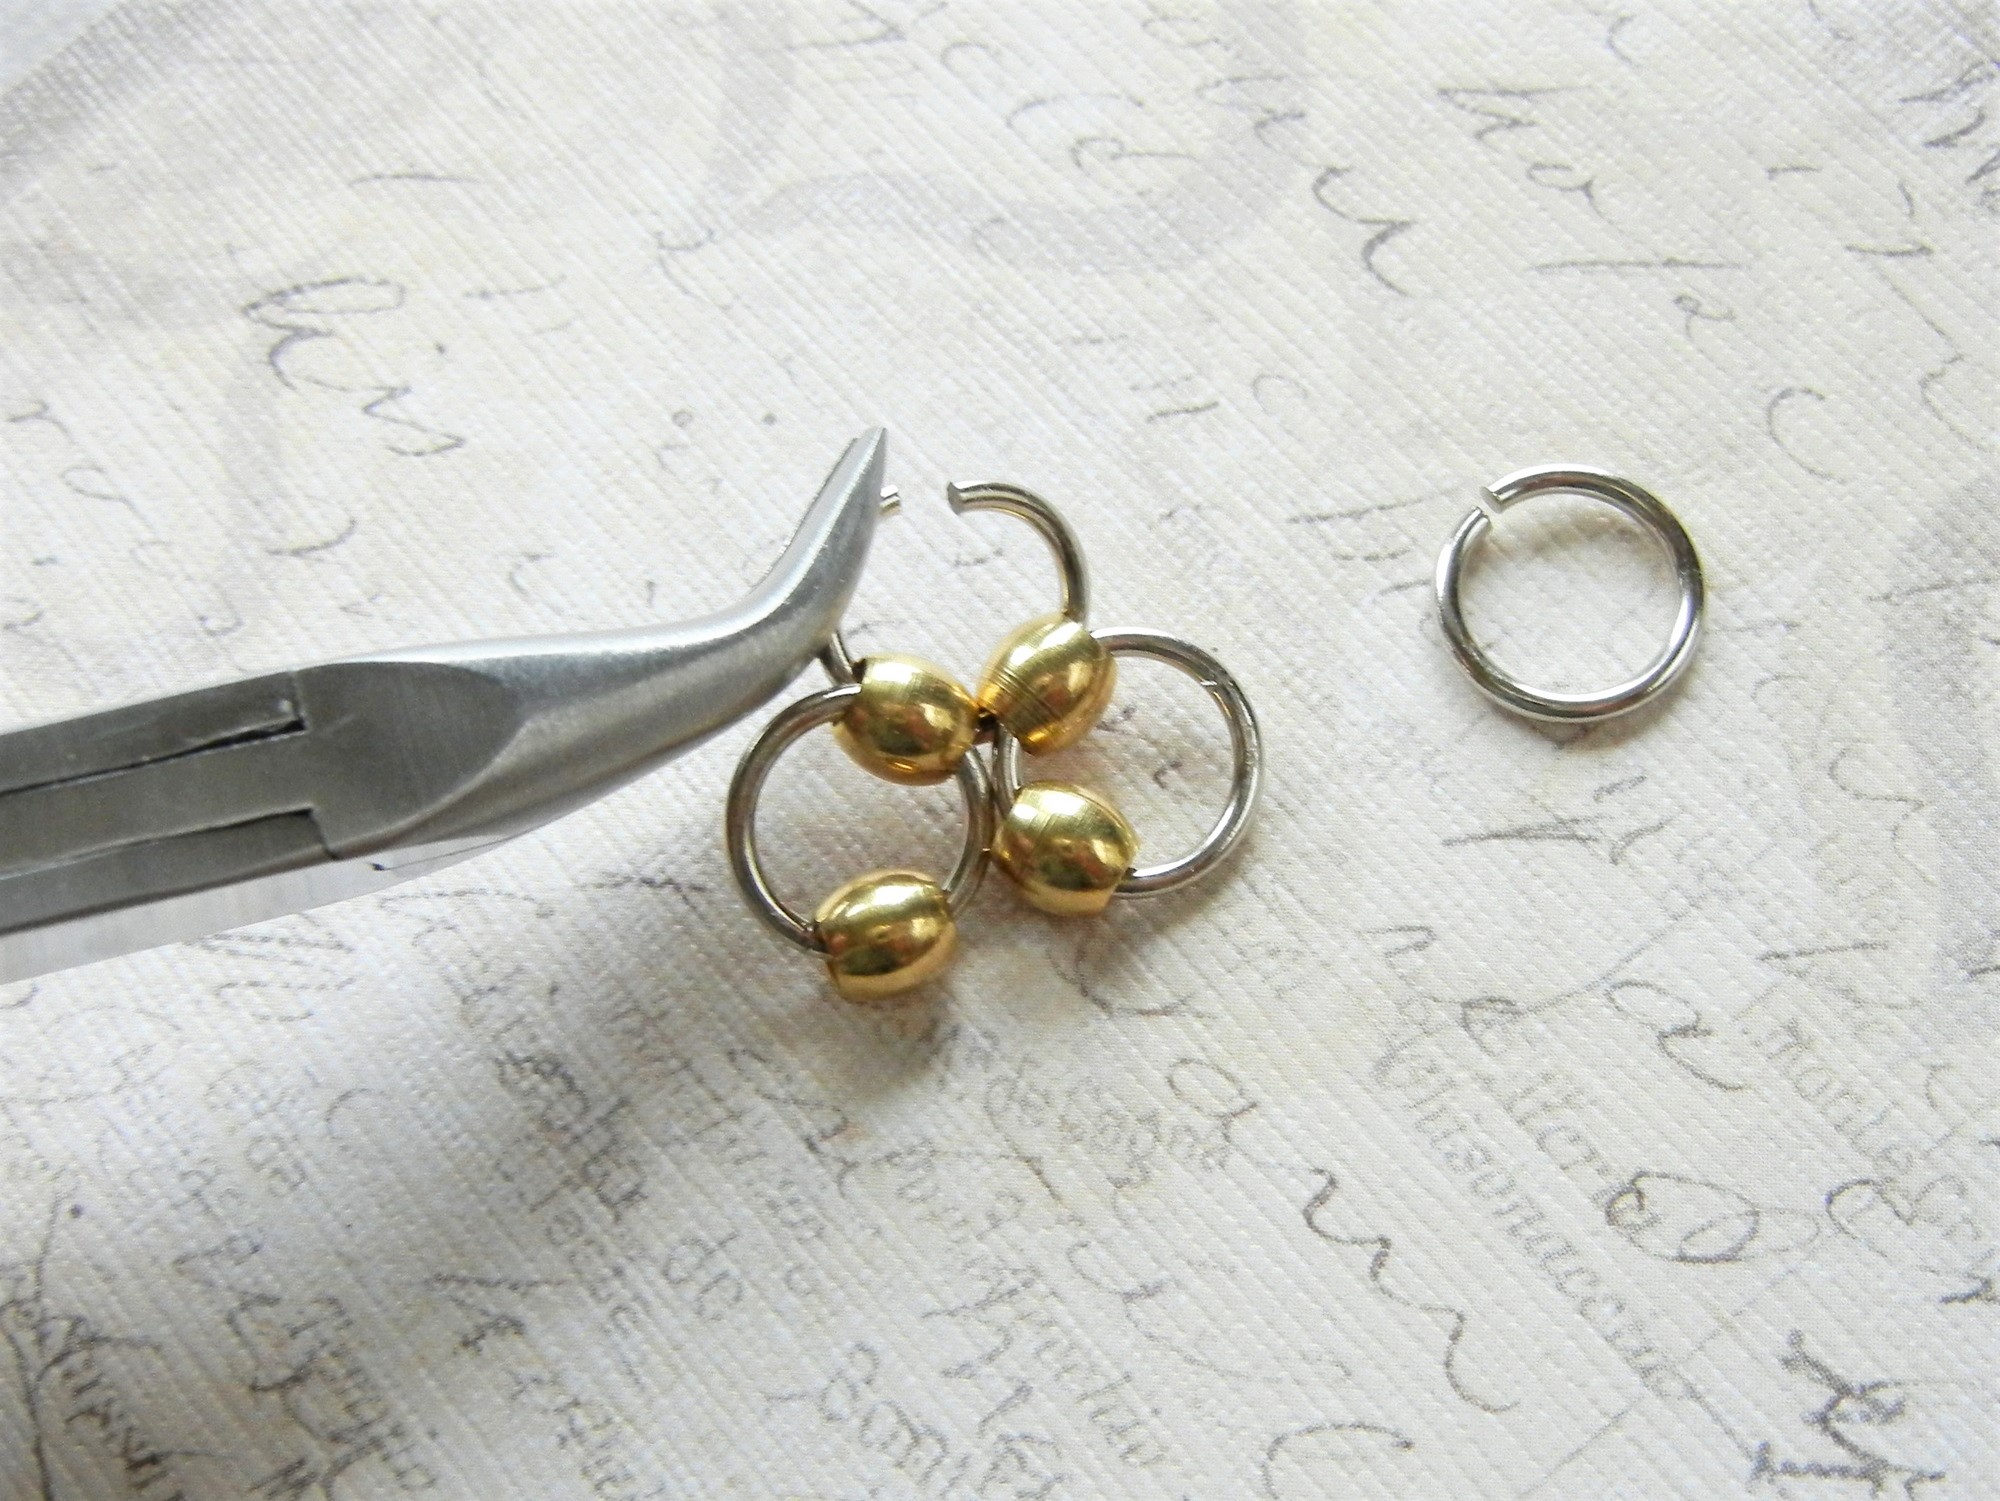
Twist the third jump ring closed.
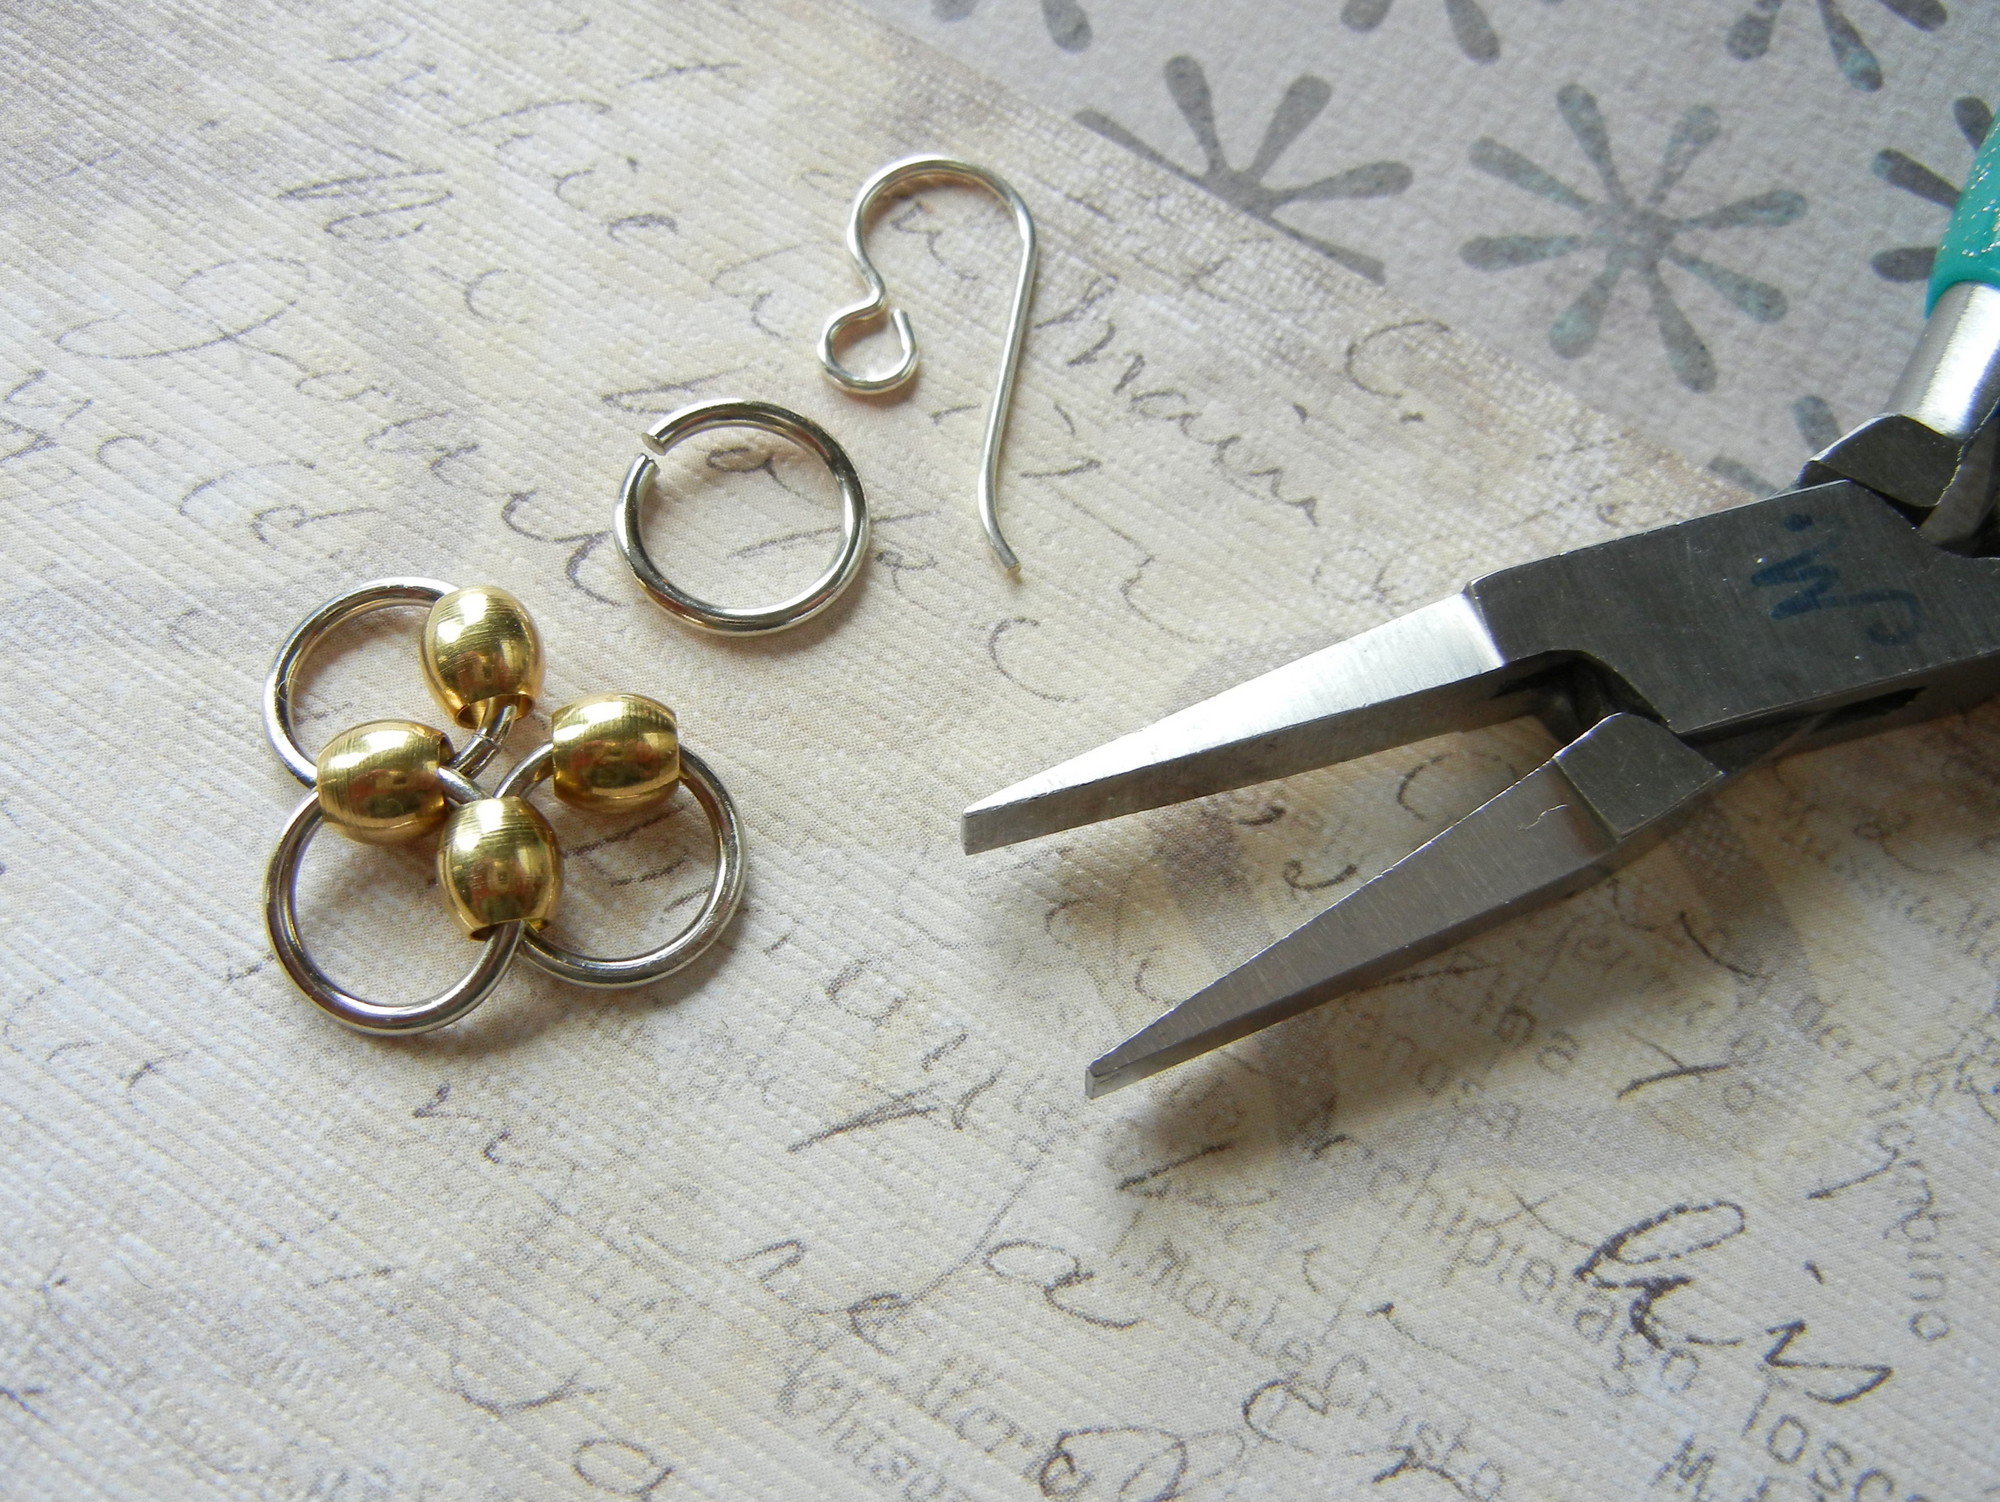
Position the three-jump-ring-and-bead cluster on your work surface. Twist open a fourth jump ring and string it through the two single available beads.
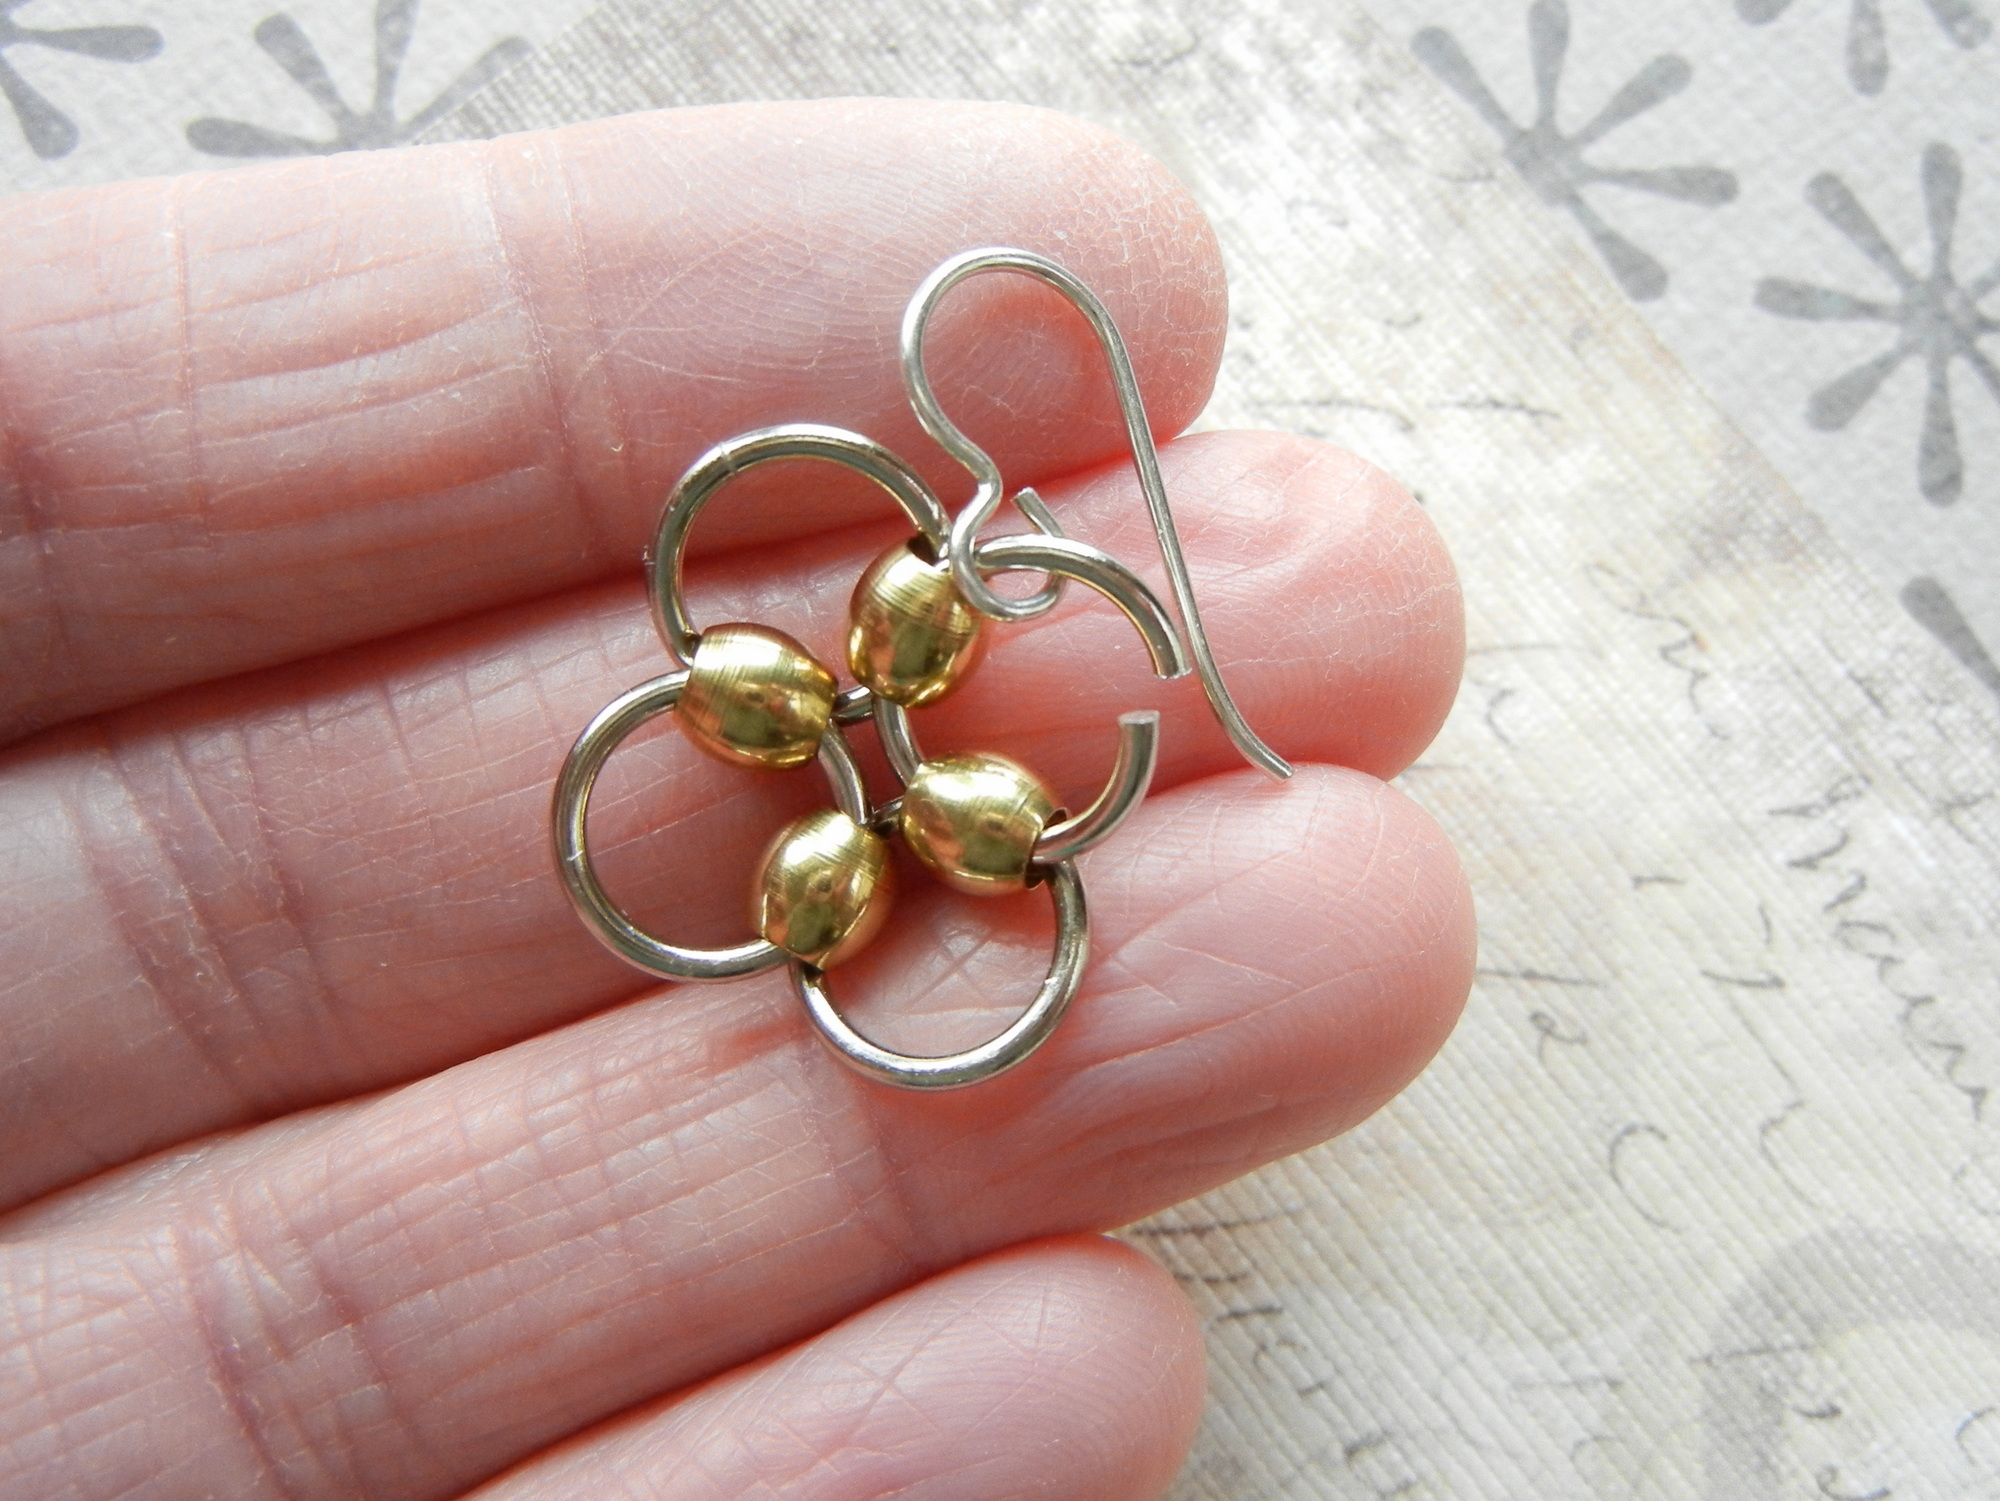
String the French wire earring hook onto the open jump ring.
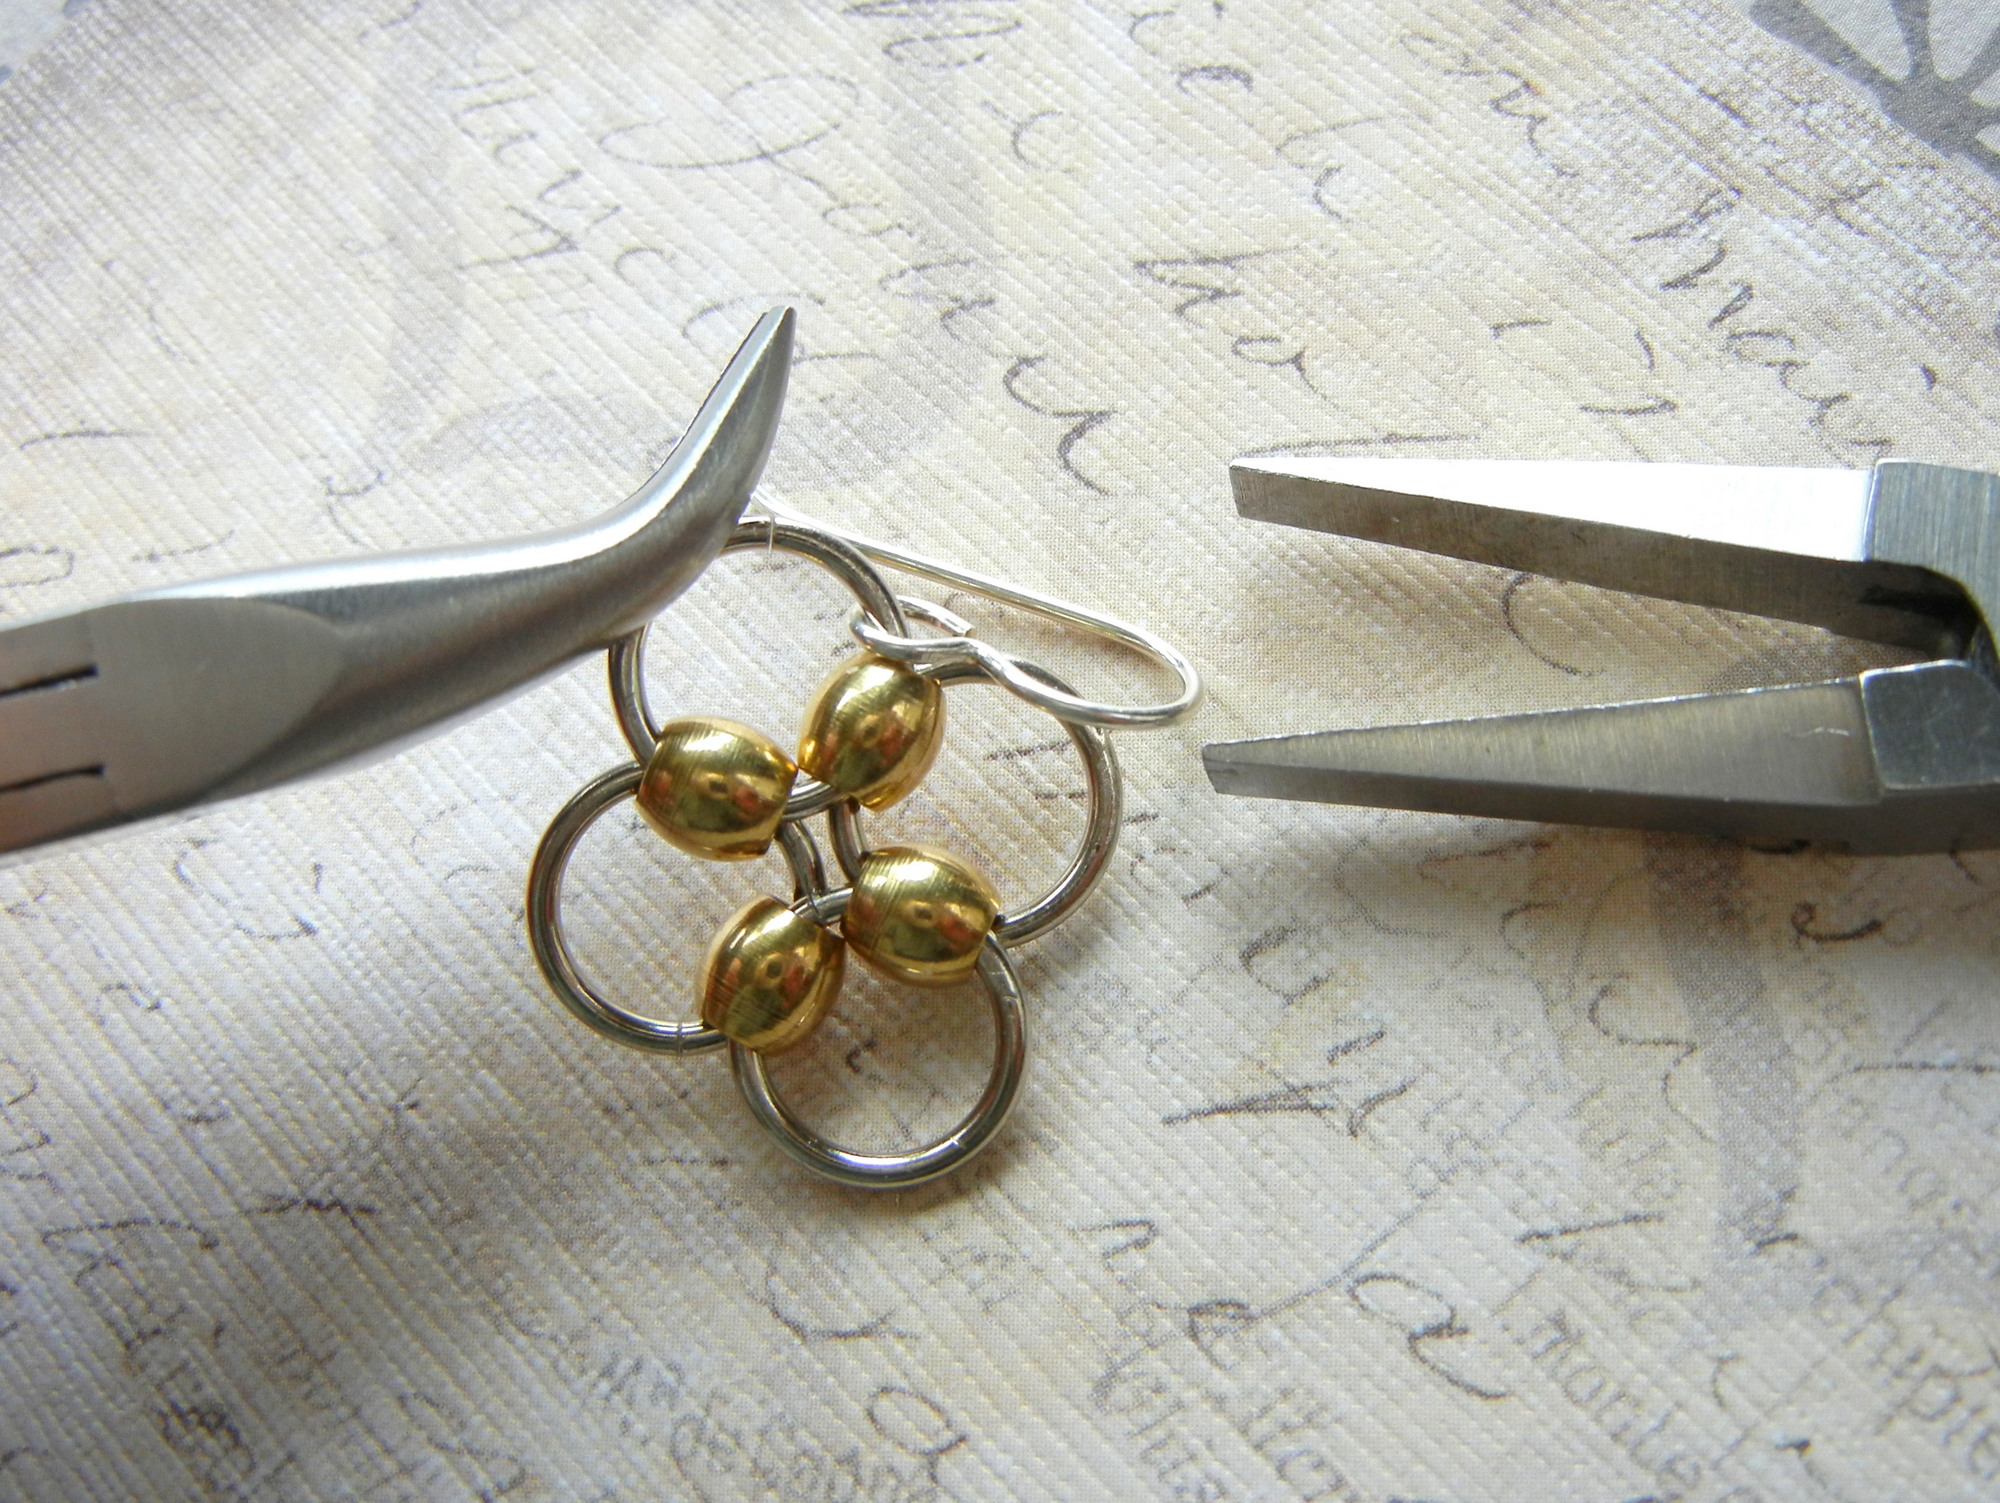
Twist the fourth jump ring closed.
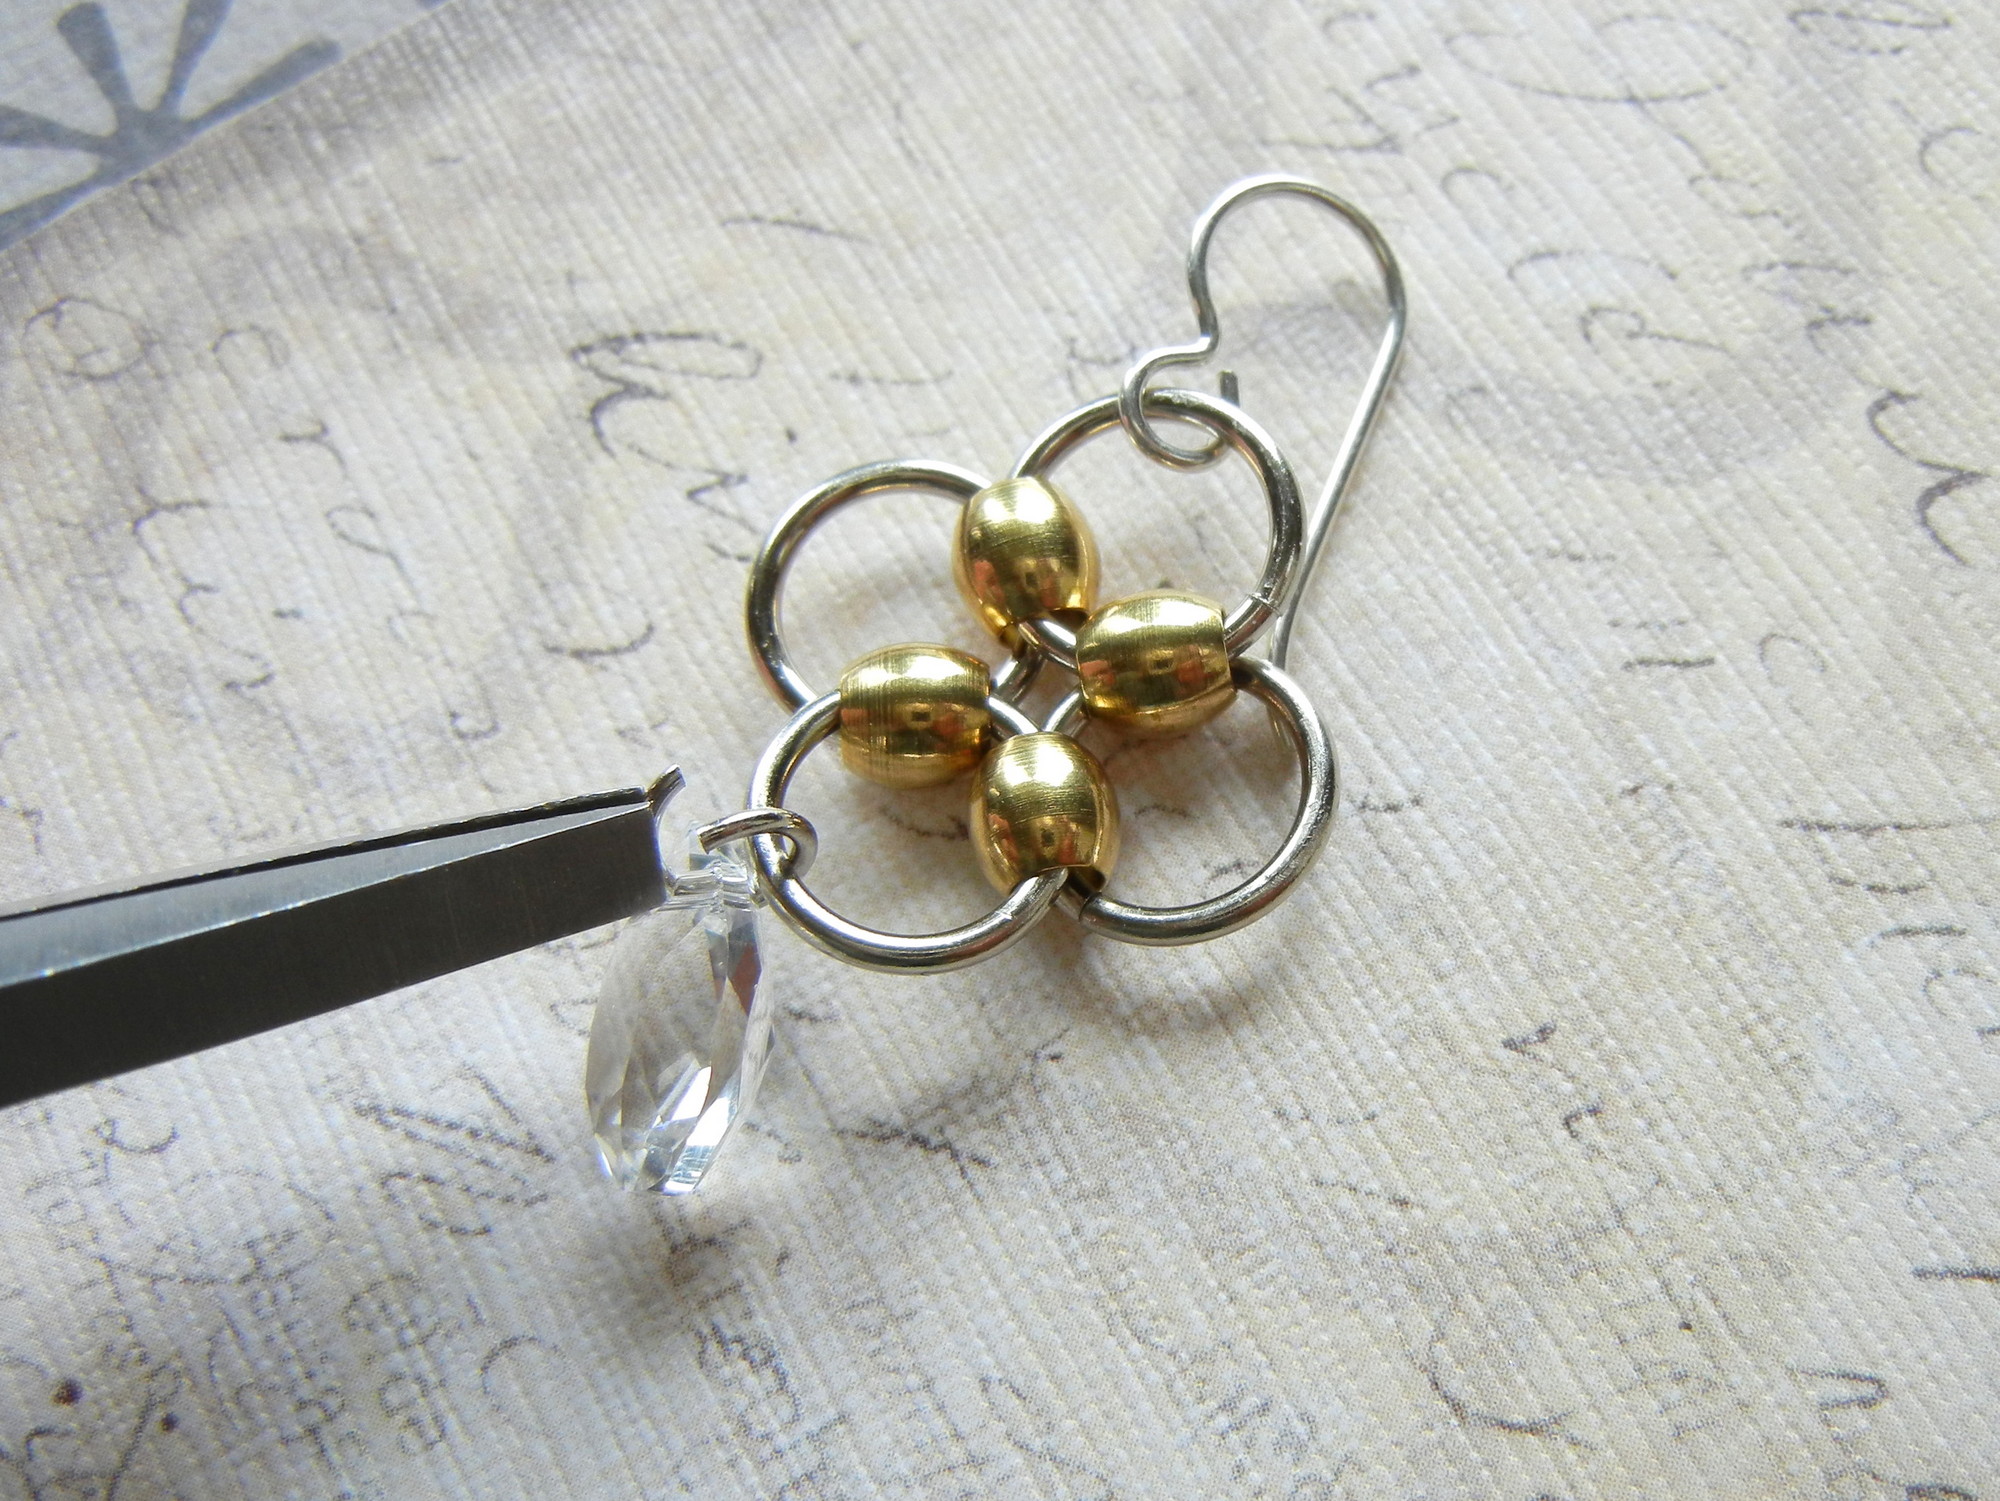
Twist open a 5mm jump ring and string on a crystal pear cut pendant. Attach the crystal pendant to the bottom of the chainmaille-style adornment with the flat “table” side of the pendant facing forward. Then twist the jump ring securely closed.
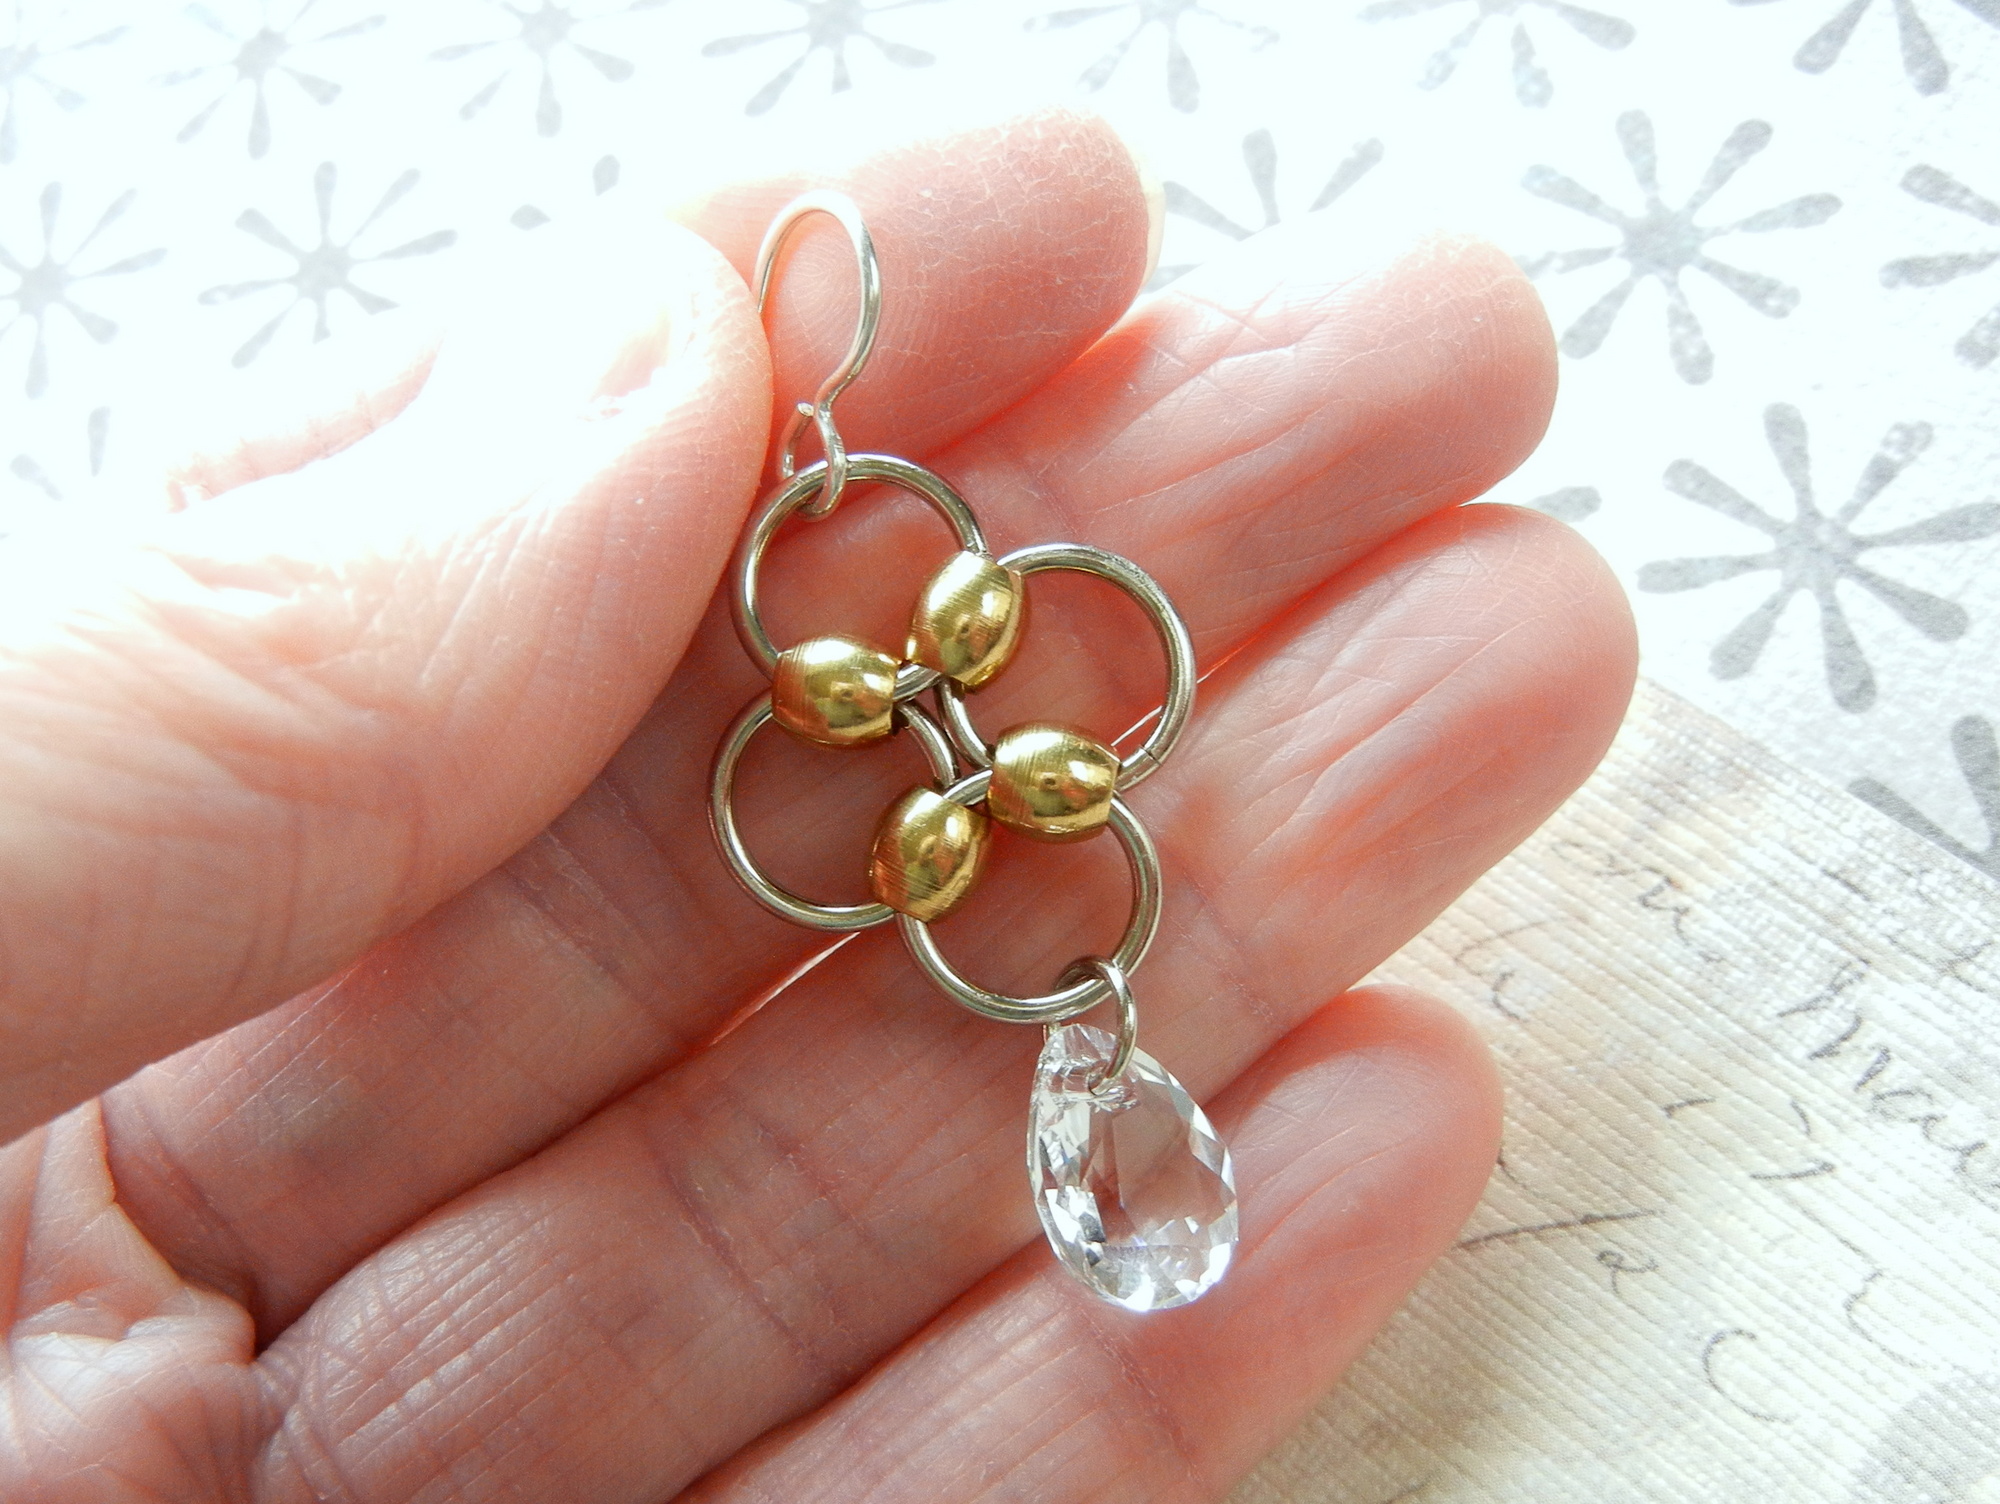
The first earring is completed.
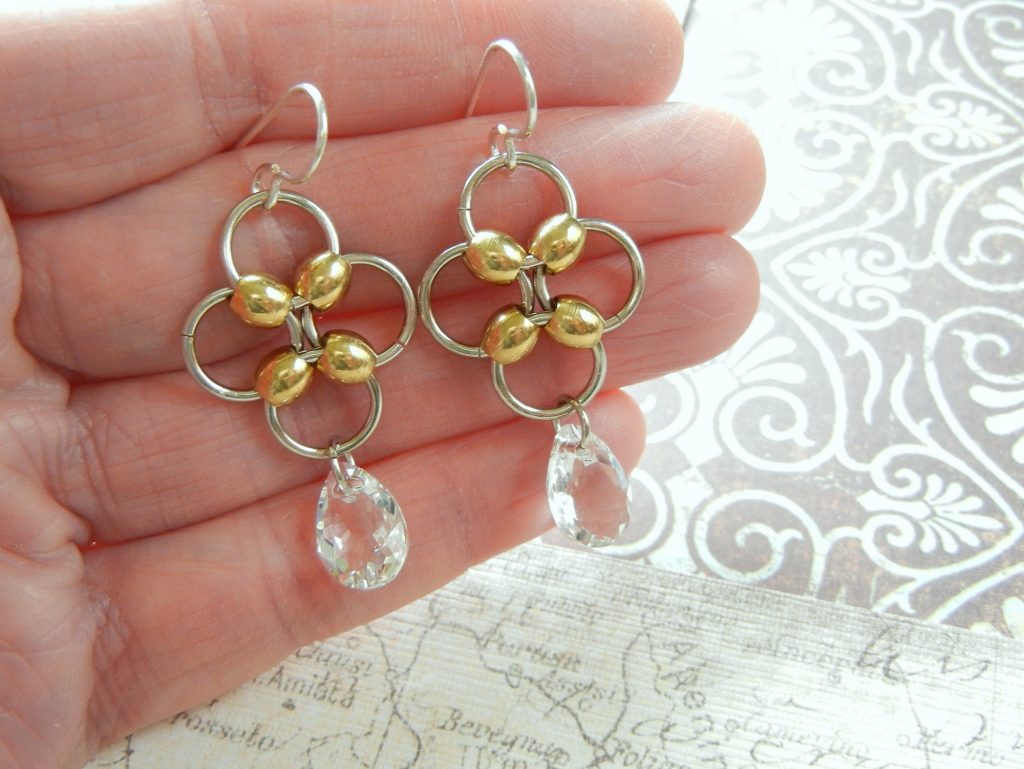
Repeat the steps to make a second earring.
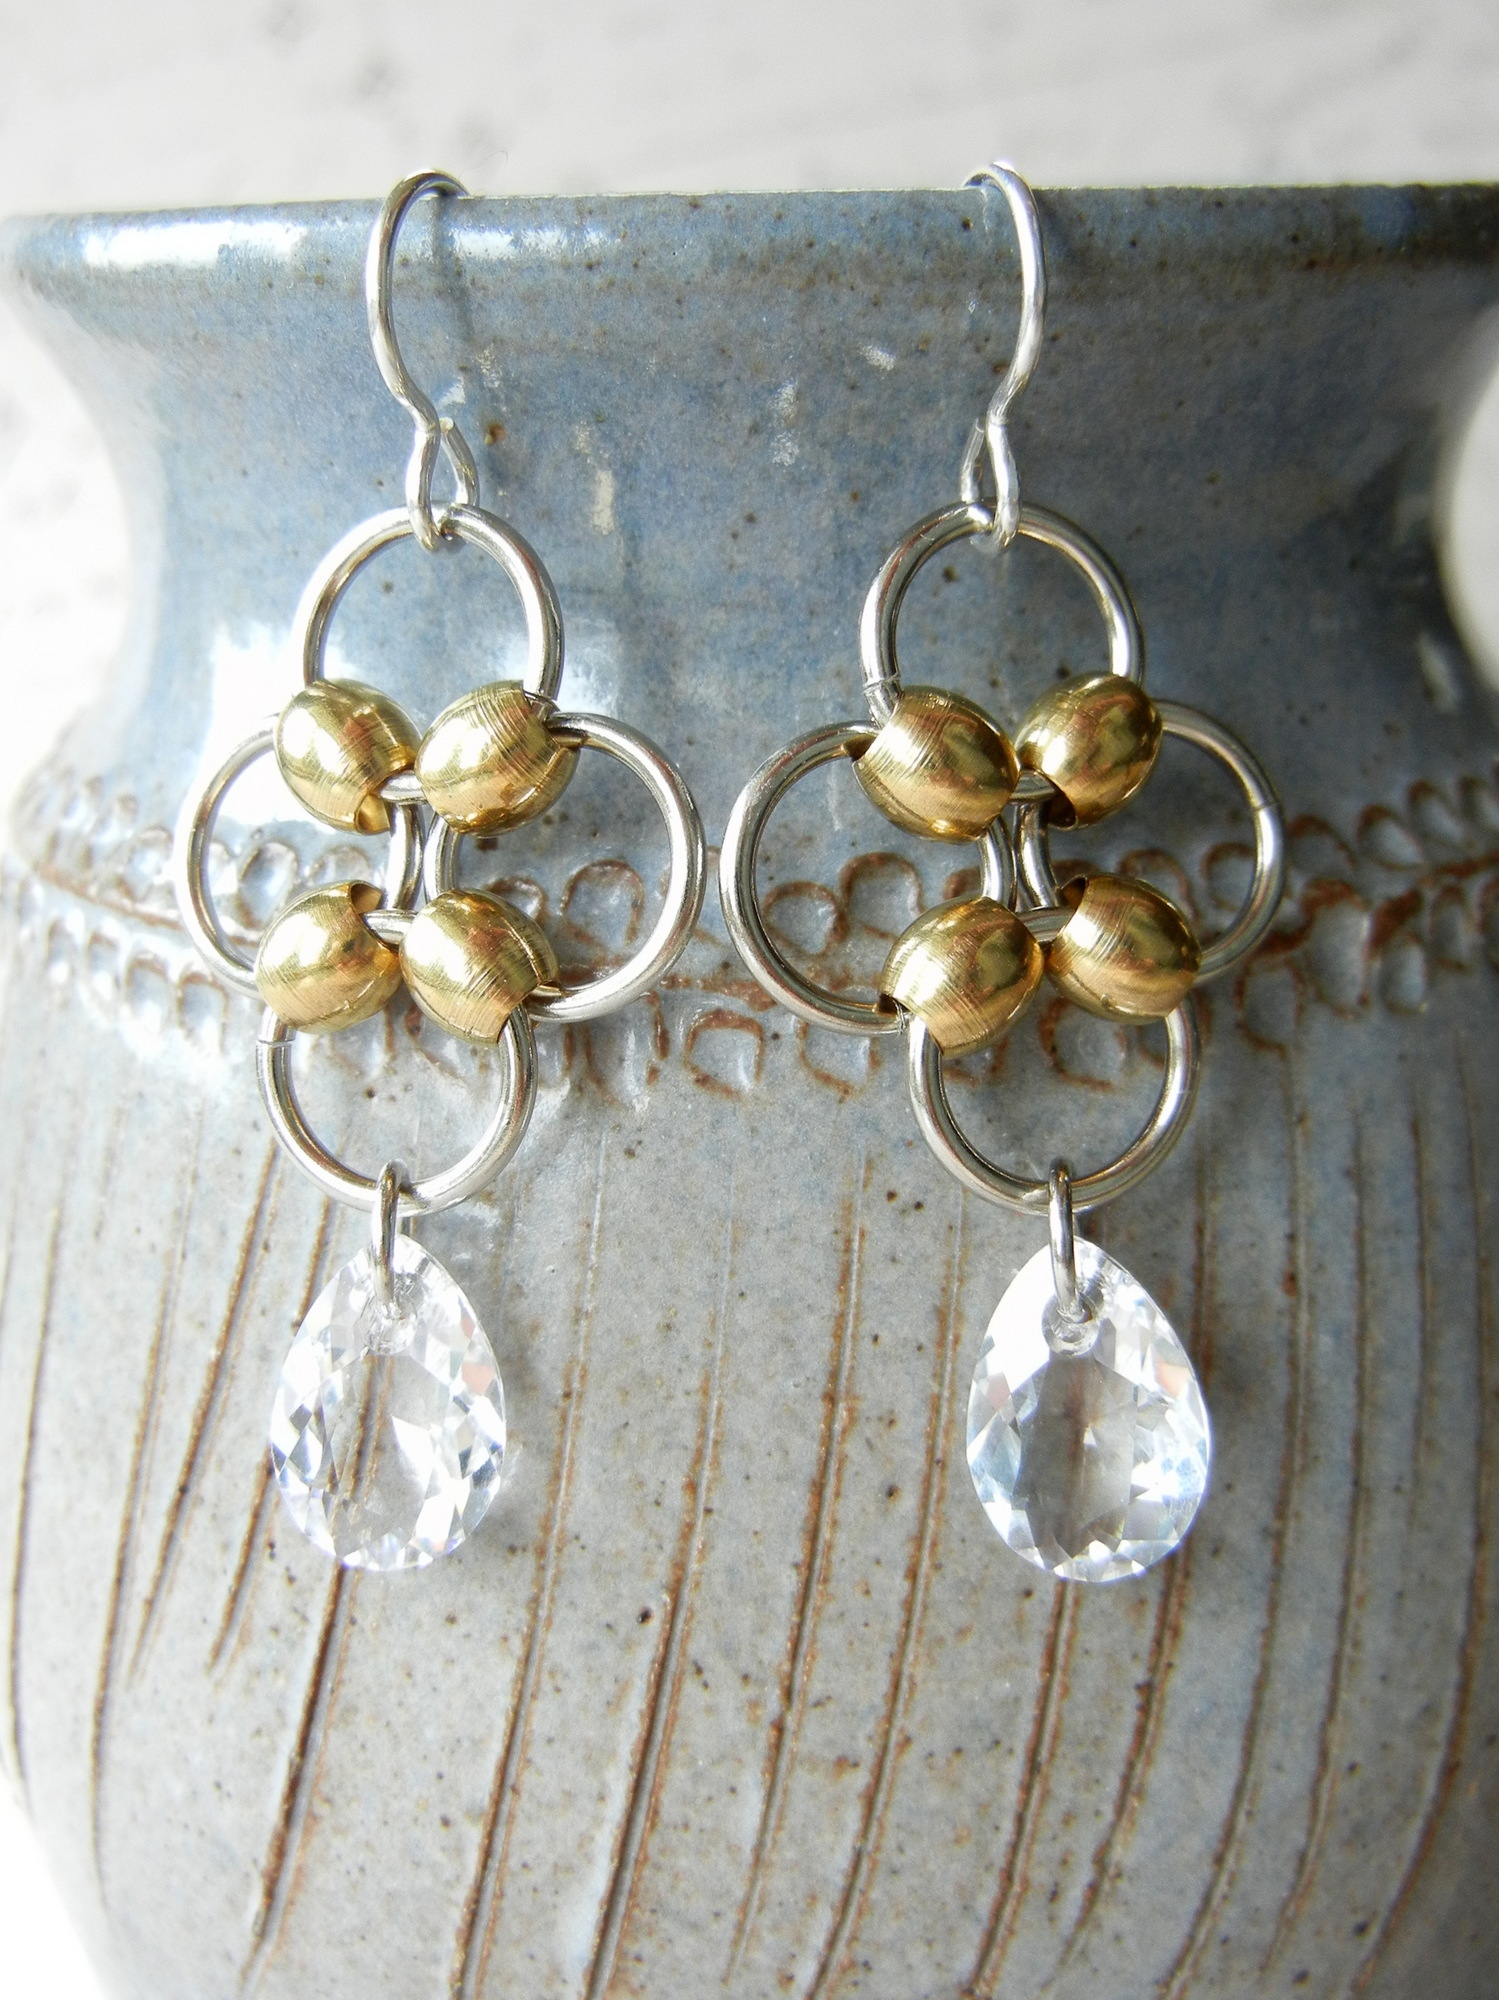
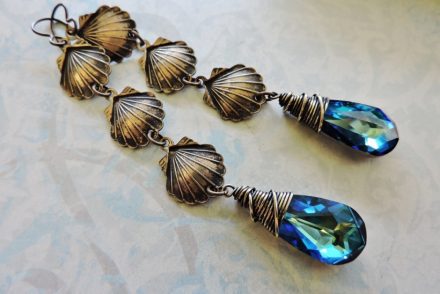
“I Wish It Would Rain” Earrings by Rings & Things designer Mollie Valente.
.~***~.
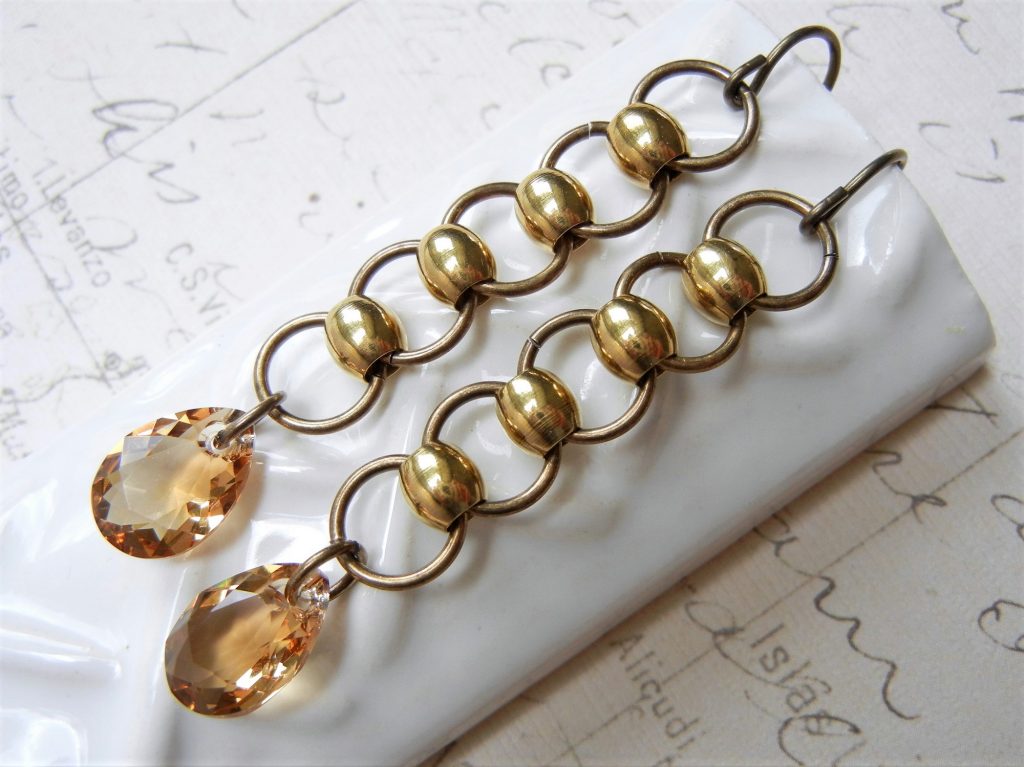
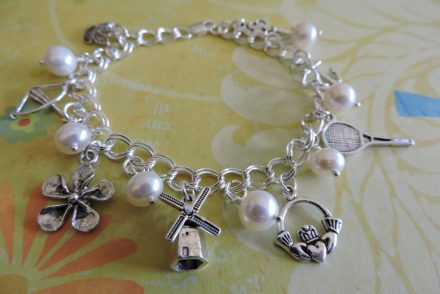
“Sweeter than Honey” Earrings by Rings & Things designer Mollie Valente.
I loved the “chainmaille-style” earrings project so much that I made a second version using similar components. For a complete supply list and assembly instructions, visit the Rings & Things Design Gallery .
Make things,
Mollie


2 Comments
These earrings are really easy to work up and look so very good. If you sell jewelry, they are quick and easy and inexpensive to make. I made 6 pairs up in a very short time and I used clear crystal drop. A black drop would make it so nice and classy for evening wear. You could use other beads as drop. I think a petal bead would look lovely. You wont go wrong with these.
looking forward to trying these…looks very simple and wow the things you can dangle from them..thanks for the idea. just ordered.