Browsing Category

New products

Wubbers Wire-Looping Pliers – and more

June 17, 2011

Hello bloglandia! There was a “hit” product at last week’s Bead & Button show in Milwaukee: the new wire-looping pliers from Wubbers. Our booth sold out – then our website sold out! Wow. It was “wub – twue wub.” We just got more in stock, but they could be gone soon!

Continue Reading…

Product spotlight – new large-hole metal beads

June 1, 2011

bazillion new metal beads in our online store! Most of them have large holes, too – perfect for all the leather and Pandora-style jewelry that is so popular these days.
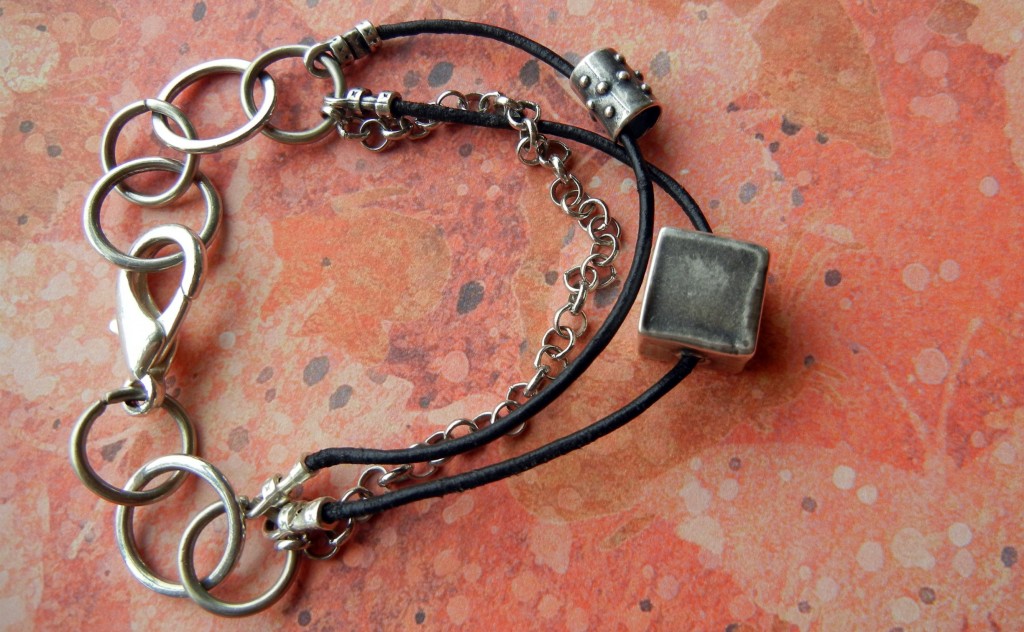
Toni’s bracelet design allows the cube bead to make a statement.

Whether you prefer antiqued silver, antiqued brass or antiqued copper in your jewelry designs, there are tons of new bead options with strong geometric shapes, fancy details and great textures. A few of my favorites include:

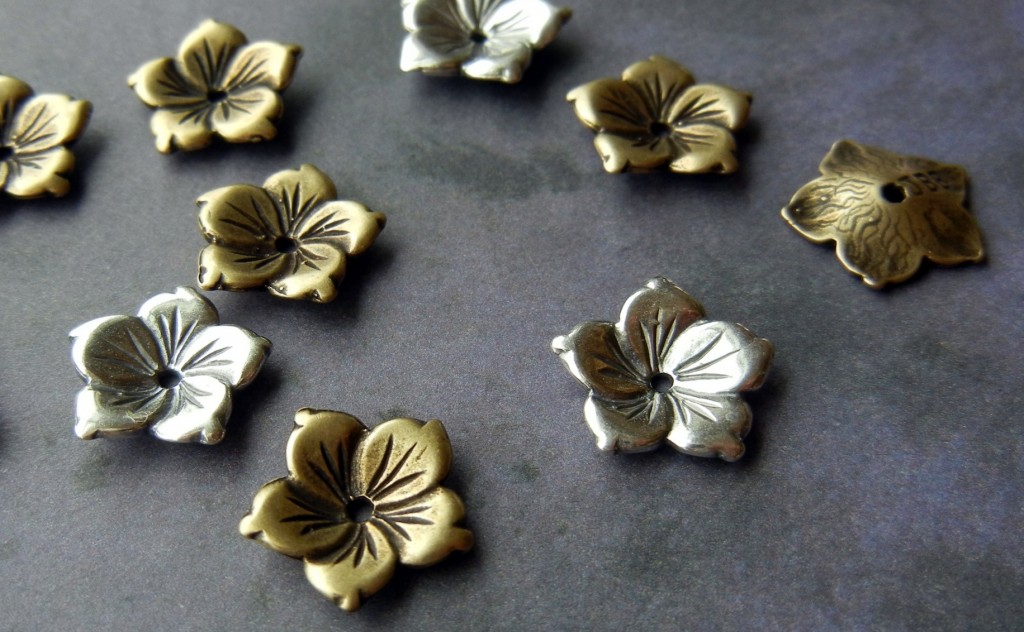
New summery flower beads in antiqued brass and silver.

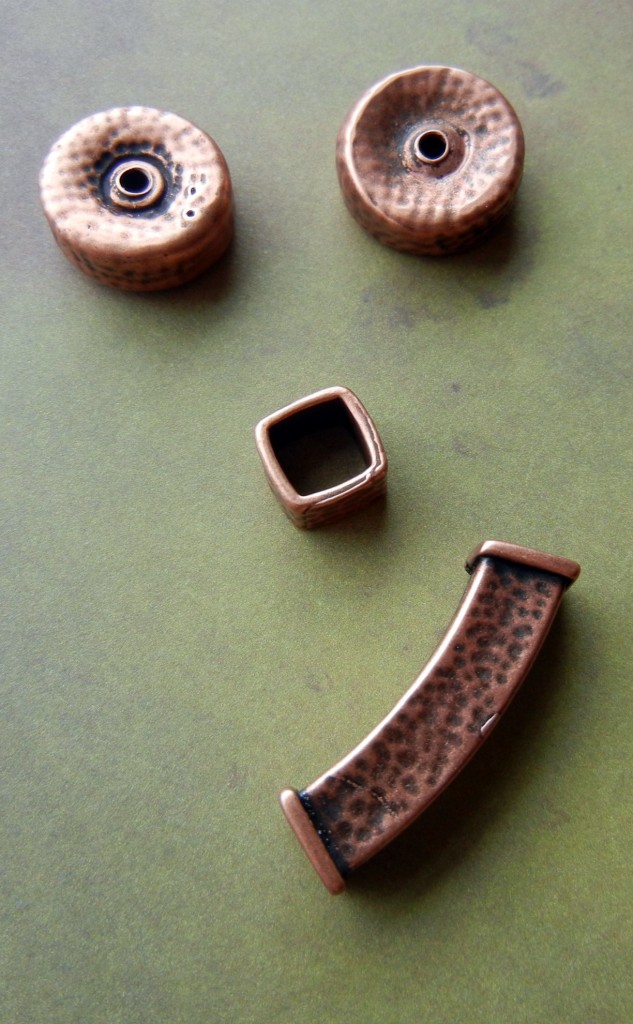
Hollow metal barrel beads that remind me of Donkey Kong!

Tube beads and other unique shapes with hammered texture.

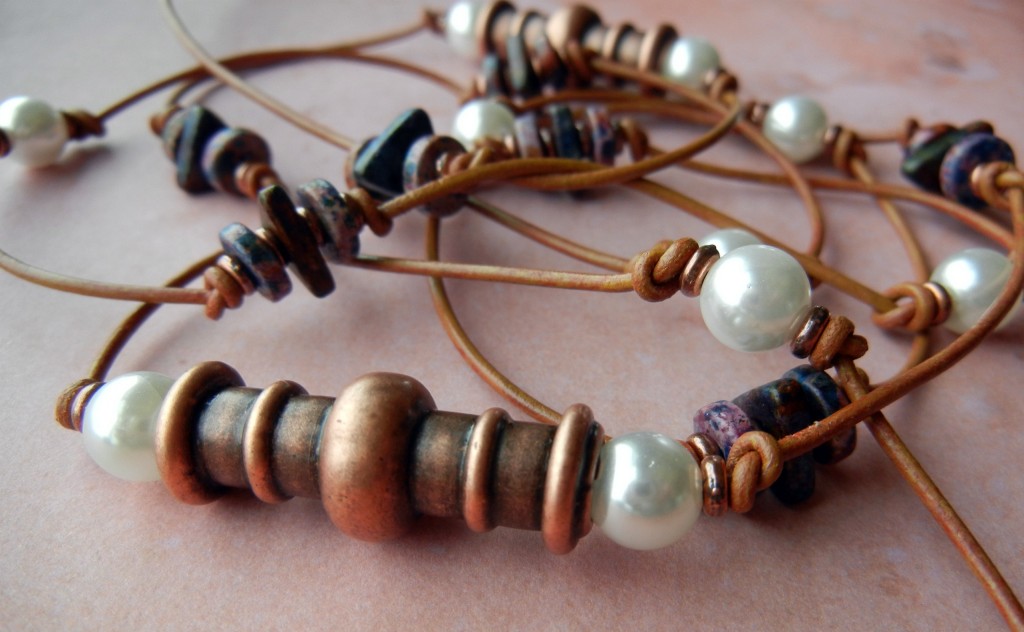
I don’t know exactly what this will end up being, but these chunky tube beads told me they wanted to be strung on leather with our new larger-hole shell pearls. We shall see!

The future of this piece is a mystery at this point!

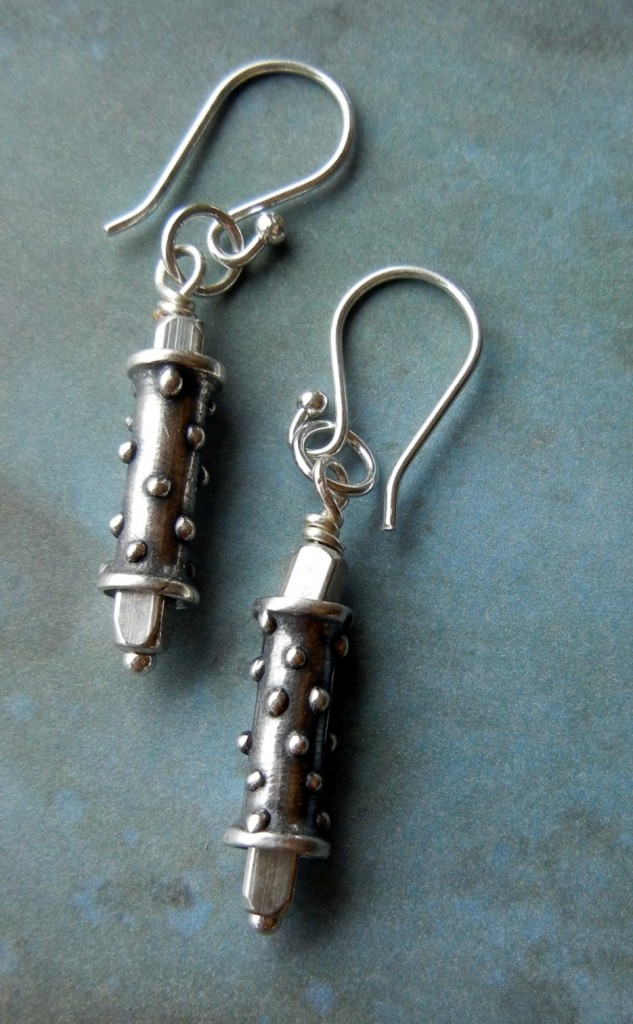
Finally, here are a pair of earrings Toni made. What a great go-with-everything design! For variety, it would be easy to add a splash of color or sparkle by capping the dotty tube beads with small gemstones or crystals.

West Yin earrings.

Do metal beads inspire you to add bright colors or to keep in neutral? I would love to hear what kind of combinations you come up with! ~ Cindy

]]>

Luster Gel – a new way to color silver!

May 10, 2011

Create a full rainbow of colored patinas on silver with new Luster Gel.

Iridescent Luster Gel for Silver is a brand-new product that makes it easy to change the color of silver jewelry. Unlike patina solutions that mostly* darken or oxidize the metal, Luster Gel creates a whole rainbow of different colors. The best part is, the colors appear in a reliable order! (*I say mostly because it is possible to get cool rainbows when using liver of sulfur… however, the process is less predictable and may require additional chemicals or heat.)

** 2020 Update: We loved Luster Gel at first, but the last couple years our customers had a lot of problems with it. It seems much less stable now, and at least half the people who used it in 2018 through early 2020, reported that it didn’t work at all and/or was discolored or dry when they received it. The others who gave us feedback said they had to use heat to get it to work, and they can achieve a similar effect with other forms of sulfur. So we no longer carry this product. **

Two options instead of Luster Gel are:

  • Search ganoksin or other jeweler’s forums, or take a class, or read a classic silversmithing book, to learn how to use traditional liver of sulfur (not the gel form) plus heat to produce rainbow effects similar to the photos in this blog.
  • Search the internet (especially youtube) for information on anodizing silver with sodium hydroxide (lye) and sulfur. This gives stunning colors, but it is definitely more hazardous than traditional liver of sulfur.
buddha beads

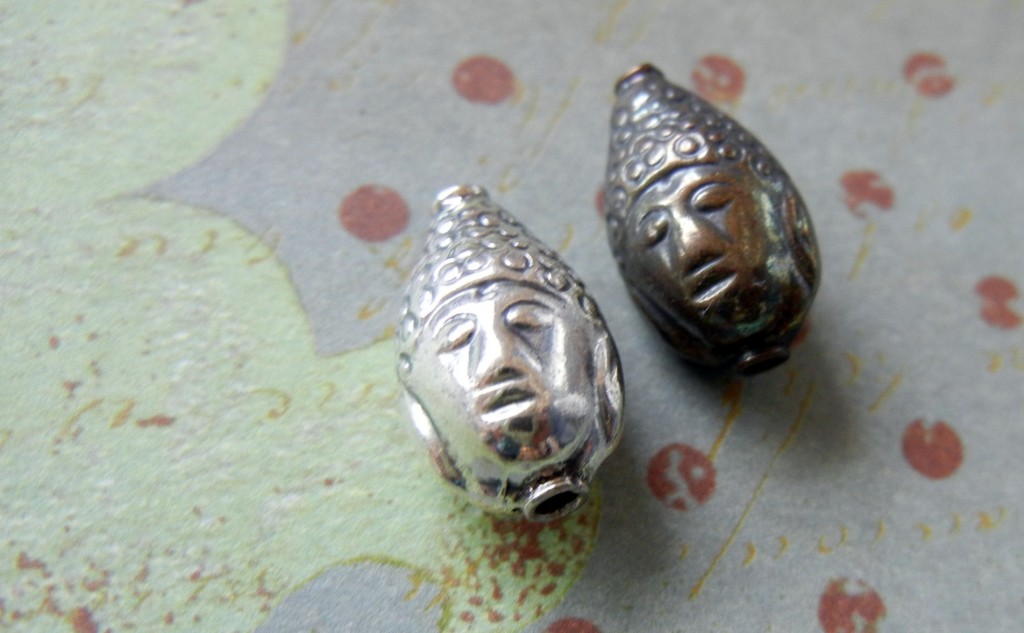
Sterling silver Buddha / bodhisattva beads before and after being treated with Luster Gel. The blue color takes 20-30 minutes to achieve.

Sterling silver, fine silver and silver-plated jewelry pieces can all be colorized with Luster Gel. Since patinas are created via chemical reactions, anti-tarnish treatments and coatings could interfere with the gel’s performance. Also, follow the basic chemical safety rules when working with this product: avoid skin contact, wear eye protection and work in a well-ventilated area. Don’t eat it either!

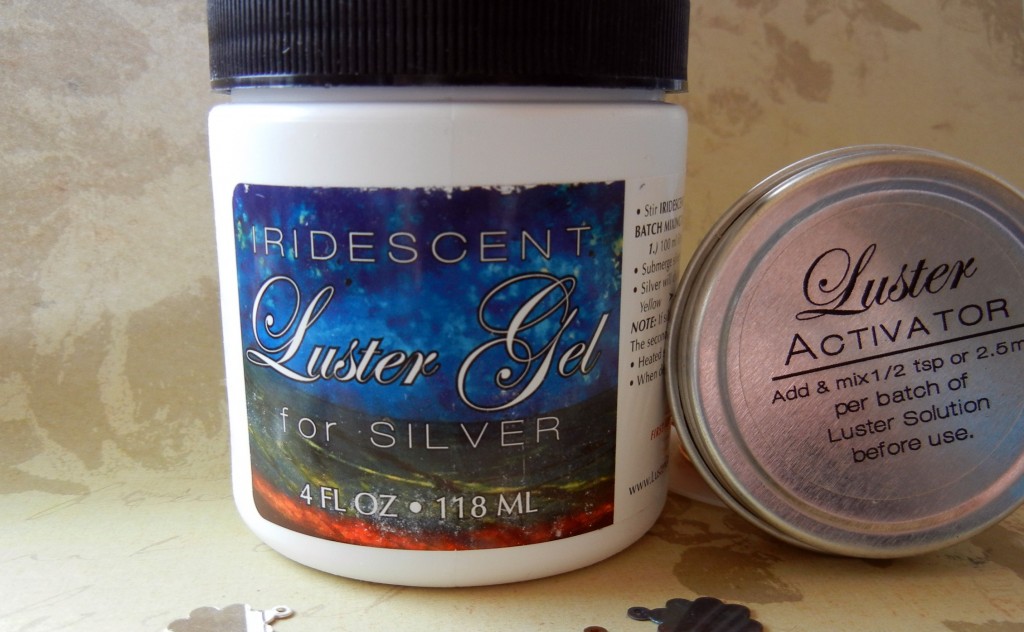
luster gel for silver

Iridescent Luster Gel for Silver

Luster Gel is sold in a 4 oz. jar and needs to be mixed with water and the included activator powder prior to use.

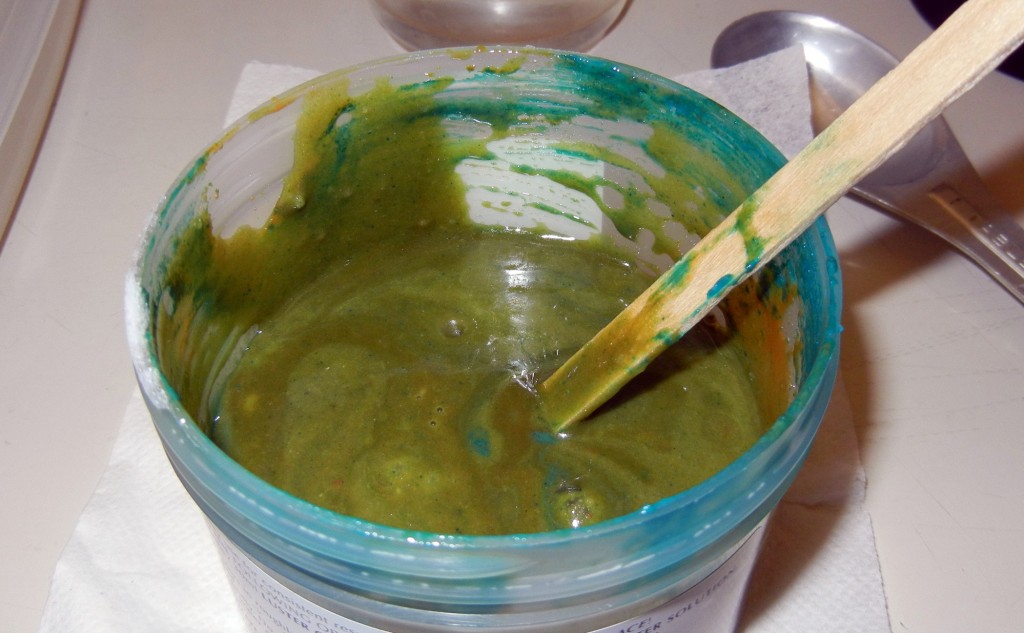
luster gel

Luster Gel gets its green color from cupric (copper) acetate.

For each batch of Luster Solution, mix, in order:

  1. 100 ml (about 3.5 oz.) filtered water (use warm – not hot – water for a more rapid color change)
  2. 30 ml (1 oz. / 2 tablespoons) Luster Gel (stir before use)
  3. 1/2 teaspoon Luster Activator (powder)
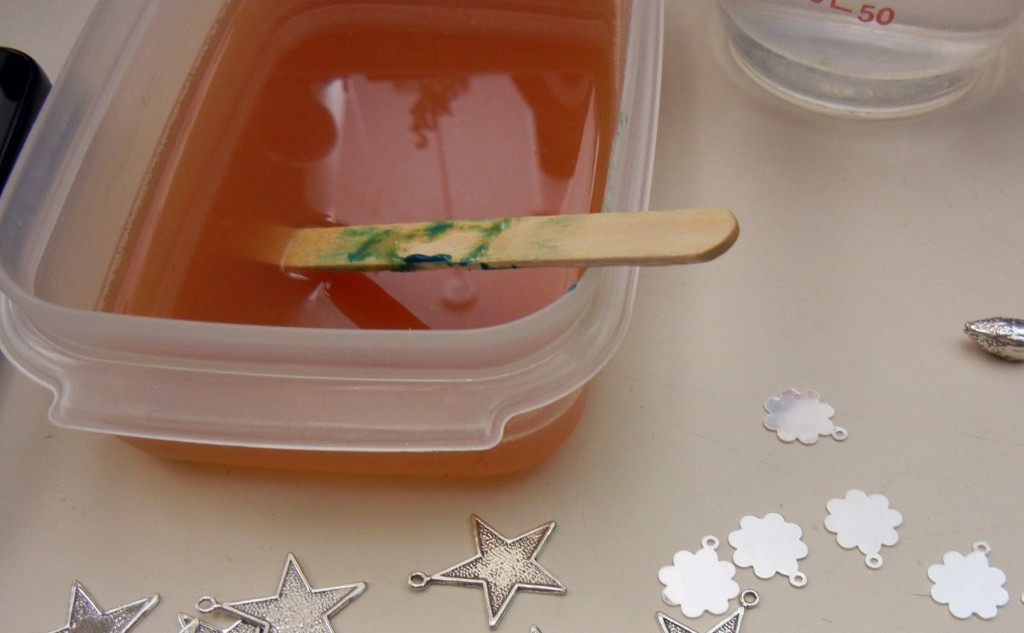
luster gel solution

Once mixed with the activator, the Luster Solution turns dark orange.

Dip your piece into the solution (use a string or a plastic hook, or wear gloves, to avoid touching the solution). Over the next 30 minutes, the silver will change from yellow to gold, then orange – red – brown – purple – and finally blue. If you leave it in longer, it will go through the same color-change process again, only this time the colors will be deeper and more iridescent.

luster gel silver rainbow

All of the colors pictured here occur within 30 minutes, starting with gold (top left) after about 5 minutes in the solution and ending with deep blue after a full 30 minutes. On the far right are plain sterling pieces to show the transformation.

Once you are happy with the color, pull your piece out of the solution, rinse with clean water and allow it to air dry. Once it is completely dry, seal it with Renaissance Wax or a clear spray sealer to protect the finish. That’s it. Super easy!

When you are done, mix baking soda into the Luster Solution to neutralize it. At that point you may safely dispose of it by washing it down the drain. Happy rainbows to you! ~ Cindy

Can you spot it?

March 30, 2011

What do these 3 designs have in common?

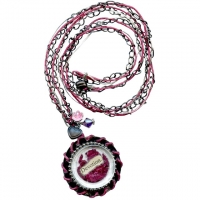
Create this lush mixed media look with a filigree, silk ribbon, glass bezel and more!
“Love Letters” Necklace
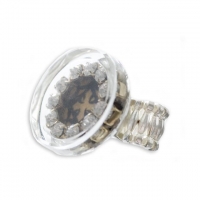
Showcase an image with a glass bezel & rhinestone chain in this fun finger ring project.
“Southern Cross” Ring
Interlace waxed linen and Wirelace with chain to complement this romantic glass bezel pendant.
“Devotion” Necklace

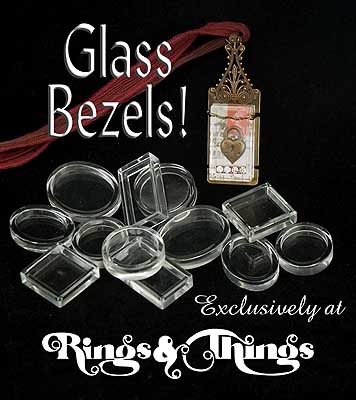
Here’s a totally transparent hint!

Glass bezel cups

Glass bezel cups:
exclusively at Rings & Things!

How will you use them?

How to make interchangeable magnetic jewelry with 1" buttons

March 24, 2011

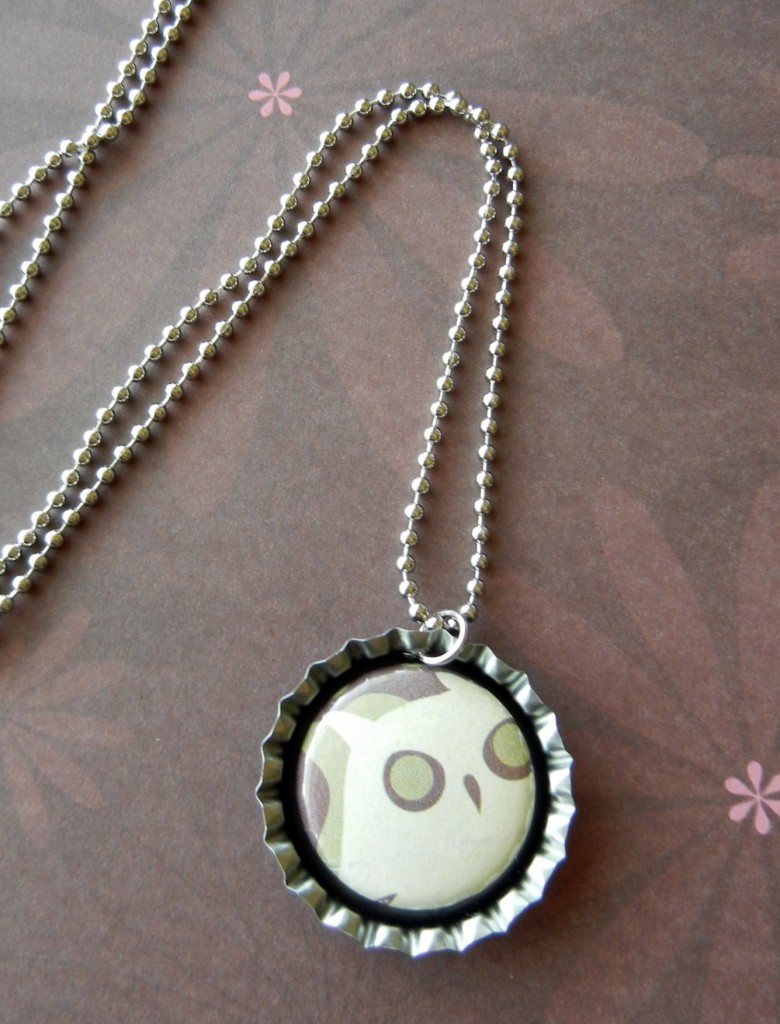
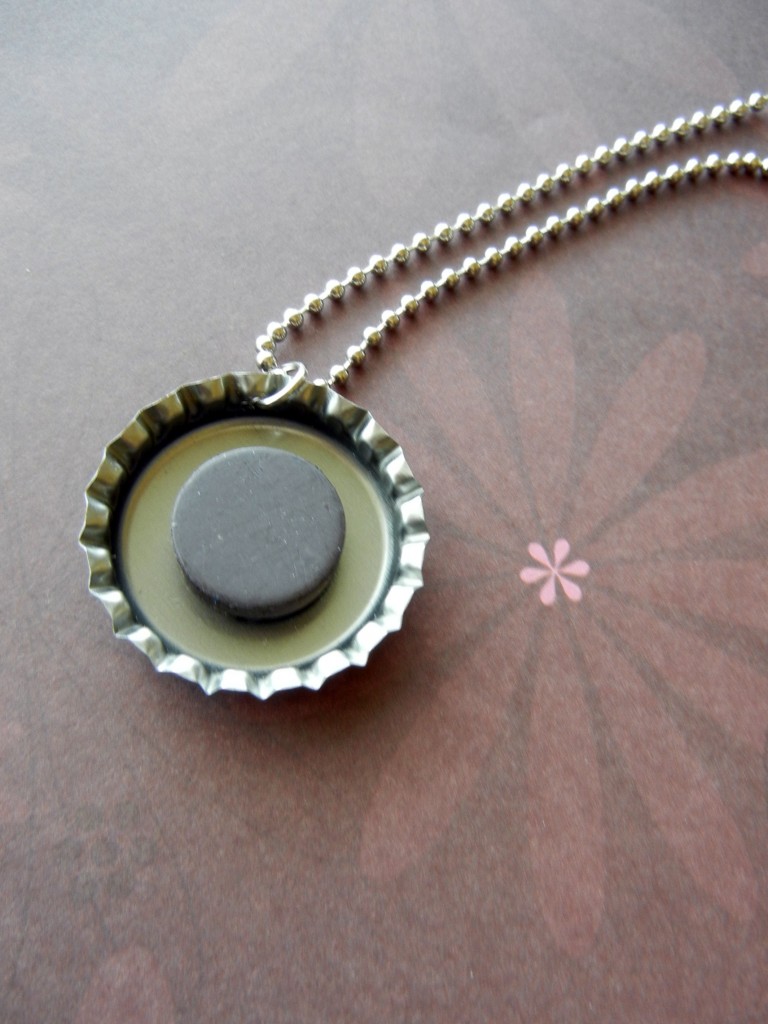
bottle cap magnet button pendantHandmade magnetic bottle cap necklace with assorted buttons
Mollie has been borderline obsessed with one particular item lately. It’s not a pretty gemstone bead or sparkly crystal pendant. It isn’t even new. No, Mollie is obsessed with plain old sticky dots. Almost daily, she’d ask me, “Oooh, have you tried the sticky dot?” and I’d just roll my eyes. But now I’m a convert too.
Sticky dots are just that – self-stick little glue pads. Easy to use, strong, zero mess, no fuss, no cure time, no smell. This is true instant gratification!


Round sticky dots fit perfectly under our magnets!

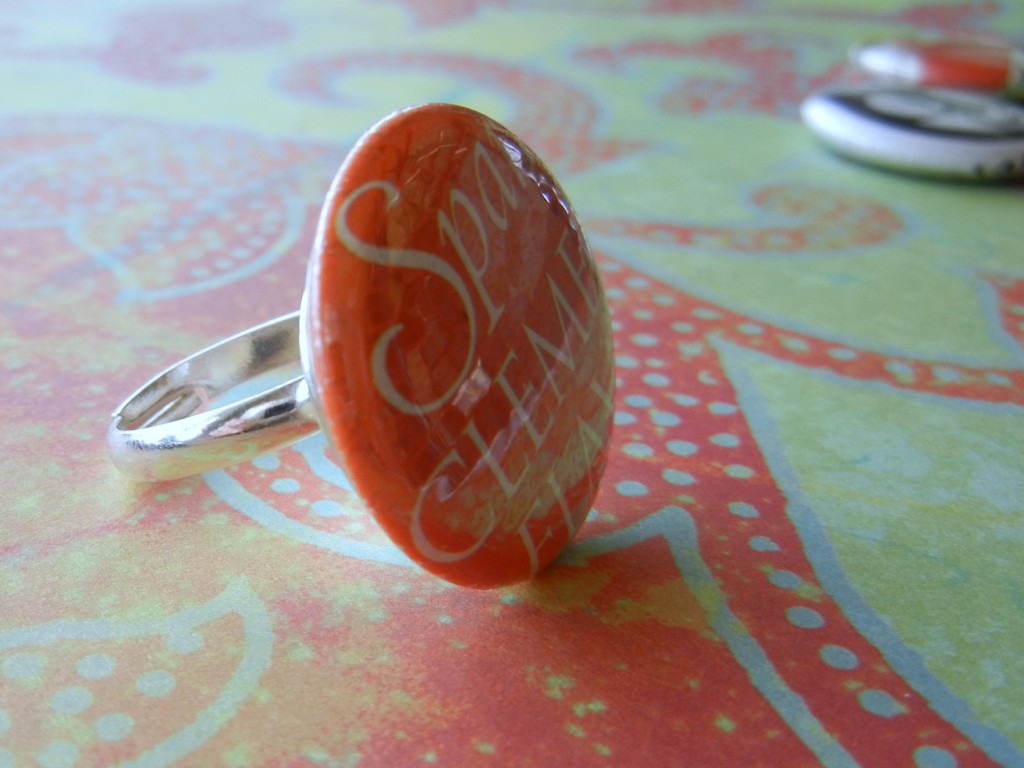
Two of Mollie’s recent designs use the sticky dot: the interchangeable magnet ring and the interchangeable magnet bottle cap pendant. Like many of you crafty people, Mollie has a button making machine. The little 1″ buttons are particularly adorable, and since they are made of steel, naturally they are magnetic. I don’t have a button machine myself, but I buy lots of buttons – and now I can wear them instead of leaving them on my bulletin board!

Here’s the magnet

Here’s the pendant – so cute!

Rings & Things’ wholesale price breaks makes it really affordable to make a whole bunch of these necklaces. For about $50 (before shipping and tax, if applicable) you can get everything (except the buttons) to make 70 necklaces – with supplies leftover! If you don’t already have one, add a pair of EuroPunch pliers to make holes in the caps.

1 spool of ball chain (makes 70 17″ necklaces) $18-25 ~ 100 ball chain clasps $2 ~ 1 oz. jump rings $5-6 ~ 100 bottle caps $7-10 ~ 144 adhesive dots $6 ~ two packs of 35 magnets $12-14

The adhesive dot is completely hidden by the ring and magnet.

1″ buttons make perfect rings!

The same value applies to the magnetic ring design – and absolutely no tools are required to make these!

72 adjustable flat-pad ring blanks $42-62, depending on color (we do sell a less expensive ring blank if you prefer, but the style and comfort of this style is worth the added cost) ~ 144 adhesive dots $6 ~ two packs of 35 magnets $12-14

At these quantities, the necklaces cost less than a dollar and the rings about $1.20 to 1.50 each to make. Buy more and the cost per is even lower. Ah, the genius of good design! ~ Cindy

“Make everything as simple as possible, but not simpler.”
~ Albert Einstein


PS: here are some handy links to some other how-to’s in the Rings & Things blog!

How to make polymer clay pie earrings using mini bottle caps as pans!

March 18, 2011
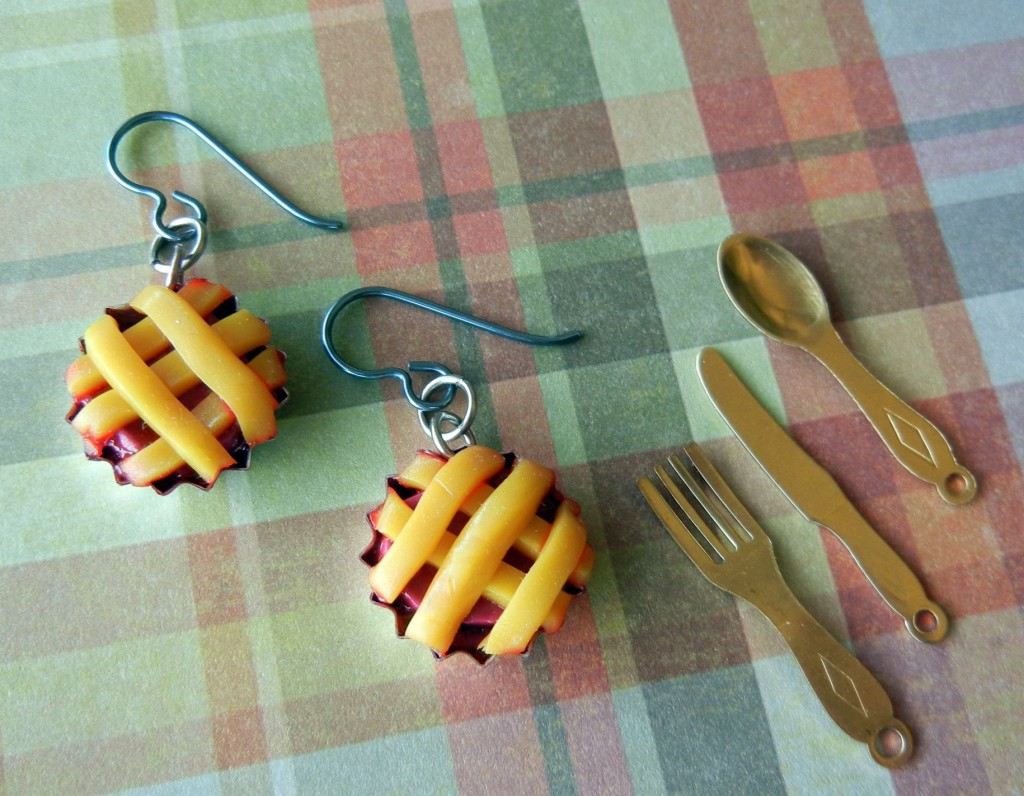
polymer clay cherry pie earrings

If they weren’t so disgustingly cute, they’d be good enough to eat!

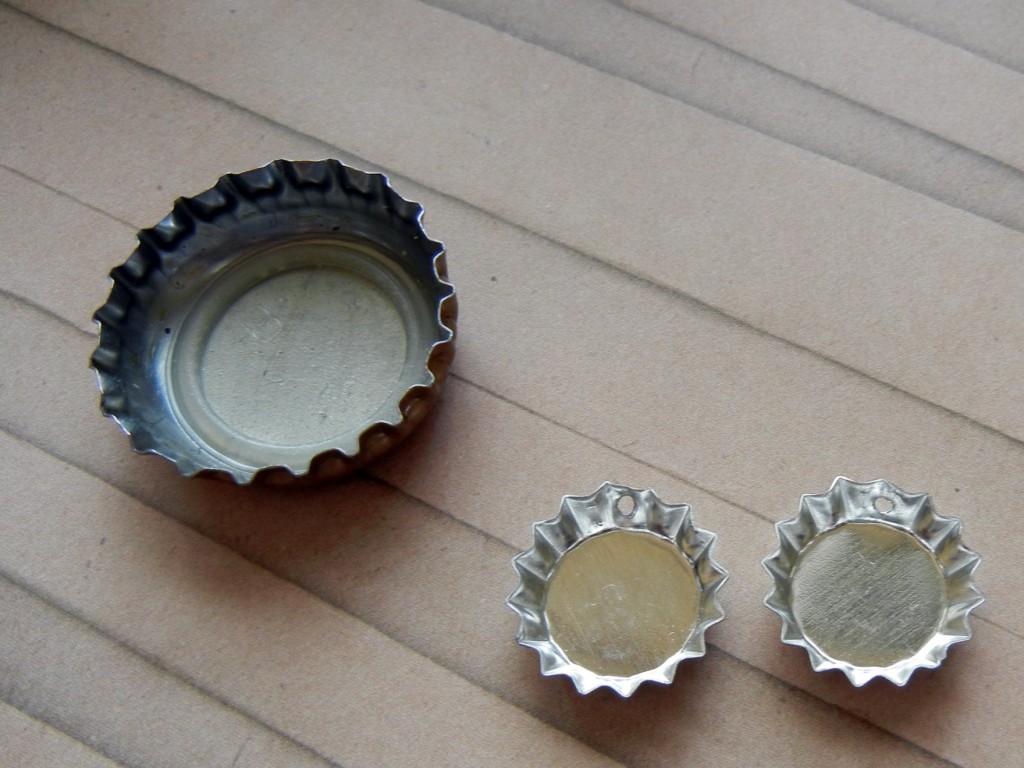
Hello, bloglandia! We just added a whole bunch of bottle caps to our mixed-media jewelry product line. The best of the bunch, in my opinion, is the cute little mini cap.

mini bottle caps

Wee bottle caps make regular size (1″) ones look huge in comparison!

As soon as I saw them I became obsessed with making tiny pies. It was basically an illness that I had to treat before I could move on with my life. So today I went ahead and baked my little cherry pie earrings. Disclaimer: I am by no means a polymer clay expert. My skill level is clumsy at best. But really, I think anyone can have fun making these! Here’s how:

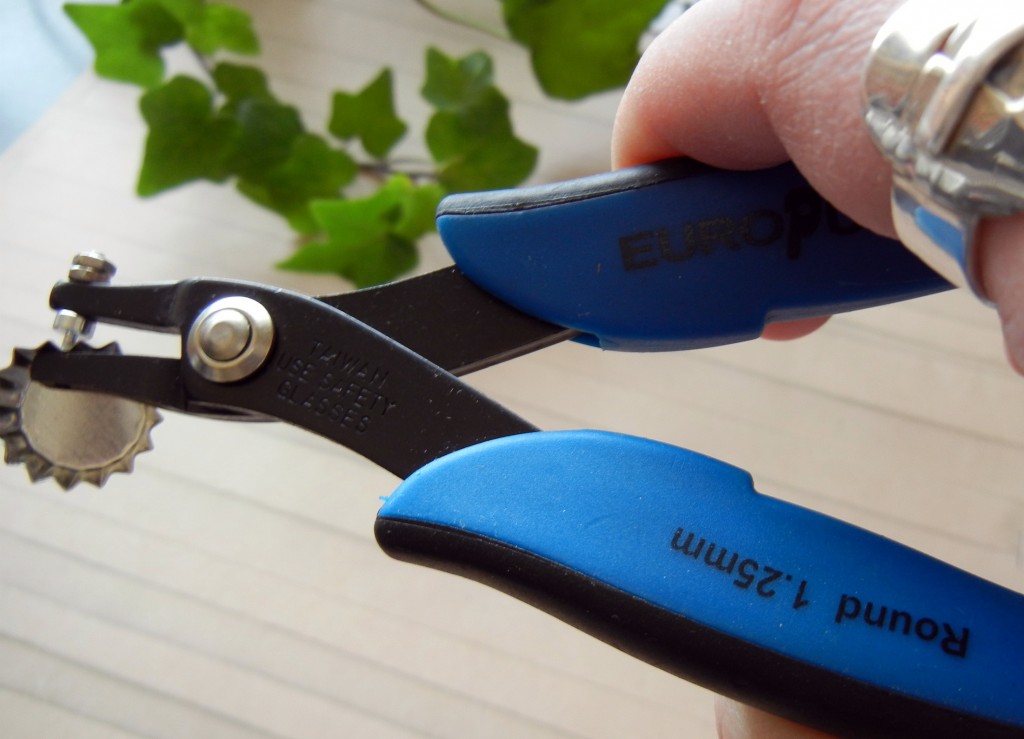
punch pliers

These pliers make it so easy to punch holes!

  1. Punch holes in the caps. I used our EuroPunch pliers, which handle the job easily. However, since bottle caps are steel they will wear out the punch tips eventually (just replace the tips, not the pliers!).
  2. Add jump rings.
  3. Condition your clay and load up the tins with pie filling. I used magenta Kato polyclay. I also added a little red liquid polyclay. I like how the liquid added a realistic pie filling gooeyness, but if you are more of a perfectionist, omit the liquid clay. A note about Kato – it is fairly stiff and crumbly straight from the package. Since I was just making one pair, I kneaded it by hand, but it would have been way easier to condition a bigger lump of clay using a pasta machine.
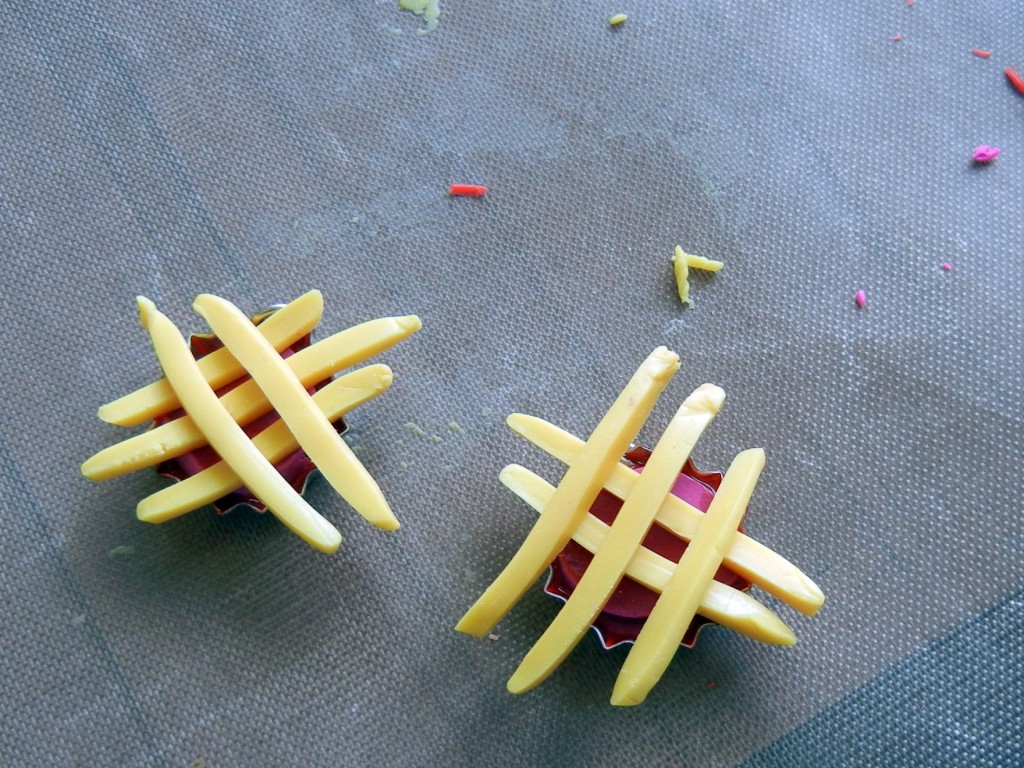
  4. Roll out your pie crust – mine is yellow mixed with a little “beige flesh” color. Cut the crust into thin strips.
  5. Criss-cross the strips over the pies. Press down gently and trim off the ends.

    forming the clay pie crust

    Criss cross to make a traditional lattice top.

  6. ready to bake polymer pies

    Ready for the oven!

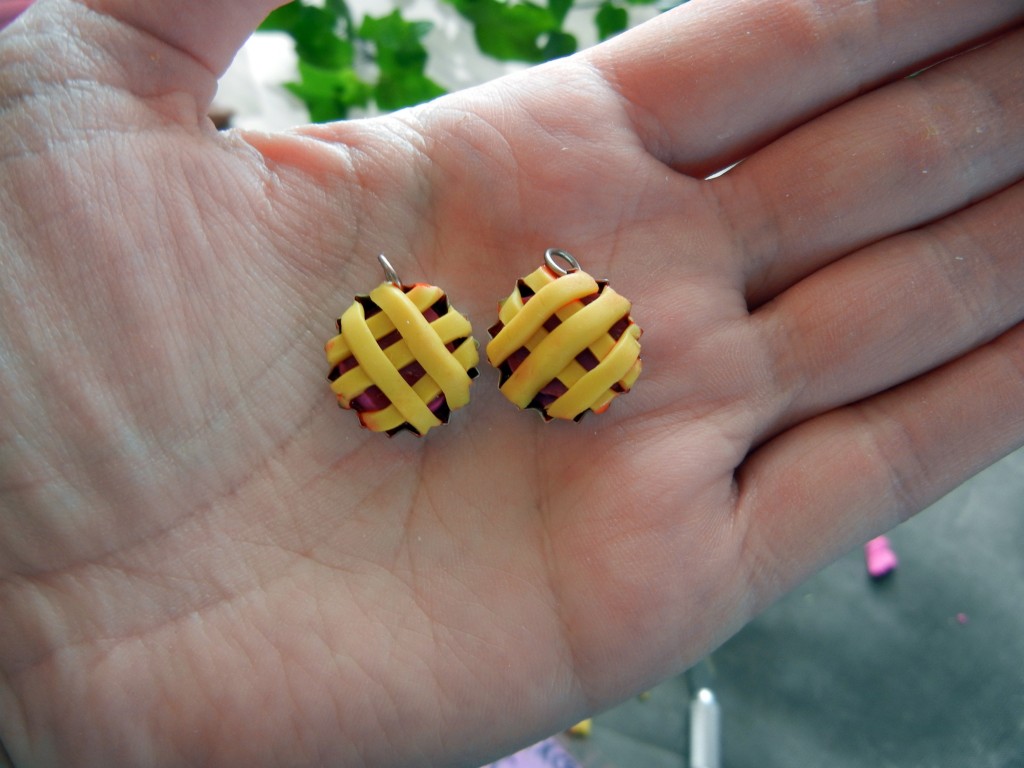
    Following the instructions for your type of clay, bake the pies in a toaster oven to cure.

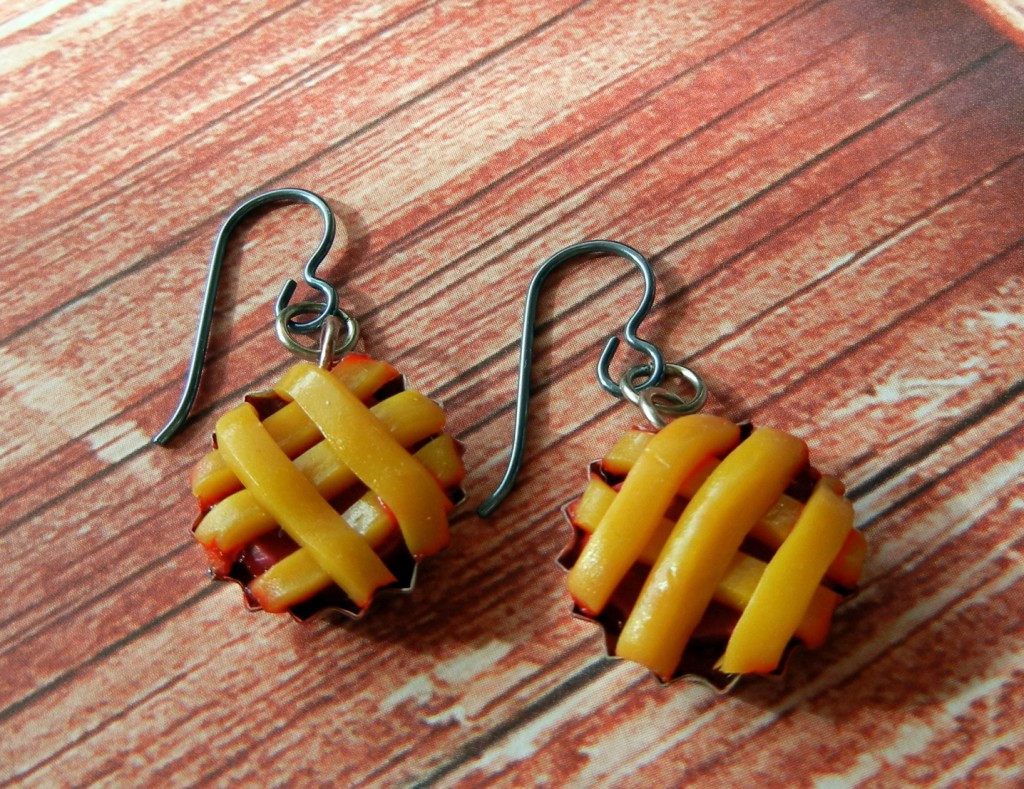
  7. Use 2 more jump rings to attach the pies to ear wires (I used steel blue niobium).

easy cherry pie earrings

Pie is the new cupcake, I’ve been told. What do you think? Can a pie really be as cute as a cupcake?

Well, I thought baking these earrings would cure me of my pie obsession, but then a friend suggested making blackbird pie (from the nursery rhyme) and now I really want to make that too! And what about Pi Day earring? What kind of clay creations can you imagine making with these bottle caps? ~ Cindy


PS: here are some handy links to some other how-to’s in the Rings & Things blog!

More bottle-cap jewelry designs!

March 15, 2011

Did you catch the bottle-cap jewelry we recently featured? (It’s cute!) It shows off three techniques–packing tape, glass tiles, and epoxy stickers.

Here’s another take: using resin in bottle caps. Over to designer Rita…

Crowned bracelet

CROWNED bracelet

What you need for the “Crowned” bracelet:

Qty. Stock # Name
3 each #55-075-17-43 Bottle cap, 17mm (chrome)
3 each #55-075-32-43 Bottle cap, 32mm (chrome)
3 each #83-220-25-02 1″ round epoxy stickers, Nostalgic 2
1 each #40-337-9 Bracelet blank, 7.2″, disk and loop, hammered oval (black gunmetal)

Tools and supplies:
3 buttons (artist’s stash)
Magic-Glos UV resin (#82-501-01)
UV Light (#82-593)
Epoxy 330 (#60-230)

Hints:
* Seal buttons inside mini bottle caps first.
* Glue bottle caps to bracelet blank.
* Then apply epoxy stickers.


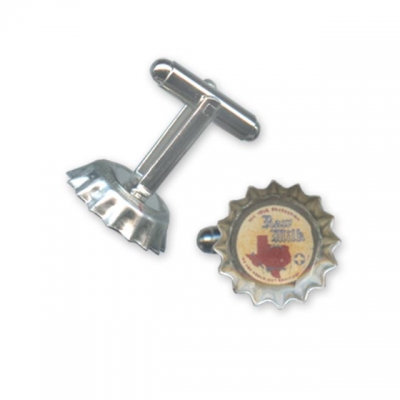
Milky Way cufflinks

MILKY WAY cufflinks

To make the “Milky Way” cuff links:

Qty. Stock # Name
2 each #55-075-17-43 Bottle cap, 17mm (chrome)
2 each # Cuff link, 10mm pad (white)


Tools and supplies:
Images from scrapbooking paper
Scissors
Clear packing tape
Hypo cement (#
60-250)
Magic-Glos UV resin (#82-501-01)
UV light (#82-593)
Epoxy 330 (#60-230)

Hints:
* Cut image to size.
* Seal with packing tape and cut out.
* Adhere to bottle cap with hypo cement.
* Apply UV resin.
* Attach cufflink findings with epoxy.


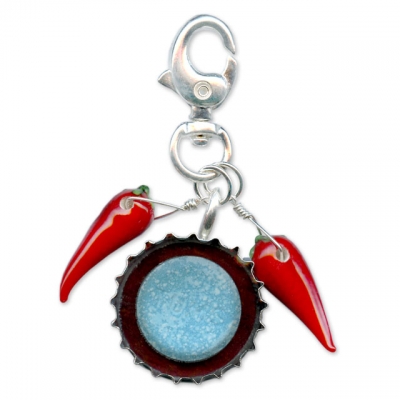
How Many Stars clip

HOW MANY STARS clip

Materials Rita suggests for the “How Many Stars” clip:
Qty. Stock # Name
1 #46-881-266-3 Amate Studios™ 26mm bottle cap bezel pendant, silver plate
2 #28-333-89 lampwork glass chili pepper beads, red
12″ #47-036 22-gauge round wire, silver plate (cut two 6″ pieces)
2 #37-167-3 8mm round jump rings, silver plate
1 #30-620-50-3 31x15mm oval swivel clip, silver plate
1 #82-500-08 8oz EasyCast epoxy resin kit

Tools and supplies:
scissors
colored craft paper
Mod Podge®
paintbrush
resin mixing set (#82-599)
antacid tablet (!)
flat-nose pliers (#65-080)

Hints:
* Seal the front and back of paper with Mod Podge to prevent the color from bleeding. Glue this to the bottom of the bezel cup to prevent it from floating.

* Coat the antacid tablet with Mod Podge to prevent it from dissolving in the resin.


3 Bonus Tips!

Tip 1: For additional details about techniques used in these designs, see the technique sheet: Gluing Hints for Metal Findings

Tip 2: View free jewelry-making technique sheets (PDF files) for scads of designs like these!

(You’ll need Adobe Acrobat Reader. You can download it free here.)

Tip 3: …Secret…a whole nother kind of bottle-cap jewelry is coming soon to Ring s & Things’ online store…

Project Alert: Getting Creative with Hair Sticks

March 9, 2011
Here at Rings & Things, we are always trying to spice up our stock with fun new items.
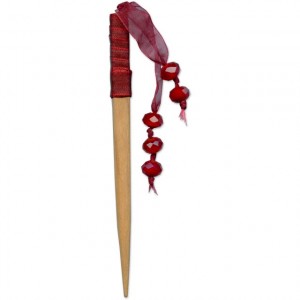
Ruby Ballerina, a free hair pin design

“Ruby Ballerina” Hair Sticks with Red Sparkly Glass

Recently, we have delved into the enchanting world of hair findings. Our design team was challenged to use some of our new findings to make some unique hair decorations. I was given the task of creating something with our cherry
hair sticks that resemble chopsticks.

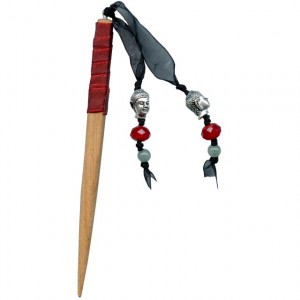
I wanted to make something easy, yet whimsical that could cascade through your locks and add a touch of “ooh-la-la” to the ordinary messy bun. I came up with two designs, that could easily be altered to fit your style or match any outfit. Simply pick whatever beads you like! You could go fun and flirty or sophisticated and elegant (think wedding party?). Whatever you decide, this project is easy, affordable and a great way to tackle the winter blues!

Hippie Chic Ballerina Hair Stick, a free jewelry design from Rings & Things

“Hippie Chic Ballerina” Hair Stick with Buddha Head Beads

Make your own Hair Sticks with:

Here are a few more ideas for creating hair findings! Or take a peek at our Jewelry Design Gallery for tons of free project ideas!

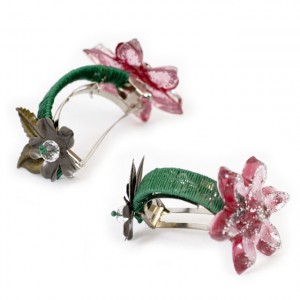
“Spring Flowers” Hair Clip by Cindy Morris

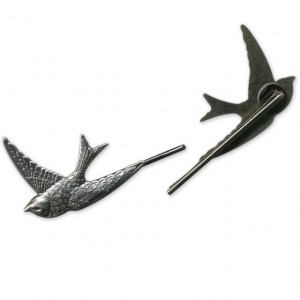
Rings & Things' free jewelry design, The Birds bobby pins

“The Birds” Bobby Pins by Jaclyn White

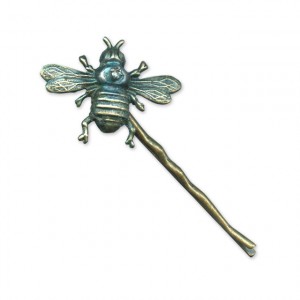
Rings & Things free jewelry design: Blue Bee bobby pin

“The Blue Bee” Bobby Pin by Sondra Barrington

Check out some of our other fun hair findings at Rings & Things and let the creativity begin! We have a great selection of bobby pins, hair combs, barrettes, and hair picks waiting for your personal touch!

Tiffany

Rings & Things Showroom

Design Team


PS: here are some handy links to some other how-to’s in the Rings & Things blog!

Alternatives with TierraCast®!

February 17, 2011
Alternatives with TierraCast®!
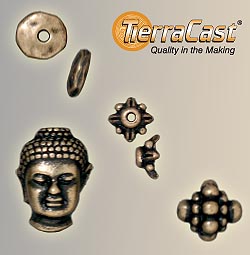
Expanded design options? Yes! with TierraCast’s new Alternatives Collection. Featured:
brass oxide (antiqued brass) components and
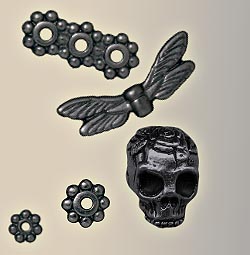
black (gunmetal) components. TierraCast Alternatives were created to fill the needs of current trends among bead stores & designers. Your favorite TierraCast beads and jewelry findings now come in these great new finishes!
Find your favorite TierraCast beads in antiqued brass (aka brass oxide).

TierraCast Brass Oxide Finish

Find your favorite TierraCast beads in black finish (aka gunmetal).

TierraCast Black Finish

Jewelry Inspirations:

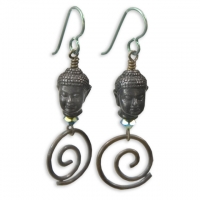
Combine black finish beads and niobium findings for a smart look!
“Wisdom & Knowledge” Earrings
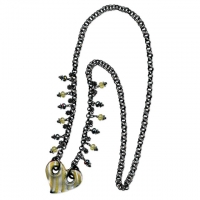
Make this black gunmetal necklace with glass focal for a look that's all the buzz!
“Bee Mine” Necklace
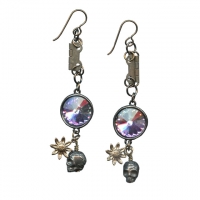
Discover how electrifying your design options are with TierraCast Alternatives and Swarovski crystals!
“Vitrail Voltage” Earrings


Chain that charms

February 7, 2011

Guest blogger, Rings & Things’ Nory, suggests:

Make a jingle to your design jangle with our inspiring new
Charm Chain.

This dangle chain is bound to add movement and improvement to any design!

"Bell Flowers" bracelet by Mollie Valente

Within this unique style of chain, choose from several style variations:

"Greek Goddess" earrings by Tiffany White

Each soldered link has two charms attached. This Charm Chain or Fringe Chain, as some folks have started calling it around here, appears in 5 plating styles:

  • antiqued brass
  • antiqued copper
  • antiqued silver
  • matte black
  • matte silver

"Spring Skies" necklace by Cindy Morris

We currently offer Charm Chain in a generous meter portion (3.28 Feet), and a bulk 10-meter spool (32.8 Feet).

A week ago, I challenged some of our in-house designers to come up with a design project using our Charm Chain with whatever else they felt “charmed it together”. I gave each designer half a meter of the 40-092-02-AB, the classy leaf design in antique brass pictured above, and let them loose to creatively construct these wonderful designs seen here.

A meter of this chain makes 9 pairs of 2″ earrings… With more than enough jingle in a meter to get any design dangling off the ground, try it out and tell us how you love it!