Browsing Tag

tutorial

Make hemp friendship bracelets and more with a Kumihimo braiding disk

July 15, 2011

Colorful hemp bracelets are fun for kids of all ages to make … by “all ages” I mean 8 to oh, 80.

I’ve been intrigued by Kumihimo braiding disks for a while now. Kumihimo (a Japanese form of braid making) is an easy way to make intricate multiple strand braids. Braiding bracelets is the perfect summer-time activity, as anyone who has been to summer camp can attest.

I used the “Spring” Hemptique assortment and round Kumihimo disk. Any type of thread or cord could be used. There is also a square disk available to make flat braids.

Most Kumihimo braids use 8 or 16 warps (each warp could be made up of multiple strands). I decided to try the 8-warp braid first. Since I was using 4 colors of hemp cord, I divided each color into two equal lengths and knotted them all together at one end (just a basic overhand knot). A basic rule of thumb is to have 3″ of each cord for each 1″ of braid length. If you are mixing different types of cord I would suggest estimating a bit higher.

Feed the knotted end through the center of the disk to get started.

Place one cord (or “warp”) next to each of the four dots on the board.

And start braiding! Bottom left cord goes to top left. Then top right cord goes to bottom right.

Now, the instructions told me to rotate the board 90 degrees so that I was always working from top to bottom, but I found it much easier to hold the board in one position and just apply the pattern. As long as you don’t cross the warps (ex. taking a left strand from the bottom and placing it on the upper right) it is really hard to mess this up. You’ll probably do it slightly differently than I did. What is really important is to keep your cords bundled into “no-tangle bobbins” – NOT all loose and tangly like in the photo above.

Keep the cord bundled up tightly to save yourself a headache.

The braid travels around the disk as you work, but you don’t need to pay attention to the numbers. And that’s all there is to it! For a project that requires no tools and no counting, the results are impressive! For a traditional friendship bracelet like the ones Jaci made, simply knot the ends together, preferably on your BFF’s wrist, so that it must be worn until it disintegrates.

Just tie a knot and trim the ends when you’ve braided a long enough piece.

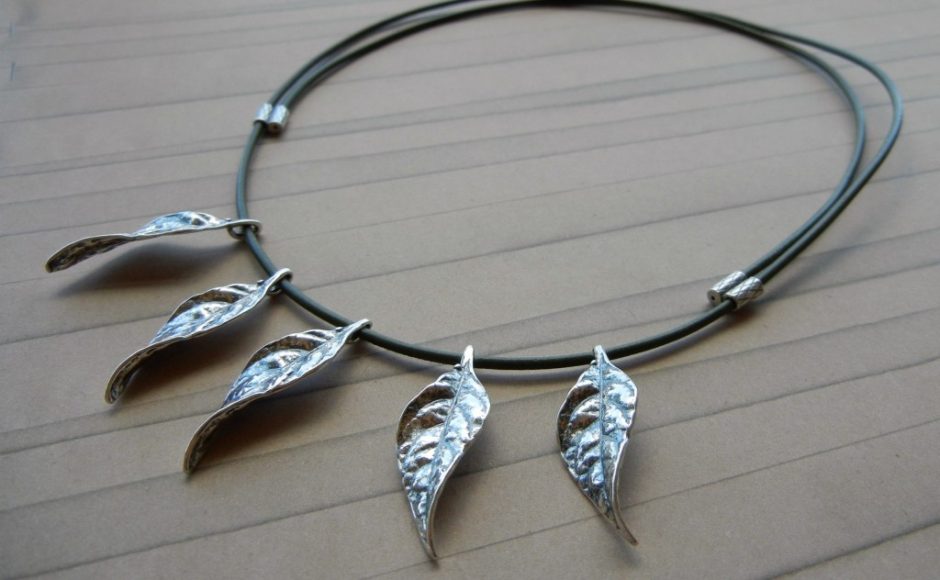
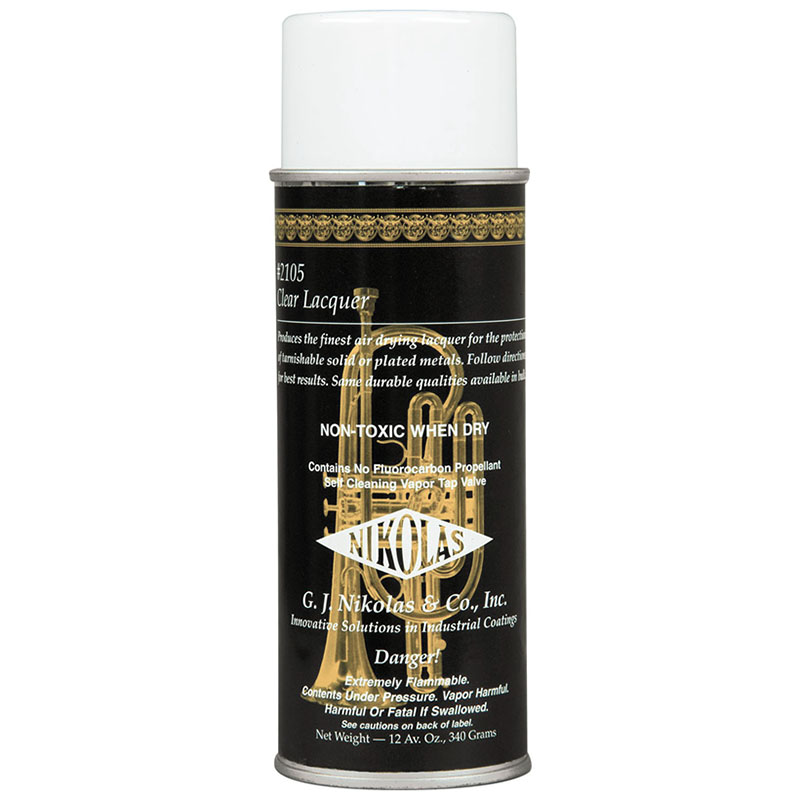
I got on a roll, so I kept going and made my braid into a necklace. In the next blog I will show you how to finish braids like these, or any type of cord, really, with glue-on bullet ends. Have a great weekend! ~ Cindy

www.rings-things.com

How to coordinate colors…automatically

June 13, 2011

[stextbox id=”info” caption=”This one put a song in my head: “…Ride a painted pony, let the spinnin’ wheel spin!” “]

How to coordinate colors…automatically: “Ride a painted pony, let the spinnin’ wheel spin!”

[/stextbox]

Don’t be seen on that painted pony without coordinating the colors!

Swarovski’s “Create Your Style” program introduces a brilliant–and fun–color tool:

THE COLOR CAROUSEL

Color-carousel-by-Swarovski-Create-Your-Style

(Cue the calliope music, as you head off to play Color Carousel at Rings & Things’ website) 🙂

Another use for crimping pliers

May 13, 2011

Thanks for sharing a tip (comment below),
and thanks for sharing this blog with a friend!

Crimping pliers (crimpers) are special pliers designed for a very specific purpose: to crimp (fold) crimp beads onto beading cable such as Beadalon or SoftFlex. (Our beading cable technique sheet illustrates this very well.)

tuck wire tails with crimp pliers

No more chippies!

But here is another use for them: use your crimpers to tuck wire tails. The concave shape helps pull the wire in close to the wrap without chipping the bead underneath – especially handy when you are working with glass beads or crystal!

Snags are a drag. Do you have any similar tips for keeping wire tails tucked where they belong? ~ Cindy

Mixed-media fiber/fabric jewelry art!

May 6, 2011

{Thanks for clicking the Share buttons, to tell a friend!}


Mollie embellished the tag Toni made with seed beads and added a sweet little brass bird charm, before hanging it from a length of chain.

We’re very fortunate to have Toni, a mixed-media artist and art teacher, as one of our jewelry designers here at Rings & Things. From pottery to doll making, Toni has dabbled in it all. So when we started seeing fabulous fabric tag pendant necklaces in magazines like Belle Armoire and Cloth Paper Scissors, we asked Toni to make a few for our design team to play with. She has a huge fabric stash and was more than happy to put her scraps to good use! Toni’s “Patchy Blue Skies” in our design gallery also has a wee little birdie.

Whether you’re a jewelry artist or a fiber artist, it can be a lot fun to cross over into a similar craft. It challenges your creativity. Toni never does anything half way, so we had a ton of fabric swatches and squares of all sizes and patterns to play with. Here are some of the results, as well as some design tips and tricks we learned along the way.

First off, Toni sandwiched a piece of felt between two layers of fabric to give each tag a nice sturdy feel. If you’re using thick fabric, this step can be omitted. Most of the designers used
3/16″ eyelets to create a sturdy hole from which to hang their tags, but as you’ll see, you have other options.

I used choker clamps to grip the ends of the tag and added short sections of chain to turn it into a cuff bracelet. The choker clamps could also work in place of a bail to make a pendant.

She punched holes into a copper tube bail to stitch it onto the fabric tag.

It is so much fun to see what unique designs people come up with, even when starting with almost the same inspiration. Look for one of Toni’s fabric tag designs in an upcoming Rings & Things magazine ad! ~ Cindy


Shopping list:
Buy some of the items used in these projects…

Vintaj “rustic” altered base-metal canvases

Artistic Wire

Tim Holtz idea-ology pen nibs

magnetic cable chokers

“raku” ceramic Buddha

choker clamps

impression stone beads & lime keishi pearls from our BeadTour bead shows

red bamboo-coral beads

copper tube top bails


PS: here are some handy links to some other how-to‘s in the Rings & Things blog!

Two ways to color metal using Image Transfer Solution

April 22, 2011
design by sondra barrington

Alice in Wonderland image transfer bracelet

Hi Bloglandia! Last weekend I did a demo in our Spokane showroom on how to use Sherri Haab’s Image Transfer Solution (ITS) and thought now would be a good time to share these techniques for colorizing metal with everyone.

Image transfer is just that – transferring an image from the paper it is printed on to a different surface (in this case, metal jewelry components). Image transfers have a vintage, ethereal feel, and I love how the different colors of metals shine through. Unlike many of the other solvents and processes used for image transfer, Image Transfer Solution (ITS) is non-toxic. Yay! Plus, it has another purpose not even mentioned on the bottle: it is an excellent way to seal colors onto metal (more on that in a bit).

Transferring Images – ITS Method #1

One caveat: The images you use must be printed on a laser (toner based) printer. Ink jet pictures will not work. The pictures can be black or white or color. Photos and text should be reversed before you print, since transfers will be mirror images.

To be honest, I did not like ITS the first couple of times I tried it. I kinda hated it. Following the directions on the bottle, I prepped my metal with steel wool and heat-set the images in a 325 degree oven – just like it said! – but things just kept going wrong. Either my images would wash right off the metal or the paper would be so very stuck to the metal that no amount of scrubbing would remove it. But I loved the concept, so I kept playing with it. Below is my own method for using ITS. Maybe the package directions will work like a charm for you. If not, I hope my tips and tricks help:

  1. Scuff up your metal (aluminum, brass, copper and silver all work great) with a medium grit sanding pad or sand paper. Steel wool leaves the surface too smooth, in my opinion.
  2. Wash metal with rubbing alcohol to remove dirt, dust and oil – even if it looks clean!
  3. Using a clean, dry paintbrush, evenly coat the prepped metal with just a couple of drops of ITS.

  1. Press image face-down onto metal and press firmly into place to remove any air bubbles. ITS is like glue – you will not be able to reposition your paper at all, so be careful to place it where you want it! Let dry. Use an iron (high heat, no steam) to heat the metal for 1 or 2 minutes. Don’t worry, the paper won’t burn. Let metal cool.
  2. Place the metal into water and using a gentle circular motion, begin rubbing the paper off, leaving the image behind. Don’t get to aggressive or you could lift off parts of the image. Patience pays off here.
  3. After most of the paper is removed, use a sheet of polishing paper and more water to remove the finer paper fibers.
  4. After all of the paper is removed, seal the image with a dab of Renaissance Wax and a soft cloth. It really improves the luster.
image transfer necklace

My photograph looks like a vintage postcard after being transferred onto aluminum. The Swarovski beads are the same colors as the prayer flags hanging on the mountain tea house.

Complete your jewelry piece! The image is permanently attached. You can even punch holes or dap the metal and it won’t come off!

Sealing Colors – ITS Method #2

Image Transfer Solution can also be used to permanently seal inks onto metal! Ranger Adirondack Alcohol Inks are tons of fun to mix and blend onto non-porous surfaces, like metal, but since they are ink, they can be rubbed or washed off. That is, unless you seal them with ITS. When you heat-set ITS, it binds the color to the metal. It will not wash off or bleed onto your customer’s skin.

design by sondra barrington

Vintaj fussy peacock pendant colorized with alcohol inks for a faux enamel look.

You can color your metal with alcohol inks and then, after they’ve dried, paint a thin layer of ITS over the top. Another option is to mix the ITS directly with your inks (just a few drops of each) and paint that mix onto your metal. Either way, once the ITS has dried, you need to heat-set it to make the bond permanent. Just follow the directions on the Image Transfer Solution package for using an oven to heat-set (the iron won’t work for this application).

Looks like patina – but this blue bee was colored with alcohol inks.

There you have it! Two tried and true methods for permanently coloring your metal pieces for jewelry and other applications. Although this post focused on metal, Image Transfer Solution can be used on polymer clay, etched glass and other surfaces too! Since it really only takes a couple of drops per image, you’ll have plenty to experiment with! ~ Cindy


PS: here are some handy links to some other how-to‘s in the Rings & Things blog!

How to Wire-Wrap a Briolette

April 14, 2011

I love briolettes! I love them in all shapes, sizes, colors and materials. So what is a briolette? A briolette is a pear or teardrop-shaped bead that is faceted and tip-drilled. Some briolettes are flat and some are round, kind of like a ball that comes to a point on one end. When they are flat, the hole can either be front to back or side to side. No matter the type, briolettes are super versatile and great for making all kinds of beautiful jewelry. Continue Reading…

How to dap and dome metal jewelry

April 8, 2011

Cymbals of Happiness bracelet by Sondra:
stamped, textured and domed copper and brass disks make a tinkling charm bracelet.

It took me awhile to accept “dapping” as a real word. Even now that I am obsessed with dapping every flat piece of metal that crosses my path, I still find the term awkward. Spell check, ignoring the facts as usual, still doesn’t believe.

In jewelry making, dapping simply means taking a flat piece of metal and curving it into a dome with special dies and punches, called a dapping set. The dapping block (or die if you prefer) has a series of concave impressions that correspond in size with the dapping punches.

Rings & Things #69-199 dapping set by Eurotool, and a variety of flat and dapped metal pieces.

Simply place your metal piece in the block and use a hammer (preferably brass) to repeatedly tap the punch into the metal. I say tap because your goal is to gently bend the metal into a smooth, even curve. If you just whack as hard as you can, the metal won’t shape up evenly.

how not to dap metal

The entire piece of metal needs to fit inside the impression, not sit on top like in this picture.

how to dap metal

Here the metal pieces are inside the impressions, ready to be dapped.

Another tip: don’t hammer straight down on your metal. Hold the dapping punch at and angle, and tap tap tap with your hammer, turning your metal after every few taps to ensure that it is shaping up nicely.

For best results, keep rotating the die and the metal.

As you dap (tap, dome, whatever!), the height of the metal piece increases, while the width decreases. So after you’ve dapped as much as you can in one impression, you can move the metal into the next smallest hole and dap it with the next smallest punch to get a deeper dome.

Doming adds a professional quality to your work. Even just a slight curve instantly makes a metal disk reflect more light.

flat disk and dapped disk

Just a few taps is all it takes!

Brass, copper, aluminum and sterling silver are all excellent soft metals to dap (most of my images are of raw brass blanks). Even copper coins can all be dapped, although coins are thick and will require you to apply a bit more muscle. If you want to stamp, texture, punch holes, or otherwise adorn your metal (and you will!) do all that before you dap for beautiful results:

Use stamps to monogram brass disks for easy, elegant earrings.

Dapped pieces can be layered too, like on my copper and brass ring. (See bottom of this blog for tips about making this ring.)

One word of warning – you might need to upgrade your photography equipment to get good pictures of your dapped jewelry! I think the only way to get a clear picture of Mollie’s “God Save the Queen” necklace would be to use a professional light box. The domed Canadian penny is amazingly reflective. Since my photo-editing software lacks a “rhinestone-reflection remover tool,” this is as good of a shot as I could get. Believe me, the necklace is stunning in person!

A domed penny, brass filigree and snippet of rhinestone chain, all soldered onto a brass disk, forms the centerpiece.

I know you are quicker on the uptake than my computer: add dapping to your jewelry-making vocabulary today! ~ Cindy

—————– postscript: —————–

We’ve gotten a bunch of questions about Cindy’s copper and brass “True” ring above, but she has moved away, so I’ll do my best to answer. The ring uses only 3 parts:

Texture the copper washer using this technique, or simply give it a nice hammered texture with a chasing or ballpein hammer. Stamp “true” on the disk following these metal stamping instructions or this metal stamping article. Then dap (dome) the washer and the brass disk, and glue them into the bezel ring with your favorite adhesive. Cindy used E-6000. ~Polly

Blog Home (Newest Tutorials)

How to use heat to patina brass charms and filigrees

March 31, 2011
bee charms, raw and with heat patina

One before and two after applying heat patina. Check out the rainbows on the middle bee!

Ah, brass. Beautiful brass. I love everything about using brass in my handmade jewelry … except its raw brassiness. Brass is affordable, easy to work with, and available in all kinds of fun charms and filigrees. And while giving raw brass an antique patina with an oxidizing solution such as Win-Ox really is not difficult, my favorite method of coloring brass is the torch! It tones down that brash brassiness to a beautiful warm glow that is infinitely more appealing to my eye.

bee charm torch

Torching the bee charm only took a few seconds.

Applying heat to give the metal a patina is so easy – and clean! No chemicals, no rinsing, no waiting! Sometimes you can even get shimmery rainbows to appear by holding the heat on for a few extra seconds. (The same process works to heat patina raw copper.)

Heat patina raw brass filigree

Raw brass filigree, before and after meeting the torch flame.

You all know to set up a heat-proof work area before firing up your torch. This can be as simple as a cookie sheet. Tie back your hair, wear safety glasses and just plain BE SAFE. Do your homework before you start. A great book that explains all the necessities for working with a torch is Soldering Made Simple by Joe Silvera.

Butane is widely available at hardware stores.

Don’t feel fired up to experiment? You can buy Vintaj natural brass jewelry components, most of which have already undergone a chemical-free process to give them their rich color.
Plated brass filigrees are also available. But I encourage you to try heat patina. It is the safest way to let your inner pyromaniac out to play!

Velvet ribbon adds a luxurious feel to this brass bracelet.

Here is a gorgeous brass jewelry example by Mollie to inspire you! She soldered a raw brass bee to a Vintaj connector to make this bracelet and used both heat and Win-Ox to patina the pieces. ~ Cindy

Want to keep that perfect heat/torch patina that you’ve achieved? Nikolas #2105 Clear Silver Lacquer is the product we’ve most often heard recommended by teachers and jewelers, to protect heat patinas and other colors on silver, copper, brass, and bronze. Follow the manufacturer’s instructions on the packaging, to seal and protect your jewelry. When properly applied to metal surfaces, it forms a coating that protects from oxidation, perspiration, sulfur, and abrasion.

Please note, that this item does require special hazardous shipping, so be sure to select UPS GROUND as your shipping choice during order checkout.