They are also a great way to showcase cool found objects such as vintage buttons or foreign coins. Even the most novice crafter will be able to create one of these fun, mixed media pieces!
Disk and loop bracelet blanks are the perfect way to make custom gifts for friends or family!
So whether you want to start giving everyone handmade personalized gifts this year or you want to have a ladies craft night, this project is perfect. I experimented with several different ways to customize these glue-on bracelet blanks.
Button Bracelets
One way to customize them is with buttons and found objects! Whether you have vintage buttons lying around, or you grab a few pretty ones here or at the fabric store, buttons are great! I like to mix and match different buttons and sprinkle in some Swarovski Flat Back crystals for a little added bling!
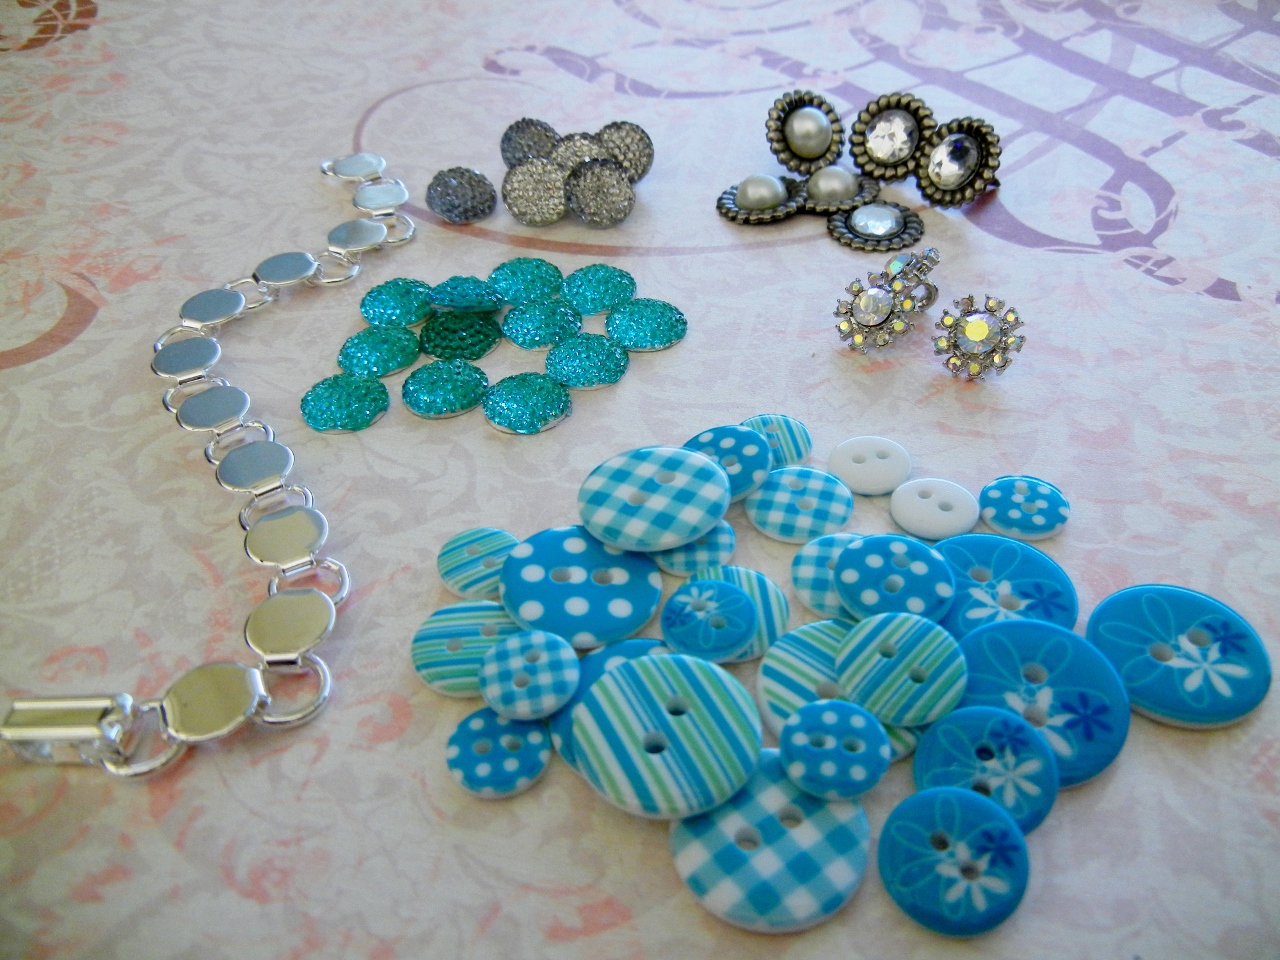
All of these buttons I picked up at the local fabric store fairly inexpensively. You can also sometimes find cool button-like pieces in the scrapbooking section of craft stores.
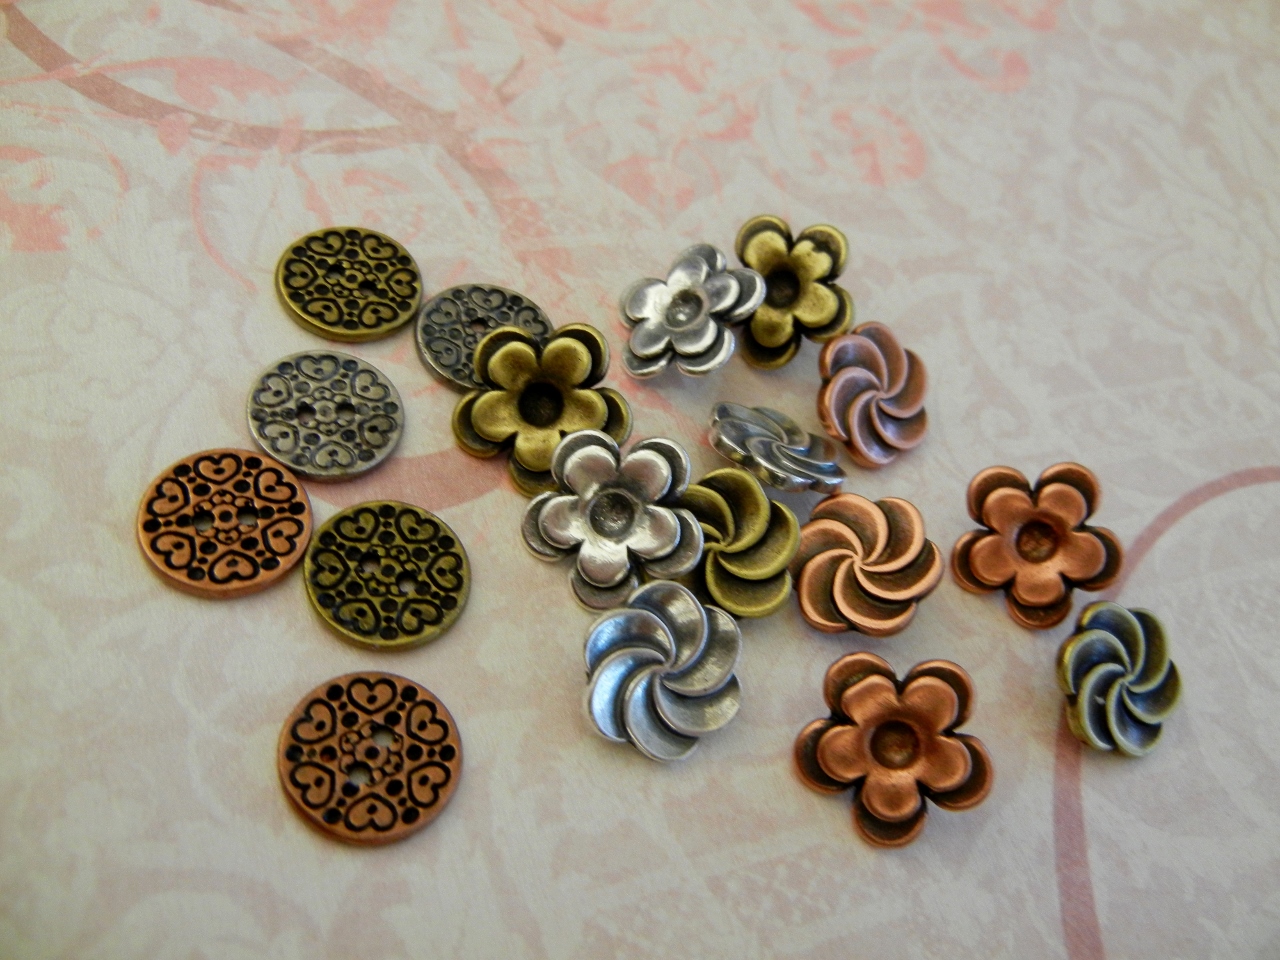
Rings & Things carries a variety of antique brass, antique copper and antique silver buttons that look awesome on disk and loop bracelets and add a lot of texture!
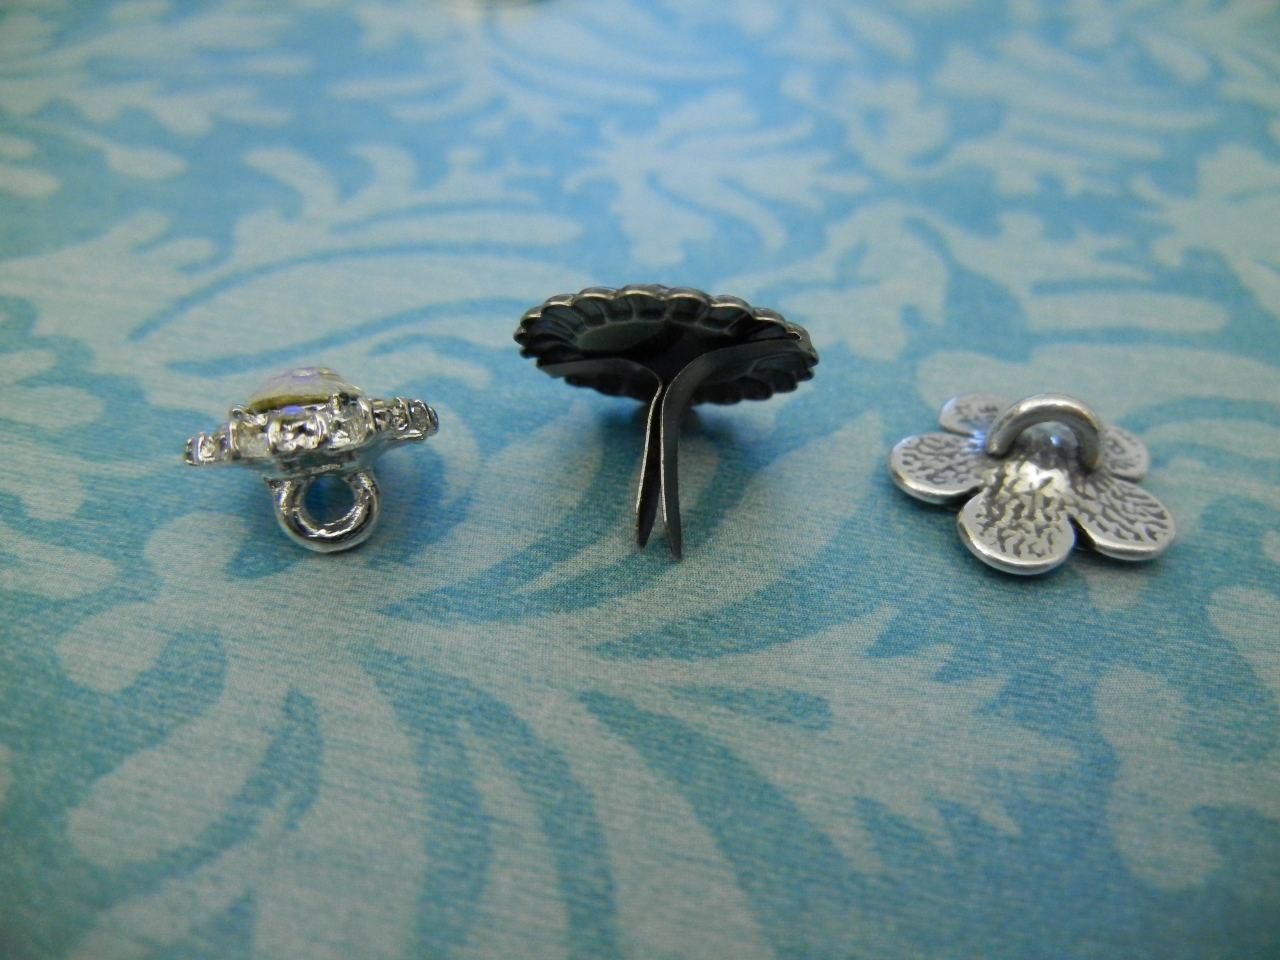
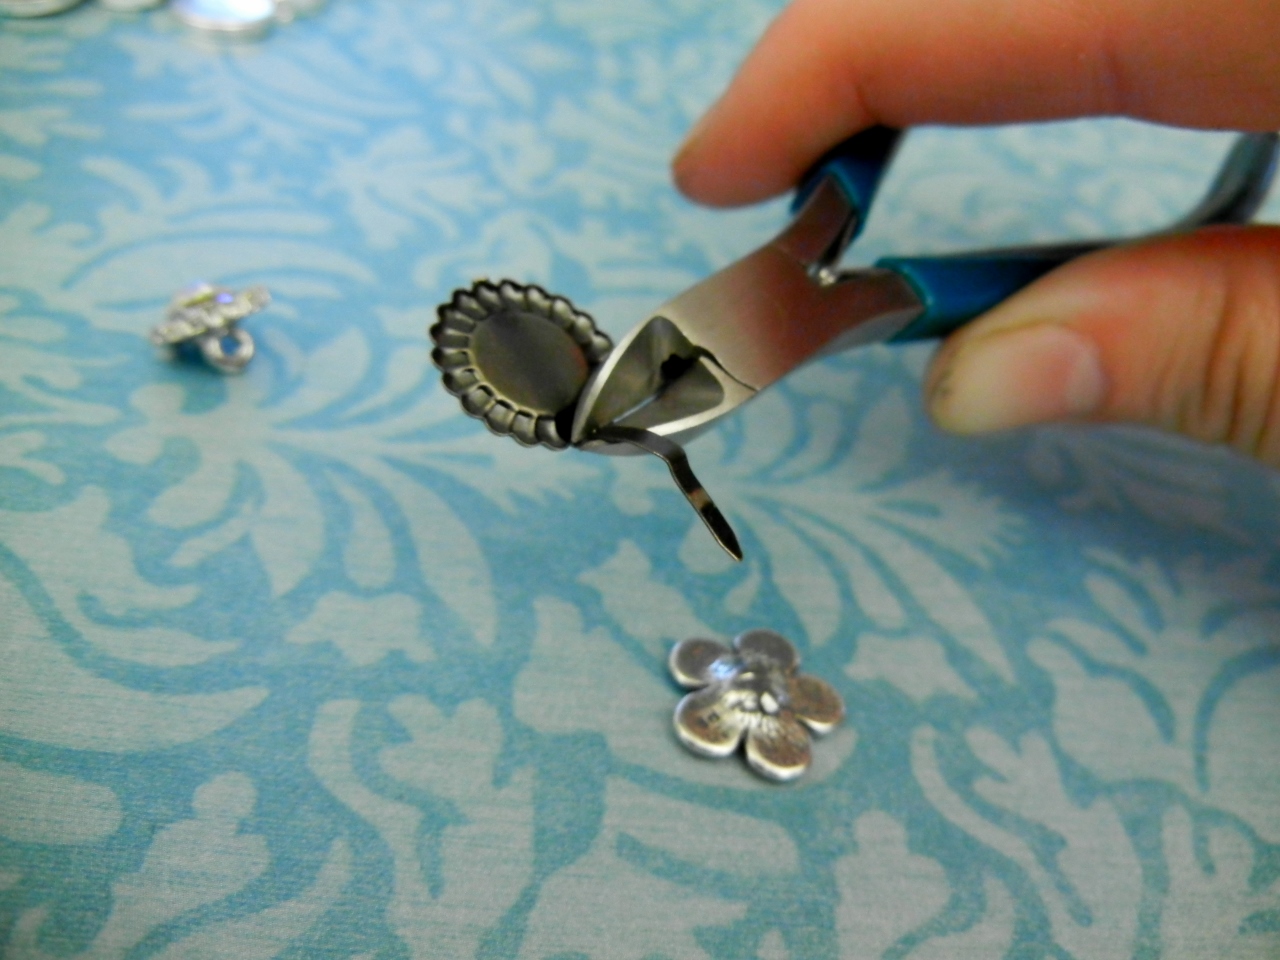
On the left is a button from the fabric store. In the middle is a scrap booking brad, and on the right is silver plated flower button from Rings & Things. They all need the metal trimmed from them so that they can be glued onto the bracelet blanks. Buttons with holes can generally be glued as-is without having to remove any shanks.
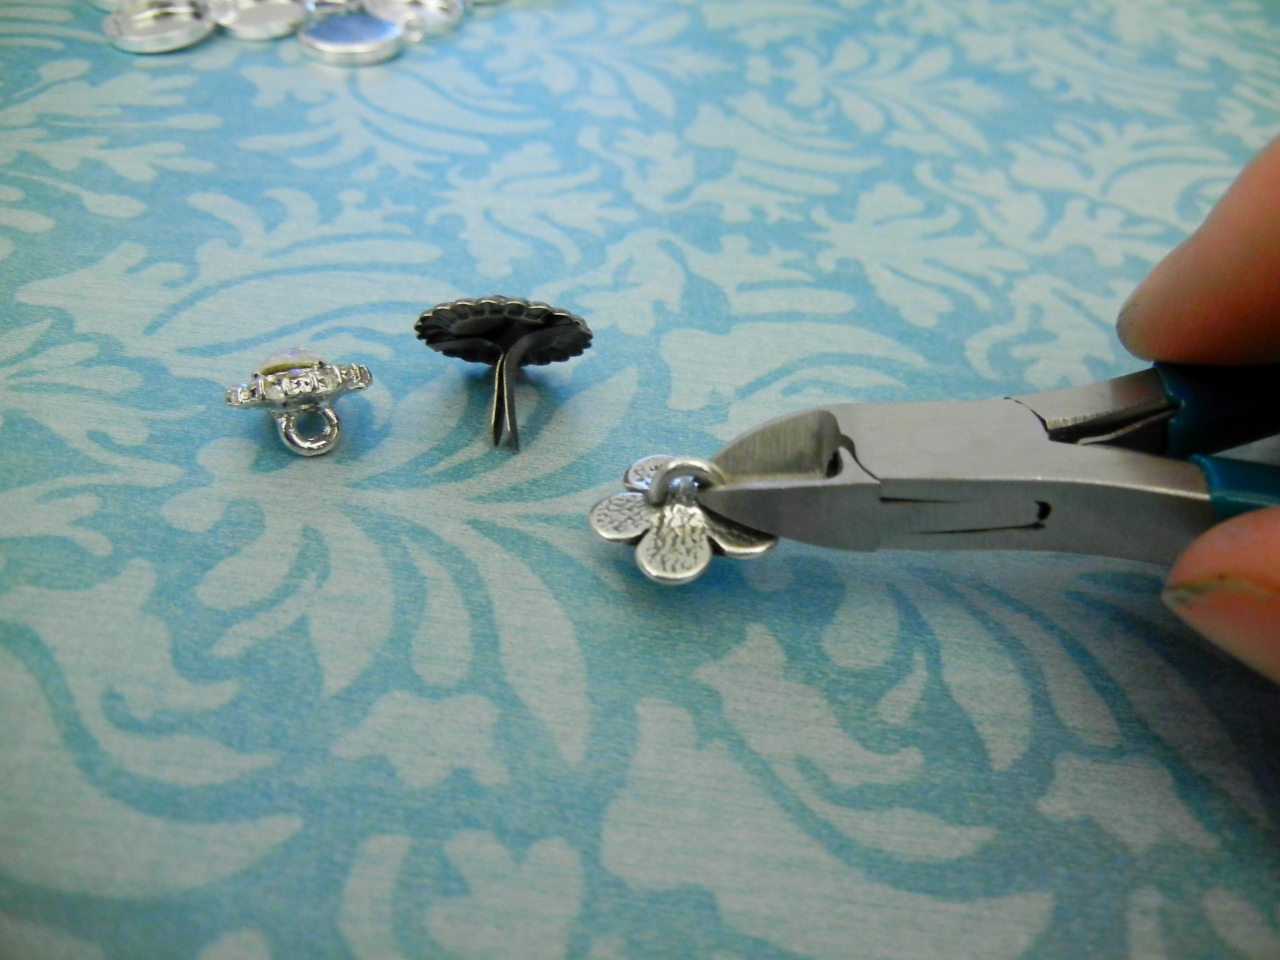
Snip off the metal parts with your wire cutters.
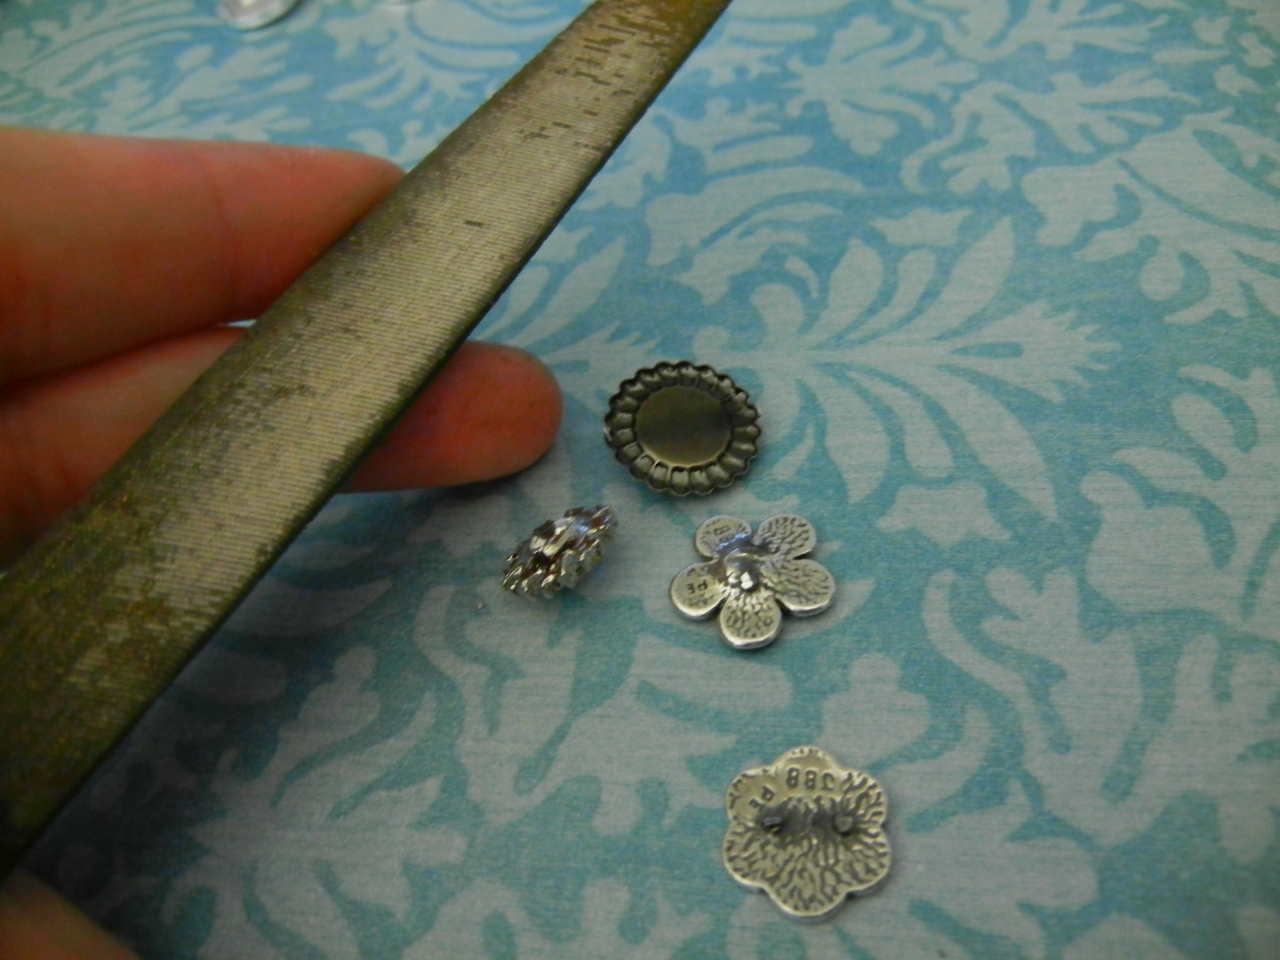
Use a metal file or sandpaper to smooth down the metal edges and make the pieces flat enough to glue.
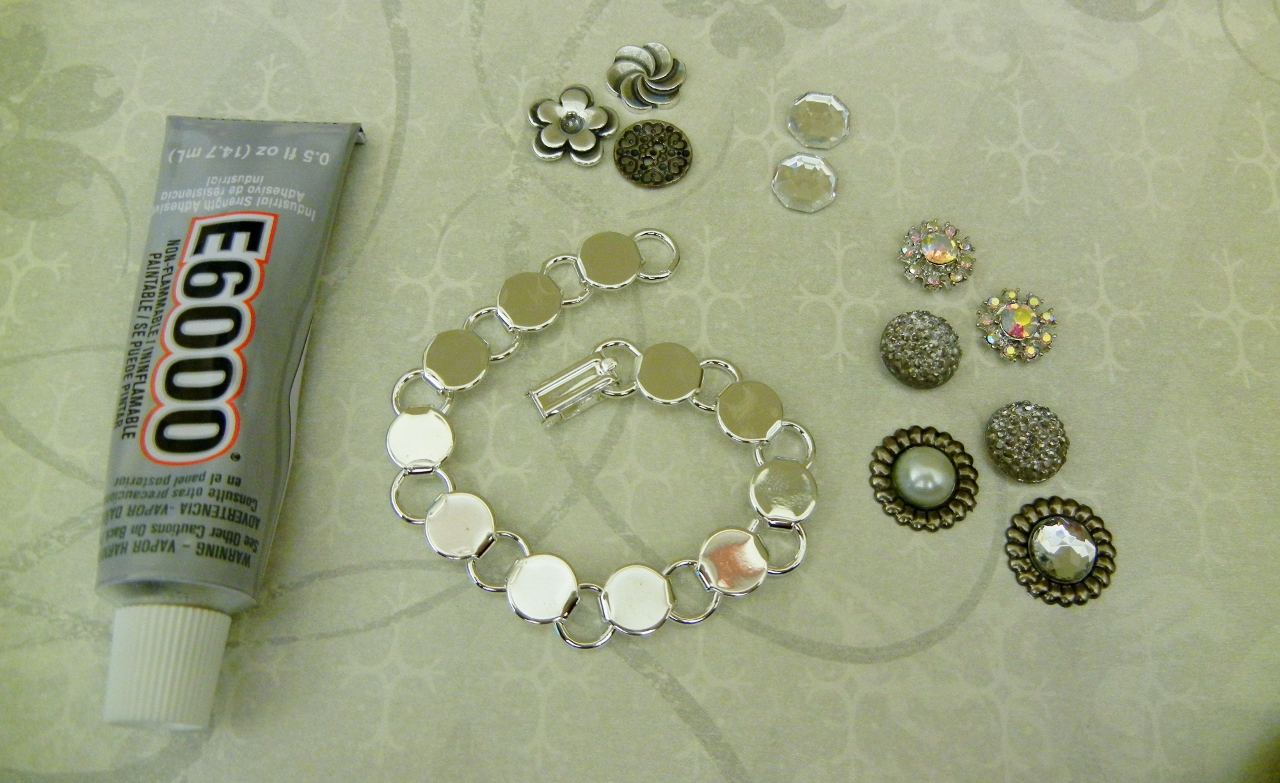
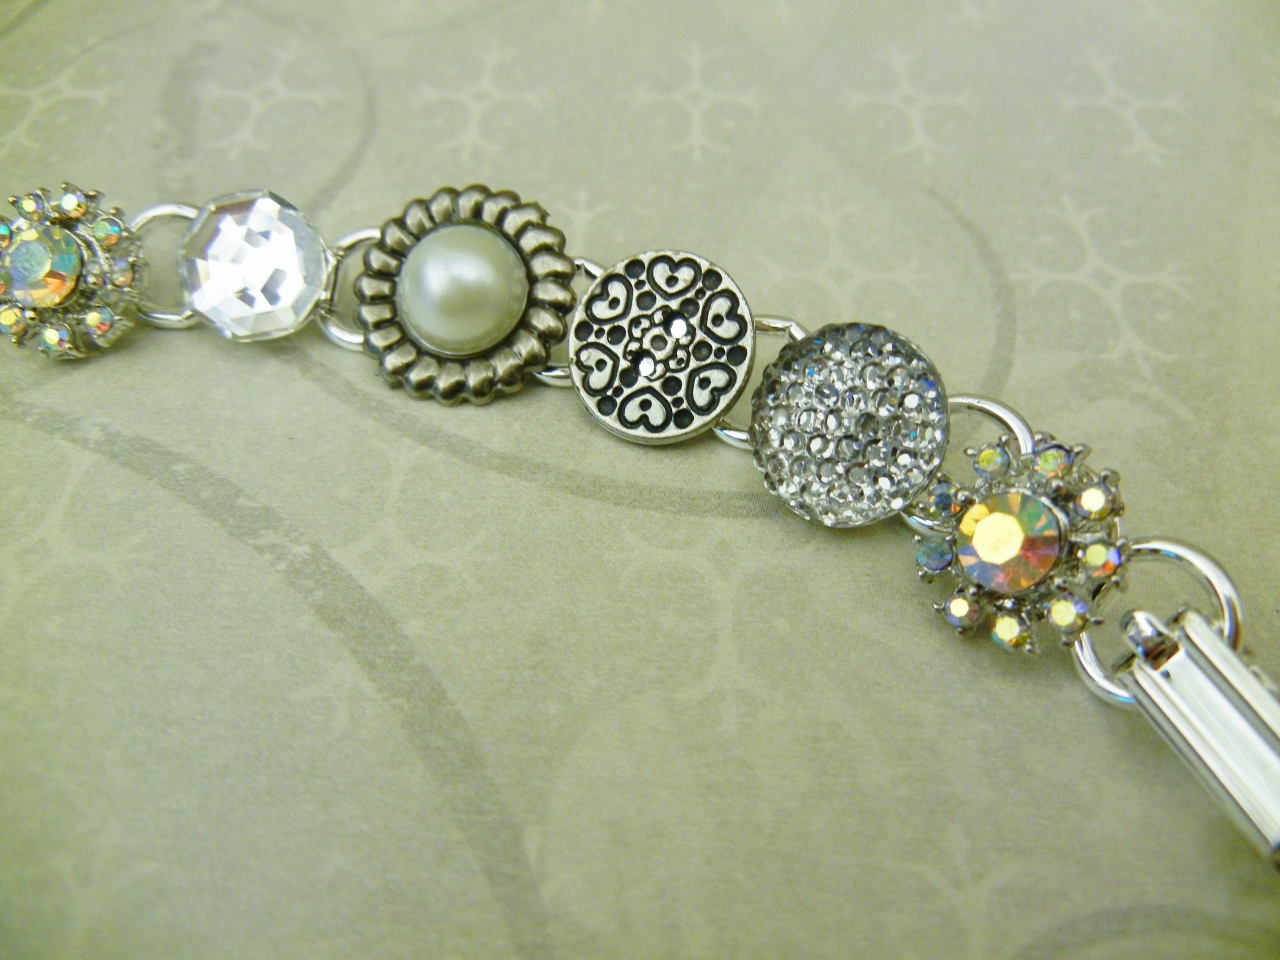
Decide on a color palate! I decided this one would be silver and white. I added a couple Swarovksi crystal flat backs to the mix for a nice eclectic look. Use a heavy duty crafting glue to glue the pieces. I like E-6000.
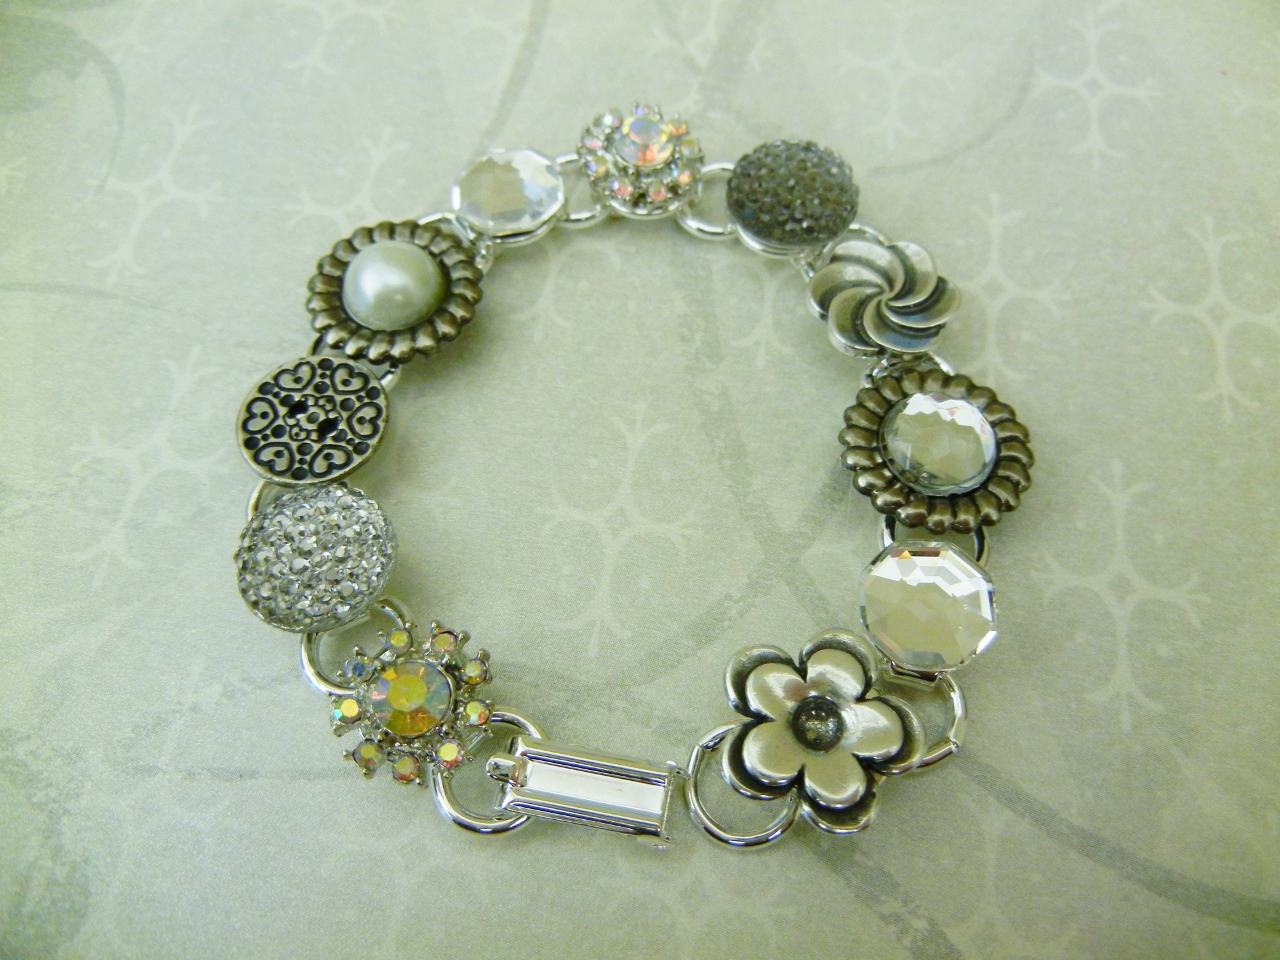
This bracelet combines rhinestone buttons, antique silver buttons, acrylic textured cabochons, Swarovski flat back crystals, and antique silver and crystal or pearl scrap booking findings.
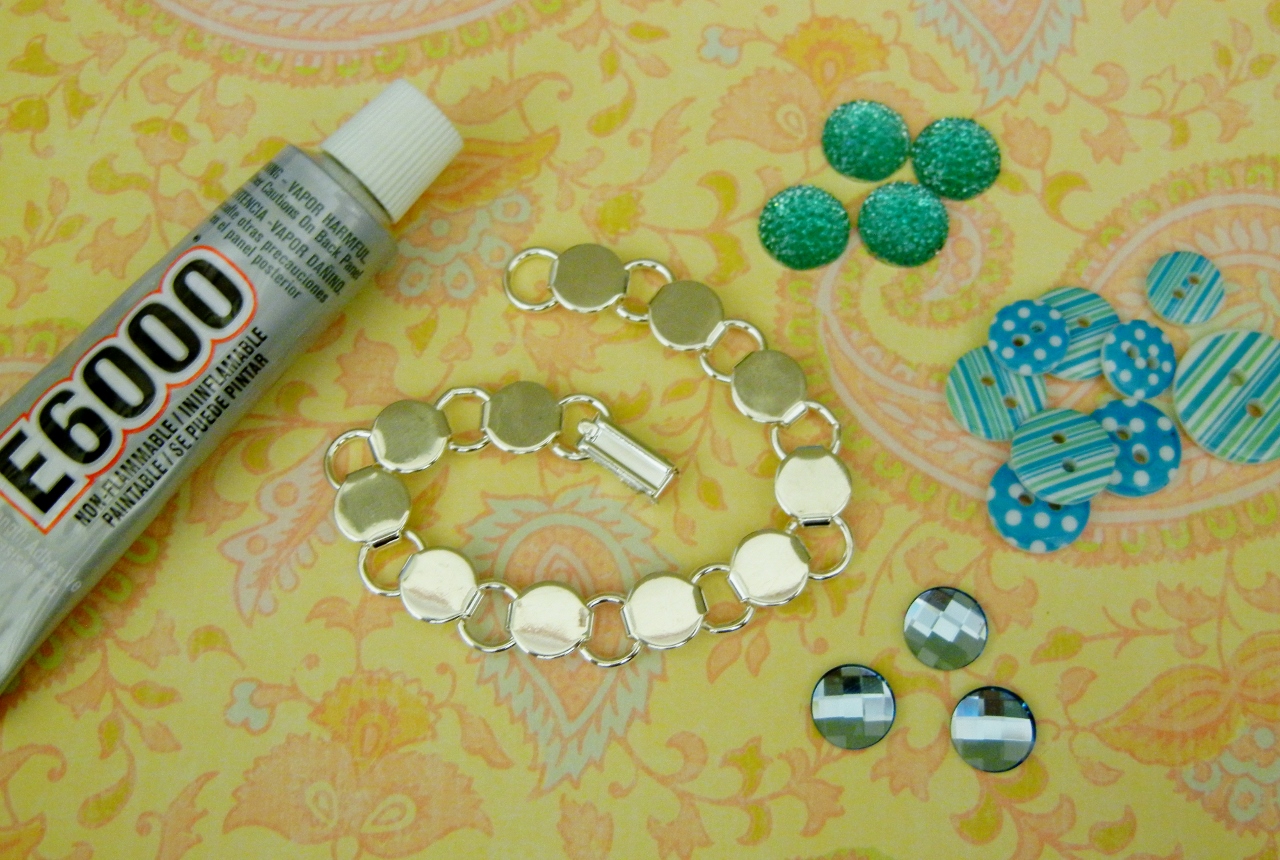
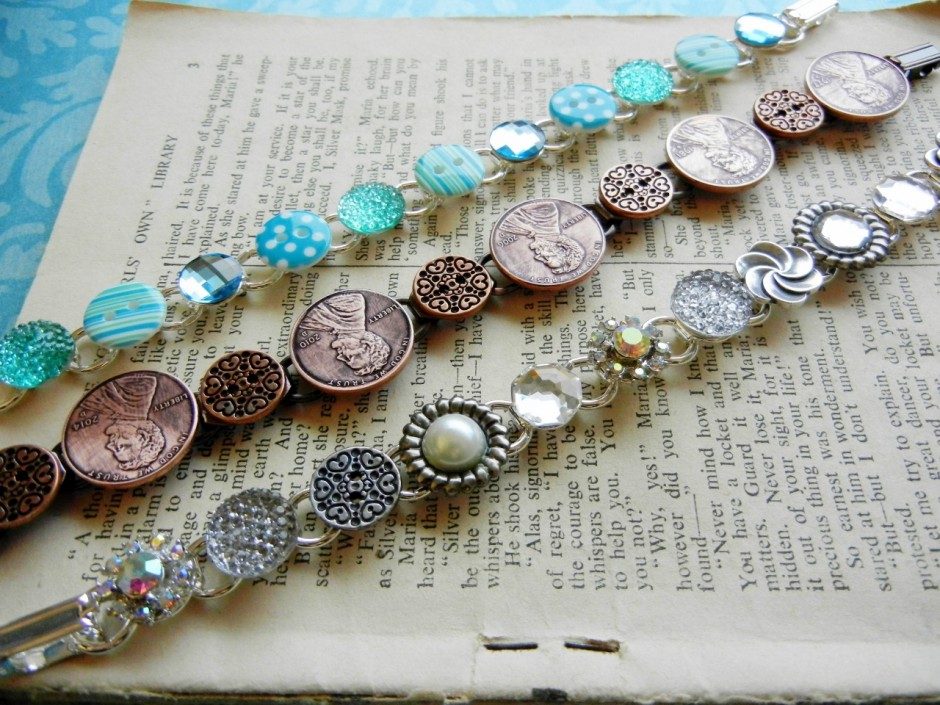
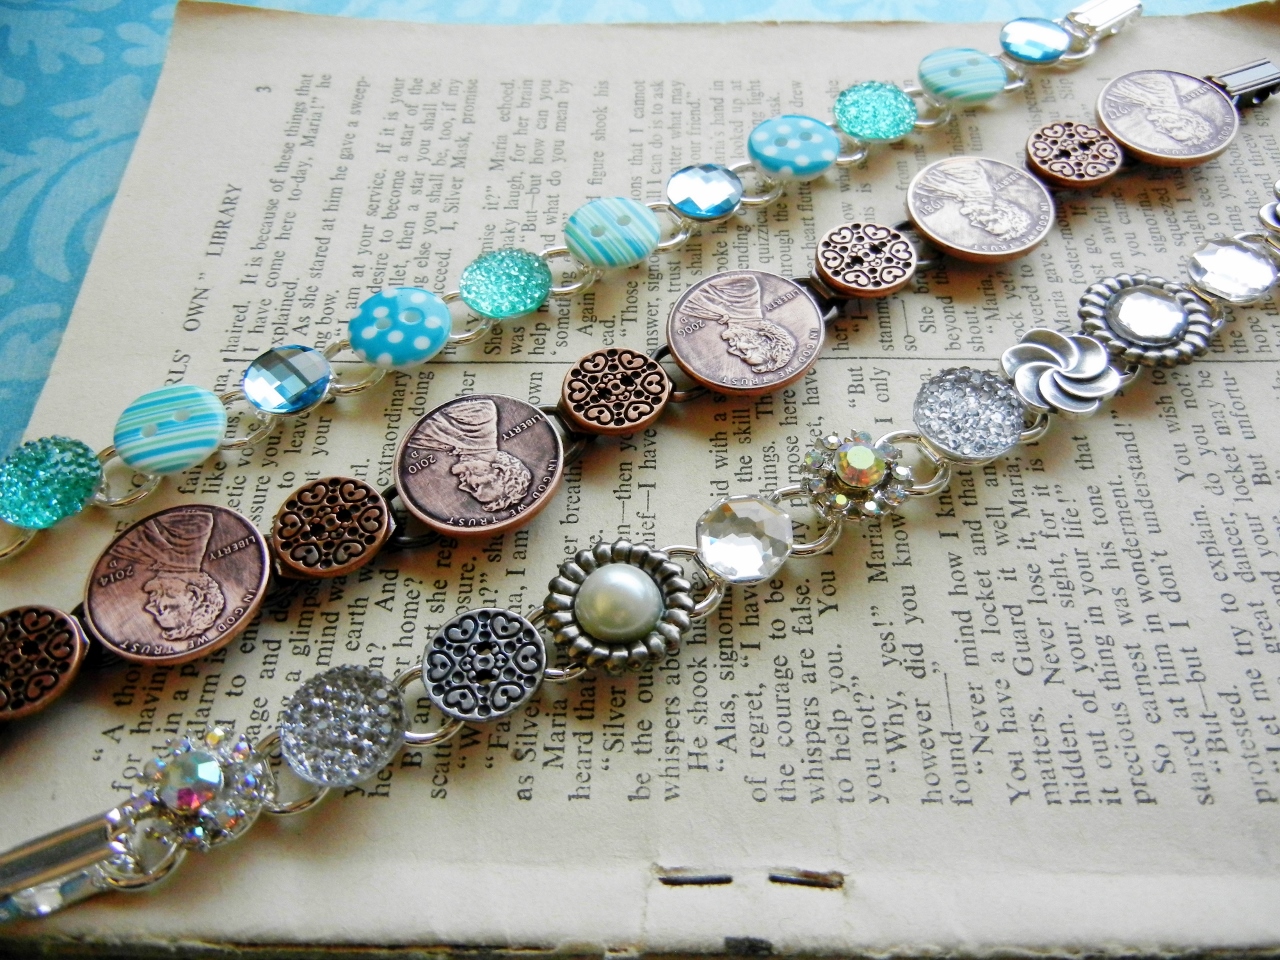
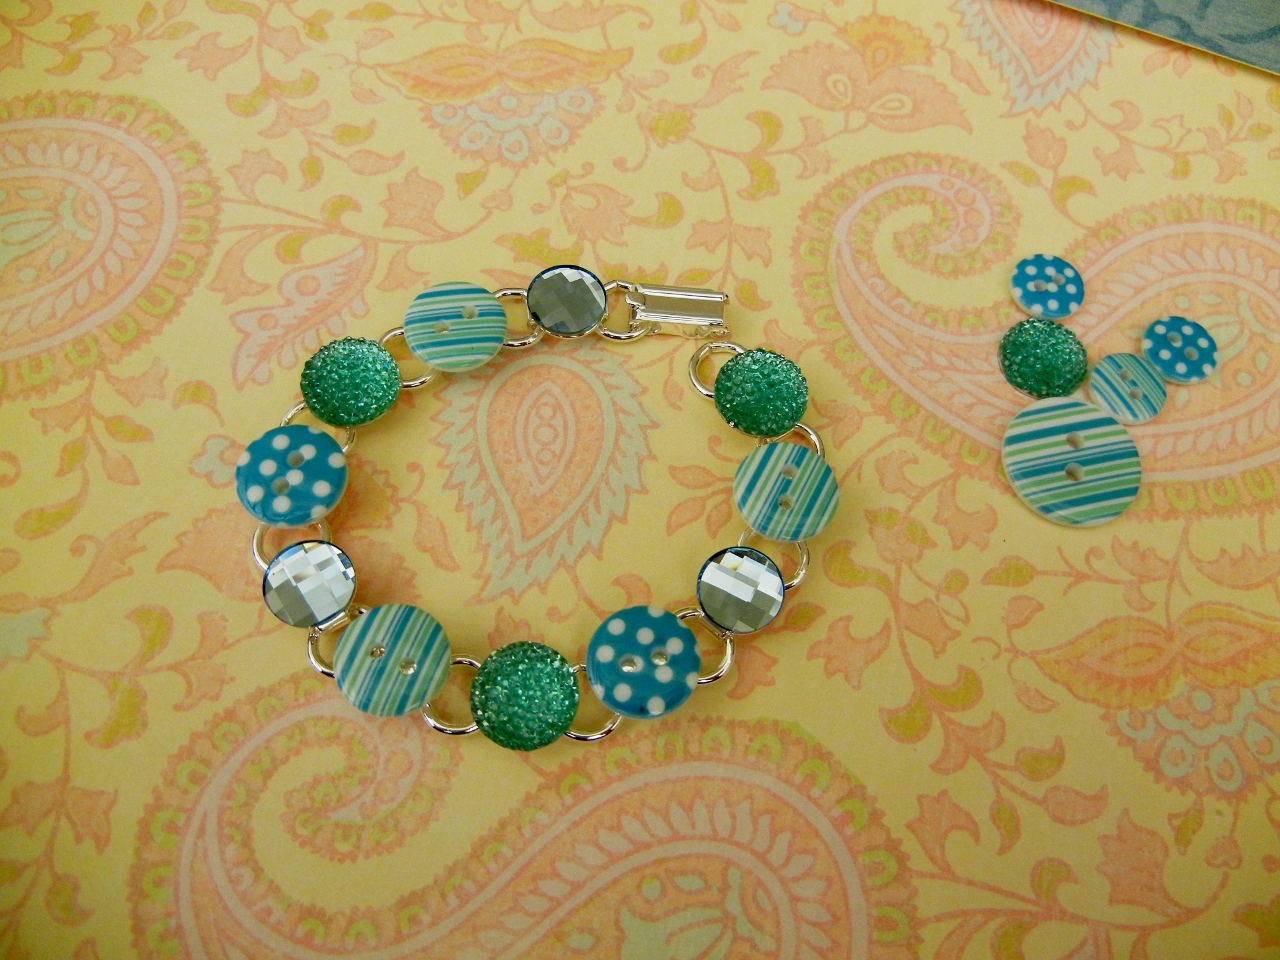
I also did one with pretty shades of blue and teal! I found this bag of mixed blue and teal buttons at the fabric store and paired them with aquamarine Swarovski flat back crystals and teal acrylic scrap booking cabochons.
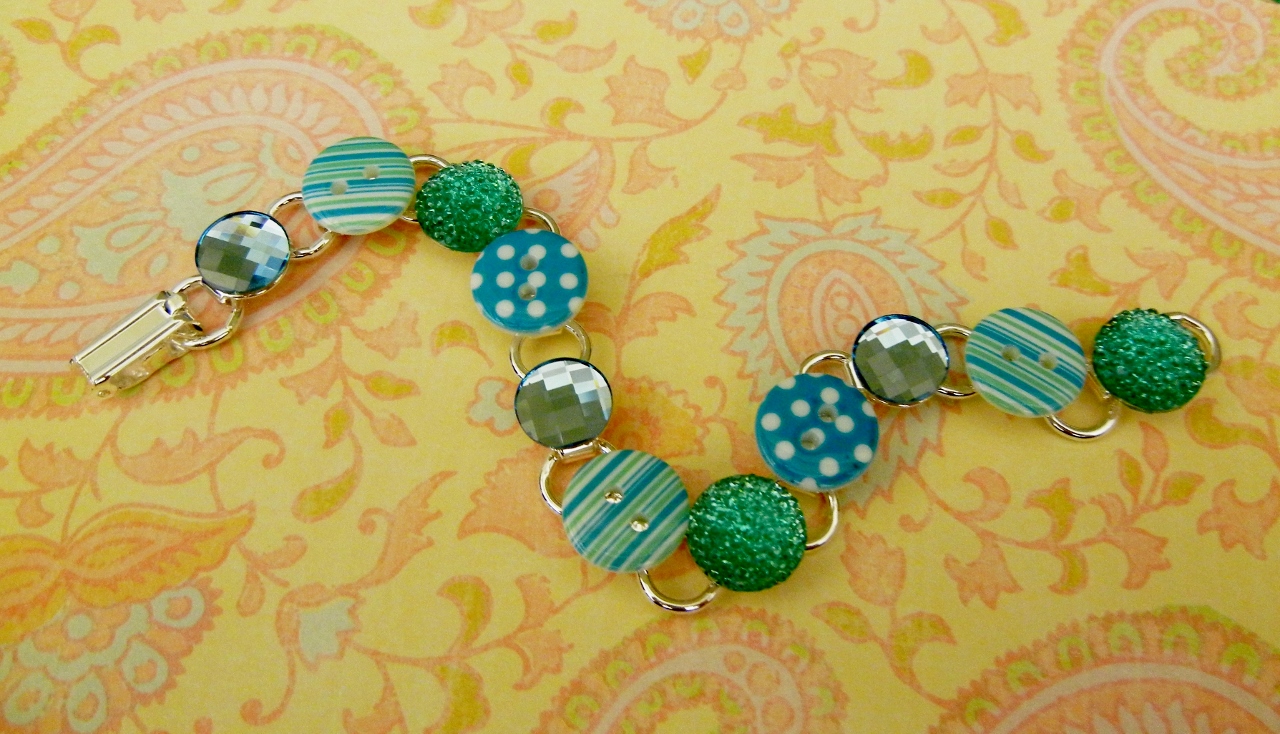
I love all the patterns on this one! Stripes, polka dots, sparkly grids on the Swarovksi crystals and bubbly on the cabochons.
Custom Penny Bracelets
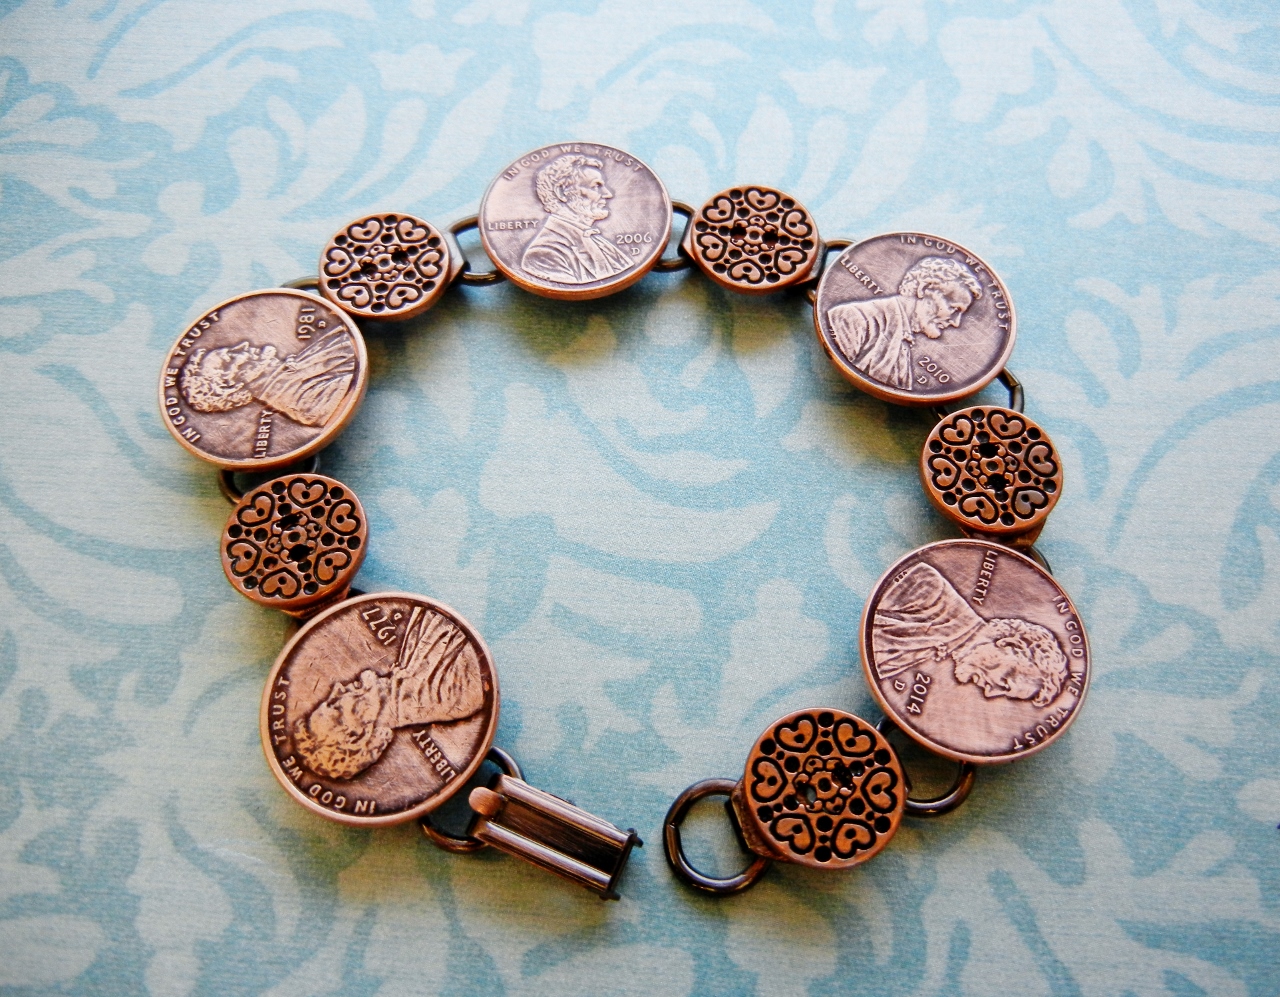
Once I started dabbling with these disk and loop bracelets, the ideas just started coming to me! I thought it might be cool to make one that had pennies on it, one with the birth year for every member of a family. What a great gift for mom! To do a penny bracelet it is very easy!
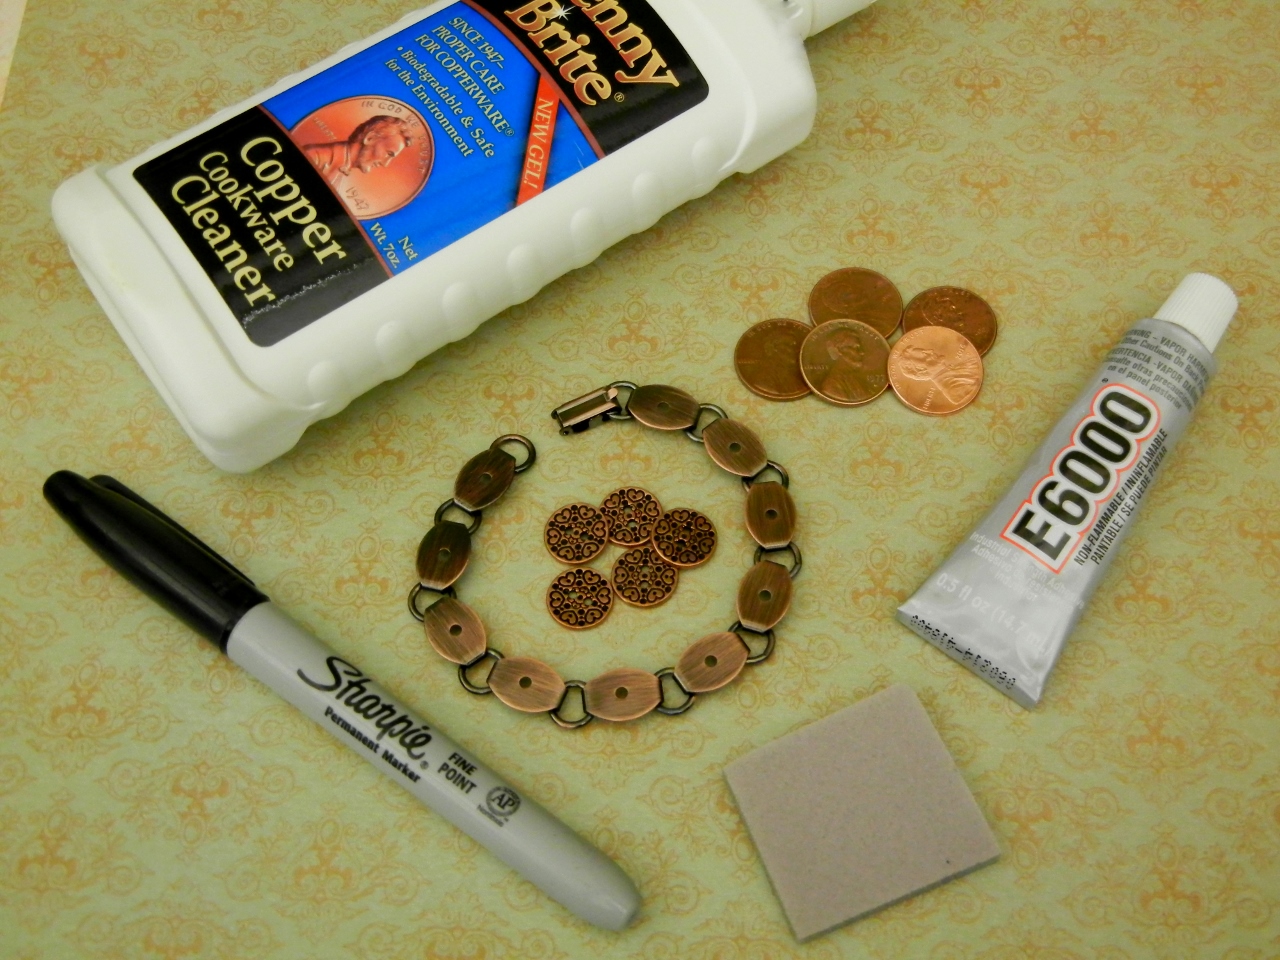
Because pennies are a little larger and copper, I chose the oval antique copper disk and loop bracelet. Find pennies that match the years you want. For this family, the pennies are Dad (1978), Mom (1981), and the kids, 2006, 2010, and 2014. Also, to make the details on the pennies really pop, I recommend cleaning them with Penny Brite. It will make them shiny and brand new looking.
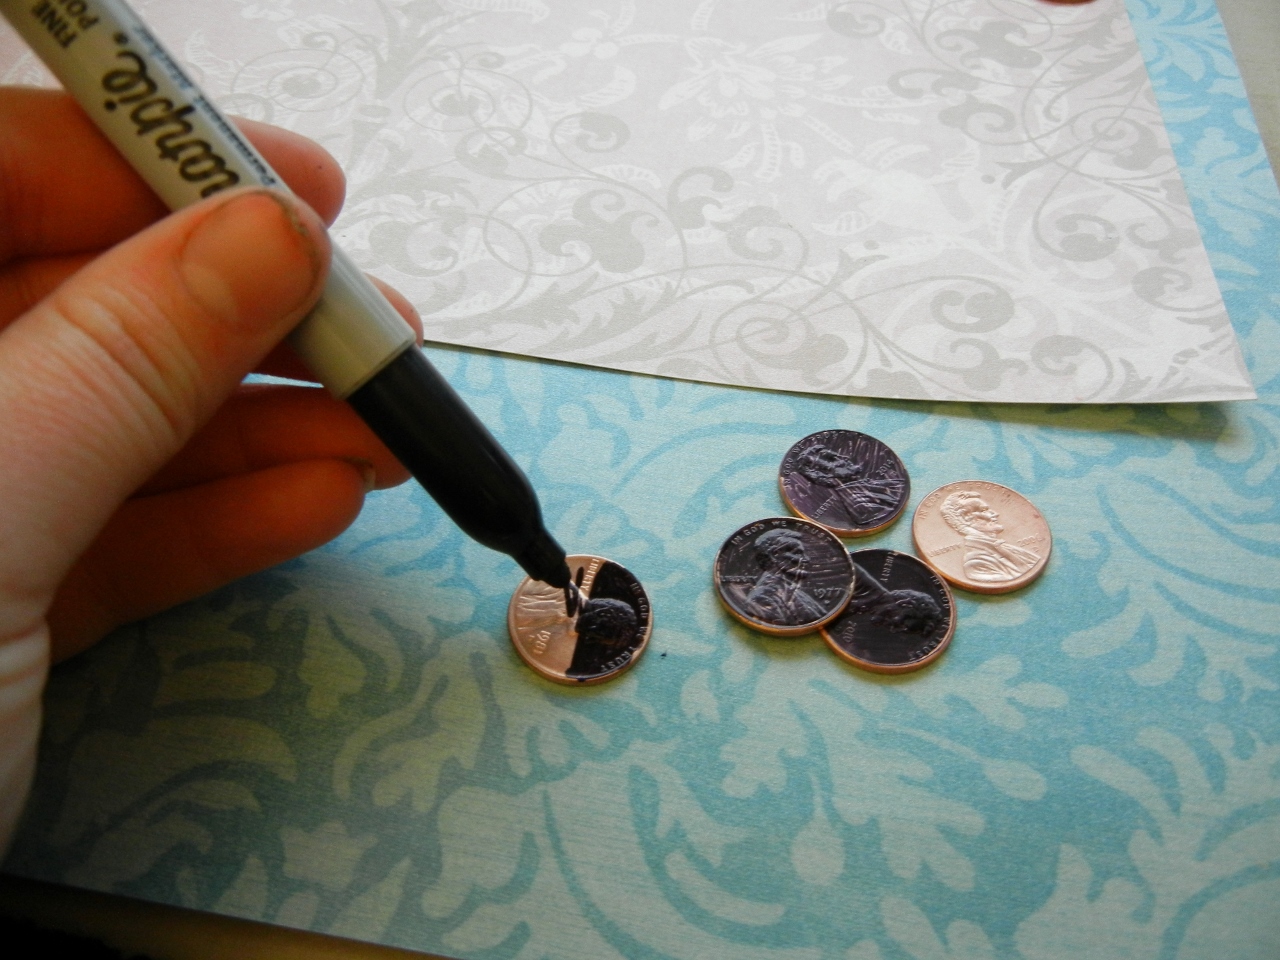
After cleaning the pennies, cover the surface with permanent marker to antique them. When done covering the top surface with ink, buff off the ink from the high points, so that the black ink only remains in the recesses, making the dates and patterns pop!
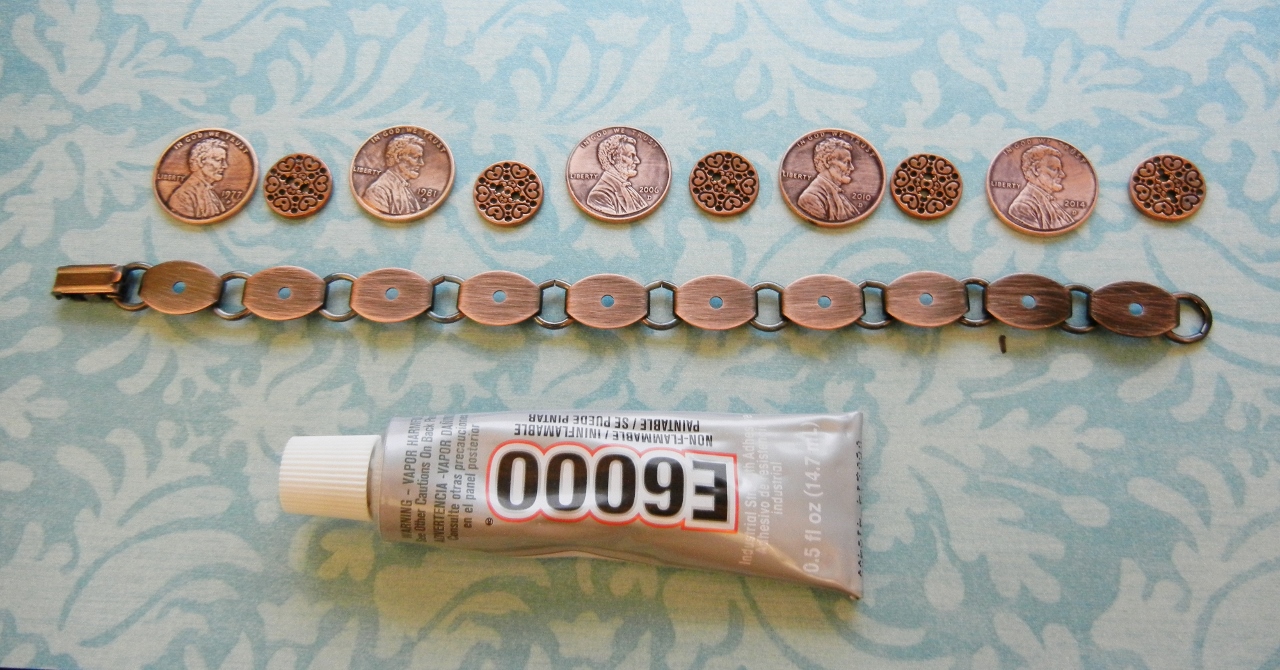
Lay out the pattern before you glue to avoid mistakes. In between the pennies, I used adorable little antique copper buttons.
Custom Map Bracelet
I thought I was gonna be done after the 3rd one, but I couldn’t help it, I had to make one more! I got the idea to use maps in the bracelet. I used a Washington road map and picked some of my favorite places. Then I sprinkled in some Swarovski crystal flat backs and apple charms, because we are, after all, the apple state!
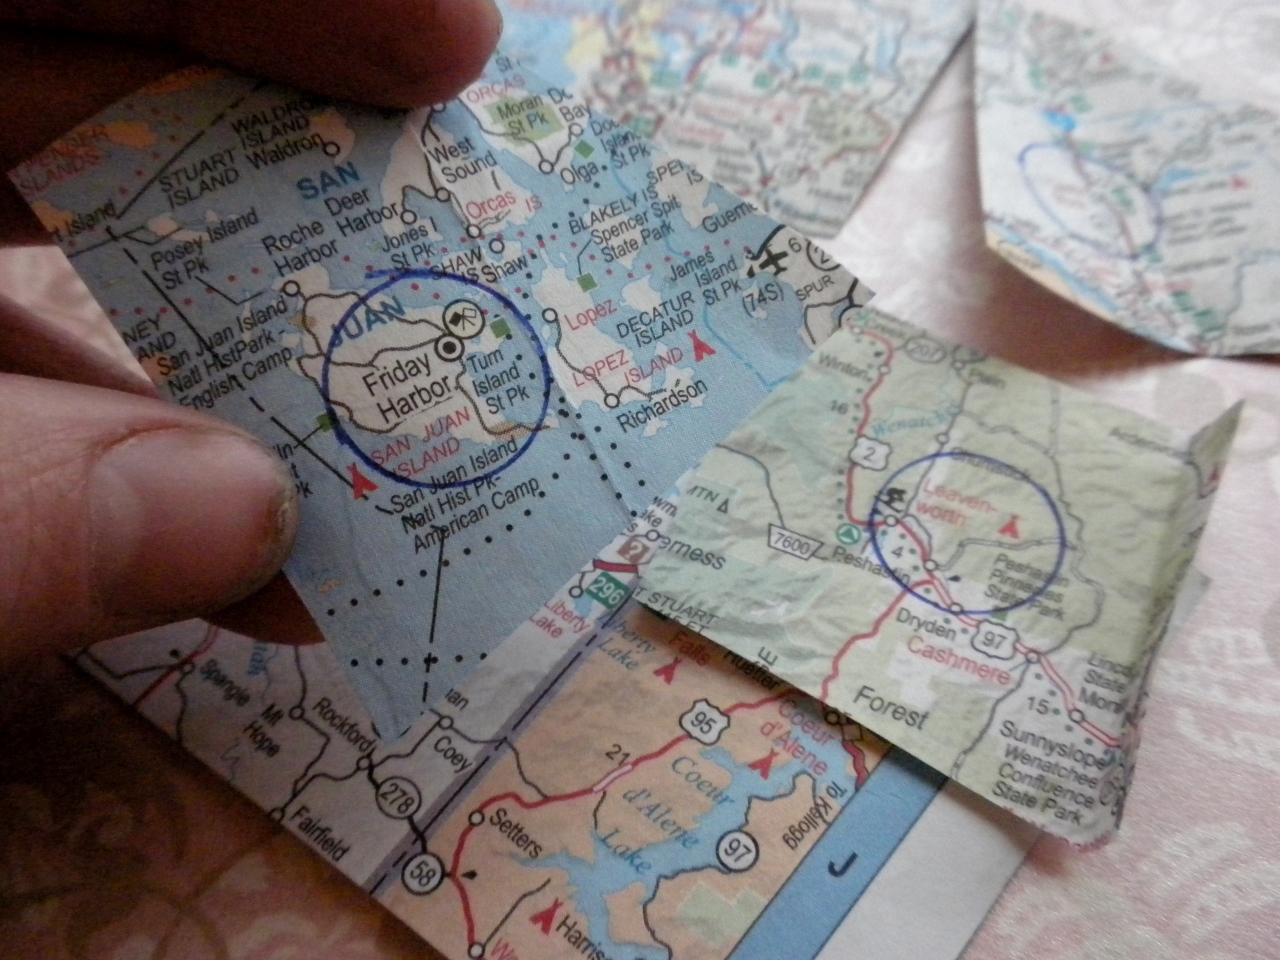
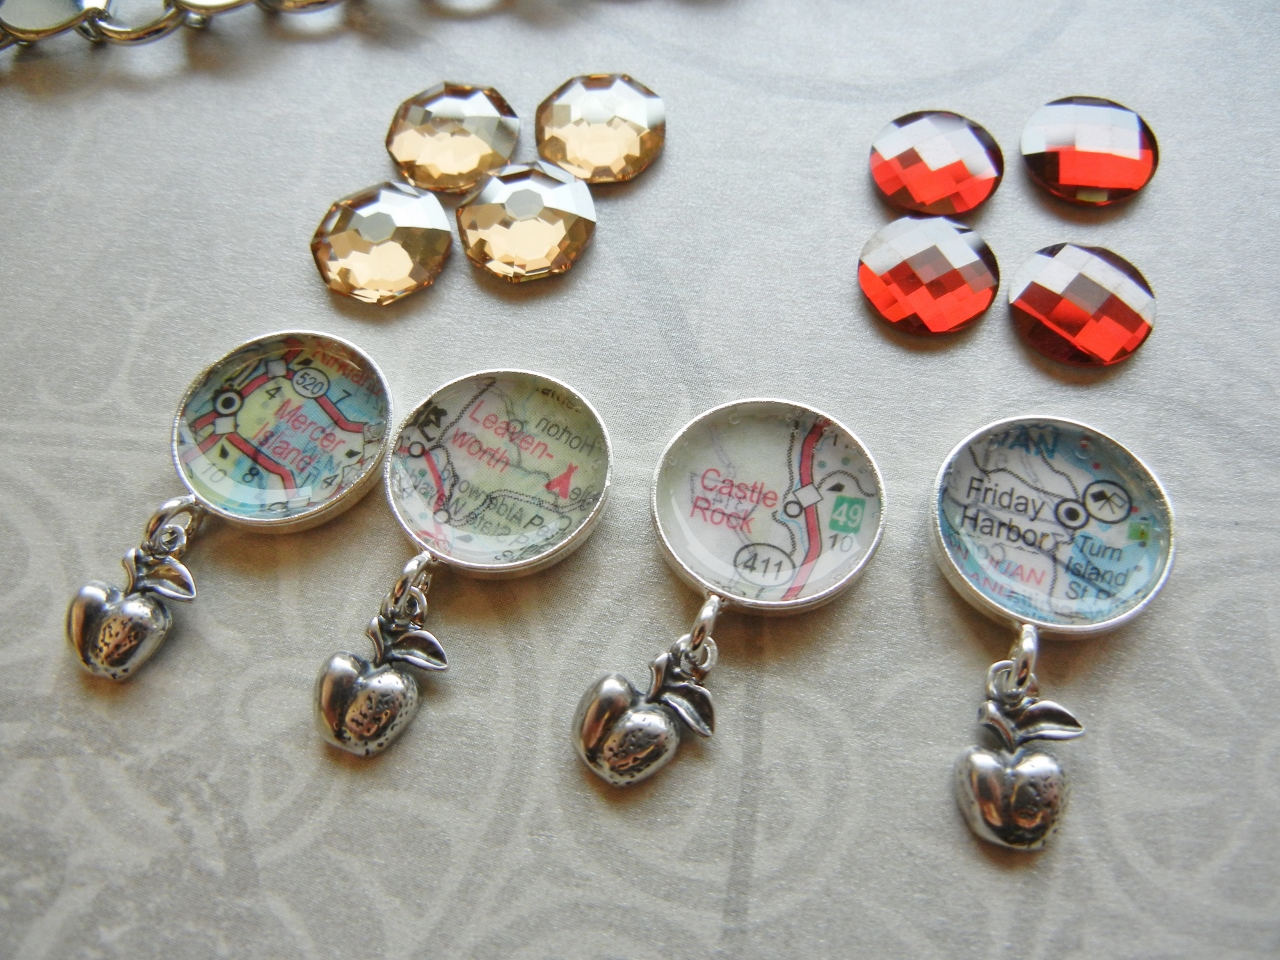
I am using 15mm bezel cups for the maps, so I traced around them on the cities I wanted to highlight.
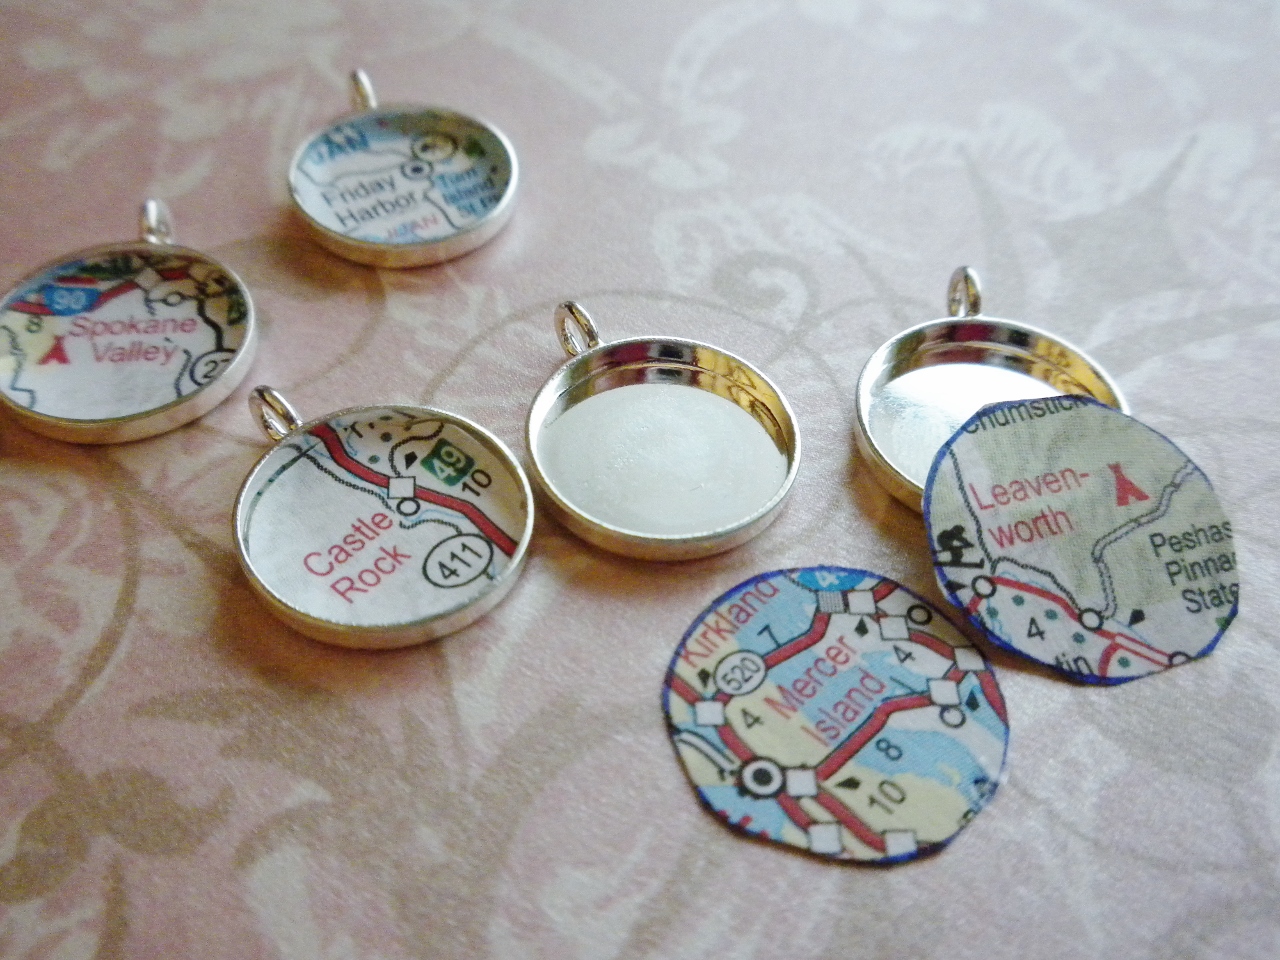
Then I cut out the map circles with scissors, trimming until the pieces fit into the bezel cups.
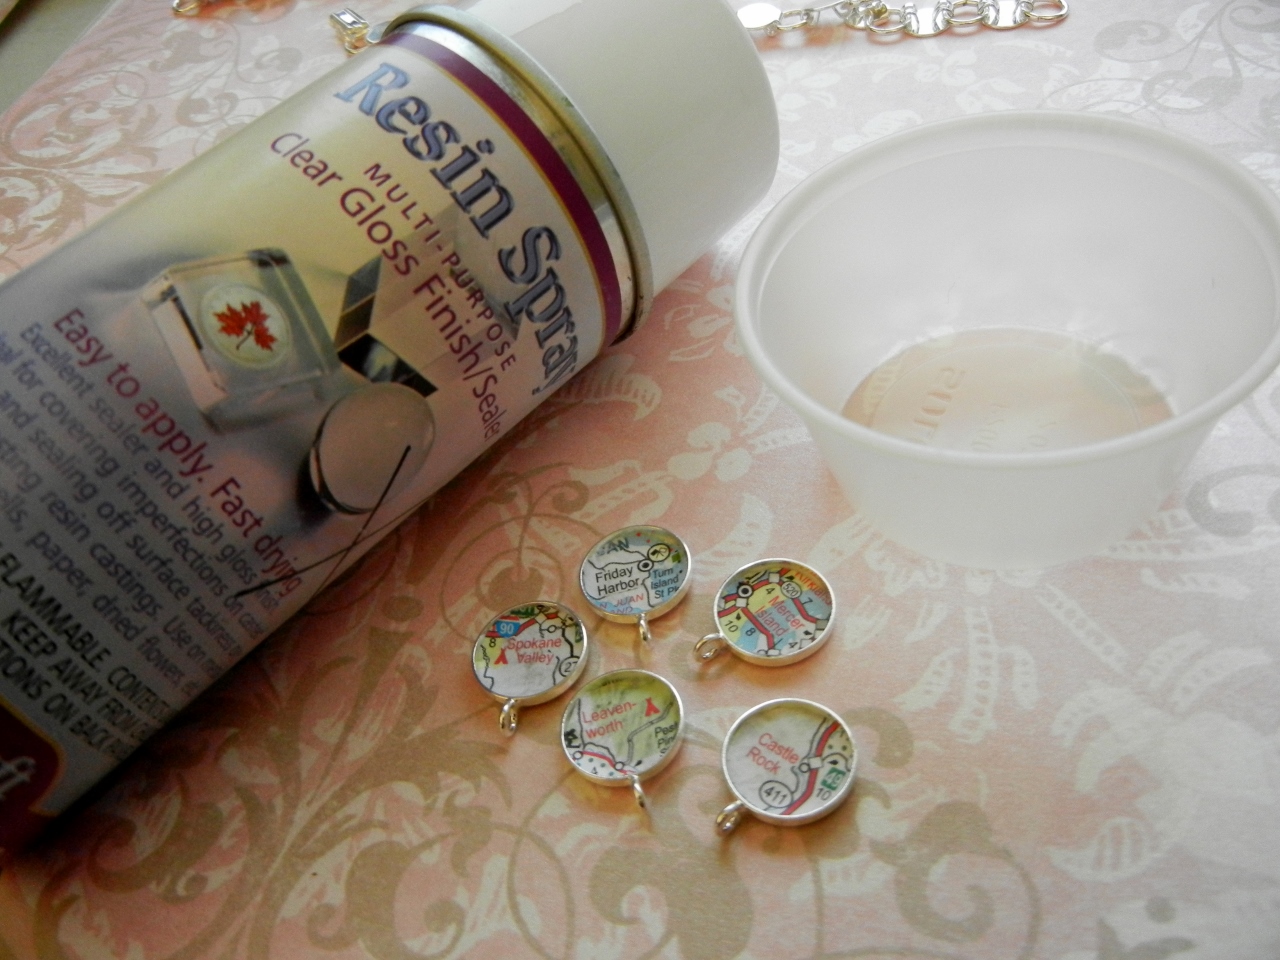
Next, put the map pieces into the bezel cups and then seal them by painting them with Elmers glue. Once the glue dries you can add the resin. I didn’t want to fuss with mixing a two-part resin, so I used resin spray instead. I sprayed enough into a small disposable cup, so that I could pour it into the bezel cups. I let it dry for a couple hours, then added another layer and let that layer dry for a couple hours.
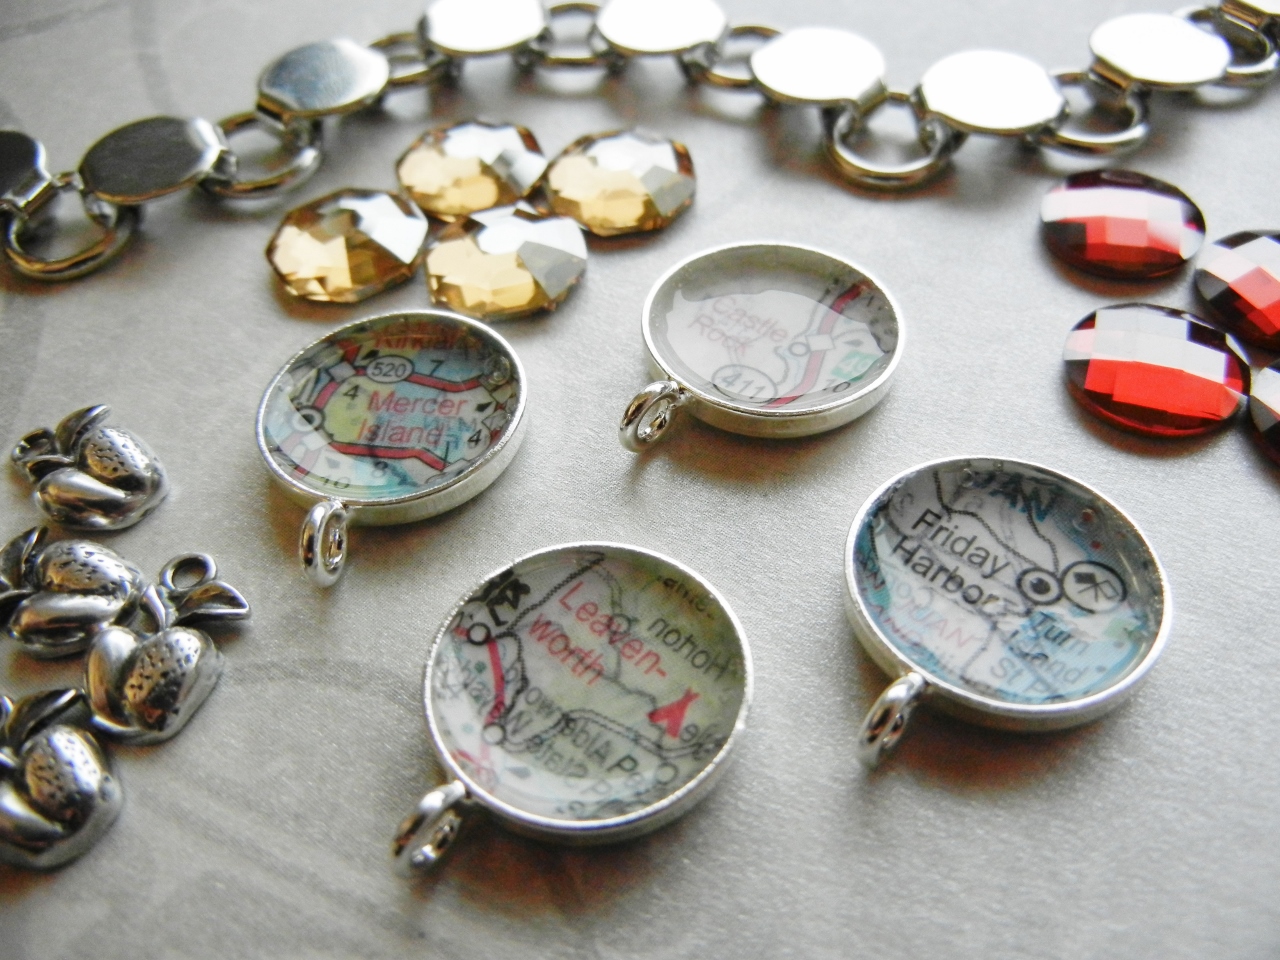
Once your map pieces are ready, pick some items for the other spaces on the bracelet. I picked more of those Swarovski flat backs because I LOVE them! I used two different styles, one in golden shadow and one in red magma.

I added small apple charms to the bezel loops. I made a small cut on the loop of the charm and then opened the loop enough to attach it to the bezel cup. Then I closed the loop to secure it.
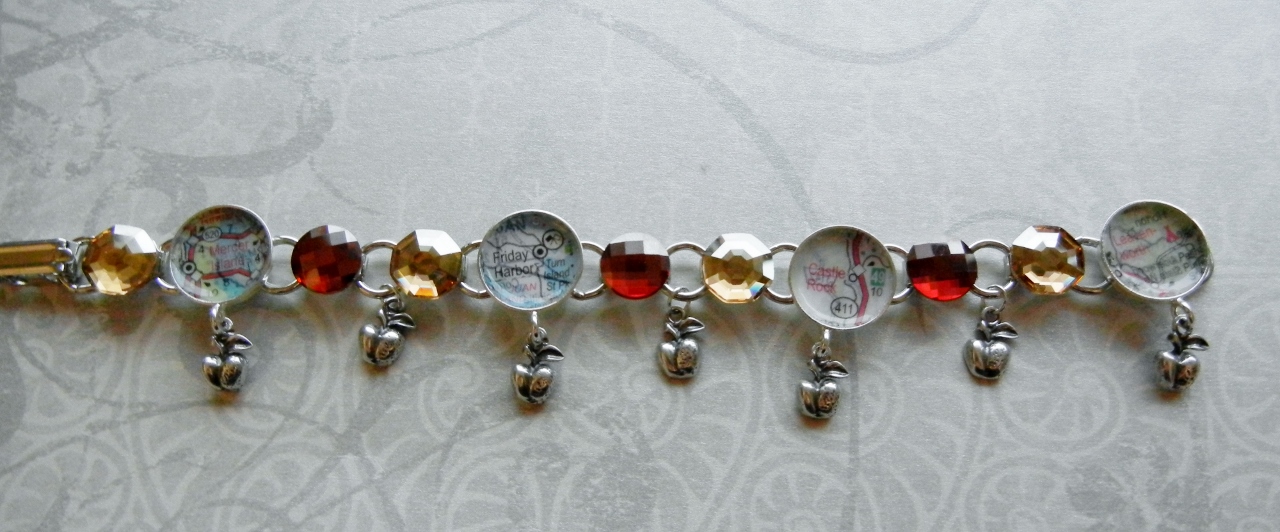
After I put the bracelet together, I realized it needed more apples! So I attached more apple charms directly to the loops on the bracelet blank.
And there you have it! Here are all four of my disk and loop bracelets! I hope you are excited about all the possibilities! I think this would be a great project to do with all my girlfriends and a little wine. Also, check out the other designs below for more ideas!
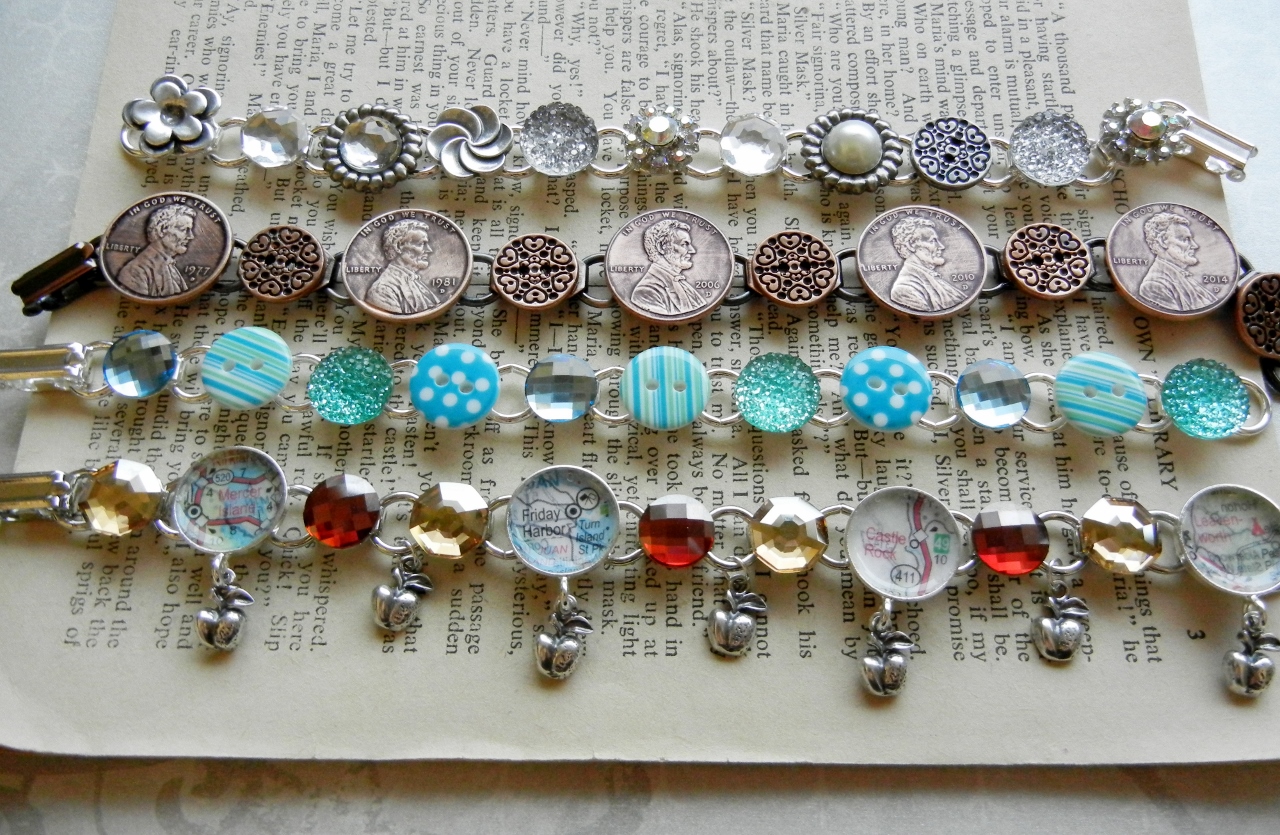
From top to bottom, silver button bracelet, custom penny bracelet, blue and teal button bracelet, Washington map bracelet.
Check out our design gallery for these designs as well!
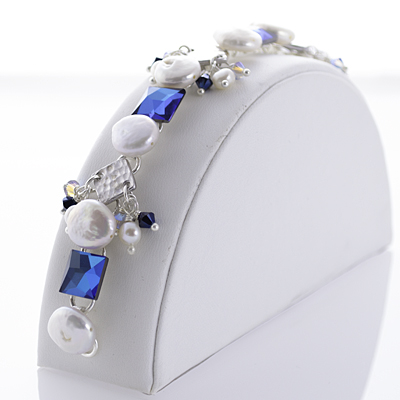
Winter in Bermuda Bracelet Tutorial by Amy Mickelson.
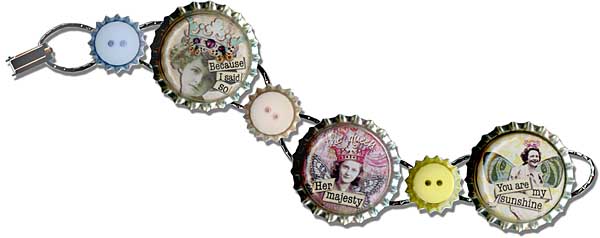
Crowned Bracelet Tutorial by Rita Hutchinson.

Cute as a Button Bracelet Tutorial by Claudia Crosby.
Well, happy bracelet making!
~Tiffany



5 Comments
Very nice tutorial! Thanks for sharing 🙂
loved your button bracelets.iv’e been making them with antique
buttons, you gave me an idea for a map bracelet.
Thanks
Fantastic! I have 100’s of vintage and antique buttons, and I can’t wait to try this.
Thanks so much.
Lori
I just love the vintage jewelry parts and antique buttons idea! I will certainly be gifting these for all occasions in the coming year. I’ll also be giving out birth year coin bracelets. That idea is just fabulous! My grandbabies will love those! Thanks for the “new” ideas!
I adore the idea of using the map!