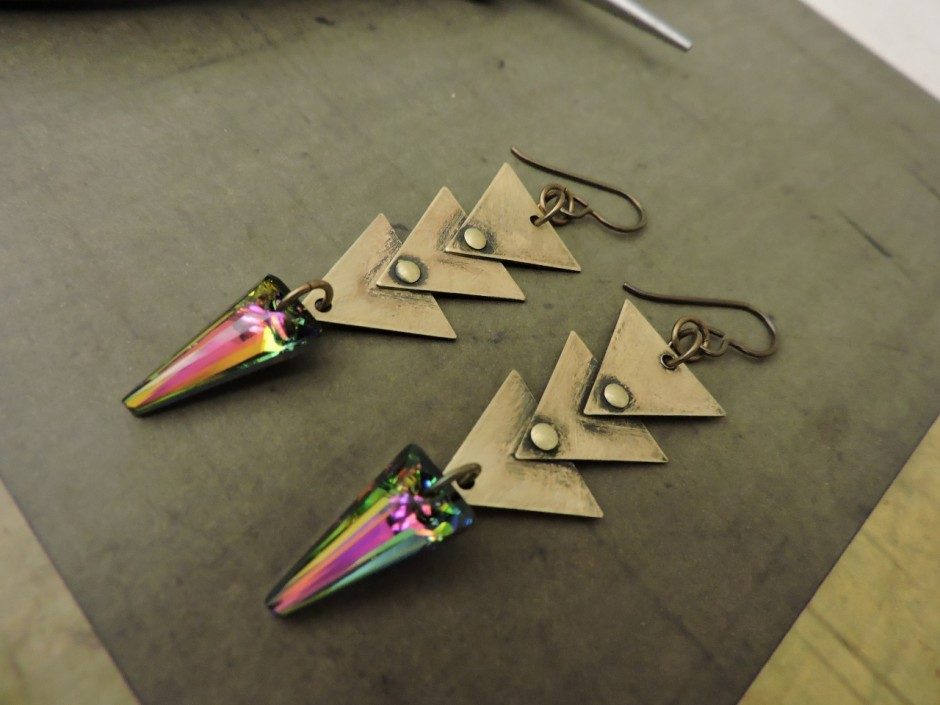
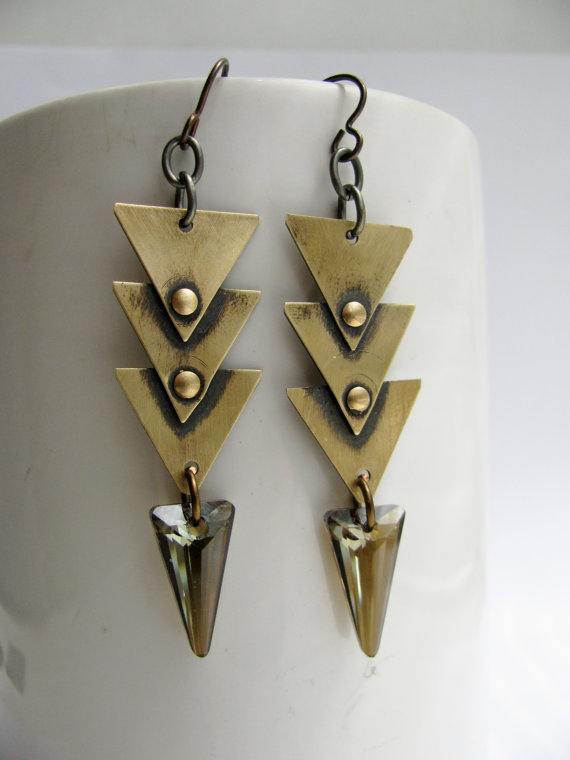
Last summer I decided to splurge and buy myself a riveting tool. Riveting allows you to cold connect (join) metal pieces without the use of a torch or other heat source. Innovative riveting tools allow you to rivet your own jewelry designs without the hard work (and endless hammer tapping) that traditional riveting requires. I wanted to show an easy design using the riveting tool that also features Swarovski spike pendants. See how to make these earrings by following the easy steps below!
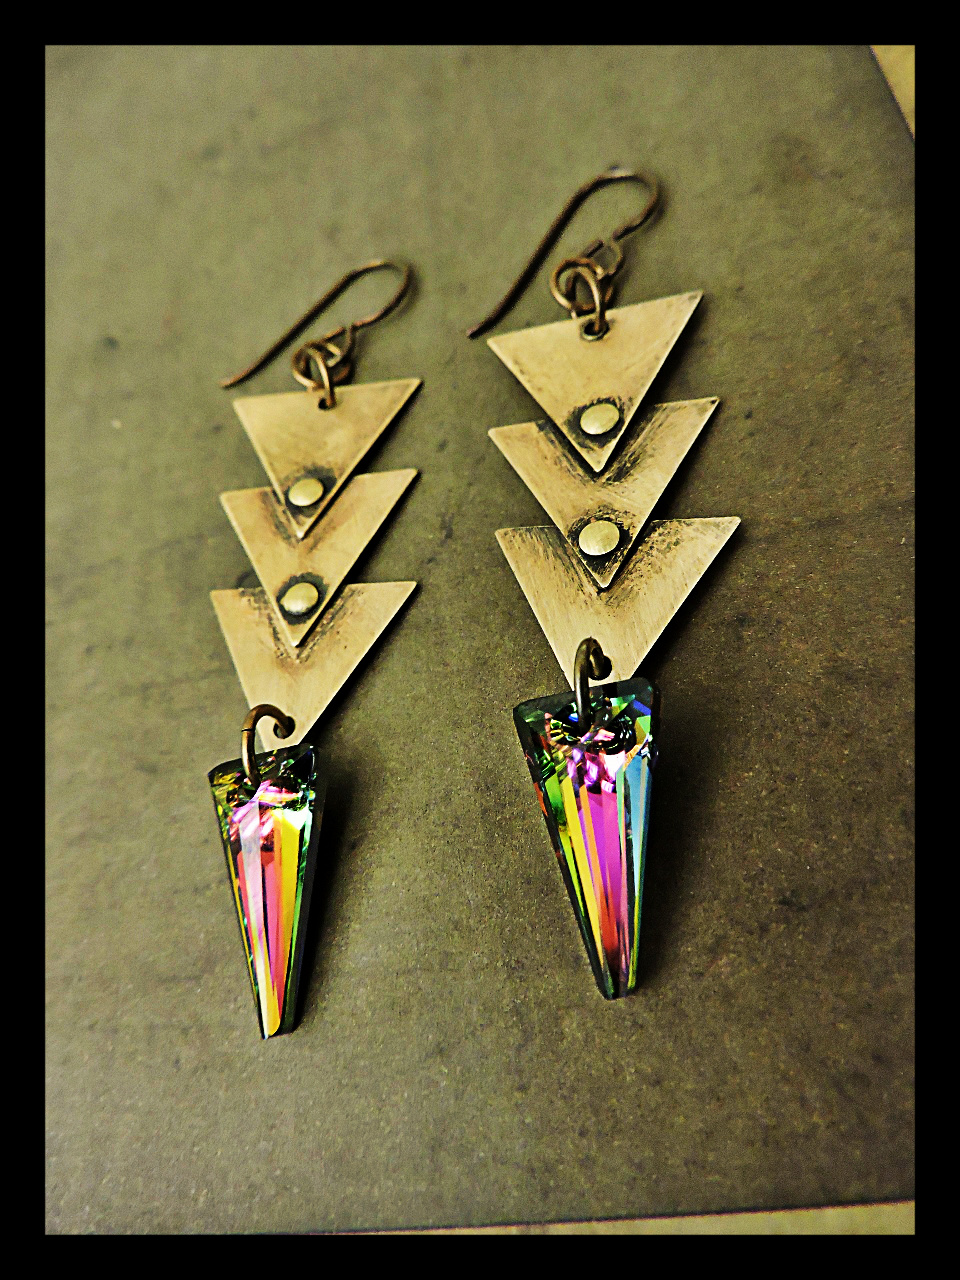
Futuristic Riveted Brass Earrings with Swarovski spike pendants in Vitrail Medium.
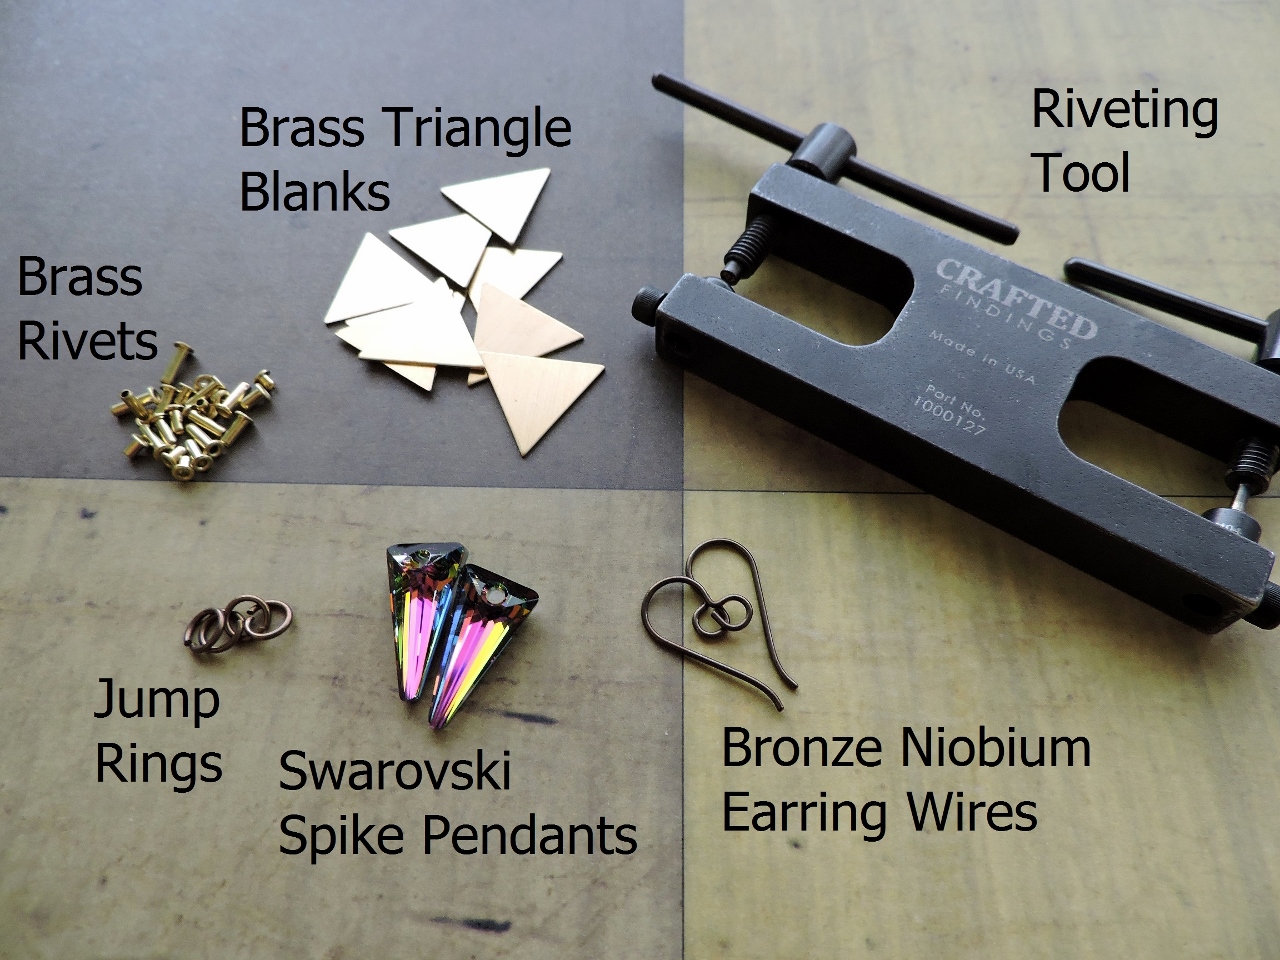
Supplies needed for this project:
Brass rivets, I used #69-921-02-2, Crafted findings 1/16″ by 3/32″ length
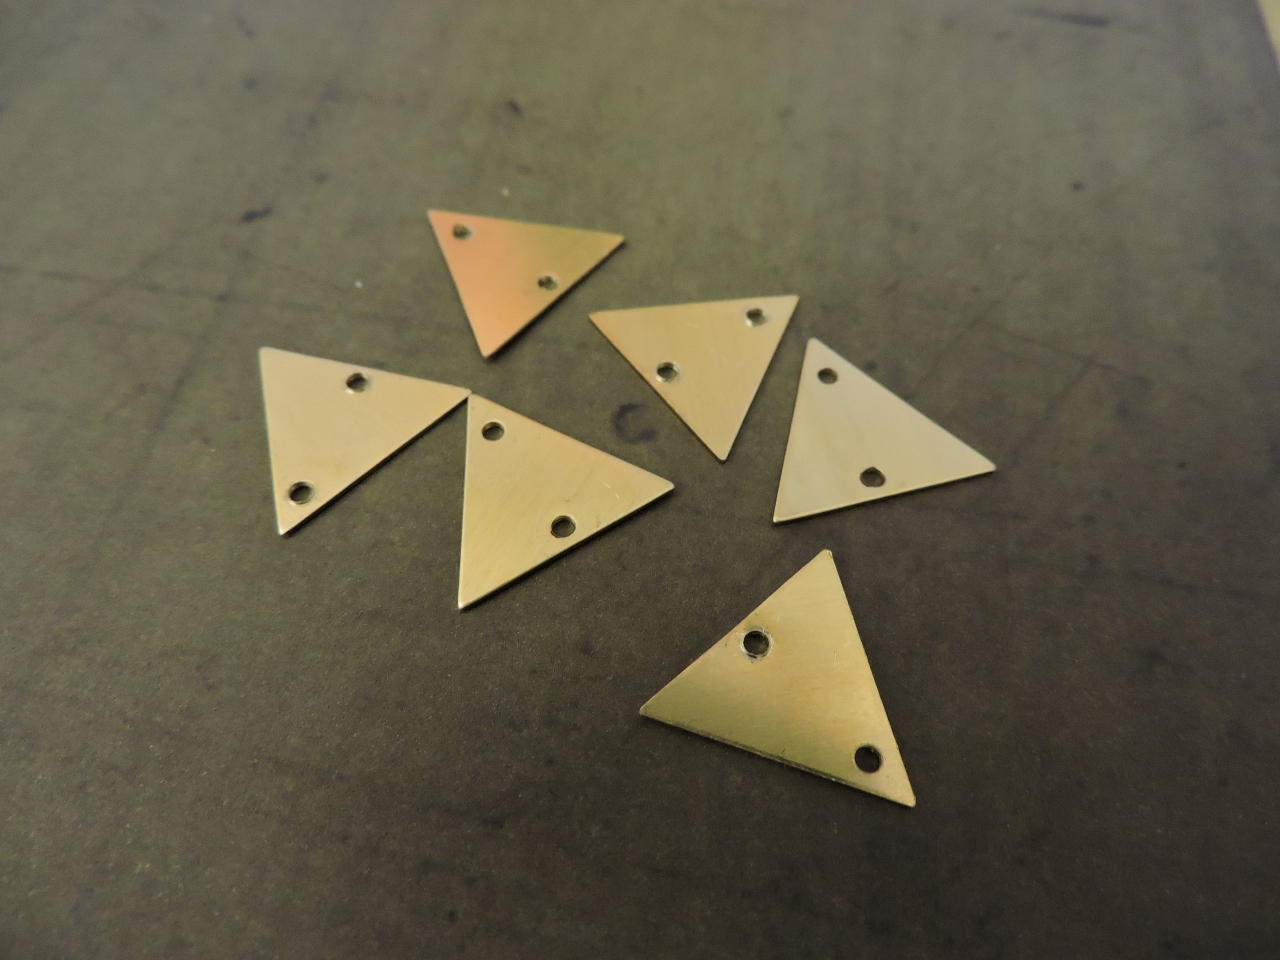
Brass blanks, I used #44-722-03-0, 17x15mm triangle
Riveting tool, I used #69-907, Crafted Findings Long Reach 1/16″
Brass jump rings, I used #37-145-6, 6mm Antique Brass
Niobium earring wires, I used #34-063-41, Bronze color
Swarovski spike pendants, I used #06-480-18-06, 18mm Vitrail Medium
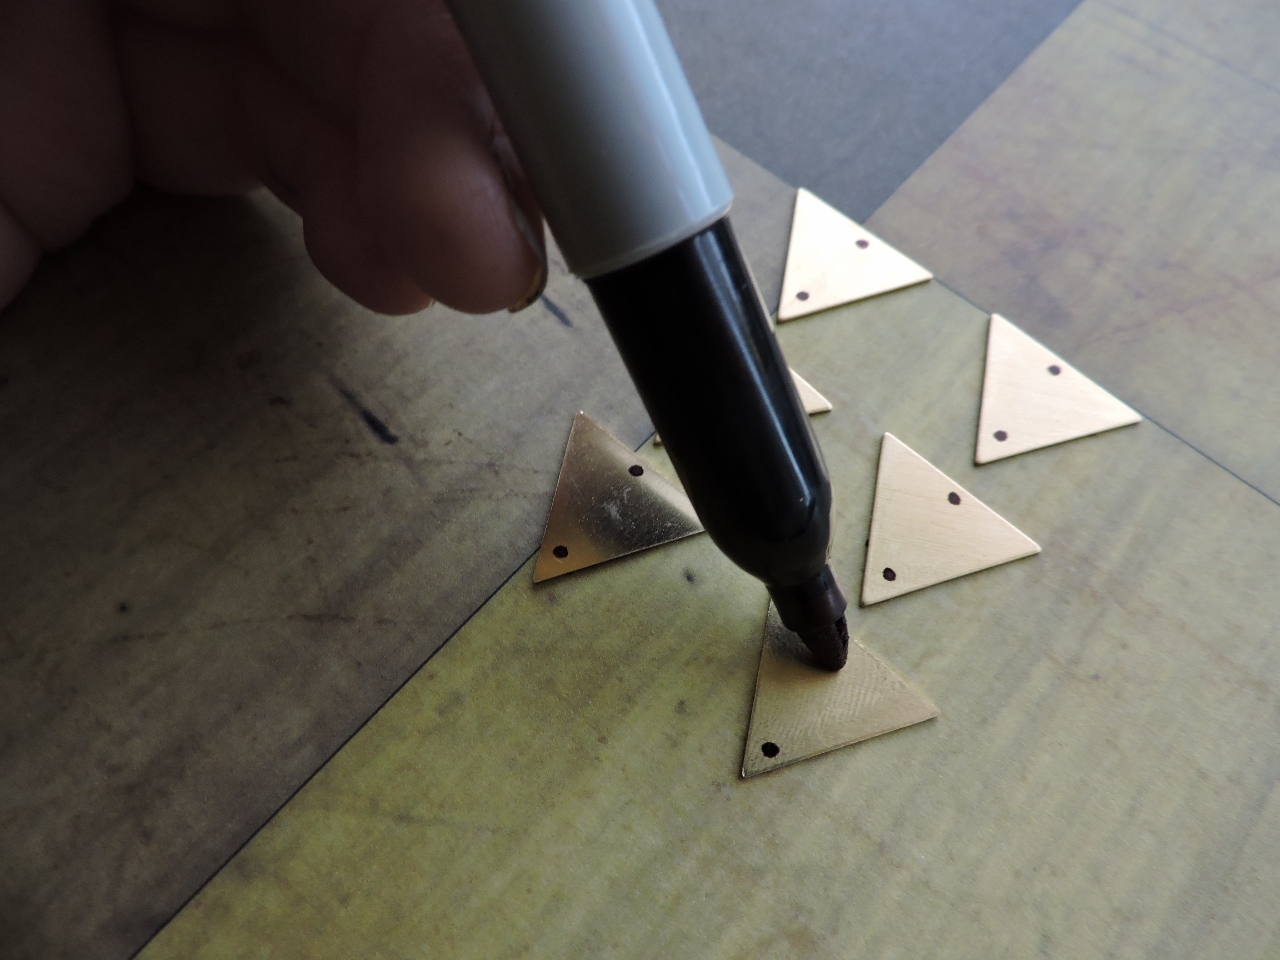
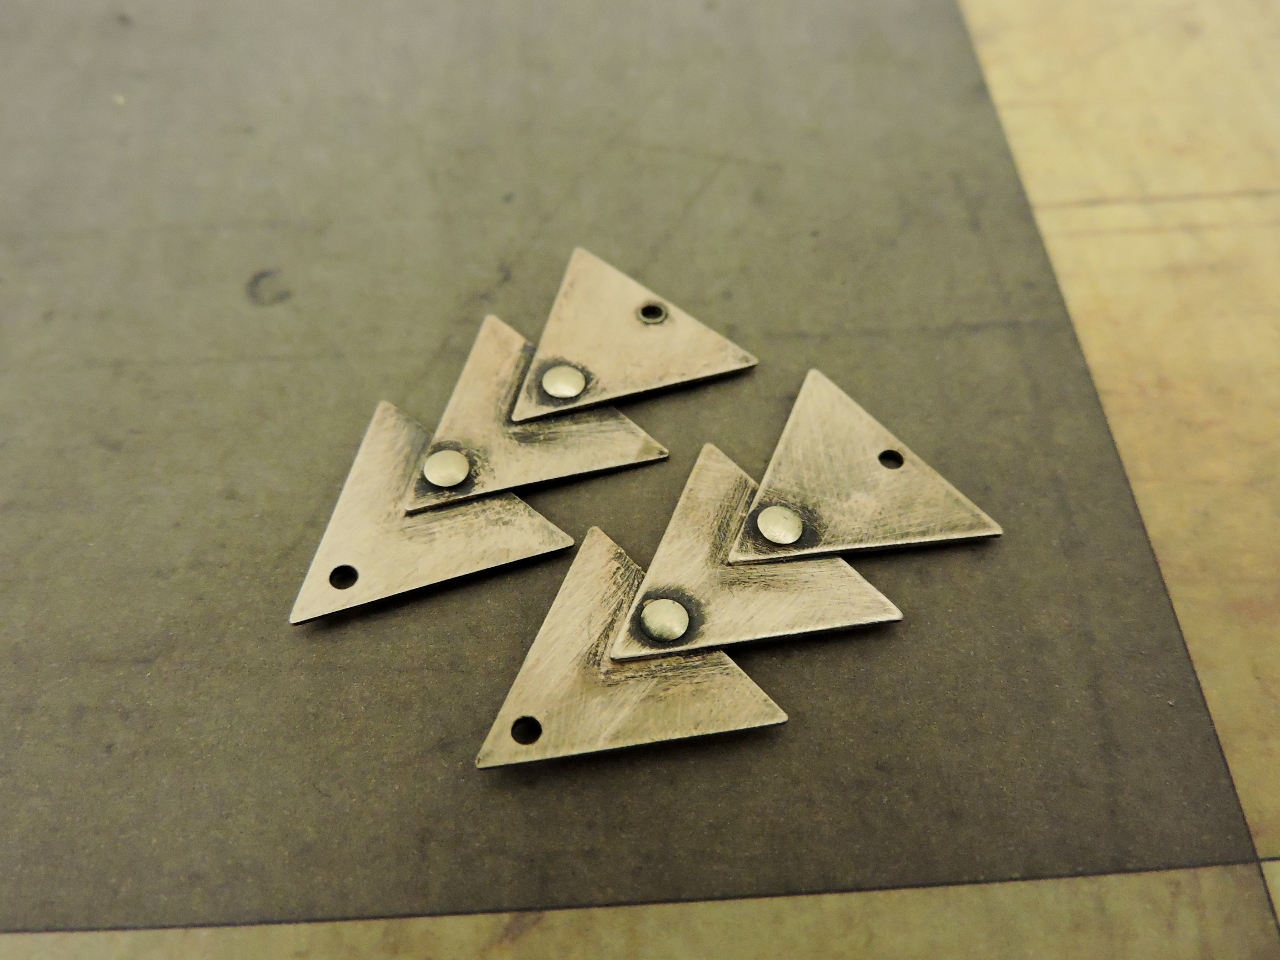
Use a sharpie marker to put a dot on the bottom and top of each triangle. This is so you know where to punch the holes.
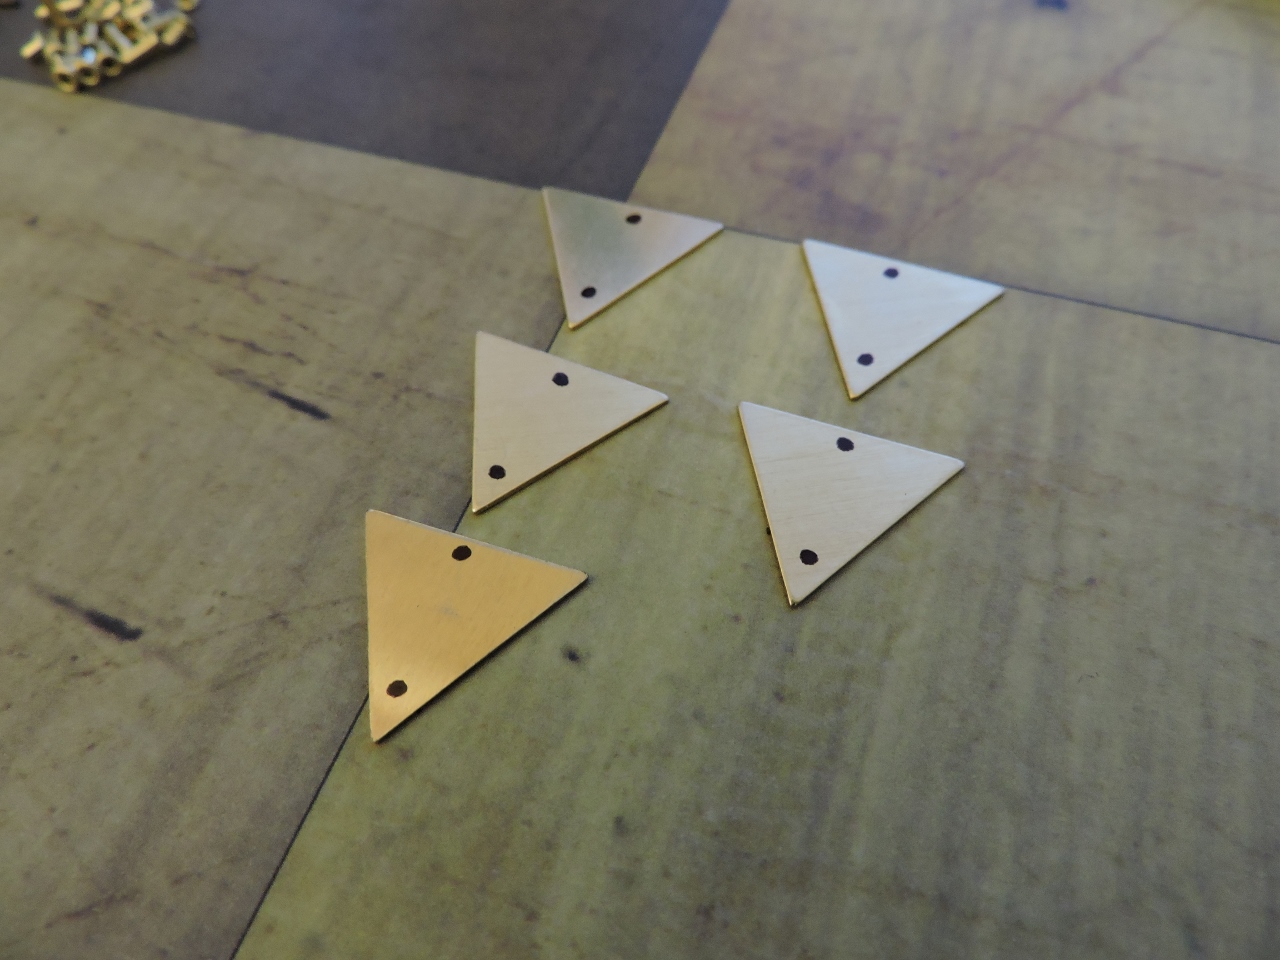
We are going to eventually line up three of the blanks on each earring and connect them.
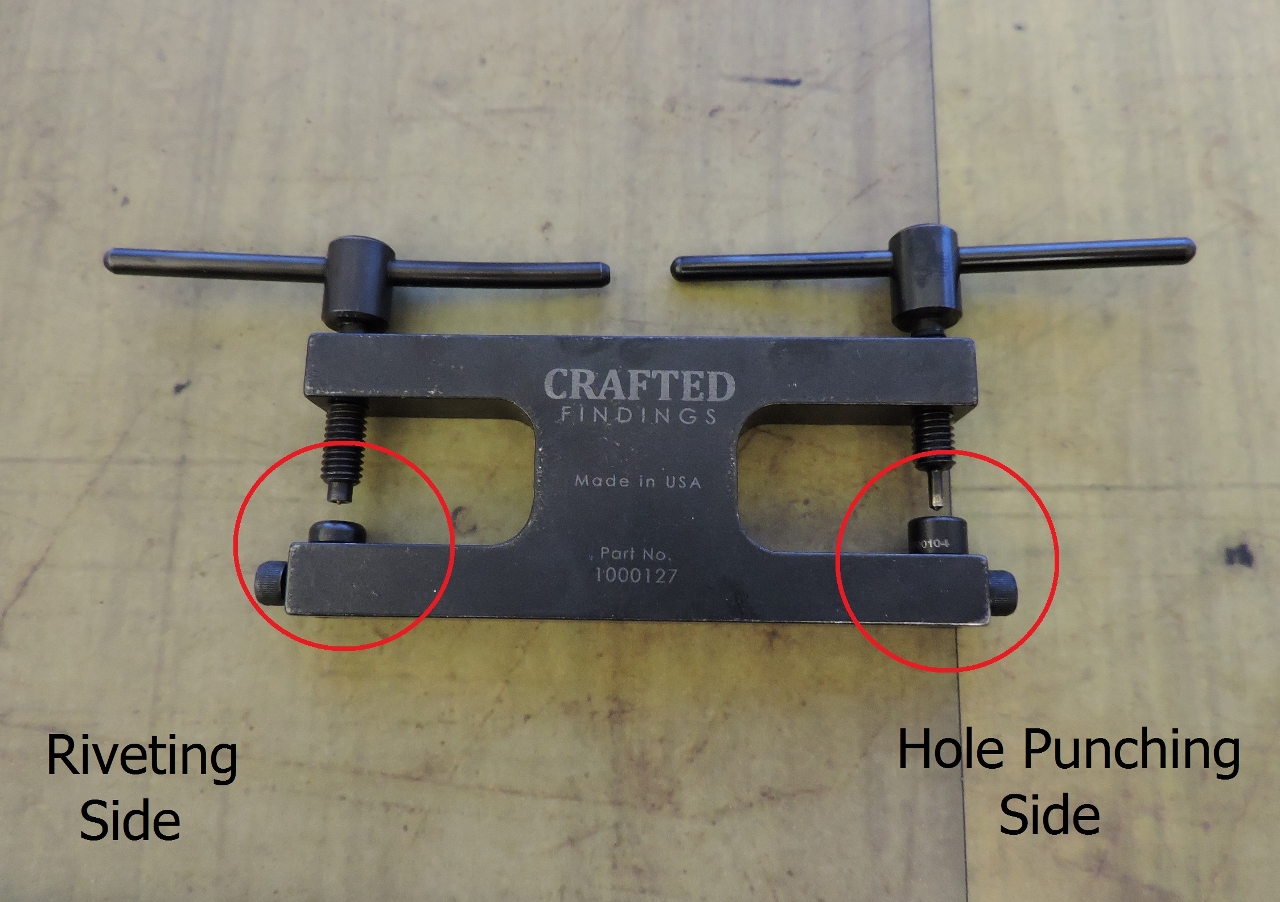
The riveting tool has two sides. One punches holes and one rivets.
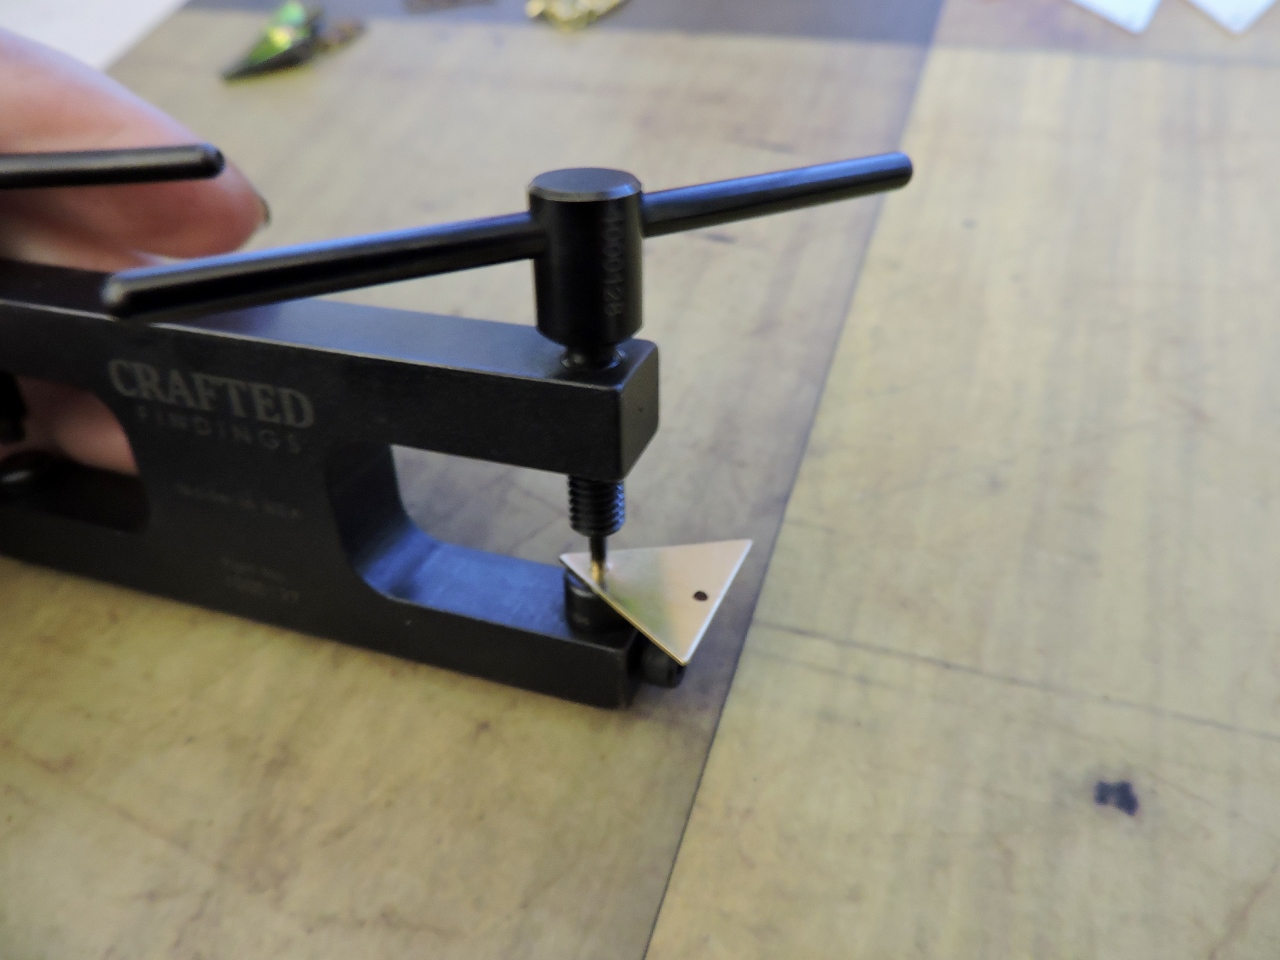
Punch a hole on the pointed side of the triangle where you marked with the sharpie.
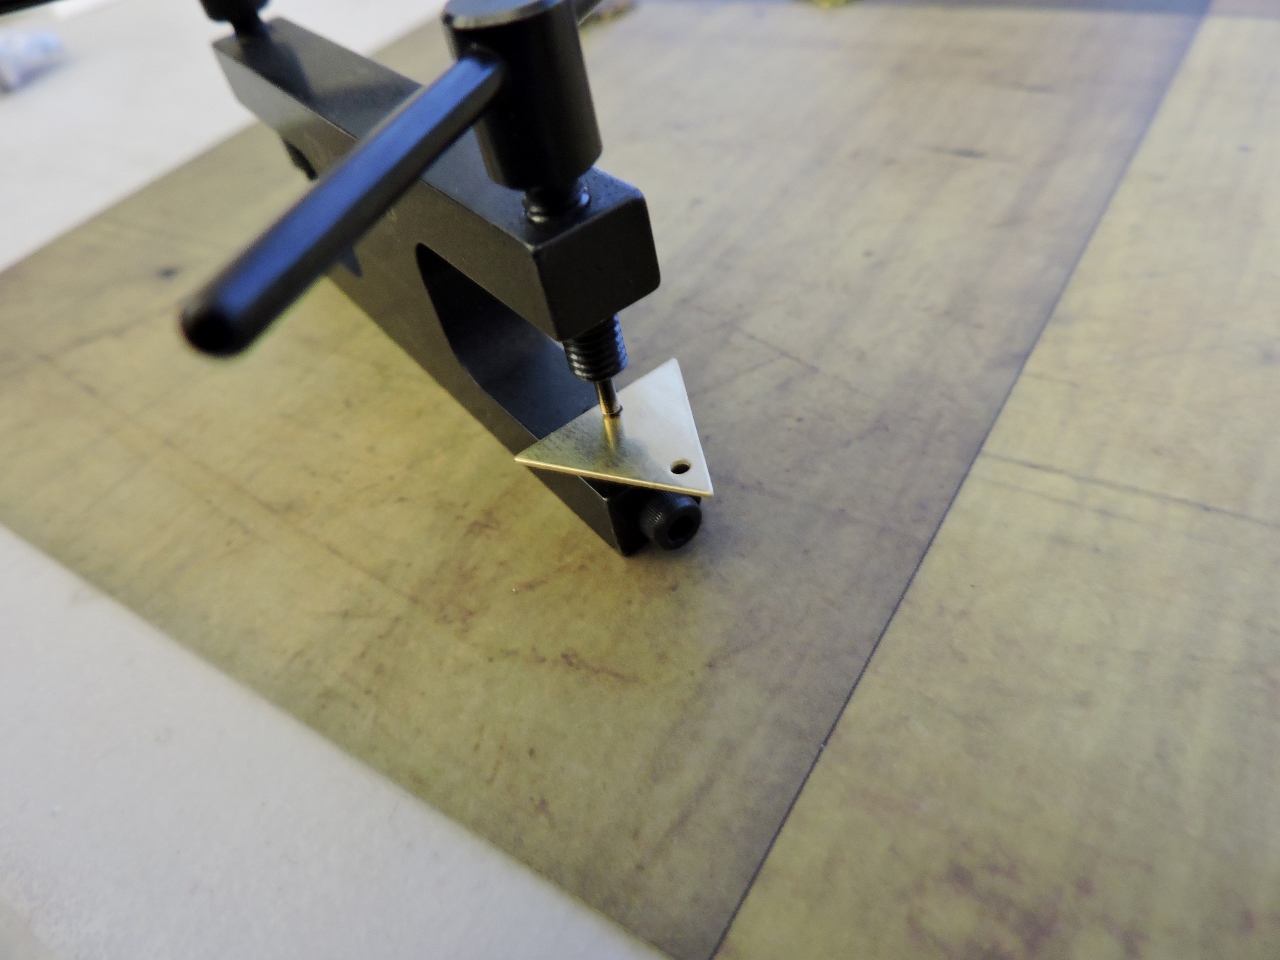
Turn the triangle around and punch a hole in the other side of the triangle.
Punch both sides of each triangle blank.
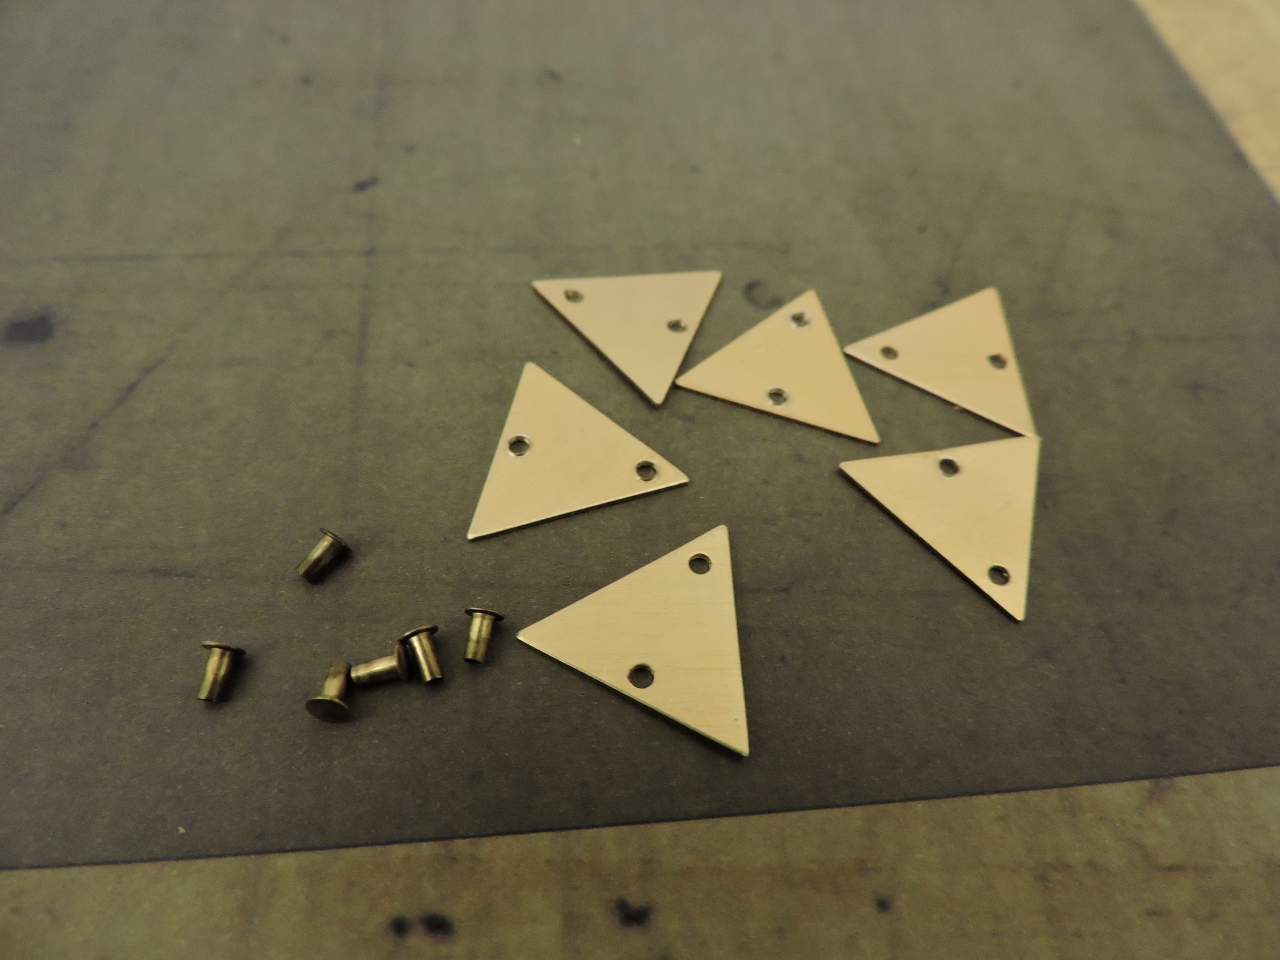
The brass rivets will be used to join the triangles together. You will actually only need 4 total.
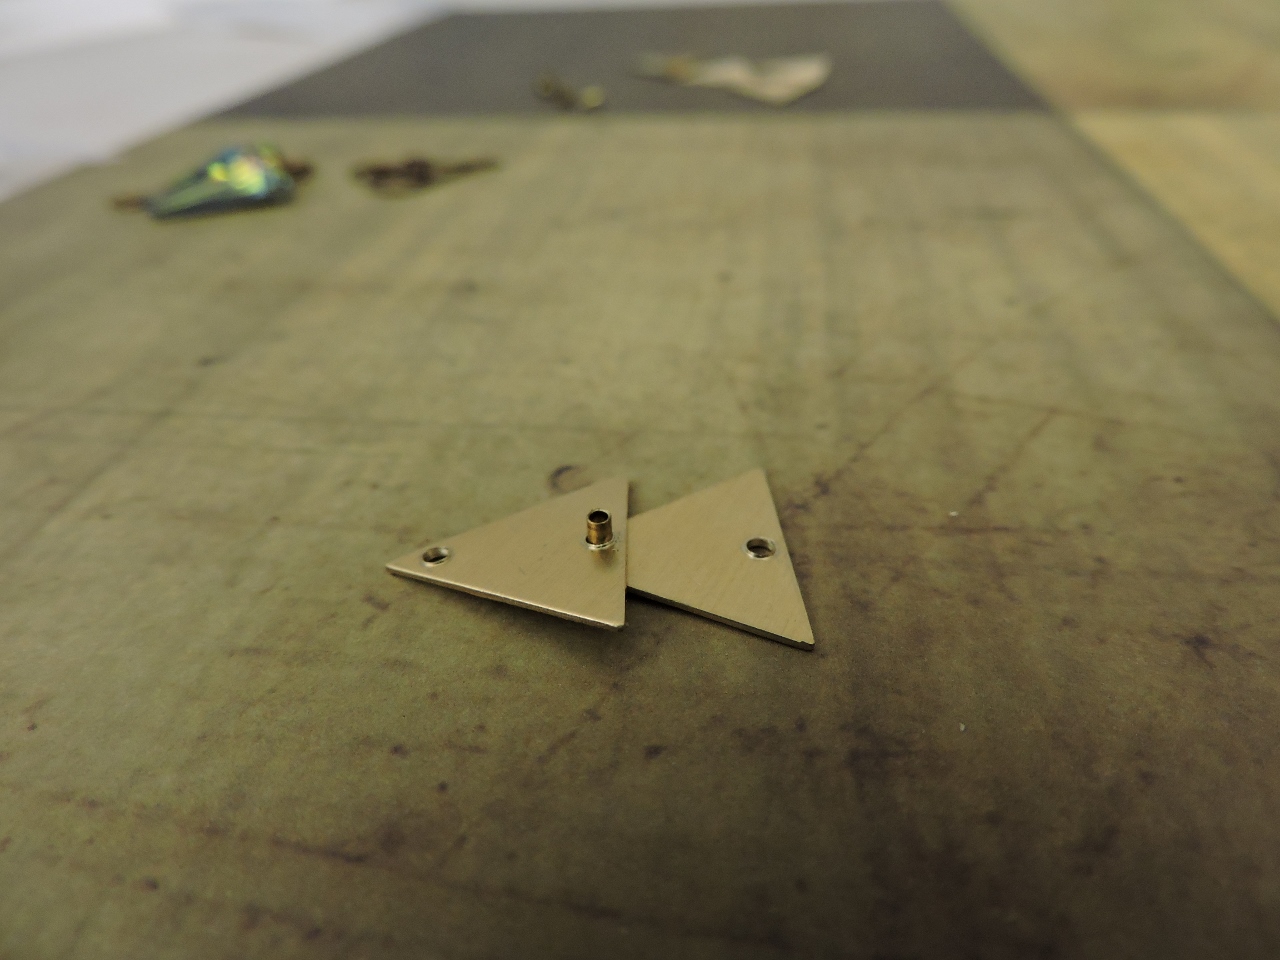
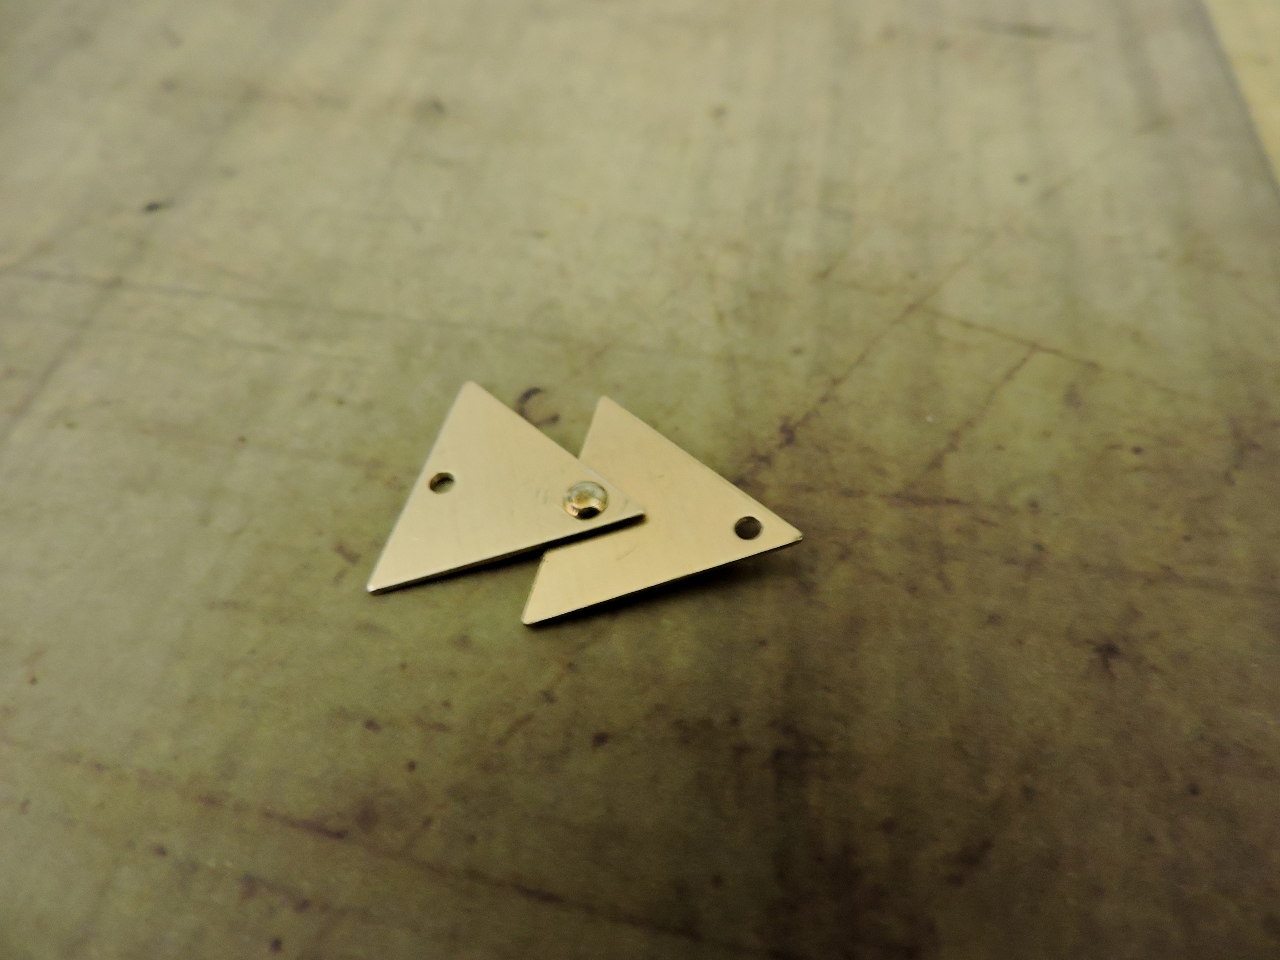
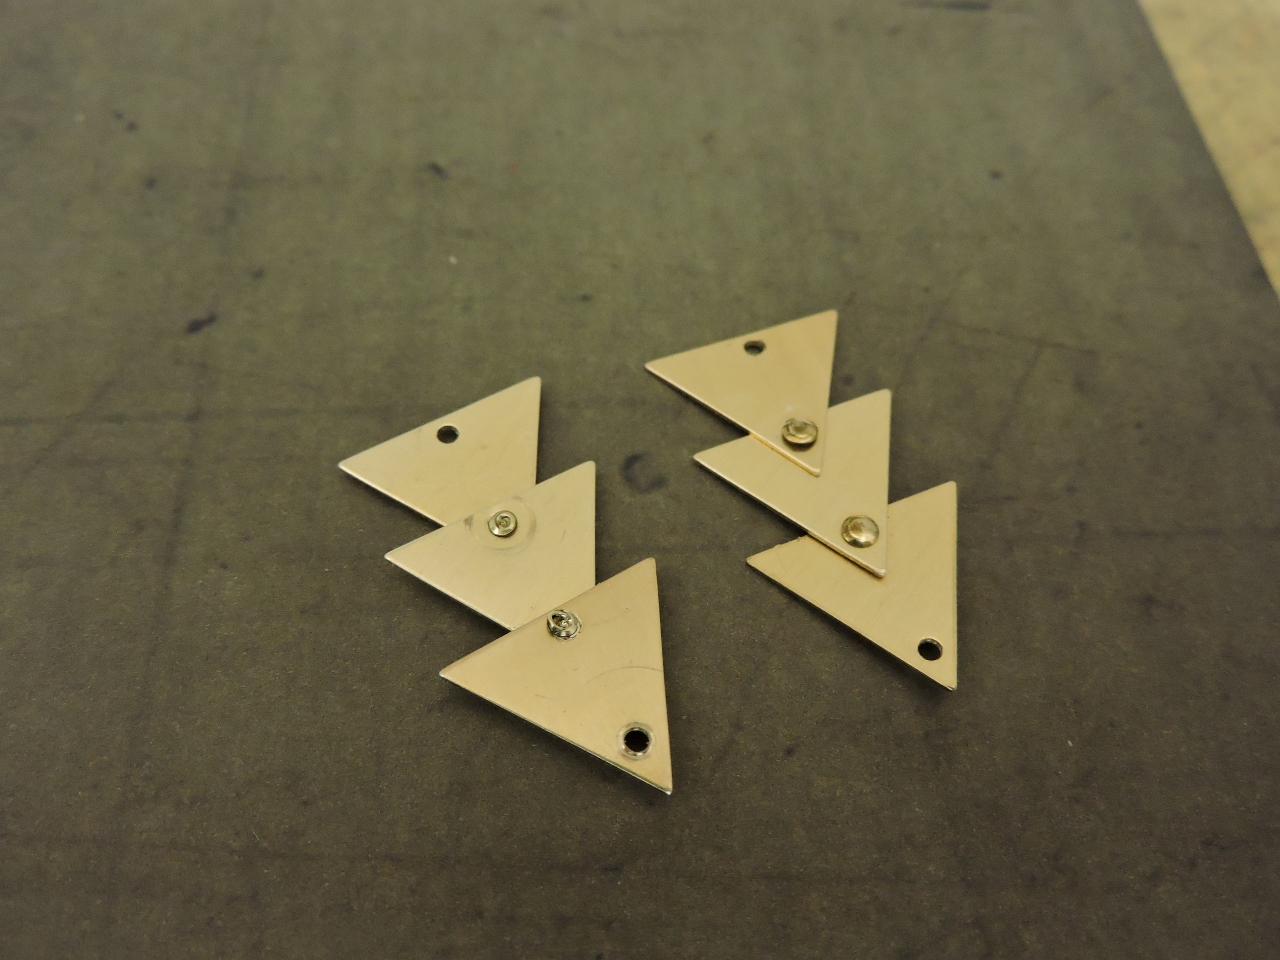
Layer the triangles on top of the brass rivets, so that they look like this. One of the holes on the flat side lined up with one of the pointy ends.
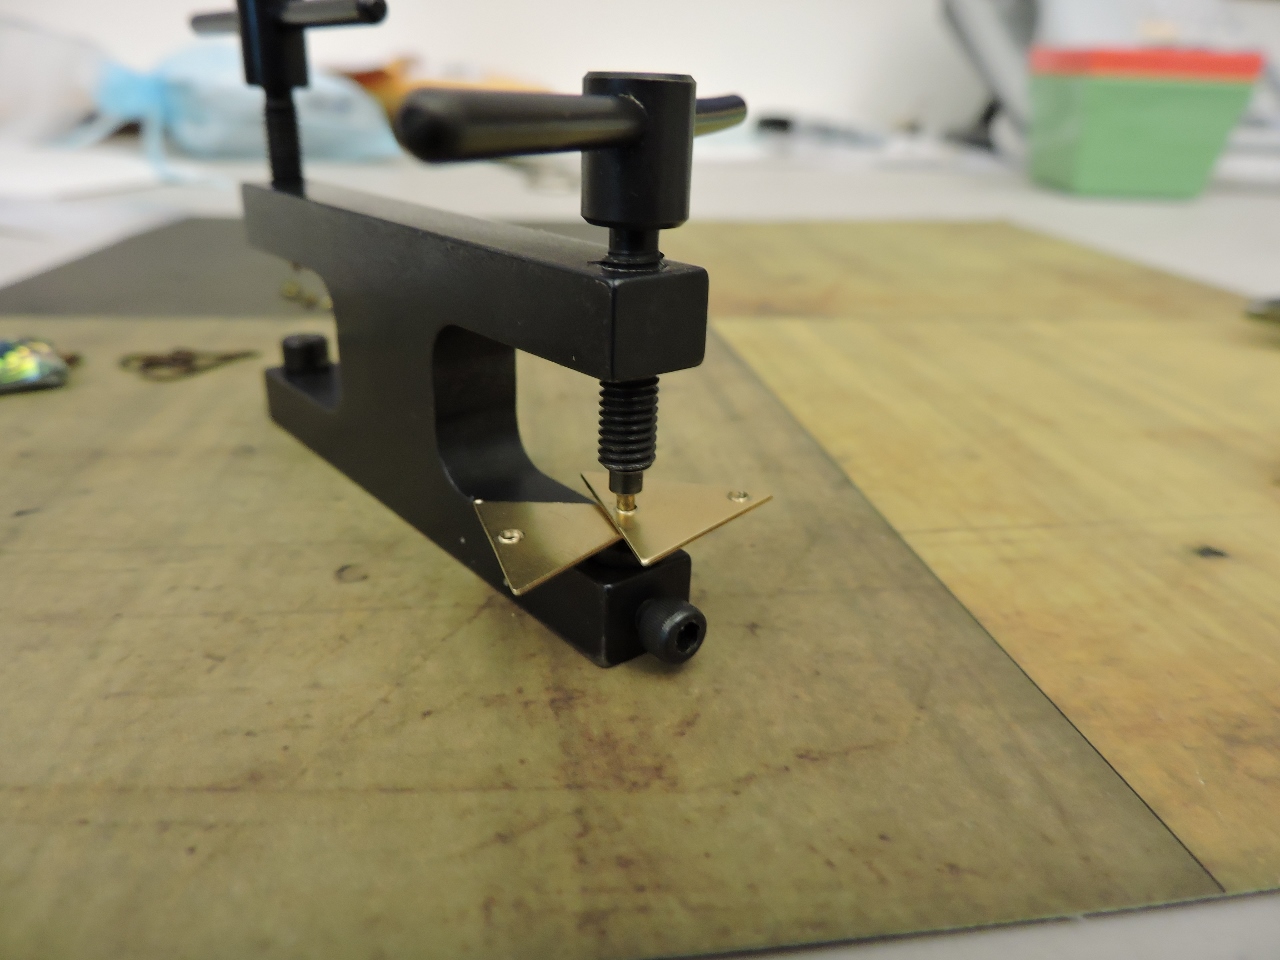
Place the blanks, with the rivet, into the riveting tool. The rivet will sit in the cup of the riveting tool, and the top part of the tool will fit into the end of the rivet opening. Screw down on the tool until the rivet is set.
It will look like this after the rivet is set.
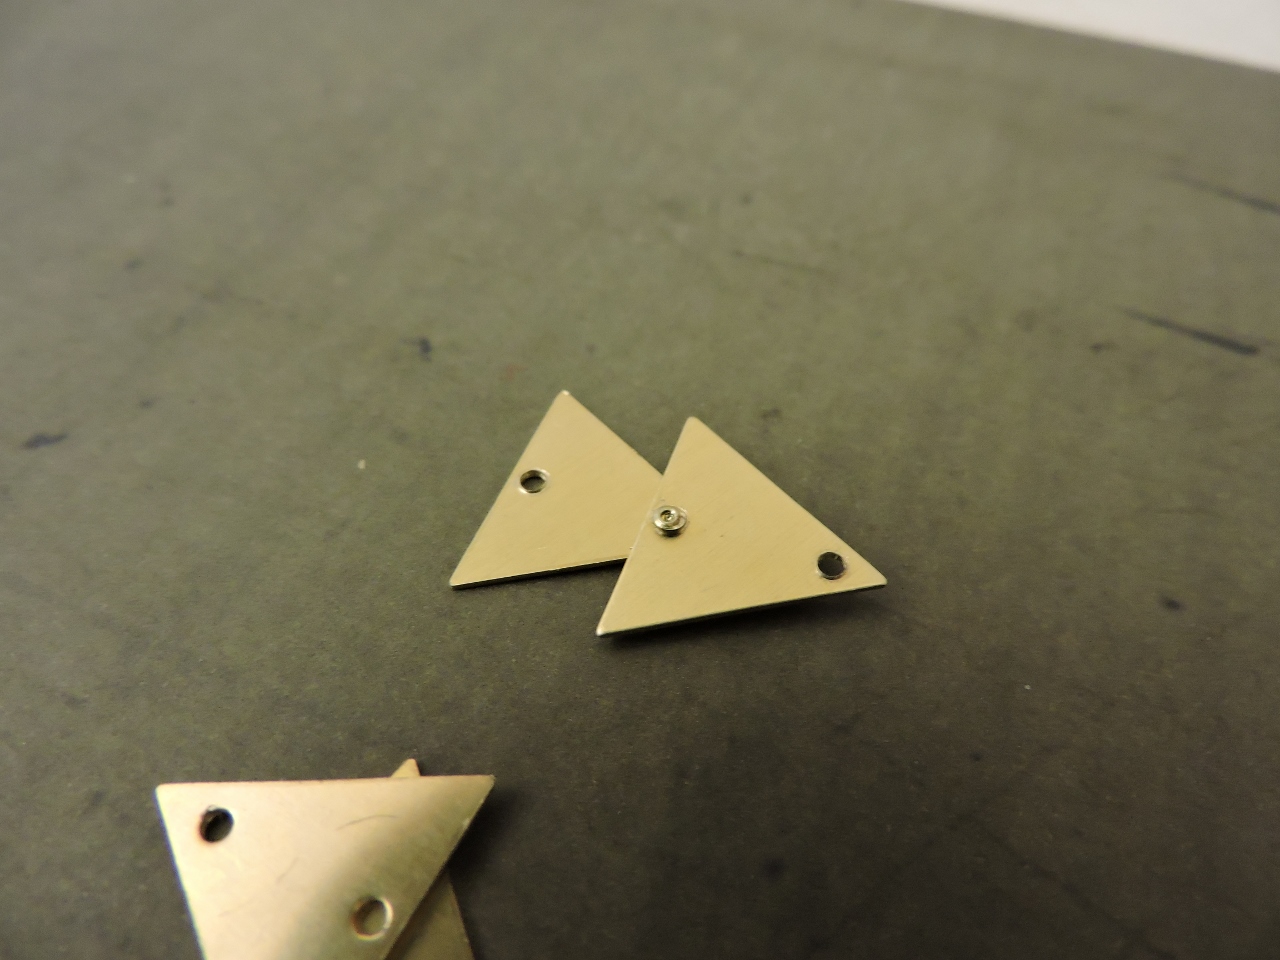
The back will look like this.
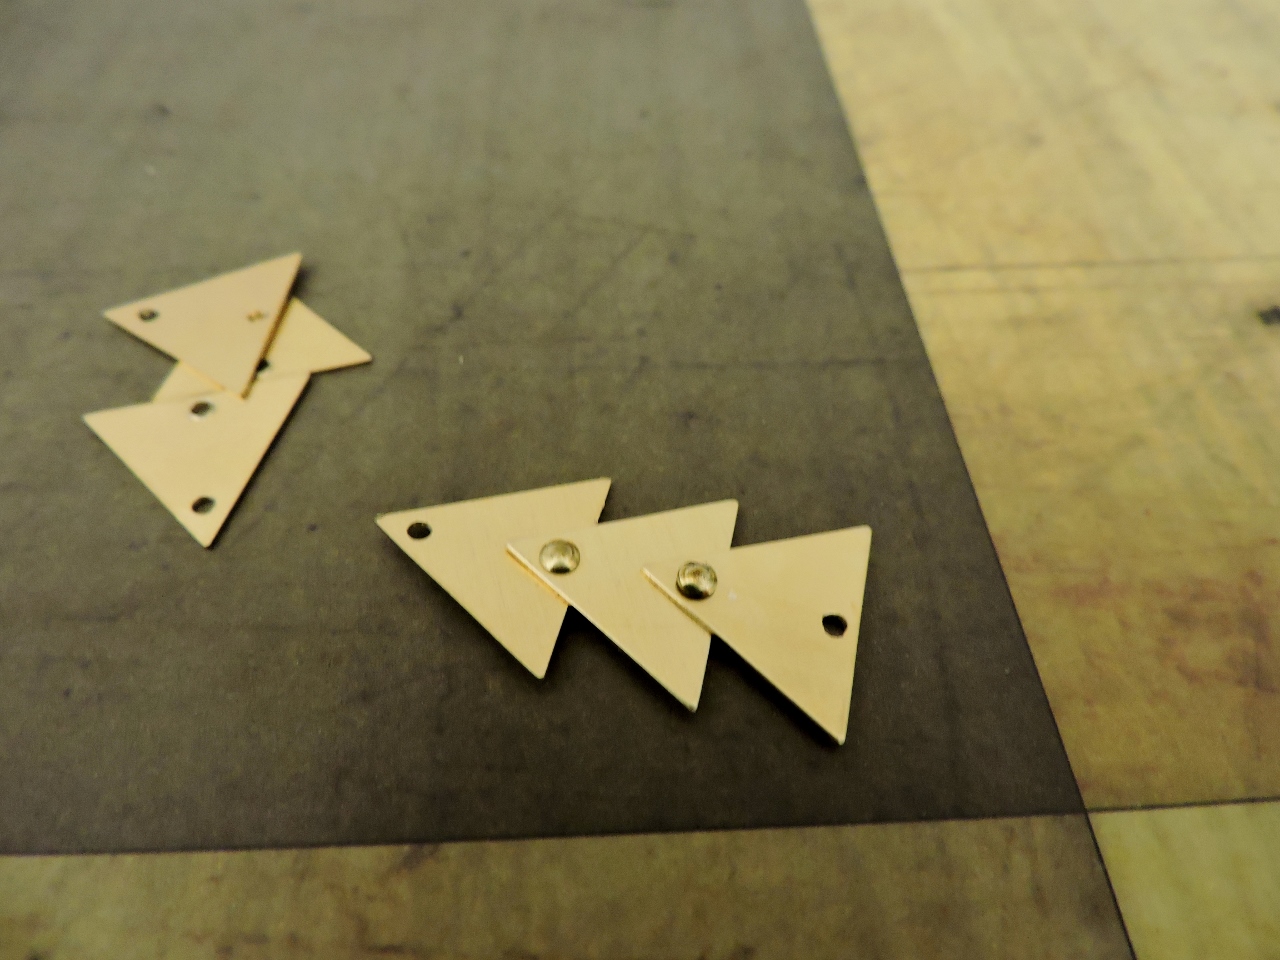
Attach one more triangle using the same method.
Do this for both earrings.
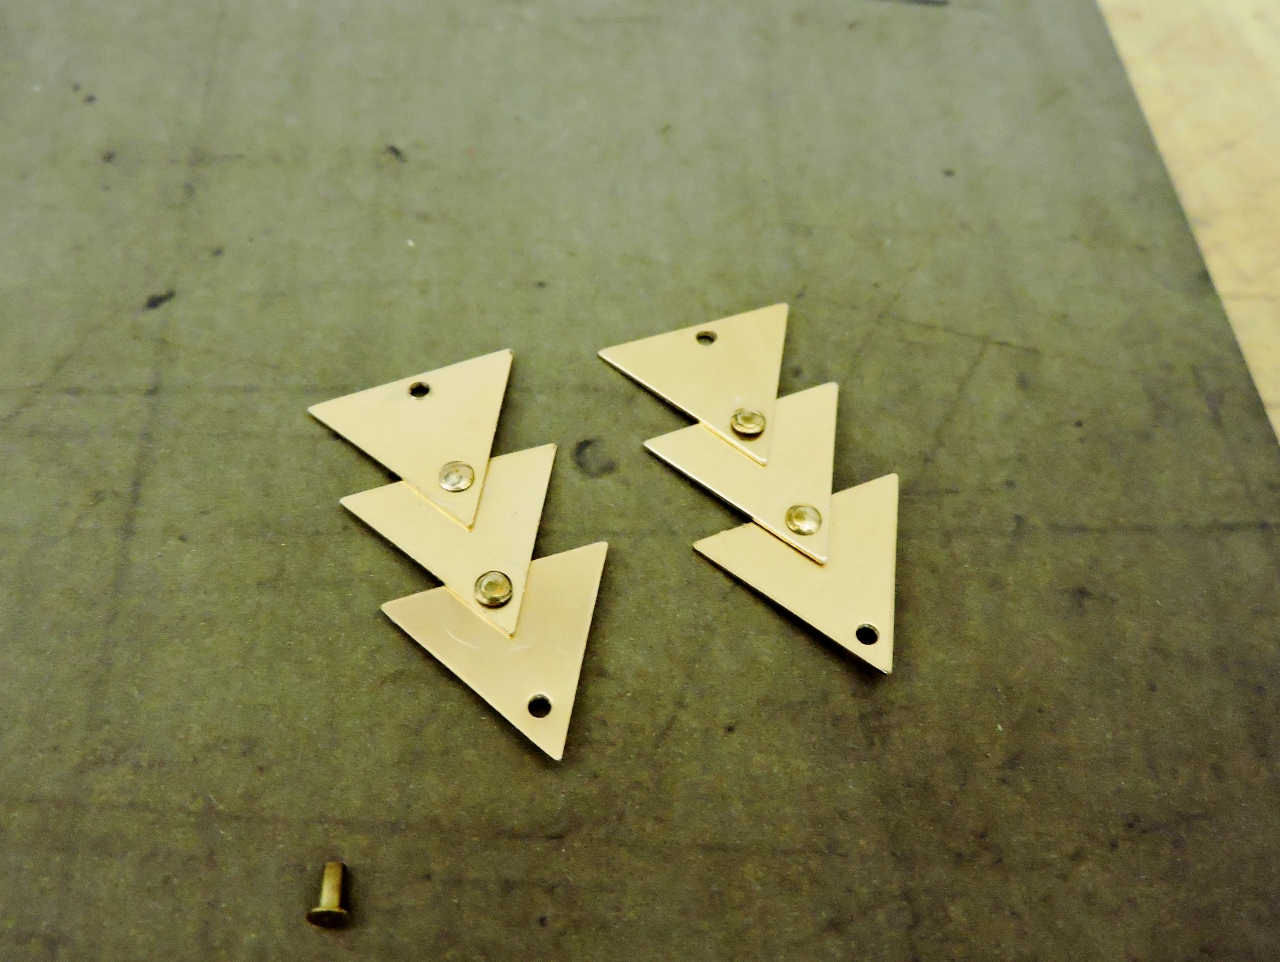
Here you can see one backside and one front.
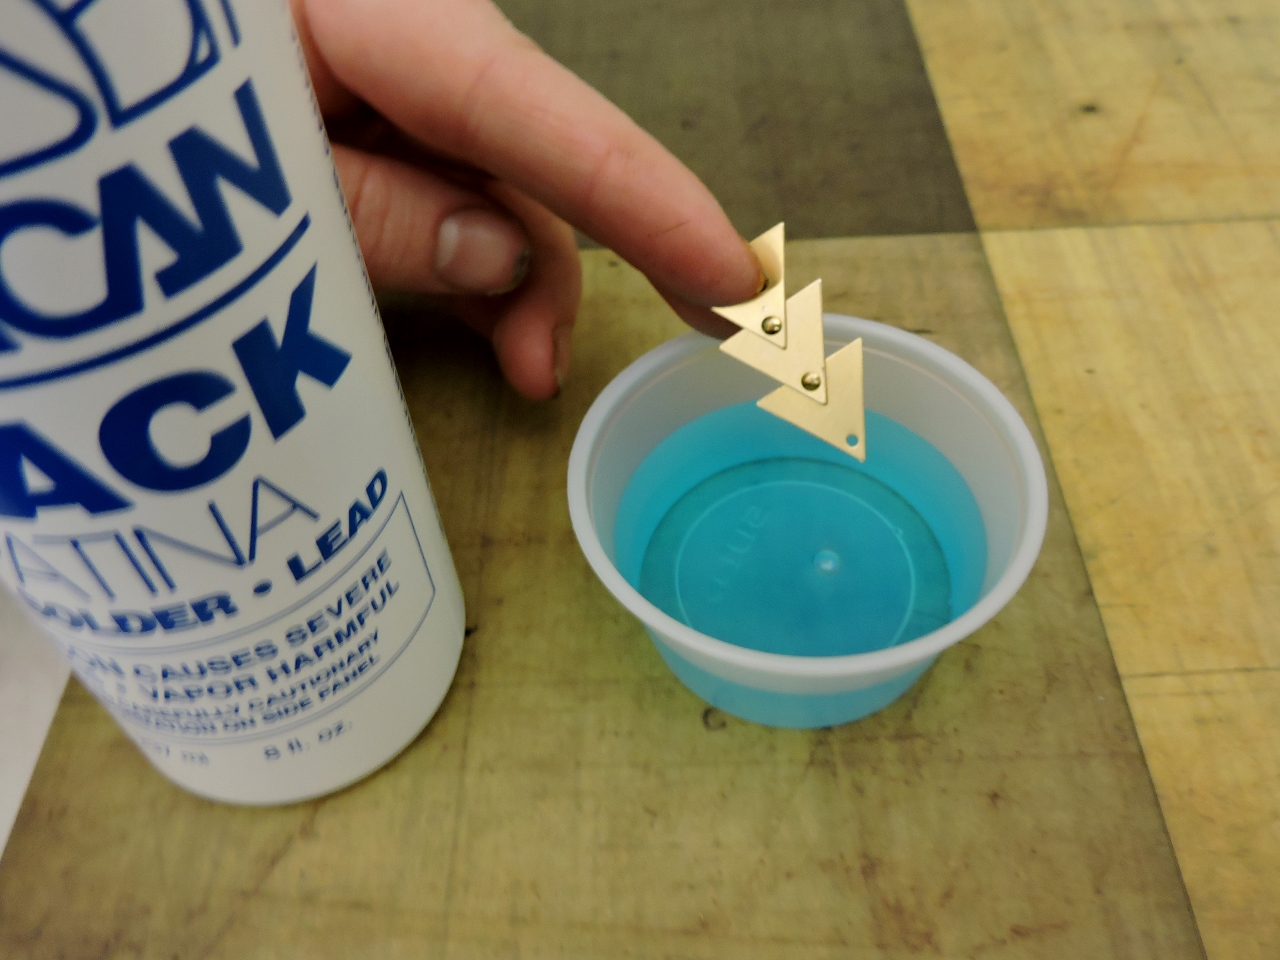
If you want to give them a rustic antiqued look, dip them in Novacan black.
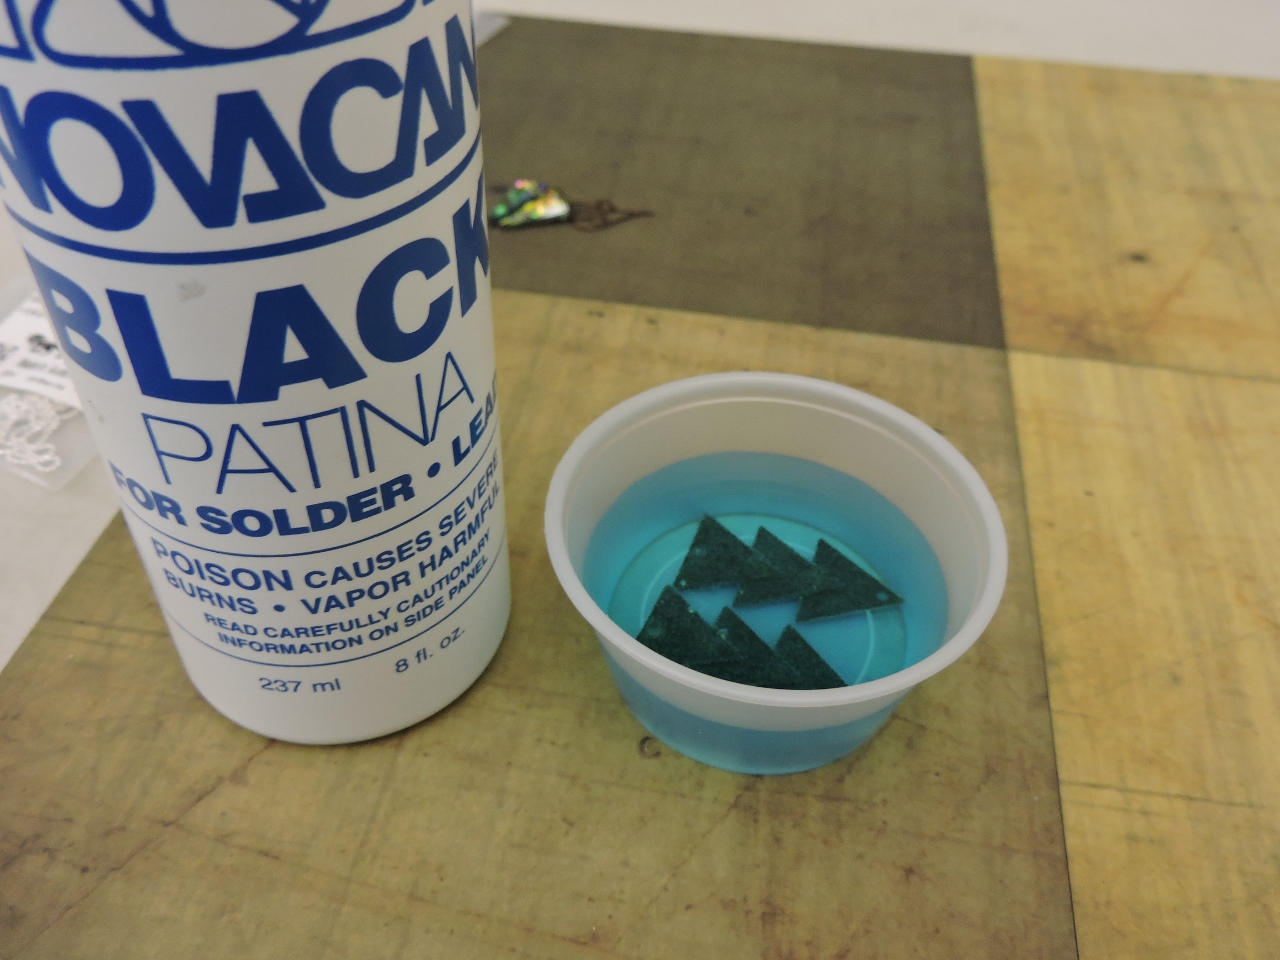
The brass will turn black in the solution. Pour the solution back in the bottle, it can be reused. Rinse the pieces with water.
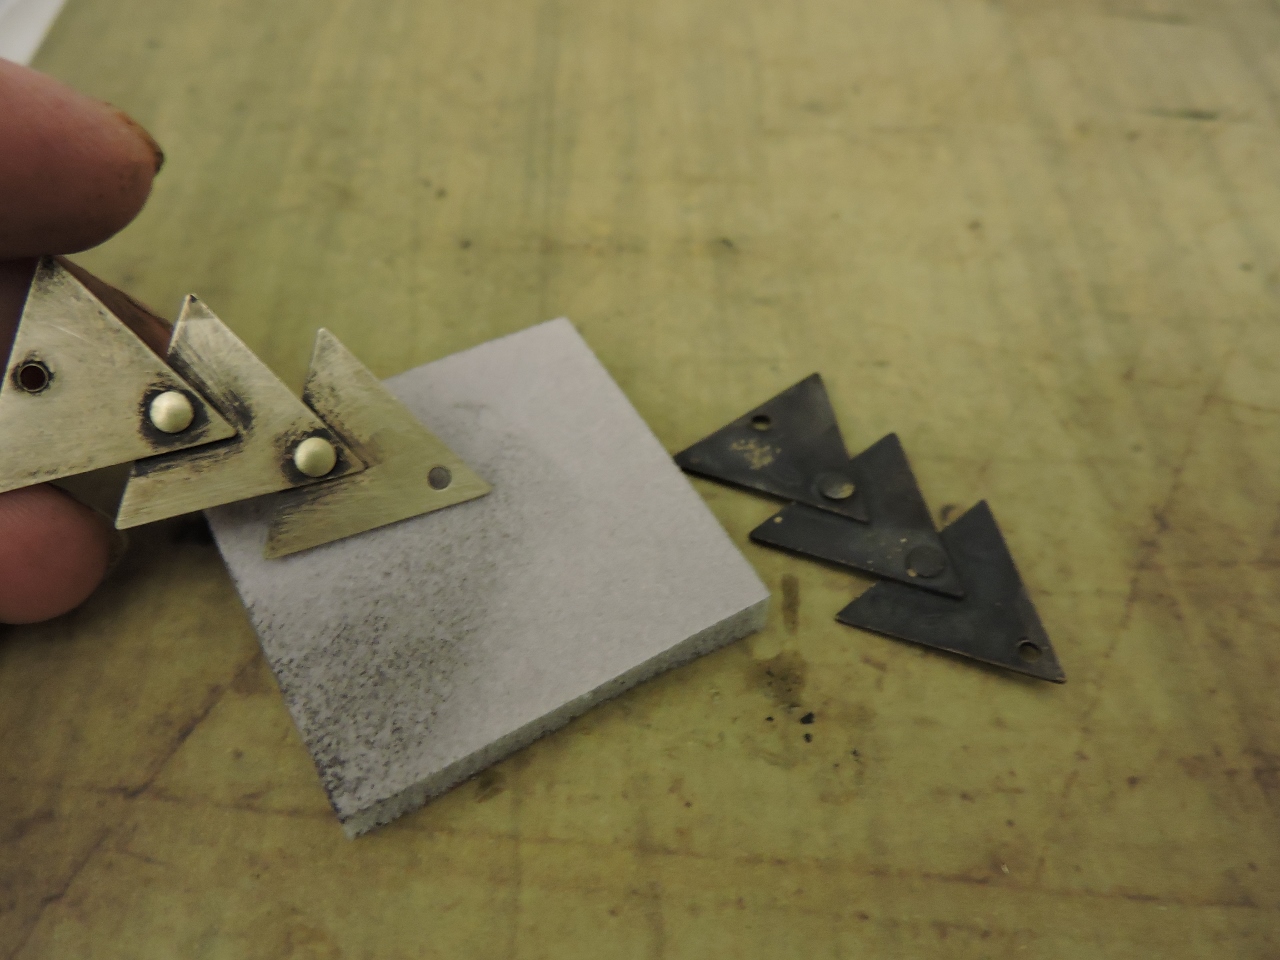
Use a sanding sponge to take off the black patina and leave a rustic sanded look. I used the ultra fine sanding sponge.
Completed “rustic” triangle pieces.
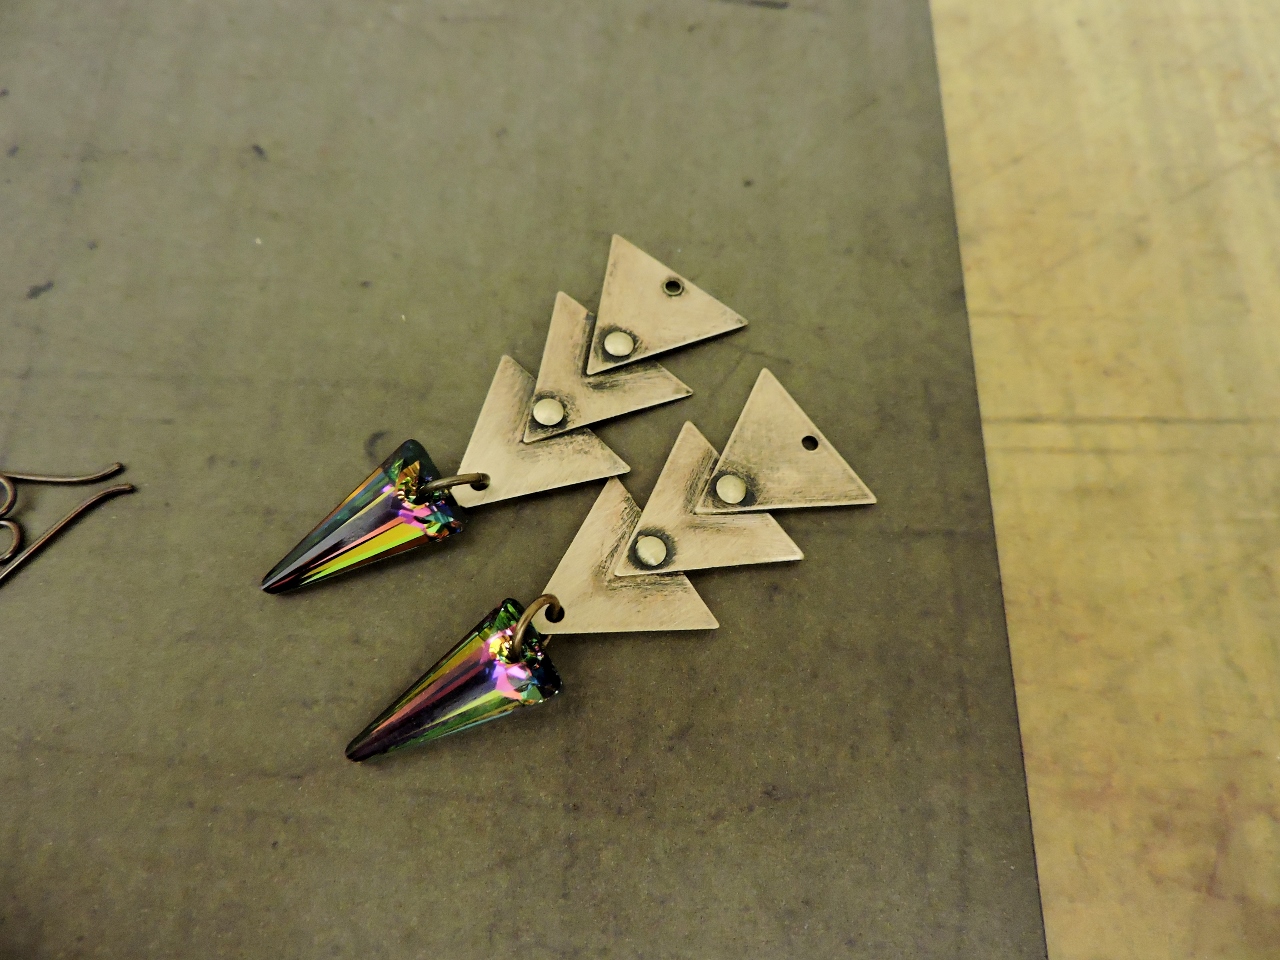
Attach the crystals with the jump rings.
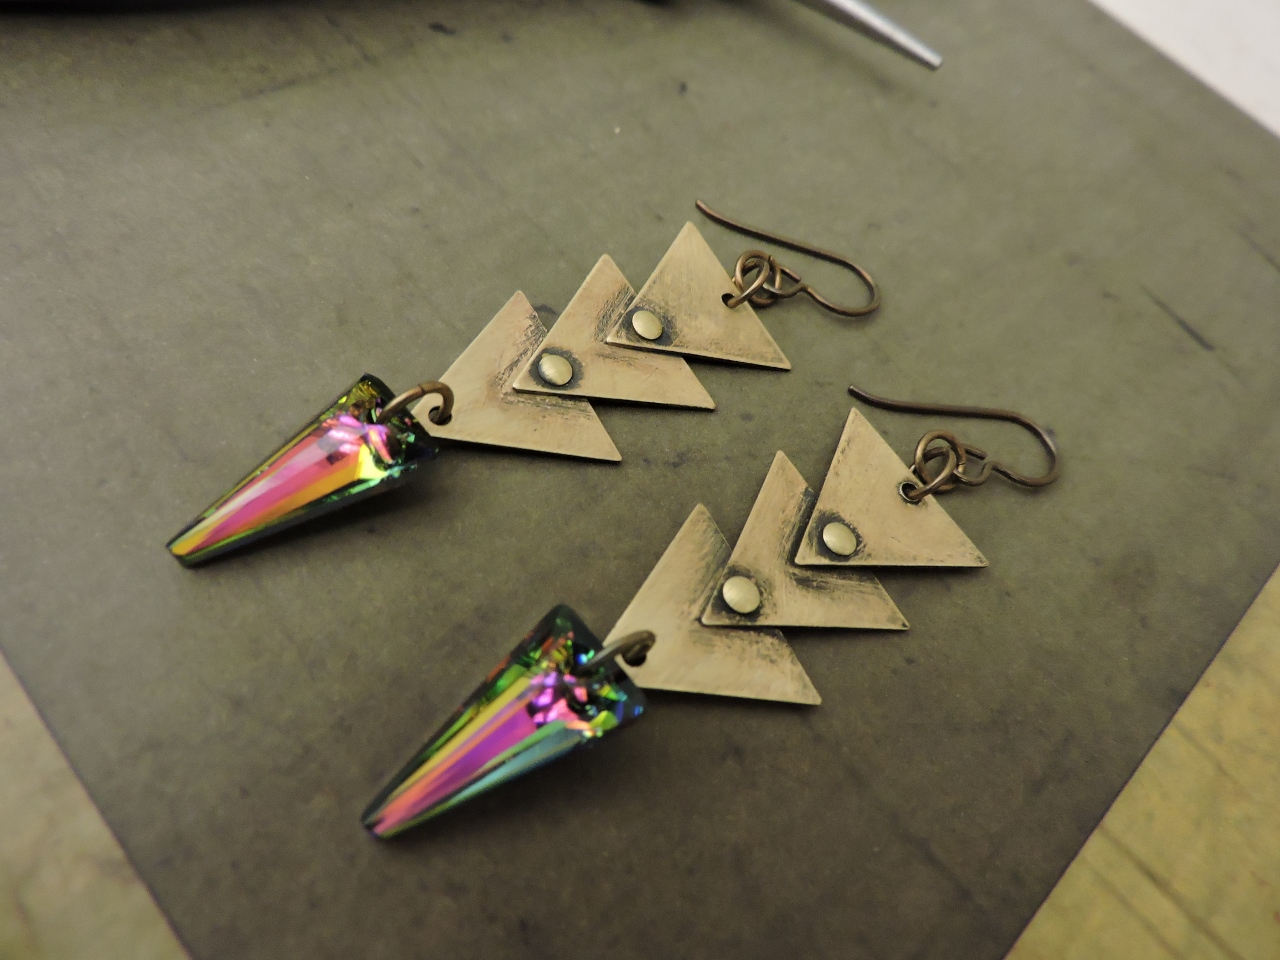
Attach two jump rings to the top, and the bronze niobium earring wires. I like the niobium wires because they are great for people with metal sensitivity.
∇ ∇ ∇
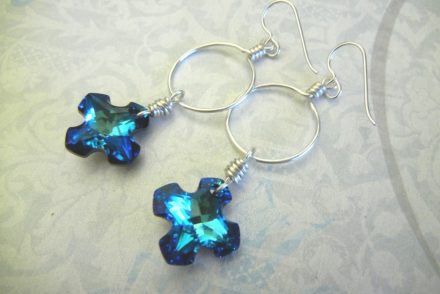
Here are some examples with the Bermuda Blue and Bronze Shade color! I sell these two in my etsy store, Geisha Creations. Thanks for tuning in, see ya soon with a fun new blog! ~Tiffany
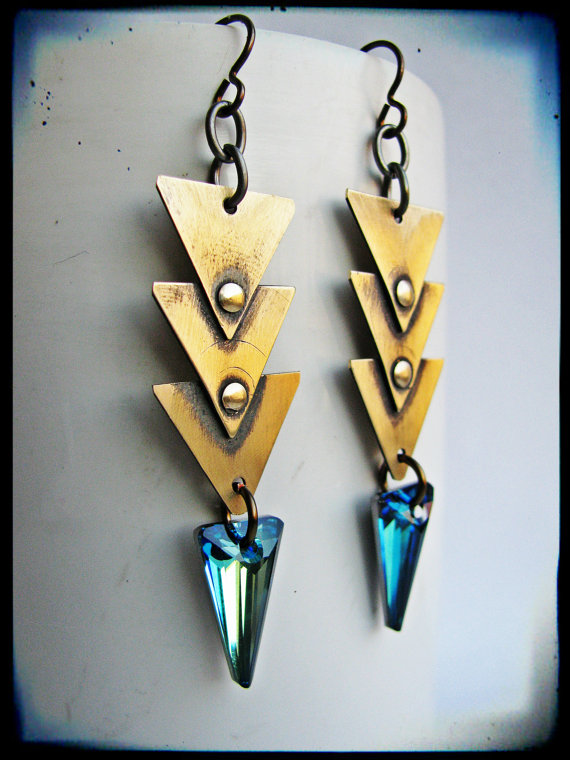
Same earrings with the crystals in Bermuda Blue.
Same earrings with Bronze Shade crystals.


No Comments