
Part of the joy of the holiday season comes from creating special memories. Decorating your home for gatherings with friends and family adds to the joy, especially if you include handmade decor! You can make these beaded napkin rings with CzechMates™ two-hole beads, or you can make a simpler single-strand version using an endless choice of beads. Read on to make your handmade holiday joy!

Supplies needed to make the napkin ring pictured in this blog include a mix of Czech glass beads, memory wire, and a charm. Vary the bead selection to personalize your design. All tools and supplies needed to make this project are available at Rings & Things!
Gather the following supplies:
(Your supplies may vary slightly, depending on your choice of pattern and colors)
- 7 coils of bracelet size memory wire (I used #61-177)
- 1 charm (I used #44-940-41-AB)
- 1 jump ring that matches the color of your charm (I used #37-136-6)
- 33 various colors of CzechMates 2-hole lentil beads (I used #23-036-1262 and #23-036-1401)
- 39 various colors of CzechMates 2-hole tile beads (I used #23-056-1002, #23-056-1003, #23-056-1032, #23-056-1051, and #23-056-1053)
- 8 CzechMates 2-hole brick beads (I used #23-026-1055)
- 164 size 8 TOHO glass seed bead (I used #20-225-221)
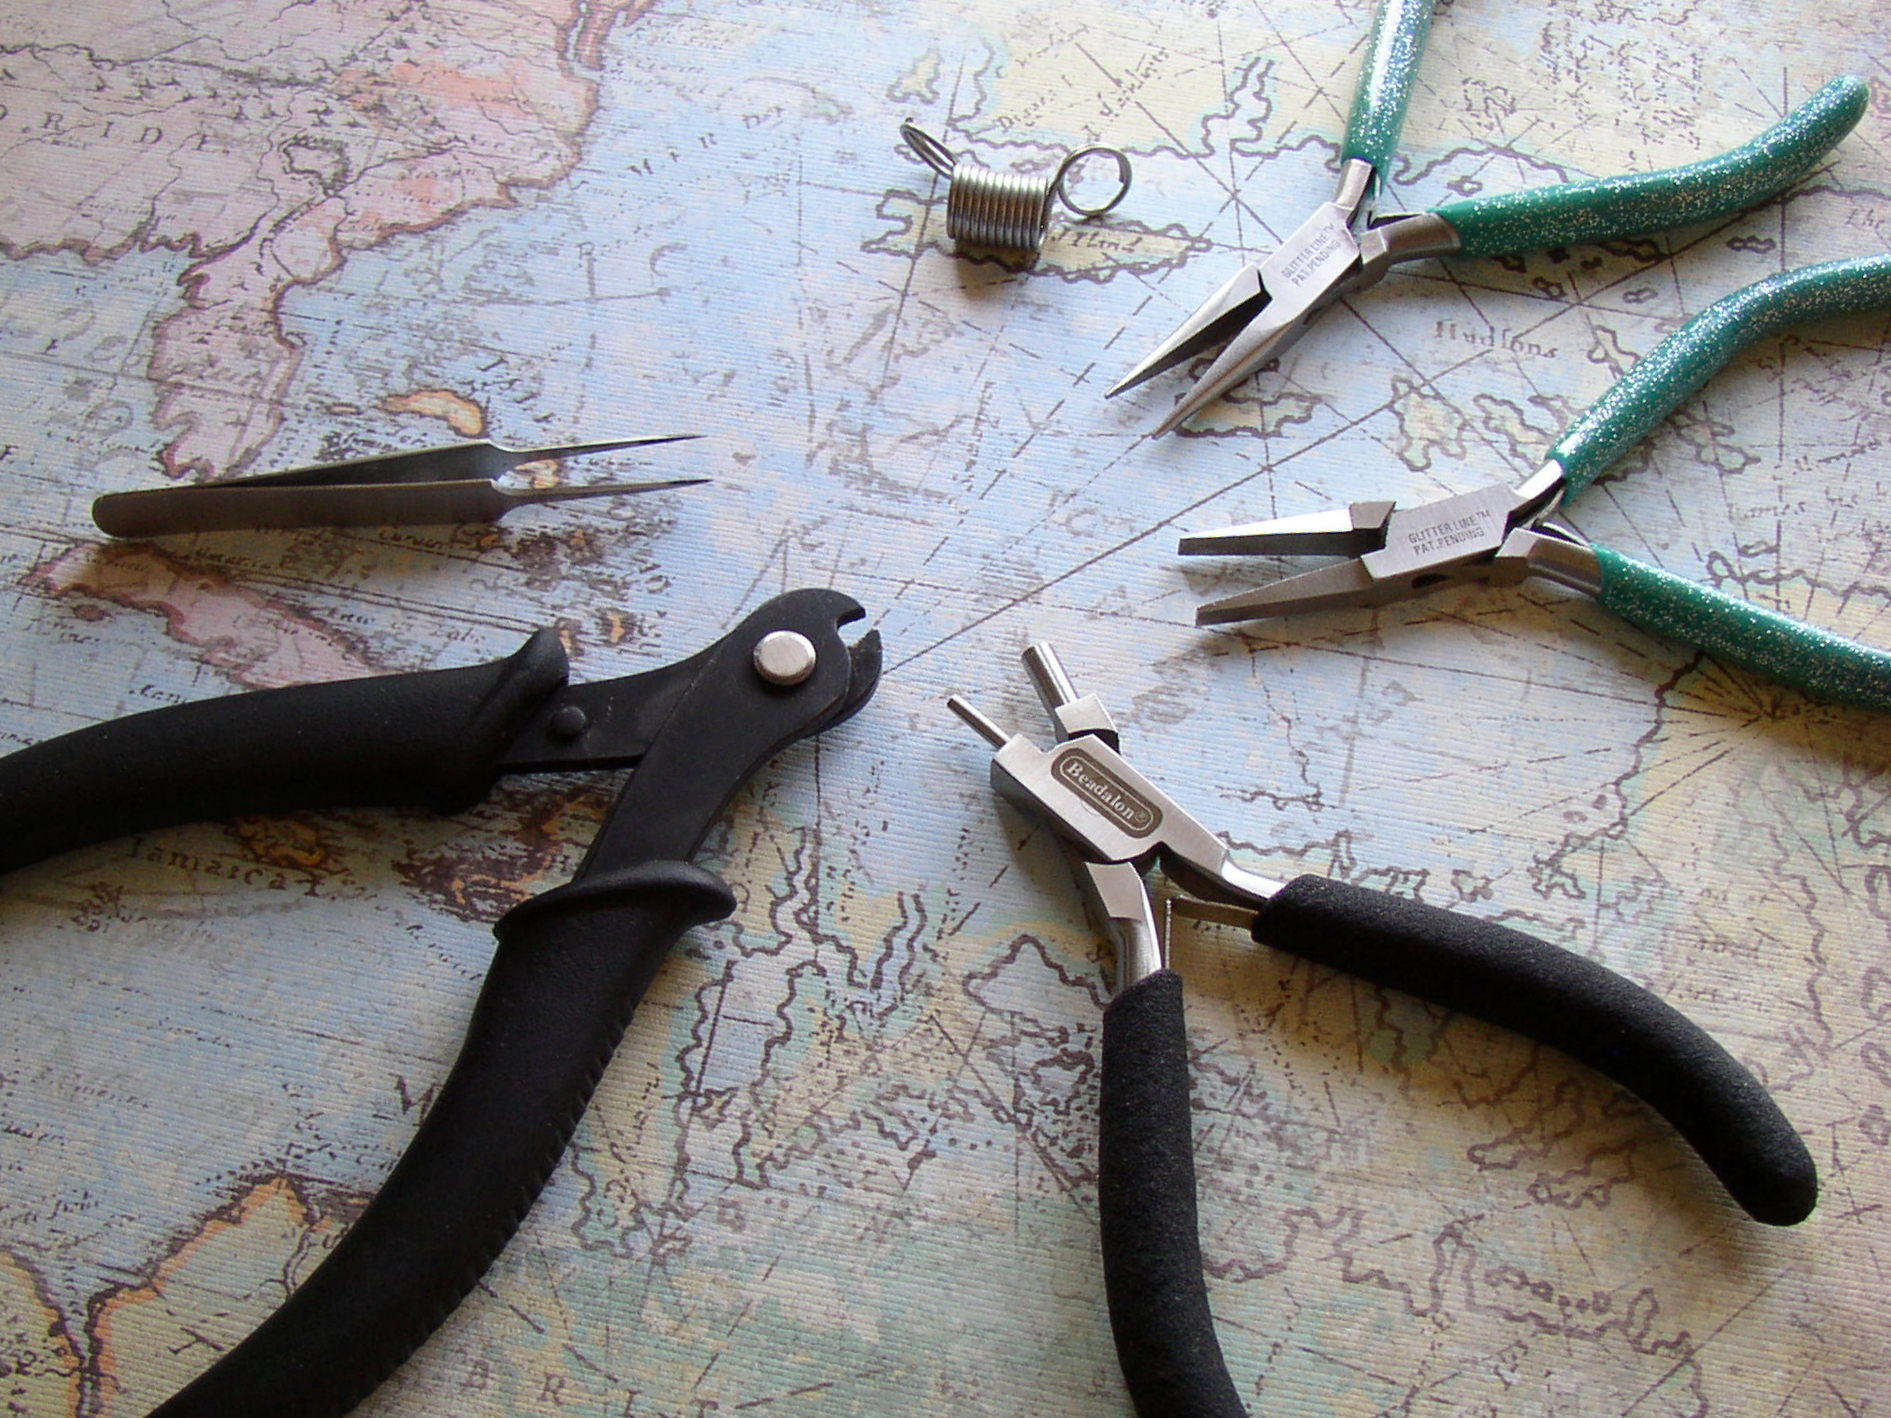
Basic tools to make a memory wire napkin ring include heavy-duty cutters, memory wire bending pliers, flat-nose pliers, chain-nose pliers, tweezers, and a bead stopper.
You will also need the following tools:
- heavy-duty economy cutters (#69-057)
- memory wire bending pliers (#65-701)
- flat-nose pliers and chain nose pliers
- bead stoppers (#69-144-06)
- beading tweezers (#65-040)
Now, follow these steps to make each napkin ring:
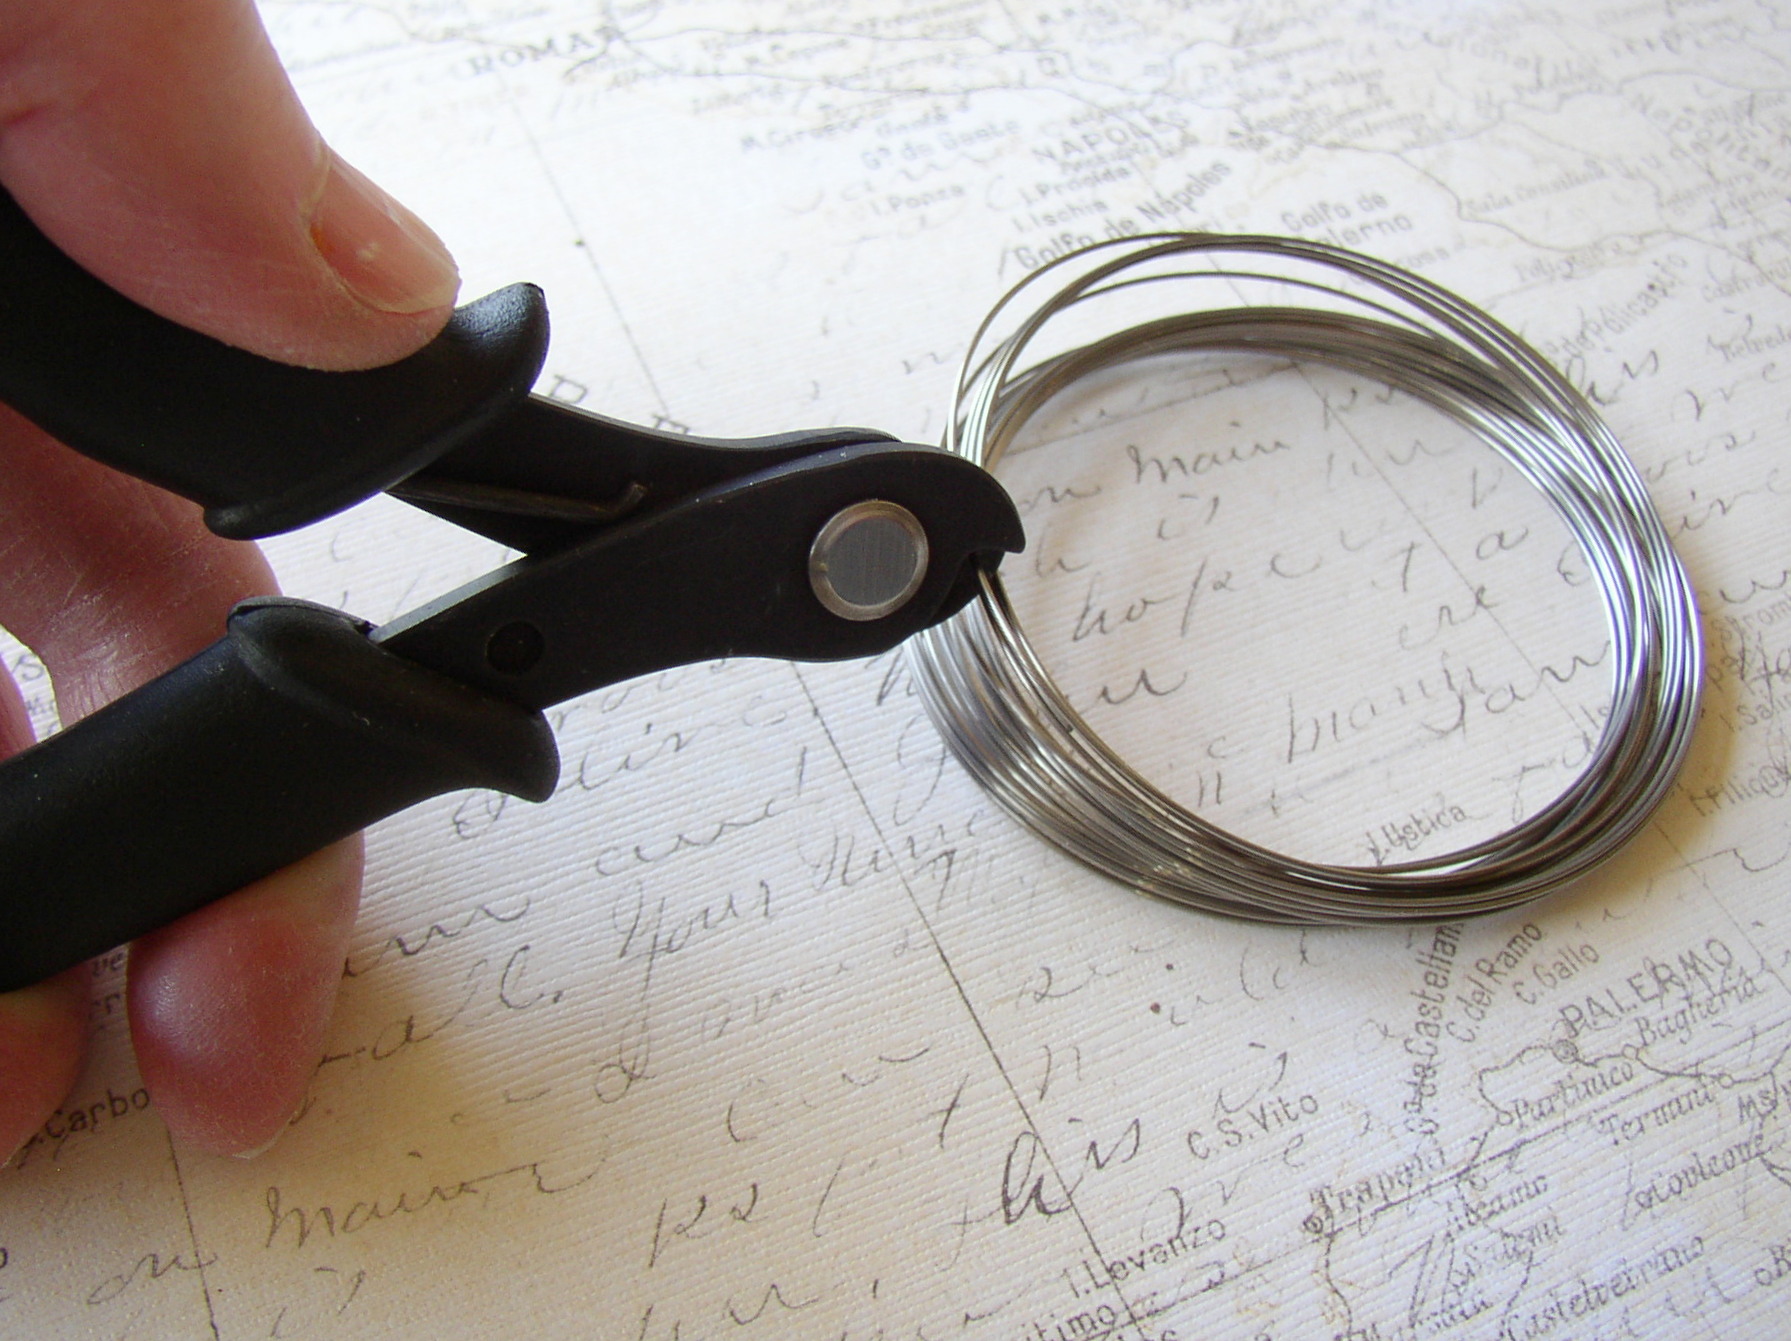
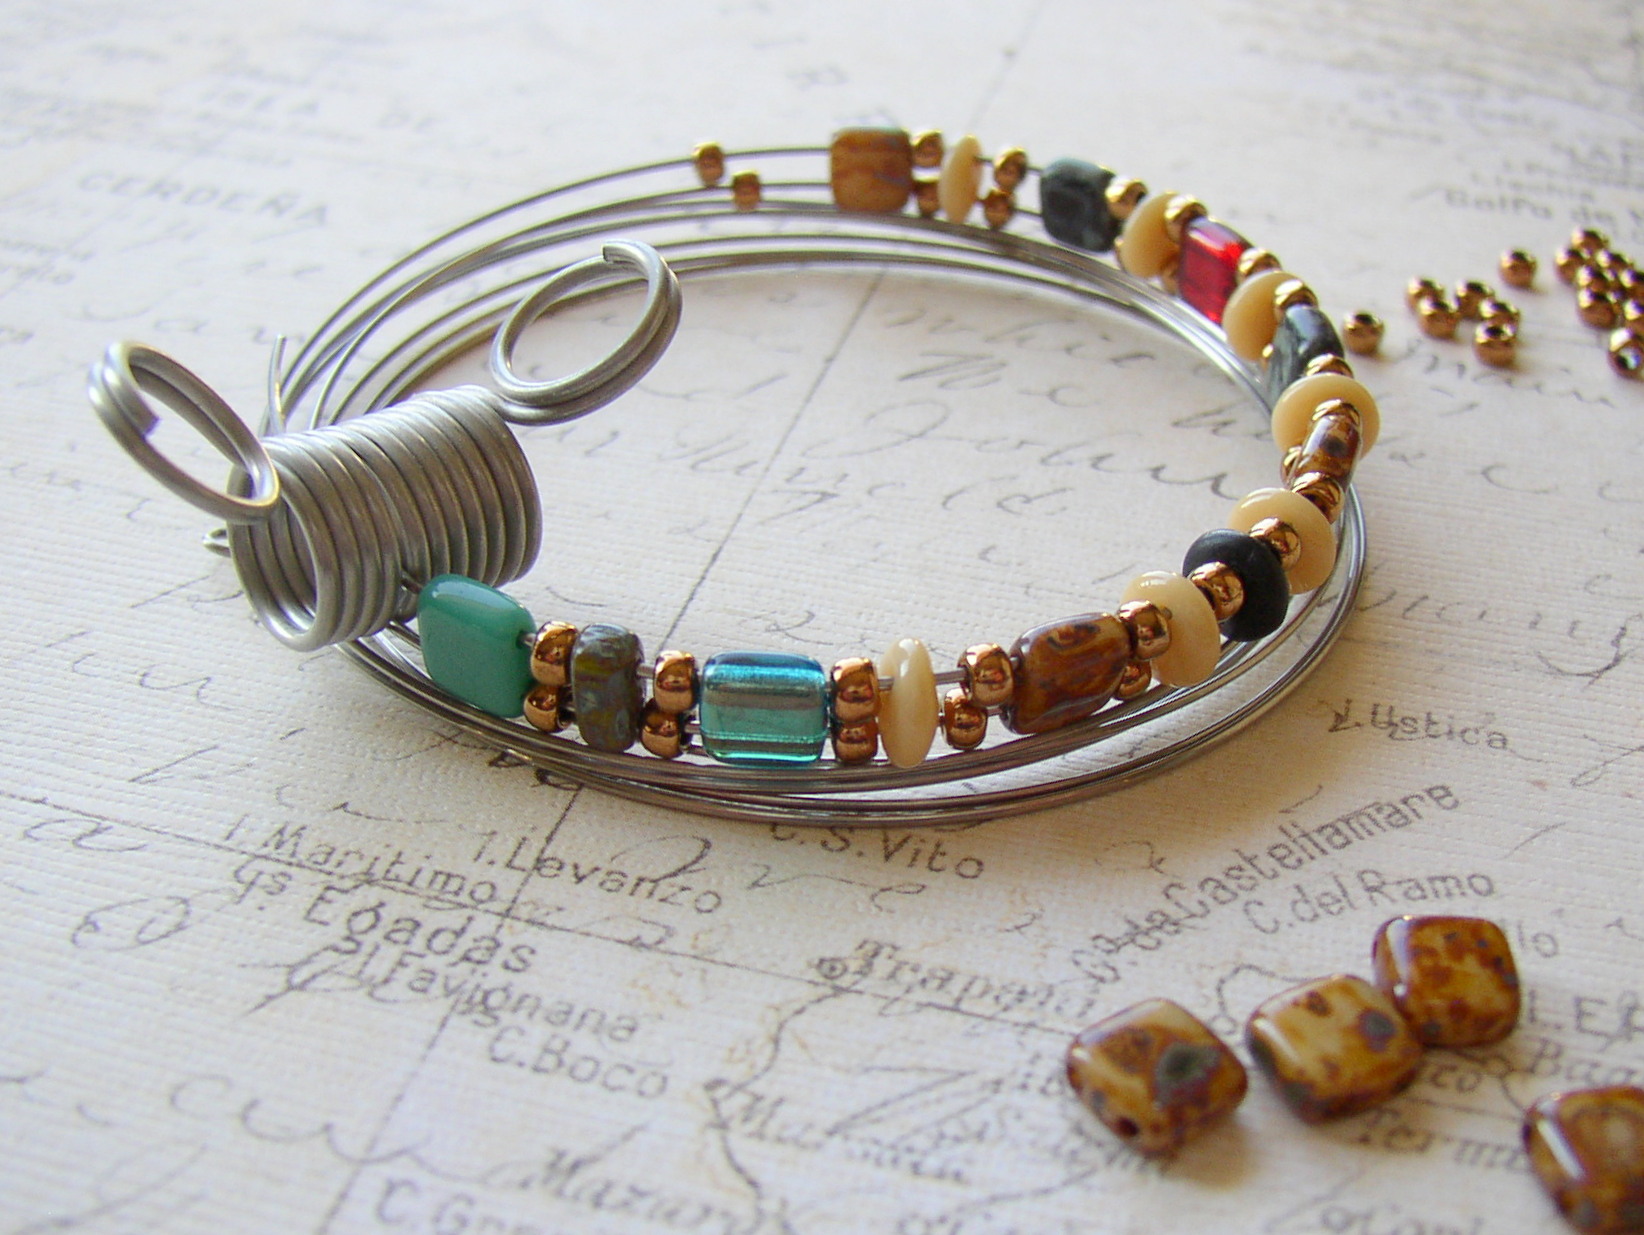
Begin by using heavy-duty cutters to cut two sections of memory wire at 3-1/2 coils per section. The finished napkin ring is three coils long but, since we’re using two-hole beads, we want 2 coiled sections of wire for each napkin ring. Cutting each section of wire at 3-1/2 coils provides enough wire to loop the ends and use your bead stopper.
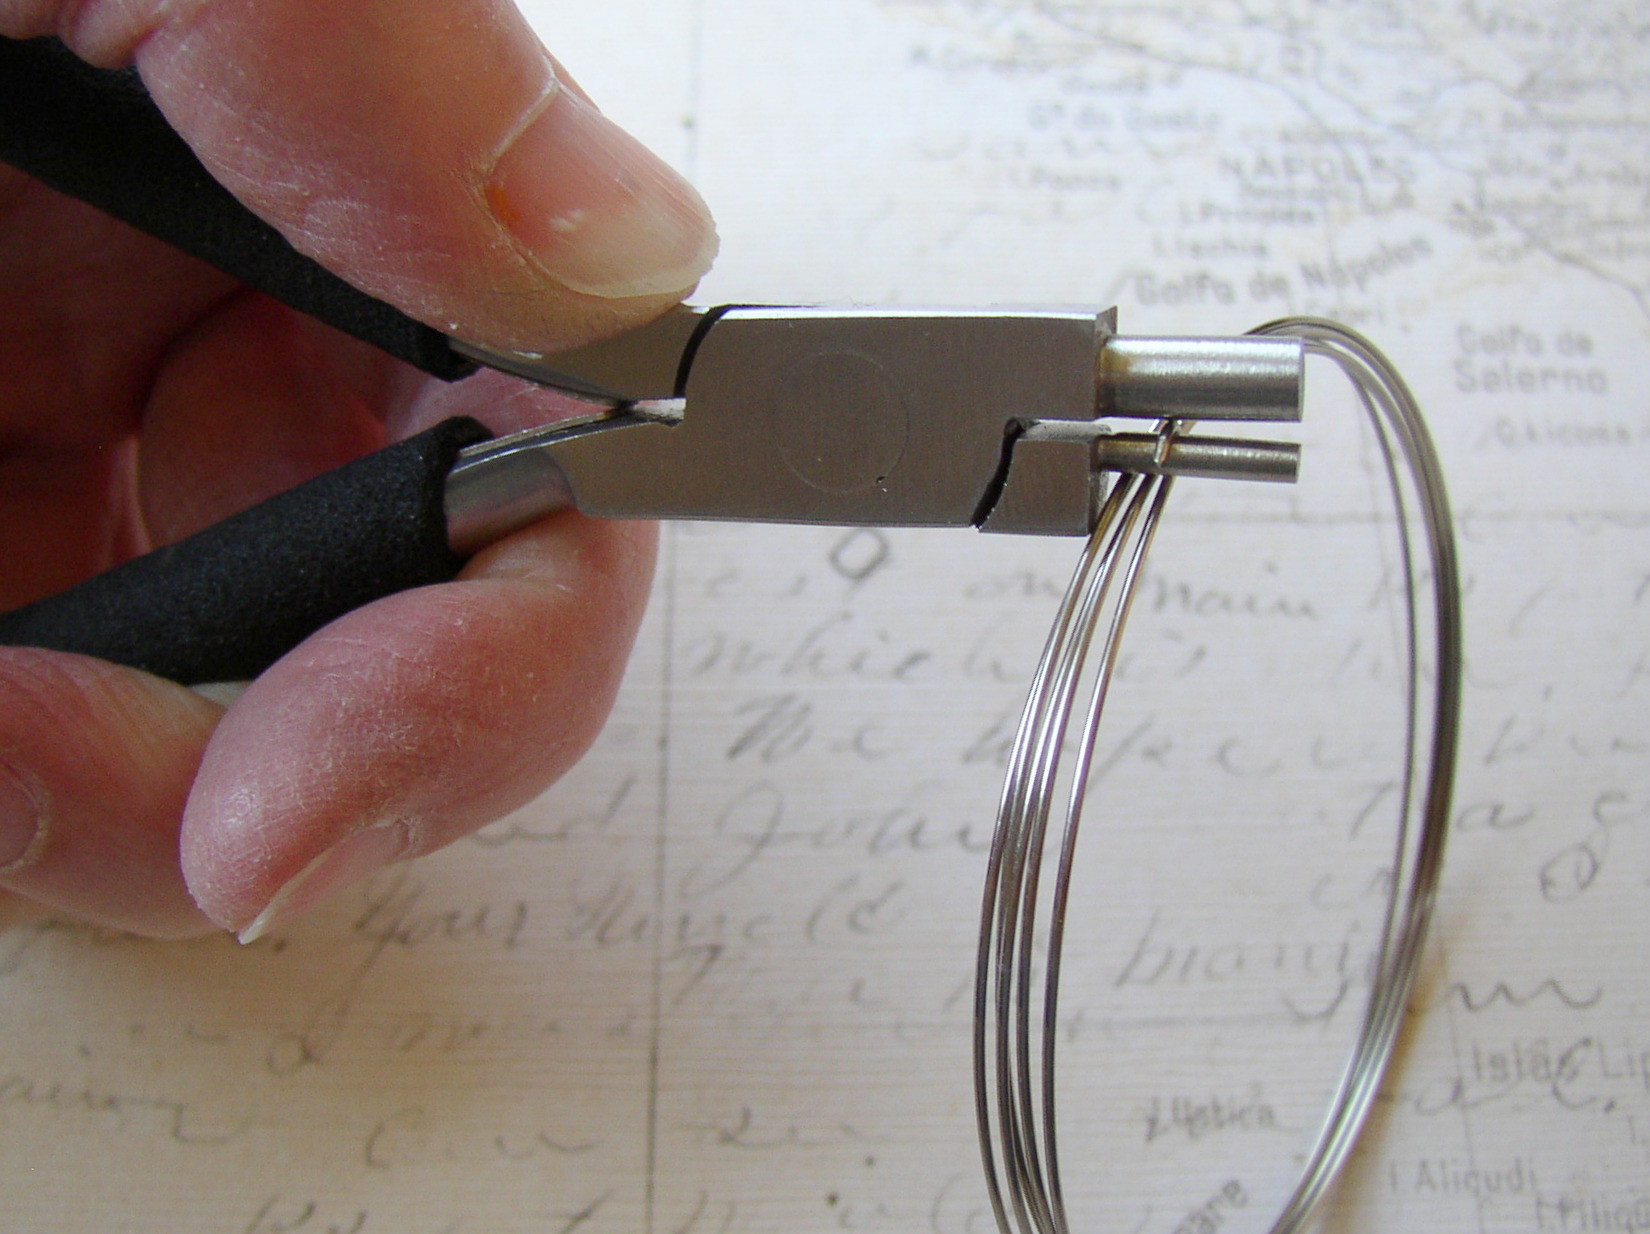
Use memory wire bending pliers to bend a finished loop on one end only of each memory wire coil. To do this, simply grasp the wire end firmly in the pliers’ jaw, and tightly twist to form a complete loop.

The finished loops keep the strung beads in place, and provide a place to attach your charm.
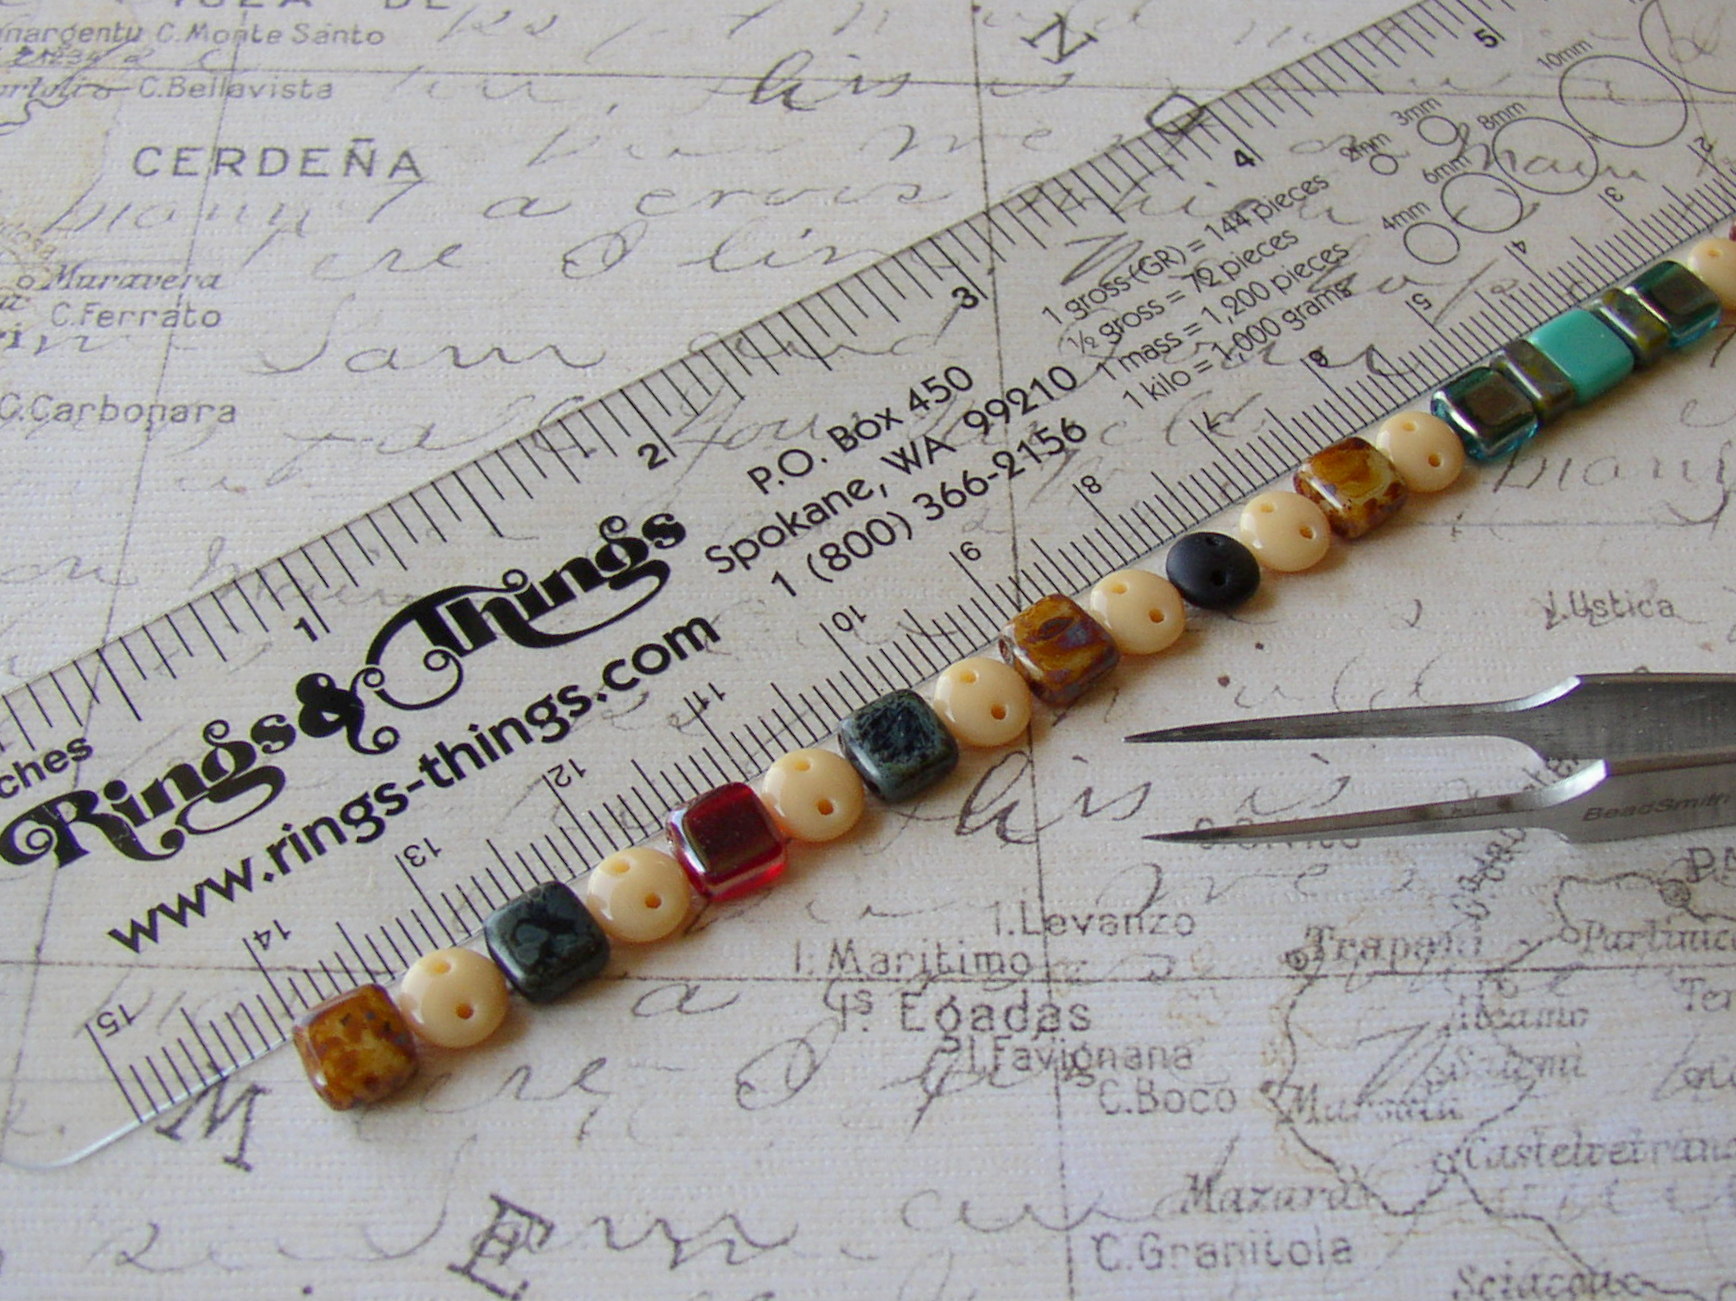
Select colors and styles of beads that suit your taste. I used autumn-themed colors and added a complementary blue that makes the earth-toned colors “pop”. Also plan your bead design taking into consideration the colors, shapes, and pattern of the beads.
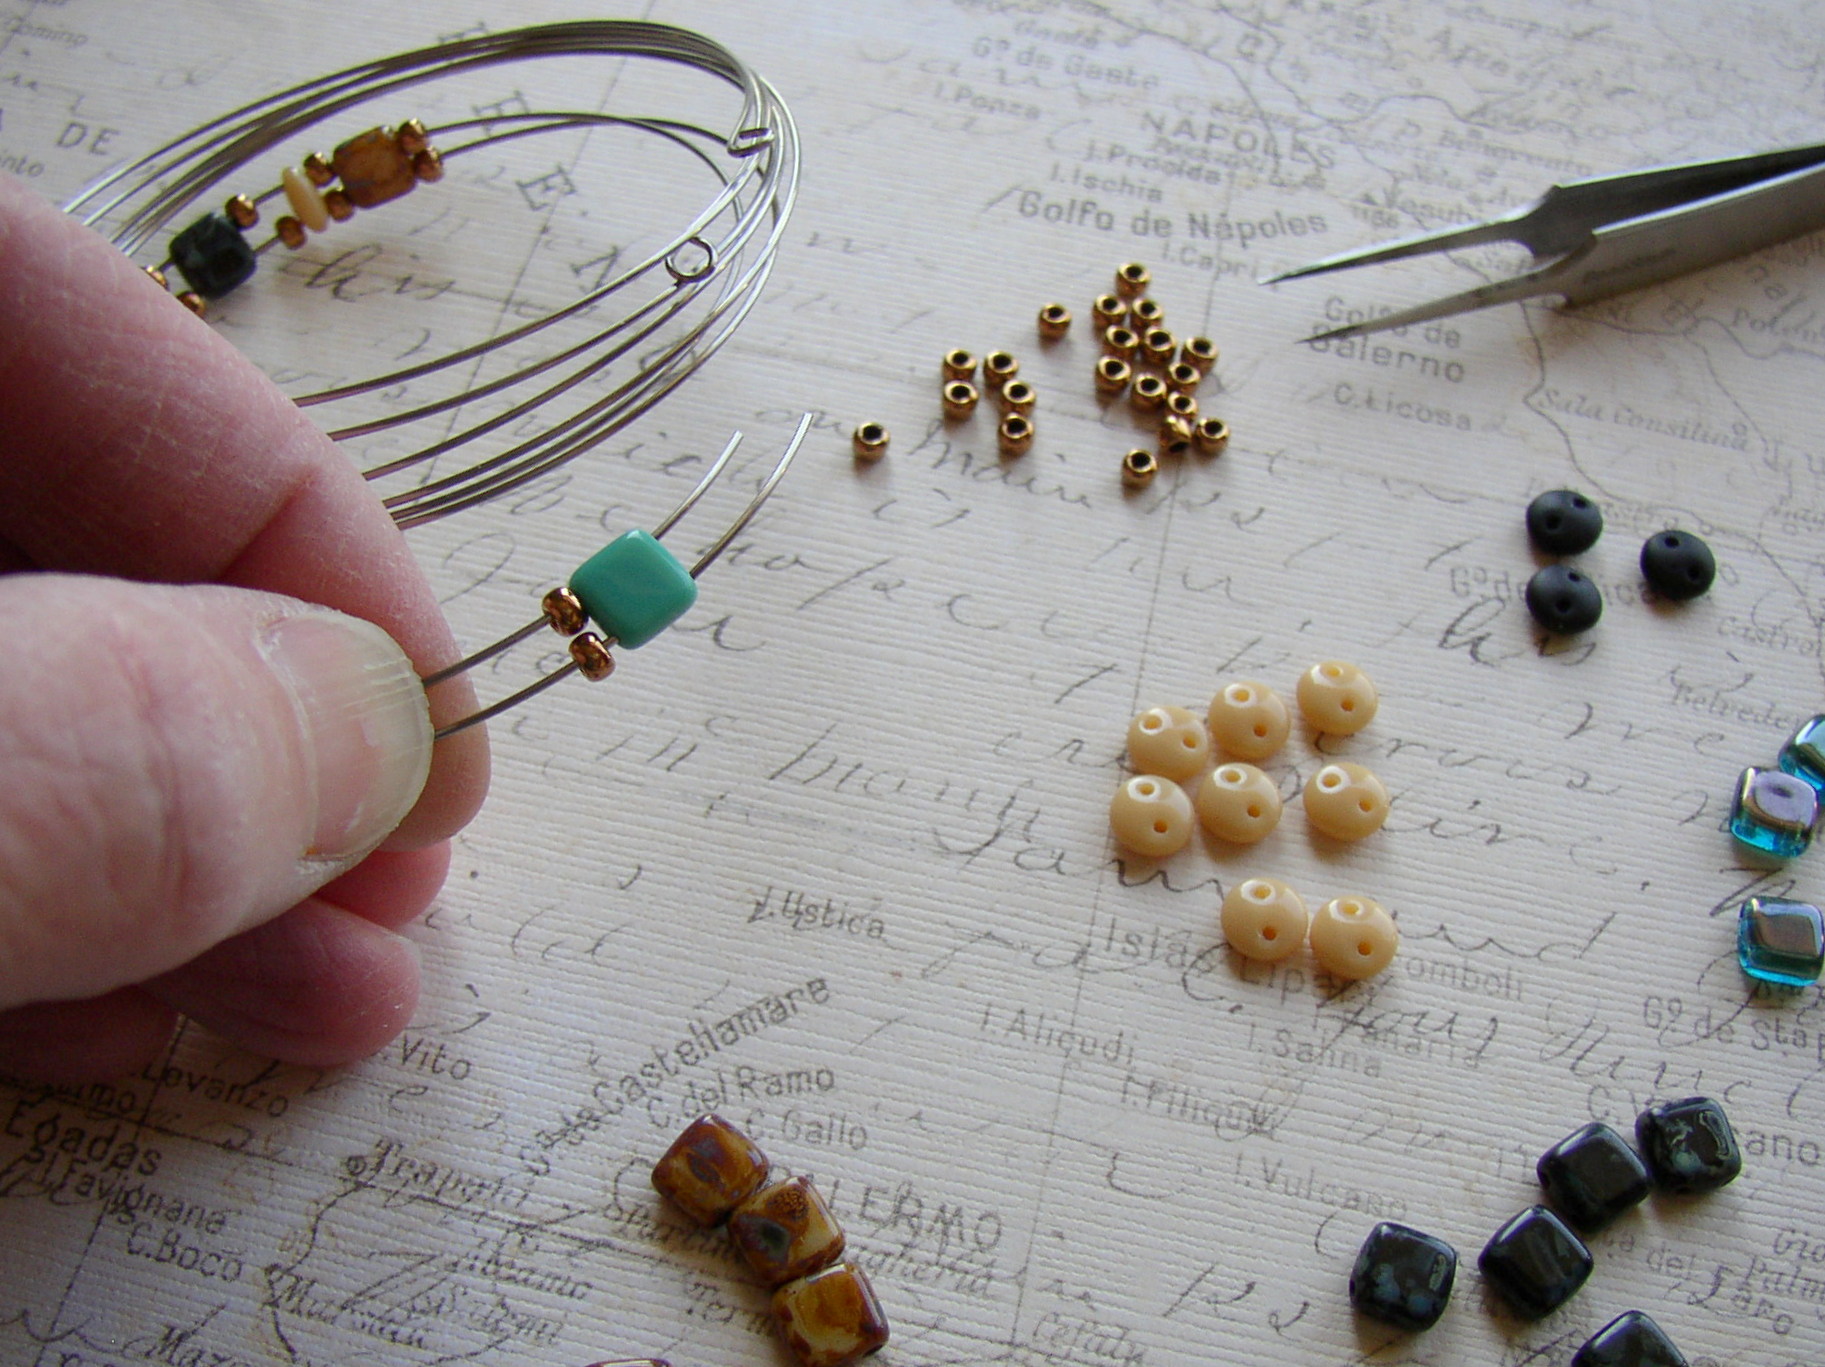
With the two coils layered together, begin stringing the beads. I strung bronze-colored, size 8/0 seed beads between each two-hole Czechmate bead. The seed beads enhance the pattern and allow the two-hole beads to lay more evenly.
When you need to take a break from stringing beads, the Bead Stopper is the perfect tool to keep your work in place. Just squeeze the handles together and clip the spring onto your memory wire to prevent accidental spills.

Continue stringing beads until you’ve completed the number of coils desired. Now you’re ready to finish the ends! Make sure all the beads are strung tightly together, then clip the Bead Stopper onto one of the memory wire “tails”; this will keep the beads in place while you finish the first wire end. On the unsecured end, use heavy-duty cutters to cut the wire, leaving just enough wire remaining to form a loop. Now, make your loop with the memory wire bending pliers. Repeat these steps with the second wire end.
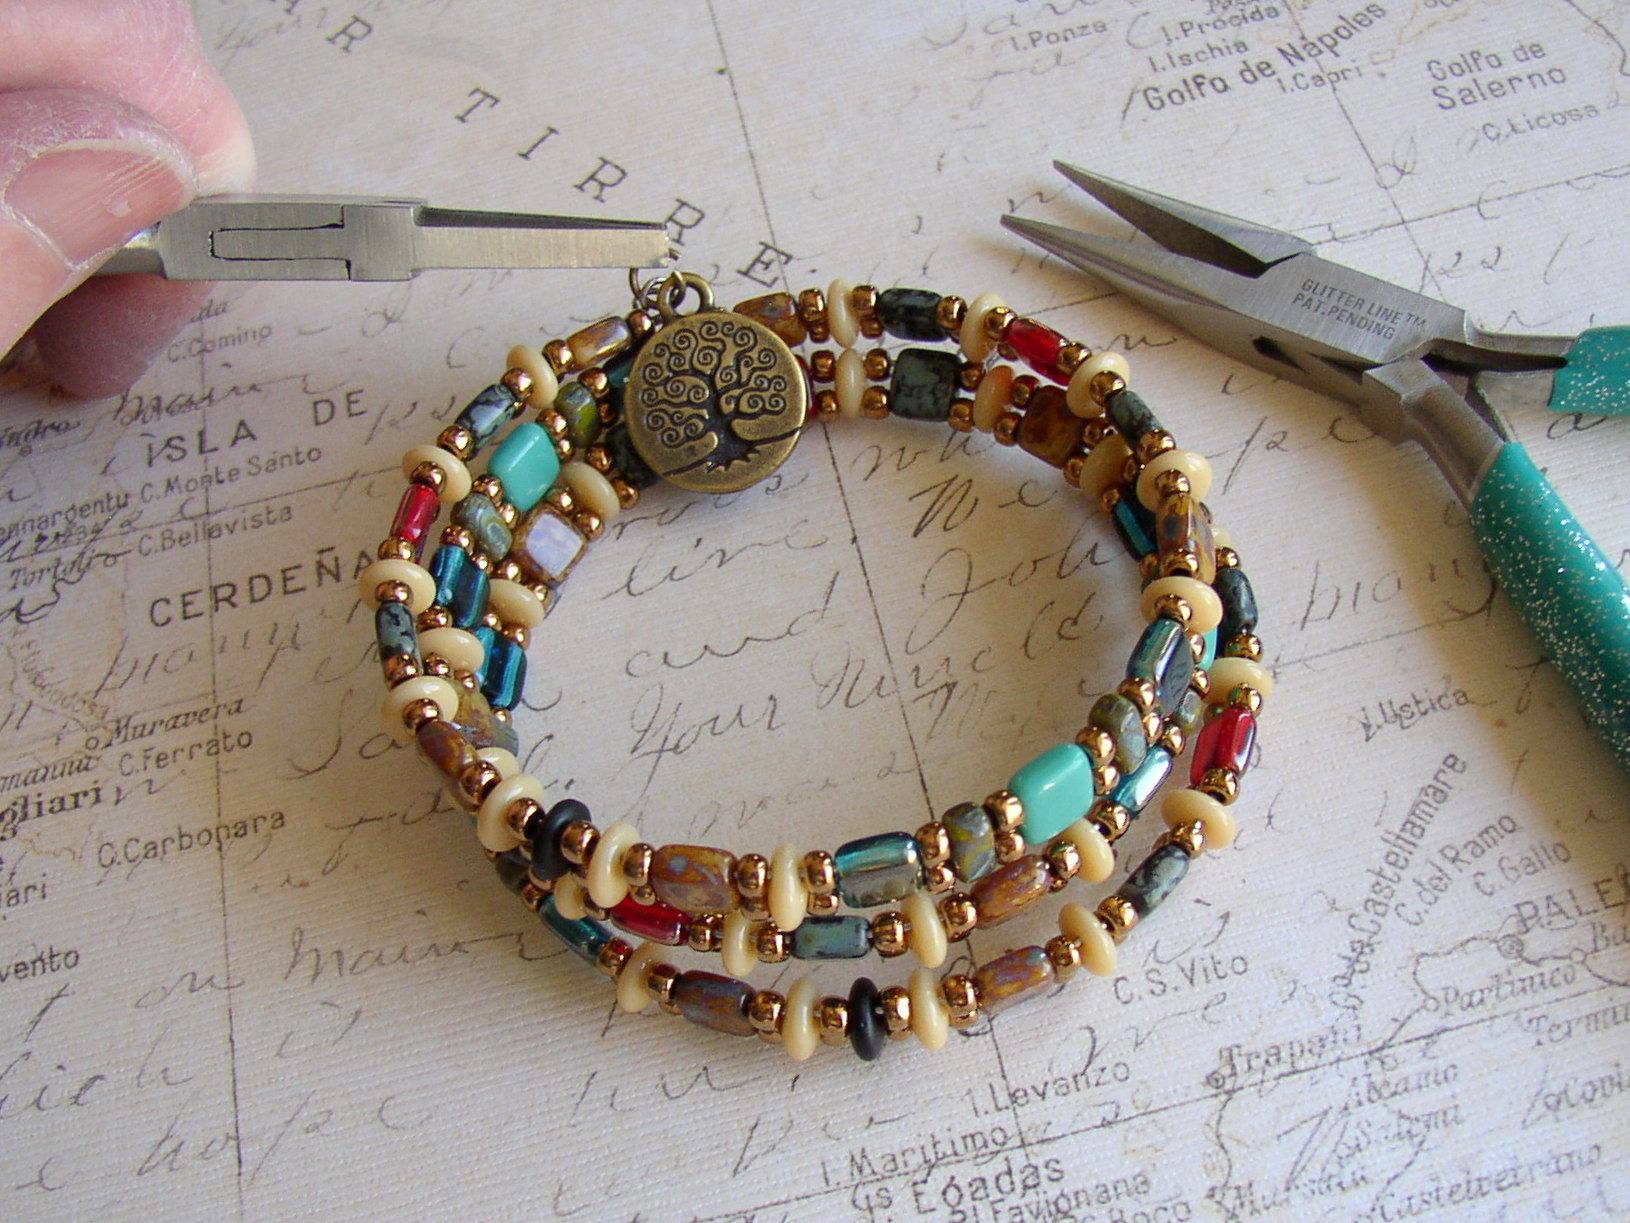
Adorn your napkin ring by adding a charm to one loop. Use a jump ring and both pair of pliers to connect the charm. I chose a tree charm as an autumn-themed accent.
The completed napkin ring looks awesome!
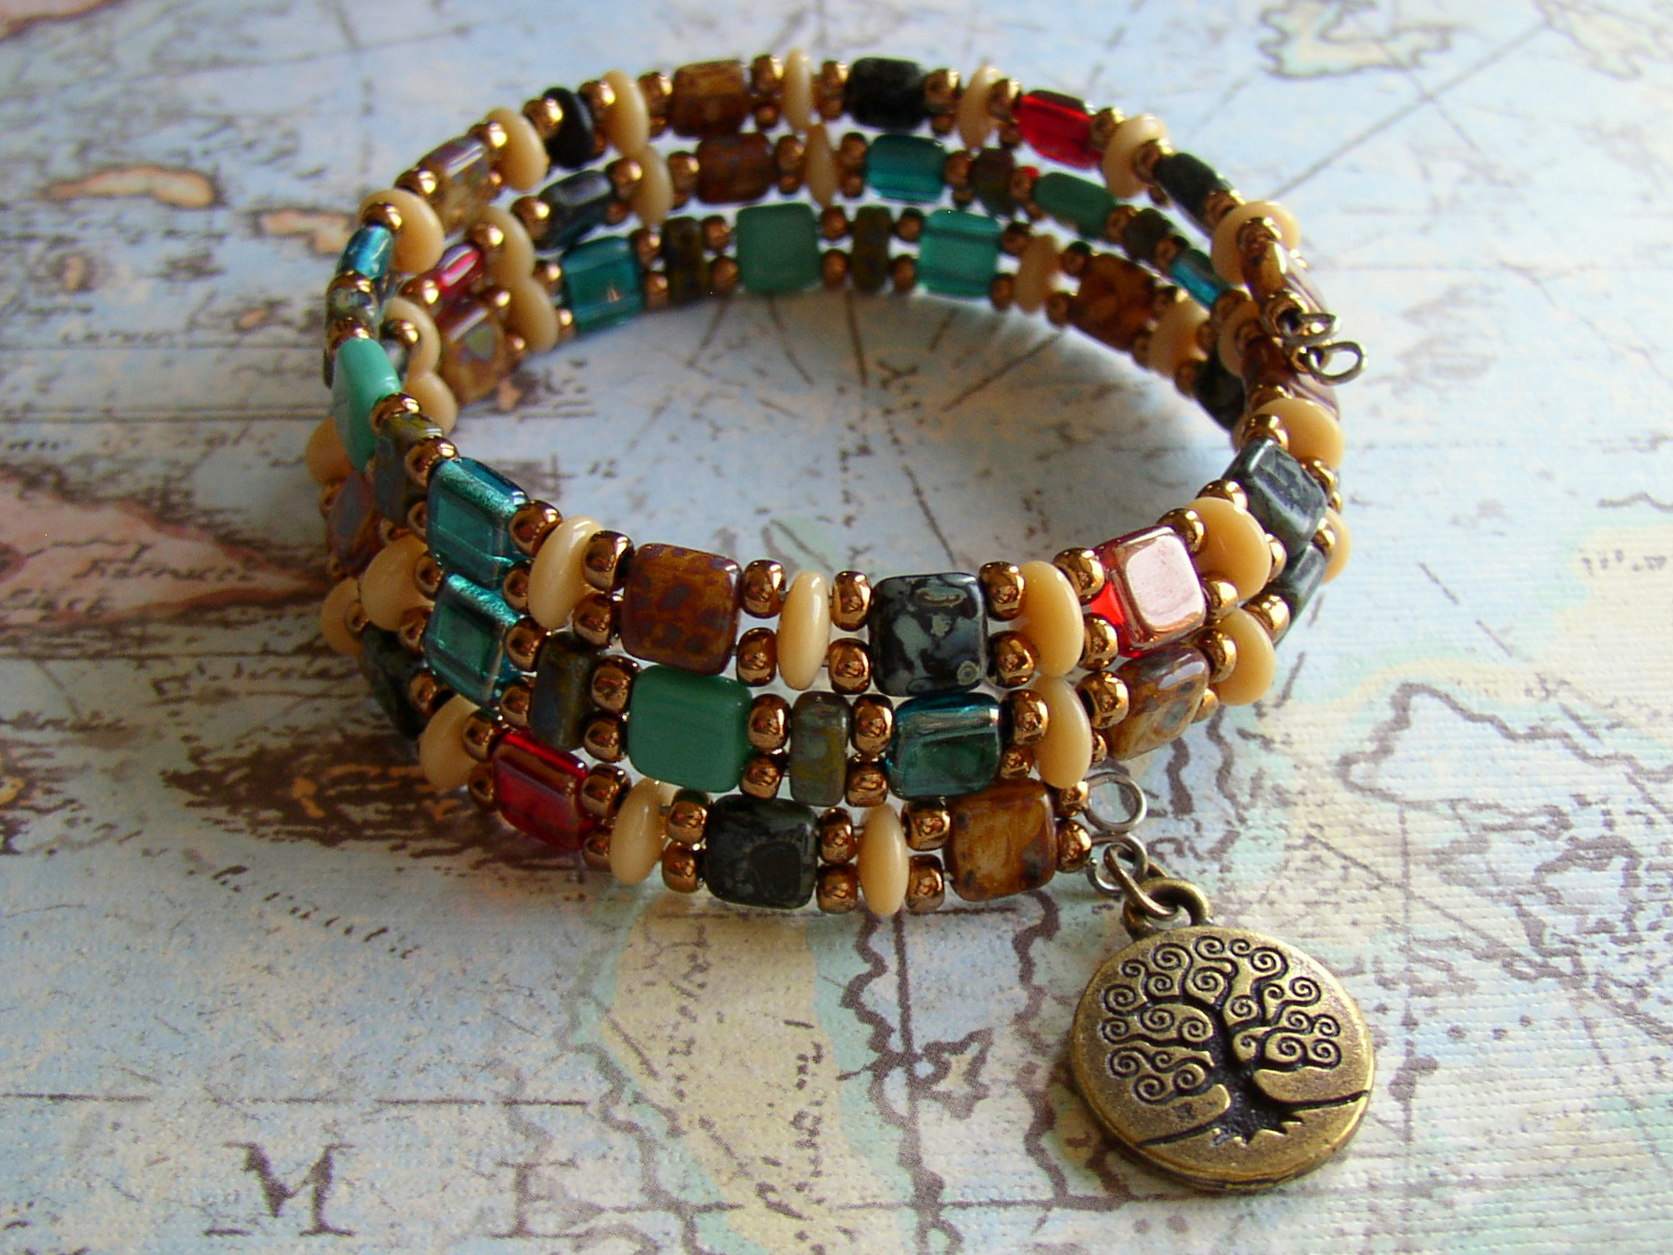
Now that you’ve made one napkin ring, it’s easy to make more! You can create a matching set in identical patterns, or mix it up a bit and make an eclectic, one-of-a-kind set.
And in case you were thinking this project might make a sweet bracelet too — it does!
♥ Make things!
Mollie


No Comments