Valentine’s Day is just around the corner, and what bead could be more perfect for Valentine’s jewelry than Swarovski’s heart-shaped “LOVE” Bead? I dangled a pair of LOVE Beads from the end of ear threads and in just minutes I made a pair of earrings that are flashy, yet elegant. And I must add, perfect for any day of the year. Love!
You will need these supplies:
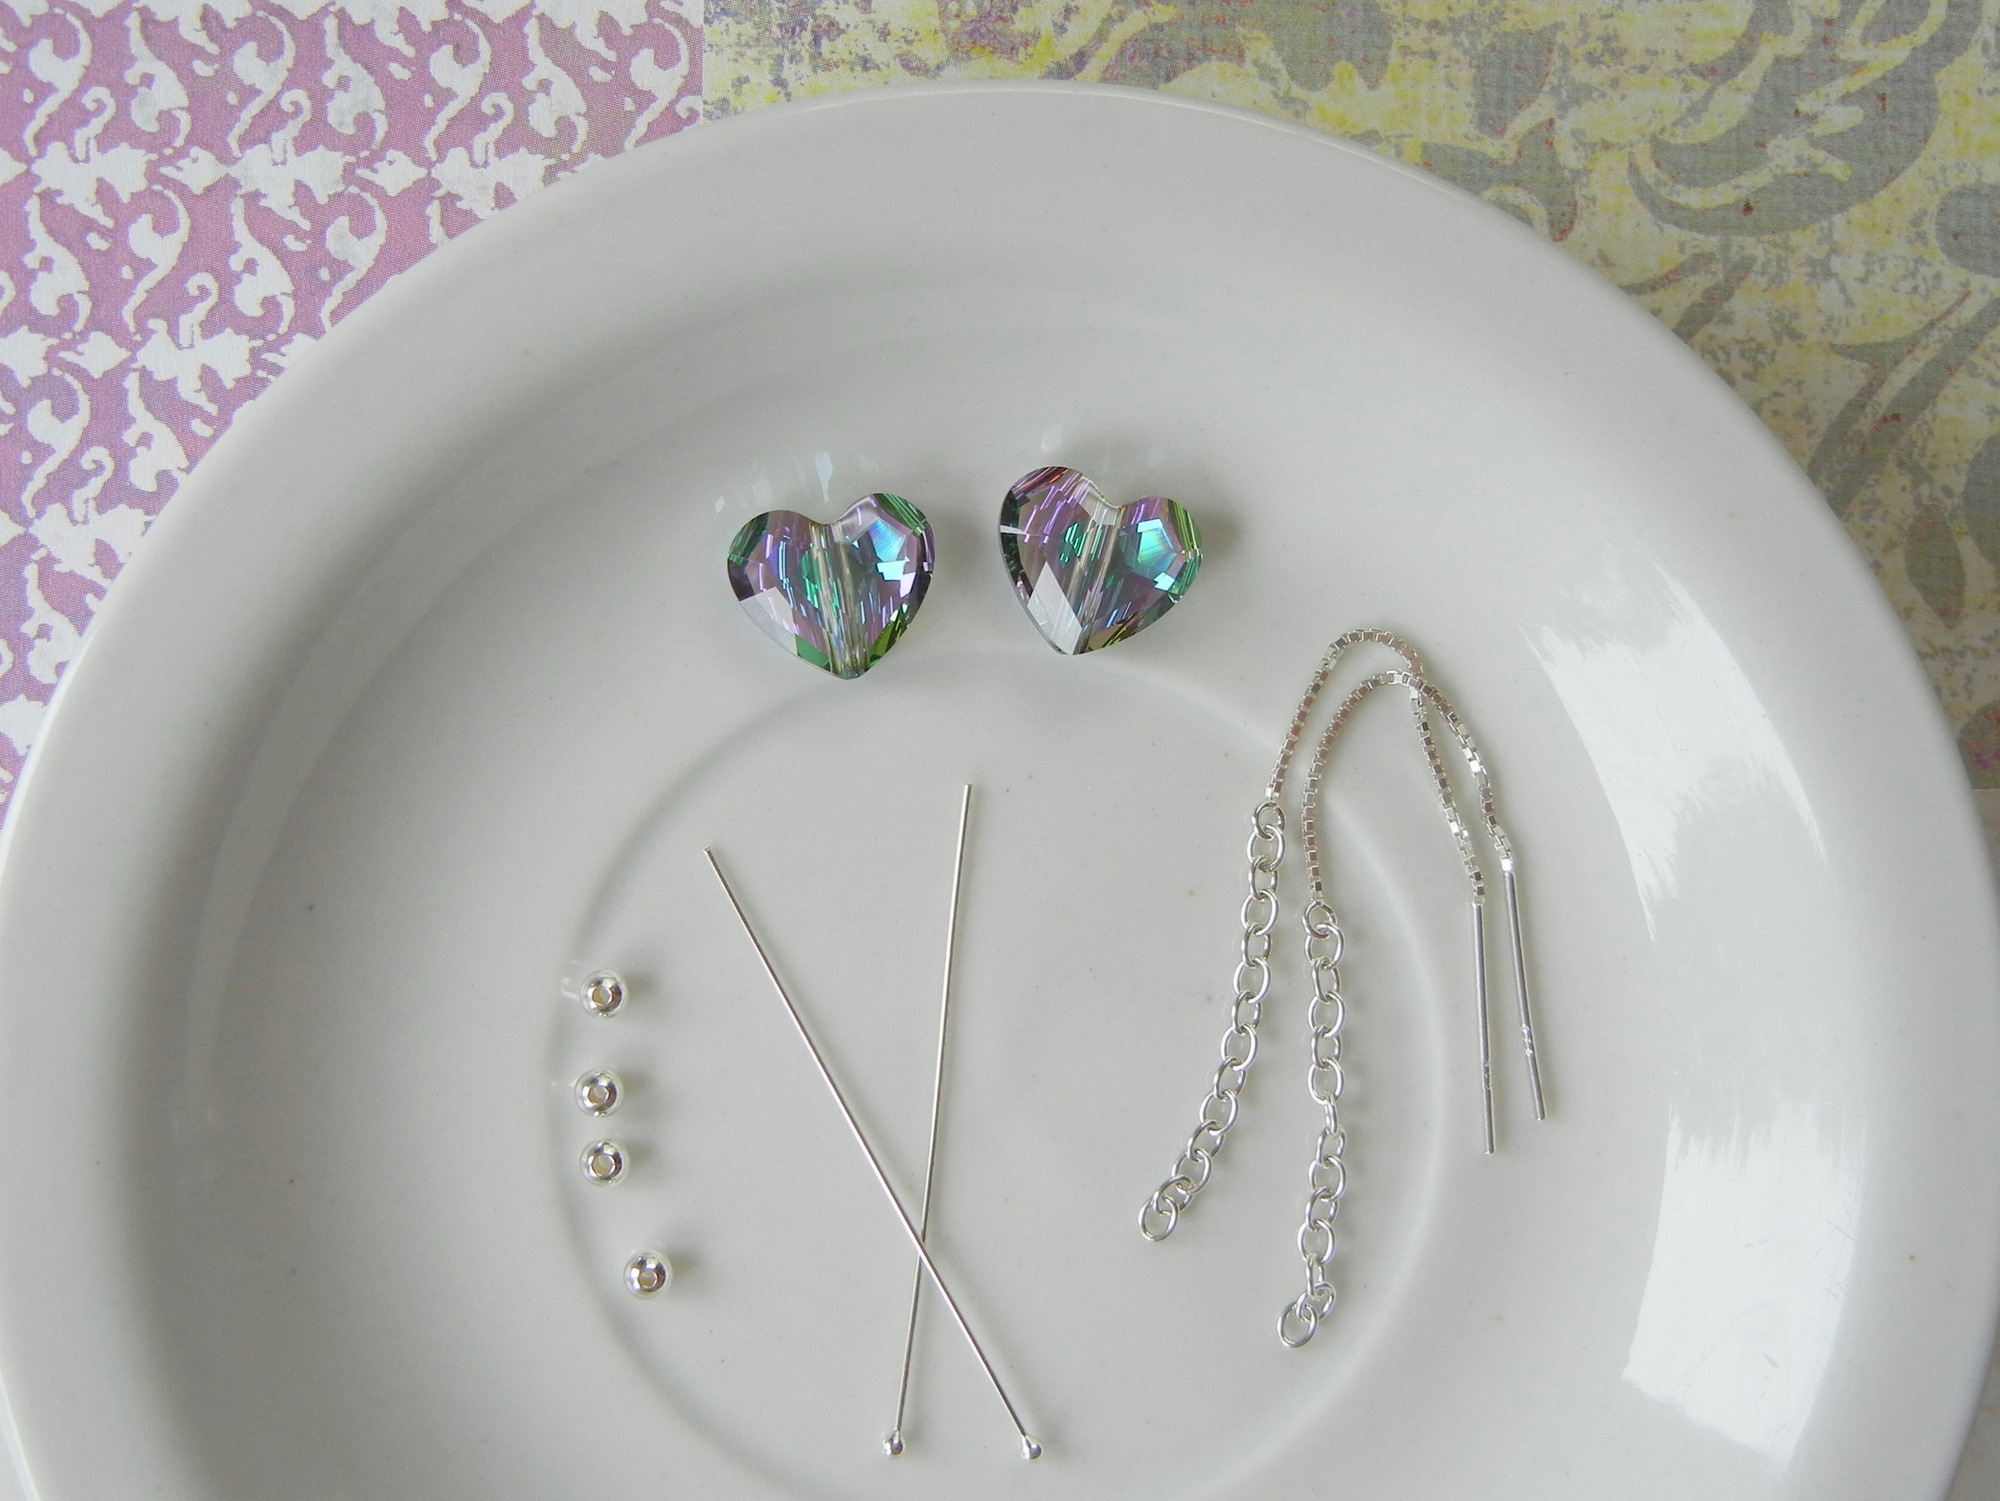
- 2 each Swarovski 5741 Love beads (I used item #05-741-12-445)
- 1 pair sterling-silver ear threads (I used item #53-509-06)
- 2 each sterling-silver head pins (I used item #37-572)
- 4 each round sterling-silver beads (I used item #24-923)
You will need these tools:
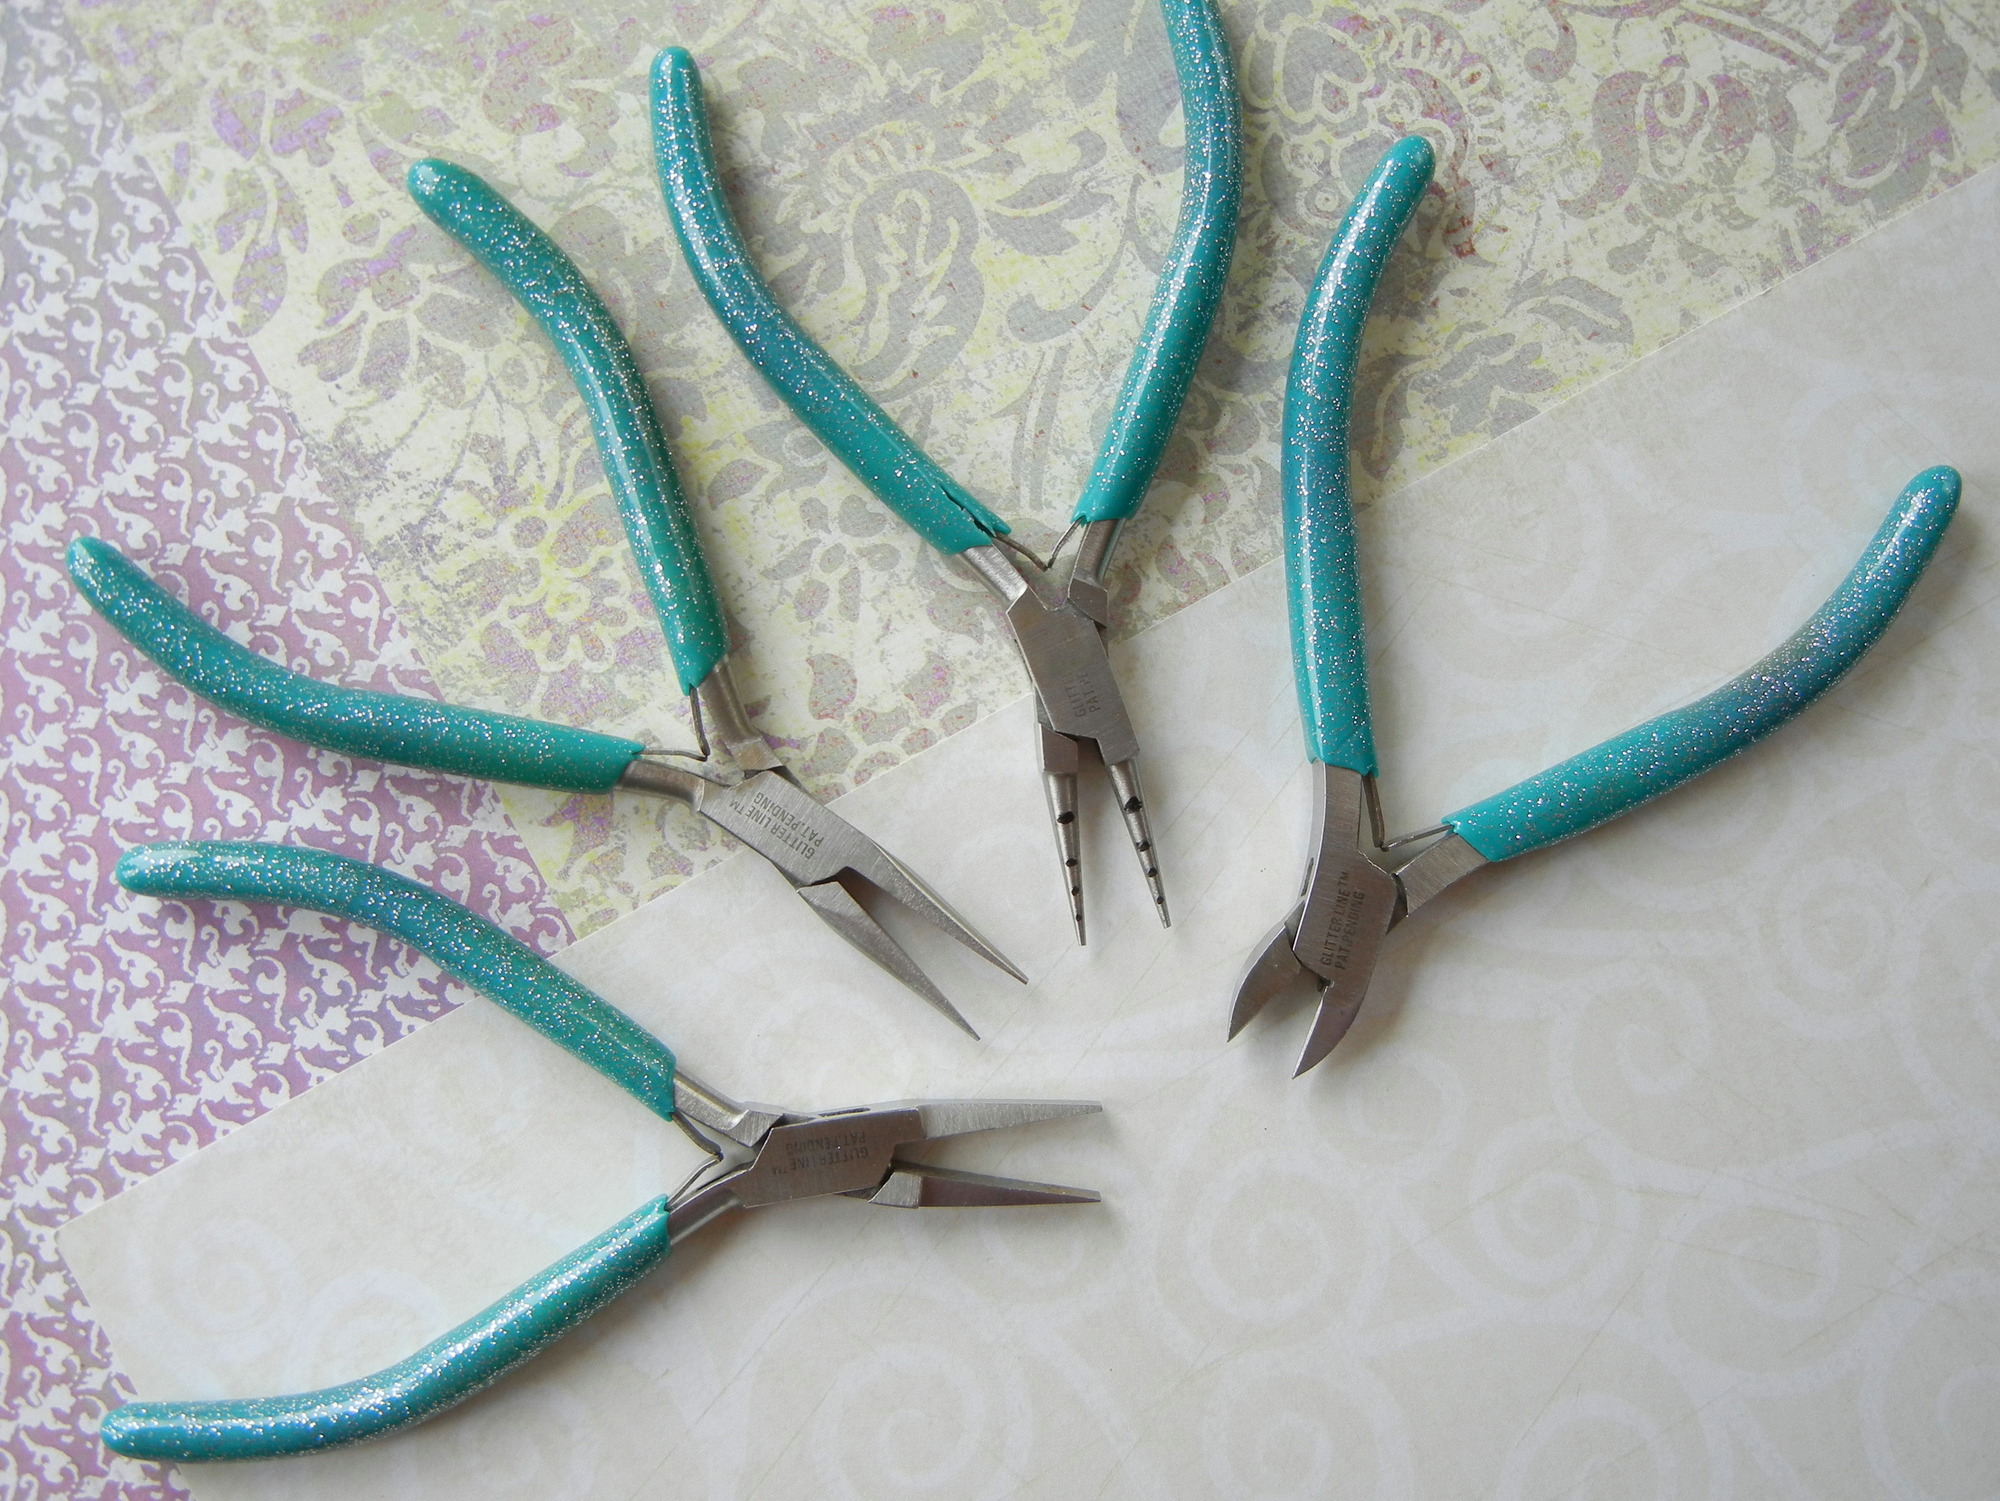
- #69-271-08 EURO TOOL Glitter, Flat-Nose Jewelry Pliers
- #69-271-03 EURO TOOL Glitter, Chain-Nose Jewelry Pliers
- #69-271-02 EURO TOOL Glitter, Round-Nose Jewelry Pliers
- #69-271-05 EURO TOOL Glitter, Semi-Flush Side Cutter
Tool Spotlight
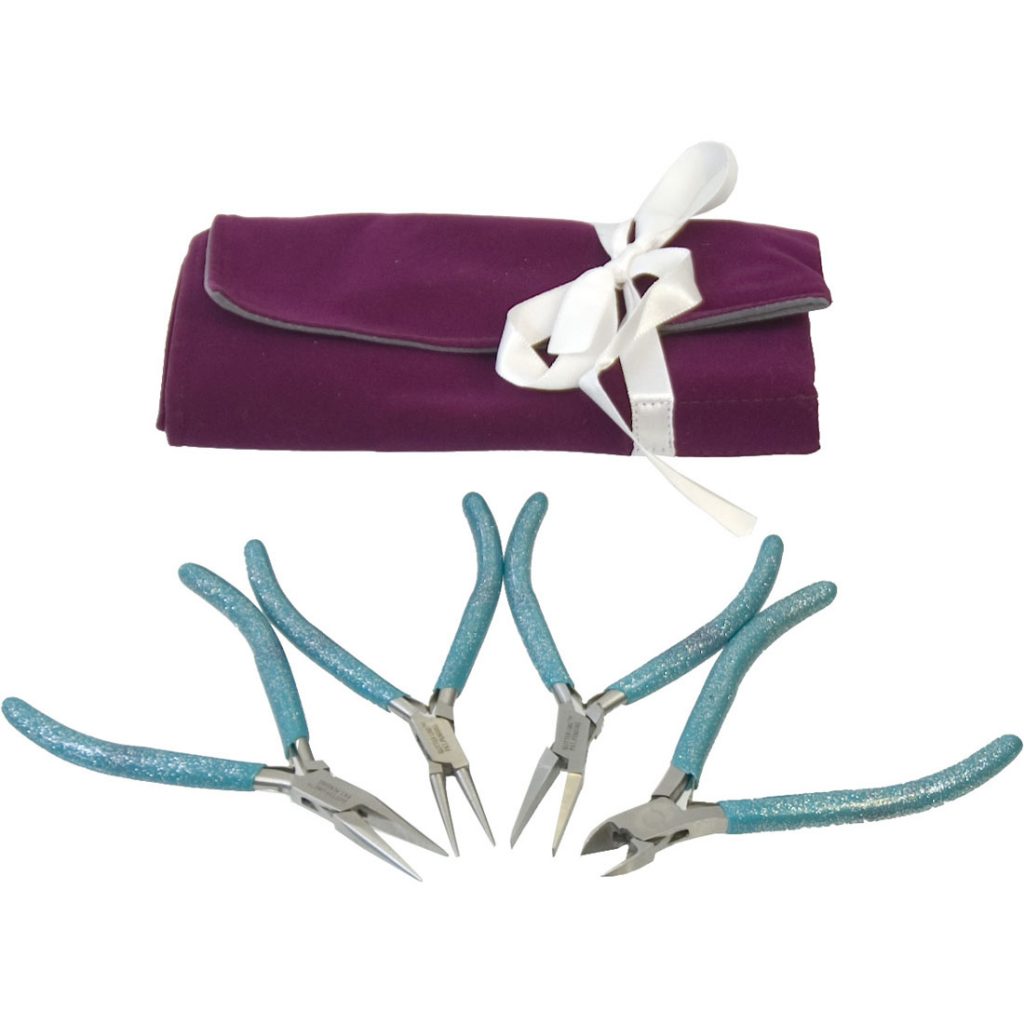
EUROTOOL Four-Piece “Glitter” Tool Set
4-piece 4.5″ Glitter Line™ EURO TOOL® basic jewelry tool set with roll-up purple pouch. Includes chain-nose pliers, flat-nose pliers, round-nose pliers and semi-flush side cutters. These comfortable pliers, with glittery PVC grips, have fine, precision ground tips and double-leaf springs. Box-joint construction.
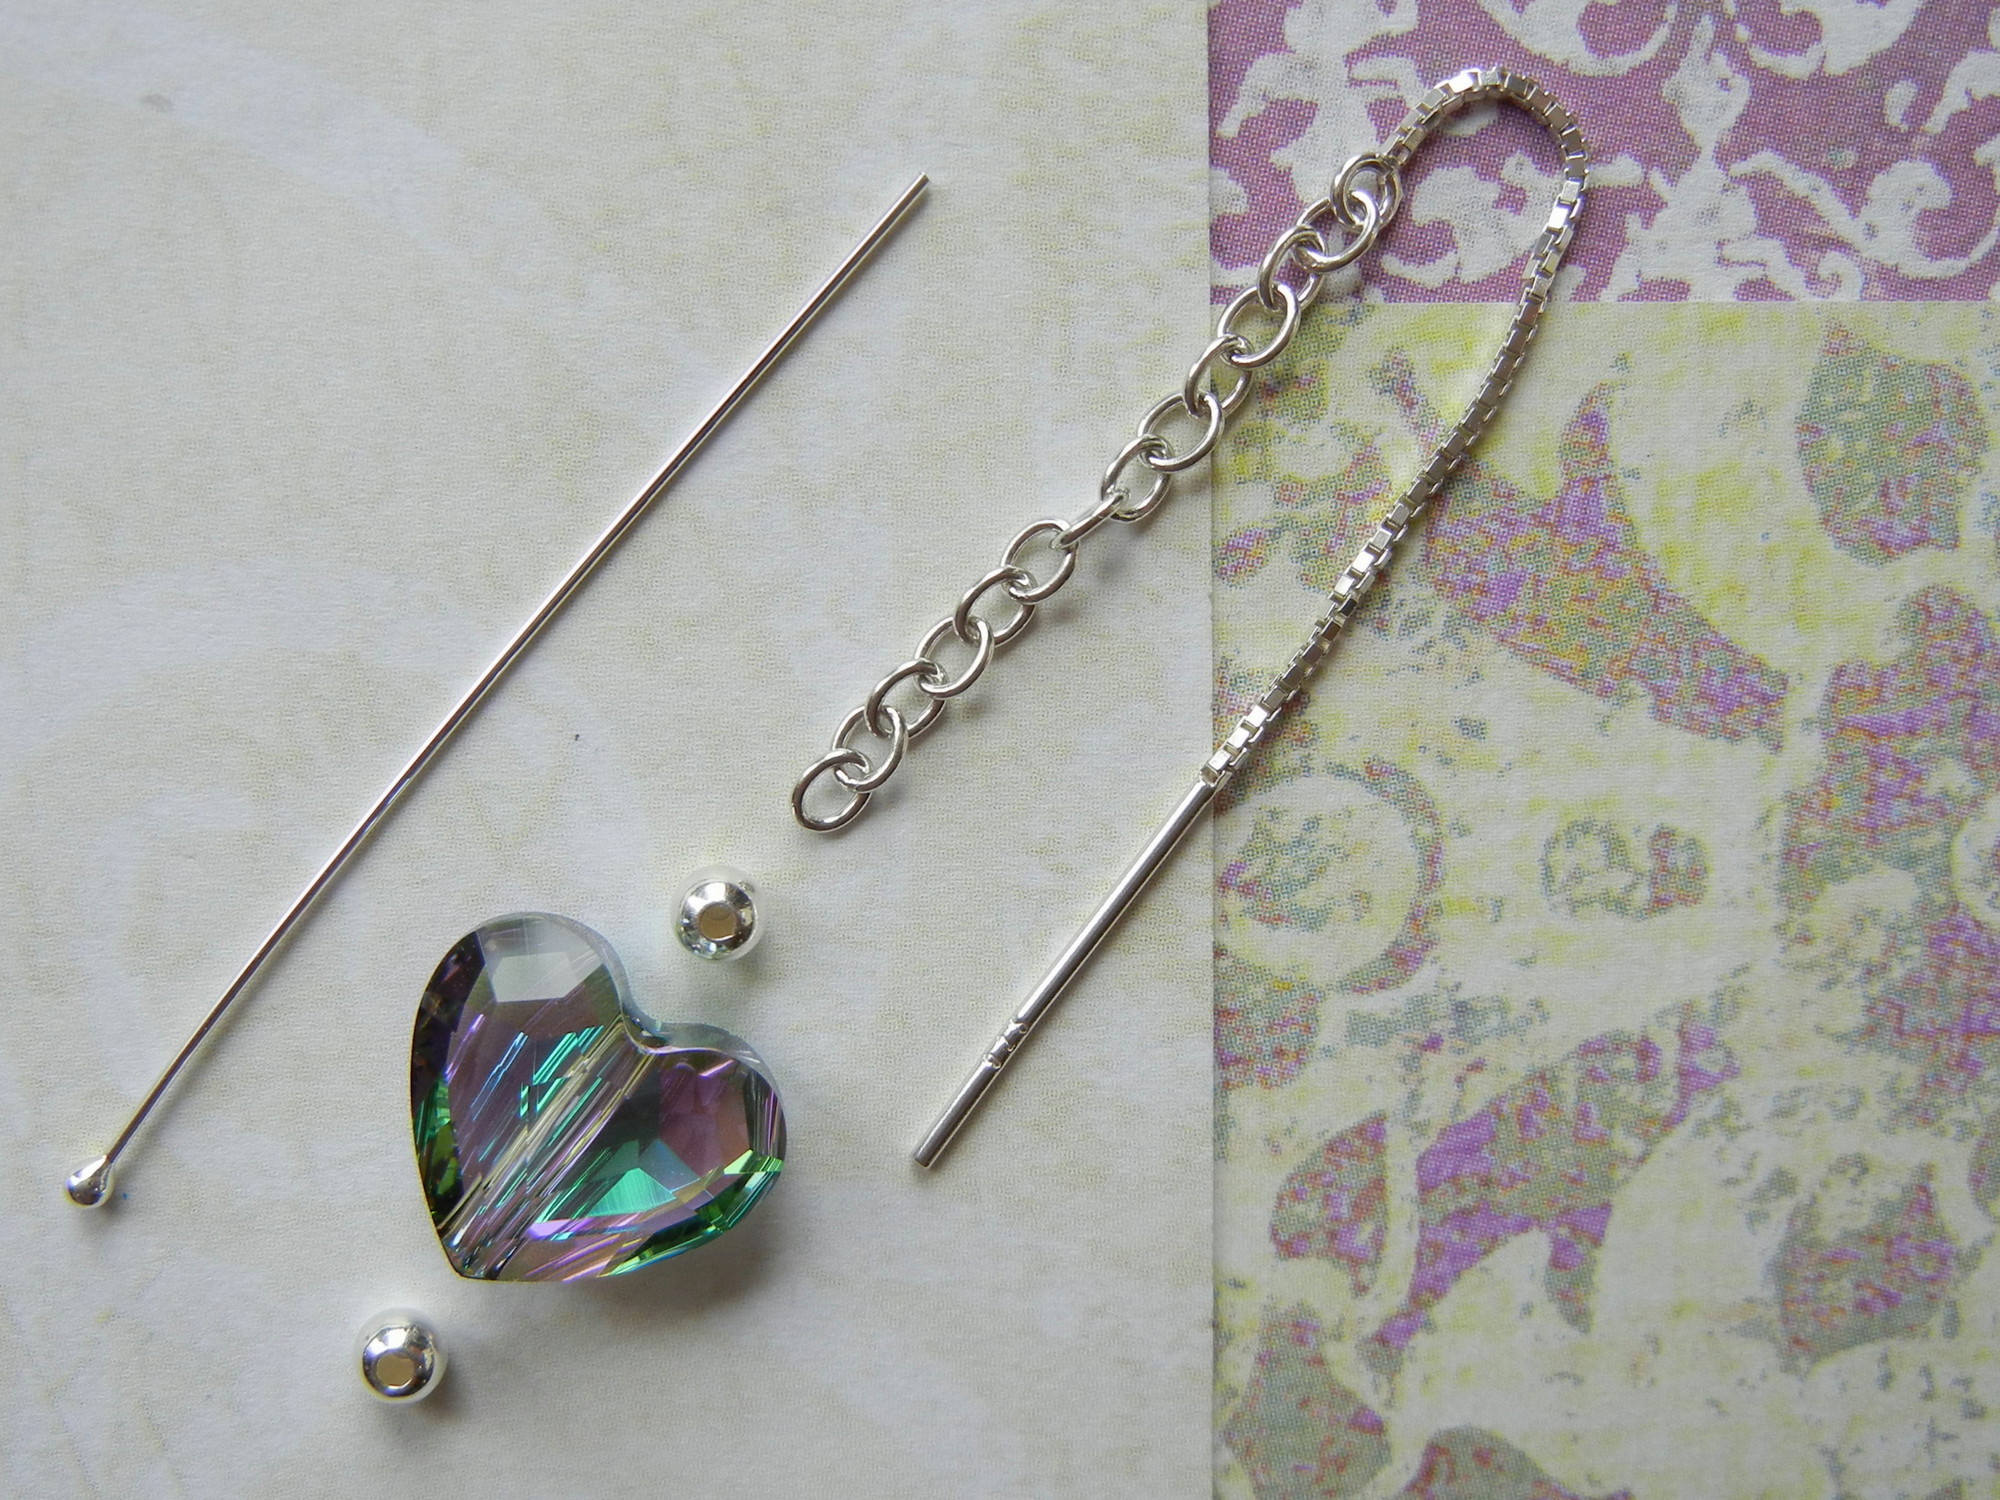
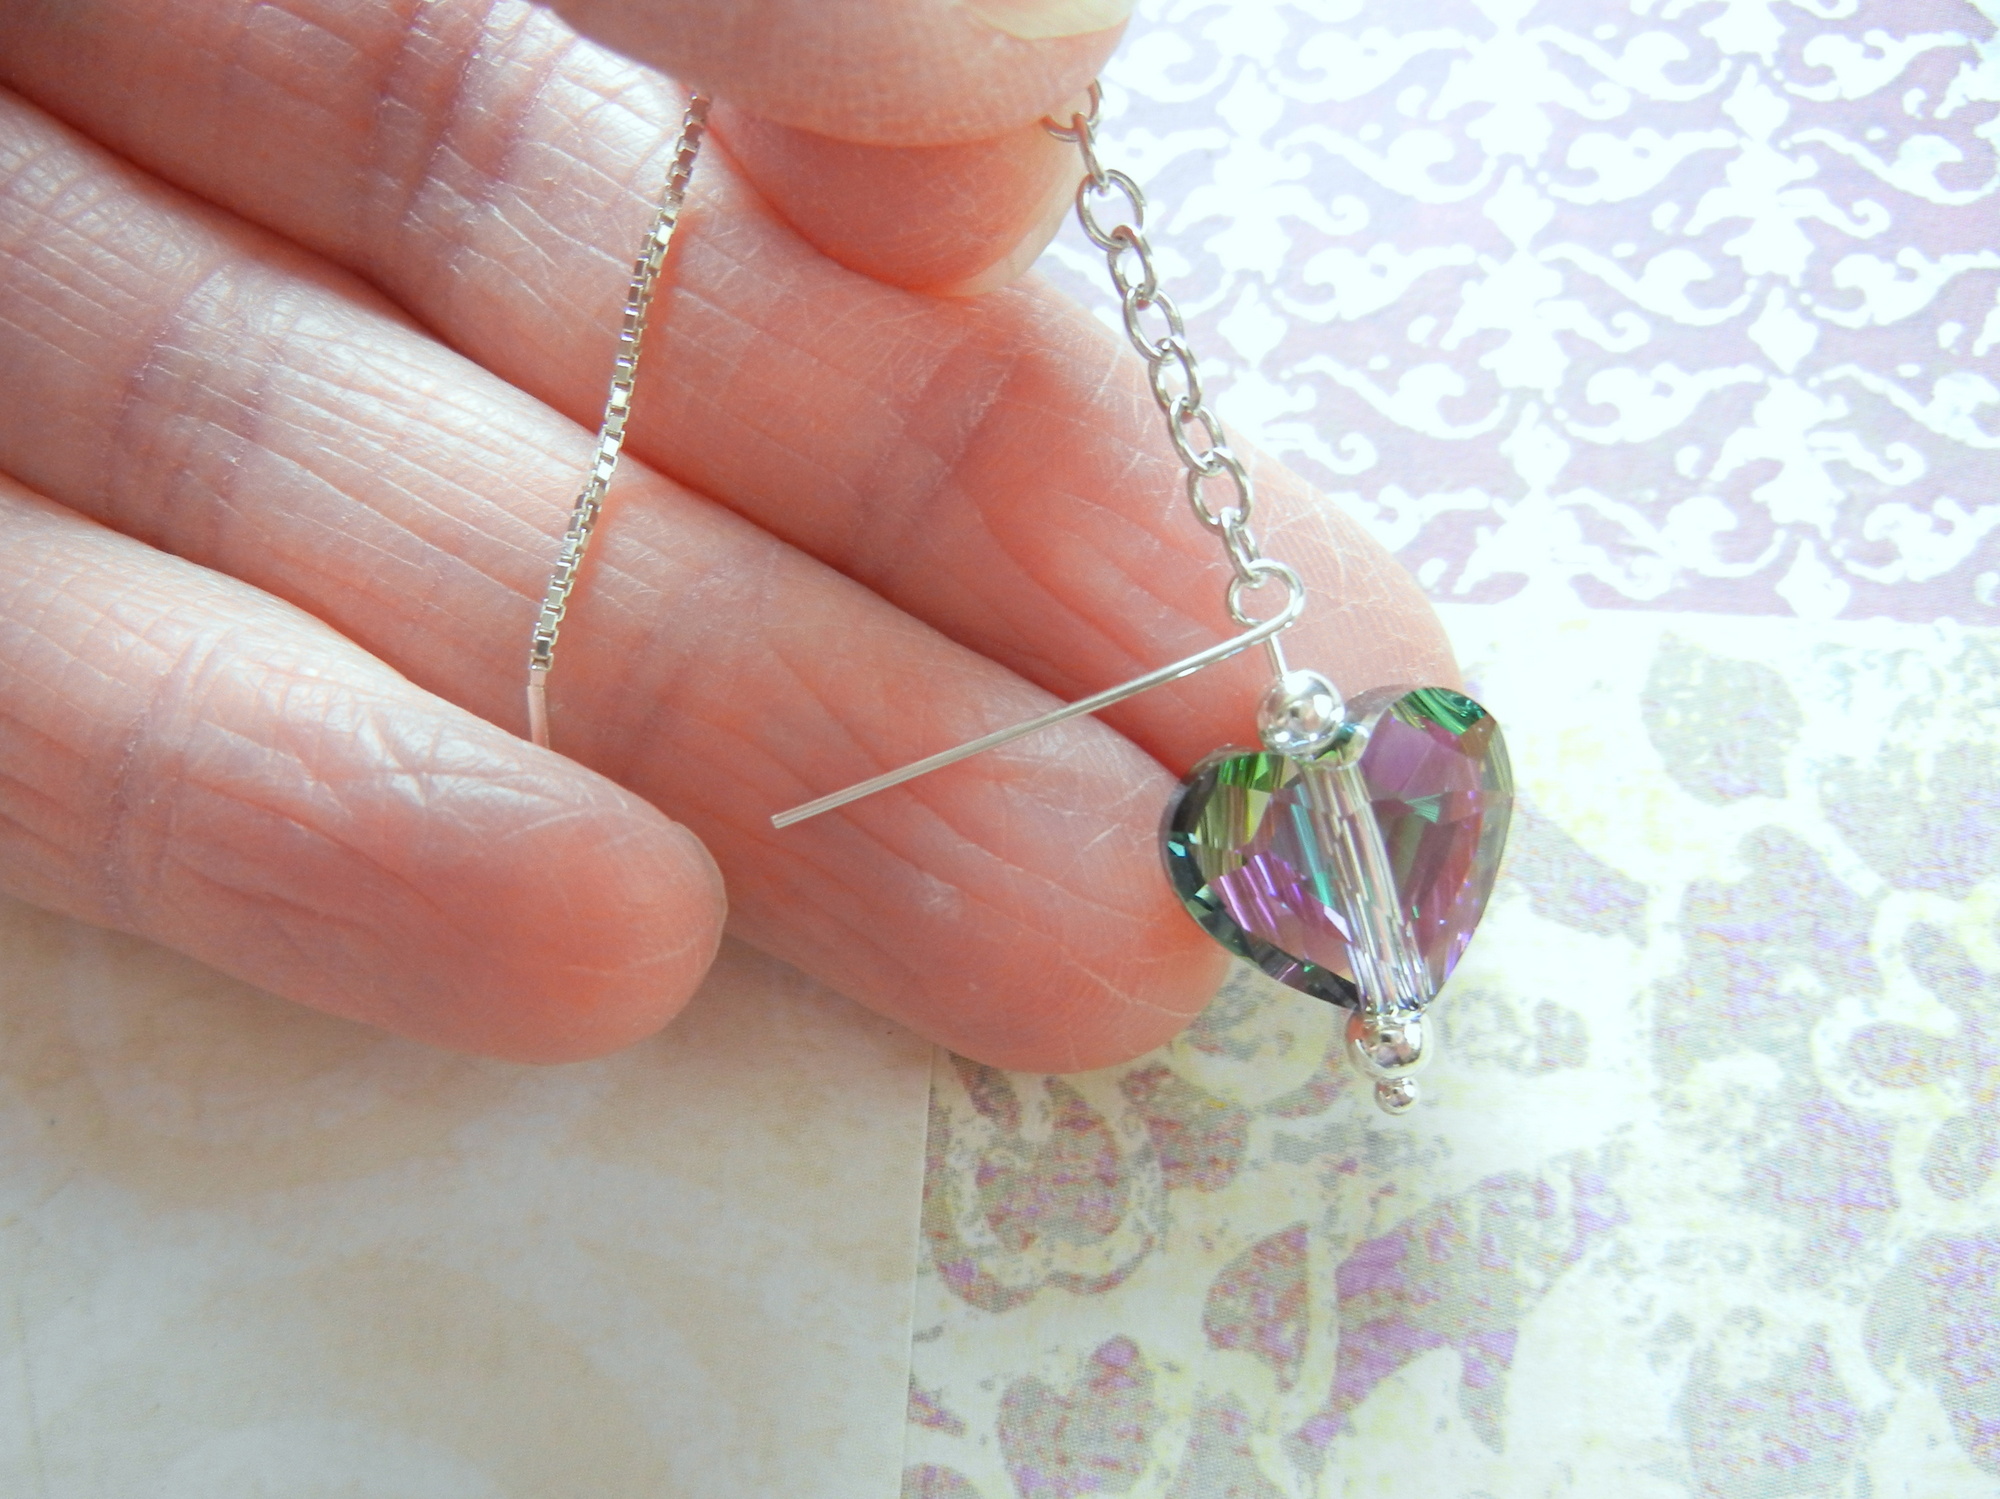
Lay out the parts in order of assembly: Ball-end head pin, 3mm round sterling-silver bead, Swarovski 5741 Love bead, 3mm round sterling-silver bead, and sterling-silver ear thread.
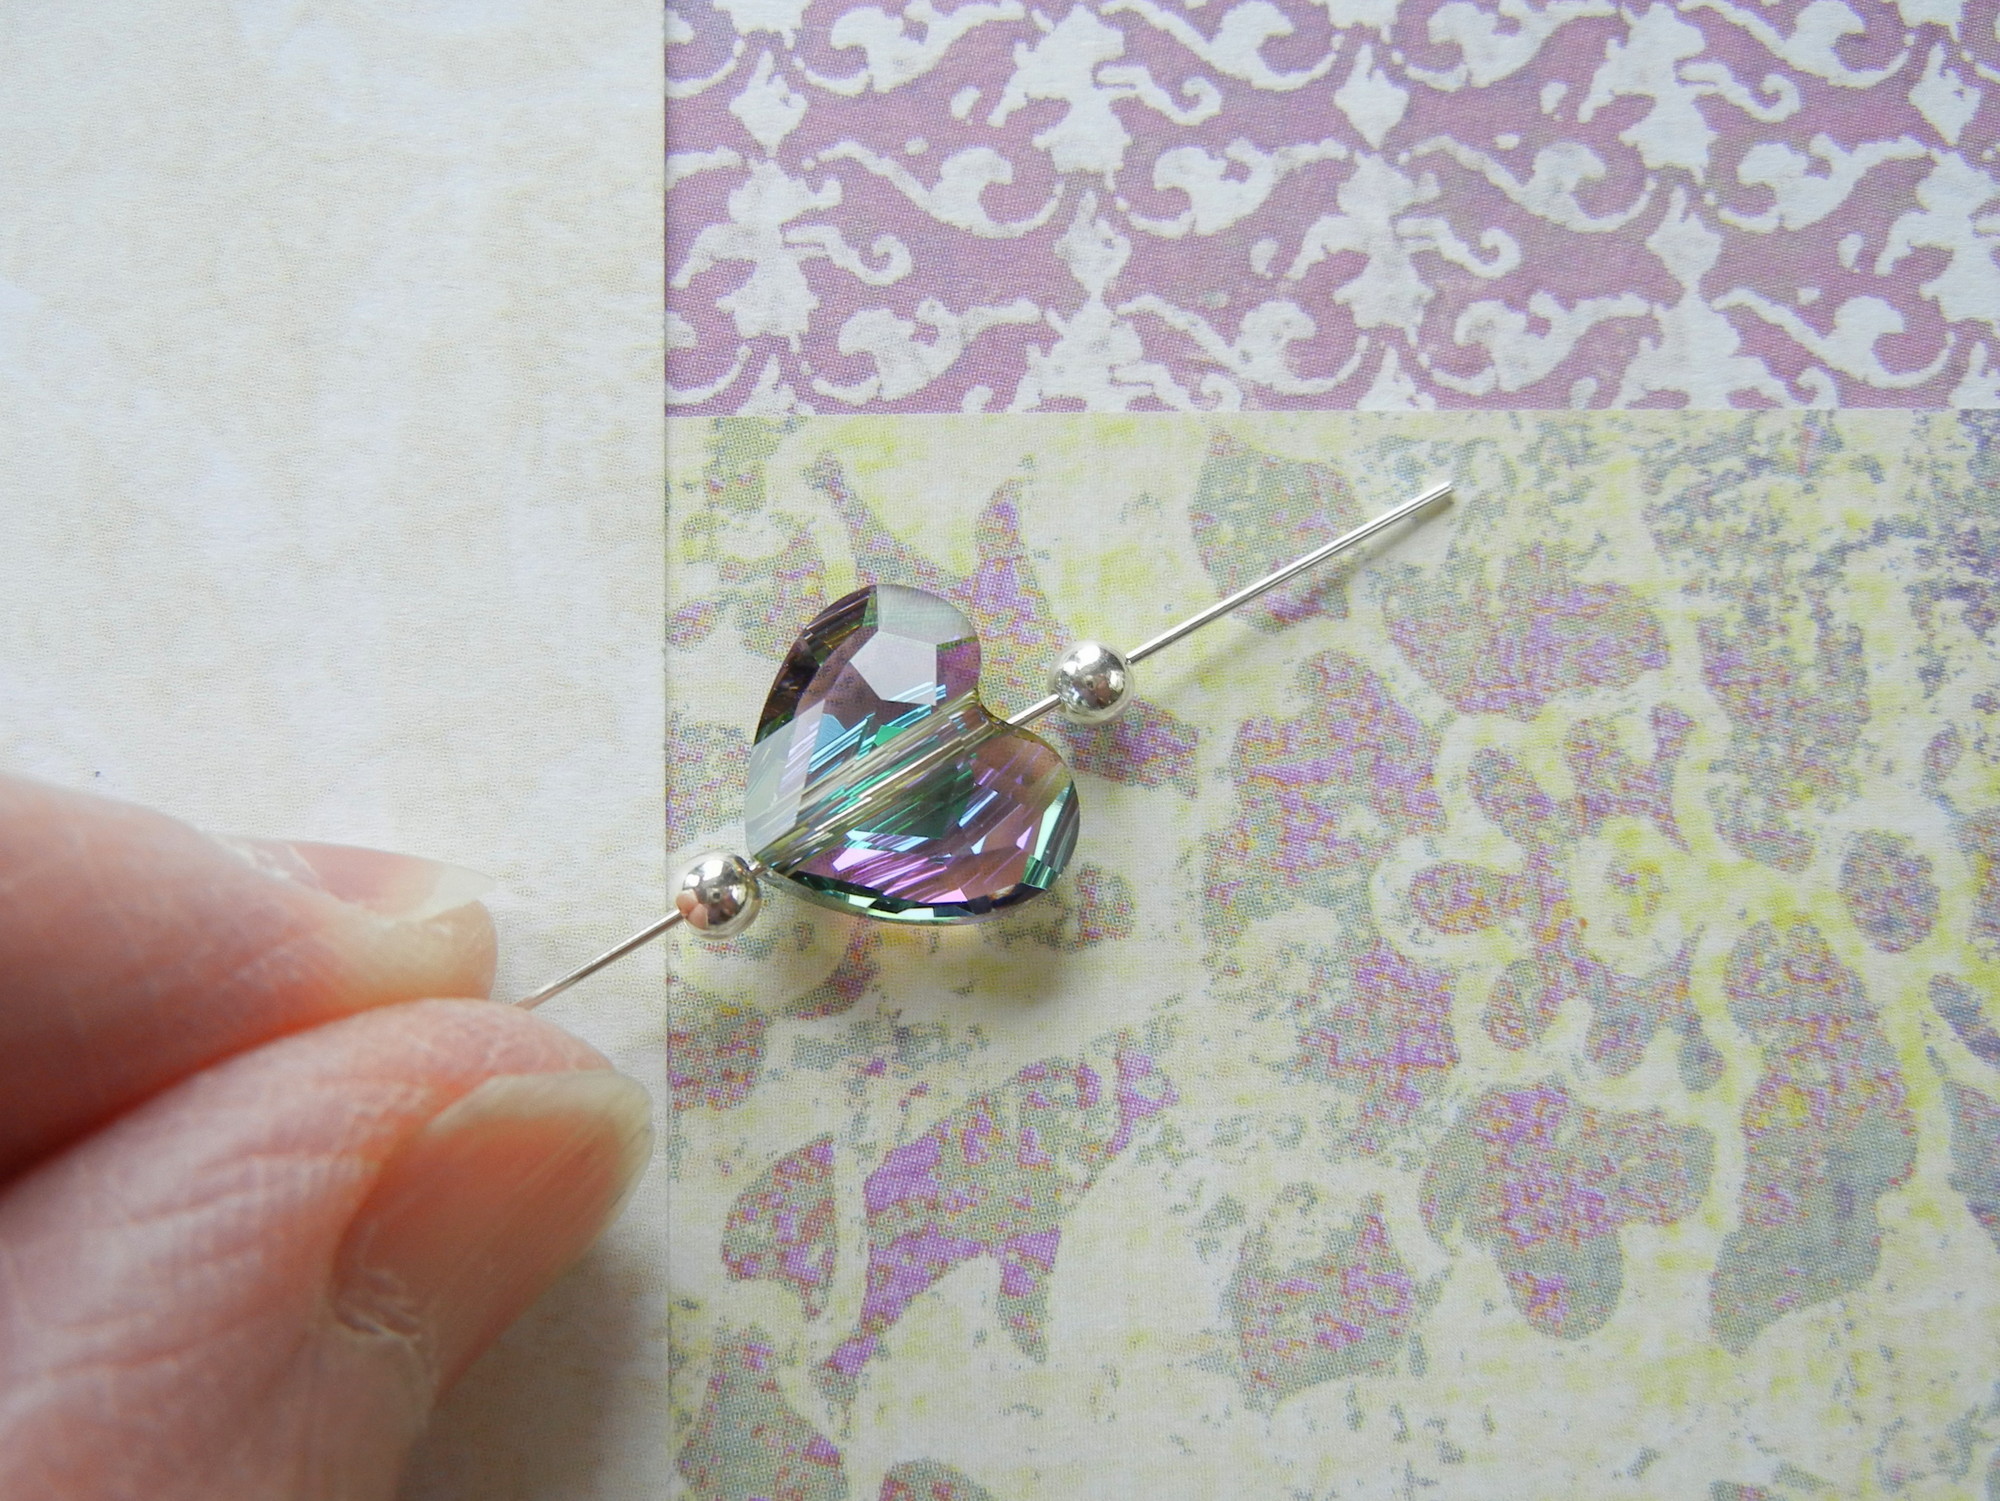
Thread the beads onto the ball end head pin: round sterling-silver bead, Love bead, and round sterling-silver bead. The lower round sterling-silver bead serves the purpose of keeping the 12mm Love bead from sliding off the ball-end head pin (the love beads hole size is 1.2-1.8mm, so too large to stay on most sterling silver head pins). The upper round sterling silver bead makes it easier to add a wrapped loop to the head pin (it is difficult to wrap a loop into the indented Love bead).
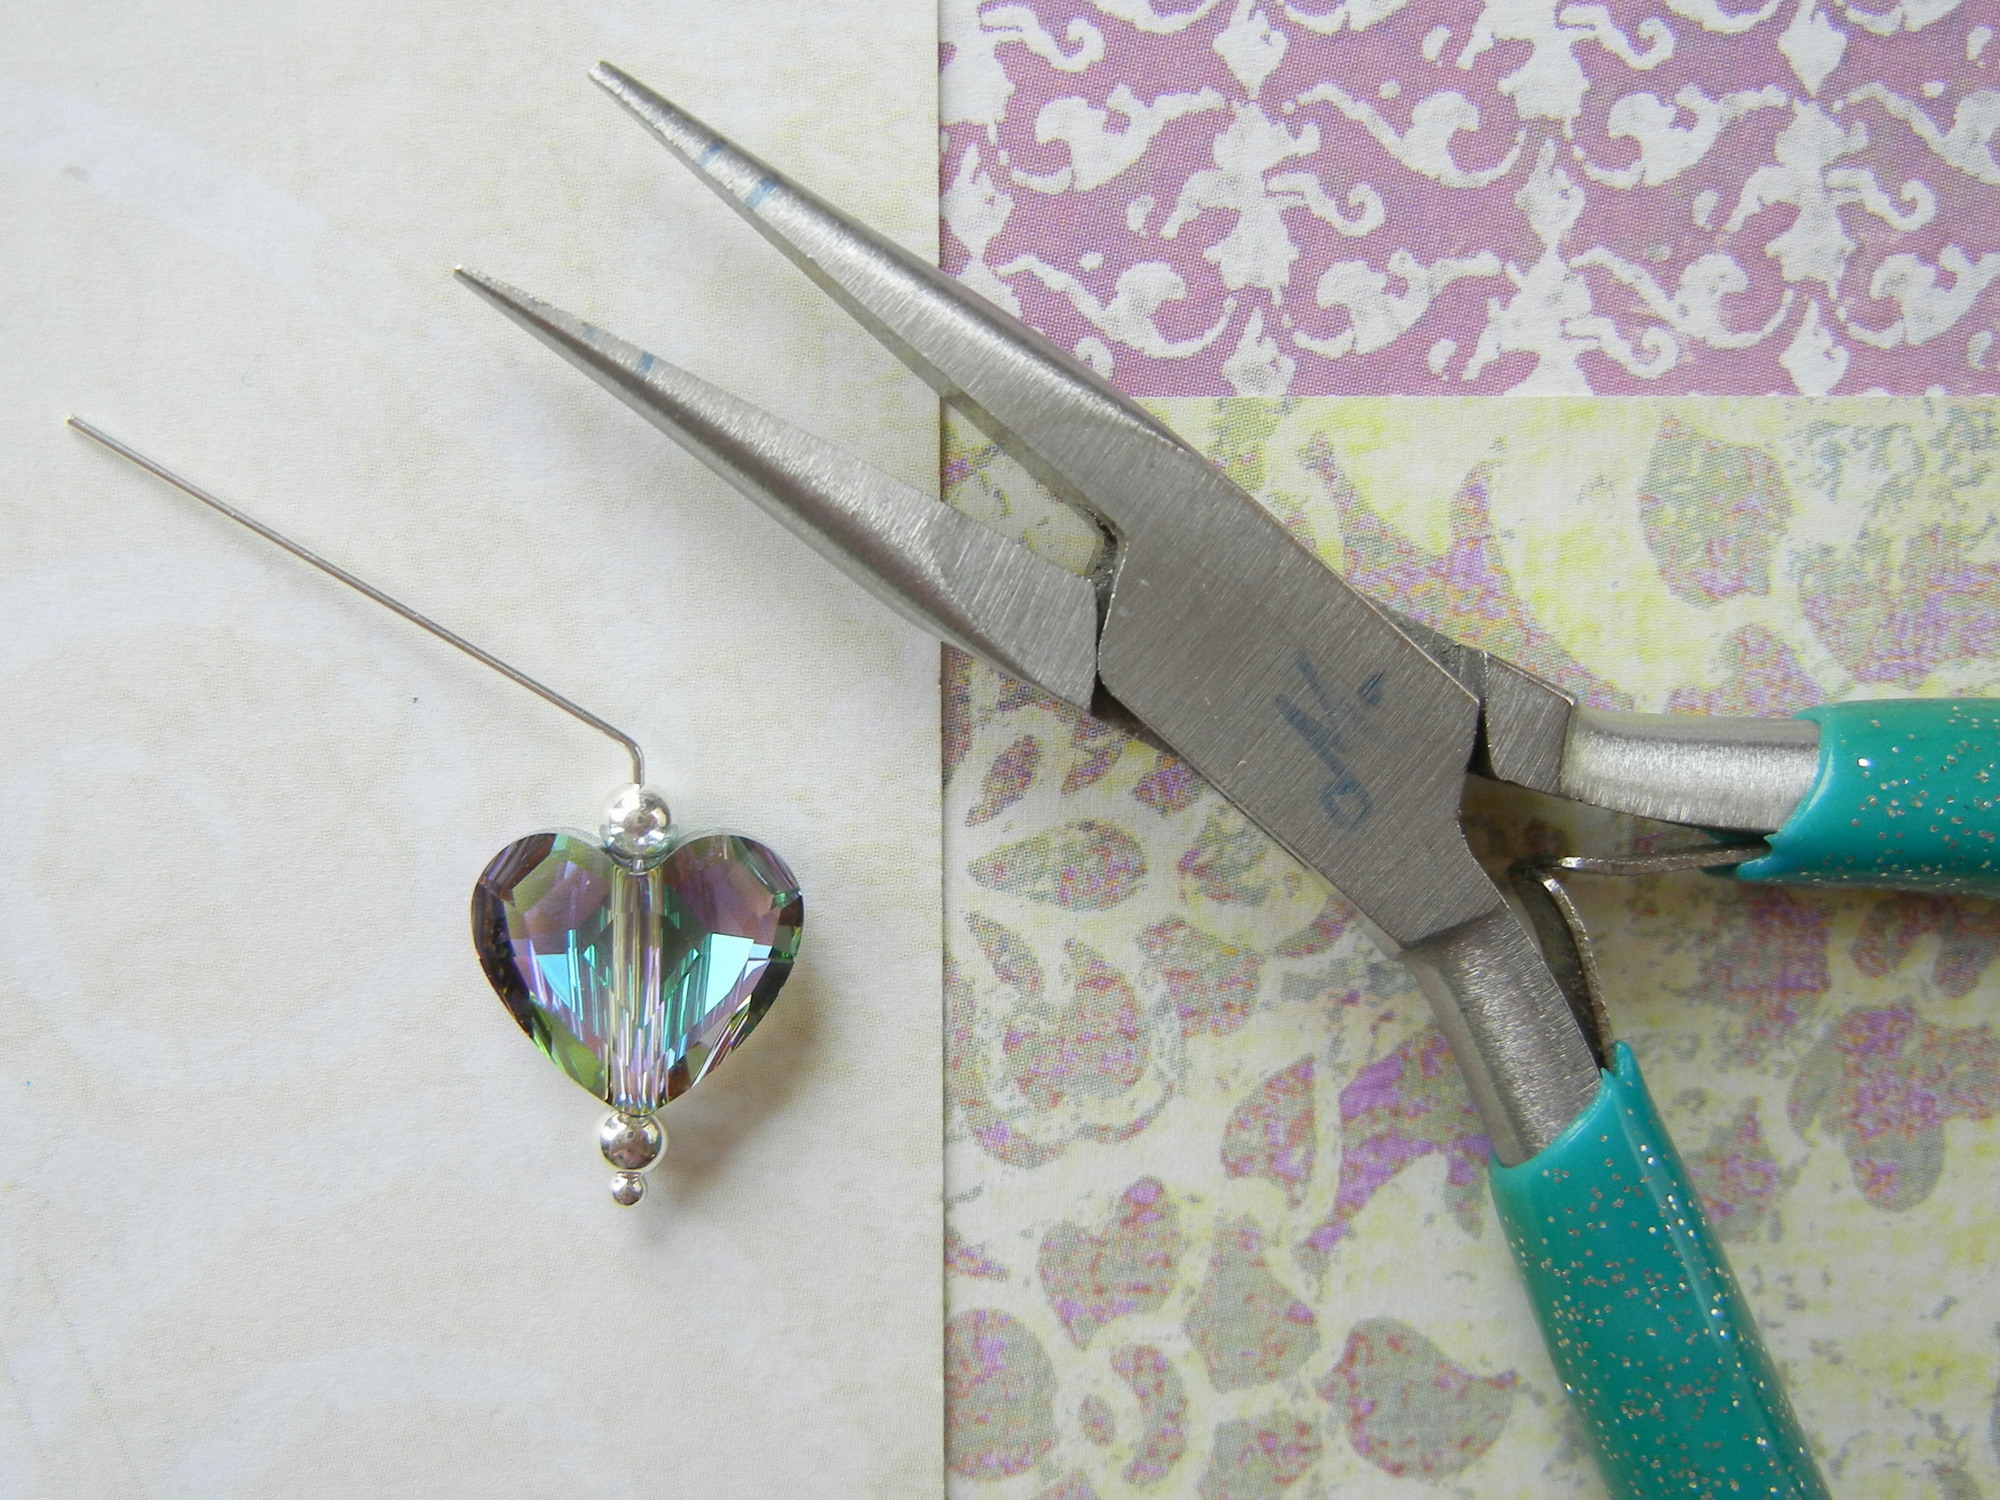
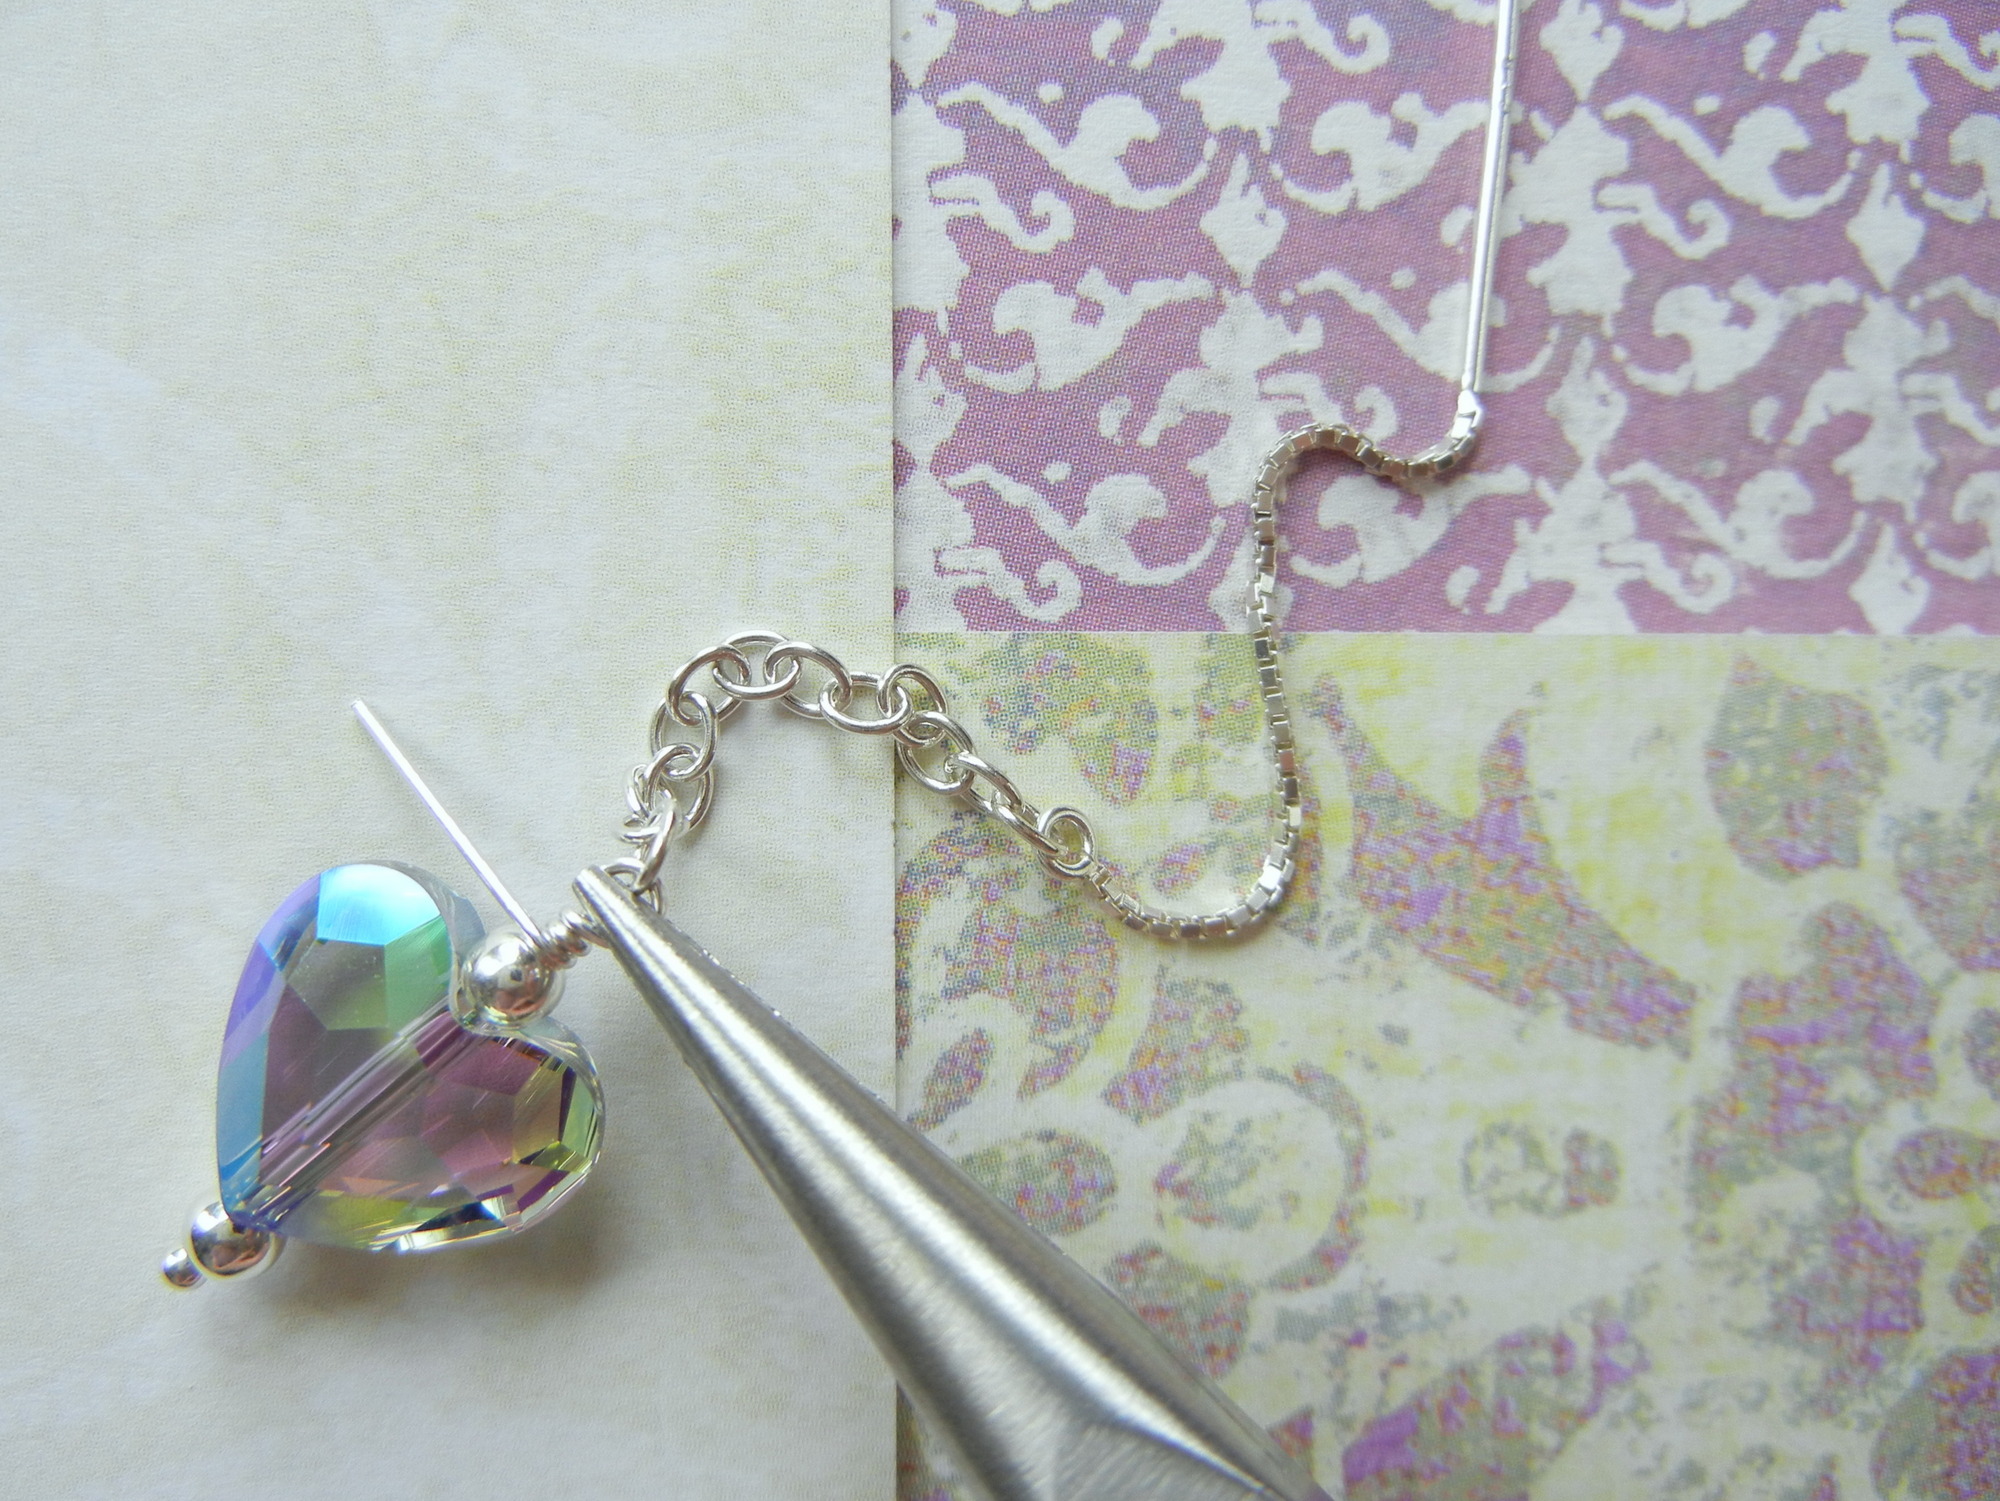
To add a loop, begin by bending the head-pin “tail” at a 45-degree angle leaving a short “neck” below the bend. I like to use narrow chain-nose pliers for this task.
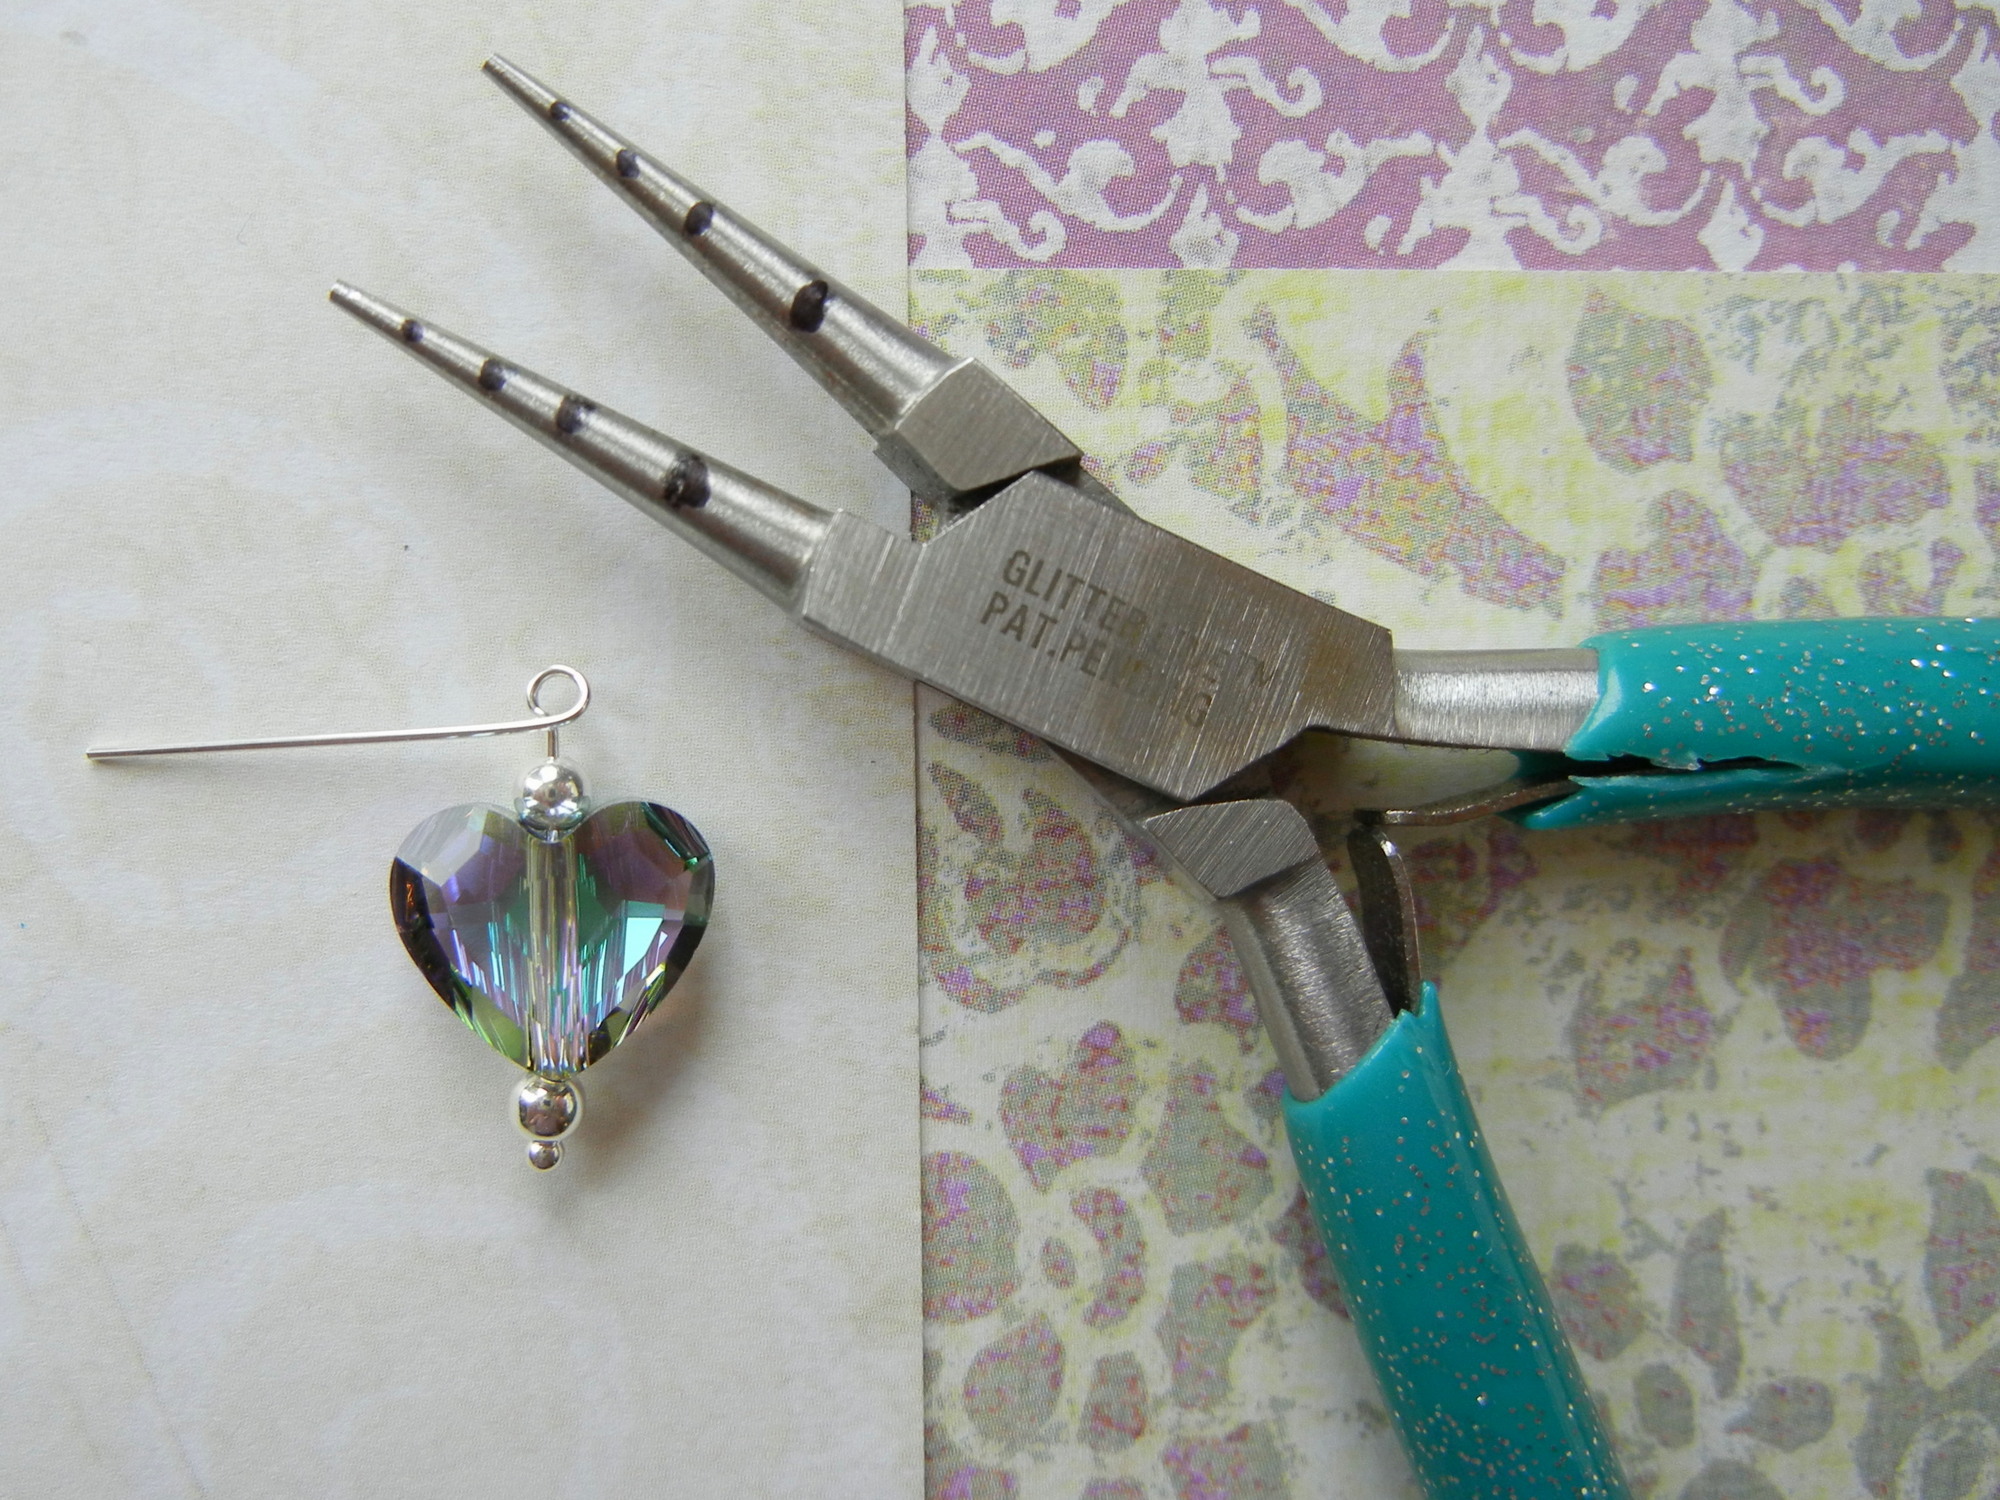
Use round nose pliers to form a loop in the head pin.
Tip: Use a fine-point permanent pen to add marks to your round-nose pliers; the marks aid in forming perfectly matched loops.
Thread the loop onto the end loop of the ear thread.
Finish the loop by wrapping a tight coil around the short neck.
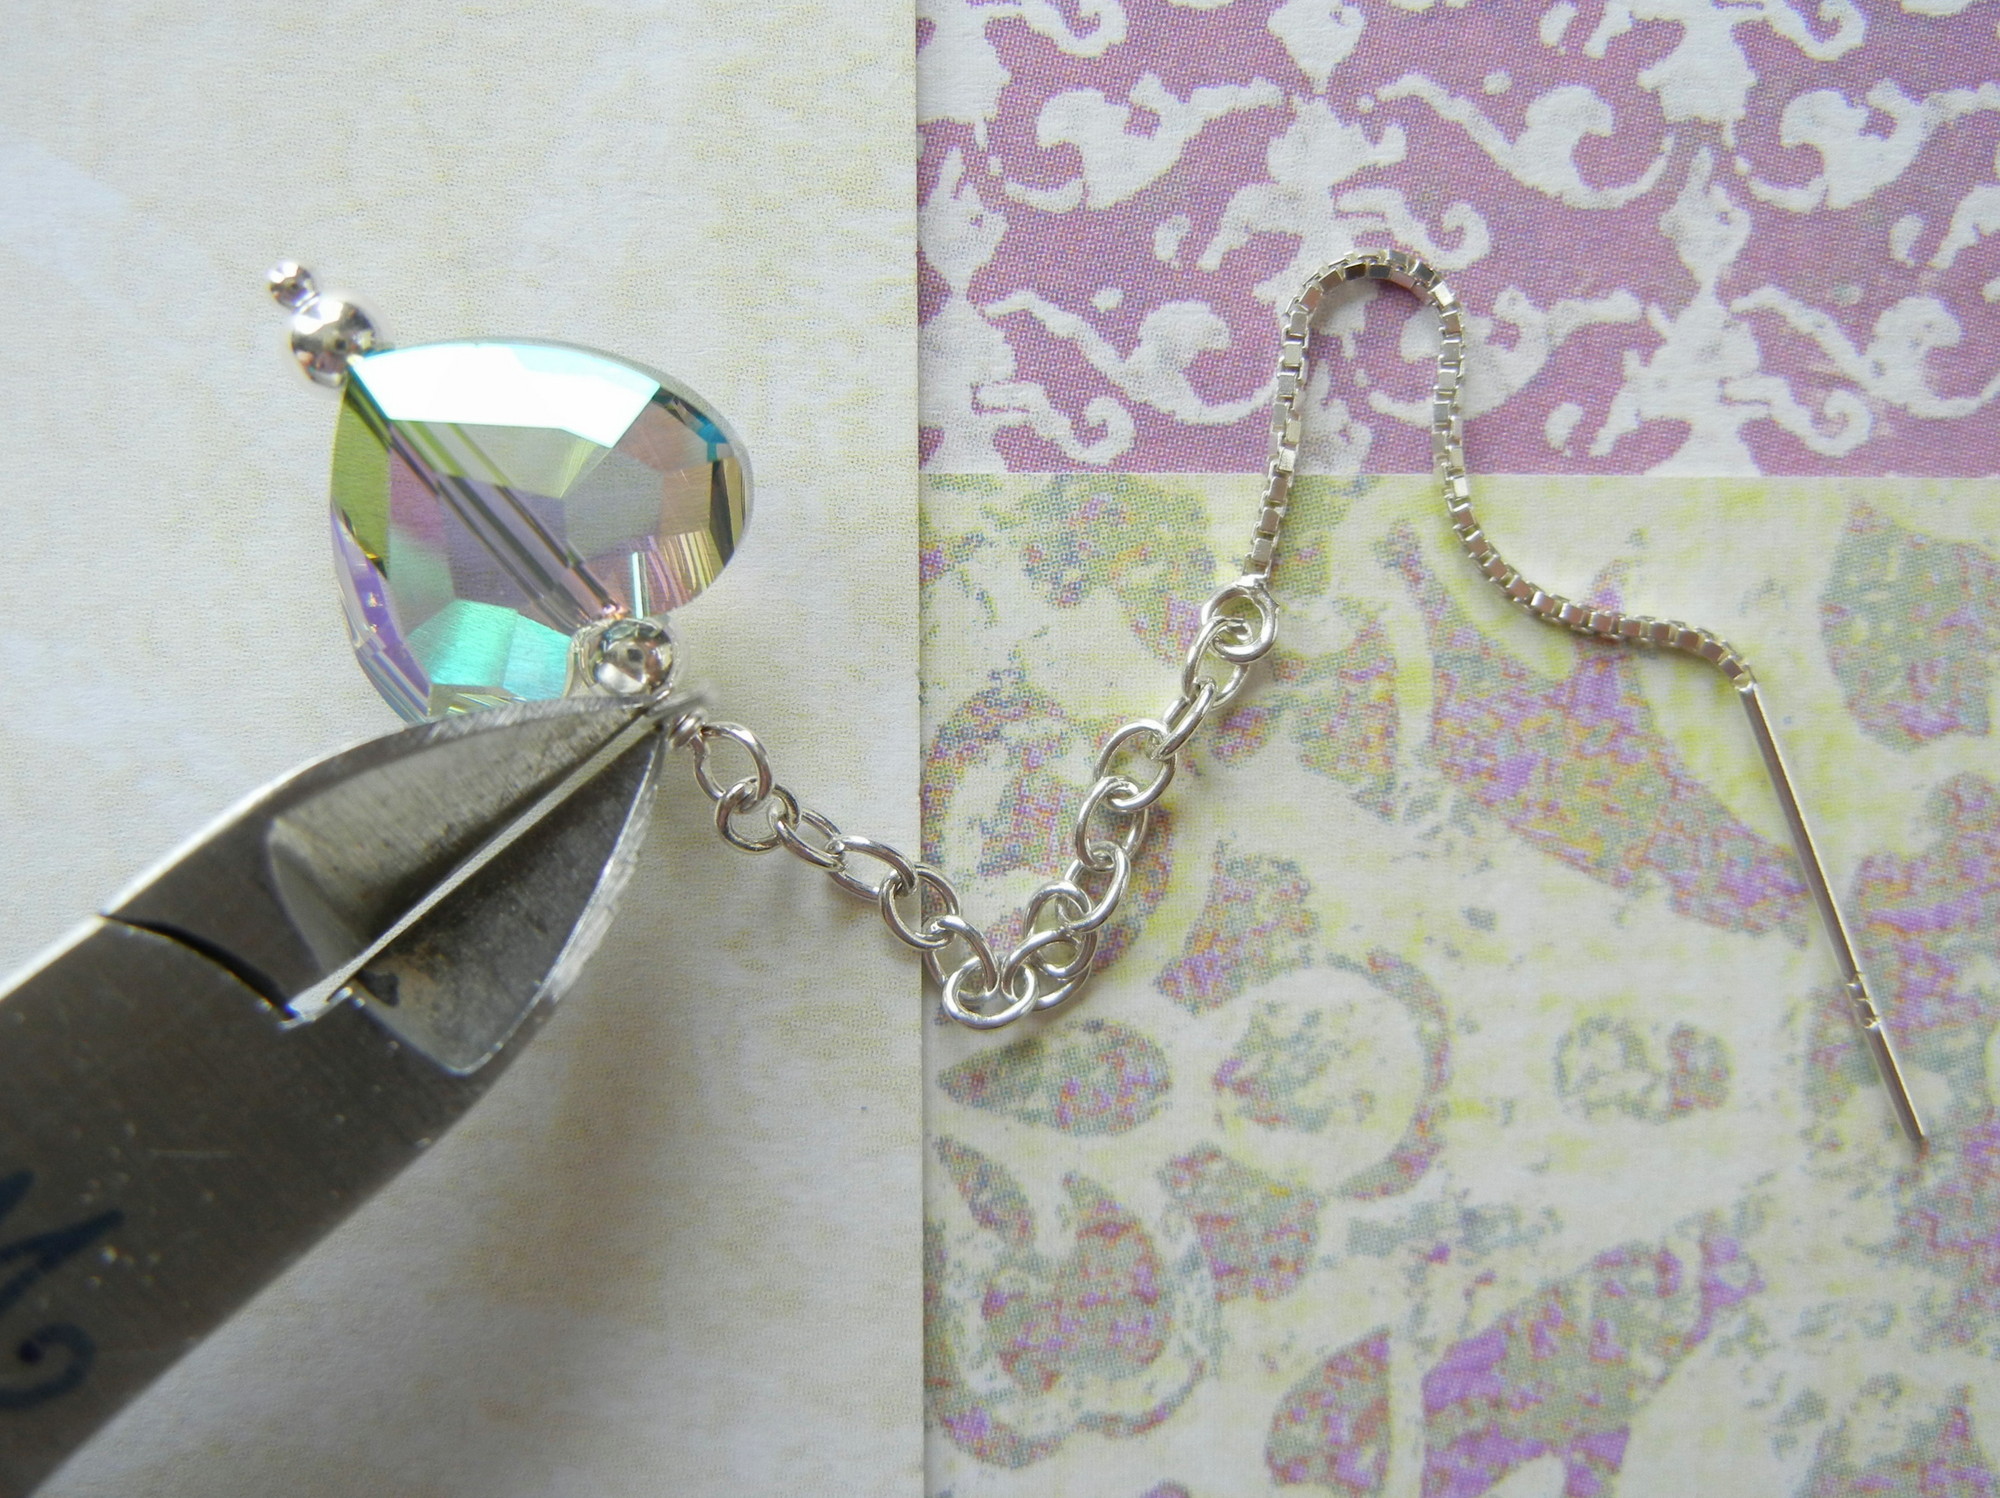
Clip off the remaining tail near the coil. I use semi-flush side cutters and face the flat side of the cutter towards the coil to achieve a clean cut. If there is a nib left, use chain-nose pliers to pinch the nib into the wrapped coil.
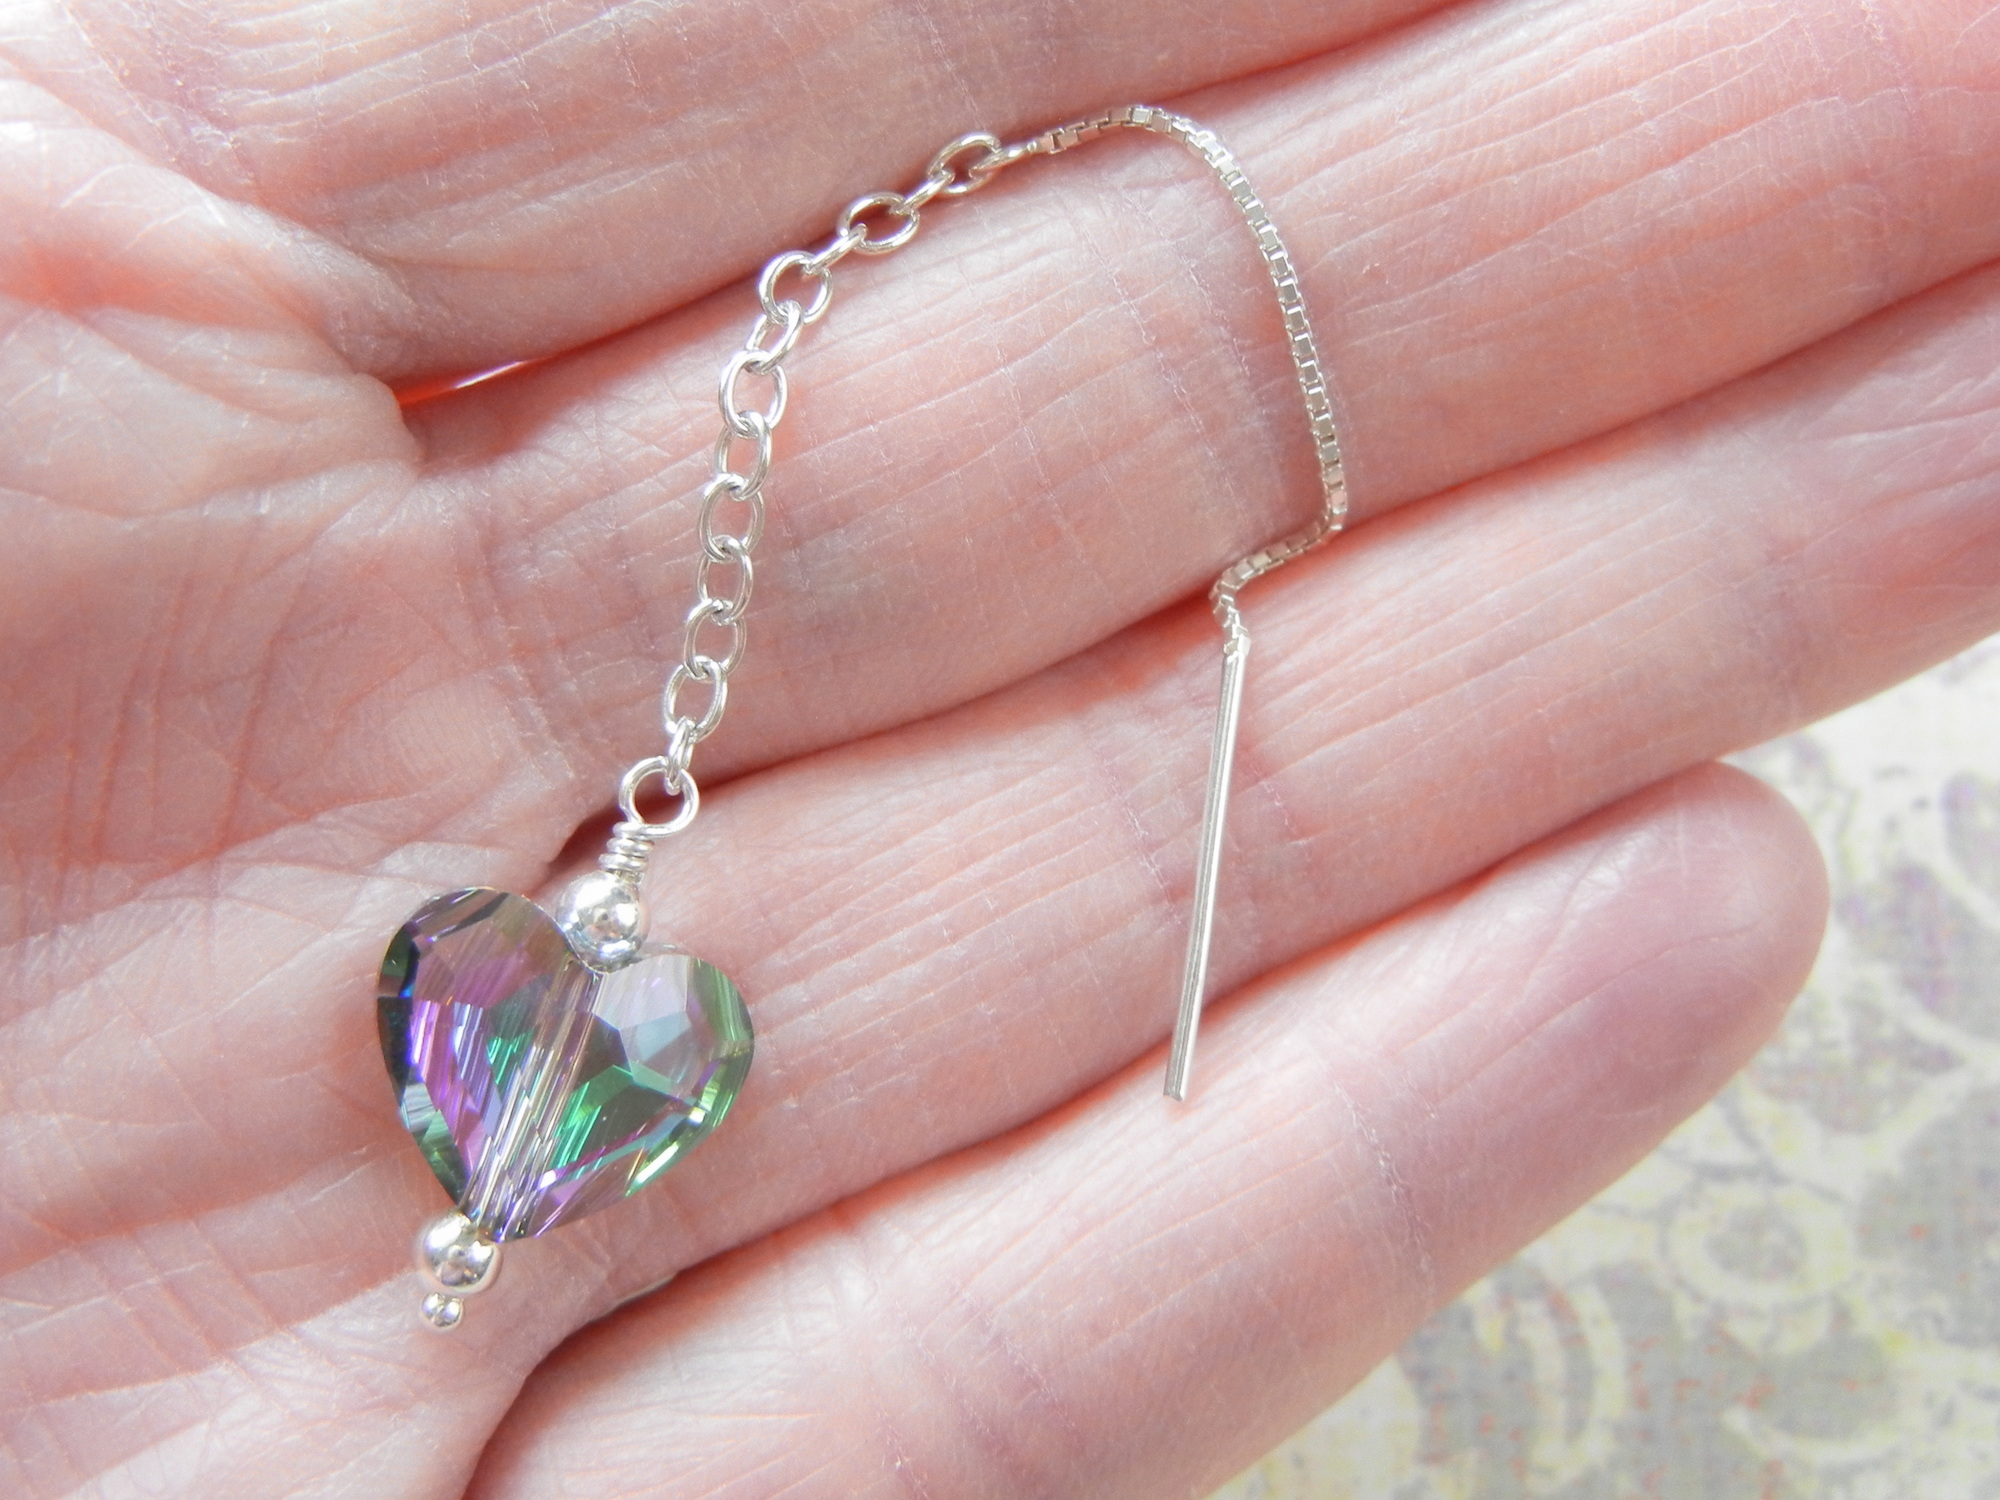
One threader earring is done. Repeat the steps to make the second earring.
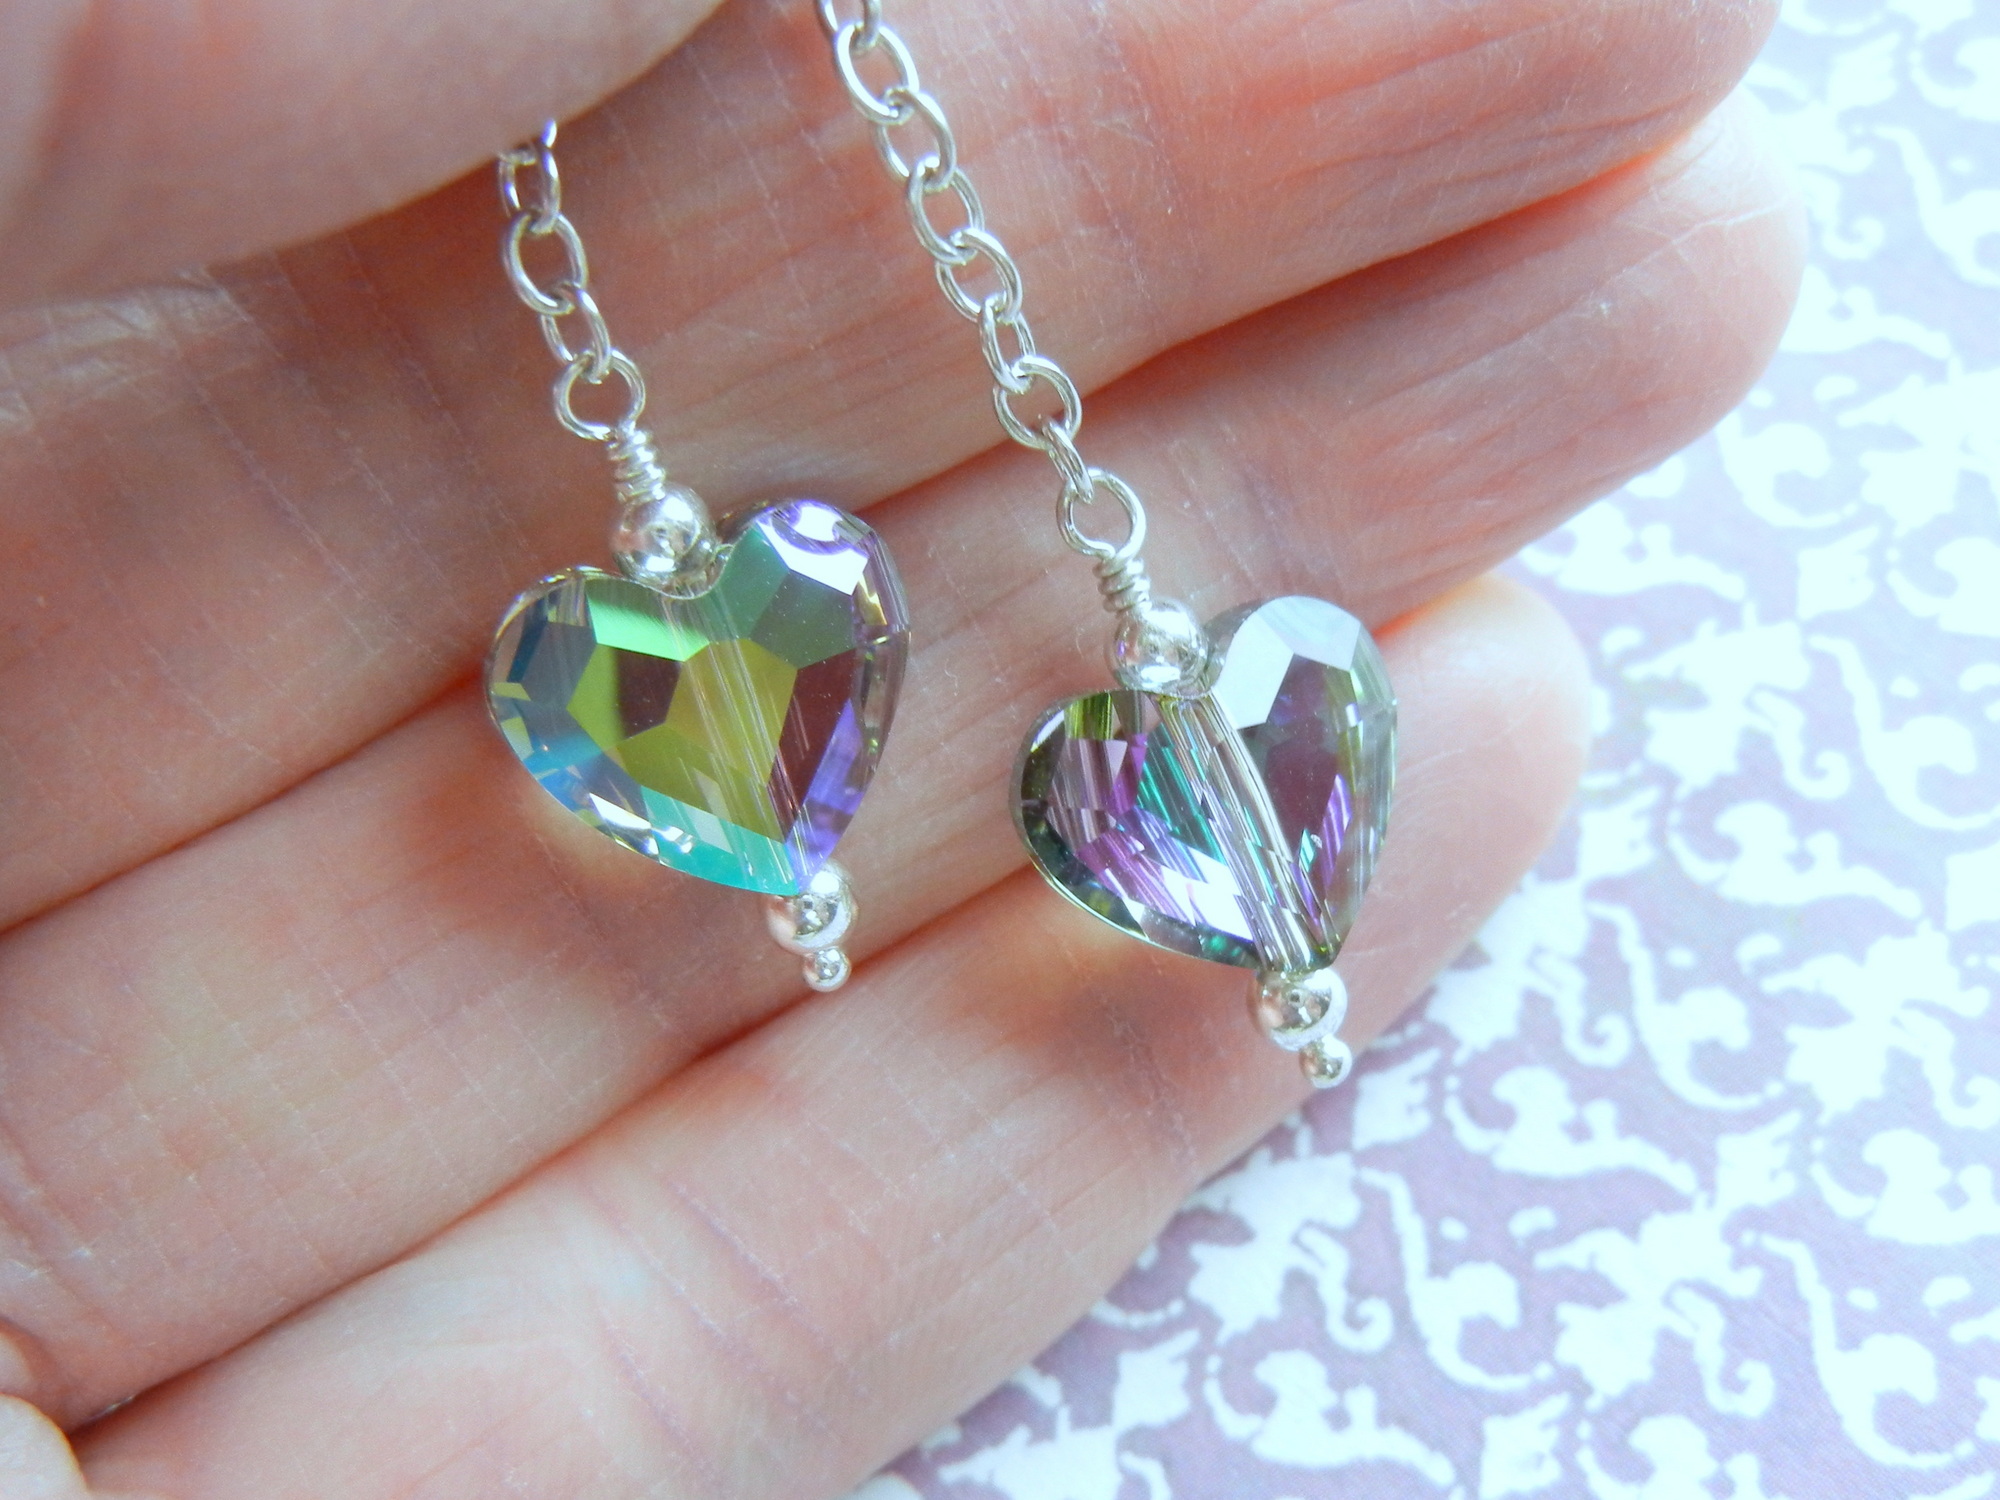
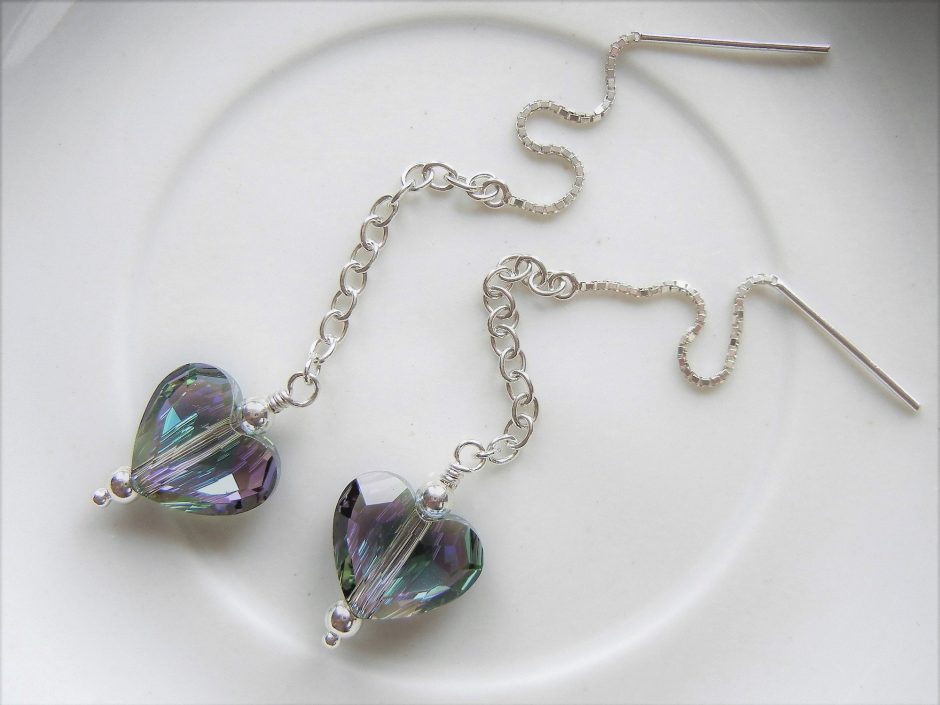
I used Swarovski Love beads in the color “Crystal Paradise Shine”. Crystal Paradise Shine’s iridescent, metallic-coated finish features sparkling shades of purple, blue, and green. You can face the coated side forward for a reflective iridized surface (earring pictured on the left) or you can face the coated side backwards for a deep-sparkling effect (earring pictured on the right).
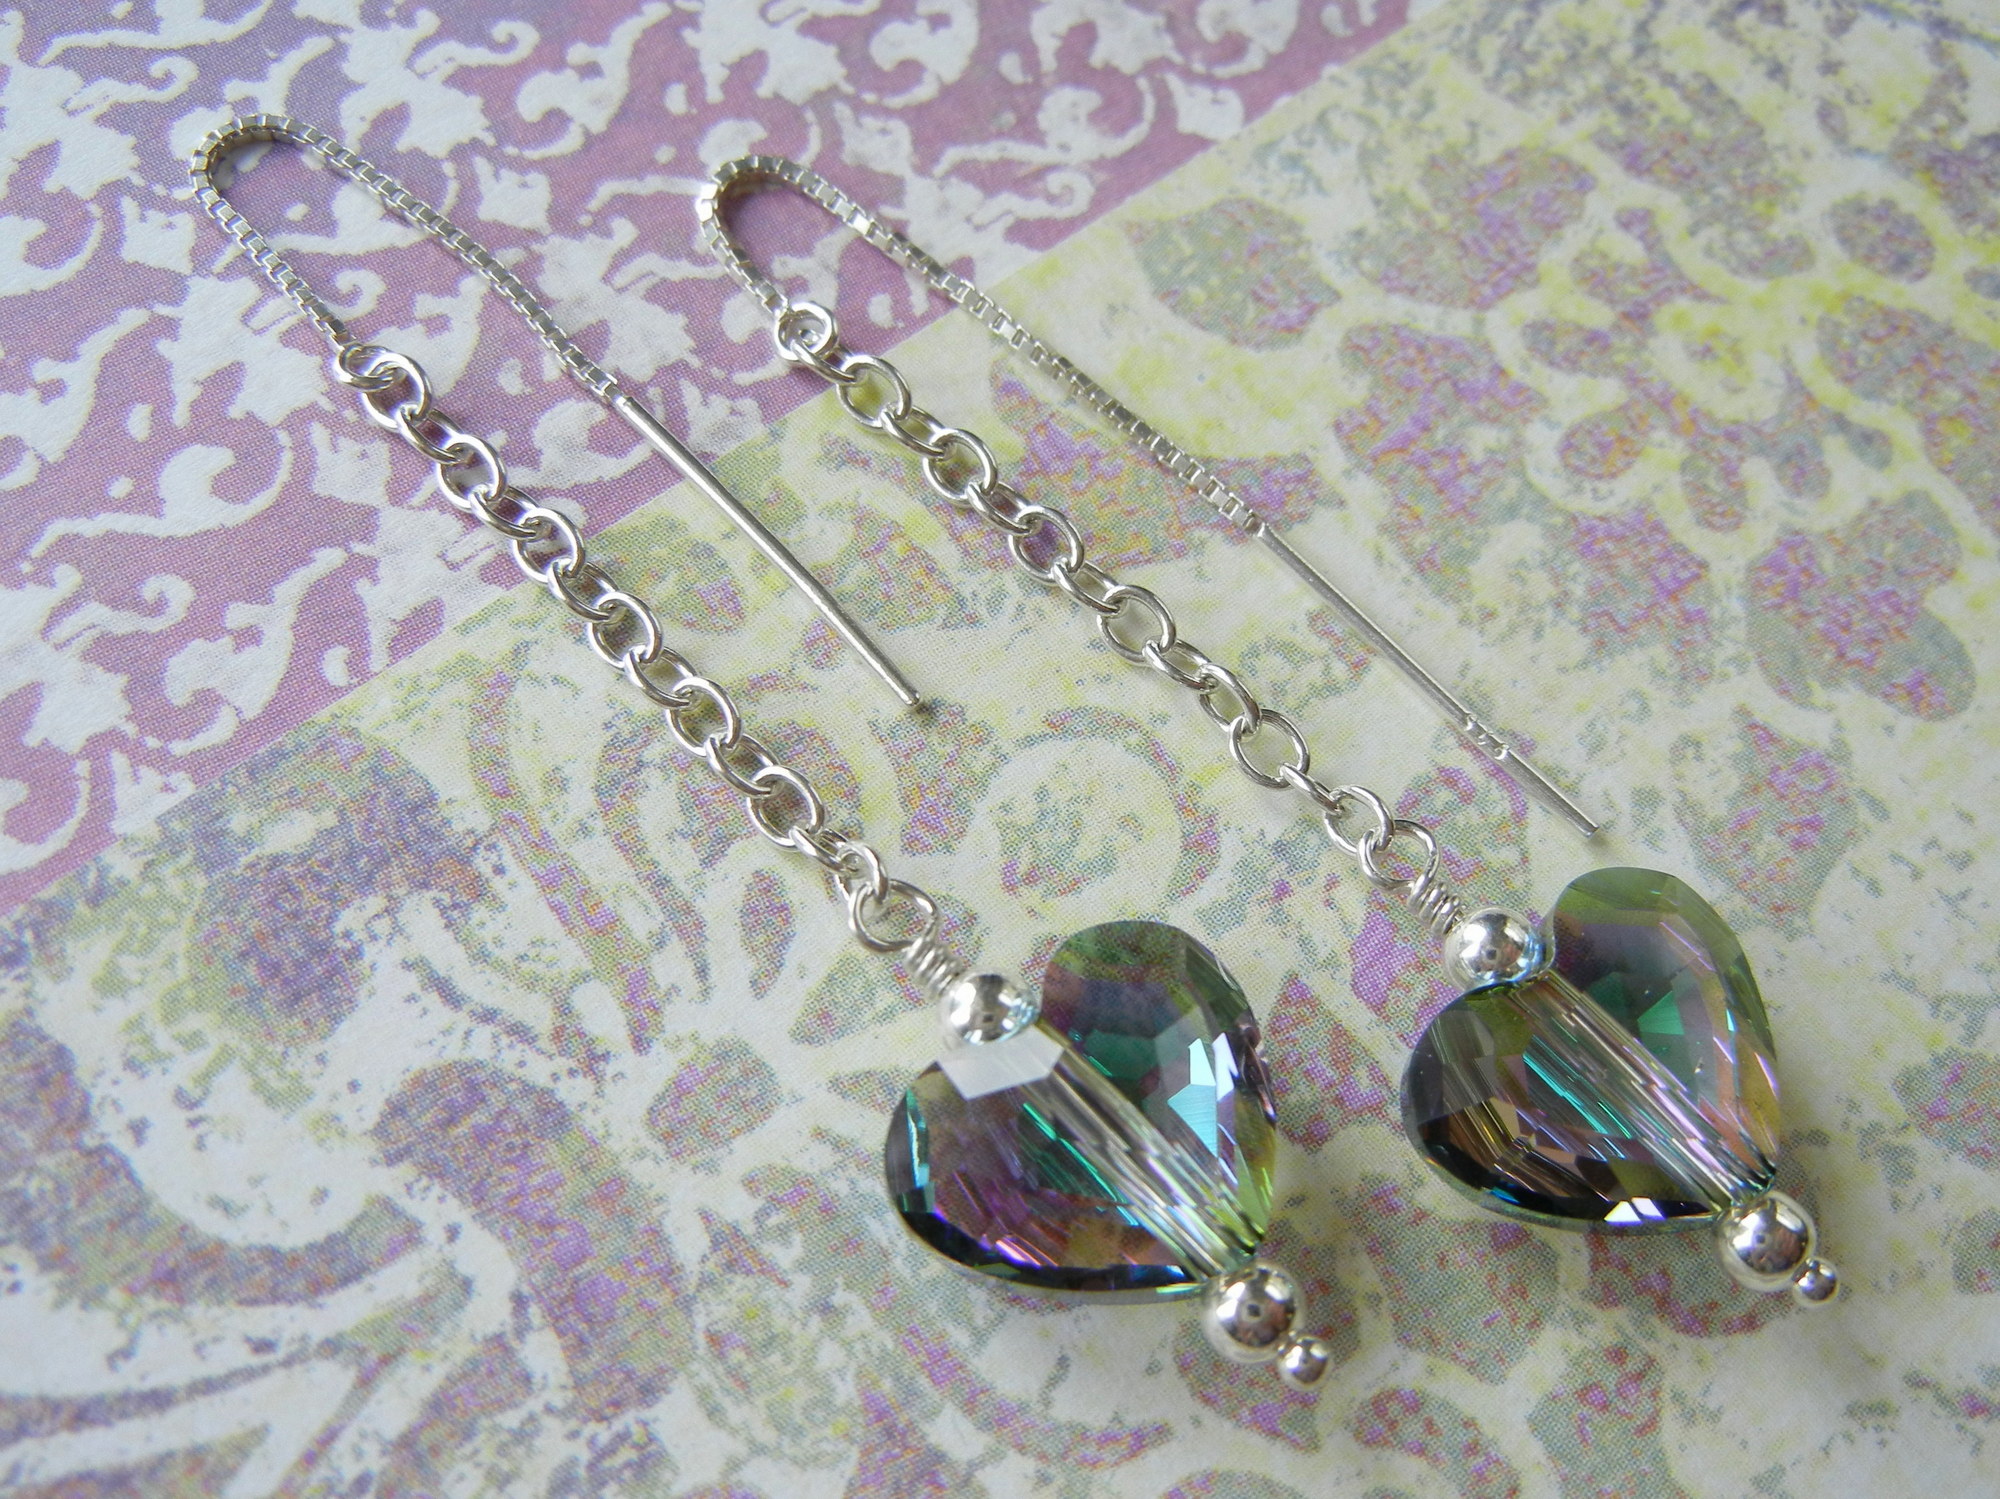
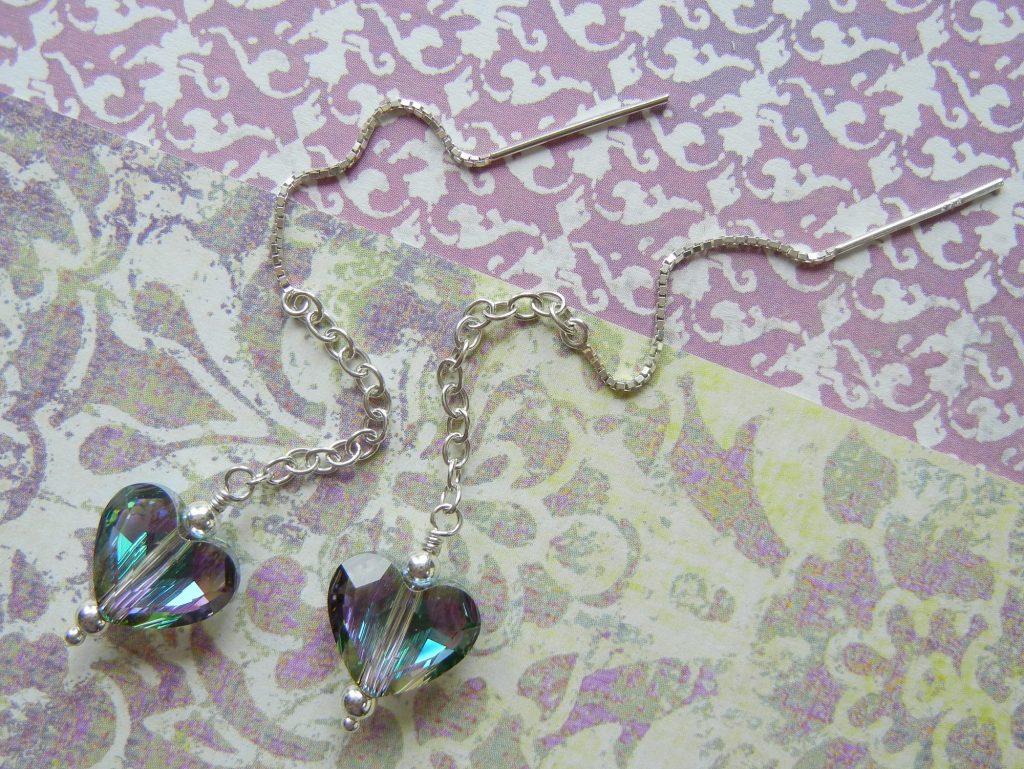
“LOVE LOVE LOVE” Threader Earrings by Rings & Things designer Mollie Valente.
Make things,
Mollie


2 Comments
How do you wear these earrings? Is there no back thing to hold them on?
Hi Alice,
Most ear-thread styles consist of a straight post, followed by fine chain, and end with either a ball, jump ring, or larger chain. The straight post “threads” through the ear piercing and the fine-chain portion sits in the ear. You can adjust the earring length by adjusting the chain’s placement. Smartbeads or traditional wire keepers can be used to keep the earrings securely placed when worn.
Smartbeads are definitely our perfered earring back for threader earrings, however the manufacturer has discontinued the line. We will be stocking a new, similar product in the near future, “4mm Round Bead with Silicone” in both sterling silver and gold filled. You can view details and pre-order the new line here: https://www.rings-things.com/Products/SmartBeads-and-Silicone-Lined-Bead-Stoppers/.
Mollie
Rings & Things