Browsing Category

DIY Jewelry Projects

Concrete in Jewelry

July 29, 2013

Free tips for using Artisan Encapture Concrete and other jewelry grade concretes for mini mosaics, art concrete projects, concrete jewelry and more by Sondra Barrington of Rings & Things.

An industrial material such as concrete seems unlikely for jewelry, but it works very well! It is relatively lightweight, and very durable. It is great for personalized adornment, because you can embed virtually any charm, bead or found object you want.

Visit our design gallery for free jewelry projects and check our Mosaic Jewelry Board on Pinterest for concrete jewelry inspirations.

Difference Between Cement and Concrete

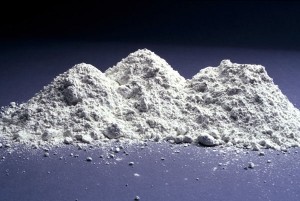
Cement is a powdered ingredient (mostly calcium silicates) used in concrete. It is strong, but brittle and susceptible to scratching. When mixed with water, it undergoes a series of chemical reactions and slowly crystallizes into a strong, interlocking form. Concrete is a mixture of cement, an aggregate (sand or gravel) and water.

Free tips for using Artisan Encapture Concrete and other jewelry grade concretes for mini mosaics, art concrete projects, concrete jewelry and more by Rings & Things.

cement powder

Jewelry Grade Concrete

EuroTool created EnCapture Artisan Concrete specifically for jewelry artists. This new kit makes it easy for designers to create small mosaics and concrete jewelry. For information on making your own concrete, visit Ganoksin.

Creating with Artisan Concrete

Tips on Using EnCapture Artisan Concrete

Storage of the product is critical. Extreme temperatures may affect the mixture or compound, and can jeopardize the integrity of the activator liquid. For best results store in a dry, cool location and don’t freeze. Keeping the compound dry is essential; once moisture is introduced the chemical reaction starts. Store products in closed containers. The shelf life, when stored properly, is one year (if not longer).

Coloring Concrete

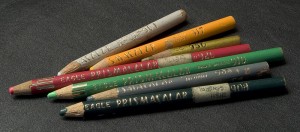
Prismacolor colored pencils can be used to color the surface of concrete! To prepare the surface, wet-sand it using fine-grit, wet/dry sandpaper and let dry for 24 hours. To seal the color, spray with several light coats of Krylon UV sealant.

Free tips for using Artisan Encapture Concrete and other jewelry grade concretes for mini mosaics, art concrete projects, concrete jewelry and more Rings & Things.

Prismacolor Pencils

Safety When Using Concrete in Jewelry

Always use disposable cups and utensils. Throw away unused concrete; do not wash it down the drain (it will clog pipes). Wear a respirator, safety glasses and gloves.

Have Fun & Happy Creating!

Create a Hinged Metal Memory Journal

July 18, 2013

Use a hinge to turn shrine-shaped metal blanks into a journal!

Decide on the layout, location of the hinge and other decorative elements. Using a checkered hammer, apply texture to the top and bottom panels of the journal. Patina, file rough edges and clean.
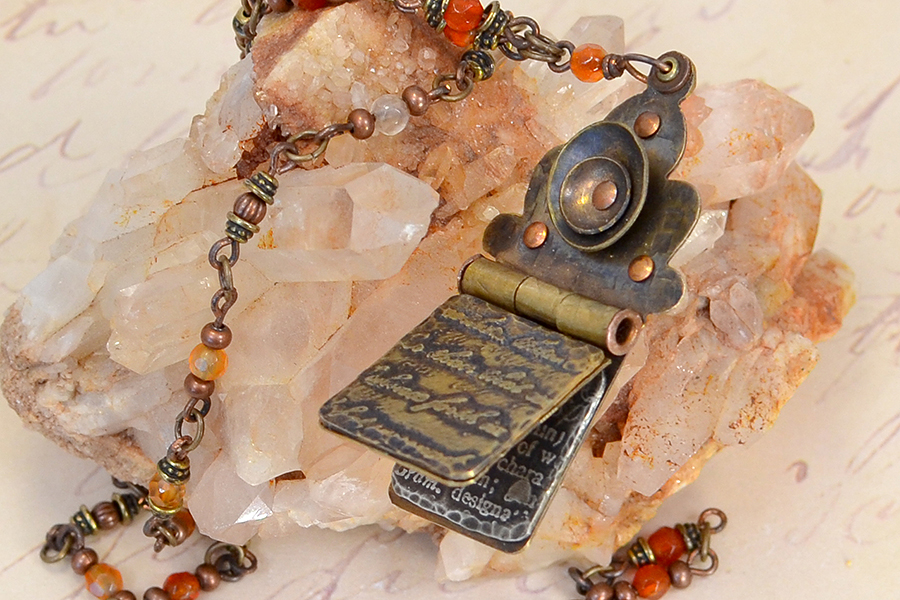
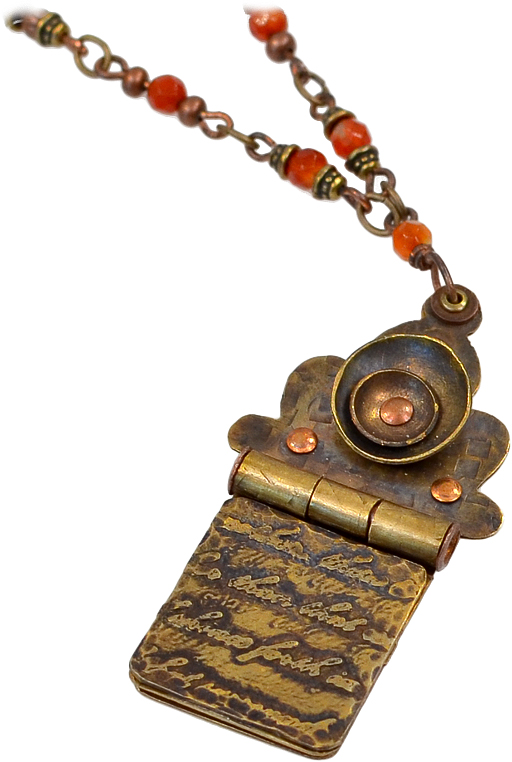
Hinged Pendant Memory Journal Rings & Things. This free DIY jewelry project features metal etching, metal stamping, dapping and riveting. Antique brass, nickel silver, copper and natural agate were used in creating this design. The one-step looping plier was used for the handmade chain.

Layout

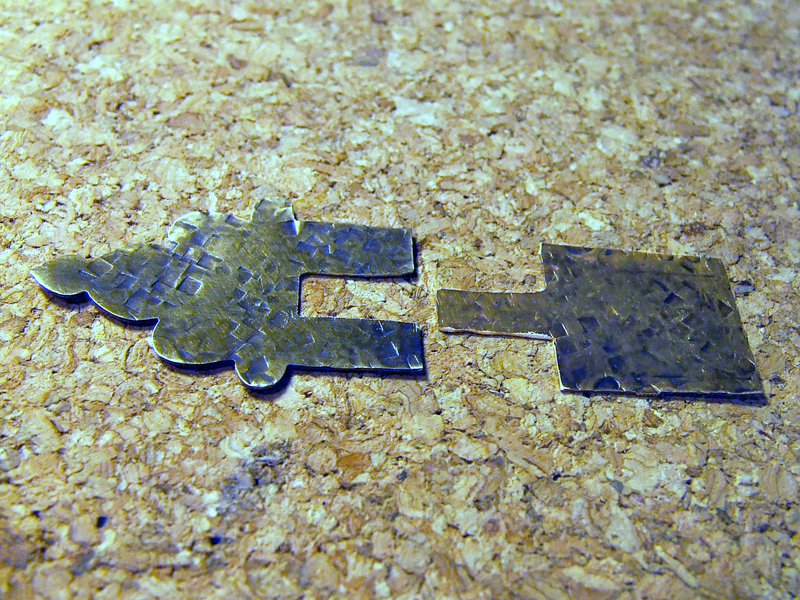
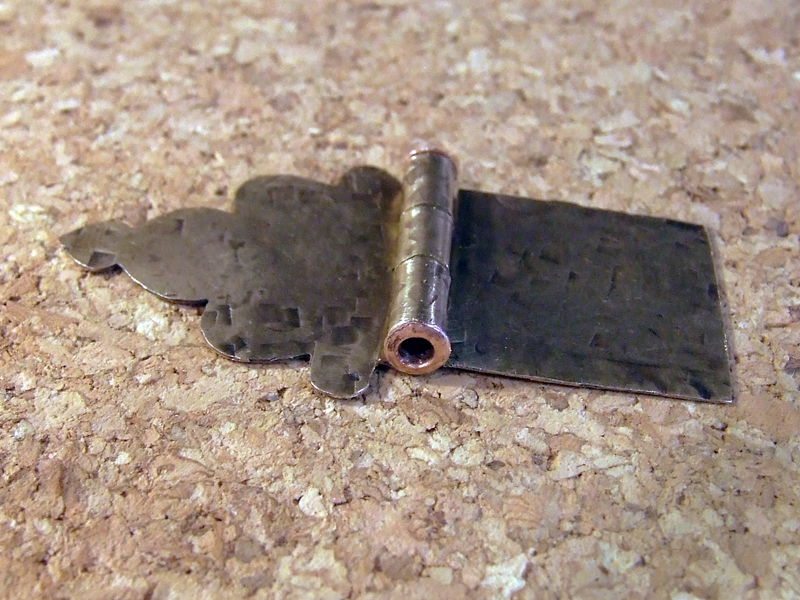
Cut the hinges, which can be as wide or as narrow as you choose. For 3/32 tubing, make hinges that are one-half inch deep. You need an odd number of hinge tabs. Measure, mark and saw tabs into the top panel. Use plenty of cut lube to prevent the saw blade from sticking when cornering.
Hinged Pendant Memory Journal Rings & Things. This free DIY jewelry project features metal etching, metal stamping, dapping and riveting. Antique brass, nickel silver, copper and natural agate were used in creating this design. The one-step looping plier was used for the handmade chain.

Create Hinge Tabs

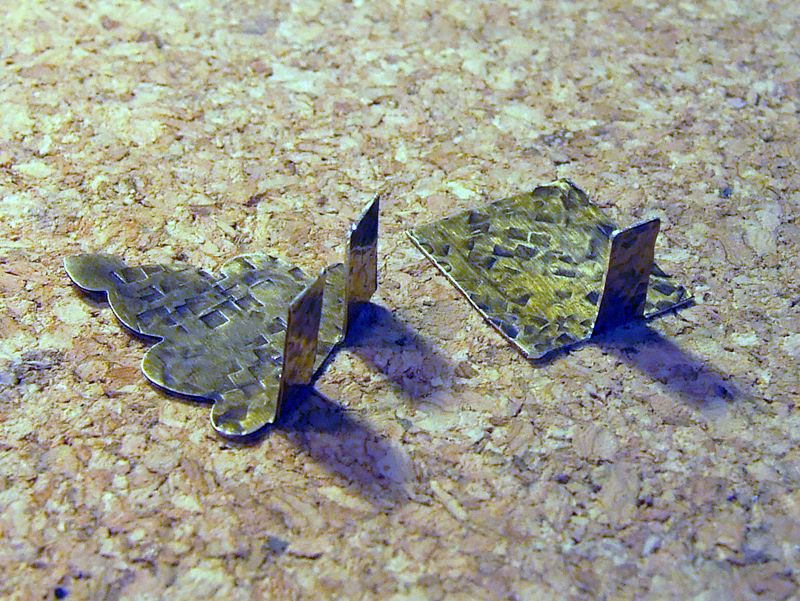
Using wide, flat nose pliers, crease and fold each tabs up to a 90 degree angle. The position of the fold determines whether the hinge will be visible from the front of the pendant, or only from the back side. Keep the textured sides face up, so the design is consistent.
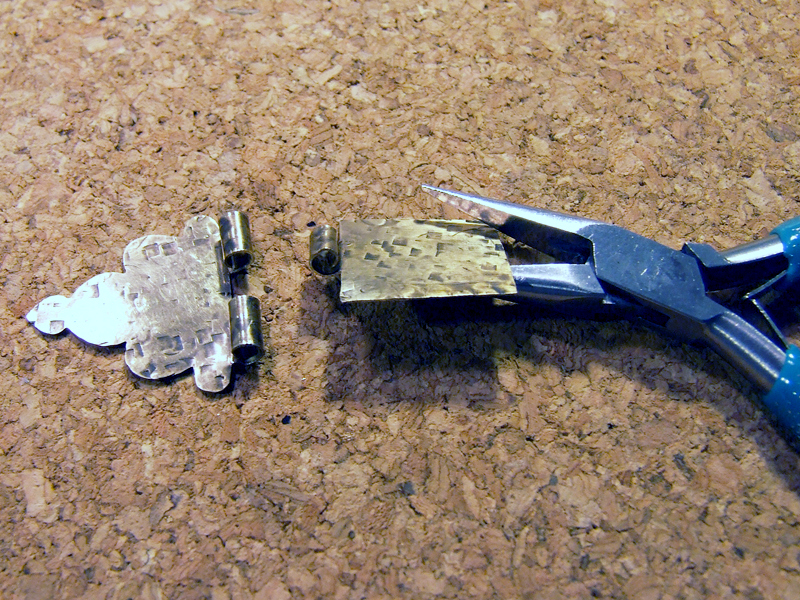
Carefully roll tabs into cylinders using chain nose pliers or medium bail making pliers. Leave hinges a bit loose until after you have inserted the tubing, then you can tighten for best fit.
Hinged Pendant Memory Journal created by Sondra Barrington of Rings & Things. This free DIY jewelry project features metal etching, metal stamping, dapping and riveting. Antique brass, nickel silver, copper and natural agate were used in creating this design. The one-step looping plier was used for the handmade chain.

Roll Into Cylinders

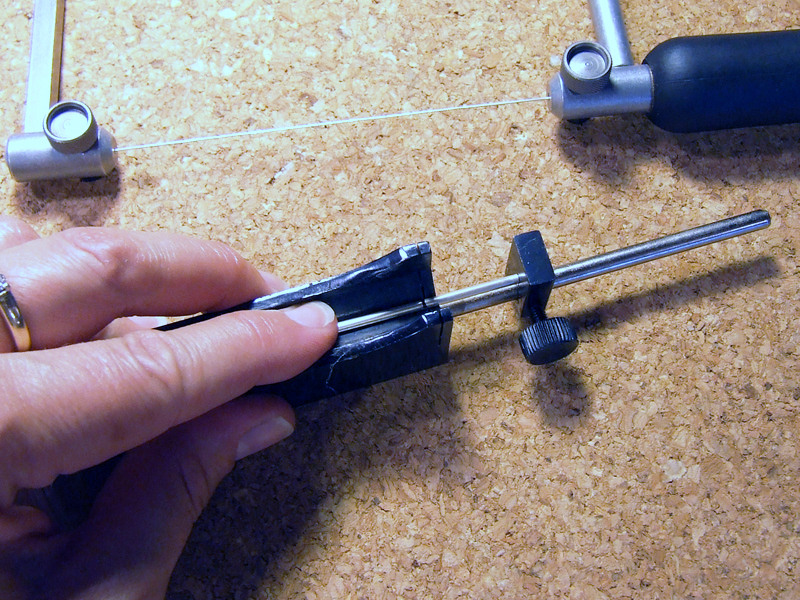
Use a tube cutting jig to cut a length of tube 1mm longer than the width of your piece (for 1/2mm on each side).
Hinged Pendant Memory Journal created  Rings & Things. This free DIY jewelry project features metal etching, metal stamping, dapping and riveting. Antique brass, nickel silver, copper and natural agate were used in creating this design. The one-step looping plier was used for the handmade chain.

Cut Tubing

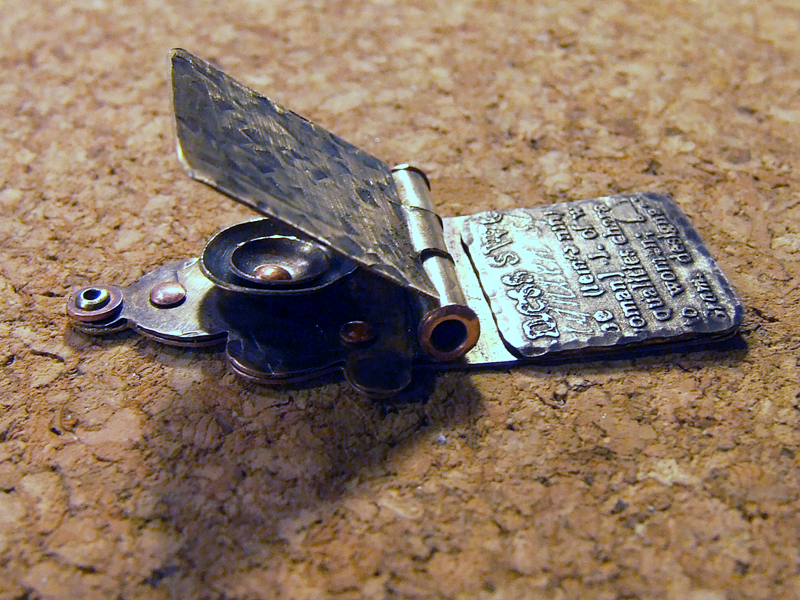
Slide tubing down the channel and finesse hinges as needed. Rivet tubing into place to finish the hinge. Open and close hinge to ensure a proper fit.

This free DIY jewelry design by Sondra Barrington features antique brass, nickel silver, metal etching, dapping and creating hinges.

Assemble Hinge and Insert Tubing

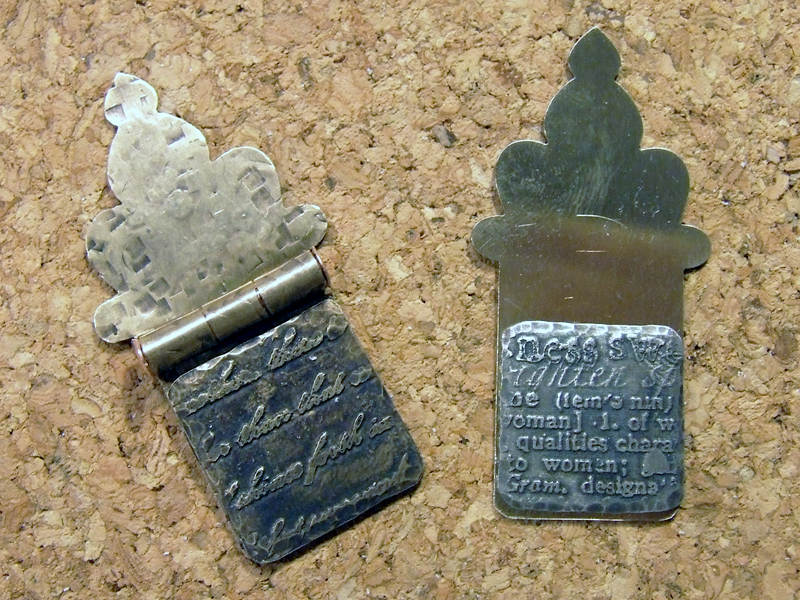
Working with the bottom panel, lay out etched metal pieces for the cover and inside page. Cut, file and patina as necessary. Leave sufficient room for the hinge to lay flat against the bottom panel.
Hinged Pendant Memory Journal created by Sondra Barrington of Rings & Things. This free DIY jewelry project features metal etching, metal stamping, dapping and riveting. Antique brass, nickel silver, copper and natural agate were used in creating this design. The one-step looping plier was used for the handmade chain.

Lay out Etched Metal Page

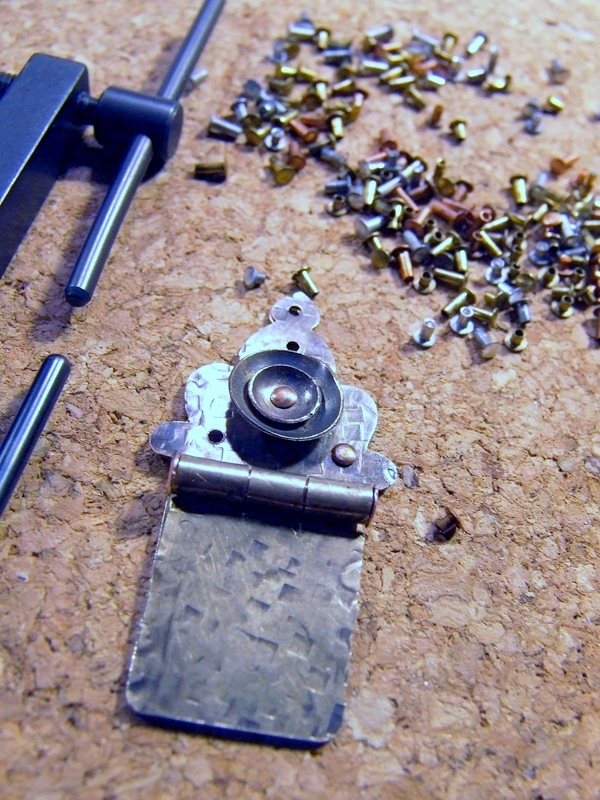
Measure, mark and punch holes for decorative rivets, accents and center piece (using the small side of the hole punch).
Hinged Pendant Memory Journal created by Sondra Barrington of Rings & Things. This free DIY jewelry project features metal etching, metal stamping, dapping and riveting. Antique brass, nickel silver, copper and natural agate were used in creating this design. The one-step looping plier was used for the handmade chain.

Prepare Embellishments

Using two-part epoxy, carefully glue the etched metal panels into place.
Hinged Pendant Memory Journal created Rings & Things. This free DIY jewelry project features metal etching, metal stamping, dapping and riveting. Antique brass, nickel silver, copper and natural agate were used in creating this design. The one-step looping plier was used for the handmade chain.

Lay out Etched Metal Page

Using a dapping set, dome two small round shapes that can nest one inside the other. Patina, file away any rough edges and clean the domed metal. Layer, and rivet domed metal nests onto the top panel. Connect top and bottom panel with rivets. Use a tube rivet at the top so that you can thread a jump ring through it (if you choose).
Hinged Pendant Memory Journal created by Sondra Barrington of Rings & Things. This free DIY jewelry project features metal etching, metal stamping, dapping and riveting. Antique brass, nickel silver, copper and natural agate were used in creating this design. The one-step looping plier was used for the handmade chain.

Rivet Domes Into Place

Carefully clean and polish the pendant before attaching the necklace chain.

Hinged Pendant Memory Journal created by Sondra Barrington of Rings & Things. This free DIY jewelry project features metal etching, metal stamping, dapping and riveting. Antique brass, nickel silver, copper and natural agate were used in creating this design. The one-step looping plier was used for the handmade chain.

Clean Finished Pendant

Handmade jewelry looks great on a custom beaded necklace, on leather cording, silk ribbon or chain. I created a necklace by making individual links using the one-step looping plier, eye pins, metal beads and natural agates. The links were connected using jump rings.

Hinged Pendant Memory Journal created by Sondra Barrington of Rings & Things. This free DIY jewelry project features metal etching, metal stamping, dapping and riveting. Antique brass, nickel silver, copper and natural agate were used in creating this design. The one-step looping plier was used for the handmade chain.

Memory Journal Necklace

This free DIY Memory Journal pendant was created by designer Sondra Barrington of Rings & Things. This necklace features riveting, metal etching, antique brass shrine stamping blanks, dapping, and metal stamping. The chain was created in an ombre pattern using natural agate gemstone beads, TierraCast antique brass bead caps, metal heishi trade beads and the one-step looping plier with antique copper head pins.

Easy to Make Lashed Rhinestone and Leather Bracelet

July 10, 2013
Learn to make a rhinestone and leather bracelet in just minutes.

Create wrapped bracelets with this simple lashing technique.

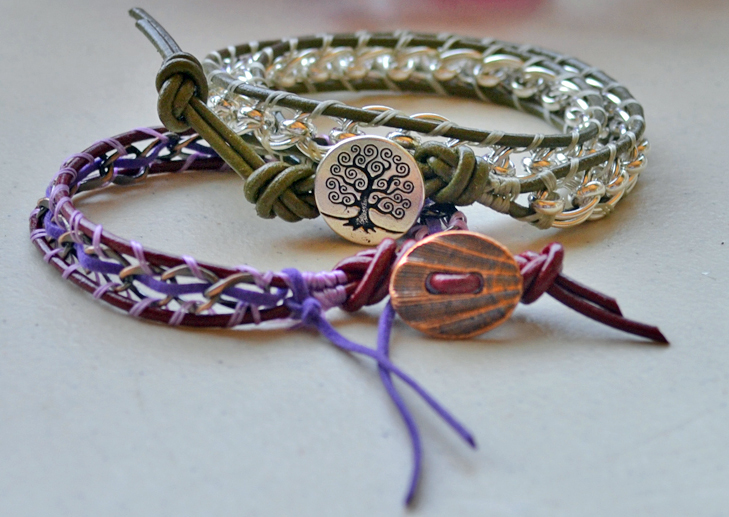
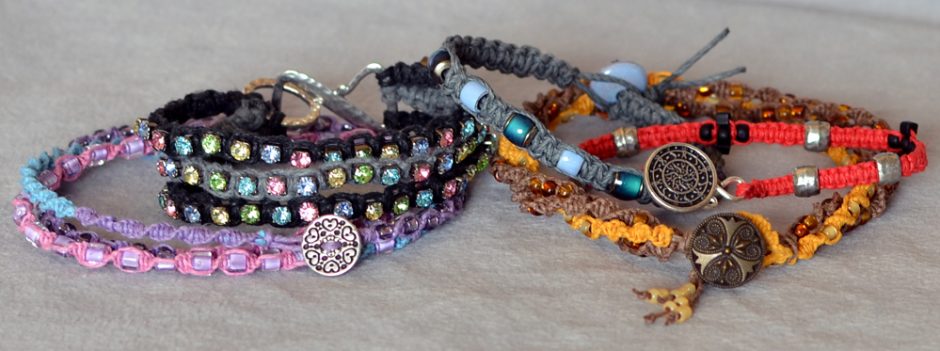
Making wrapped bracelets just got easier because this simple lashing technique takes just minutes to learn.  You can combine leather cord with rhinestone chain for a sophisticated style or use ball chain and leather for an industrial look.

Continue Reading…

How to Make a Lashed Chain & Leather Bracelet

July 2, 2013

Lashed wrapped leather bracelets aren’t just popular because they look great — they’re also a hit because once you know a couple tricks to get started, they are an easy and fun DIY jewelry project to make! A great twist on this hugely popular style is to lash chain instead of beads to leather cord. Read on to make your own leather and chain wrap bracelets! Continue Reading…

Button, Button, What to do with buttons?

June 18, 2013

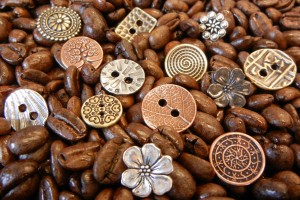
I love a good button. I think most bead hoarders have a button tin somewhere as well. The materials used for buttons range from the simple and inexpensive to exotic and pricey. Obviously buttons have a practical use in sewing and clothing design, but they can be great additions to DIY jewelry as well.


button box spill

button box spill

Buttons as beads:

Boston Bracelet and New Leaf Earrings

Boston Bracelet and New Leaf Earrings

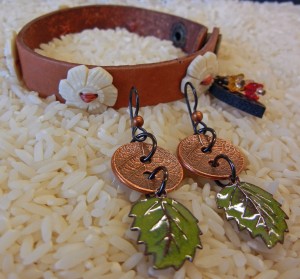
By their nature, buttons tend to have either a shank, with an opening for thread, or 2-4 holes for sewing. These holes and openings mean your buttons can substitute for beads and work as connectors in jewelry design. See round TierraCast buttons with a leaf pattern in New Leaf Earrings and bone buttons sewn on the Boston Bracelet.

Buttons as clasps:

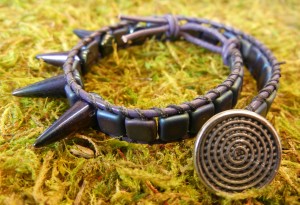
Dark and Dangerous Bracelet

Dark and Dangerous Bracelet

Whether for popular wrapped lashed leather bracelets, or for necklace designs, adding a button to one end of your design and creating a simple loop or series of loops at the other end will complete your creation. The Dark and Dangerous Bracelet uses a cast pewter Spiral Button for the closure.

Buttons as Cabochons or Cameos:

Cute as a Button Bracelet

Cute as a Button Bracelet

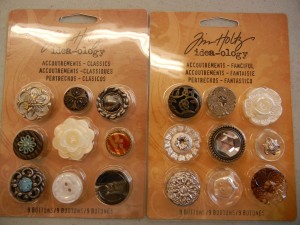
Disk & Loop Bracelets make up into quick finished jewelry by gluing buttons to the disks. If the button has a shank, you may need to trim it and file the surface, then add your favorite adhesive, and you have quickly created a new accessory. Cute as a Button Bracelet uses an assortment of plastic “accoutrements” by Tim Holtz for decoration.

Copies of Buttons:

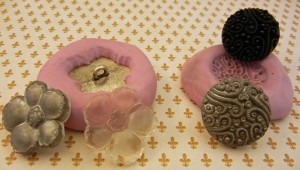
Buttons, Molds, and Cast Reproductions

Buttons, Molds, and Cast Reproductions

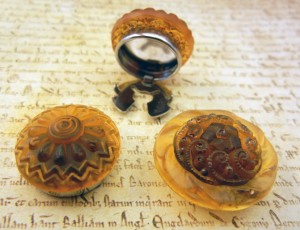
Have a one-of-a-kind or vintage button that you love, but don’t want to part with? 2-part silicone molding material works great to make a mold of your treasure that you can re-create in polymer or resin and use time after time. Silicone molds were quickly made of the buttons in this picture. Reproductions of the buttons (without the pesky shanks) were easily made with Amazing Resin and SuperClear Resin. For more information on making molds, see our previous blog: Making Your Own Molds is a Hoot.

Buttons you can buy from Rings & Things:

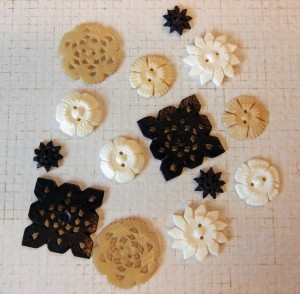
Rings & Things carries buttons in materials such as bone,

Assortment of Bone Buttons in various colors.

Assortment of Bone Buttons in various colors.

plastic,

Plastic Button Assortments

Plastic Button Assortments

cast pewter

A sampling of pewter buttons.

A sampling of pewter buttons.

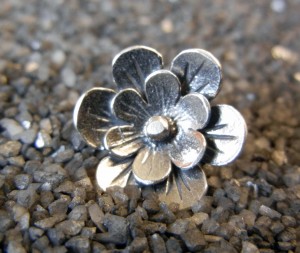
one lone sterling offering

Sterling Flower Button

Sterling Flower Button

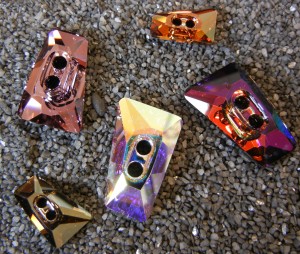
and SWAROVSKI ELEMENTS crystal

Crystal Buttons

Crystal Buttons


Making a Button:

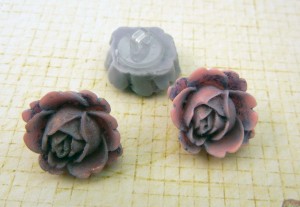
Resin Flower Buttons

Resin Flower Buttons

Do you have an item without holes that you want to use as a button? Easily glue a plastic button shank to your piece to create a button. These work great for turning resin, polymer clay, hand-made glass, and ceramics into useable buttons. Since these shanks are plastic, they don’t have the sharp edges that you sometimes find on metal shank findings. The set shown above are made from resin flowers, colorized with gilders paste, and attached with E-6000.

Changeable buttons:

Cast Resin Button Covers

Cast Resin Button Covers

With a button cover and some glue, you can create a decorative cover that can be transferred from garment to garment, covering the plain or boring buttons used in manufacturing. This set is made with super clear resin, colored with dye and glitter, and attached with E-6000.

Our pinterest board “Buttons” has further inspirations for using buttons and great handmade buttons.


~ Rita

Create a Healing Shrine

June 6, 2013

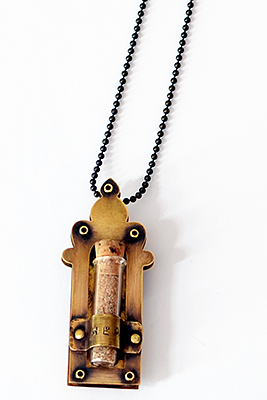
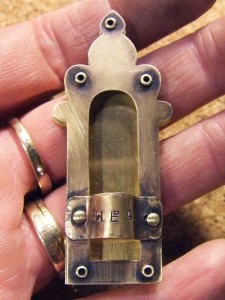
Making handmade jewelry for someone is a unique and inspiring way to show you care.  This “Healing Shrine” was created for a friend suffering from cancer.  It was inspired by our new brass “window” blank shapes and a recent trip to Santa Fe, NM.

Sondra Barrington Memory Jewelry An antique brass "Healing Shrine" created for a friend suffering from cancer. The glass vial is filled with 'holy dirt' from a sacred site purported to have healing powers.

Healing Shrine

Each year, thousands of people pilgrimage to El Santuario de Chimayo seeking blessings.  Many visitors take a small amount of “holy dirt” from the site, in hopes of a miraculous cure for themselves or someone who could not make the trip.  I chose to encase my “holy dirt” in a glass portal, that I nested inside a brass reliquary.  Following are instructions for how-to create this DIY jewelry design using stacked brass layers and cold connections.

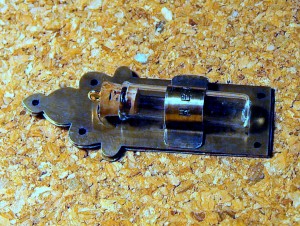
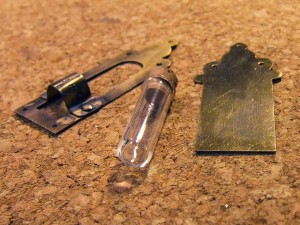
First, envision your shrine and decide how you want it to look and feel.  Decide on contents for your glass bottle.  Unscrew the top loop from the cork in the glass vial.  Measure, mark and punch holes for rivets (using the small side of the hole punch).

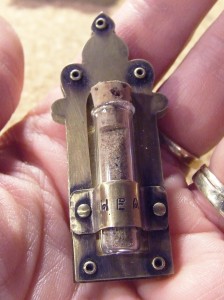
Stamp word “heal” on the metal band designed to hold the glass vial.  Measure the band to ensure that it is going to fit.

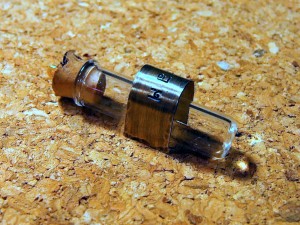
Measure metal band to fit glass vial

Measure and bend metal band to fit glass vial

Using bail making pliers, bend the center of the band into a curved shape, leaving each end flat.  Cut to shorten as needed.  File the ends.

Arrange pieces and punch metal Sondra Barrington Memory Jewelry

Arrange pieces and punch metal

Rivet the stamped metal band into place after double-checking that it will snugly hold the glass once it is assembled.

Punch holes and rivet band to hold bottle

Rivet the band into place (to hold the vial)

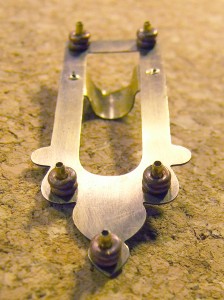
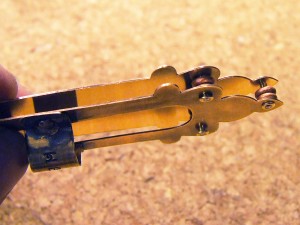
Insert tube rivets in holes between the front and back of shrine, stacking copper heishi trade beads between the layers (to fill the space and strengthen the connection between the top and bottom layers).

Use metal heishi beads as spacers between the layers of metal.

Heishi beads as spacers between layers Sondra Barrington Memory Jewelry

  Rivet them into place.  Note: Be careful, it is very difficult to reinstall the heishi spacer beads if they fall off the tubes!

Place all metal heishis before riveting back panel into place

Place all  heishi beads before riveting together Sondra Barrington Memory Jewelry

Patina and clean.  Using two-part epoxy, attach a magnet to the back side of the shrine.  Carefully fill vial with contents.

Fill the bottle and install it into reliquary Sondra Barrington Memory Jewelry

Fill the vial and pop it into place

Once the glue has cured, pop the glass vial inside the band.  This DIY jewelry project can be a pendant, magnet or pin.

How to Create a Reliquary Pendant

May 20, 2013
Create a personal keepsake with this free DIY reliquary pendant tutorial.

Create a personal keepsake with this free DIY shrine pendant tutorial.

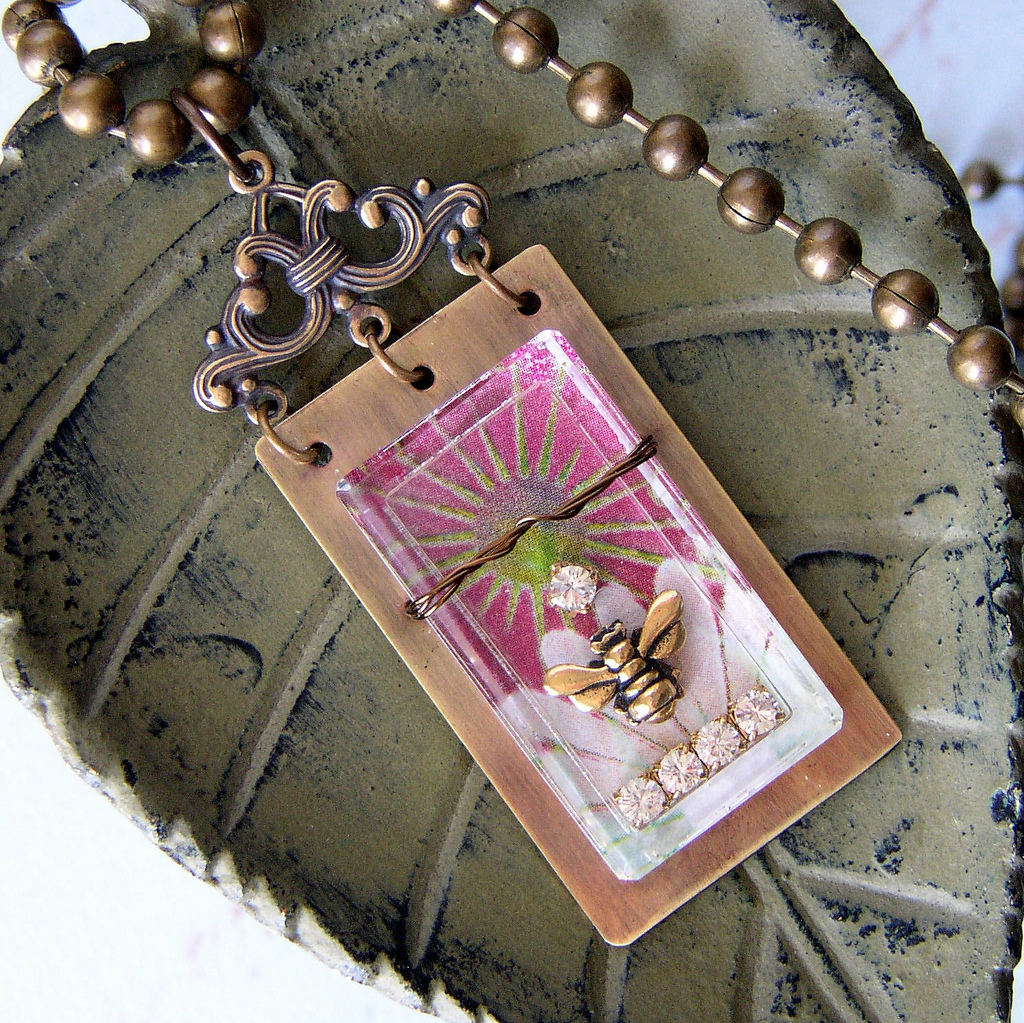
I love keepsake jewelry, and this reliquary necklace is perfect for capturing mementos. You can adapt this pendant design to make your own personalized jewelry; encase a family photo, dried flower petals from a special event, or perhaps a lock of baby hair.

The following is a DIY tutorial for making a glass bezel shrine necklace.

Continue Reading…

How to Macramé a Hemp Bracelet

May 7, 2013
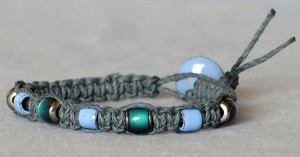
Square knot macrame bracelet.
Simple square-knot macrame bracelet.

Growing up in the 1970’s, I predictably spent part of my childhood making macramé. In fact, I spent hours tied to the ends of masses of cording creating the ubiquitous plant hangers that have become an icon of the era. Call me sentimental, but I got a warm and fuzzy feeling when asked to dust off my knotting fingers and make a hemp macramé bracelet for Rings & Things’ Blog.

Continue Reading…

Spring 2013 Pantone Color Trends Giveaway

April 29, 2013

Pantone Spring 2013 Giveaway

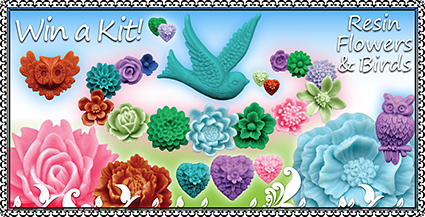
Enter to win our Resin Flower Gluing Kit. Just comment at the end of this post  — by May 6, 2013 — with your favorite Pantone Spring 2013 Color Trend to be entered into our drawing.

win a resin flower gluing kit

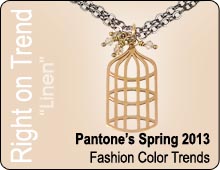
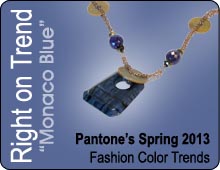
In celebration of Spring, here are the Spring 2013 Pantone Color Trends. Just click on any of the color swatches below and find the treasures available in our online store. Also visit our Design Gallery  for all the designs you see here and many more. All designs are FREE – no login required!

banner-spring13_emerald banner-spring13_grayedjade

banner-spring13_tendershoots  banner-spring13_lemonzest

banner-spring13_nectarine banner-spring13_poppyred

banner-spring13_linen banner-spring13_africanviolet

banner-spring13_duskblue banner-spring13_monacoblue

Comment now with your favorite Pantone Spring 2013 Color Trend to win. Contest ends May 6, 2013.

~Jan