Browsing Category

DIY Jewelry Projects

Conversions and Useful Jewelry Charts

April 29, 2013

Wire Gauge Chart

Gauge is often abbreviated “ga” or simply “g”. If you can’t find what you’re looking for when searching a website, you may need to try the following variations: 28-gauge, 24ga, 22g, 20 gauge, and/or 18 ga to find what you want.


The most important thing to know about wire gauge is:
LARGER wire gauge NUMBERS = SMALLER/THINNER wire.


  • 30 gauge wire is very thin, excellent for wire stitching and fine wire weaving.
  • 21 gauge is a a popular size for ear wires in the United States (some other countries have thicker ear wires). To make nice ear wires that don’t bend out of shape, many people buy 18 gauge or 20 gauge dead-soft sterling silver wire and pull it through a draw plate to size it down, while the draw plate both work-hardens the wire, and makes it springy.
  • 10 gauge is very heavy. It is likely to break inexpensive jewelry pliers, and dent or break most wire cutters. (Use a jeweler’s saw to cut heavy gauges of wire.)
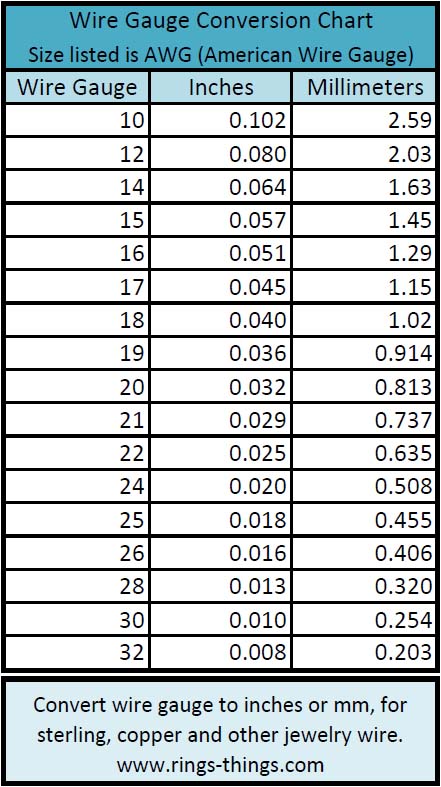
Wire Gauge Chart for Jewelry Wire

Wire Gauge Conversion Chart (AWG)

Picking the right size hole punch or drill bit for your wire gauge:

When punching a hole for a jump ring, you normally want a hole at least twice the diameter of your wire. This allows for good freedom of movement.

When riveting, either measure and drill a hole the exact right size, or punch a hole slightly too small, and then enlarge it to the perfect size with a bead reamer (or round file). Riveting with a hole that is too large, can cause your rivet to bend or slip, both of which can cause additional problems. More info @ Riveting 101 (for jewelry and small mixed media artworks).

  • 1/16″ hole punch = .0625 inches or 1.59mm (a tiny bit smaller than 14 gauge) – so a 1/16″ hole, plus a few turns of a bead reamer, is perfect for riveting 14ga wire.
  • 3/32″ hole punch =  .0938 inches, or 2.38mm (roughly 11 gauge)
  • 1/8″ hole punch = .125 inches, 3.18mm
  • The new 3-hole punch by Eugenia Chan punches 1/8″, 3/32″ and 1/16″ that correspond with standard tube rivets (aka eyelets): 1.6mm, 2.4mm, and 3.2mm.
  • The new 4-hole punch by Eugenia Chan punches holes that are the exact correct size for 18-gauge, 16-gauge, 14-gauge and 12-gauge wire rivet holes.

OH GOSH DARN IT! I accidentally made this live before I finished it…
Still to Add:

  • bracelet sizes from old catalog page 777?
  • typical # of round beads per strand

More helpful links:

How to Use Fancy Wire Rivets

April 5, 2013

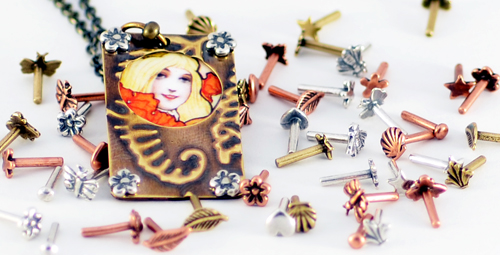
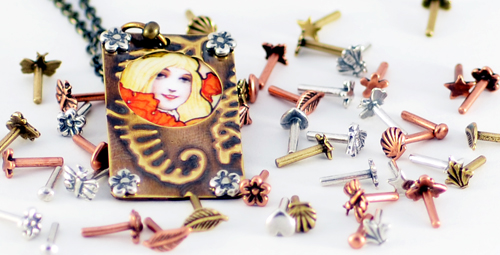
Bees ~ Fleur-de-Lis ~ Leaves ~ Simple Domed ~ Shells ~ Hearts ~ Stars

If you already know how to make and set traditional wire rivets, then you only need to know one new thing about setting these fun decorative rivets:

  • To prevent marring the decorative rivet head, don’t hammer with your rivet head directly on the usual steel block. Instead, set the rivet head on a piece of wood (a scrap of 2×4″ works great), or use a piece of heavy leather between the rivet head and steel block.

Continue Reading…

Square Peg – DIY Greek Leather Bracelet

April 1, 2013

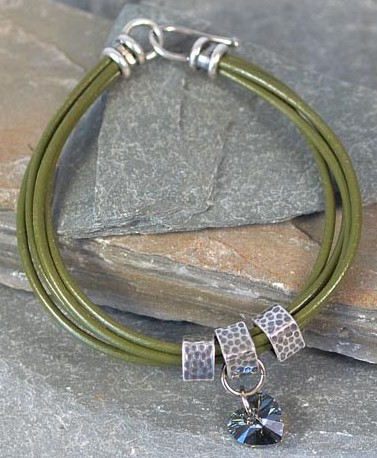
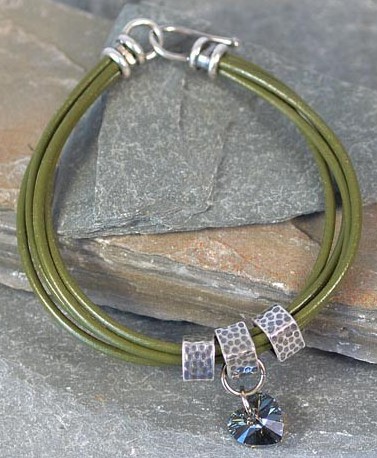
I love this simple, sleek Greek leather bracelet by designer Mollie Valente. And I’m not the only one who appreciates this combination of simplicity and Greek leather — it is the most popular project on our site for the first 3 months of this year!

Greek leather bracelet tutorial

Greek leather bracelet – DIY

10mm SWAROVSKI ELEMENTS crystal heart - Crystal Bronze Shade

crystal heart

Swarovski’s Crystal Bronze Shade (see all 79 shapes!) picks up and reflects the hues nearby, and even changes color depending on the intensity and type of light coming into it — it can look bronze, olive, or even a shimmering gray-blue.

This bracelet features four 7.5″ strands of supple olive-green Greek leather:

Olive green Greek leather

Olive green Greek leather

antiqued silver center-crimp tube with hook

with hook

antiqued silver center-crimp tube with loop

center-crimp tube with loop

Hold the 4 strands of Greek leather together with classic center-crimp tubes. To use center-crimp tubes, select a size slightly larger than your cord — for this bracelet, the 4.5mm inner diameter perfectly holds 4 pieces of round 2mm cord. Add a dab of flexible glue to the ends, and firmly crimp the center section of the tube with round-nose or narrow flat-nose pliers.
Use a hook on one end, and an eye (or loop) on the other end of the bracelet.

Hammered square drum bead

Hammered square drum bead

The square drum beads have a 5mm hole – great for heavy cord and multistrand designs. They are available in 4 plating colors, and a slightly smaller triangular shape too. A large 8mm round jump ring fits nicely around the bead, so you can hang charms, small pendants or beaded dangles.

Square Peg Greek Leather Bracelet Tutorial

Click image for full tutorial and parts list

Browse our Design Gallery for 100’s more jewelry design ideas and techniques (it’s always free — no login required!).

Questions about this or any other design in our Gallery or catalog?
Comment below, or ask us on Facebook! ~Polly

Copper Soldering Tutorial – Part 2

March 7, 2013

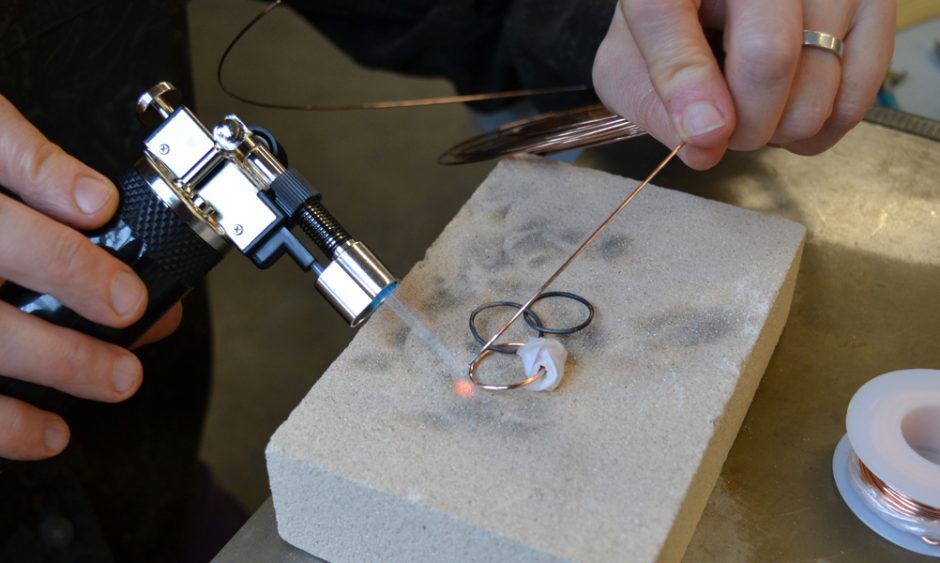
Today’s DIY: How to solder copper links with beads

If you like bead-embellished wire links, but wire wrapping is not your forte, then this is an excellent project for you!

See previous blog post for basic soldering instructions, including links to torches, soldering surfaces, basic tools and setup.

  1. When cutting or soldering, wear eye protection to protect your eyes from flying bits of wire or solder.
  2. Make a few coils: as many as you can comfortably fit on your ring-bending pliers, a suitable size of Wubbers bail-making pliers, or the fun new shapes of Wubbers mandrel pliers. For round links, I prefer ring-bending pliers for 20-22mm loops (3/4″ – 7/8″), and the X-Large bail-making pliers for 12mm and 15mm links.
Continue Reading…

EnCapture Artisan Concrete

February 4, 2013

We tested the new EnCapture Artisan Concrete Kit!

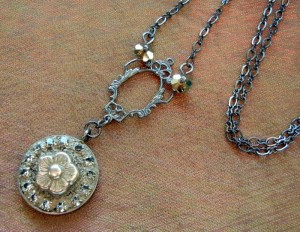
This free jewelry project by Rings & Things uses bezel cups, jewelry grade concrete (EnCapture Artisan Concrete), Gilders Paste, rhinestone chain, vintage inspired filigree, black gunmetal chain and has a delicate flower bead as the center of the mini mosaic.
Flor Sepultiado Mosaic Necklace

This “unique texture-rich medium for jewelry making is designed for embedding treasures such as glass, gemstones, metal, buttons, wire and beads to create visual interest and contrast.  Here are some tips for using it!

This free jewelry project by Rings & Things features a stitched devil head lampwork bead as the centerpiece of a mini mosaic. Small beads surround the black white and red focal, which is set into Encapture Artisan Concrete (jewelry grade concrete). The small mosaic is held inside an inexpensive 1" round bezel cup.

Stitched Devil Mosaic Necklace

Mixing: We found the easiest way to mix the concrete was making a slurry (or thin paste) by putting a small amount of the base material in the mixing cup and adding the activator. To the slurry, mix in the base material and pigment incrementally until you have achieved the desired color and consistency.

Application:  You can extend the life of your concrete while you are working by covering the mixing cup with a damp paper towel. We recommend you remove excess concrete from your embedded treasures as you work using a damp paper towel, cotton swab or toothpick. It is easier to remove when it is moist than after it starts to dry.

Initial cleaning of the mini mosaic involves wiping away the excess jewelry grade concrete (Encapture Artisan Concrete) from the silver flower and rhinestone chain. Remove any excess concrete from the back of the gunmetal bezel cup. All parts available at rings-things.com

Work Time:  As the concrete starts setting within 5 minutes, you must work quickly!  Pre-arranging your design is very helpful.  We found it easiest to trace the bezel, and to mock-up the arrangement on paper.  This allows you to quickly and precisely place each item when it is time.   
Encapture Artisan Concrete (jewelry grade concrete) sets quickly. The lampwork cat head bead and smaller gemstone round beads were positioned into place before the concrete was placed, making it easier to create a small mosaic. All parts available at www.rings-things.com
Green Cat Mosaic Necklace
Design:  Including small beads in your design is easiest if you string them first (this way they can’t roll and move as easily). For a more elaborate or mosaic-style design, setting your treasures with a dab of two-part epoxy glue is recommended. Glue your items in place and allow the glue to fully dry before applying concrete.  
Trade beads, a Tierra Cast hamsa hand, an Amate primitive heart or art heart (arte heart) silver bezel were carefully glued into place for this small mosaic. The designer bezel will be filled with jewelry grade concrete (EnCapture Artisan Concrete) once the glue has dried. Free DIY jewelry project by designer Sondra Barrington of www.rings-things.com.

Hamsa Hand in Heart Mosaic Necklace – Tutorial

Finishing Touches:  If you do not like large grains of sand from the concrete being visible in your design, you may be able to bury them by gently poking them down into the wet concrete with a toothpick.

Once the product has cured, for a beautiful golden sheen, the brass brush works wonders!  If you do not want to alter the color of your finished piece, gently clean around embedded treasures with the straight carver.

Using a toothpick to place jewelry grade concrete (Encapture Artisan Concrete) into the small mosaic, around the silver flower and rhinestone chain. Carefully place the concrete to avoid getting it on the gunmetal bezel cup. All parts available at rings-things.com

In addition to the tools and supplies provided in the kit, we found the following tools and supplies very helpful:
* Damp paper towels/moist towelettes
* Extra wood mixing sticks
* Cotton swabs
* Tablet & pencil
* Extra disposable plastic mixing cups
* Extra dust masks
* Extra disposable gloves
This free jewelry project by Sondra Barrington of www.rings-things.com features a silver Amate primitive heart bezel. This deep dish art heart bezel has been filled with jewelry grade concrete (Encapture Artisan Concrete) and an assortment of trade beads, small silver beads and a Tierra Cast hamsa hand charm. The mini mosiac is hung from an inexpensive choker.
Links:

Modern Tassel Earrings Tutorial

November 1, 2012

Black tassel earrings - Tutorial

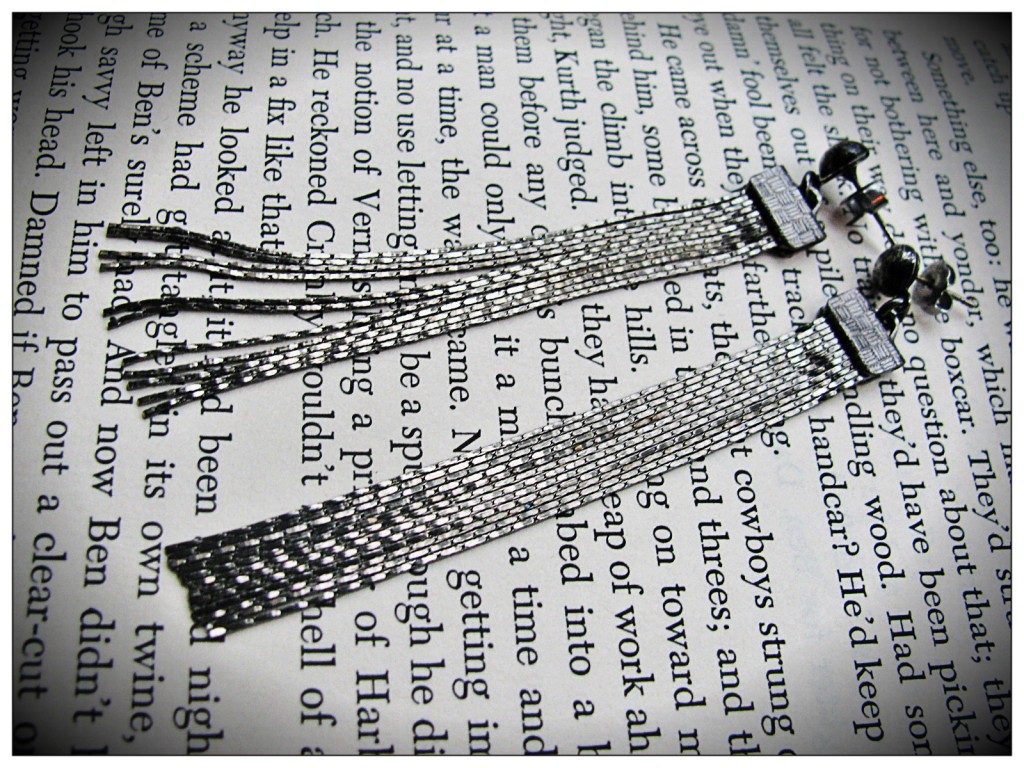
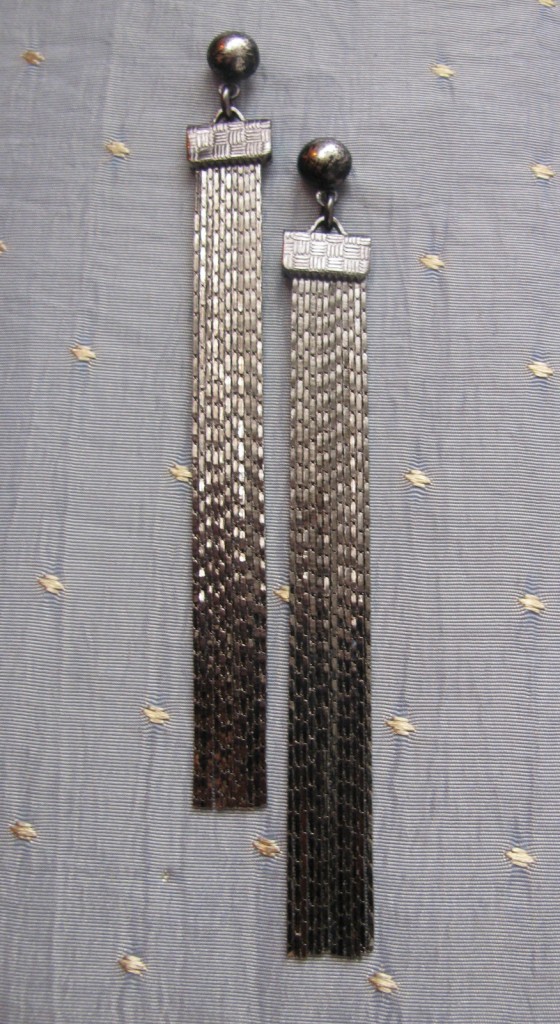
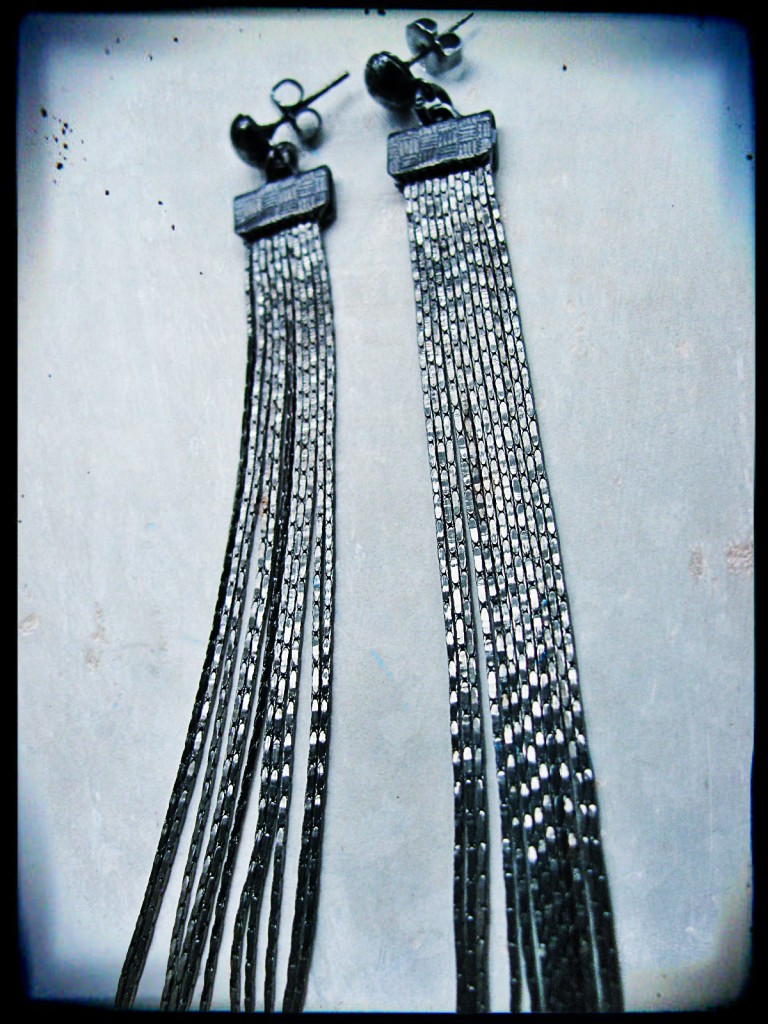
Modern and Edgy Gunmetal Tassel Earrings

Hello everyone! Tiffany here with a fun tutorial for you! With winter approaching, I find myself putting away my bright and airy spring and summer jewelry and replacing it with darker, fancier neutral pieces. I want jewelry that can easily go from the office to after work cocktails. Tassel earrings have always been a favorite of mine. I especially love the way tassel earrings move with you, catching the light. Recently, I have seen modern tassel earrings similar to these at high end department stores. Being a jewelry maker, I of course wanted to make my own version. Beading chain was the perfect material to make these earrings, because it really reflects the light. After a little trial and error, I have come up with a fairly easy way to re-create this designer look from home.

Supplies to make black tassel earrings

Everything needed to make these earrings. Look below for close-up photographs of all the items. Fun tip: I use dollar store sheet pans lined with bead mats to create all of my projects. They stack easily to neatly store all your on-going projects.

The supplies needed are the following:

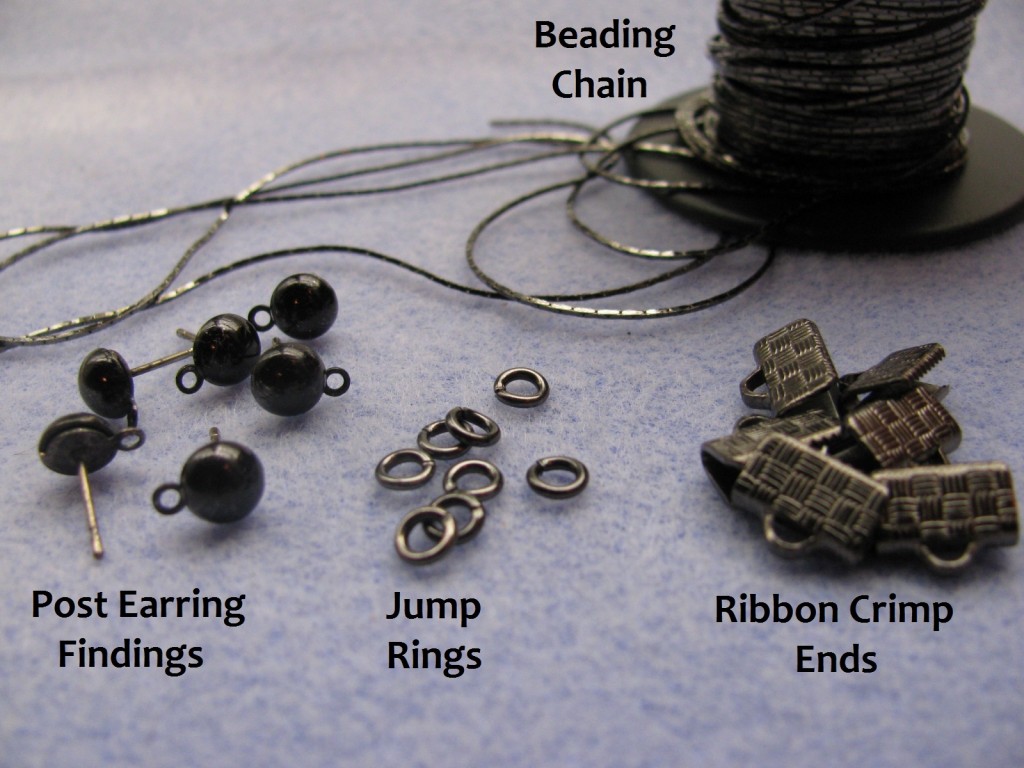
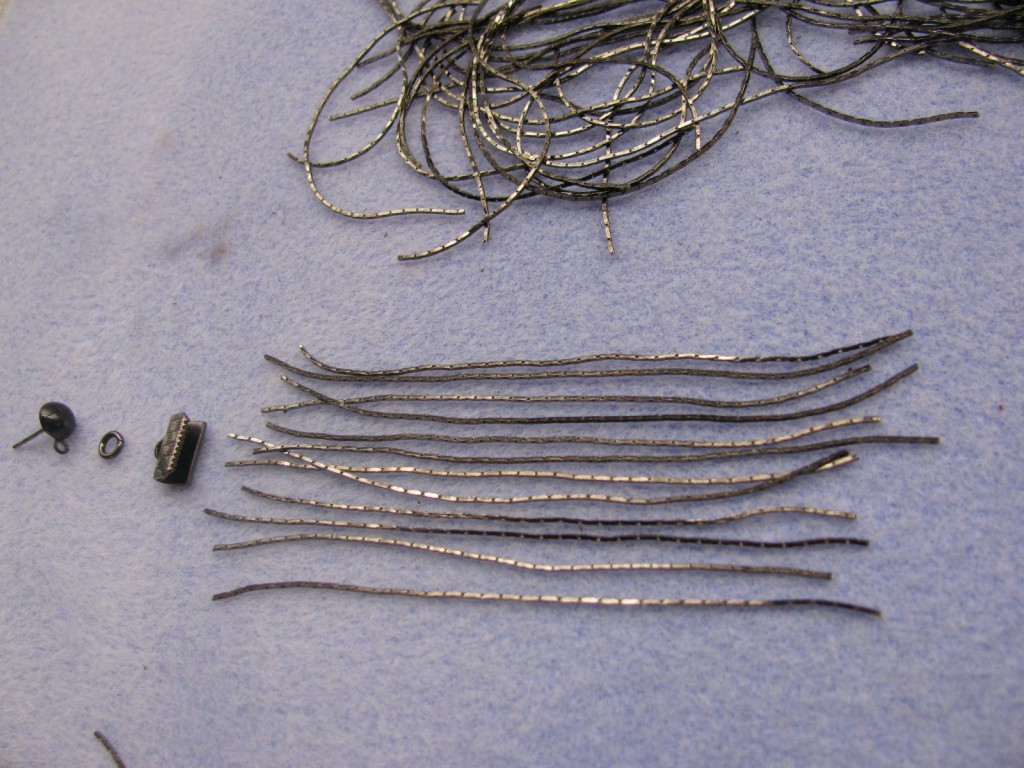
Supplies to make chain tassel earrings: Beading chain, post earring findings, jump rings, ribbon crimp ends

I used gunmetal beading chain, jump rings and ribbon ends. For the post, I used white finished ones that I gave a patina with Novacan Black patina solution, so they would match better.

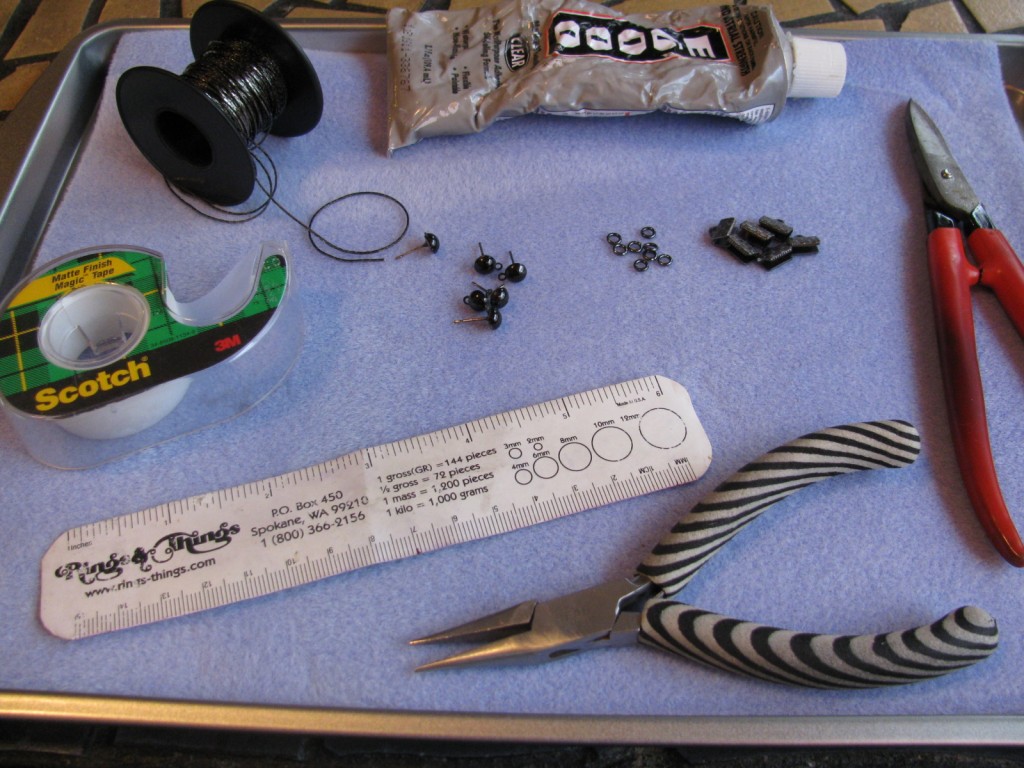
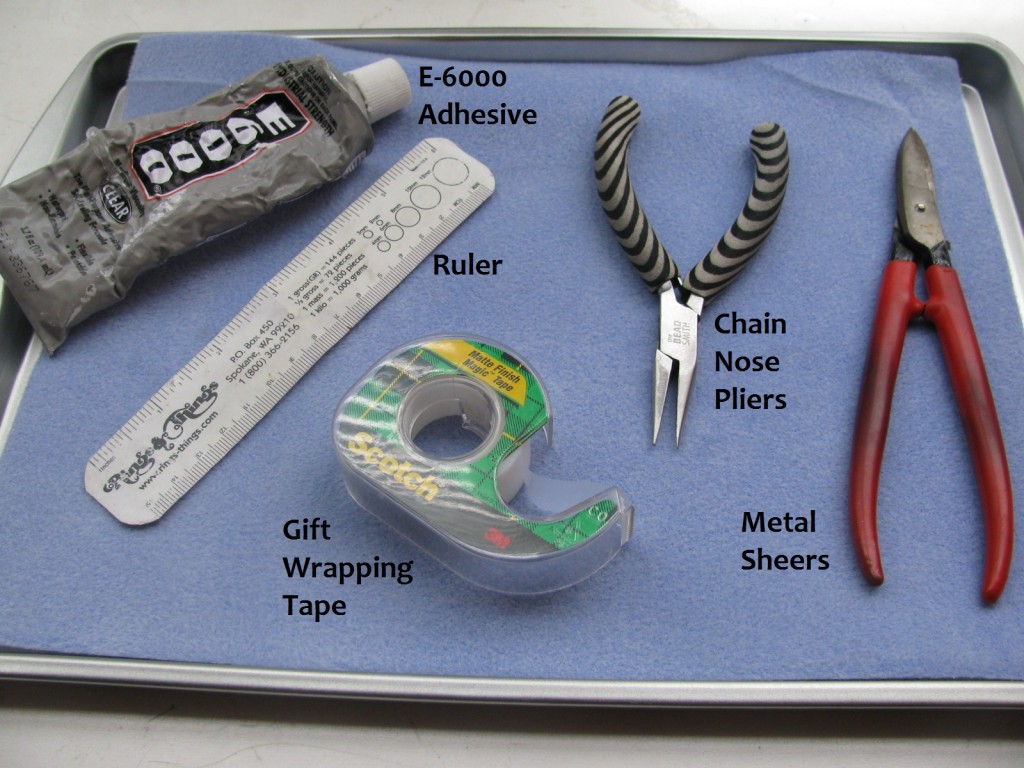
Tools and Supplies needed to create black chain tassel earrings

Tools and supplies needed to complete these. Pardon the condition of my E-6000, it has seen better days. Ruler, E-6000 adhesive, tape, chain nose pliers, and metal shears.

Step 1 - Black chain tassel earrings tutorial

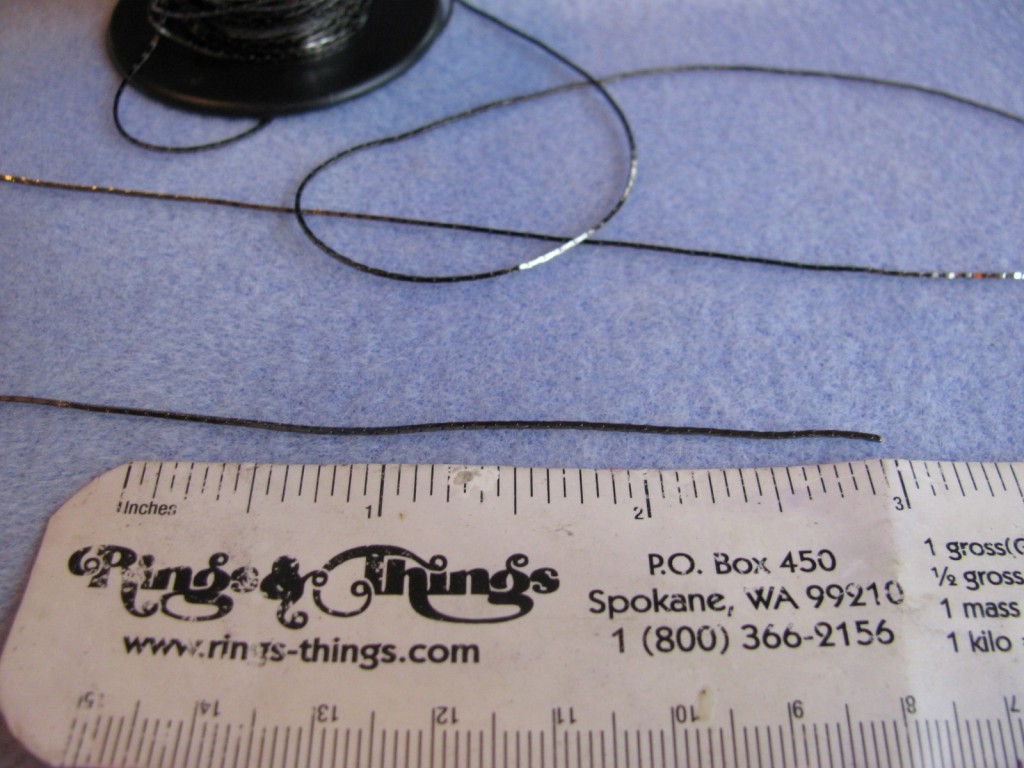
Use your ruler to decide how long you want the tassels to be on your earrings. Note, that you will lose about 1/2 inch when trimming the tassels. I found 3 inches was the perfect length for me.

Step 2 - Black chain tassel earrings tutorial

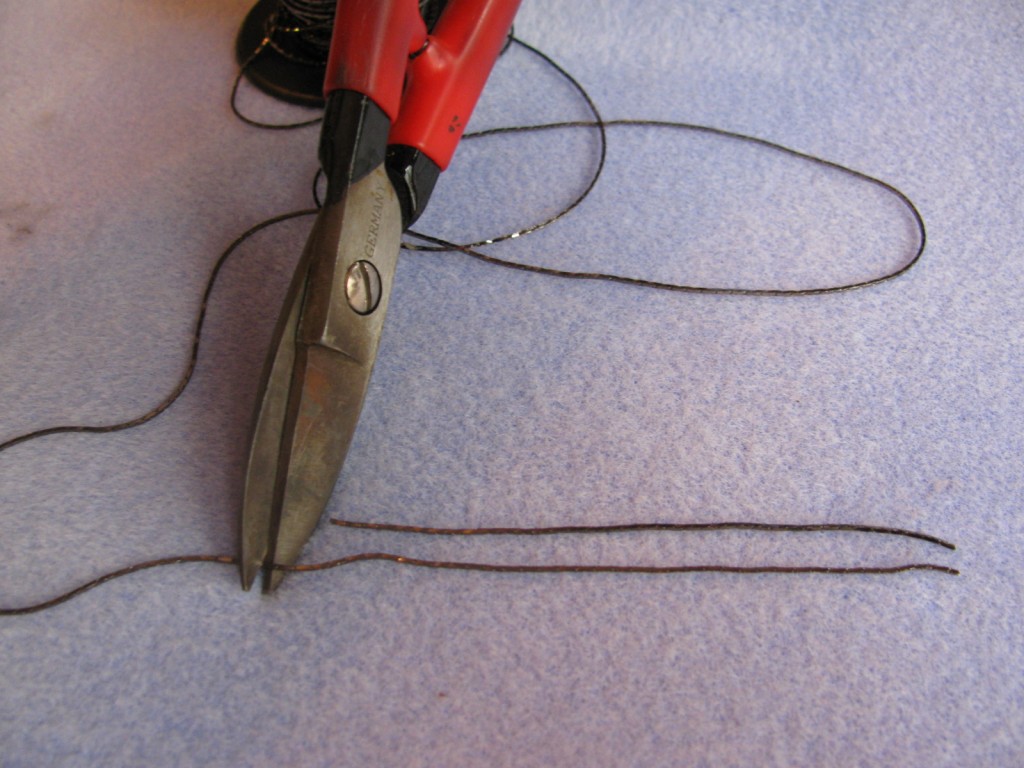
Use your metal shears to cut the beading chain. Once you cut one, you can ditch the ruler for now and just measure each additional piece by holding it next to the first piece.

Step 3 - Black chain tassel earrings tutorial

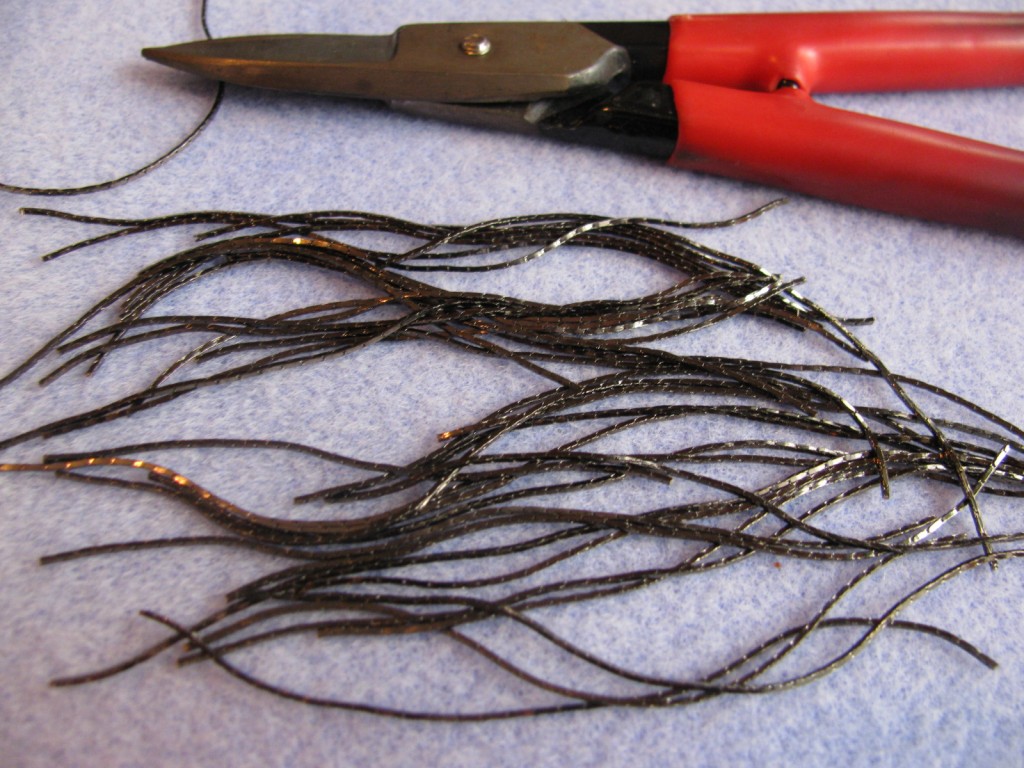
Cut a total of 24 pieces of beading chain, 12 pieces for each earring.

Step 4 - Black chain tassel earrings tutorial

Line up twelve pieces of the beading chain.

Step 5 - Black chain tassel earrings tutorial

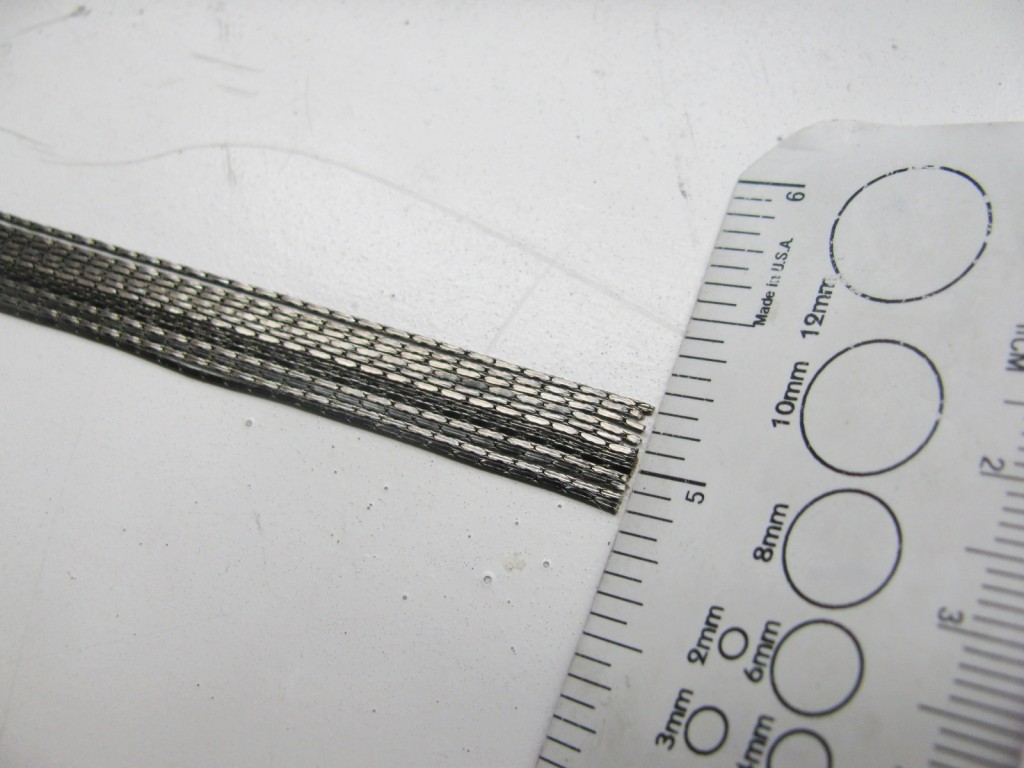
Use the edge of your ruler to tidy up the twelve pieces of beading chain. You want the pieces to be as flush as possible at the end, and snugly next to each other.

Step 6 - Black chain tassel earrings tutorial

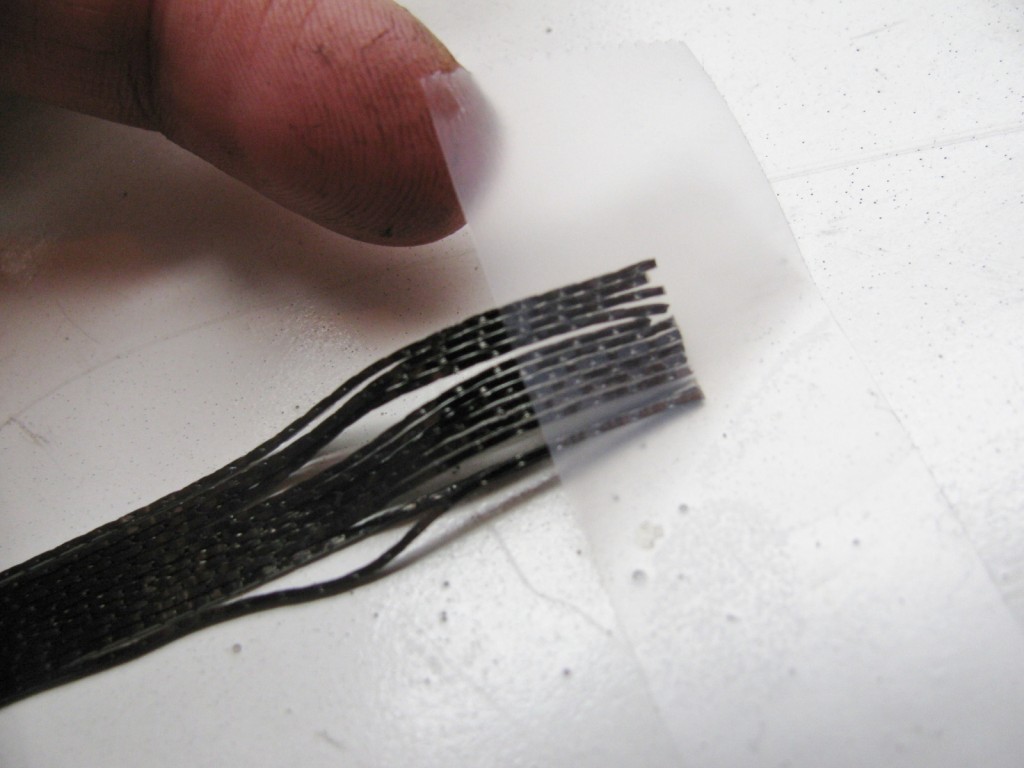
Take a small piece (about an inch) of gift wrapping tape and gently place it on top of the beading chain ends. The tape is not what will ultimately hold the chain, it is just to hold it together so you can use adhesive.

Step 7 - Black chain tassel earrings tutorial

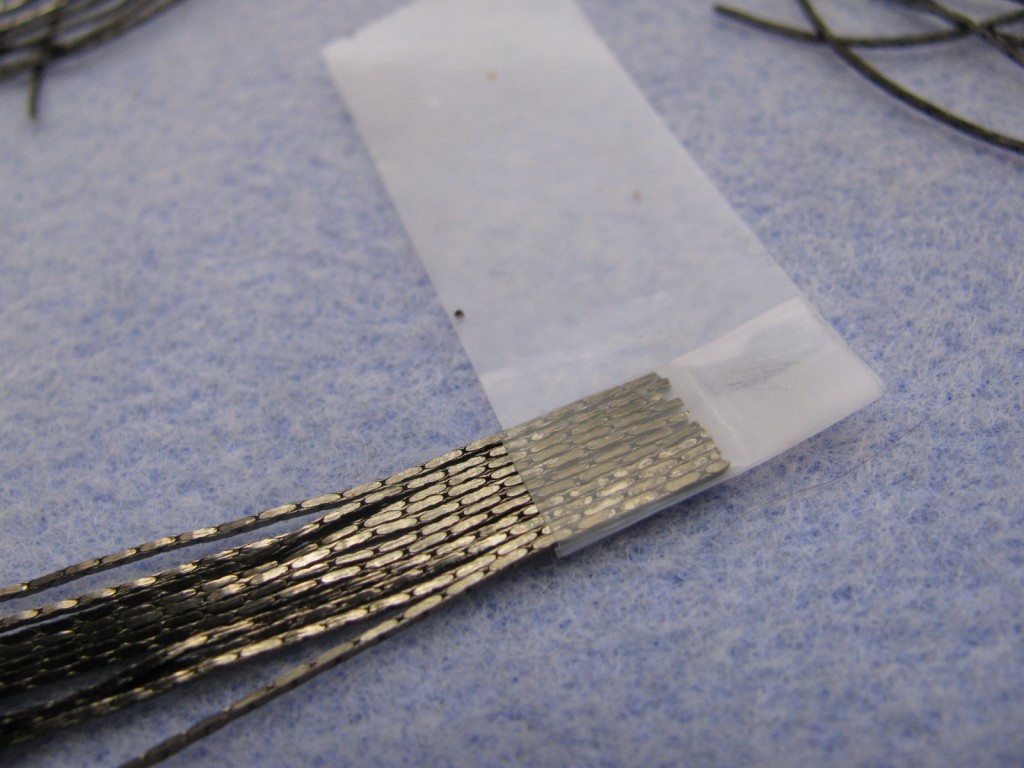
Wrap the tape around the ends, securing it by overlapping it once. Cut the excess tape and press closed.

Step 8 - Black chain tassel earrings tutorial

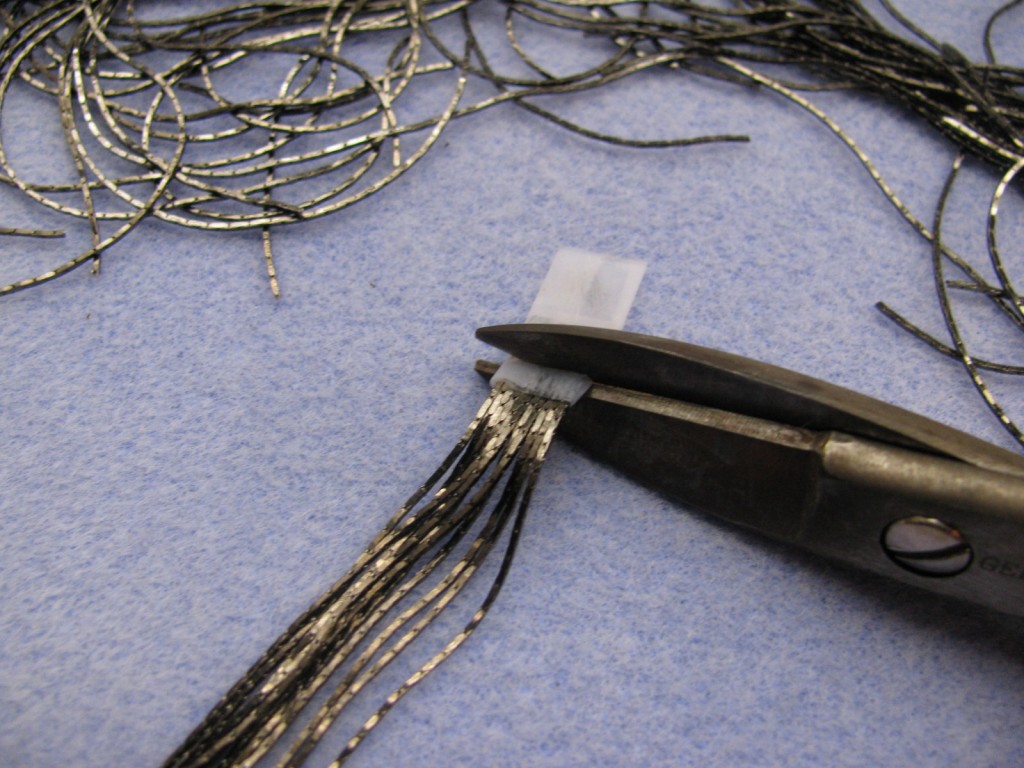
Use your metal shears to trim the ends of the tassel where the tape is. You want to leave only about 1-2mm of the taped section. Just enough to keep it held together. You don’t want any tape to show after you put the ribbon end on.

Step 9 - Black chain tassel earrings tutorial

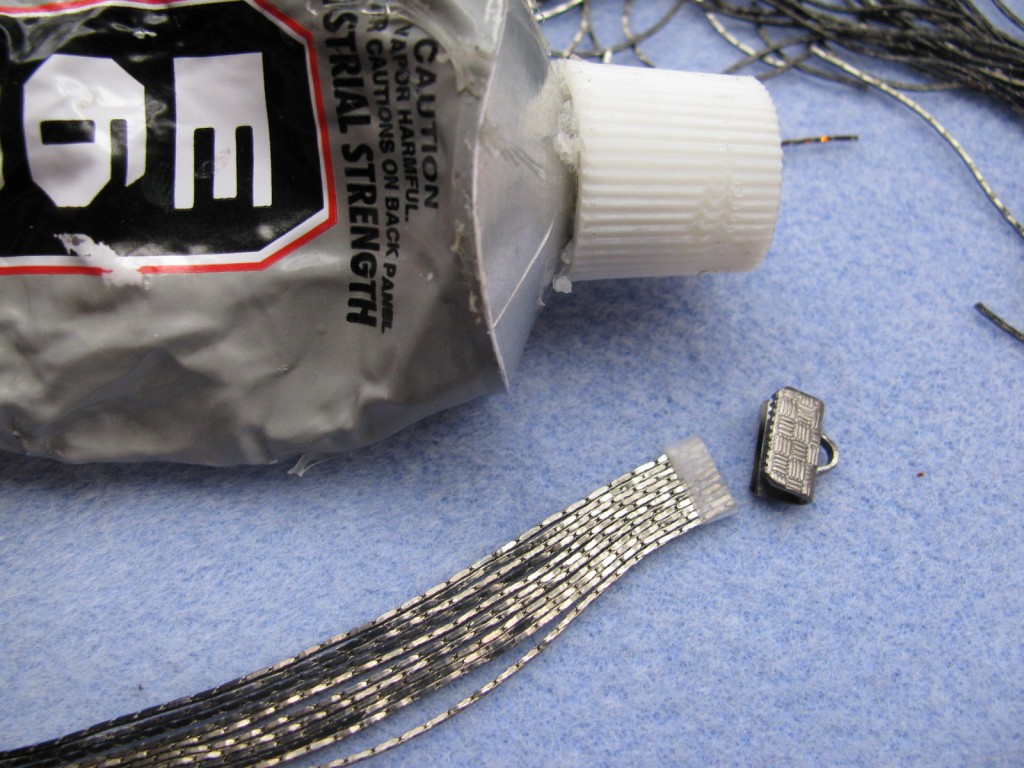
Place a thin line of E-6000 glue across the top of the tassel. Make sure that there is some of the glue touching all the pieces of beading chain.

Step 10 - Black chain tassel earrings tutorial

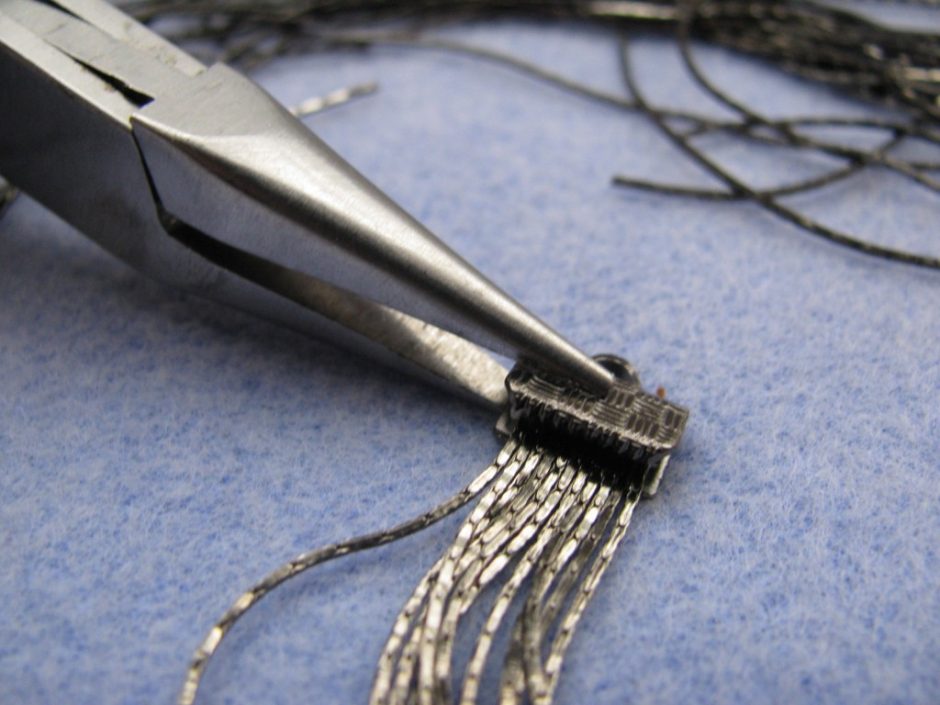
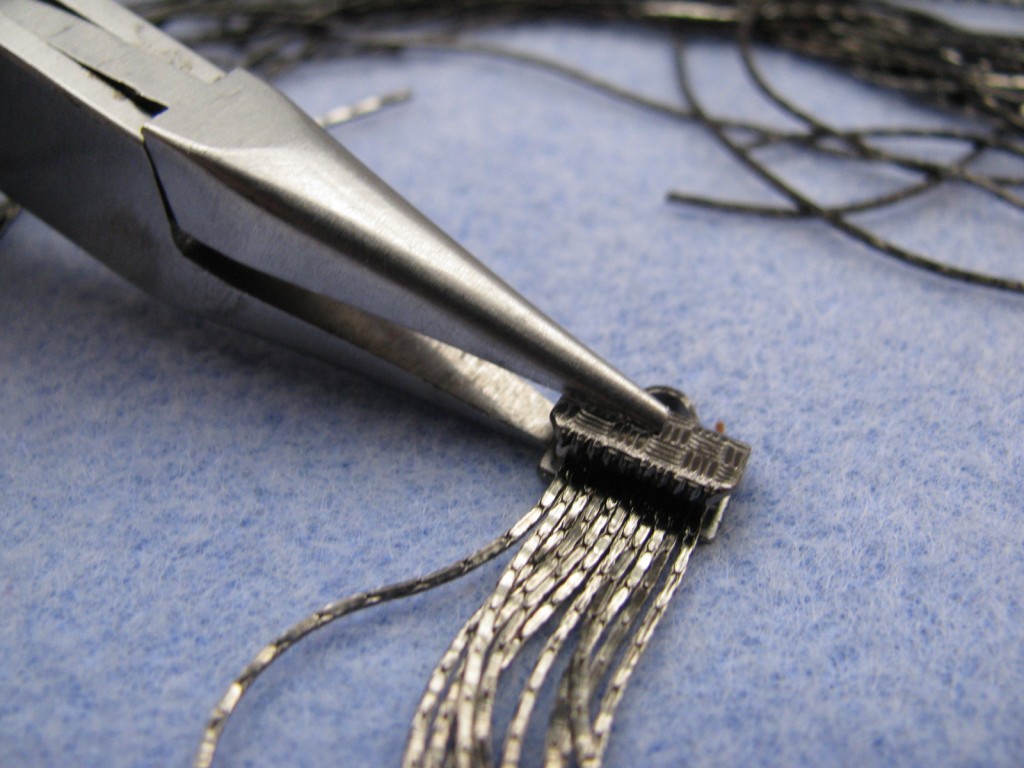
Place the ribbon end over the end of the tassel, where the glue has just been placed. Make sure the ribbon end is centered over the tassel, then pinch it closed with your chain nose pliers. Do this carefully because if you clamp down too hard it can spread the beading chain out of line.

Step 11 - Black chain tassel earrings tutorial

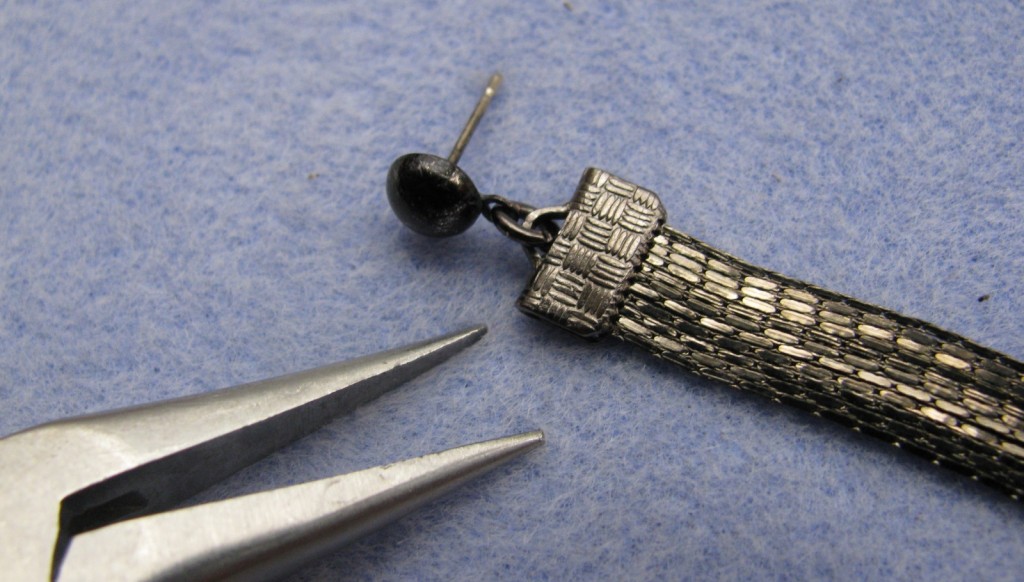
Use your chain nose pliers to attach the post findings with a jump ring. You could of course also simply add french wires to the end of your ribbon ends. Let the earrings dry overnight to be safe before wearing them out.

Step 12 - Black chain tassel earrings tutorial

If needed, trim the bottom of the tassel earrings with your metal shears so all the ends make a straight line. Also hold the two earrings next to each other to make sure they are the same length and trim as necessary.

Step 13 - Black chain tassel earrings tutorial

The last step is to wear them and wait for the compliments! Seriously, these earrings get noticed!

Well, I hope you all enjoyed this tutorial! Please feel free to ask me any questions about how I made these!

Thanks!

TIffany

Gemstone and Leather Cuff Bracelet Tutorial

September 24, 2012

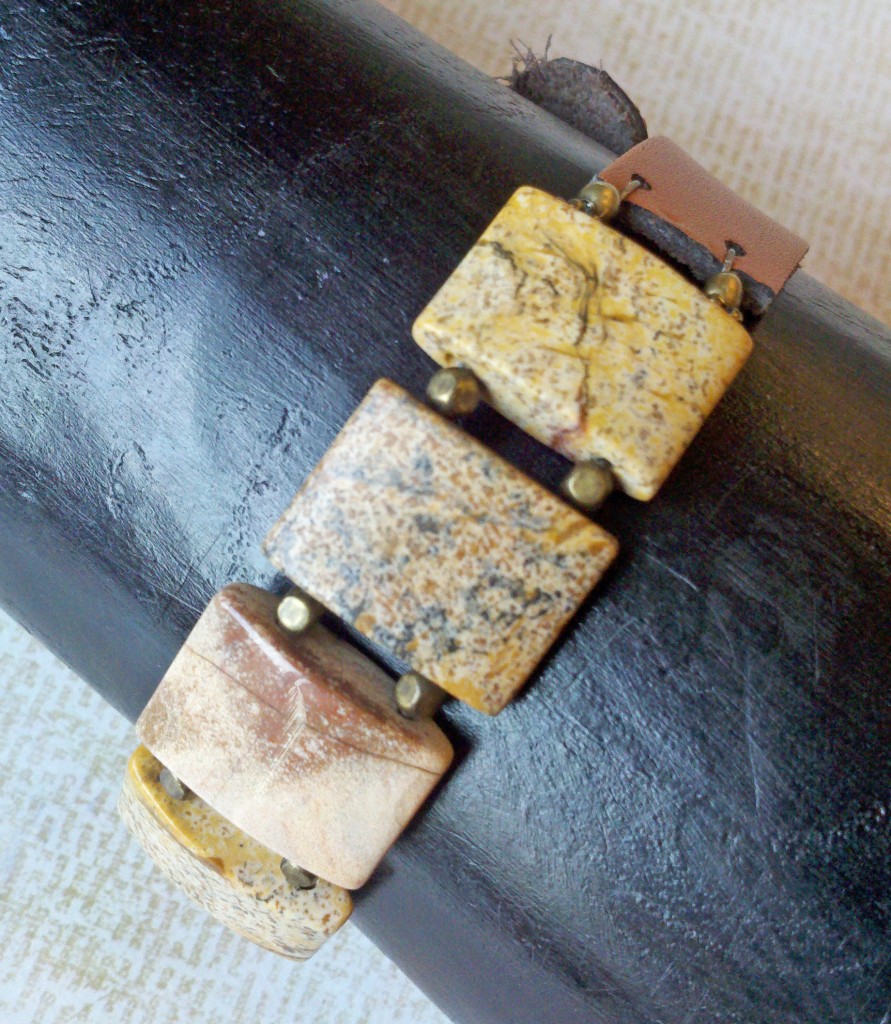
Gemstone & Leather Cuff Bracelet, simple & fun!

How many times do you open up a magazine and see photographs of adventurer type models wearing simple, but chic leather jewelry? I see it quite often when I’m thumbing through the usual magazines at check out while I’m shopping. It’s easy to see why these types of bracelets are oh, so trendy. They’re simple, stackable and easy to customize! Plus leather is pretty durable if you’re like me – a little too hard on your jewelry.

I’m going to show you just how easy it is to make this bracelet in a few photographs!

Continue Reading…