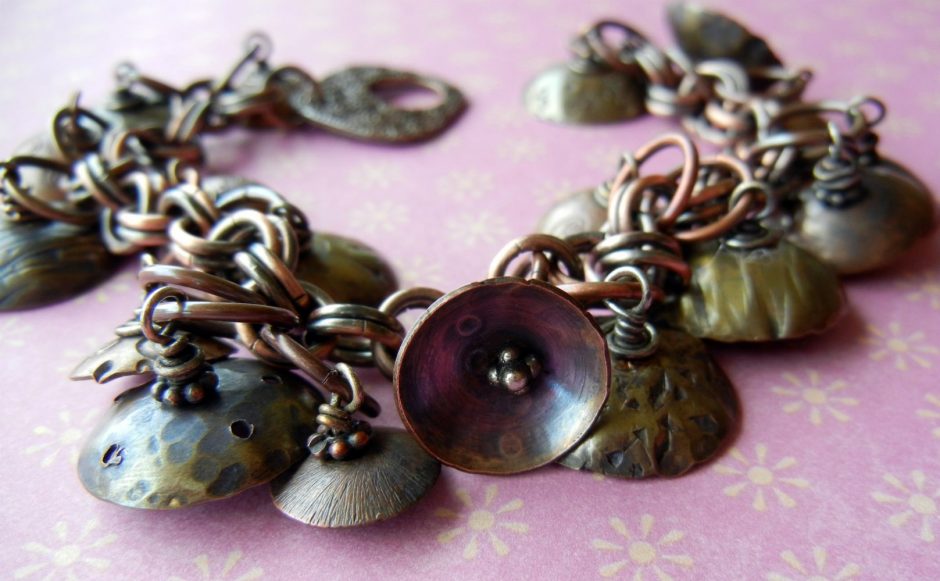
Cymbals of Happiness bracelet by Sondra:
stamped, textured and domed copper and brass disks make a tinkling charm bracelet.
It took me awhile to accept “dapping” as a real word. Even now that I am obsessed with dapping every flat piece of metal that crosses my path, I still find the term awkward. Spell check, ignoring the facts as usual, still doesn’t believe.
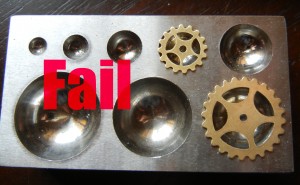
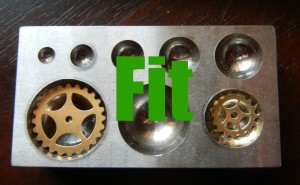
In jewelry making, dapping simply means taking a flat piece of metal and curving it into a dome with special dies and punches, called a dapping set. The dapping block (or die if you prefer) has a series of concave impressions that correspond in size with the dapping punches.

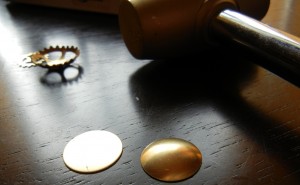
Rings & Things #69-199 dapping set by Eurotool, and a variety of flat and dapped metal pieces.
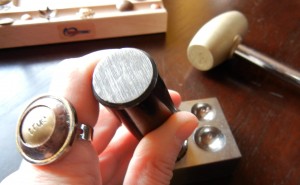
Simply place your metal piece in the block and use a hammer (preferably brass) to repeatedly tap the punch into the metal. I say tap because your goal is to gently bend the metal into a smooth, even curve. If you just whack as hard as you can, the metal won’t shape up evenly.
Another tip: don’t hammer straight down on your metal. Hold the dapping punch at and angle, and tap tap tap with your hammer, turning your metal after every few taps to ensure that it is shaping up nicely.
As you dap (tap, dome, whatever!), the height of the metal piece increases, while the width decreases. So after you’ve dapped as much as you can in one impression, you can move the metal into the next smallest hole and dap it with the next smallest punch to get a deeper dome.
Doming adds a professional quality to your work. Even just a slight curve instantly makes a metal disk reflect more light.
Brass, copper, aluminum and sterling silver are all excellent soft metals to dap (most of my images are of raw brass blanks). Even copper coins can all be dapped, although coins are thick and will require you to apply a bit more muscle. If you want to stamp, texture, punch holes, or otherwise adorn your metal (and you will!) do all that before you dap for beautiful results:

Use stamps to monogram brass disks for easy, elegant earrings.

Dapped pieces can be layered too, like on my copper and brass ring. (See bottom of this blog for tips about making this ring.)
One word of warning – you might need to upgrade your photography equipment to get good pictures of your dapped jewelry! I think the only way to get a clear picture of Mollie’s “God Save the Queen” necklace would be to use a professional light box. The domed Canadian penny is amazingly reflective. Since my photo-editing software lacks a “rhinestone-reflection remover tool,” this is as good of a shot as I could get. Believe me, the necklace is stunning in person!

A domed penny, brass filigree and snippet of rhinestone chain, all soldered onto a brass disk, forms the centerpiece.
I know you are quicker on the uptake than my computer: add dapping to your jewelry-making vocabulary today! ~ Cindy
—————– postscript: —————–
We’ve gotten a bunch of questions about Cindy’s copper and brass “True” ring above, but she has moved away, so I’ll do my best to answer. The ring uses only 3 parts:
- a round bezel ring (#51-205-02-1) as the base
- a textured and dapped copper ring/washer blank (#44-780-25 or -26)
- a dapped brass disk blank
Texture the copper washer using this technique, or simply give it a nice hammered texture with a chasing or ballpein hammer. Stamp “true” on the disk following these metal stamping instructions or this metal stamping article. Then dap (dome) the washer and the brass disk, and glue them into the bezel ring with your favorite adhesive. Cindy used E-6000. ~Polly


 Handmade magnetic bottle cap necklace with assorted buttons
