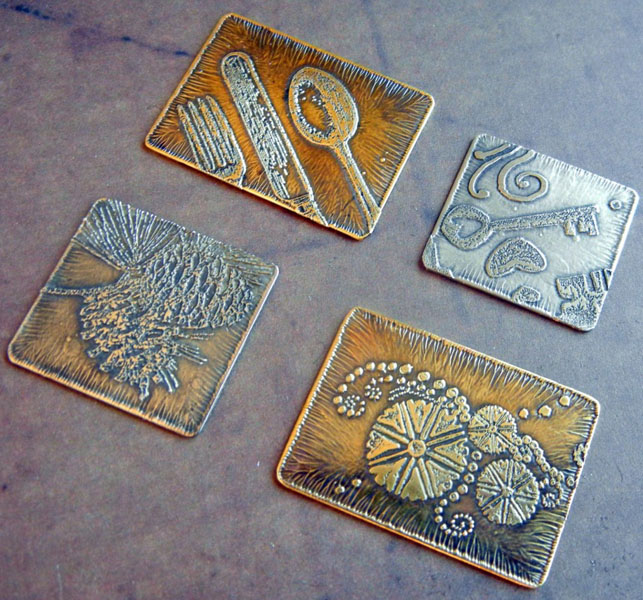
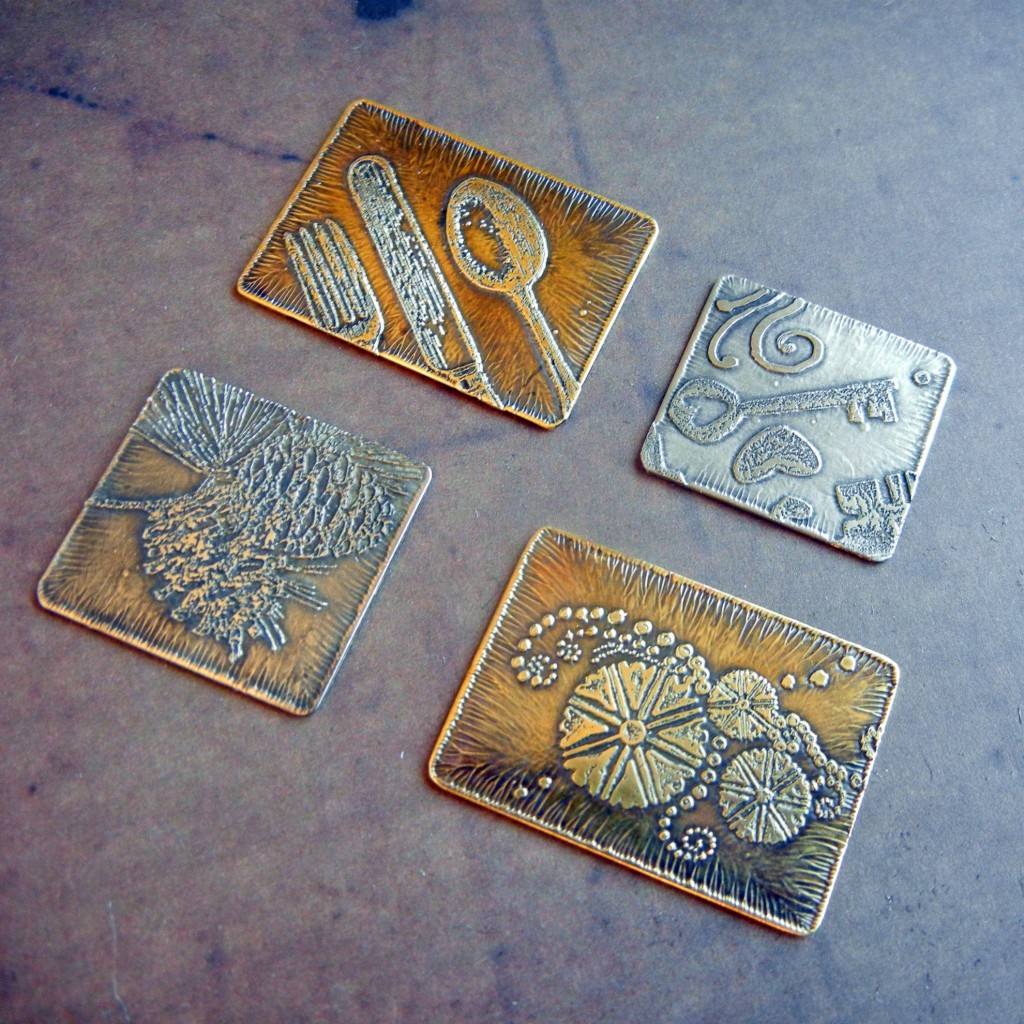
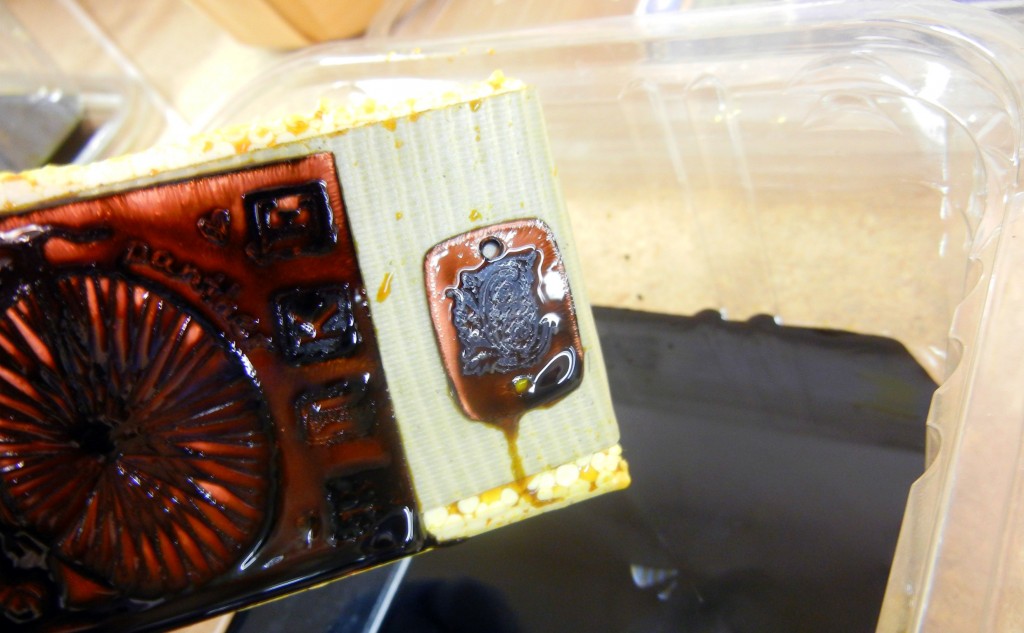
It is easy to etch your own designs into metal for jewelry. This tutorial will teach you how! (Check out our etching kit too!)
Before you begin, please read the safety considerations for etching metal with chemicals blog post.
You’ll also probably want to read the design considerations for etching metal blog post too!
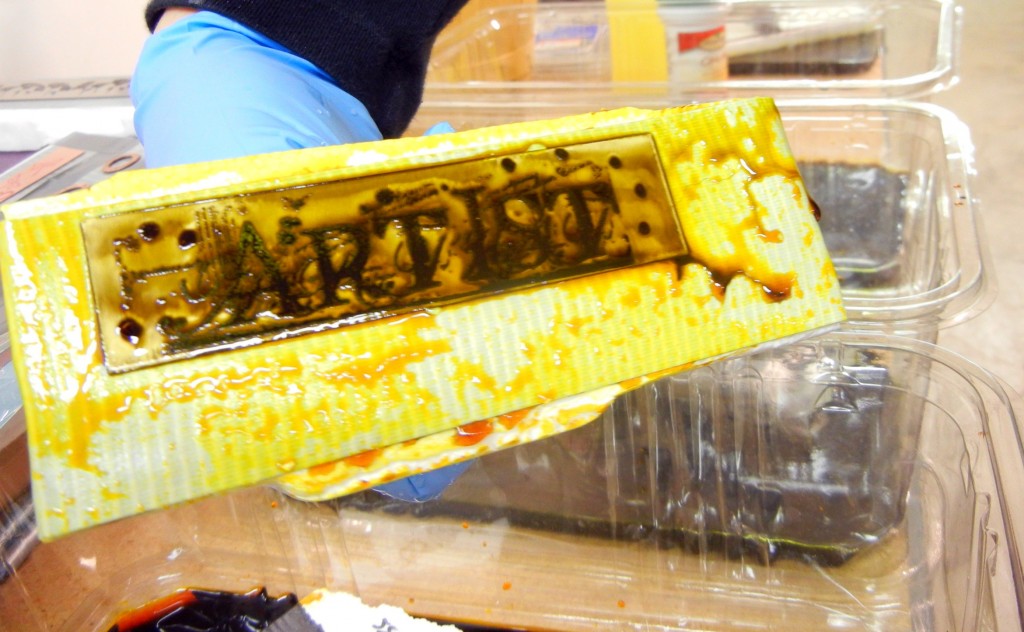
Now, here are the steps for etching metal with ferric chloride:
1. Choose your metal(s). Ferric chloride works on copper, brass and nickel silver. It will not work on actual silver (fine or sterling). Do NOT use ferric chloride on aluminum. Metal as thin as 24-gauge can be etched – just leave it in for less time than you would for thicker metal. If you want to etch both sides or etch really deeply, use at least 20-gauge metal.
2. Clean metal with Penny Brite (our favorite) or an abrasive cleaner and scrubbie. The metal must be very clean. Water will sheet off (not bead up) on the surface when it is truly clean.
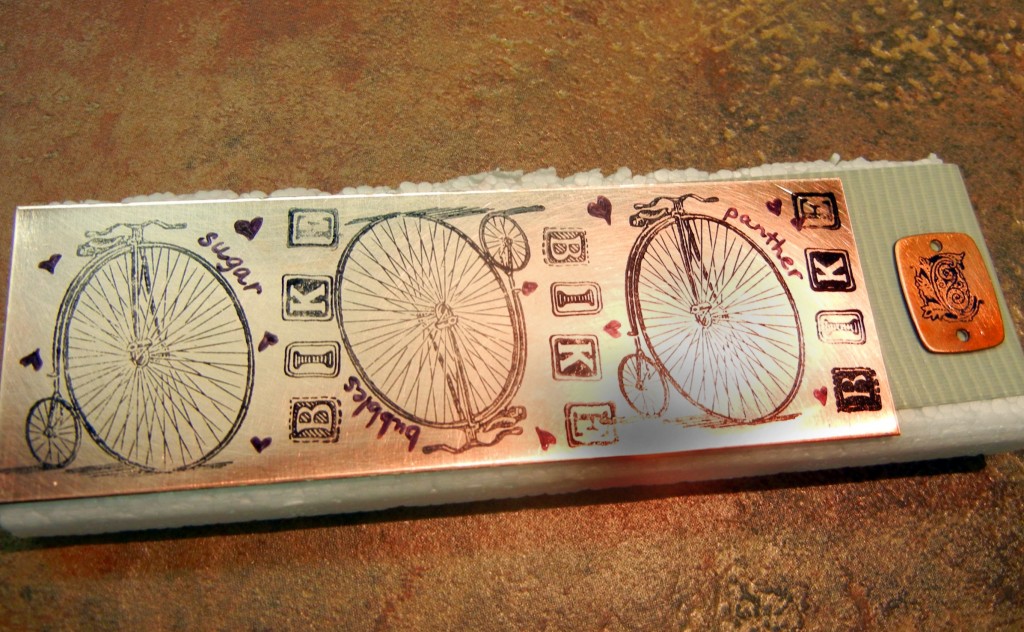
3. Apply resist. Stazon ink, Sharpies, toner transfers – there are many options! (Read the design considerations.)
Continue Reading…
