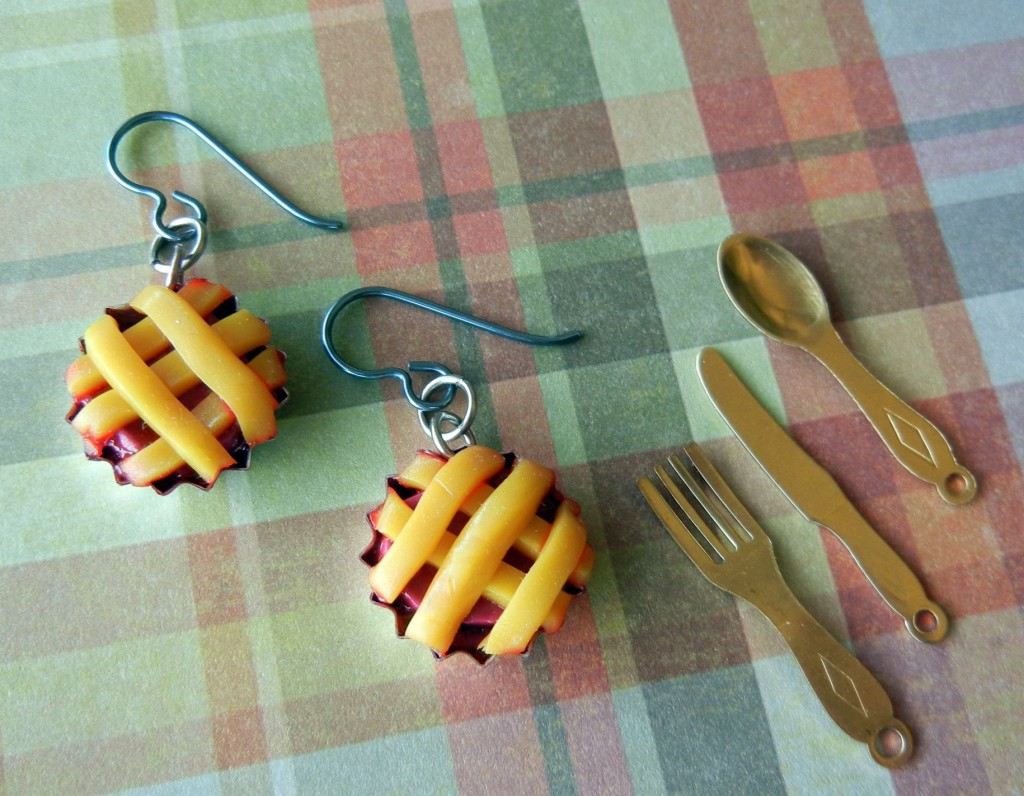
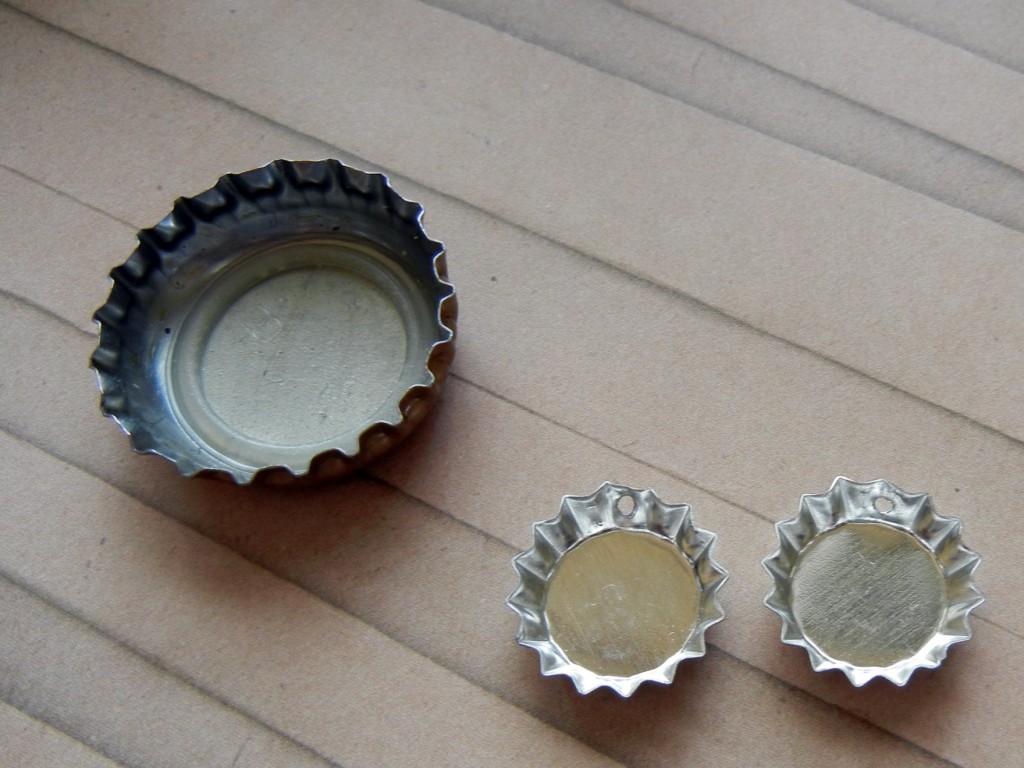
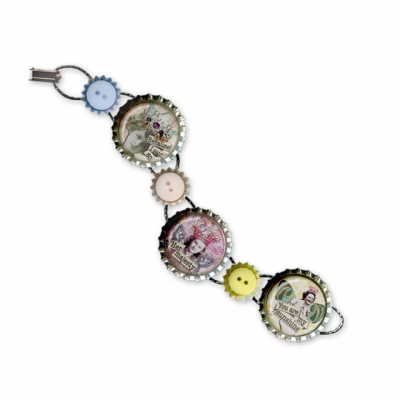
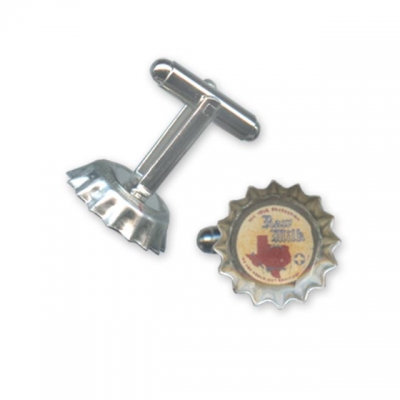
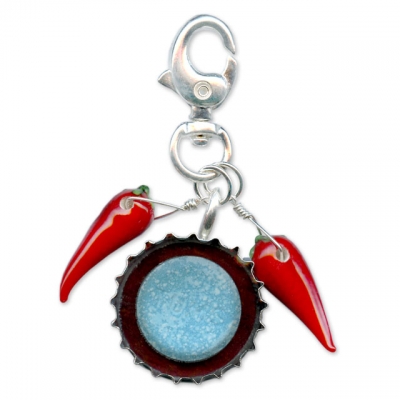
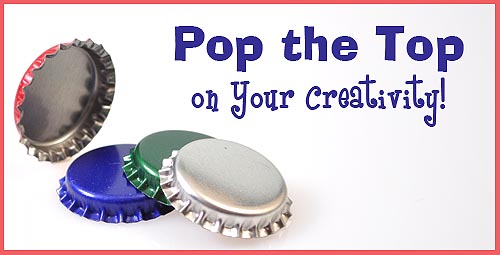
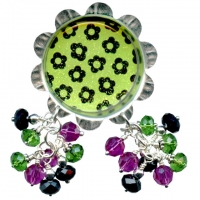
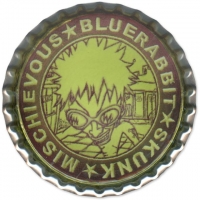
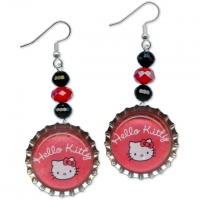
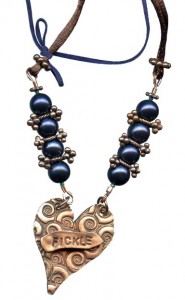
Hello, bloglandia! We just added a whole bunch of bottle caps to our mixed-media jewelry product line. The best of the bunch, in my opinion, is the cute little mini cap.
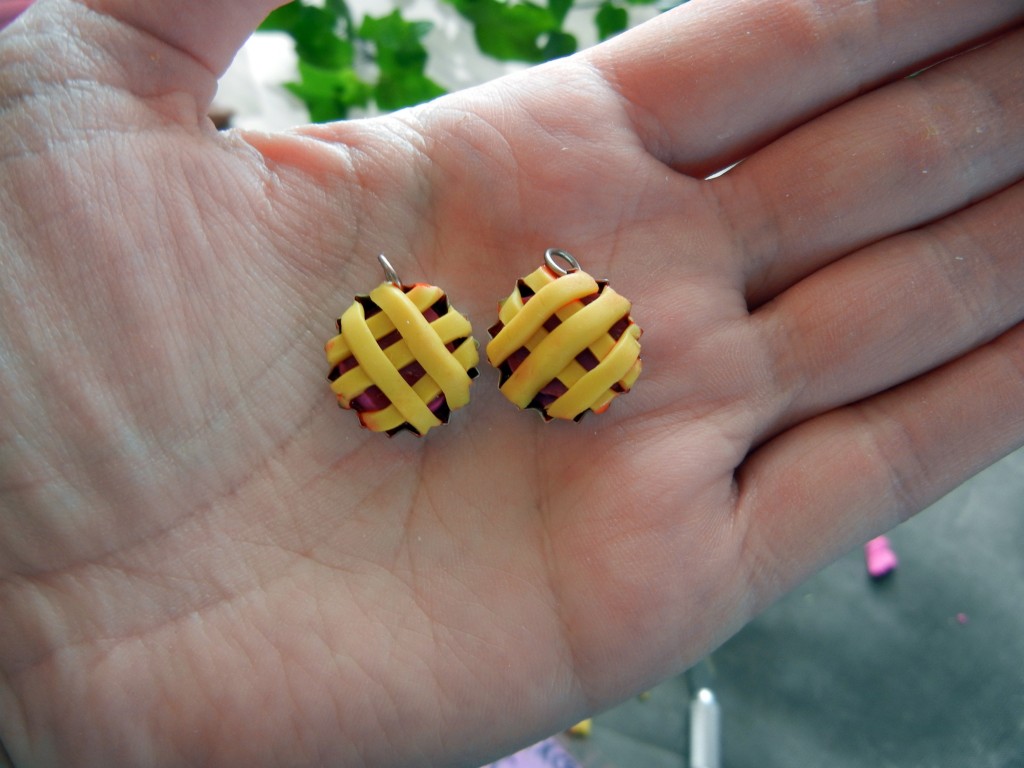
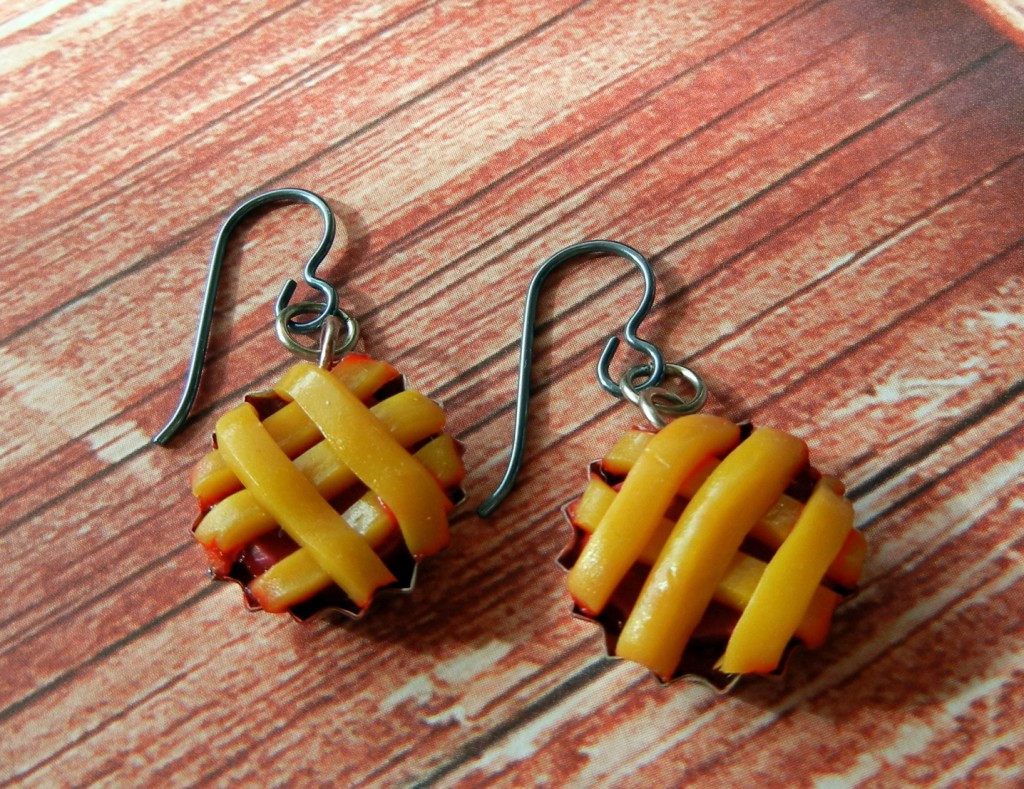
As soon as I saw them I became obsessed with making tiny pies. It was basically an illness that I had to treat before I could move on with my life. So today I went ahead and baked my little cherry pie earrings. Disclaimer: I am by no means a polymer clay expert. My skill level is clumsy at best. But really, I think anyone can have fun making these! Here’s how:
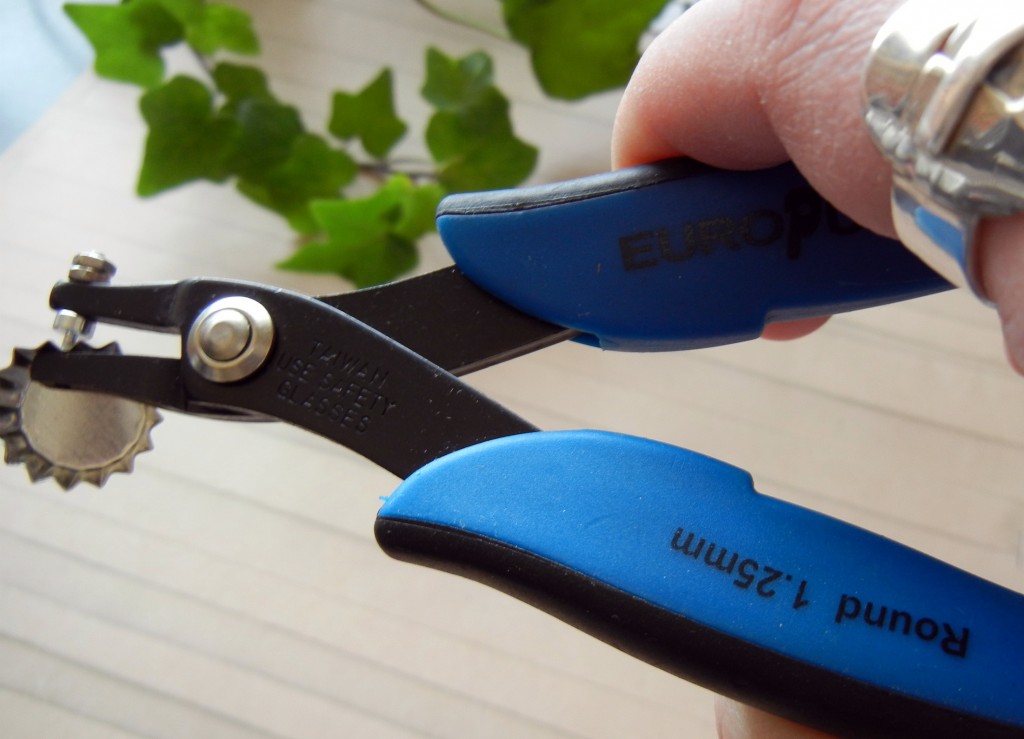
- Punch holes in the caps. I used our EuroPunch pliers, which handle the job easily. However, since bottle caps are steel they will wear out the punch tips eventually (just replace the tips, not the pliers!).
- Add jump rings.
- Condition your clay and load up the tins with pie filling. I used magenta Kato polyclay. I also added a little red liquid polyclay. I like how the liquid added a realistic pie filling gooeyness, but if you are more of a perfectionist, omit the liquid clay. A note about Kato – it is fairly stiff and crumbly straight from the package. Since I was just making one pair, I kneaded it by hand, but it would have been way easier to condition a bigger lump of clay using a pasta machine.
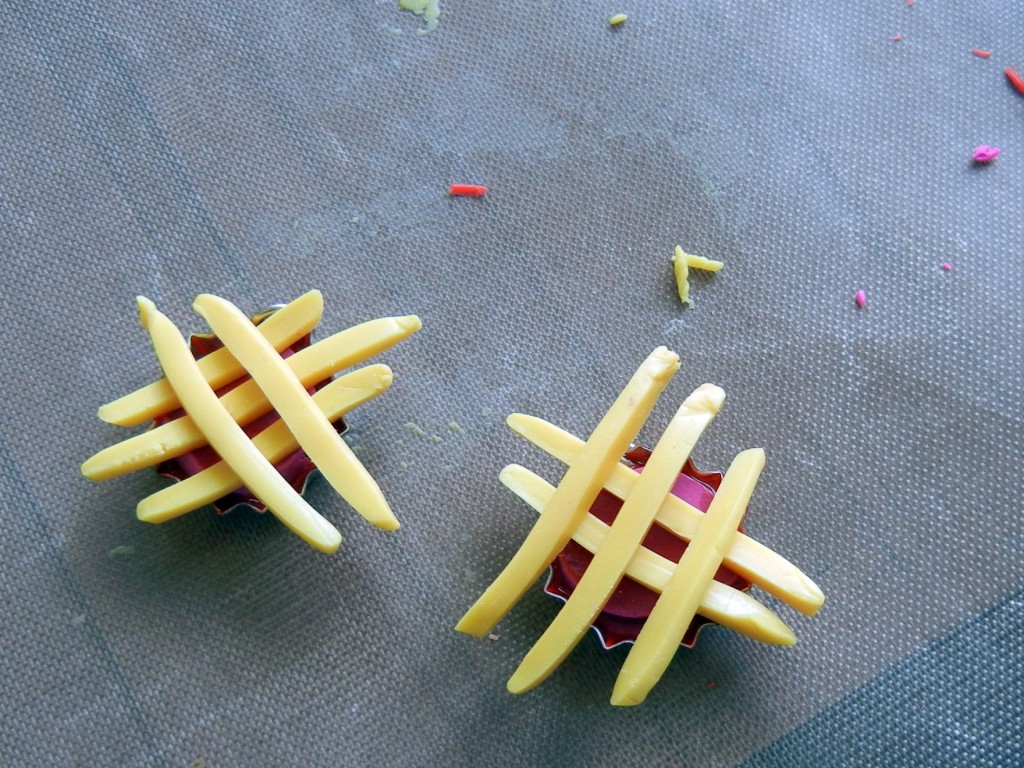
- Roll out your pie crust – mine is yellow mixed with a little “beige flesh” color. Cut the crust into thin strips.
- Criss-cross the strips over the pies. Press down gently and trim off the ends.
-
Following the instructions for your type of clay, bake the pies in a toaster oven to cure.
- Use 2 more jump rings to attach the pies to ear wires (I used steel blue niobium).
Pie is the new cupcake, I’ve been told. What do you think? Can a pie really be as cute as a cupcake?
Well, I thought baking these earrings would cure me of my pie obsession, but then a friend suggested making blackbird pie (from the nursery rhyme) and now I really want to make that too! And what about Pi Day earring? What kind of clay creations can you imagine making with these bottle caps? ~ Cindy
PS: here are some handy links to some other how-to’s in the Rings & Things blog!

