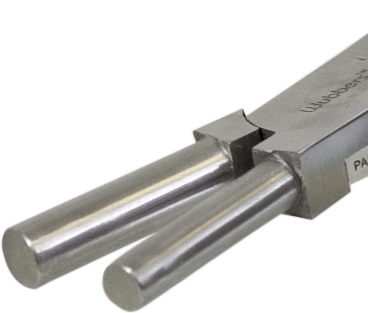
 Hello bloglandia! There was a “hit” product at last week’s Bead & Button show in Milwaukee: the new wire-looping pliers from Wubbers. Our booth sold out – then our website sold out! Wow. It was “wub – twue wub.” We just got more in stock, but they could be gone soon!
How to coordinate colors…automatically
June 13, 2011[stextbox id=”info” caption=”This one put a song in my head: “…Ride a painted pony, let the spinnin’ wheel spin!” “]
How to coordinate colors…automatically: “Ride a painted pony, let the spinnin’ wheel spin!”
[/stextbox]
Don’t be seen on that painted pony without coordinating the colors!
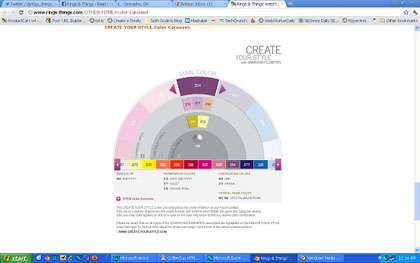
Swarovski’s “Create Your Style” program introduces a brilliant–and fun–color tool:
(Cue the calliope music, as you head off to play Color Carousel at Rings & Things’ website) 🙂
Another use for crimping pliers
May 13, 2011Thanks for sharing a tip (comment below),
and thanks for sharing this blog with a friend!
Crimping pliers (crimpers) are special pliers designed for a very specific purpose: to crimp (fold) crimp beads onto beading cable such as Beadalon or SoftFlex. (Our beading cable technique sheet illustrates this very well.)
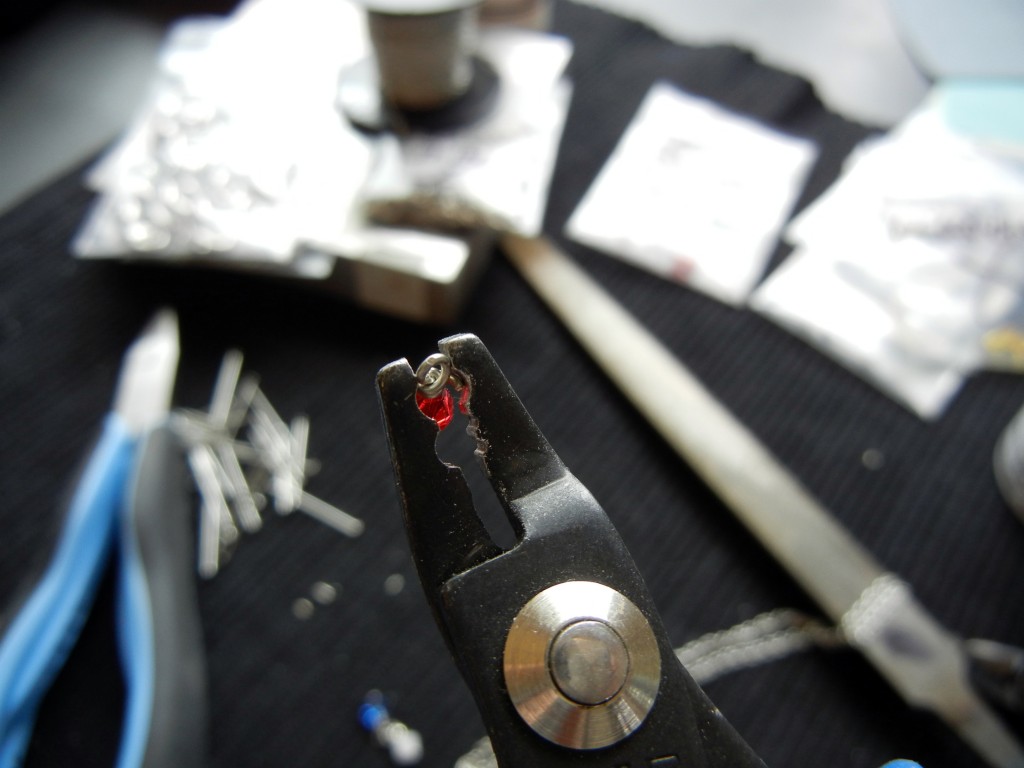
But here is another use for them: use your crimpers to tuck wire tails. The concave shape helps pull the wire in close to the wrap without chipping the bead underneath – especially handy when you are working with glass beads or crystal!
Snags are a drag. Do you have any similar tips for keeping wire tails tucked where they belong? ~ Cindy
How to dap and dome metal jewelry
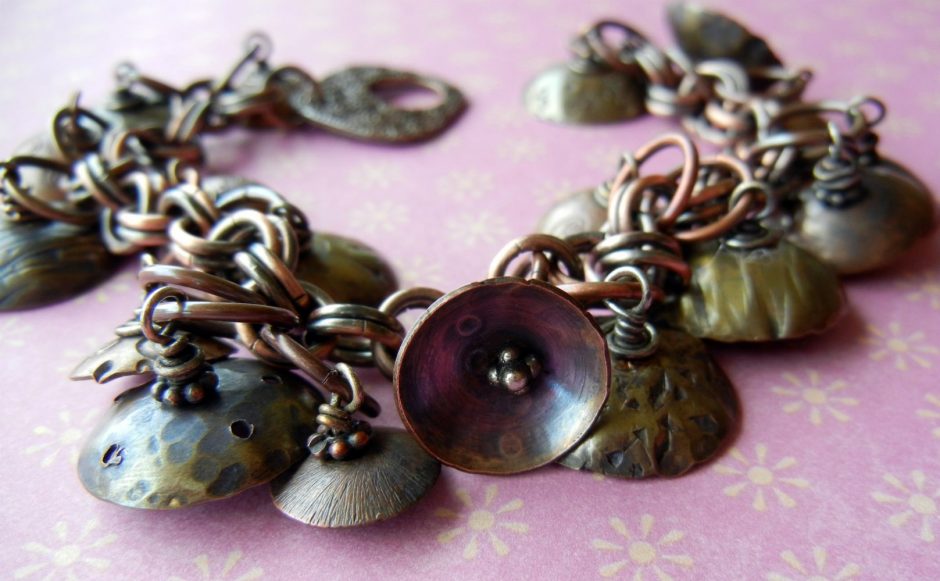
April 8, 2011Cymbals of Happiness bracelet by Sondra:
stamped, textured and domed copper and brass disks make a tinkling charm bracelet.
It took me awhile to accept “dapping” as a real word. Even now that I am obsessed with dapping every flat piece of metal that crosses my path, I still find the term awkward. Spell check, ignoring the facts as usual, still doesn’t believe.
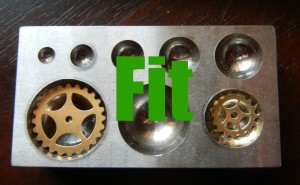
In jewelry making, dapping simply means taking a flat piece of metal and curving it into a dome with special dies and punches, called a dapping set. The dapping block (or die if you prefer) has a series of concave impressions that correspond in size with the dapping punches.

Rings & Things #69-199 dapping set by Eurotool, and a variety of flat and dapped metal pieces.
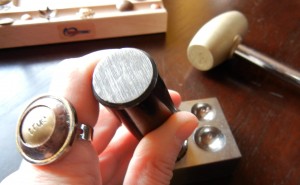
Simply place your metal piece in the block and use a hammer (preferably brass) to repeatedly tap the punch into the metal. I say tap because your goal is to gently bend the metal into a smooth, even curve. If you just whack as hard as you can, the metal won’t shape up evenly.
Another tip: don’t hammer straight down on your metal. Hold the dapping punch at and angle, and tap tap tap with your hammer, turning your metal after every few taps to ensure that it is shaping up nicely.
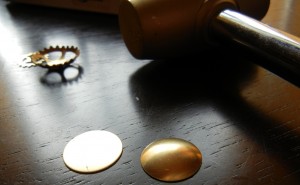
As you dap (tap, dome, whatever!), the height of the metal piece increases, while the width decreases. So after you’ve dapped as much as you can in one impression, you can move the metal into the next smallest hole and dap it with the next smallest punch to get a deeper dome.
Doming adds a professional quality to your work. Even just a slight curve instantly makes a metal disk reflect more light.
Brass, copper, aluminum and sterling silver are all excellent soft metals to dap (most of my images are of raw brass blanks). Even copper coins can all be dapped, although coins are thick and will require you to apply a bit more muscle. If you want to stamp, texture, punch holes, or otherwise adorn your metal (and you will!) do all that before you dap for beautiful results:

Use stamps to monogram brass disks for easy, elegant earrings.

Dapped pieces can be layered too, like on my copper and brass ring. (See bottom of this blog for tips about making this ring.)
One word of warning – you might need to upgrade your photography equipment to get good pictures of your dapped jewelry! I think the only way to get a clear picture of Mollie’s “God Save the Queen” necklace would be to use a professional light box. The domed Canadian penny is amazingly reflective. Since my photo-editing software lacks a “rhinestone-reflection remover tool,” this is as good of a shot as I could get. Believe me, the necklace is stunning in person!

A domed penny, brass filigree and snippet of rhinestone chain, all soldered onto a brass disk, forms the centerpiece.
I know you are quicker on the uptake than my computer: add dapping to your jewelry-making vocabulary today! ~ Cindy
—————– postscript: —————–
We’ve gotten a bunch of questions about Cindy’s copper and brass “True” ring above, but she has moved away, so I’ll do my best to answer. The ring uses only 3 parts:
- a round bezel ring (#51-205-02-1) as the base
- a textured and dapped copper ring/washer blank (#44-780-25 or -26)
- a dapped brass disk blank
Texture the copper washer using this technique, or simply give it a nice hammered texture with a chasing or ballpein hammer. Stamp “true” on the disk following these metal stamping instructions or this metal stamping article. Then dap (dome) the washer and the brass disk, and glue them into the bezel ring with your favorite adhesive. Cindy used E-6000. ~Polly
How to use heat to patina brass charms and filigrees
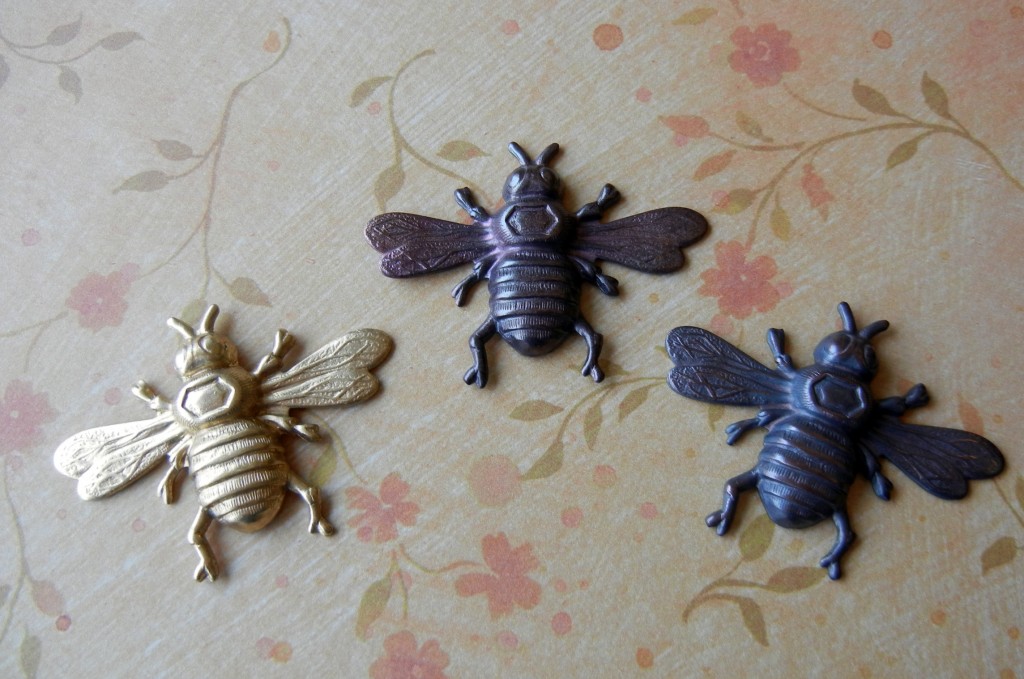
March 31, 2011Ah, brass. Beautiful brass. I love everything about using brass in my handmade jewelry … except its raw brassiness. Brass is affordable, easy to work with, and available in all kinds of fun charms and filigrees. And while giving raw brass an antique patina with an oxidizing solution such as Win-Ox really is not difficult, my favorite method of coloring brass is the torch! It tones down that brash brassiness to a beautiful warm glow that is infinitely more appealing to my eye.
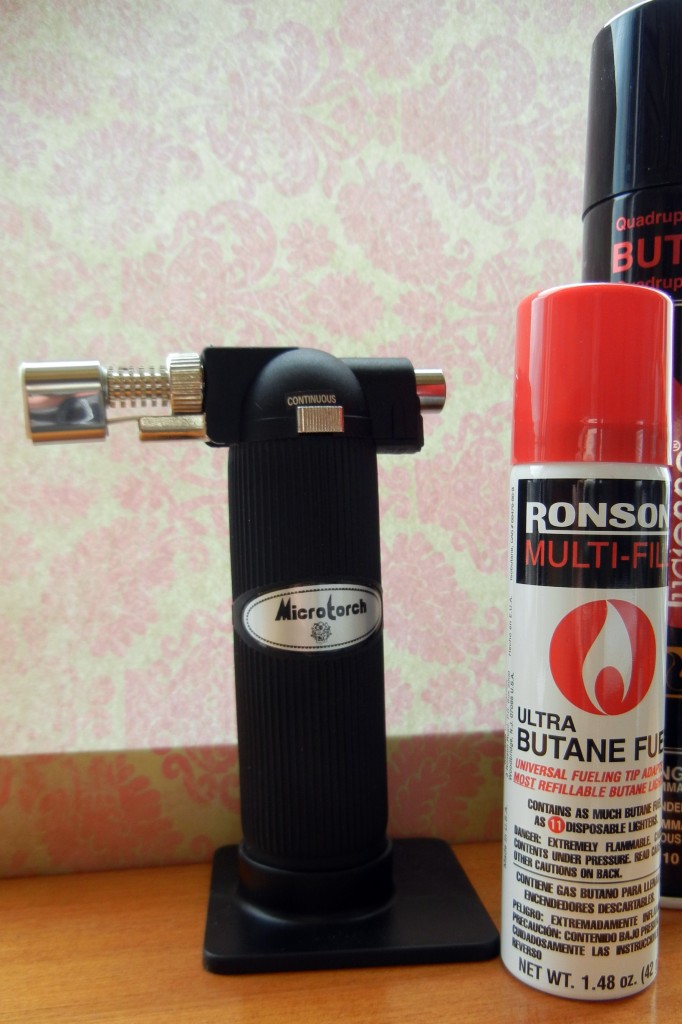
Applying heat to give the metal a patina is so easy – and clean! No chemicals, no rinsing, no waiting! Sometimes you can even get shimmery rainbows to appear by holding the heat on for a few extra seconds. (The same process works to heat patina raw copper.)
You all know to set up a heat-proof work area before firing up your torch. This can be as simple as a cookie sheet. Tie back your hair, wear safety glasses and just plain BE SAFE. Do your homework before you start. A great book that explains all the necessities for working with a torch is Soldering Made Simple by Joe Silvera.
Don’t feel fired up to experiment? You can buy Vintaj natural brass jewelry components, most of which have already undergone a chemical-free process to give them their rich color.
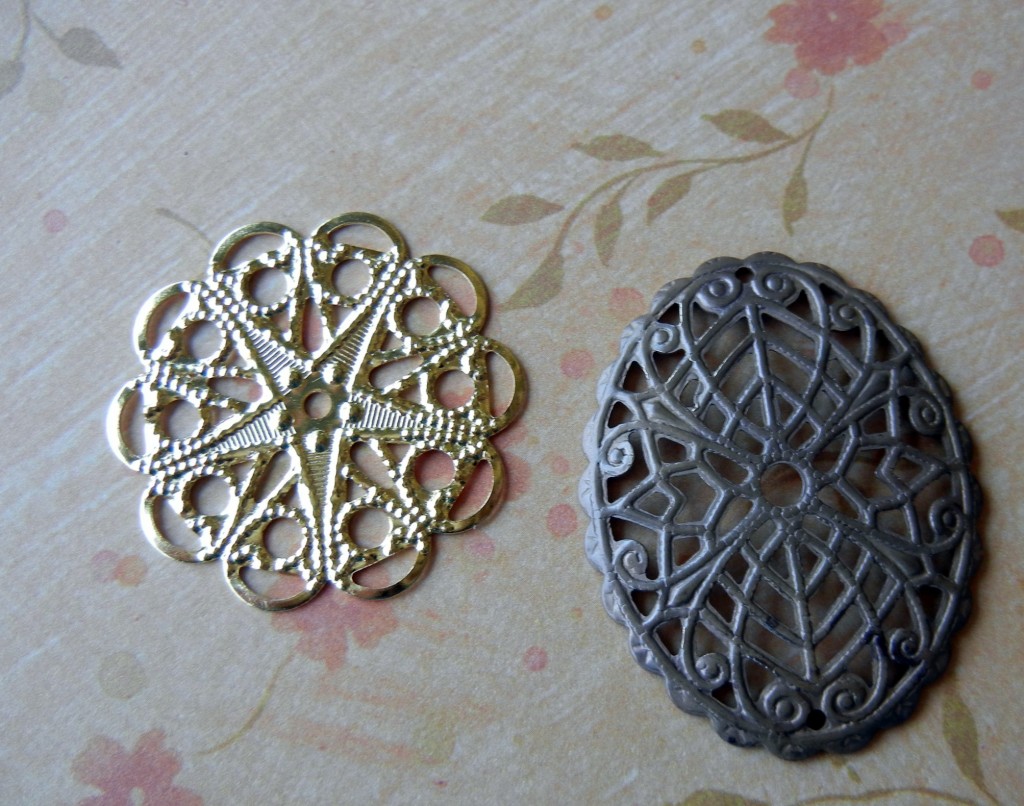
Plated brass filigrees are also available. But I encourage you to try heat patina. It is the safest way to let your inner pyromaniac out to play!
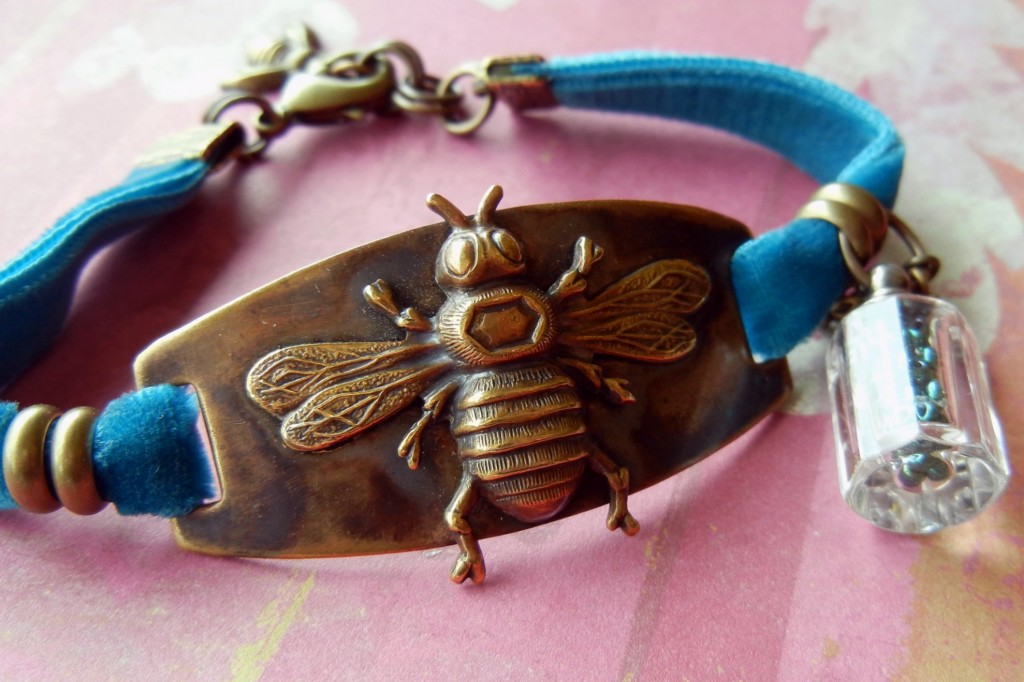
Here is a gorgeous brass jewelry example by Mollie to inspire you! She soldered a raw brass bee to a Vintaj connector to make this bracelet and used both heat and Win-Ox to patina the pieces. ~ Cindy
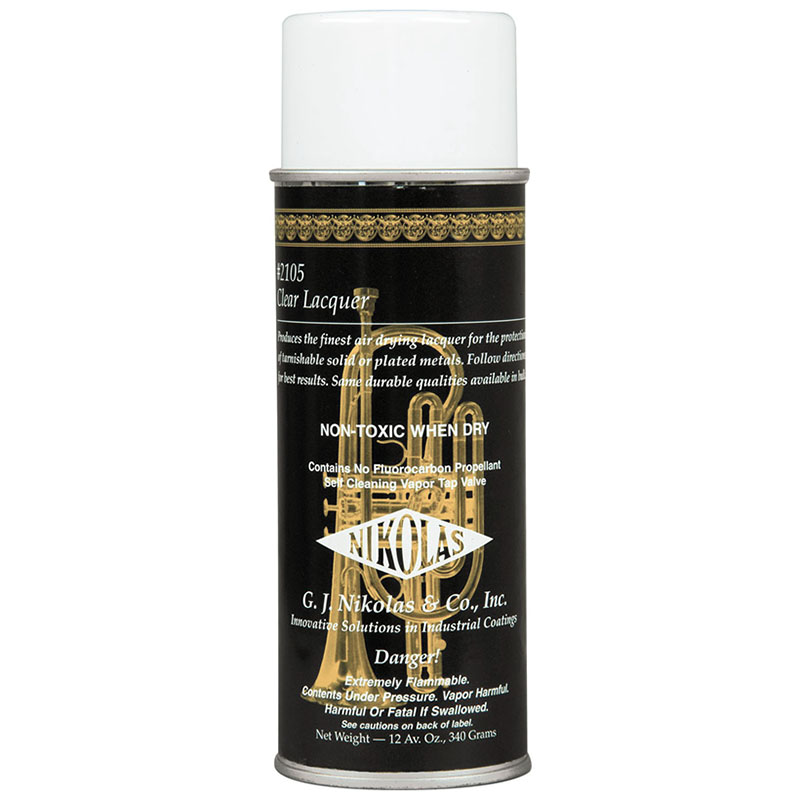
Want to keep that perfect heat/torch patina that you’ve achieved? Nikolas #2105 Clear Silver Lacquer is the product we’ve most often heard recommended by teachers and jewelers, to protect heat patinas and other colors on silver, copper, brass, and bronze. Follow the manufacturer’s instructions on the packaging, to seal and protect your jewelry. When properly applied to metal surfaces, it forms a coating that protects from oxidation, perspiration, sulfur, and abrasion.
Please note, that this item does require special hazardous shipping, so be sure to select UPS GROUND as your shipping choice during order checkout.
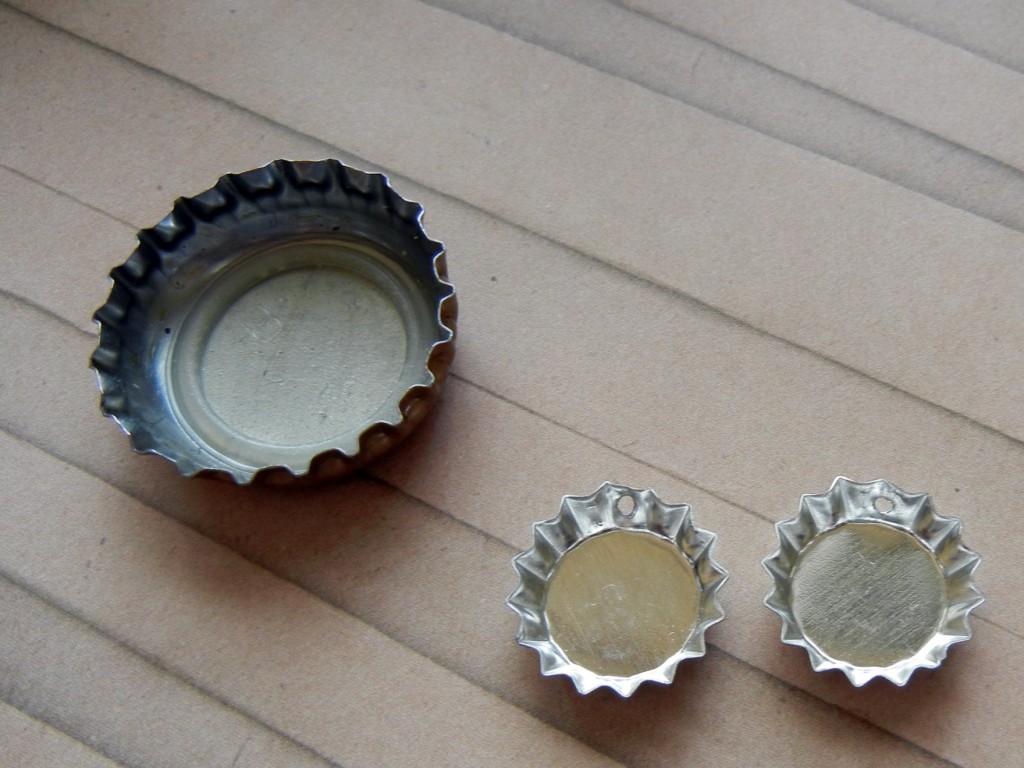
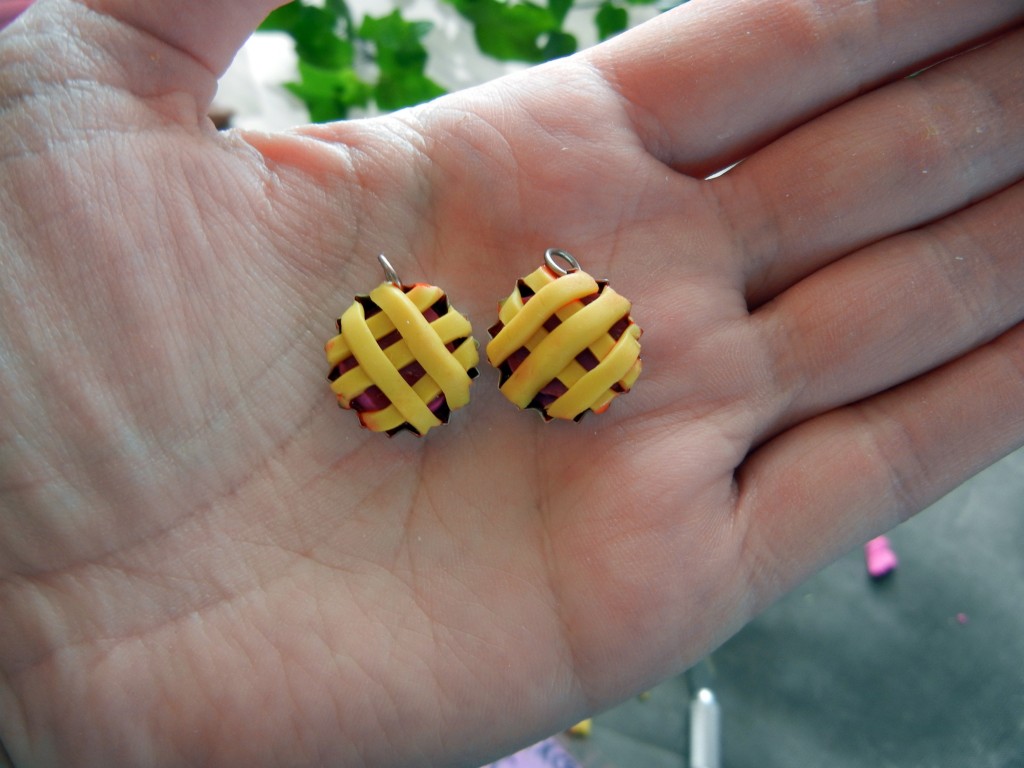
Hello, bloglandia! We just added a whole bunch of bottle caps to our mixed-media jewelry product line. The best of the bunch, in my opinion, is the cute little mini cap.
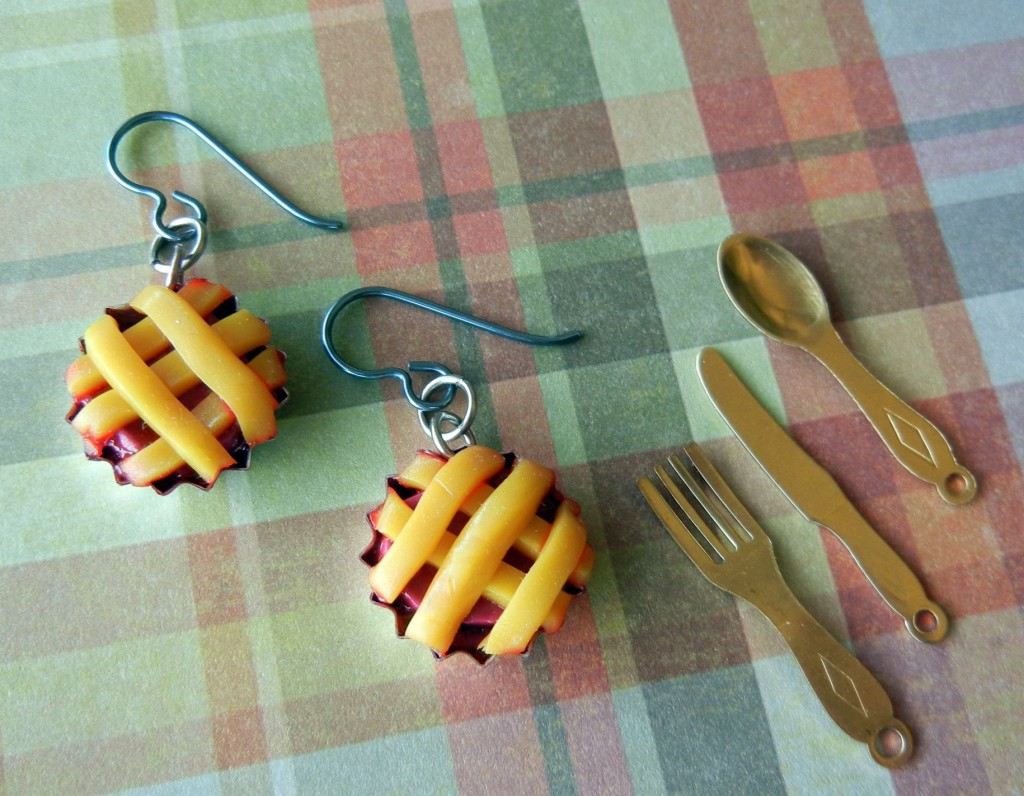
As soon as I saw them I became obsessed with making tiny pies. It was basically an illness that I had to treat before I could move on with my life. So today I went ahead and baked my little cherry pie earrings. Disclaimer: I am by no means a polymer clay expert. My skill level is clumsy at best. But really, I think anyone can have fun making these! Here’s how:
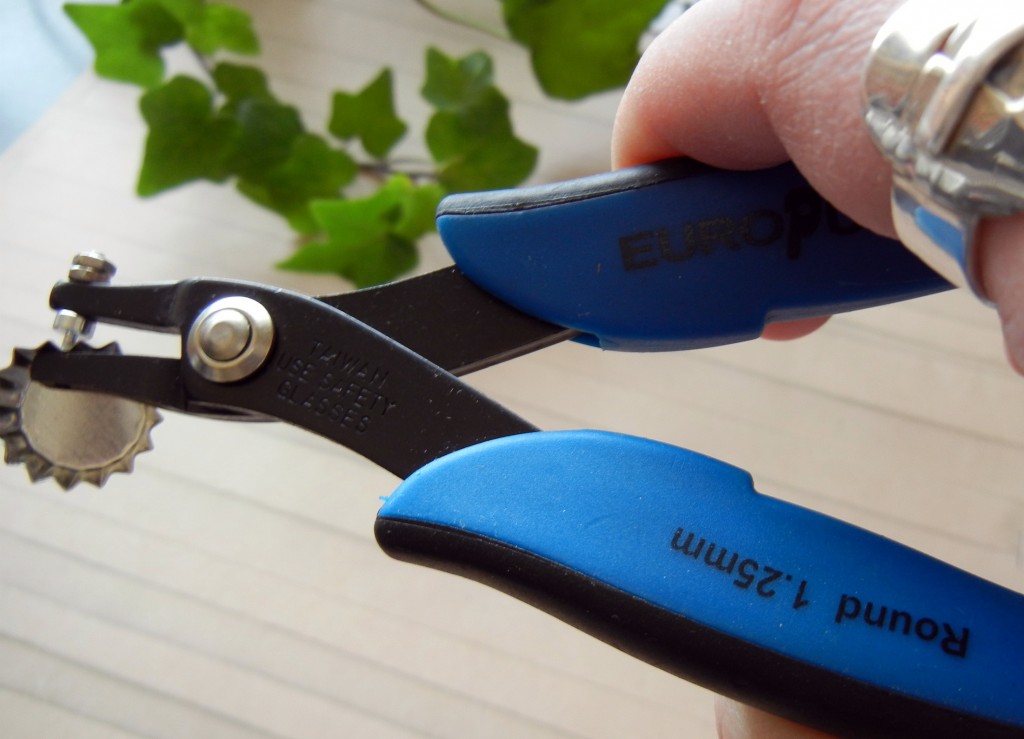
- Punch holes in the caps. I used our EuroPunch pliers, which handle the job easily. However, since bottle caps are steel they will wear out the punch tips eventually (just replace the tips, not the pliers!).
- Add jump rings.
- Condition your clay and load up the tins with pie filling. I used magenta Kato polyclay. I also added a little red liquid polyclay. I like how the liquid added a realistic pie filling gooeyness, but if you are more of a perfectionist, omit the liquid clay. A note about Kato – it is fairly stiff and crumbly straight from the package. Since I was just making one pair, I kneaded it by hand, but it would have been way easier to condition a bigger lump of clay using a pasta machine.
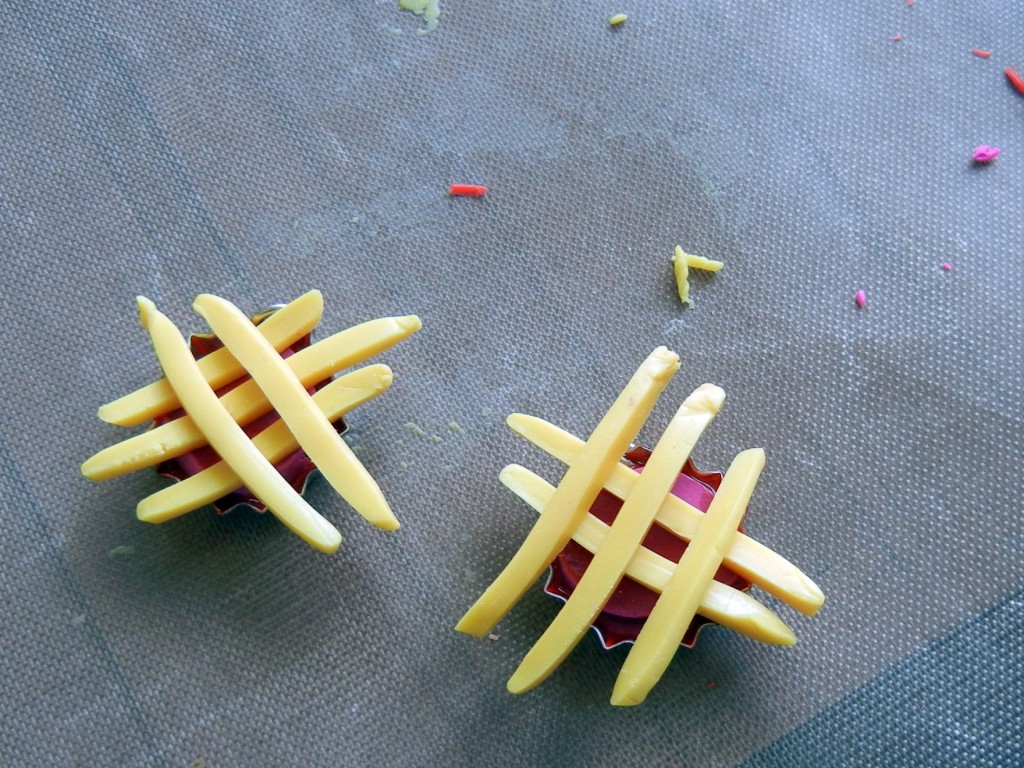
- Roll out your pie crust – mine is yellow mixed with a little “beige flesh” color. Cut the crust into thin strips.
- Criss-cross the strips over the pies. Press down gently and trim off the ends.
-
Following the instructions for your type of clay, bake the pies in a toaster oven to cure.
- Use 2 more jump rings to attach the pies to ear wires (I used steel blue niobium).
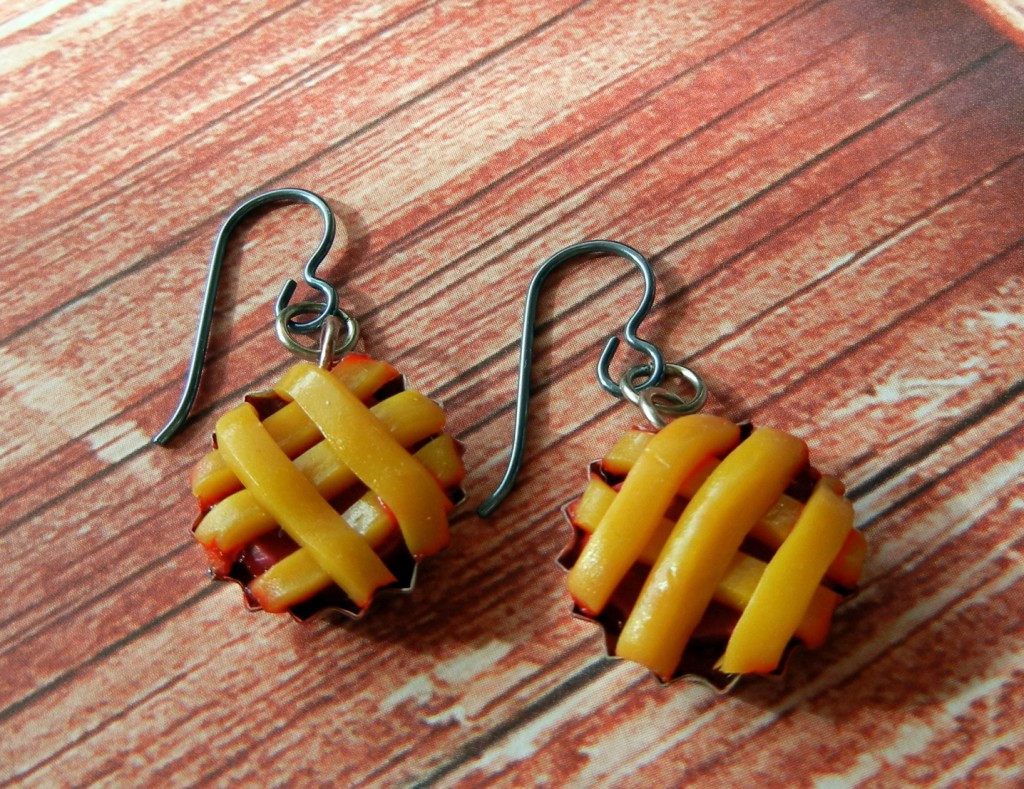
Pie is the new cupcake, I’ve been told. What do you think? Can a pie really be as cute as a cupcake?
Well, I thought baking these earrings would cure me of my pie obsession, but then a friend suggested making blackbird pie (from the nursery rhyme) and now I really want to make that too! And what about Pi Day earring? What kind of clay creations can you imagine making with these bottle caps? ~ Cindy
PS: here are some handy links to some other how-to’s in the Rings & Things blog!
As seen in: poly clay video
December 8, 2010Maggie Maggio is a skilled craft artist with a fun “Blog for the Color Curious“!
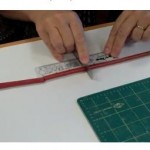
We were tickled when someone pointed out the ruler Maggie was using to make…
Click the pic to go & watch!
Make hay with bail-making pliers
August 26, 2010Tip: Use bail-making pliers for more than just bails! Here’s how:
Bailing pliers make swell roundish shapes. ![]() Ear wires
Ear wires![]() are roundish. So…whip out the Wubbers for more than just bails!
are roundish. So…whip out the Wubbers for more than just bails!
PS: Bail pliers also make nice jump rings and more! This is one tool that makes lots of custom findings…so make hay with your bailer 🙂
metal stamps "r" us: $
July 13, 2010Bonus points if you spotted the secret Rings & Things code I put in that headline 🙂
Metal stamps of small letters “r” big news right now at R&T. Why?
Short story: we’re selling one of our lower-case letter stamp sets at a smashing bargain price: $20.
We received a shipment with cursive “r’s”, which have been corrected with the right “r.” For a limited, time shipments will be sent out with the bonus cursive “r” — which could double as a wave stamp!
shhh…lower case metal stamps
January 21, 2010BIG L, little l, what begins with L?
you may be pounding metal — but you don’t have to shout…
- new lower-case metal stamps add whisper to your jewelry. just a hammer tap is all it takes…
- in other words, these new ‘little-letter’ metal stamps are a trend you can capitalize on.
- between our typewriter-key charms & these babies, you’re set for steampunk. (stampunk?) 🙂
the fine print is all good news: our price is really competitive (and you won’t find these with many suppliers). the stamps come in rather attractive wood boxes. made in the u.s.a. = quality tempered steel.
what other metal-stamping trends have you spotted? leave a comment (no caps please) 🙂

