Browsing Category

Rings & Things Products

Planet Earth Earrings

March 24, 2015

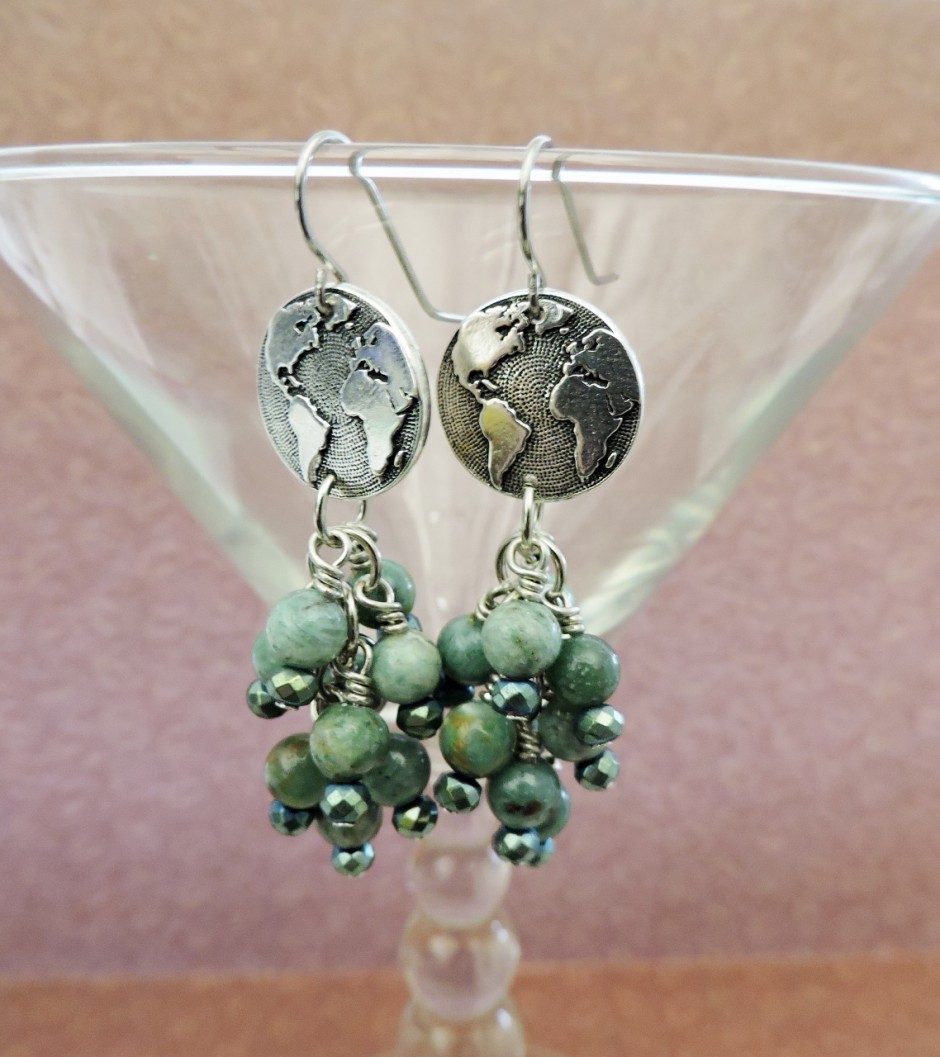
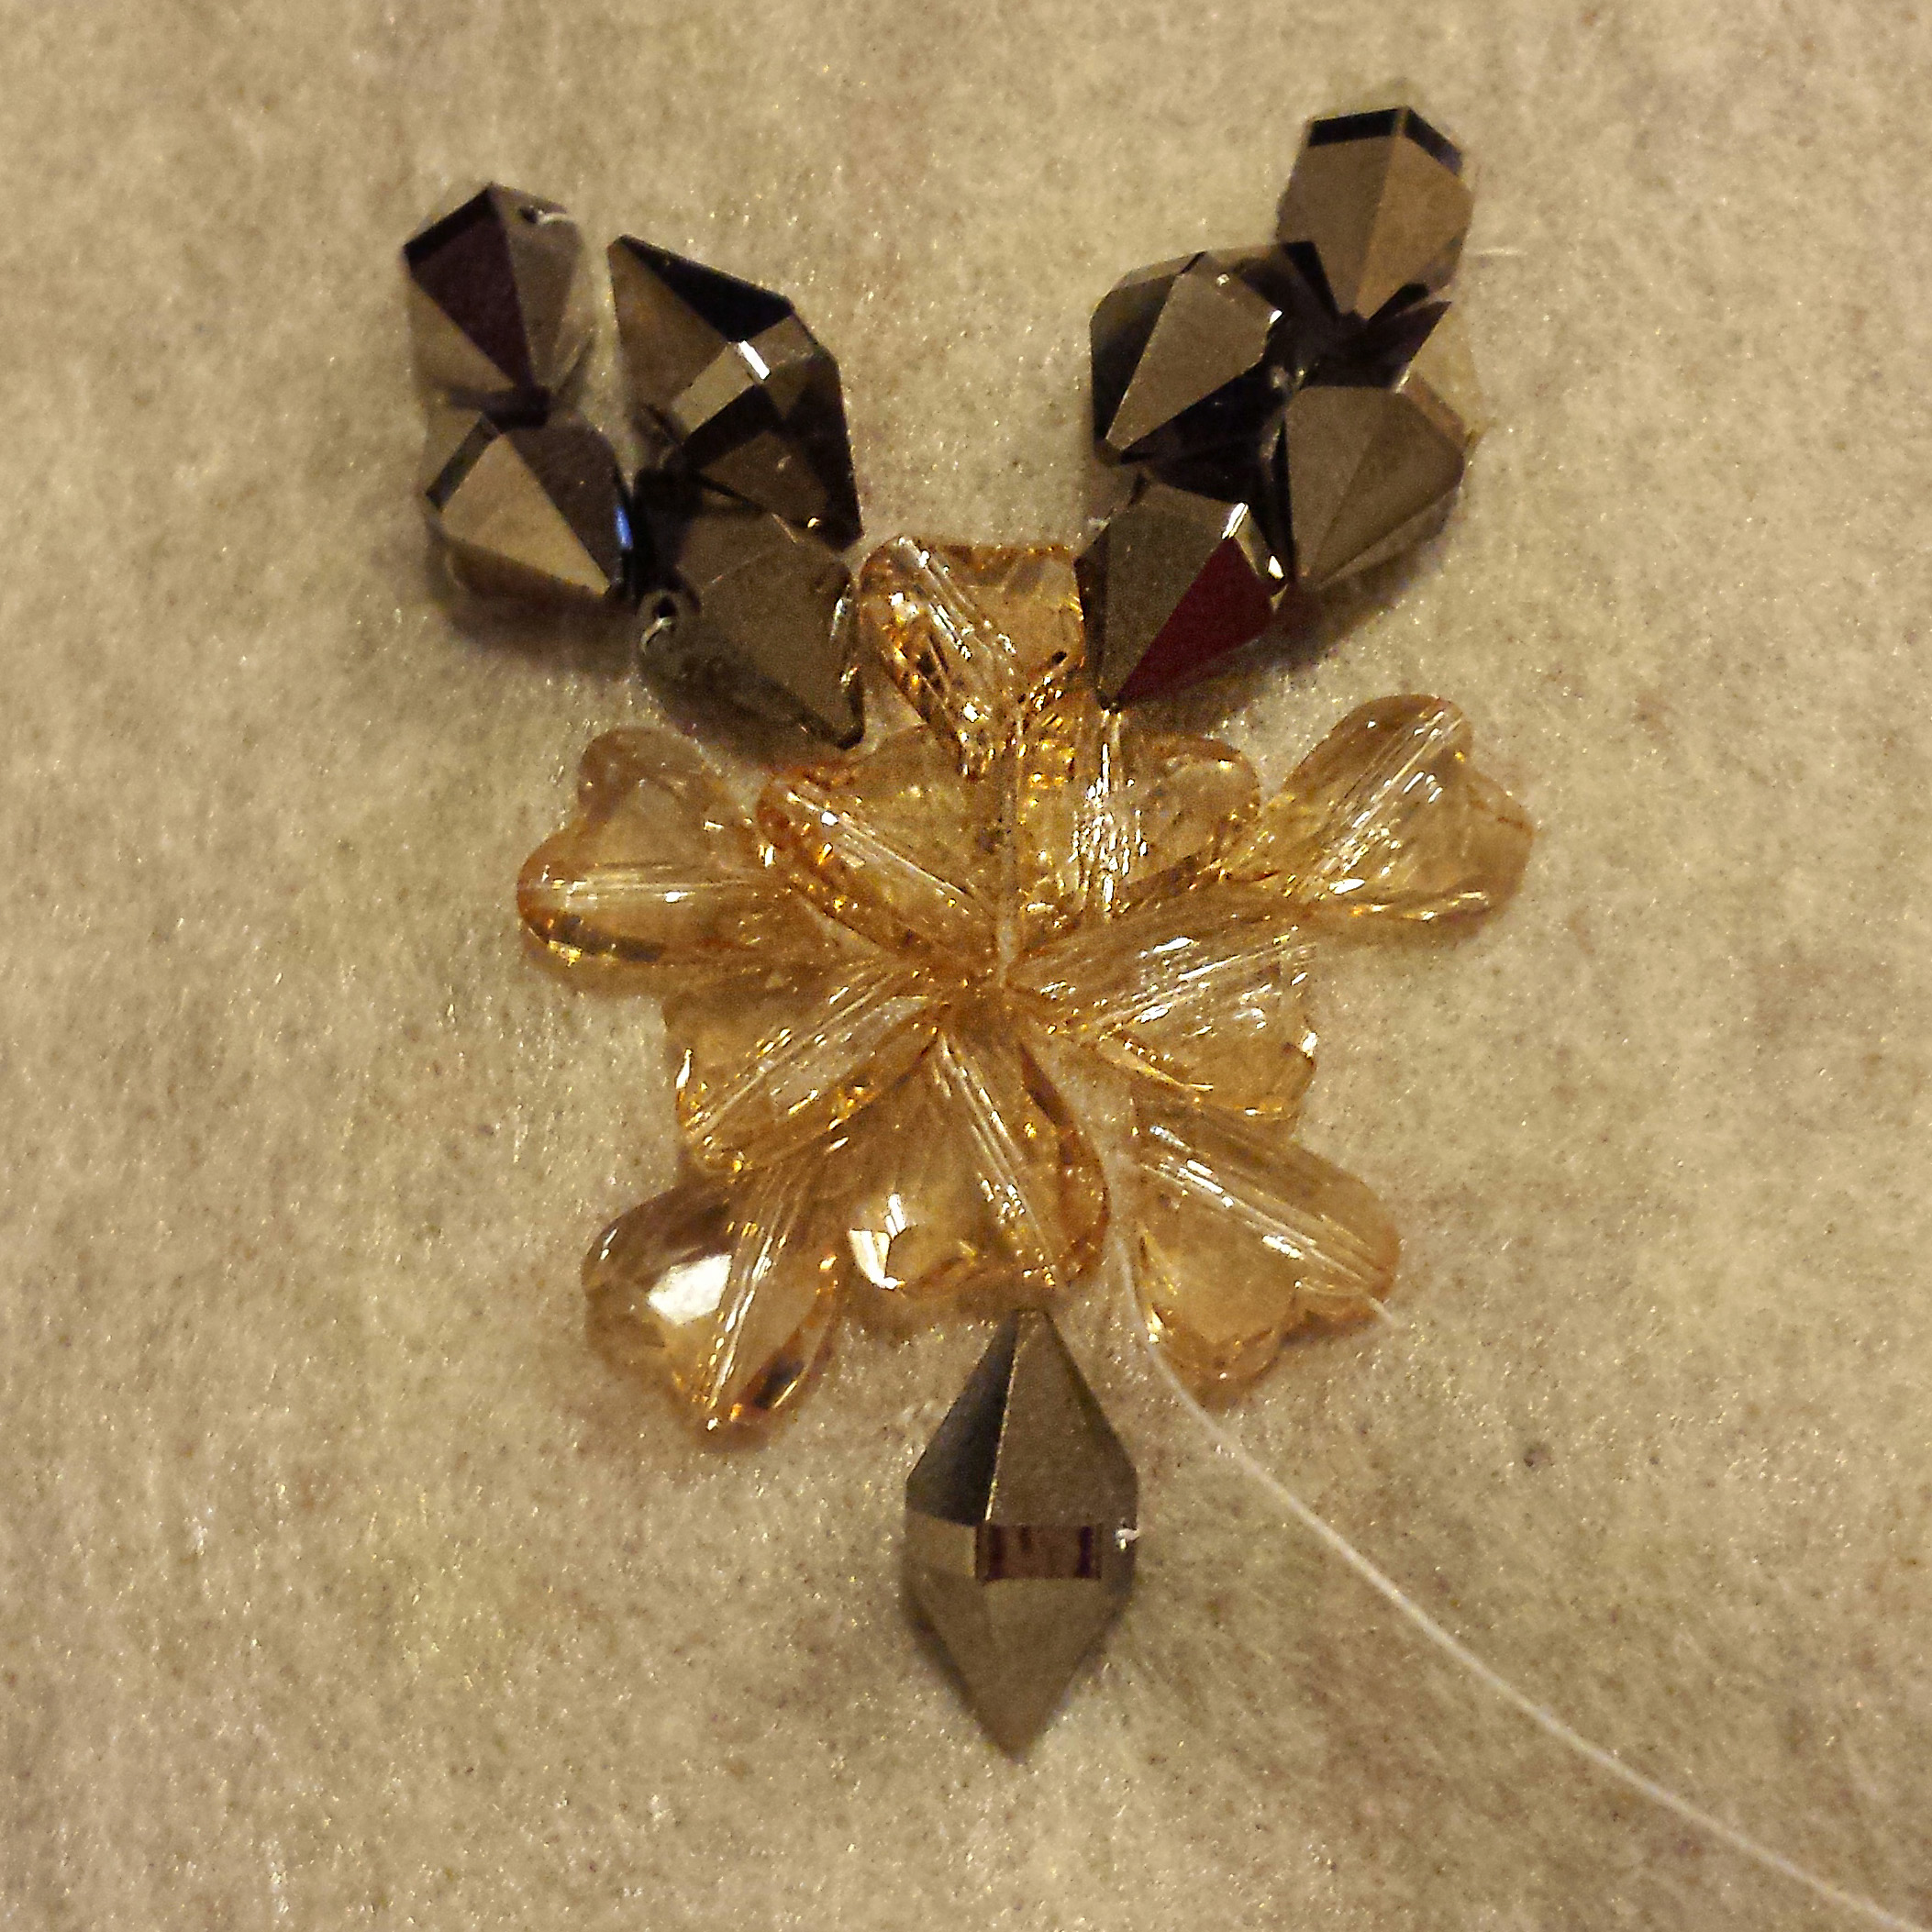
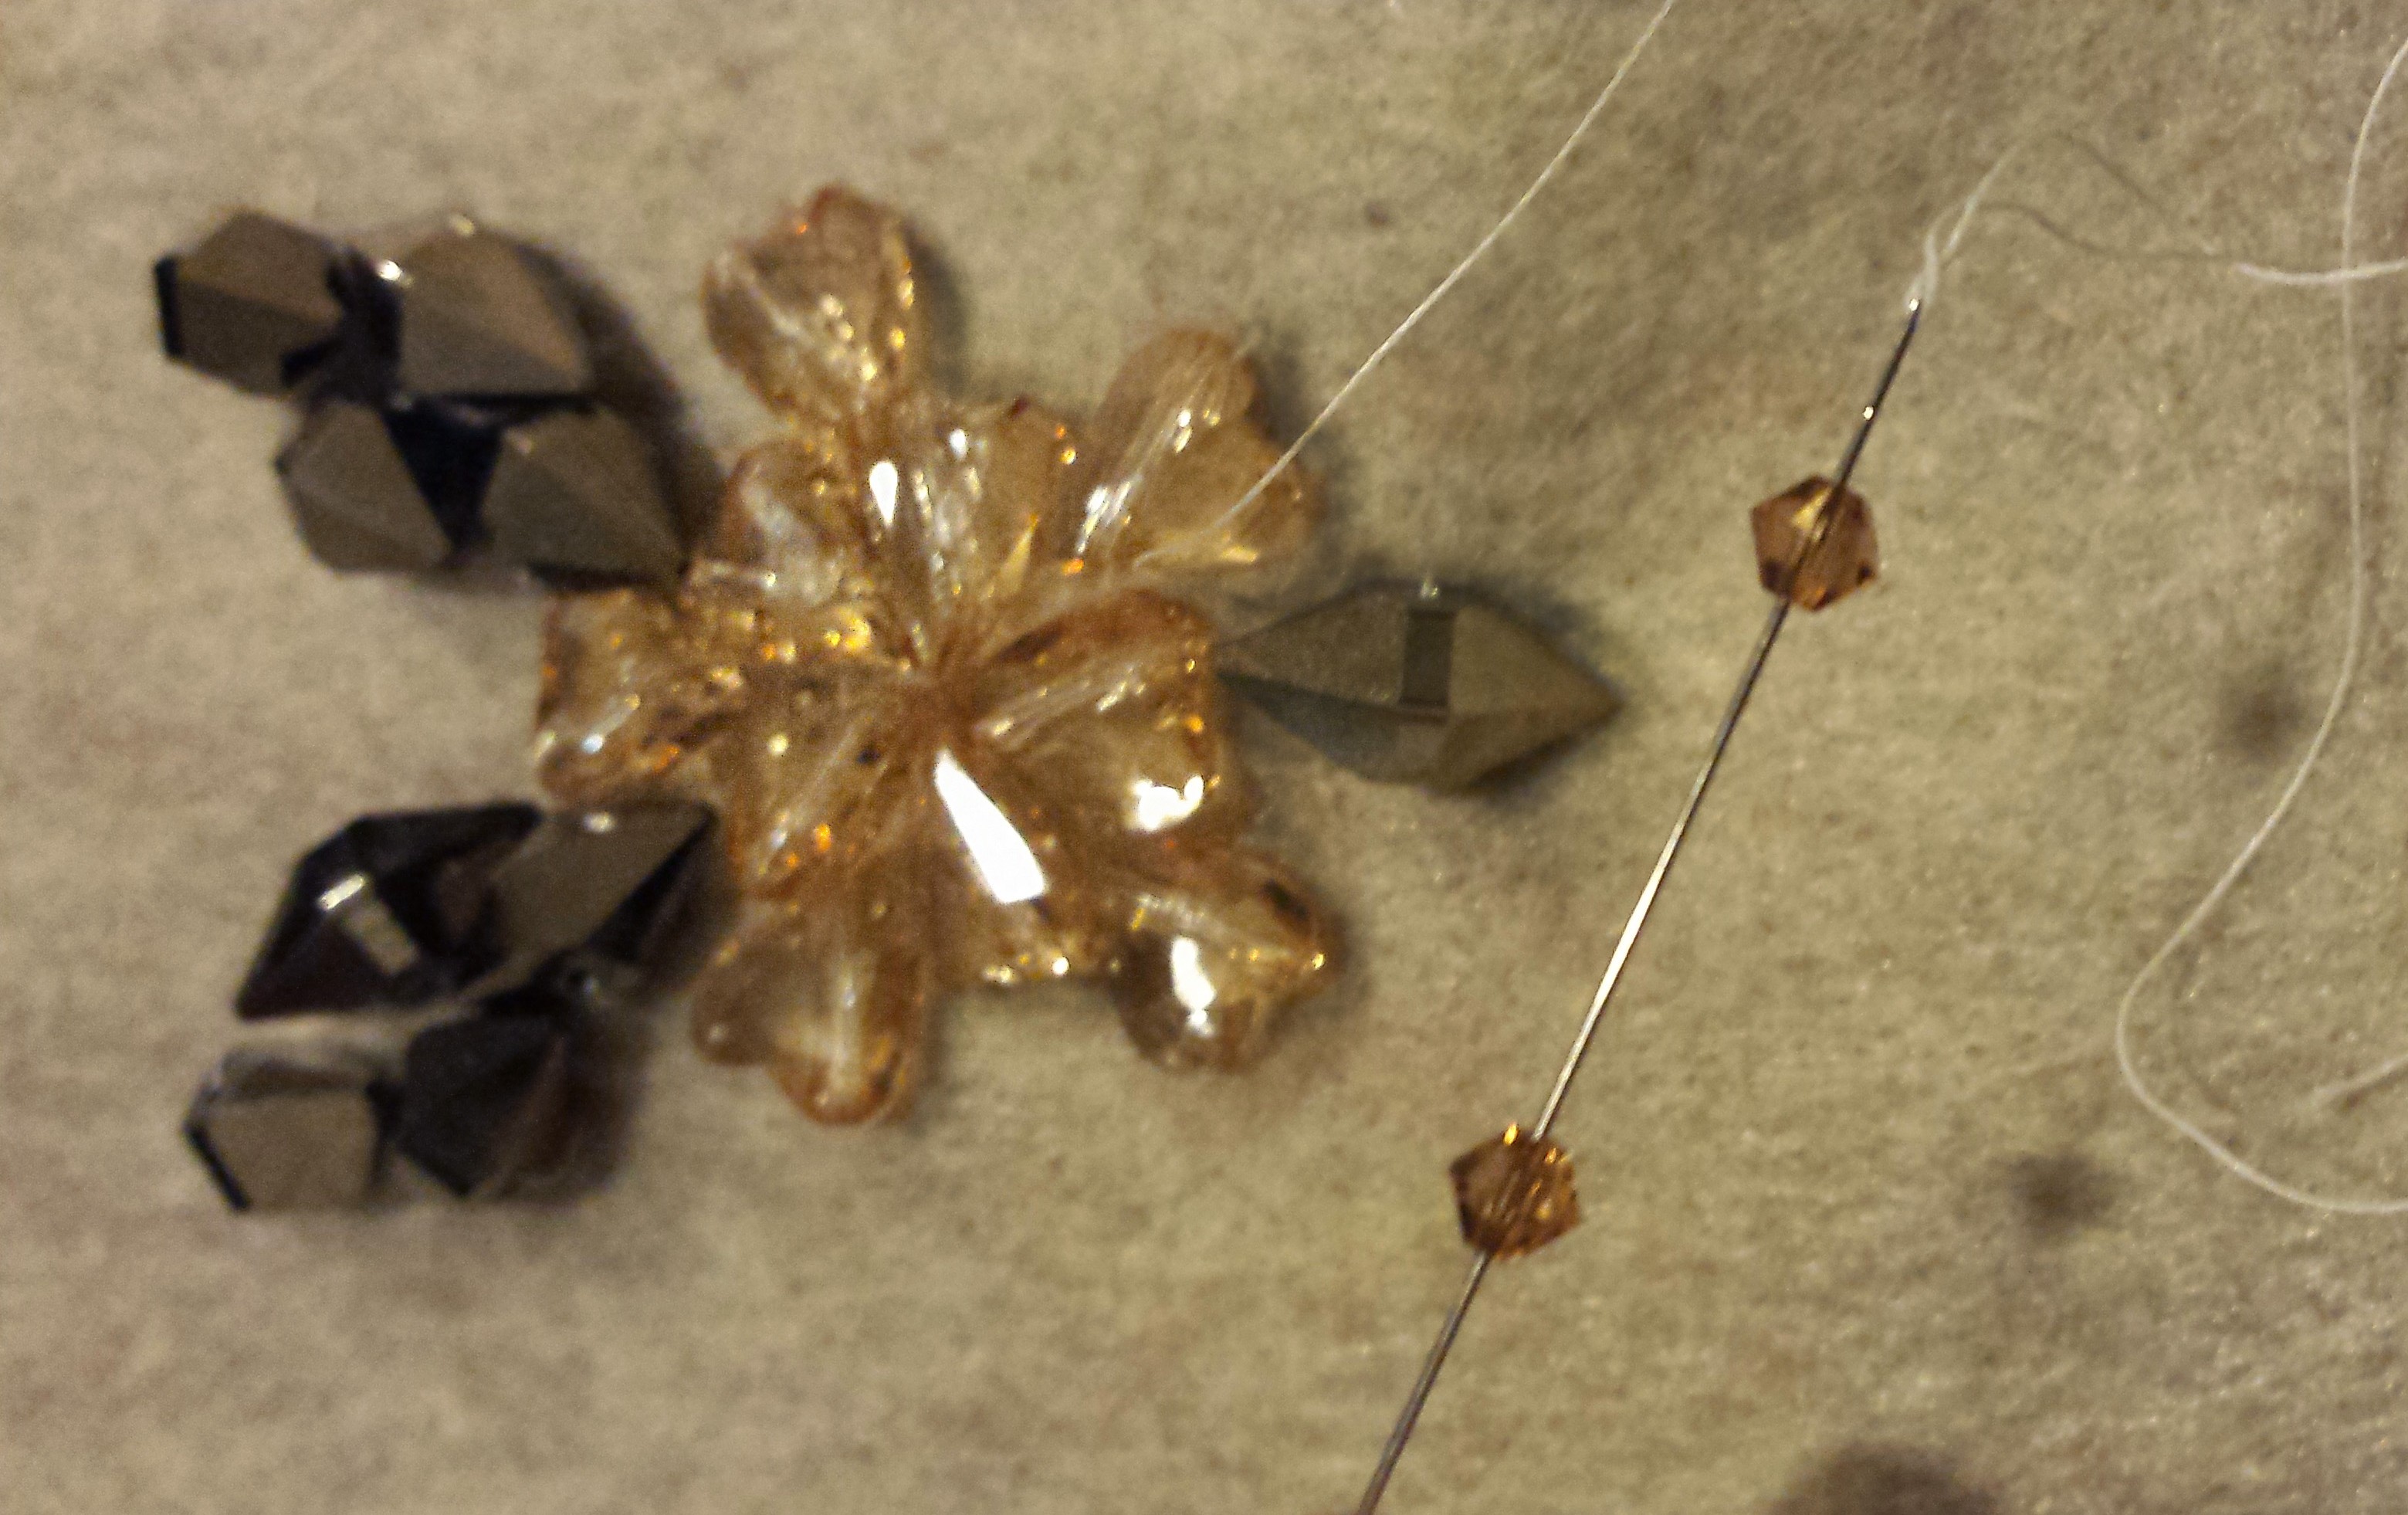
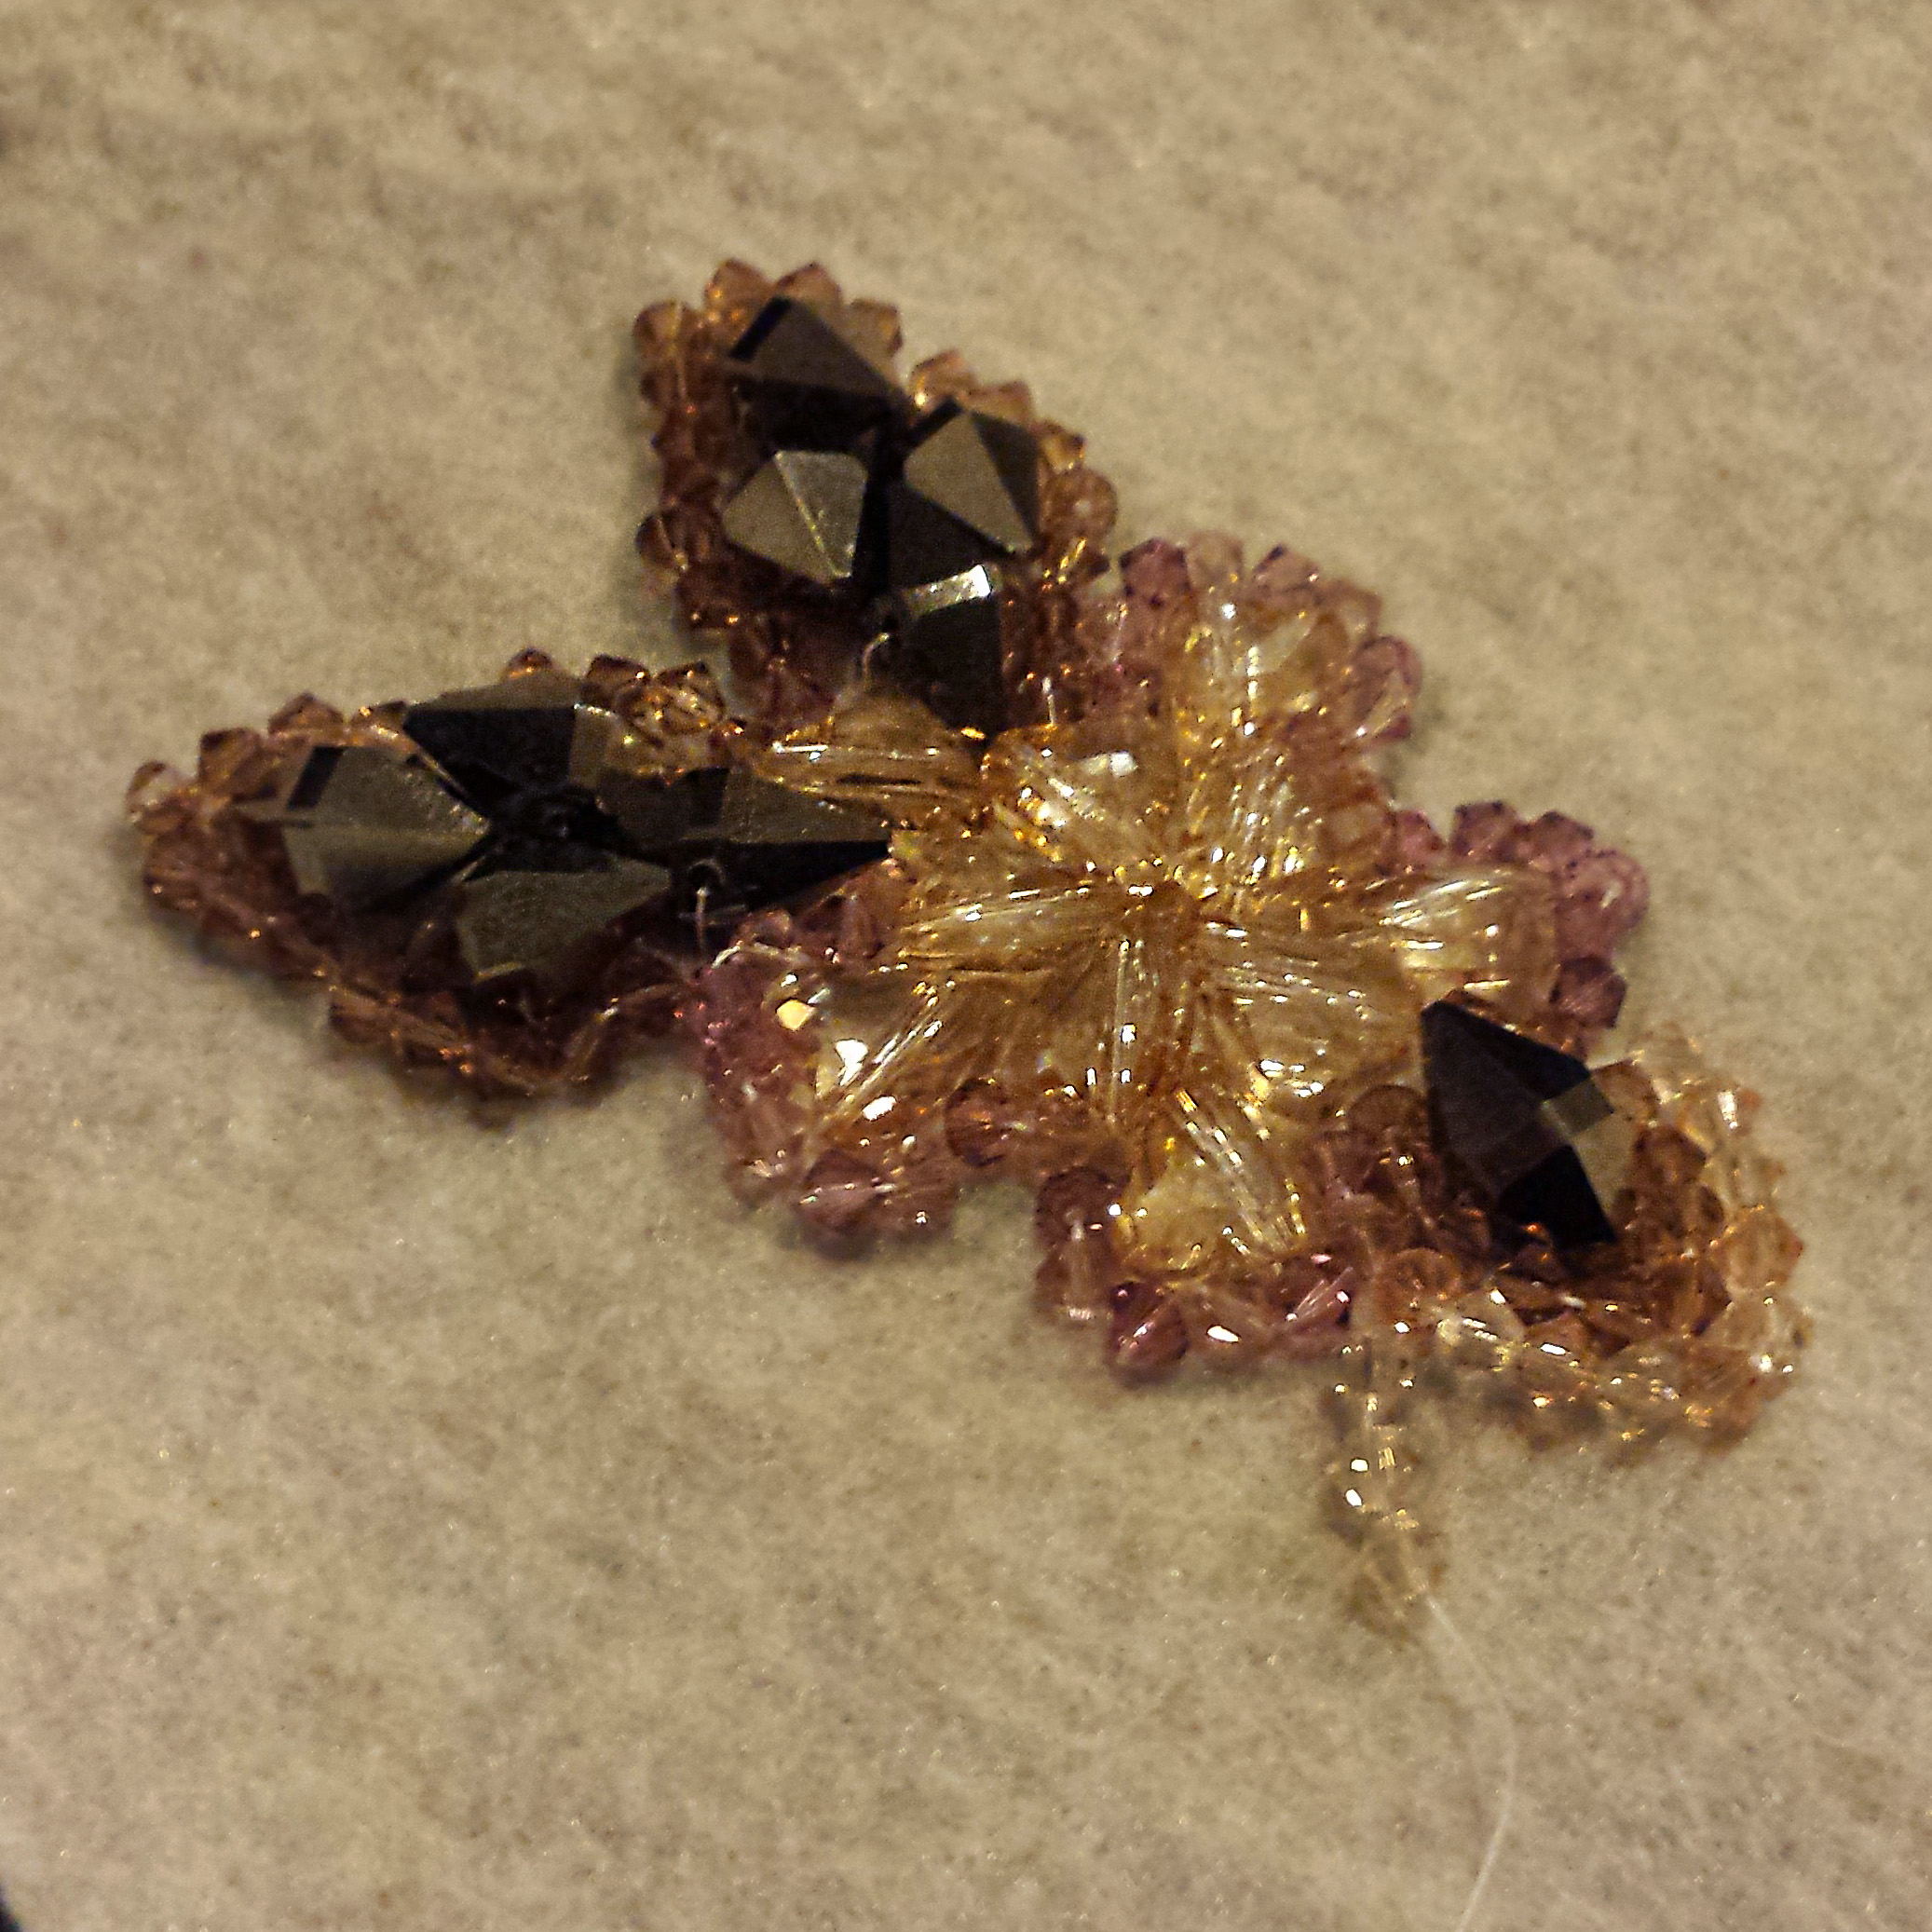
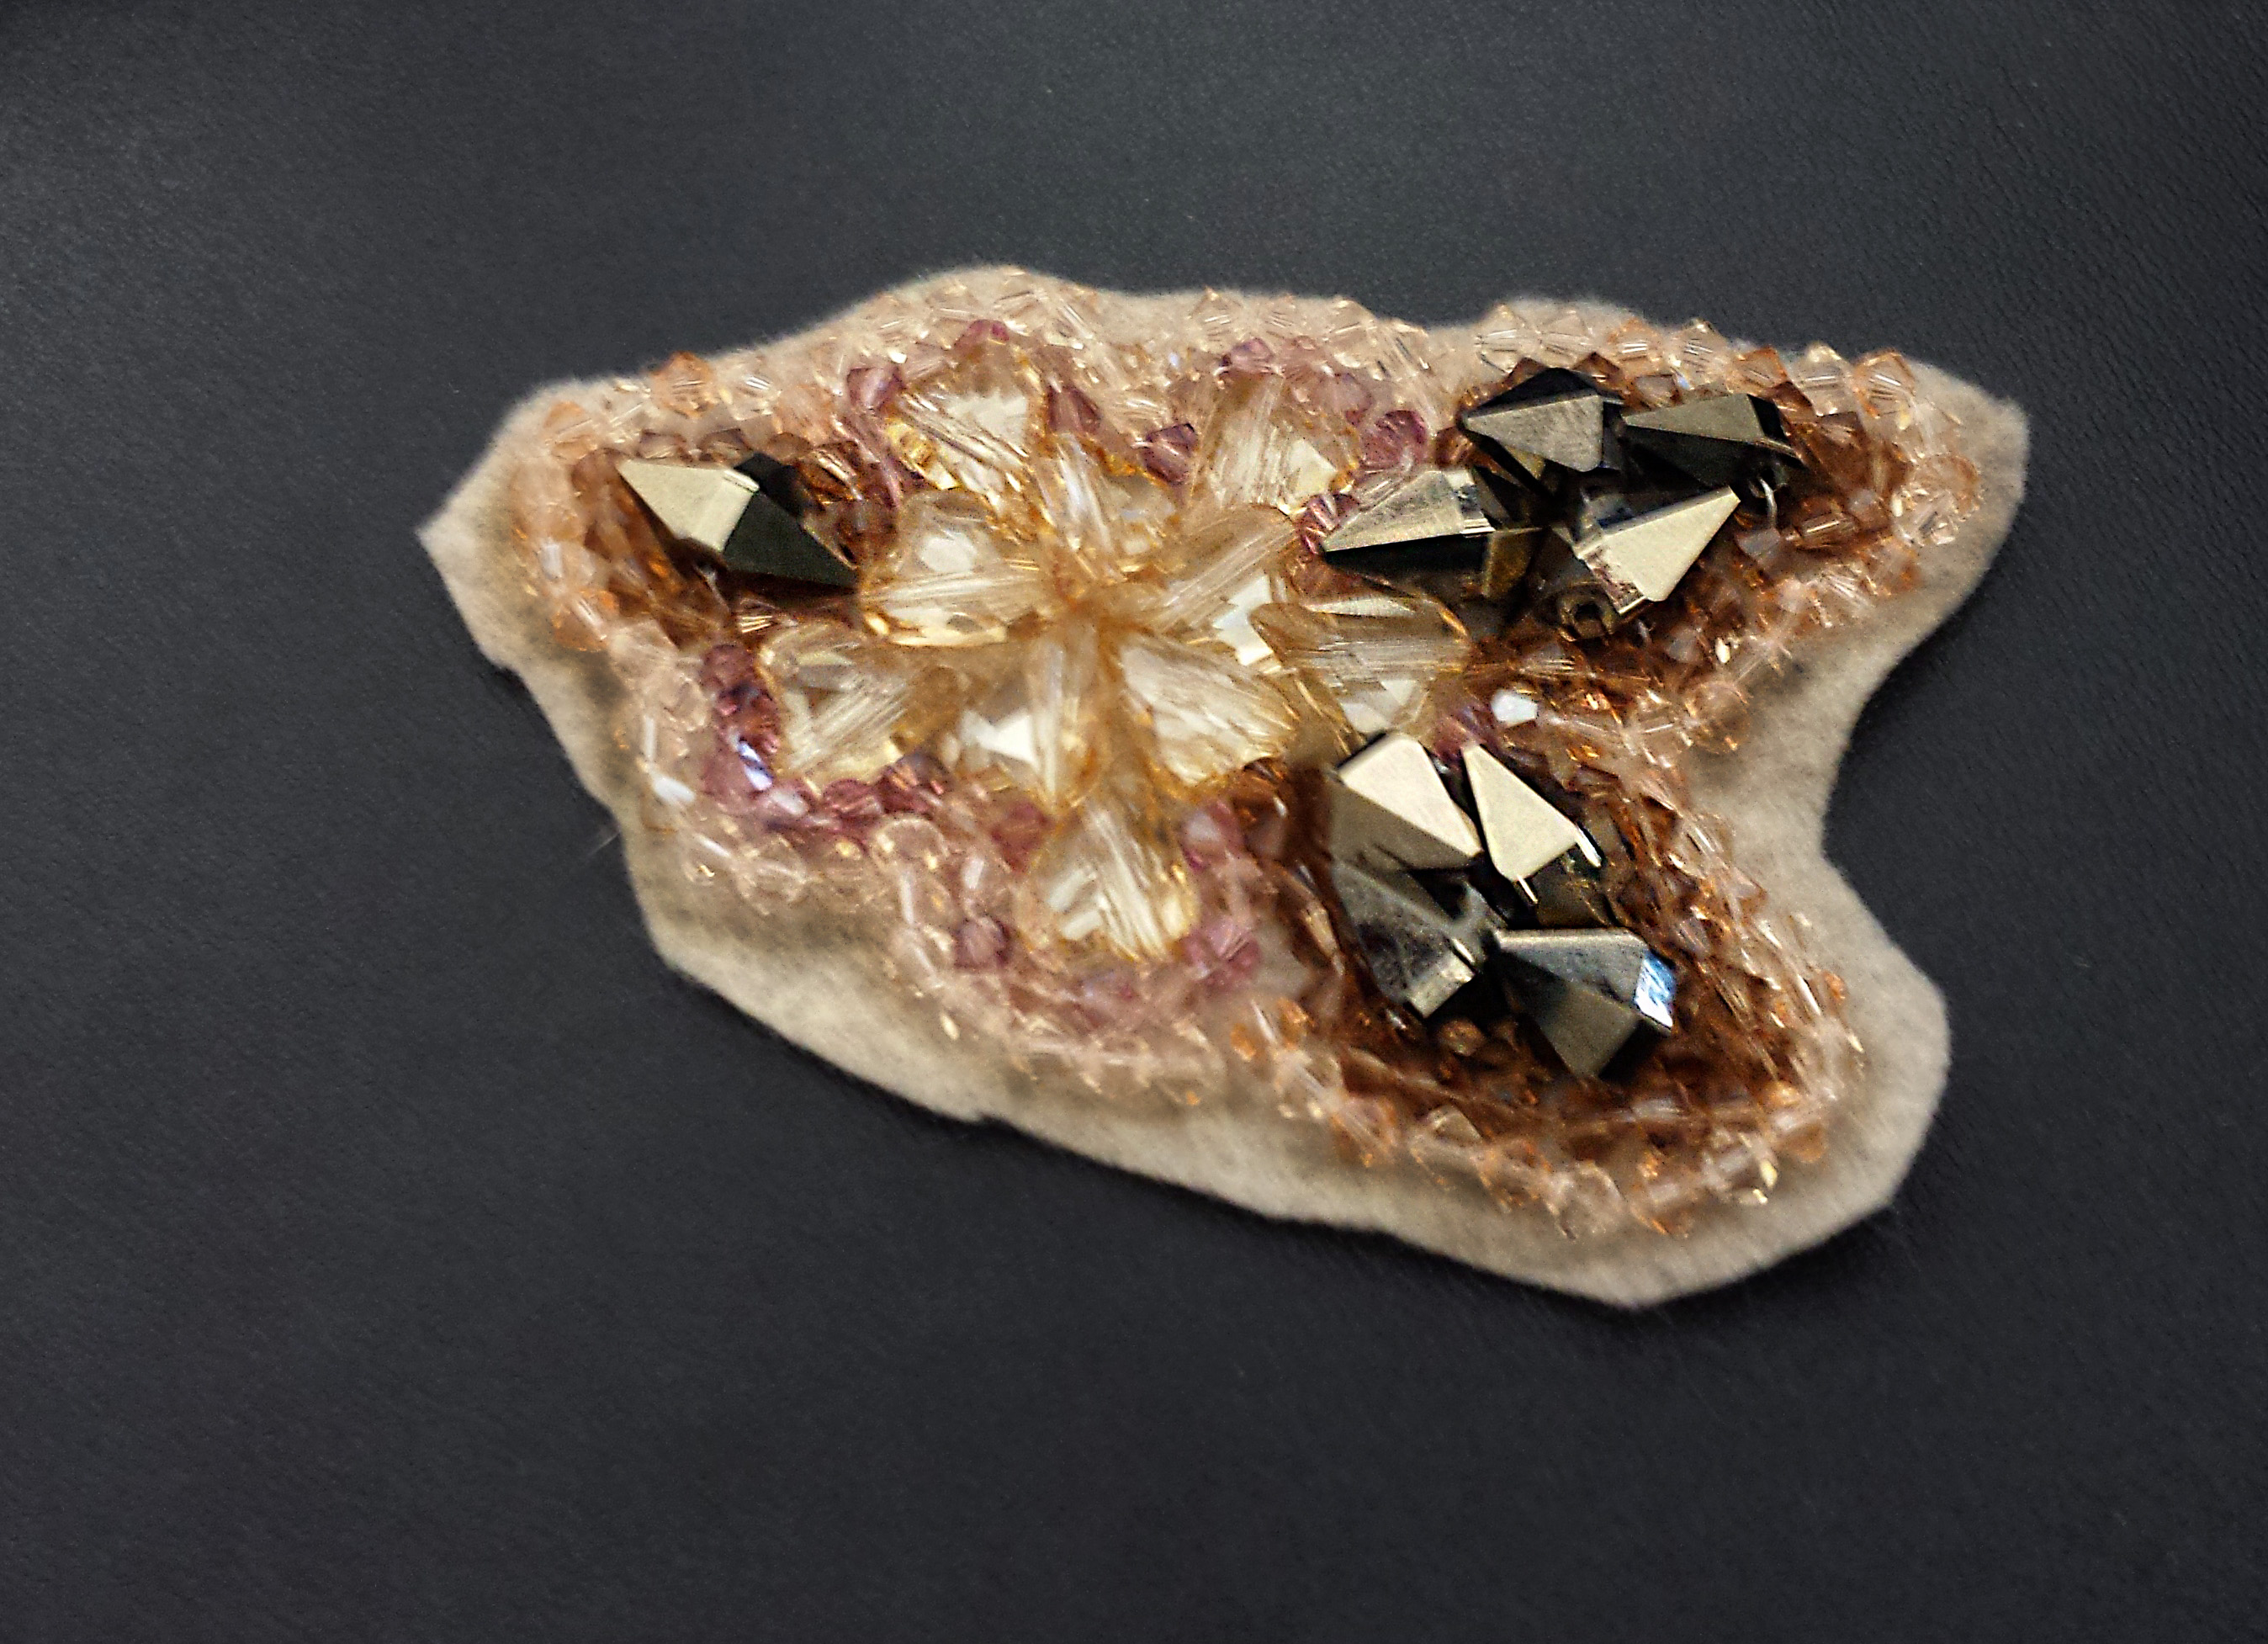
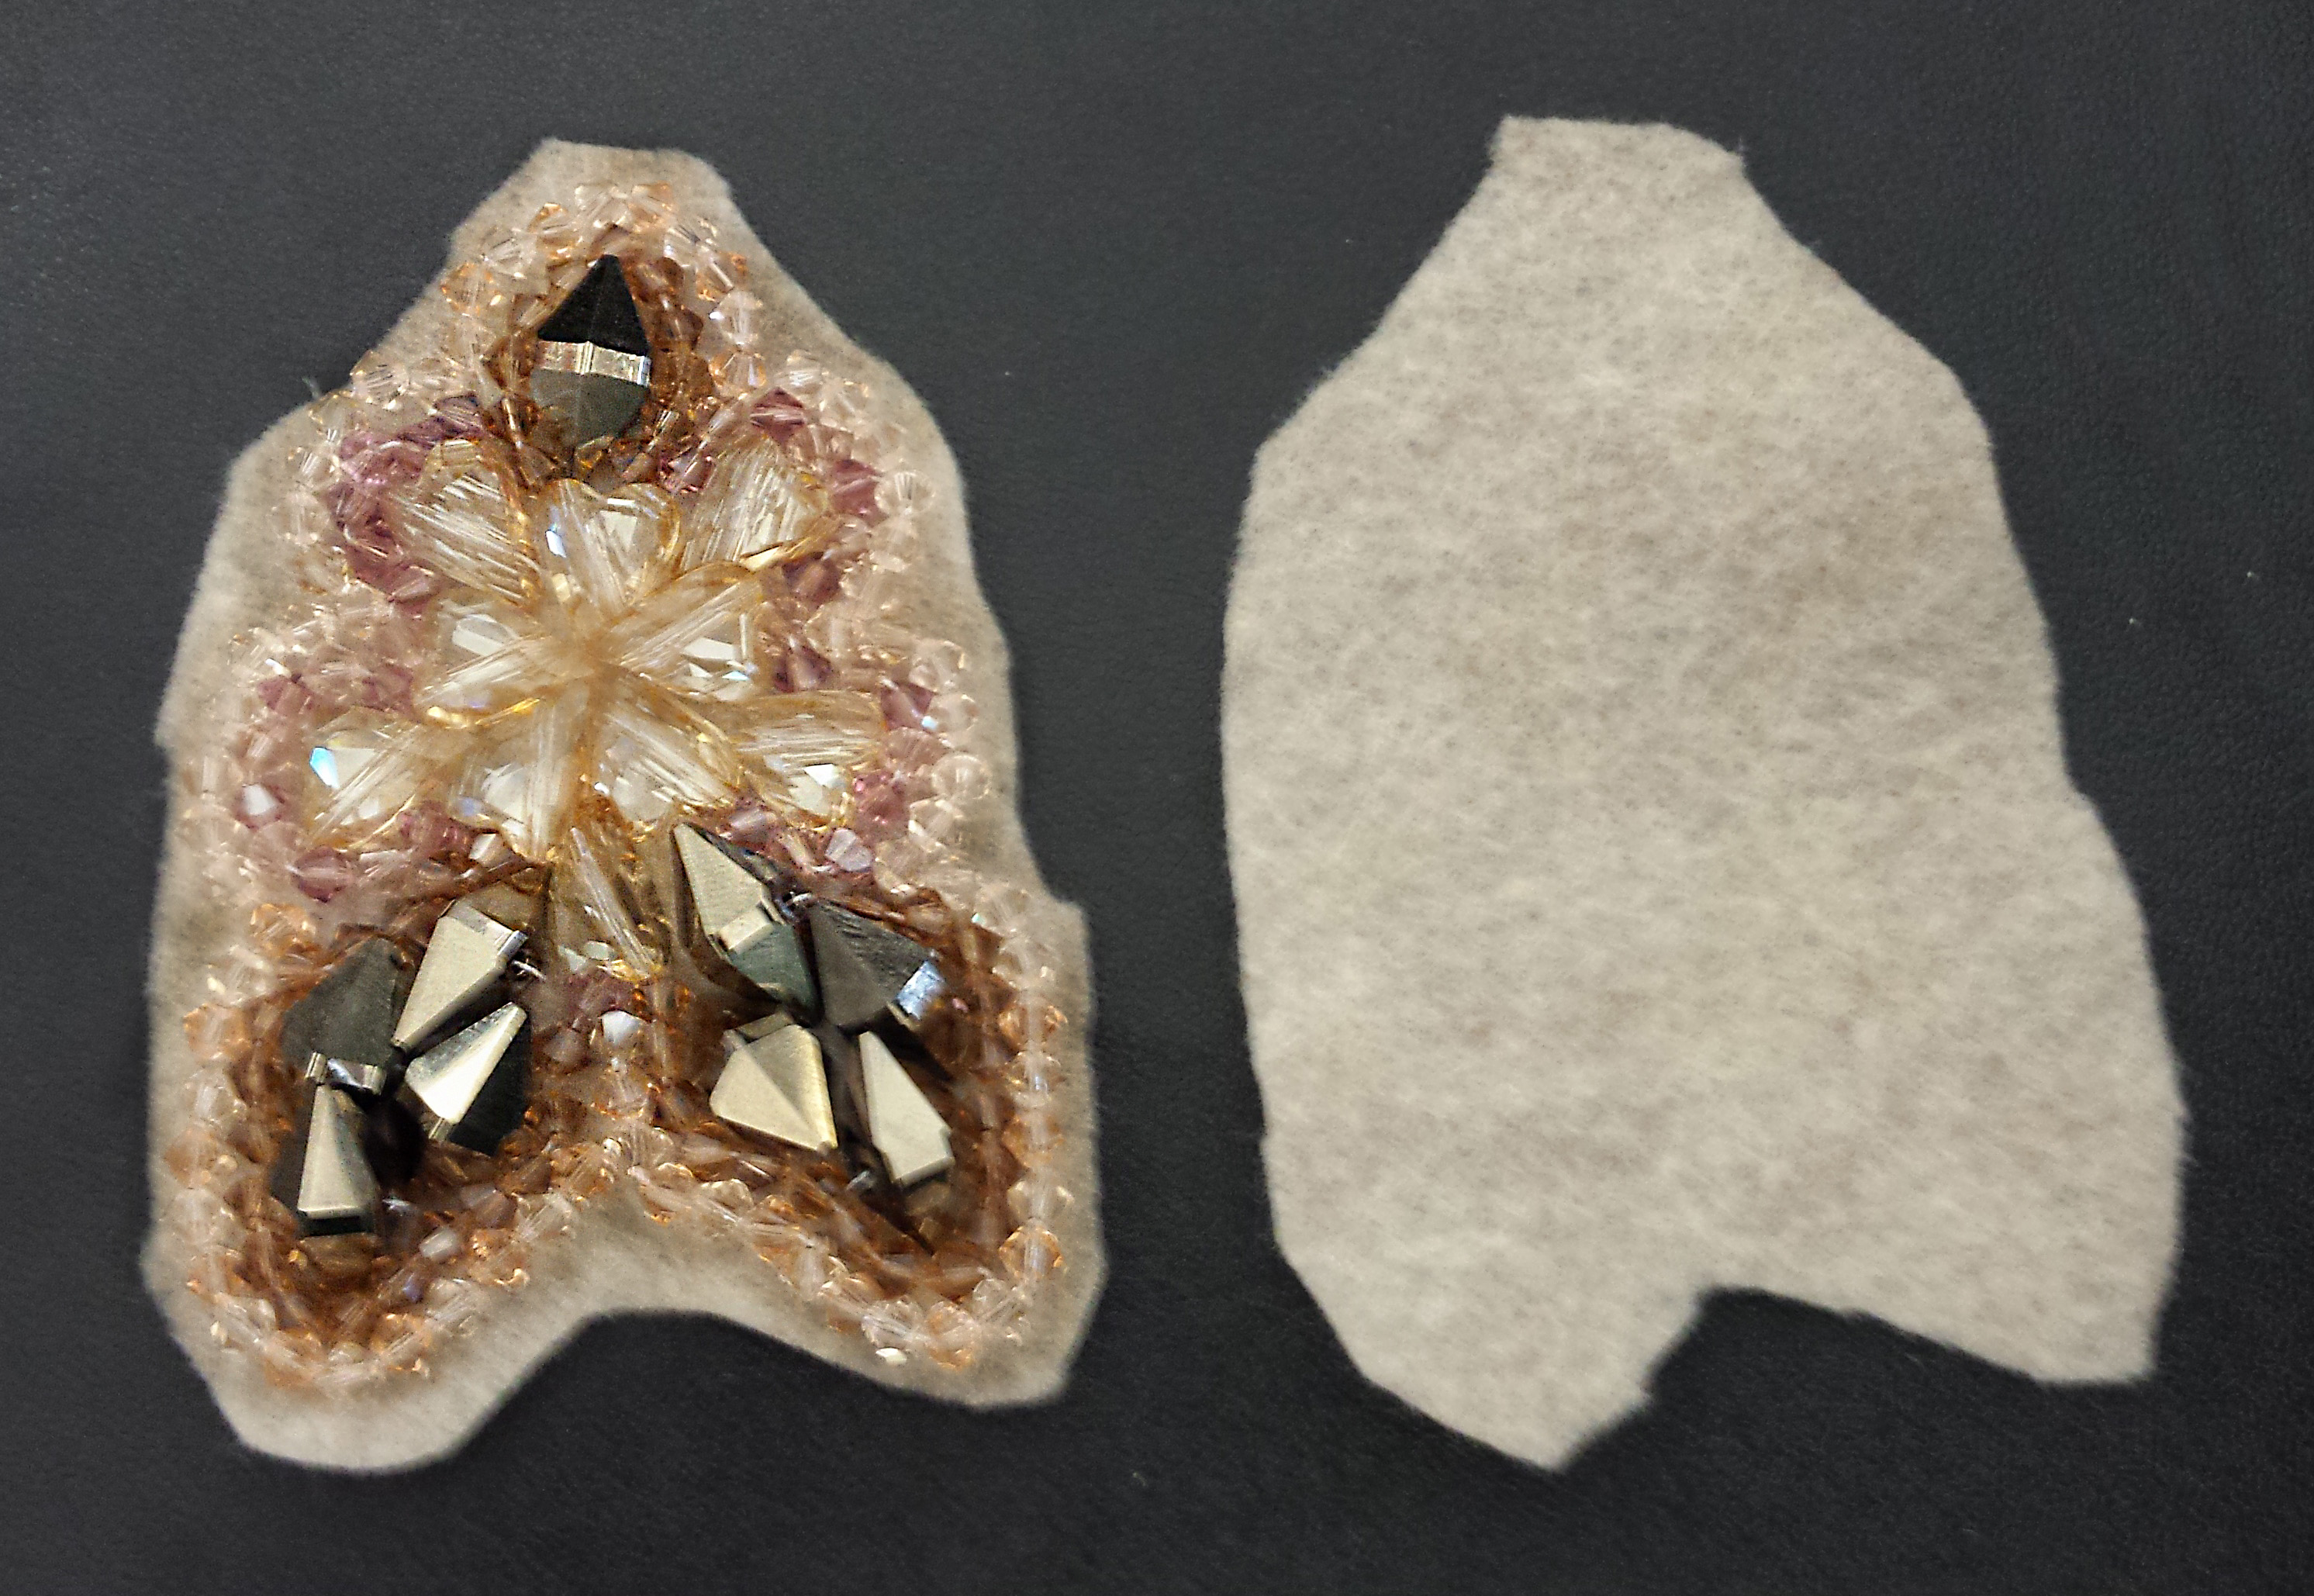
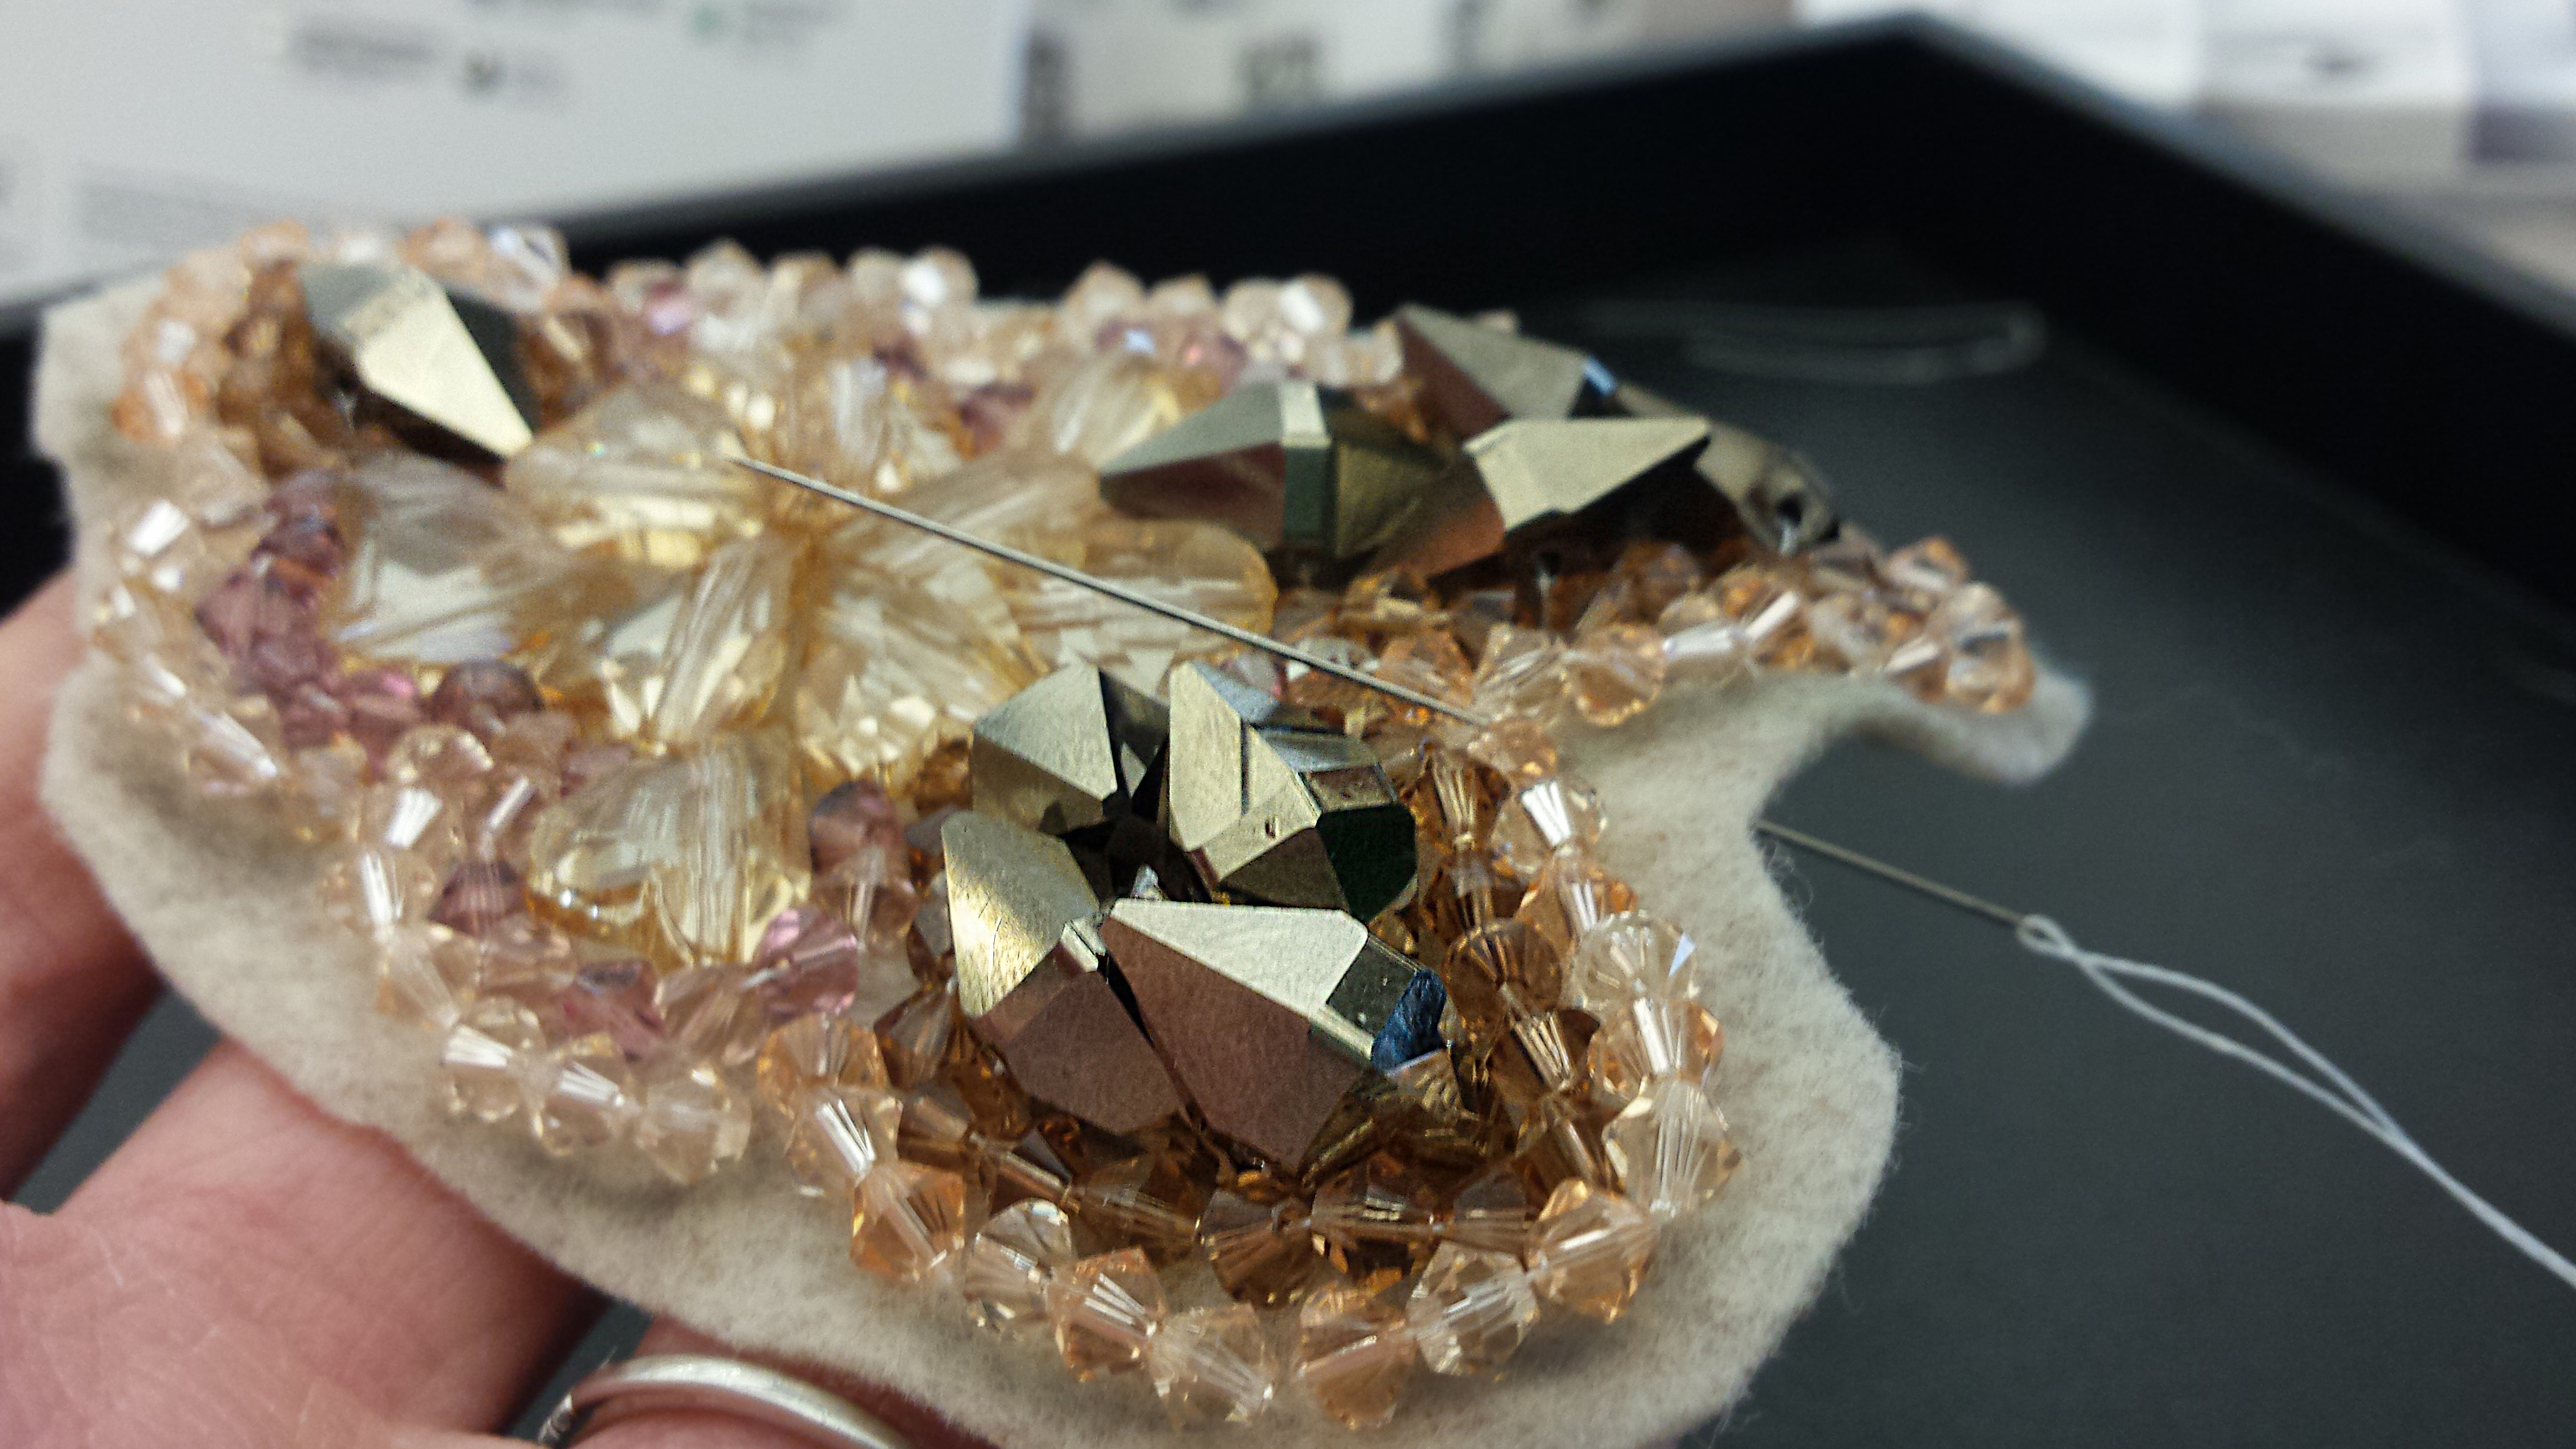
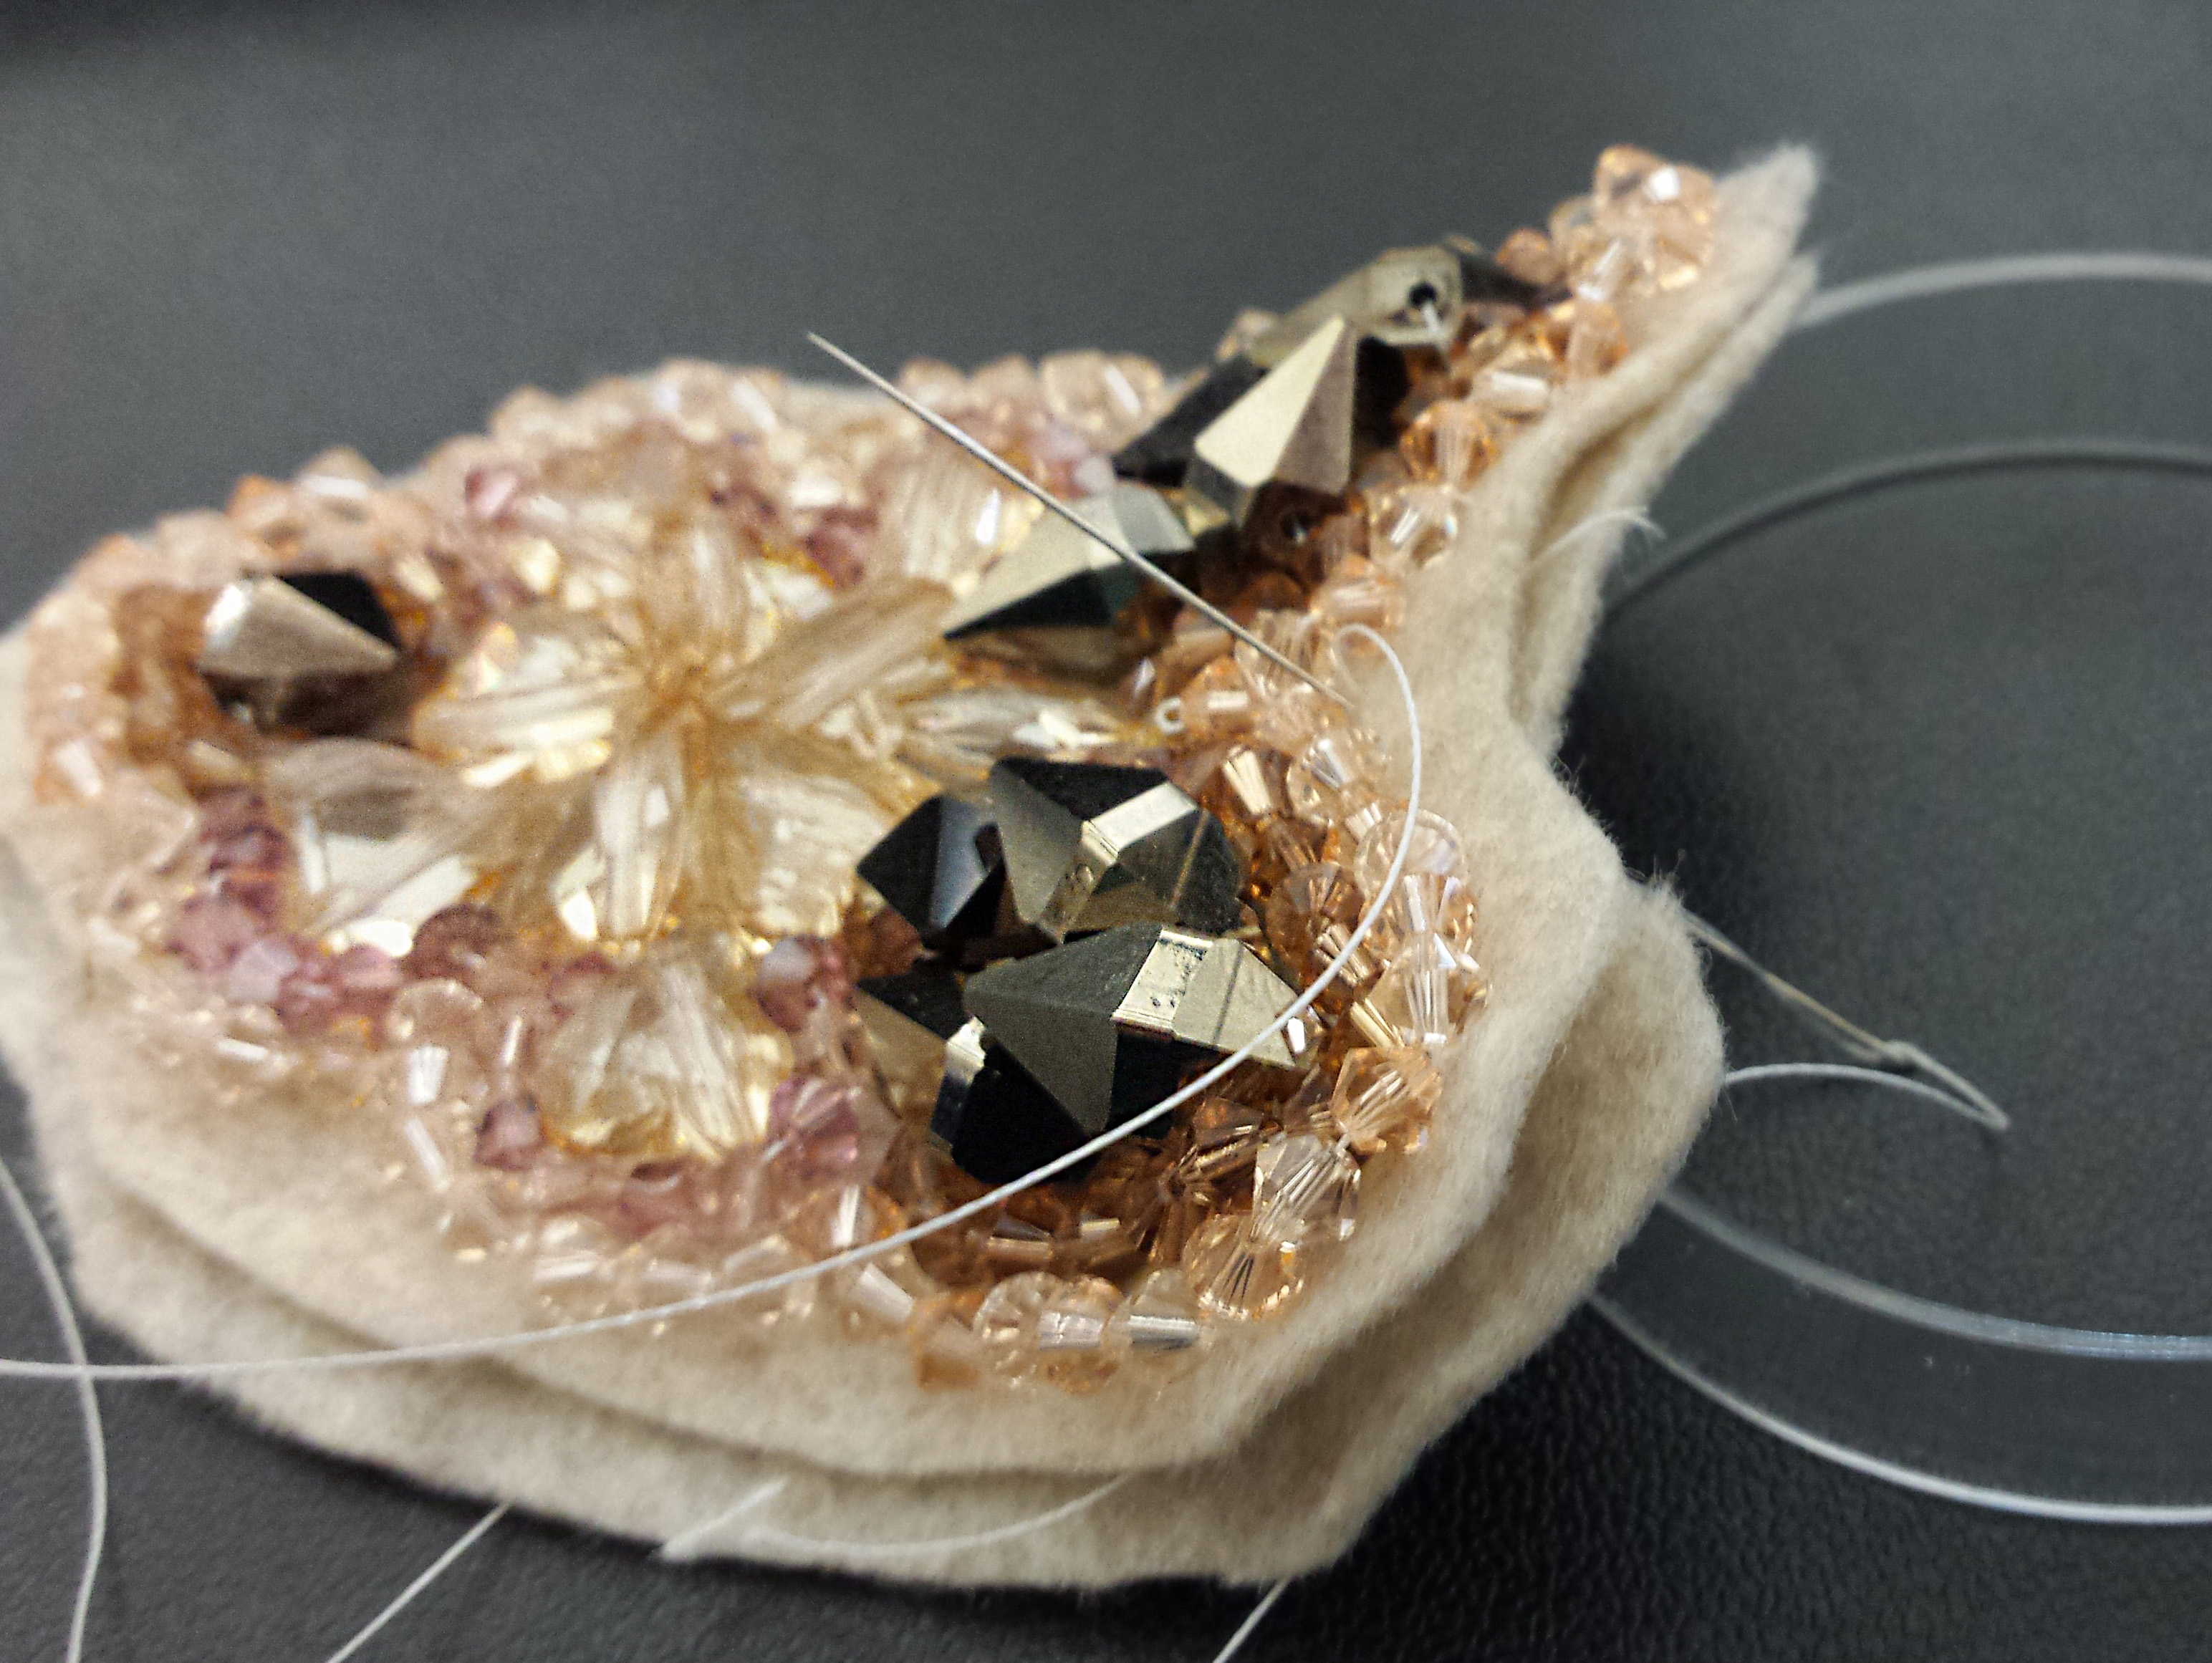
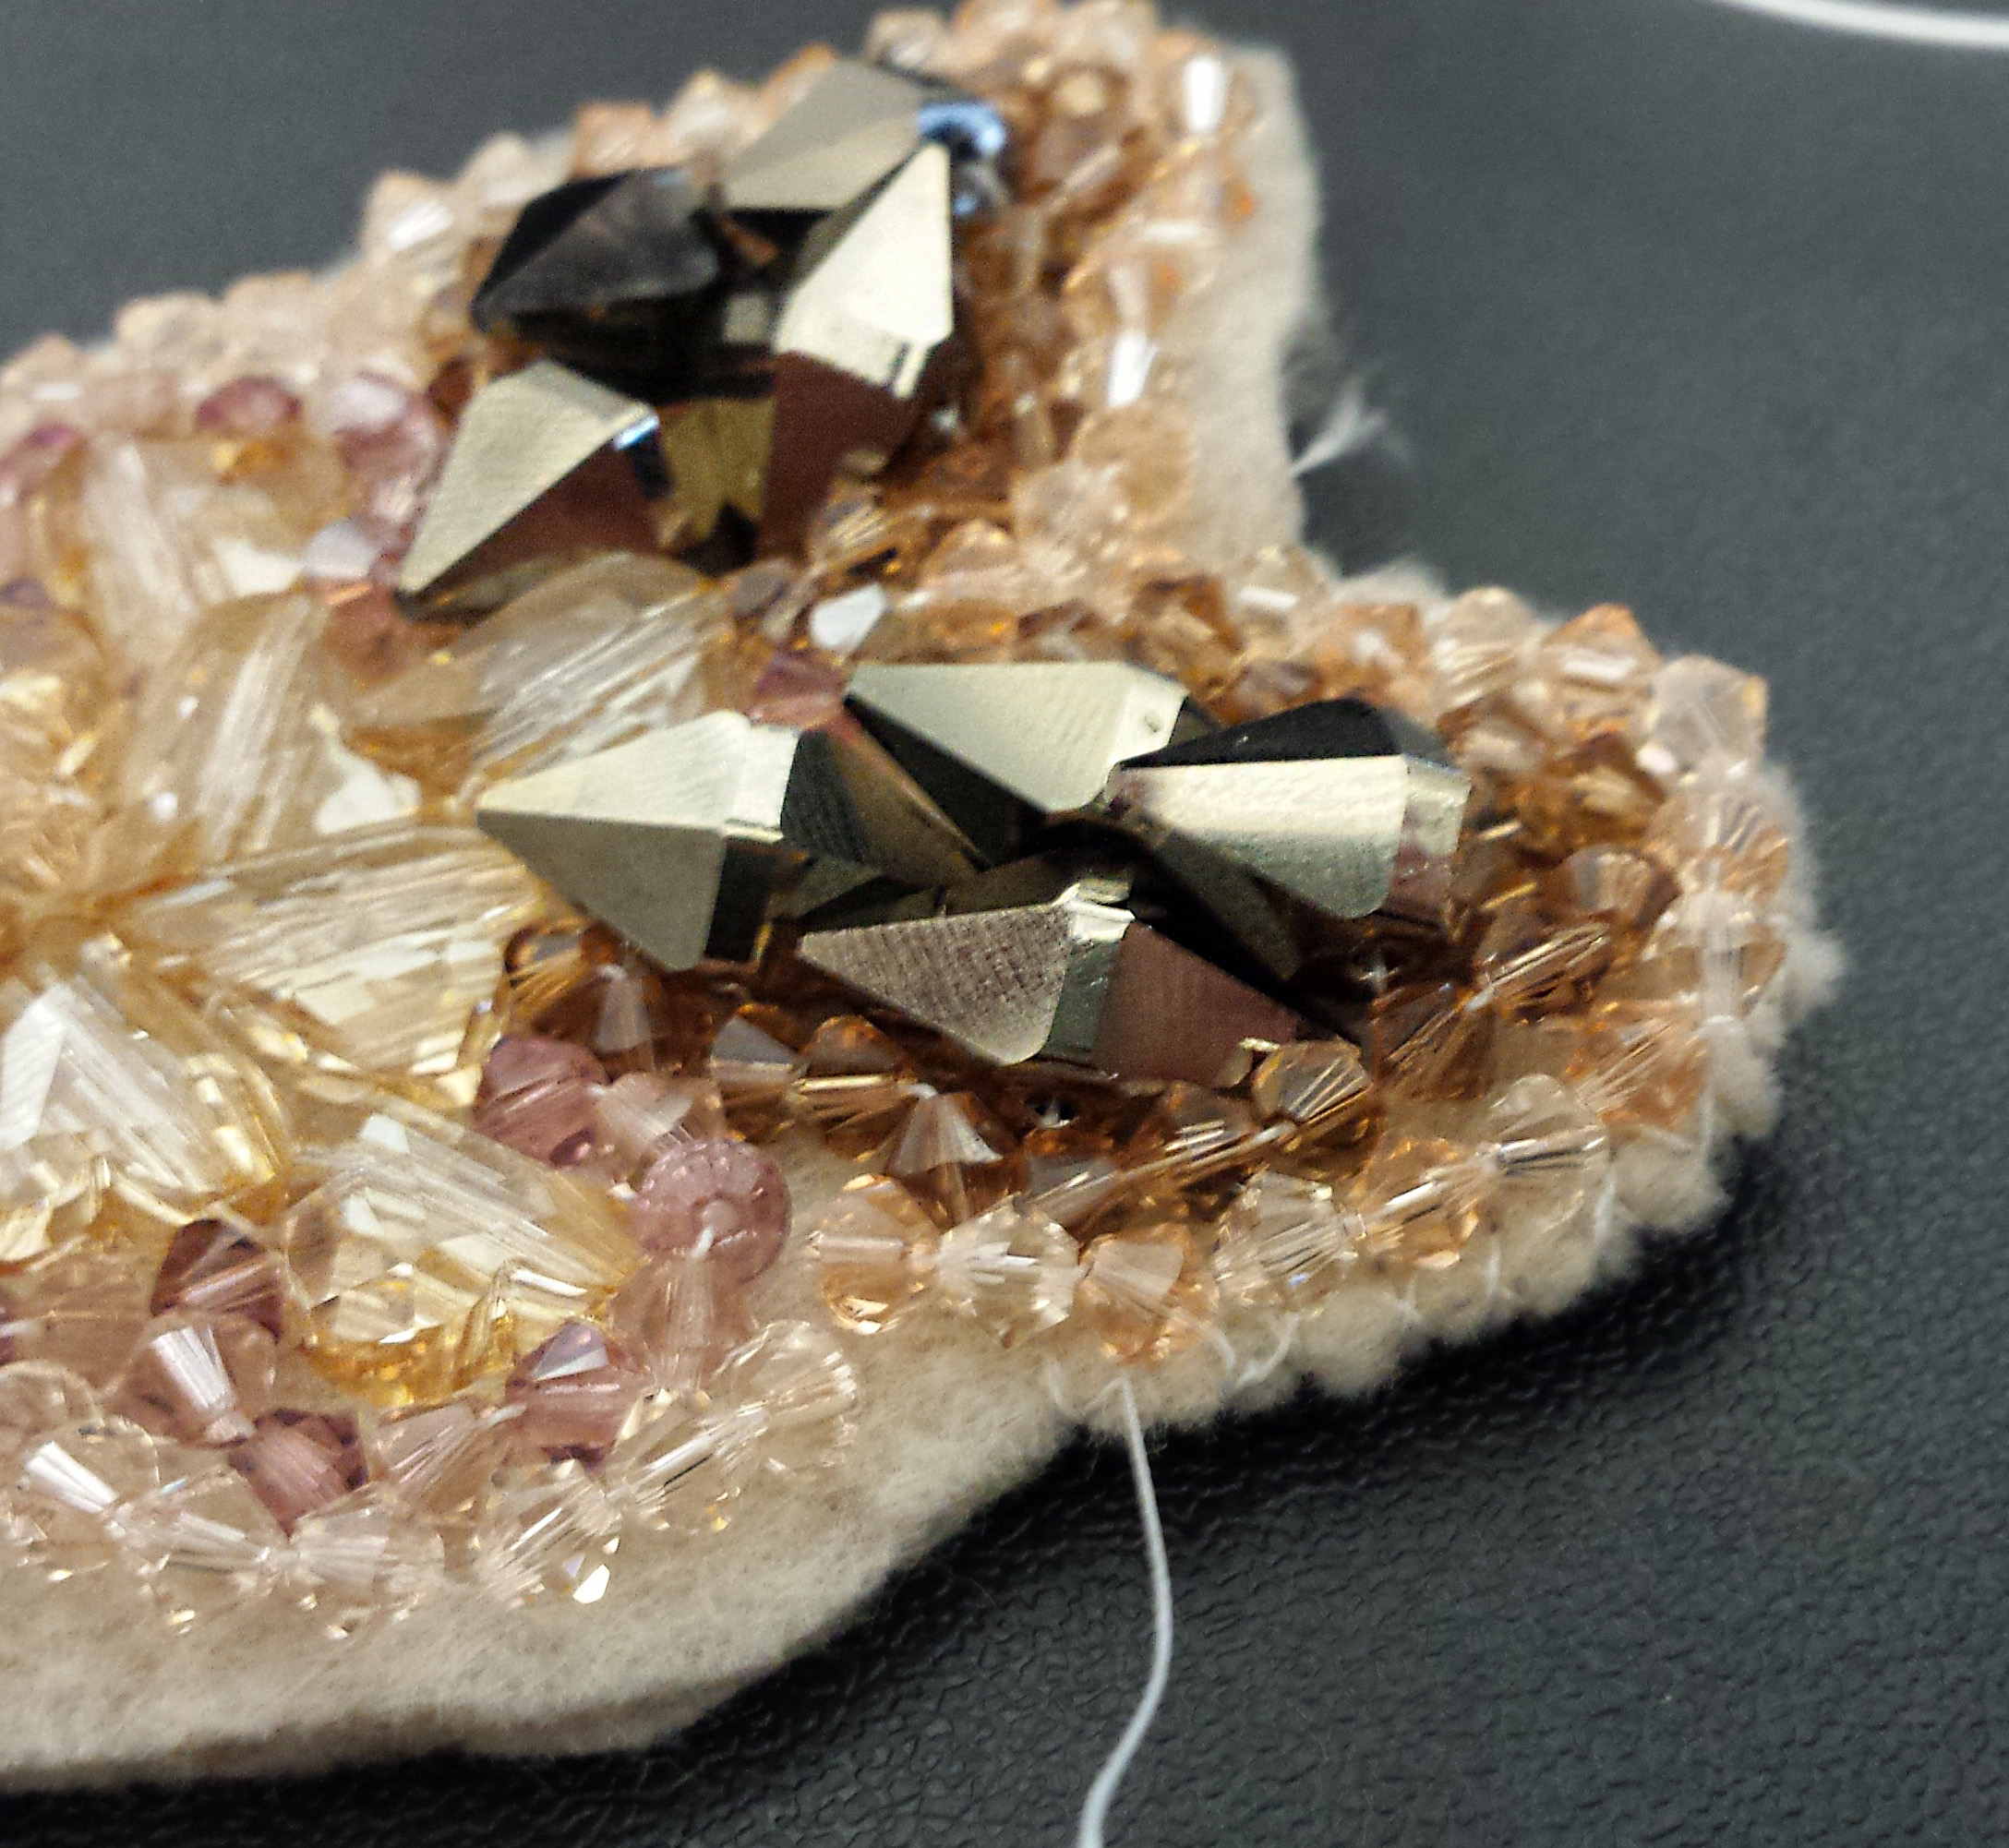
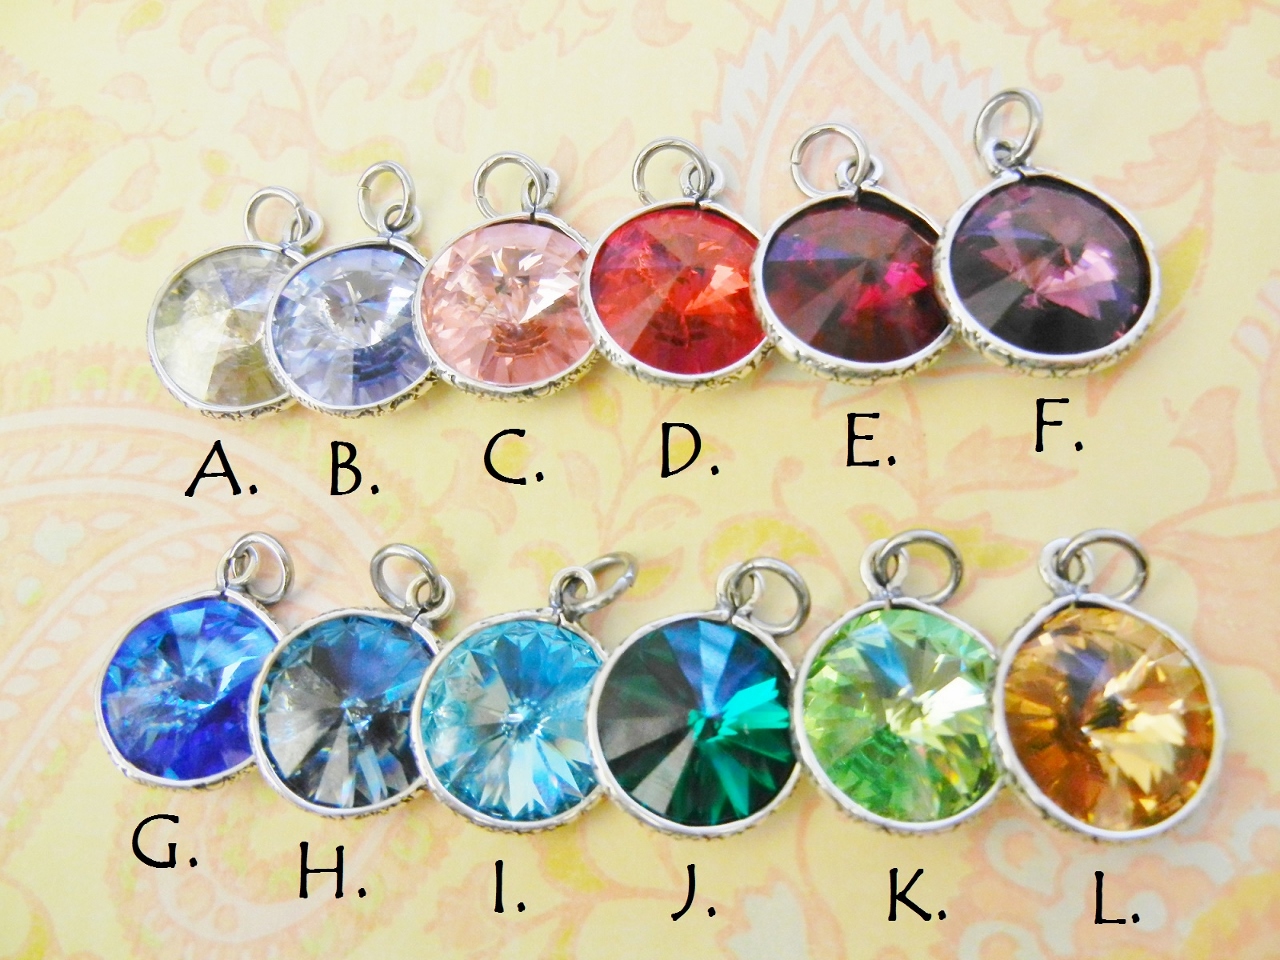
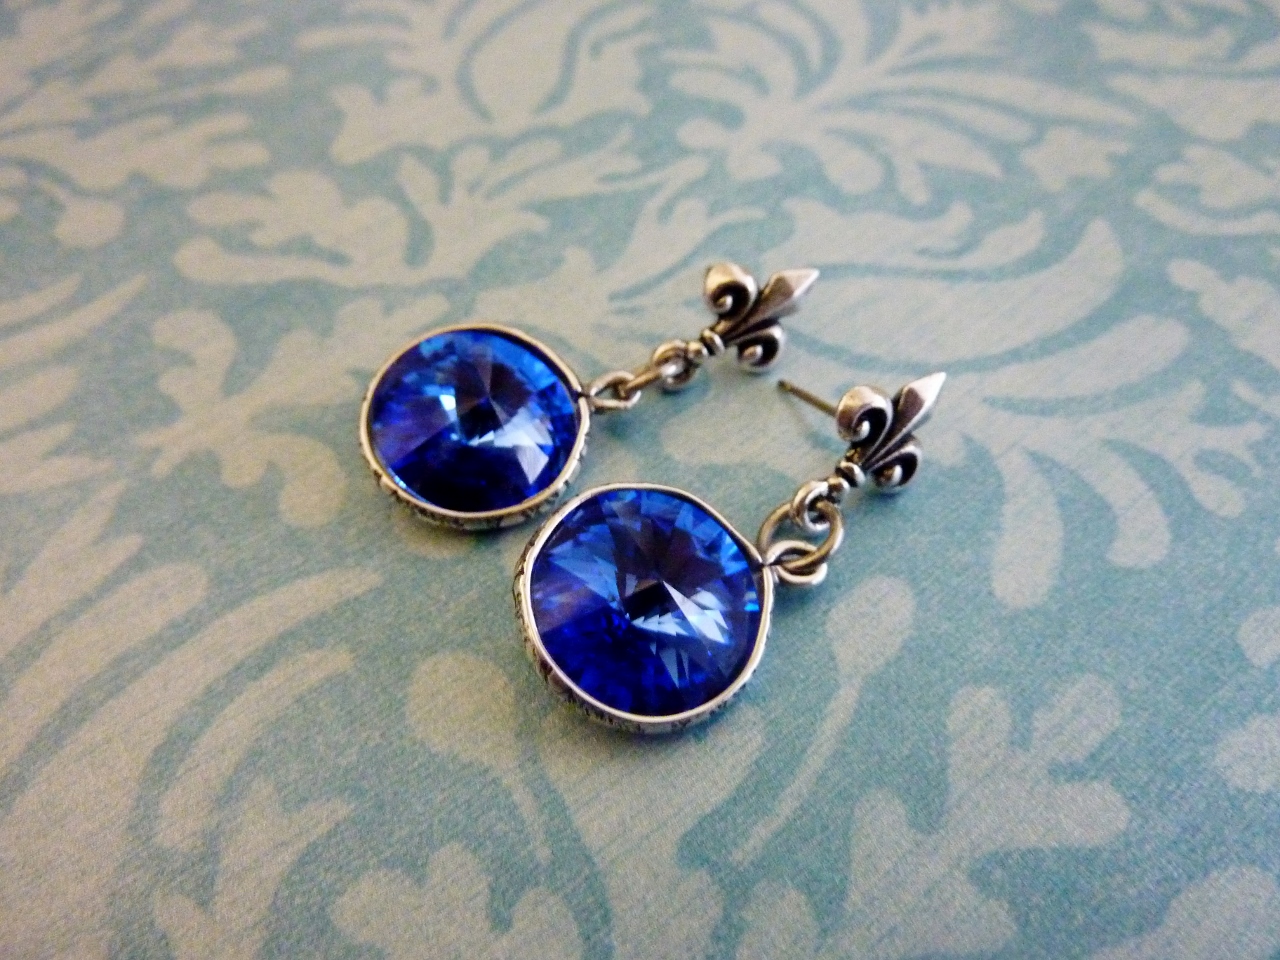
Earth Day is just around the corner! And the timing couldn’t be better! We just got in the new TierraCast Earth Buttons and I thought some planet Earth earrings would be perfect! Check out below how easy these earrings are to make!

Spring Bee Jewelry Set Featuring Swarovski Crystal Metallic Sunshine Briolettes

March 17, 2015

When spring time comes, I always want to make bug and leaf and flowery jewelry. I am paticularily fond of bumble bees! I knew I would have to use these raw brass bees paired with some of the new Swarovski crystal color, Metallic Sunshine. It is a beautiful warm honey color, perfect for this project! To see how to make the set, read below. All the products to make these pieces have links so you can order them and recreate this jewelry!

DIY Rose Quartz Healing Necklace

February 6, 2015

Rose quartz is a such a beautiful stone, pale pink and translucent. I have recently had customers for my personal business requesting more rose quartz jewelry due to the healing powers of this stone. When I looked into it, I discovered that rose quartz is a stone that promotes unconditional love and healing from emotional trauma (such as heartbreak). How perfect for Valentine’s Day!

DIY: Funky Bohemian Turquoise Spike Jewelry Set

February 3, 2015

I love the look of turquoise! I always have. It is very bohemian and hippie chic. Recently, while watching The Bachelor (we all have our guilty pleasures) I noticed that one of the girls was wearing jewelry containing the very turquoise magnesite spikes that we carry at Rings & Things! So I decided to make my own copycat version of her designer jewelry. It was super easy!

DIY Swarovski Applique

December 9, 2014

Did anyone else notice that winter hit overnight? The below-freezing temps are here and it’s time to snuggle up in our warm winter-wear! While I hate being cold, I love wearing coats and all of the fun accessories that go along with them – so I obviously need to be cute while doing it! I’ve also found a passion for the ‘DIY’ trend that seems to be everywhere these days, and I have created a basic tutorial for applique work using Swarovski crystals and an old headband I found in my closet!

20141119_152753

Supplies

1 – John James Beading Needle, Size 10

1 – The Beadsmith Braided Bead Thread, .006in, 28yd spool (I used White)

288pcs (2 gr) – Swarovski Crystal Jams, 4mm (I used Bohemian Rhapsody) OR any color Swarovski Crystal Bicones, 4mm

9 – Swarovski Double Spike Beads (I use 12mm Metallic Light Gold 2x)

10 – Swarovski Wild Heart Crystal Beads (I used 12mm Golden Shadow)

2 – felt squares, about the size of your hand

Pair of scissors

20141117_175149

Now the Fun Part!

20141117_175441_

The beauty of this project is that you can use an assortment of crystals! I try and keep a good balance of large and small crystals, with the larger ones being the focal point. My image above shows my color and size assortment. I went for more of a neutral color palette, really playing off of the golds and light pinks. The Rings & Things Exclusive Swarovski Crystal Jams bead mixes are great for something like this, as they can help you develop a strong color story from the beginning.

20141117_180739 20141117_180928

First, I started by arranging my larger beads in various patterns (2 options I came up with are above). I knew I wanted to do some kind of floral-inspired design. For some people, it may be easier to roughly draw something as well.

Needle & Thread Basics

20141117_182404

I began by cutting a strand of Power Pro bead thread that was about the span of my arms; you can start with a smaller strand than this as this may be easier to manage at first. This thread is pretty amazing – I would not recommend using other threads that you may find at the fabric store because the crystals can actually cut through that type of thread! Power Pro by The BeadSmith is much more sturdy, and you would hate to lose your Swarovski crystals because of the wrong thread!

 20141117_182123  20141117_182205

Once the needle is threaded, tie a basic knot; I did three loops to create a thicker knot.

Step by Step

1.  Now it’s time to sew the final design onto the felt. I like to start at the center of my design when I’m sewing on the crystals. Since you have the basic design laid out and your needle threaded, start by holding one crystal in place with your thumb and index finger; insert the needle from the BACK SIDE of the felt so that the needle appears near the edge of the crystal where the hole is located (see FRONT SIDE image below). The knot that you made should be on the back side of the fabric.

   backside  front side

2.   Thread the needle through the hole in the crystal, and insert the needle back into the felt. Make sure to stay near the crystal’s edge where the needle just exited the hole.

20141117_184017  20141117_184115

3.   Continue doing this for the center crystals (ie. my ‘petals’) and expand to any other large crystals you have (ie. my ‘leaves’). Once you have each of these sewn on, leave your thread where it is. No need to knot anything.

20141117_185953  20141117_190511 20141117_195809

4.   Go ahead and grab your smaller beads – Here, I’m using the 4mm Swarovski Bicone Crystal Jams. We will begin where your left your thread after completing the larger crystal beads. Place 2 bicone crystals on your needle and push them down the thread. I wanted to arrange my bicones around my larger crystals as an outline. As soon as they fit snug against the felt, insert your needle back into the felt, staying close to the edge of the bicone. Continue your way around, using two bicones at a time

This is a fun time to play with color! My outlines consist of 3 or 4 different colored bicones, and they really play off of each other in different lights!

**If you ever run out of thread, just tie a knot on the backside of the fabric, and start a new needle & thread!**

20141117_195820 (1)

20141117_201412 (2)

5.   Once I made my way around, I decided to add a second outline with the bicones. It is completely up to you – be creative and try some different things! Once you have finished sewing all of your Swarovski Crystals, insert the needle down through the front side and tie a knot in the back; you can use the same knot technique that was demonstrated earlier!

20141117_210512

Creating a Finished Edge

1.   Cut the felt around the crystals, leaving 1/4 inch allowance on the outside.

20141118_132730

2.    Take your second piece of felt and cut an identical piece

20141118_132951

3.   Time to start with some fresh thread! Tie the same knot as shown above and insert the needle from the backside, to the front side like below. Pull the needle through until the knot is snug underneath.

20141118_133025

4.   Grab your second piece of felt and place it underneath your original piece. Insert your needle through both pieces of felt, starting with the new piece. See photo below for reference. Pull all the way through; the felt should curl up as you pull the thread as tight as you can.

This second piece of felt hides all of the thread work you have underneath, while also stabilizing and protecting these stitches from wear and tear.

20141118_133633

5.   Start working your way around the felt, using the same technique in step 4. You can see the difference in the two photos below – I have completed the technique on the upper right hand side.

20141118_134355 20141118_134407

6. Once you have completed this step, your applique is complete! You can use this for scarves, headbands, gloves, apparel, etc. I have attached this to a headband, and I used the same technique from steps 4 & 5. It’s that simple!

20141119_152633_

20141119_152648_

All of us at Rings & Things would love to see any applique work you have created! Please send us pictures or post them below! 🙂

Happy Winter!

– Laura

Custom Swarovski Rivoli and Charm Necklaces

December 5, 2014

Ball Chain + Swarovski Rivoli + Silver Plated Charms
I love sweet little customized necklaces! These necklaces make the perfect gift for girls of any age! As an added bonus, these necklaces are very quick, easy, and affordable to create! They would be an ideal item for people to customize on an etsy store, or for people to create on the spot at a craft fair as a build your own necklace!

The total cost for making 20 necklaces, with a charm and a set Swarovski crystal= $85.05 or about $4.25 a necklace.  That will also leave you with chain and clasp to make another 40 or so necklaces! One spool of ball chain can make over sixty 18-inch necklaces! The more necklaces you make, the cheaper each one will cost to make.

Supplies for this project (plus jump rings and ball chain clasps, not pictured)
Let’s look at the cost breakdown:

Total =           $85.05
To make these necklaces you need just three tools: round-nose pliers, chain-nose pliers, and wire cutters. Follow these simple steps to make the necklaces!
Step 1: Cut your chain.

Cut chain in between two ball segments

18 inches is standard length. If you are going to do this as a build your own for a craft fair or event, cut several at the same time.

Step 2: Set your crystals. 

The 14mm rivolis will be just a little loose in the bezel setting.

Squeeze your round nose pliers around the loop at the top!

It only takes a few seconds to set the crystals! Once the bezel is squeezed the crystal will be secure in the bezel.

Step 3: Add jump rings to your crystals.

Use the stainless steel jump rings for extra security. Remember to twist the jump ring apart, not pry it open.

Step 4: Add jump rings to your charms. 

Same deal, twist apart, don’t pry open. This way the jump ring will close flush!

Step 5: Create! Mix and Match! 

Pick a crystal!

Pick a charm!

String onto cut chain.

Step 6: Add a clasp to your necklace.

Drop ball end into the opening on the clasp.

Pull chain to the side, so that it clicks into place!

Endless possibilities!

Craft Fair or Show Idea! Build-Your-Own Necklaces
This is a great project to do for yourself as gifts, but it is also great for a build your own necklace at a craft fair or show! Simply have all the components ready to go, and let people choose what they want! Make a price sheet that charges a base price and then additional for each charm or crystal they want to add!

Make a display/station at a show where people can make their own necklace!

One dish with charms, one dish with crystals.

Online Store Idea! Customize your own Birthstone and Charm Necklace
Have an etsy store? Etsy has made it so easy to add customizable items to your store! Take a photo of all the options of crystals and charms you offer, and make an item in your store that people can customize! People love custom items! I choose these crystals to coordinate with birthstones and a random assortment of charms, but you could pick whatever colors and charms you like!

Choose your crystal color!

A. Silver Shade (Diamond)- April
B. Provence Lavender (Alexandrite) – June
C. Light Rose (Rose Zircon) – October
D. Lt. Siam (Ruby)- July
E. Siam (Garnet)- January
F. Amethyst– February
G. Sapphire– September
H. Denim Blue (Blue Zircon)- December
I. Aquamarine– March
J. Emerald– May
K. Peridot– August
L. Lt. Colorado Topaz– November

Choose your charm!

A. Watering Pail
B. Bumble Bee
C. Dragonfly
D. Cross
E. Tennis Racket
F. Basketball
G. Horse
H. Skeleton Key
I. Flying Bird
J. Yoga Om
K. Soccer Ball
L. Feather Charm
Matching Earrings? Why Not!

I just love these necklaces so much! I especially love these rivoli bezels. They are super easy to use, inexpensive, and a beautiful way to frame the rivolis! Of course you can always make them into to simple matching earrings too! Just add your choice of earring wires! Total cost of the earrings, around $5! Total time to make them, about 2 minutes! Not bad! Well, I hope you can see the endless possibilities with rivoli crystals!
~Tiffany White

How to make crystal angel earrings

October 28, 2014

When I first saw the cool shape of Swarovski’s crystal dome beads (from their Fall/Winter 2014/15 Innovations), two thoughts immediately came to my mind – bell and angel skirt.

Dome Bead Innovation

Dome Bead Innovation

This tutorial shows you how to use these sparkling faceted beads to make angel skirts for earring designs. The exact same combinations can also be used to make single angels for pendants, bookmarks, gift tags, and more!

There are two styles of Swarovski dome beads to choose from. The large dome beads give you a more elongated shape:

#5541 Large Dome Bead

Article 5541 Large Dome Beads

The small dome beads have a more rounded out bell shape:

#5542 Small Dome Bead

Article 5542 Small Dome Beads

The main components of any crystal angel design are: halos, heads, wing beads, and bodies:

Angel Earrings in Progress

Angel Earrings in Progress

TierraCast makes a variety of wing bead styles. Additional wing beads are also available in base metal and sterling silver.

Various Metal Wing Beads

Various Metal Wing Beads

Popular bead styles for halos include heishi, and beaded heishi beads as well as rhinestone rondelles.

Metal Halo Beads

Metal Halo Beads

Here are several combinations of halos, wings, and bodies in different colors and sizes. For a complete parts list of supplies ready to buy, click each image below! (Or browse our Rings & Things Design Gallery.)

Heavenly Angel Earrings

Heavenly Angel Earrings

Lilac Shadow Angel Earrings

Lilac Shadow Angel Earrings

Angel in Training Earrings

Angel in Training Earrings

Blue Shade Angel Earrings

Blue Shade Angel Earrings

Christmas Angel Earrings

Christmas Angel Earrings

Forest Fairy Earrings

Forest Fairy Earrings

Other popular shapes for body include the Teardrop bead and the cone-shaped Swarovski Crystal Artemis bead.

Crystal Angel Earrings with Teardrop Beads

Crystal Angel Earrings with Teardrop Beads

Artemis Crystal Angel Earrings

Artemis Crystal Angel Earrings

Keep in mind that angels can be any color! Choose whatever colors you like for whatever mood you’re in!

Dark Fairy Earrings

Dark Fairy Earrings

No matter whether you’re preparing for Christmas or you’re a year round angel aficionado, take inspiration from these designs and create your own heavenly host.

~ Rita