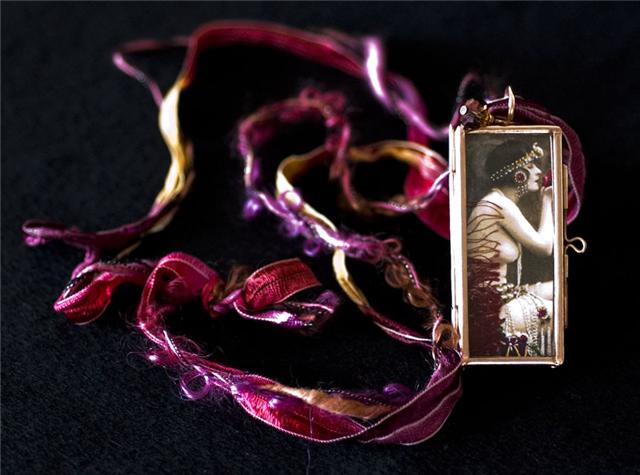
Hi Bloglandia! Last weekend I did a demo in our Spokane showroom on how to use Sherri Haab’s Image Transfer Solution (ITS) and thought now would be a good time to share these techniques for colorizing metal with everyone.
Image transfer is just that – transferring an image from the paper it is printed on to a different surface (in this case, metal jewelry components). Image transfers have a vintage, ethereal feel, and I love how the different colors of metals shine through. Unlike many of the other solvents and processes used for image transfer, Image Transfer Solution (ITS) is non-toxic. Yay! Plus, it has another purpose not even mentioned on the bottle: it is an excellent way to seal colors onto metal (more on that in a bit).
Transferring Images – ITS Method #1
One caveat: The images you use must be printed on a laser (toner based) printer. Ink jet pictures will not work. The pictures can be black or white or color. Photos and text should be reversed before you print, since transfers will be mirror images.
To be honest, I did not like ITS the first couple of times I tried it. I kinda hated it. Following the directions on the bottle, I prepped my metal with steel wool and heat-set the images in a 325 degree oven – just like it said! – but things just kept going wrong. Either my images would wash right off the metal or the paper would be so very stuck to the metal that no amount of scrubbing would remove it. But I loved the concept, so I kept playing with it. Below is my own method for using ITS. Maybe the package directions will work like a charm for you. If not, I hope my tips and tricks help:
- Scuff up your metal (aluminum, brass, copper and silver all work great) with a medium grit sanding pad or sand paper. Steel wool leaves the surface too smooth, in my opinion.
- Wash metal with rubbing alcohol to remove dirt, dust and oil – even if it looks clean!
- Using a clean, dry paintbrush, evenly coat the prepped metal with just a couple of drops of ITS.
- Press image face-down onto metal and press firmly into place to remove any air bubbles. ITS is like glue – you will not be able to reposition your paper at all, so be careful to place it where you want it! Let dry. Use an iron (high heat, no steam) to heat the metal for 1 or 2 minutes. Don’t worry, the paper won’t burn. Let metal cool.
- Place the metal into water and using a gentle circular motion, begin rubbing the paper off, leaving the image behind. Don’t get to aggressive or you could lift off parts of the image. Patience pays off here.
- After most of the paper is removed, use a sheet of polishing paper and more water to remove the finer paper fibers.
- After all of the paper is removed, seal the image with a dab of Renaissance Wax and a soft cloth. It really improves the luster.
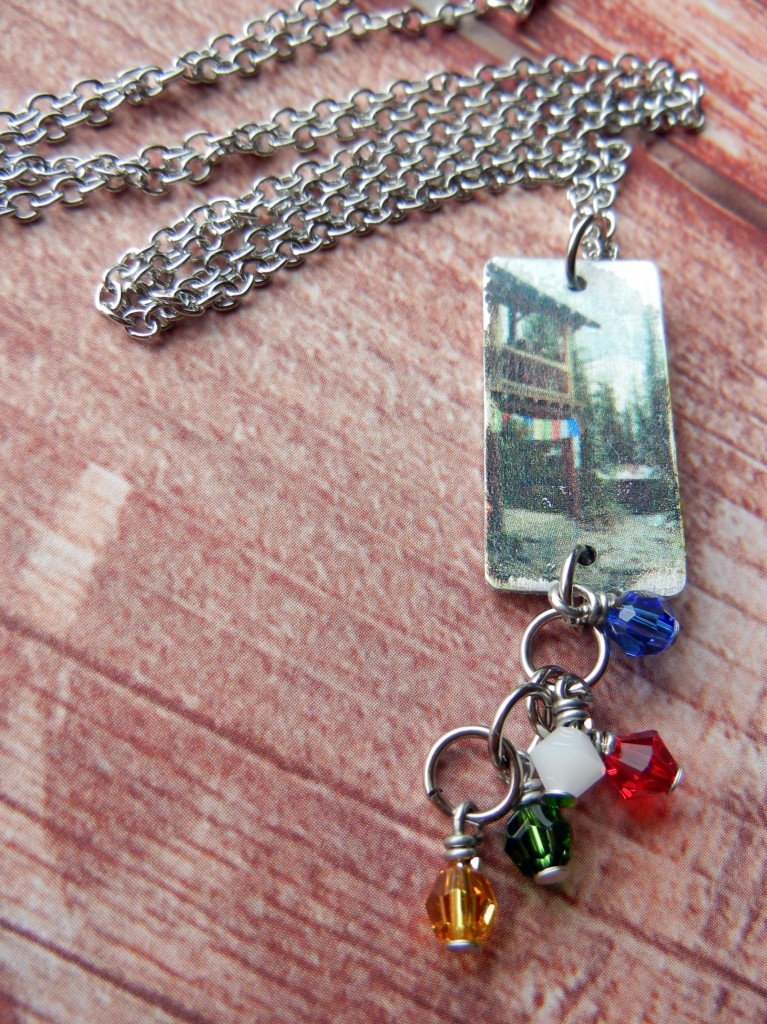
My photograph looks like a vintage postcard after being transferred onto aluminum. The Swarovski beads are the same colors as the prayer flags hanging on the mountain tea house.
Complete your jewelry piece! The image is permanently attached. You can even punch holes or dap the metal and it won’t come off!
Sealing Colors – ITS Method #2
Image Transfer Solution can also be used to permanently seal inks onto metal! Ranger Adirondack Alcohol Inks are tons of fun to mix and blend onto non-porous surfaces, like metal, but since they are ink, they can be rubbed or washed off. That is, unless you seal them with ITS. When you heat-set ITS, it binds the color to the metal. It will not wash off or bleed onto your customer’s skin.
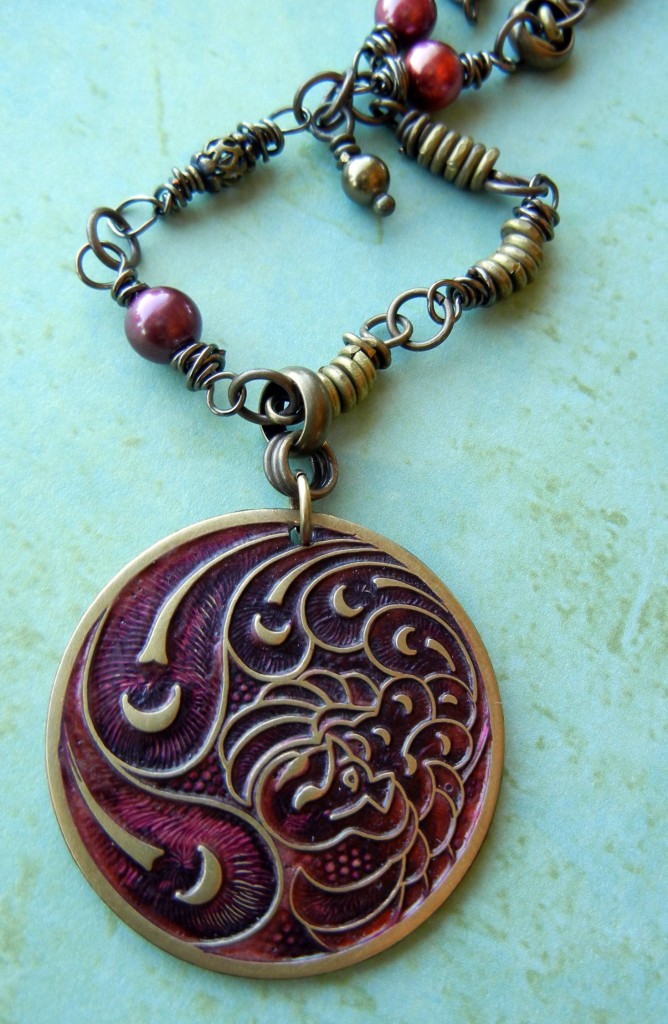
Vintaj fussy peacock pendant colorized with alcohol inks for a faux enamel look.
You can color your metal with alcohol inks and then, after they’ve dried, paint a thin layer of ITS over the top. Another option is to mix the ITS directly with your inks (just a few drops of each) and paint that mix onto your metal. Either way, once the ITS has dried, you need to heat-set it to make the bond permanent. Just follow the directions on the Image Transfer Solution package for using an oven to heat-set (the iron won’t work for this application).
There you have it! Two tried and true methods for permanently coloring your metal pieces for jewelry and other applications. Although this post focused on metal, Image Transfer Solution can be used on polymer clay, etched glass and other surfaces too! Since it really only takes a couple of drops per image, you’ll have plenty to experiment with! ~ Cindy
PS: here are some handy links to some other how-to‘s in the Rings & Things blog!
- How to dap & dome metal jewelry
- How to use heat to patina brass charms & filigrees
- How to make interchangeable magnetic jewelry with 1″ buttons
- How to make polymer-clay pie earrings using mini bottle caps as pans
- How to get creative with hair sticks
- How to make wrapped leather bracelets
- How to get creative with hair sticks





 COLORADO: Had an exciting day yesterday! Had a fire in the cab!


