Browsing Category

Uncategorized

Customizing Tim Holtz idea-ology® Word Bands for a Handmade Look

August 5, 2013
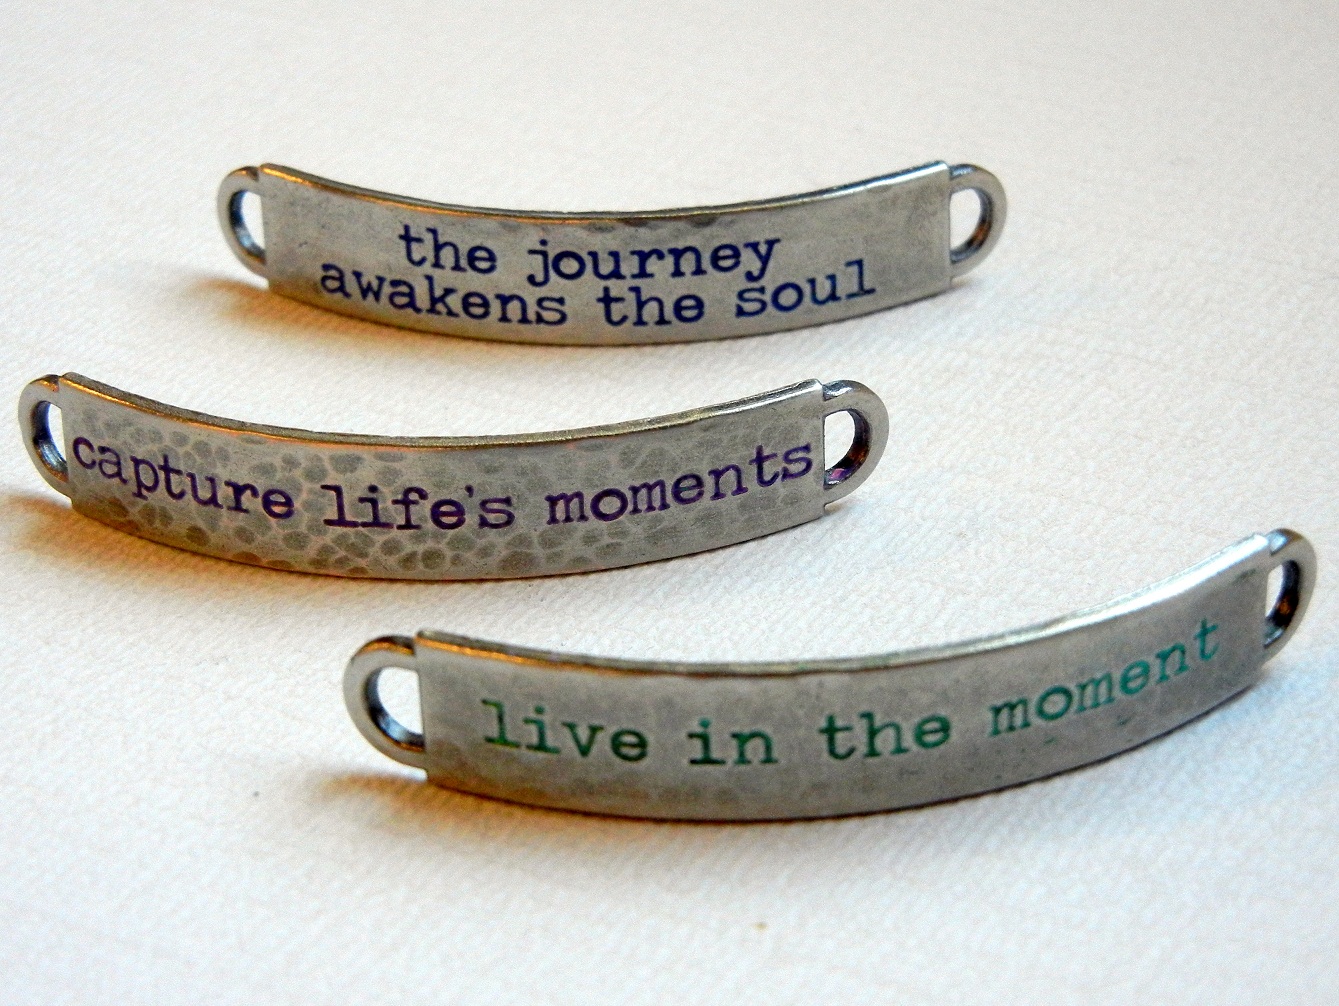
Use Tim Holtz idea-ology® word blanks to create "handmade" stamped bracelet blanks.
With just a few metalworking tools, you can easily turn Tim Holtz idea-ology® word bands into stamped bracelet blanks with a handmade appearance.

I love hand-stamped metal jewelry and given the popularity of this jewelry trend, chances are you do too. Metal stamping takes a few tools, basic stamping instruction, and practice; and sometimes more practice. But even though metal stamping is fairly easy, turning Tim Holtz idea-ology® word bands into bracelet blanks is even easier. Plus who can resist the 12 inspirational quotes?

The following is a DIY tutorial for turning Tim Holtz idea-ology® word blanks into curved bracelet blanks for use in your mixed-media jewelry projects.

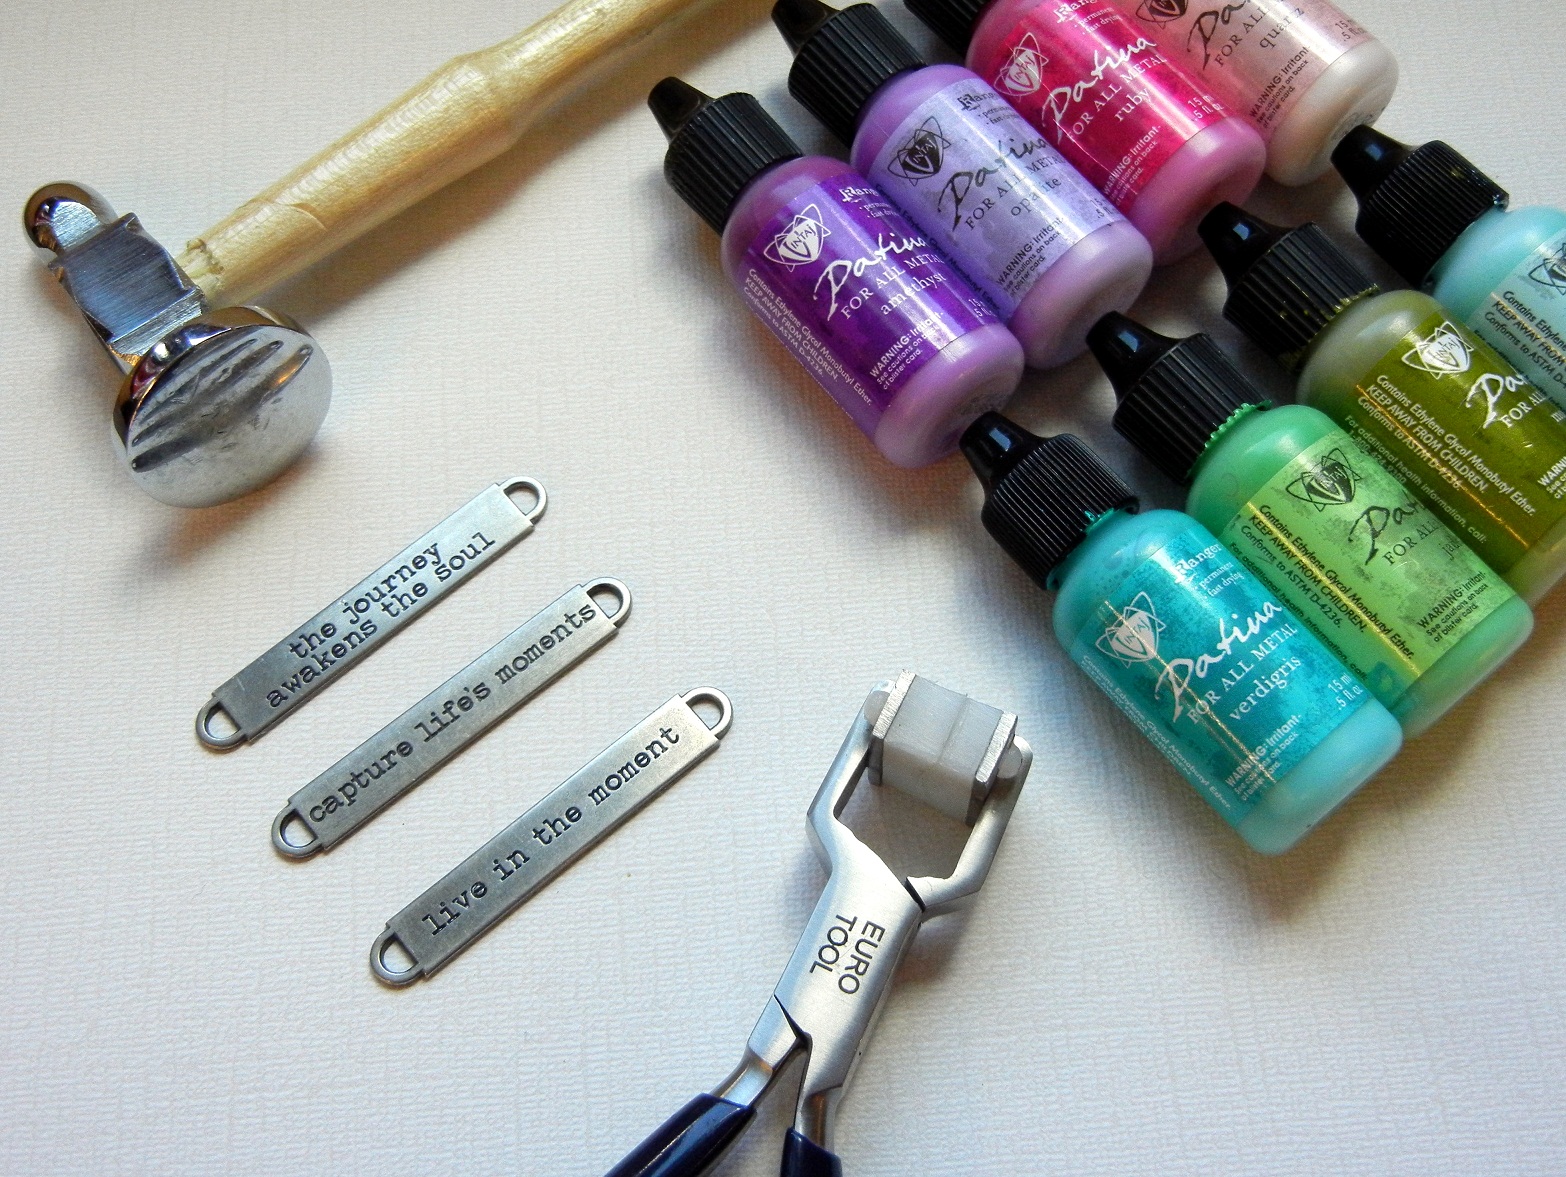
You will need these tools and supplies to make a Tim Holtz idea-ology bracelet blank.
Step 1: Gather the tools and supplies necessary to customize your “stamped” metal bracelet blank.

You will need these tools and supplies:

Use the pein side of a chasing hammer and a steel block to add texture to Tim Holtz idea-ology word bands.
Step 2: For a handmade look, add a “hammered” texture to the word band.

Tape the word band, script side up, to the steel block with masking tape. Repeatedly strike the word band with the pein side of the chasing hammer to add a hammered texture. Remove the word band from the steel block.

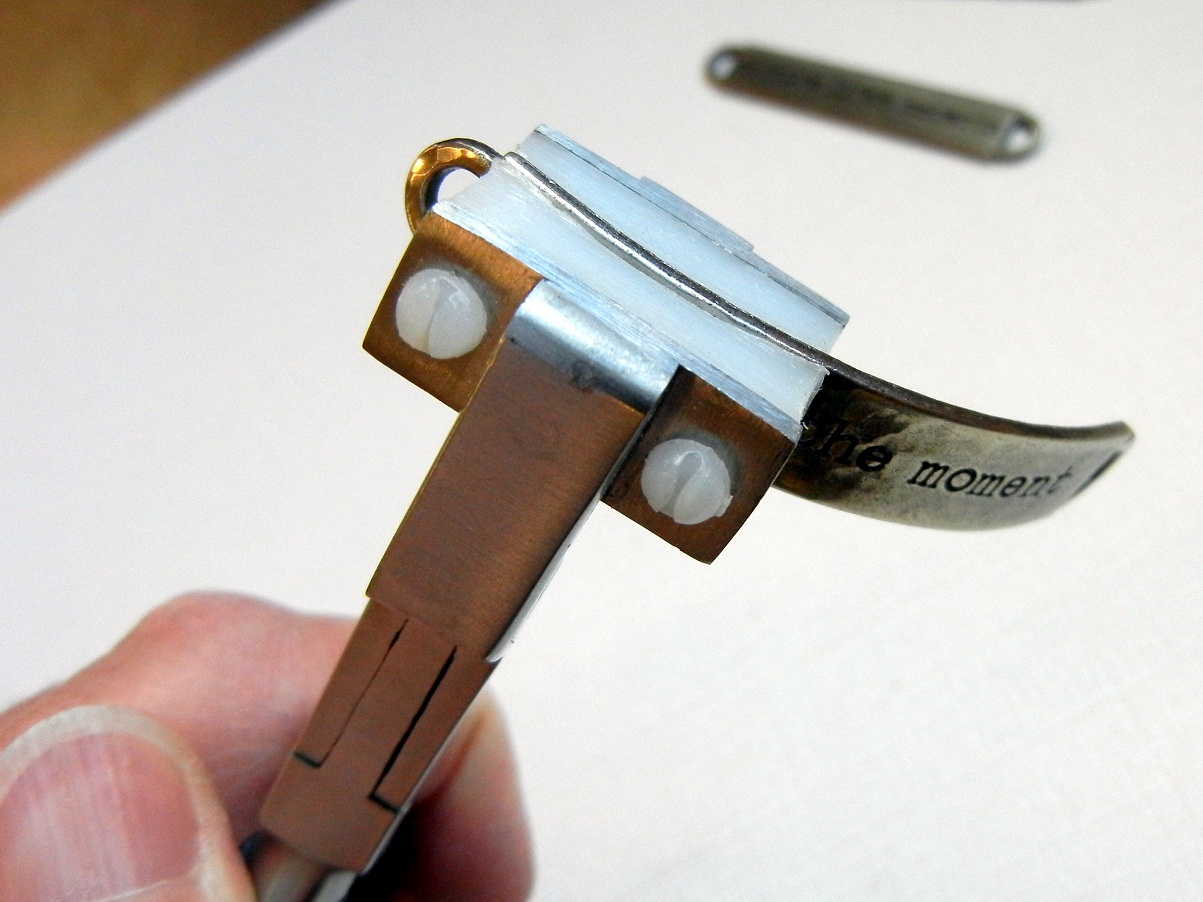
 Use bracelet-bending pliers to turn the Tim Holtz idea-ology word band into a curved bracelet blank.
Step 3: Shape the word band with nylon-jaw, bracelet-bending pliers.

Use nylon-jaw, bracelet-bending pliers to turn the idea-ology word band into a curved bracelet blank. Place the flat blank lengthwise in the pliers’ jaw with the script side facing the concave half of the jaw. Gently squeeze the pliers. Reposition the blank and repeat until the word band is fully curved.

.

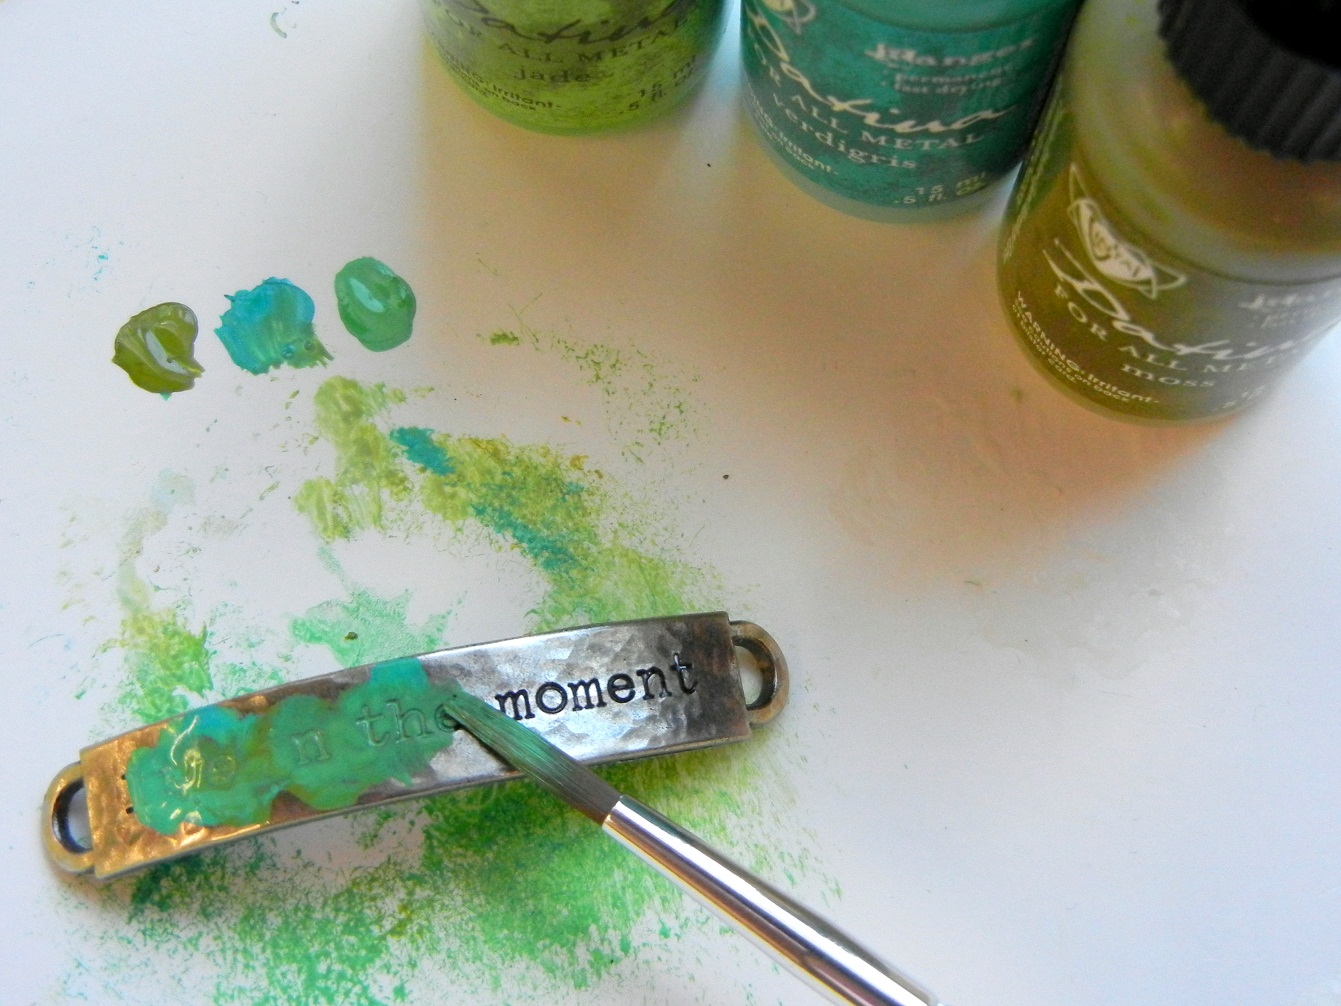
For a splash of color, paint the idea-ology word band's script with Vintaj patina.
Step 4: Add color to the word band script by applying Vintaj patina.

For a splash of color, paint the idea-ology word band’s script with Vintaj patina. Use a paint brush to liberally apply the patina to the word band, making sure patina is applied into all the letter indentations. You can use a mix of patina colors, or a single color. Allow to air dry for a few minutes.

.

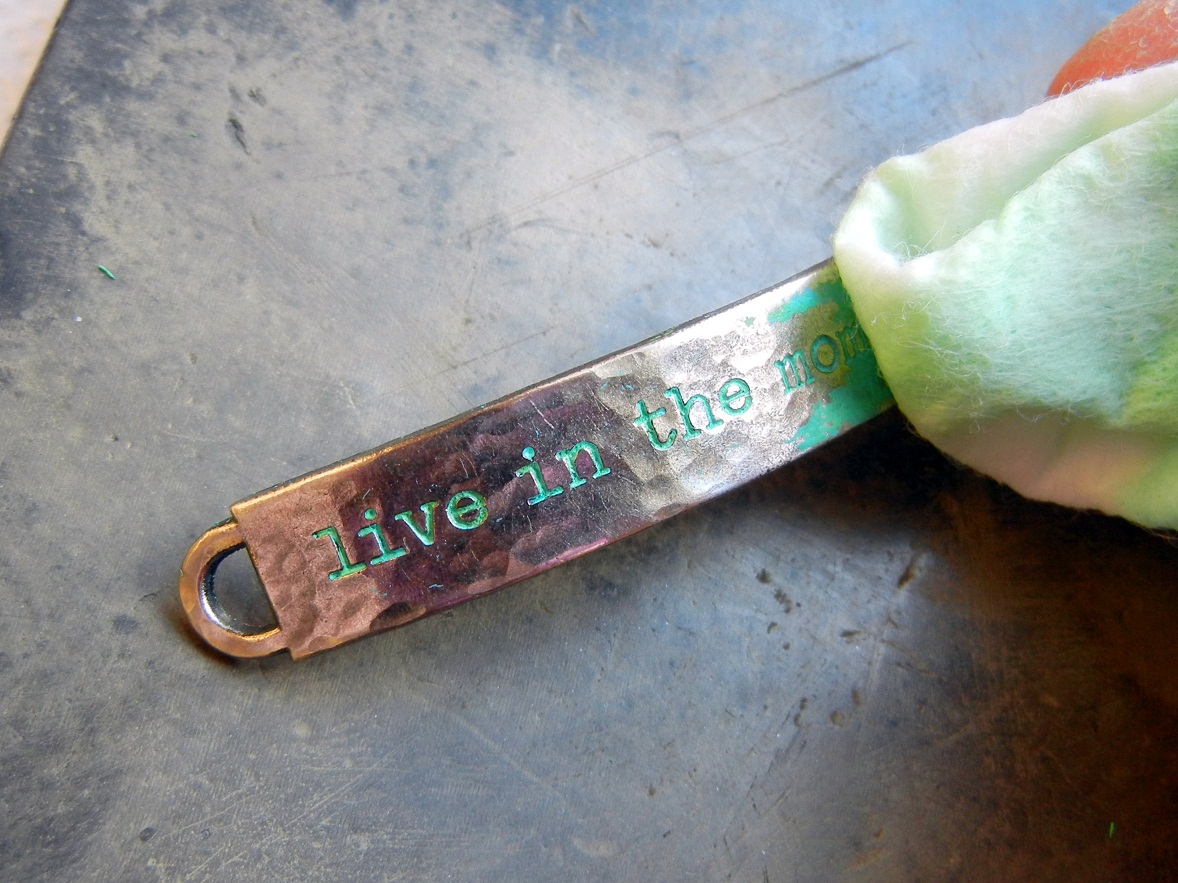
 eWipe the surface of the word band with a damp paper towel or baby wipe to remove the excess patina. Be careful not to remove the color in the letter indentations.
Use a baby wipe or damp paper towel to remove the excess patina.

Wipe the word band with a damp paper towel or baby wipe to remove the excess patina. As you wipe, be careful not to remove the color in the letter indentations. Allow the patina to fully dry.

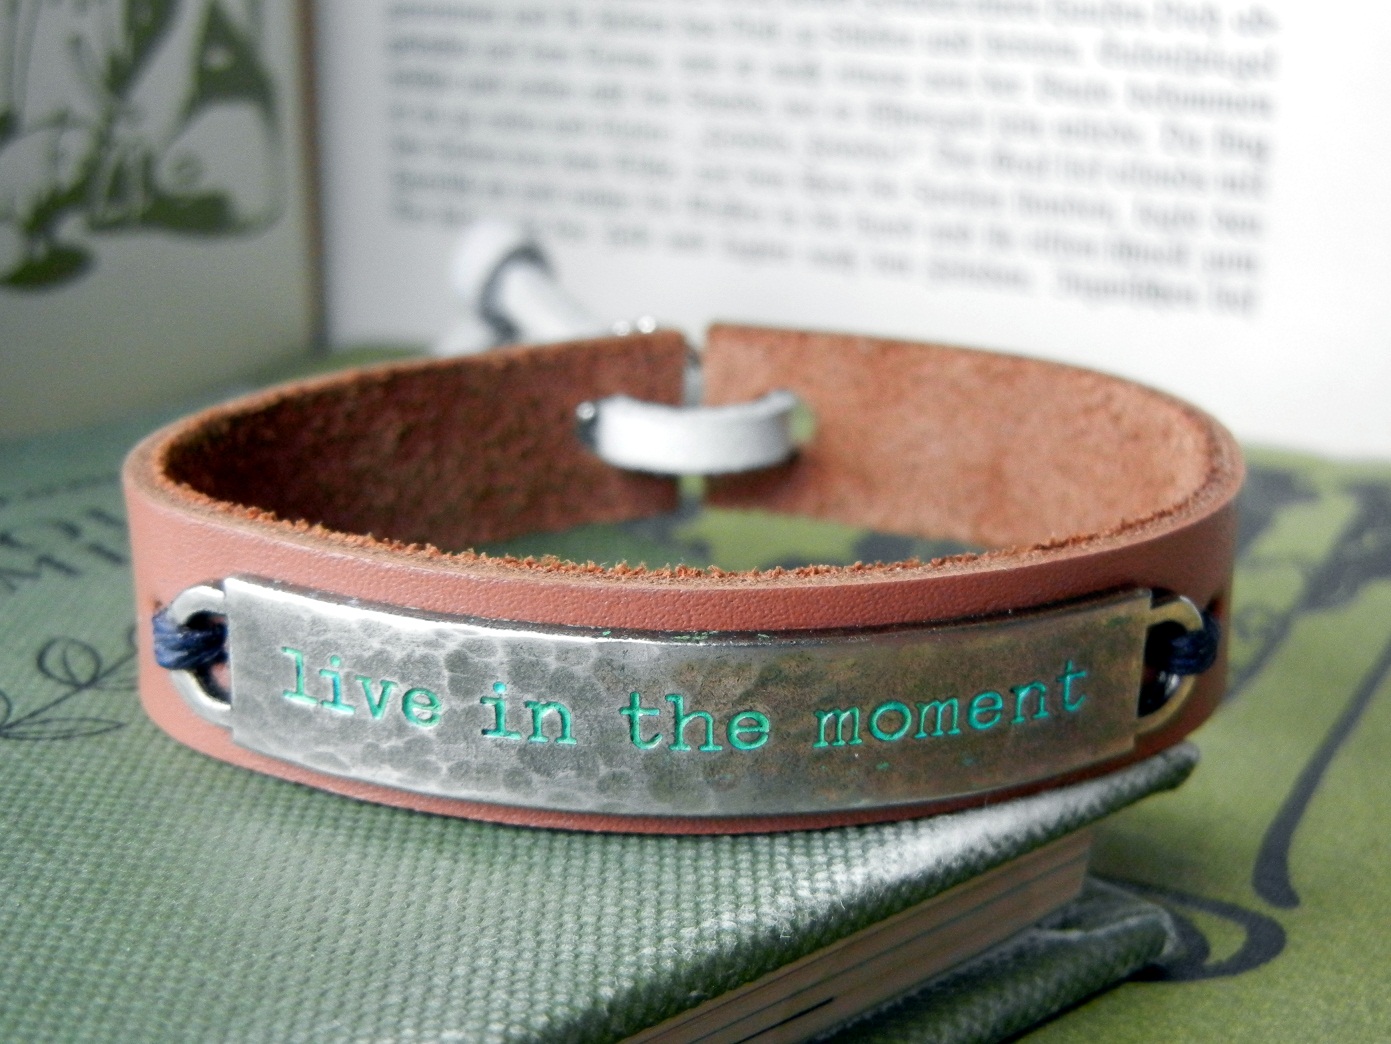
To finish a bracelet, just stitch or rivet the idea-ology word band bracelet blank to a leather cuff.
The finished “handmade” bracelet blank is ready to adorn the bracelet of your choice.

Now your “stamped” bracelet blank is ready to adorn your choice of bracelet (or maybe you turned all 12 word bands into bracelet blanks). In the next Rings & Things Blog post (How to Make Leather Bracelets – Two Finishing Methods), I will share two ways to finish leather cuff bracelets using the customized word bands and our new colorful leather strips. oh, and “word” from Tim Holtz is we can look forward to new styles of word bands coming soon, “Word Bands Observation” and “Word Bands Christmas”.

Make things!

Mollie

Easy to Make Lashed Rhinestone and Leather Bracelet

July 10, 2013

Learn to make a rhinestone and leather bracelet in just minutes.

Create wrapped bracelets with this simple lashing technique.

Making wrapped bracelets just got easier because this simple lashing technique takes just minutes to learn.  You can combine leather cord with rhinestone chain for a sophisticated style or use ball chain and leather for an industrial look.

Continue Reading…

Bike to Work Week 2012

May 25, 2012

bike-to-workRain. Sun. Wind. More rain. Gusts of sun. We’ve had it all this week! And yet, we (some of) the ladies of Rings & Things have ridden our bikes to work!

bike-week-2012

Polly, Cindy, Amy, Melissa and Gretchen!

Amy, in the middle, is our ETC. An ETC is an Employee Transportation Coordinator for Washington’s Commute Trip Reduction (CTR) program/law. Yes, law. For employers with more than 100 employees in one location, the state mandates compliance with the CTR, since people driving alone to work creates so much air pollution. Rings & Things doesn’t have to comply with CTR, but we like to be green! Plus the CTR offers fun prizes and incentives to reward people who use public transportation, carpools, bikes or their own two feet to travel to work.

A lot of people use clothing issues as an excuse to not ride, so I feel like I must point out how nice we all look! Dresses, slacks – jewelry of course – Polly is even wearing a WHITE SKIRT. She is obviously much braver than I. BikeStyle, you should be proud of your fellow Spokanites! While none of us are sporting heels, I do admire Barb Chamberlain’s ability to bike in pumps. Again, she is obviously much braver than I.

roast-house-spokane

Roast House poster.

Finally, thank you to Roast House Coffee here in Spokane for contributing their most excellent coffee to the energizer station Rings & Things hosted on Wednesday morning for bike commuters heading to work. We all need to be alert on the road!

Cloverleaf Connectors: My new favorite thing!

January 27, 2012

I am always looking for ways to incorporate messages or cute little phrases into my jewelry. I think a word or phrase can change the whole meaning of a piece of jewelry. By adding words, you can add emotion to your designs. So when we added new stamp-able Cloverleaf Connectors to our inventory, I just couldn’t resist making a pair of earrings to show off their stampability!

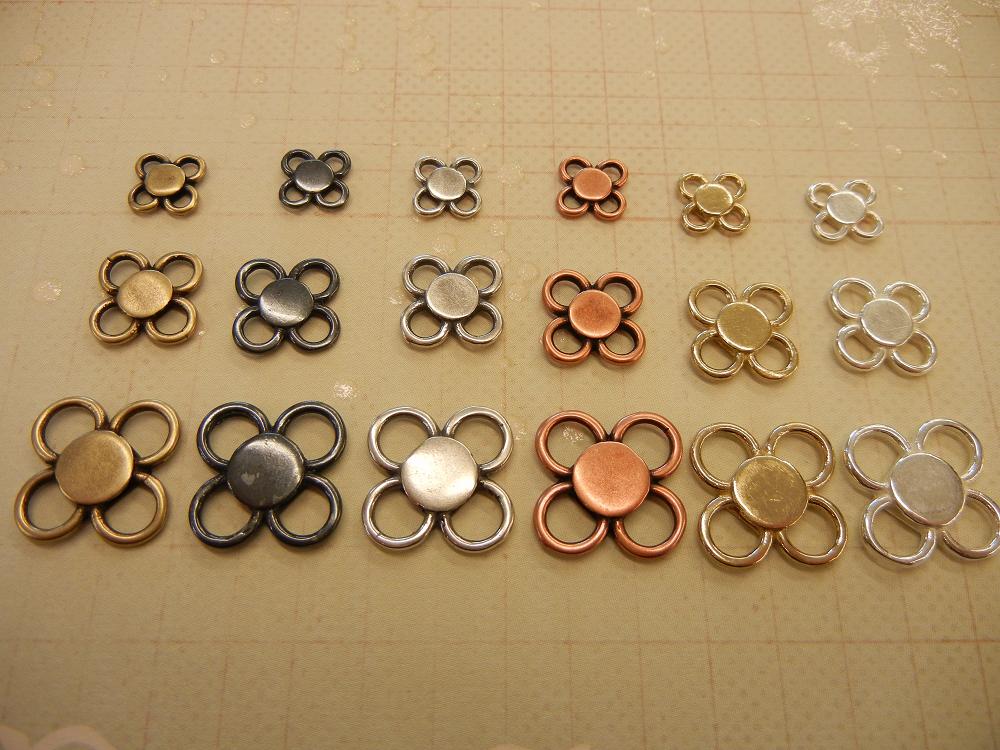
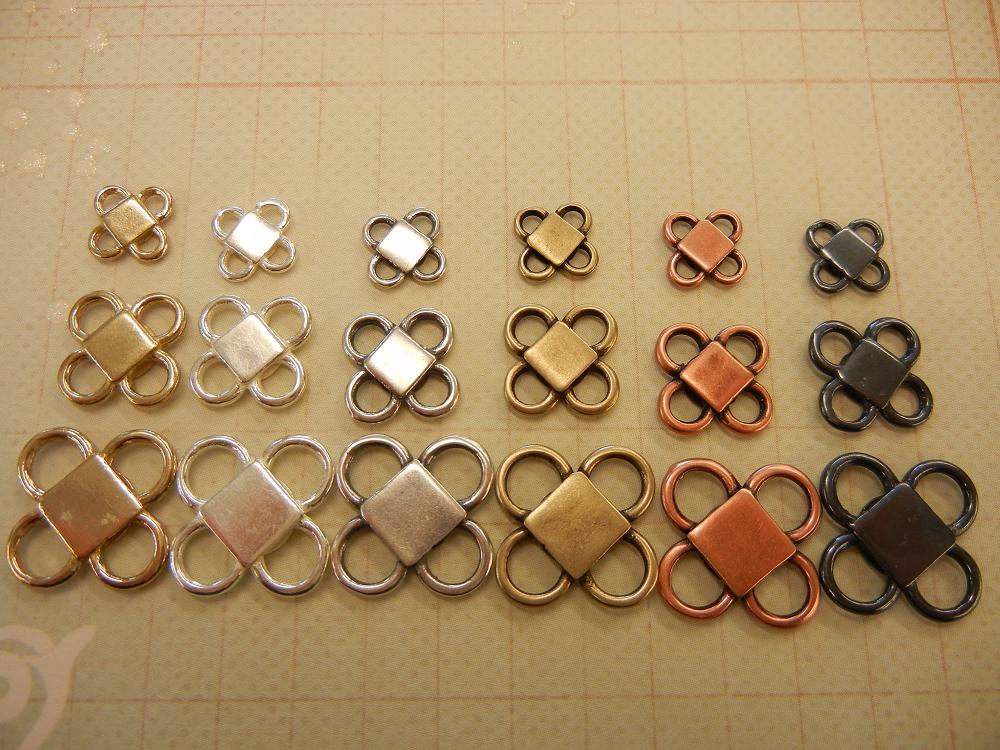
All six platings and all three sizes with the circle side showing.

All six platings and three sizes with the diamond side showing.

The connectors come in three sizes and six platings. The sizes are 9mm, 12mm and 16mm and the platings are raw brass, antique brass plated, antique silver plated, antique copper plated, gunmetal, and silver plated. They are also two sided and you can even stamp both sides! So let me show you how I created these and hopefully you will be inspired to create a pair of your own.

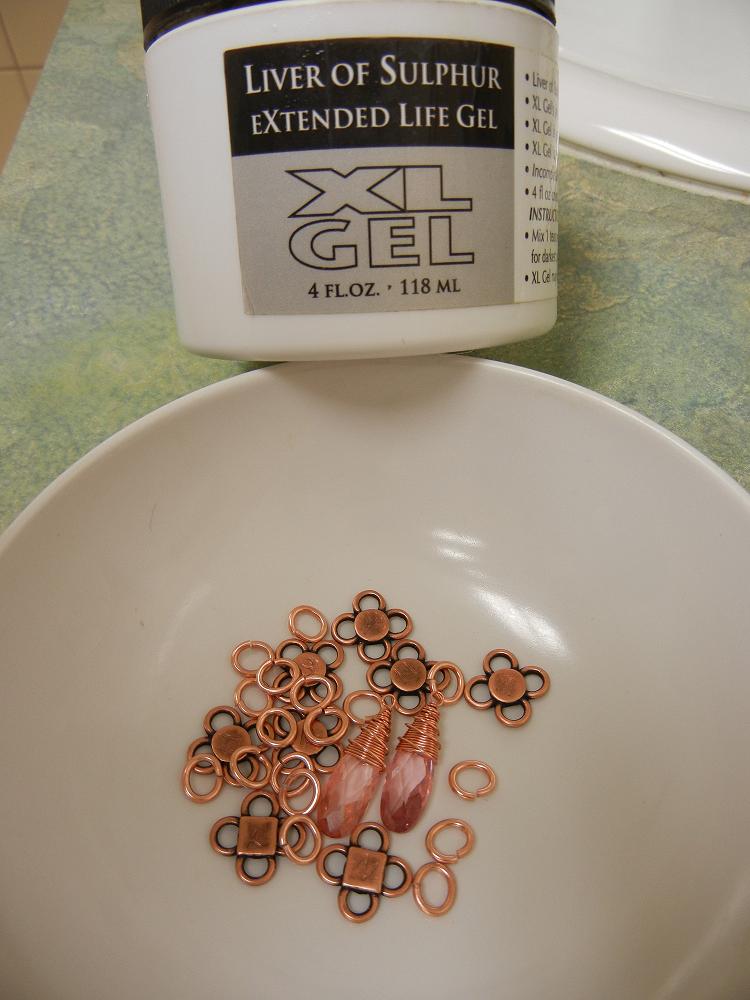
Everything needed to make these cute earrings. See the list below for links to the supplies.

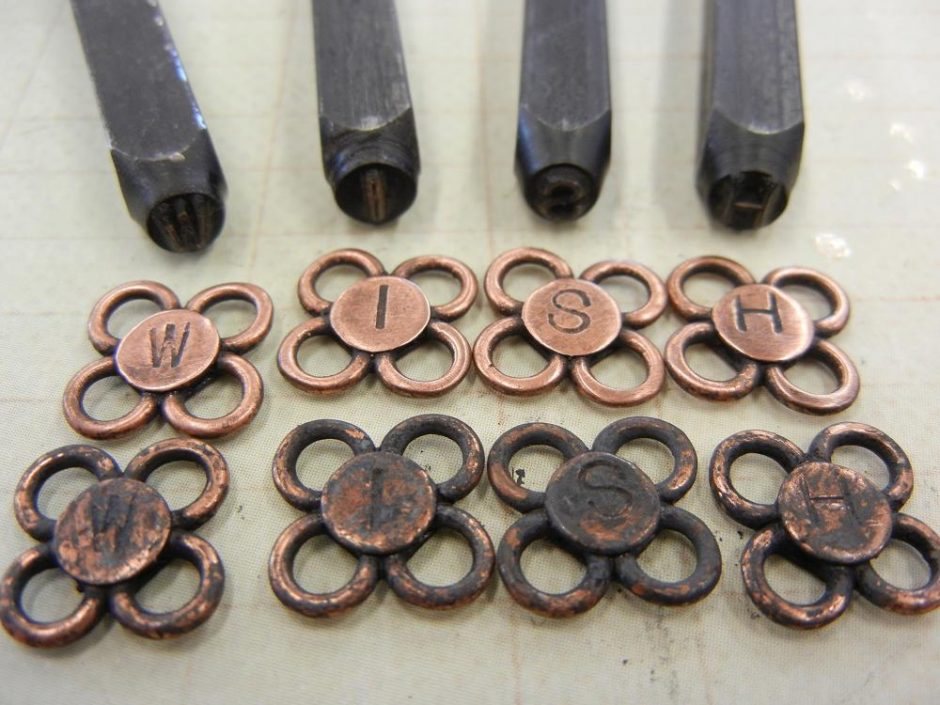
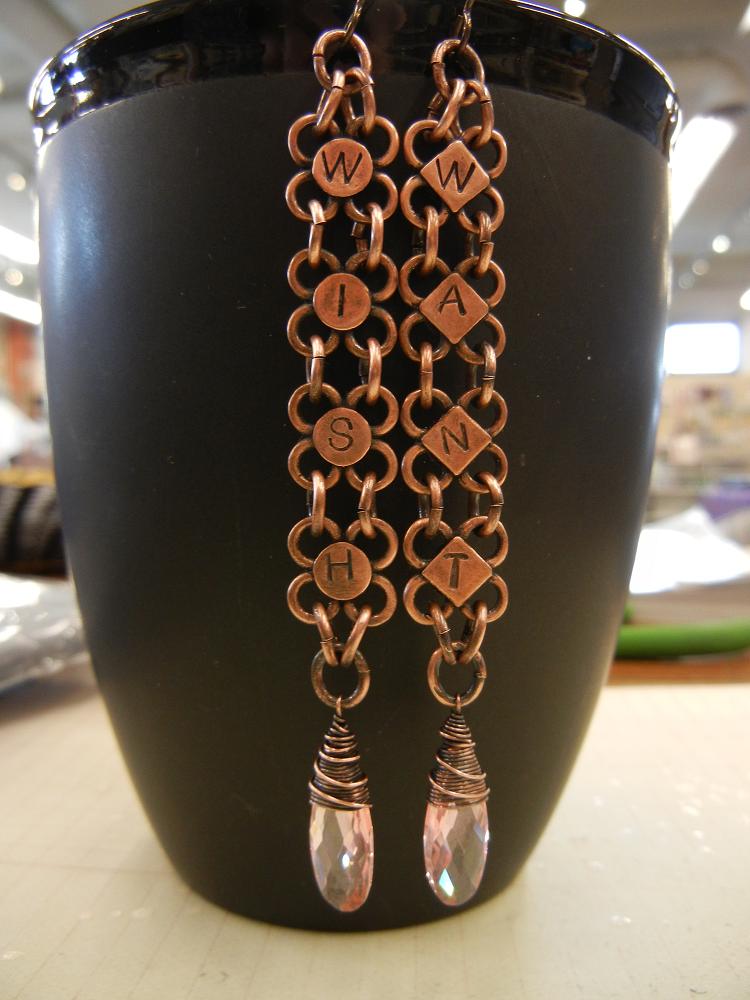
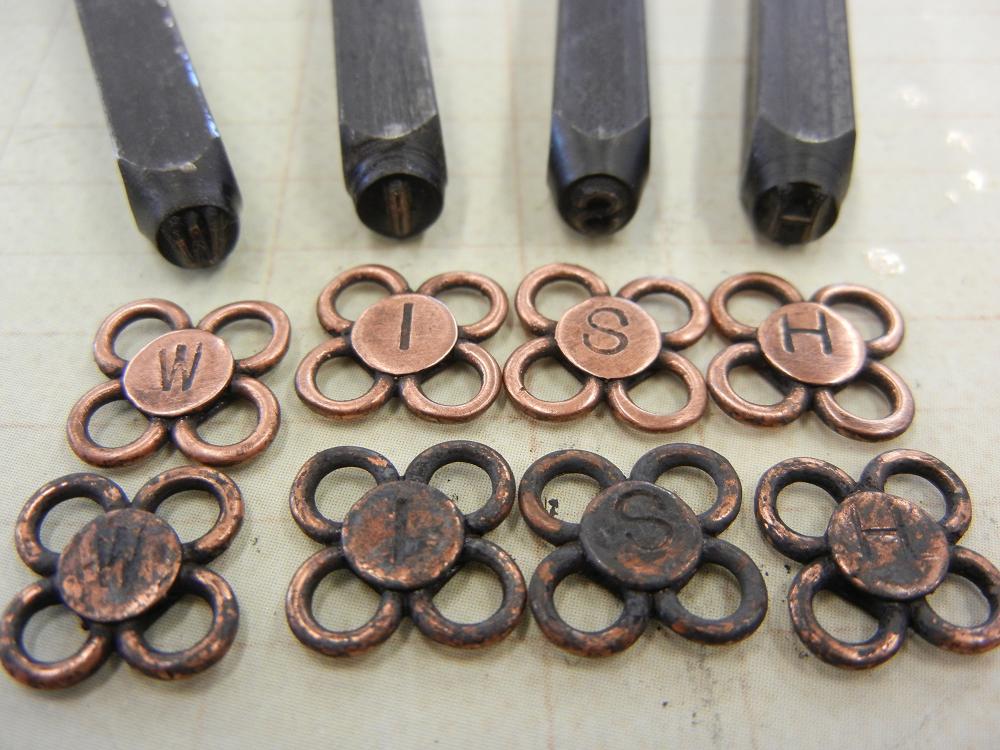
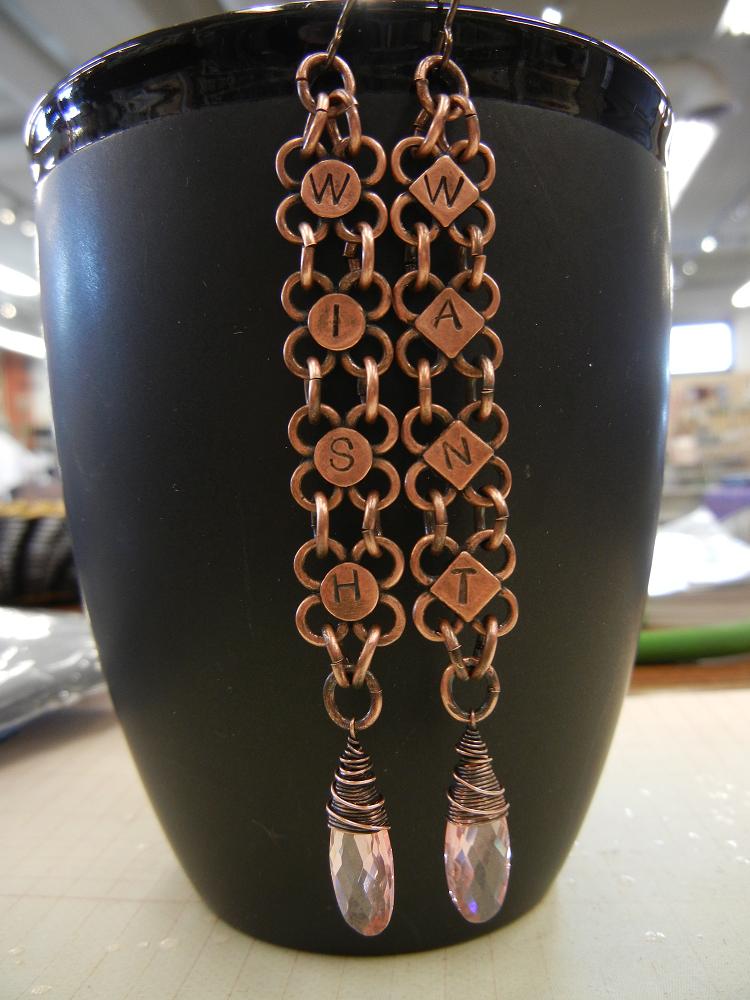
I am an antique copper kinda girl myself so that is what I chose to use for this design. I wanted to make a somewhat whimsical pair of earrings, so I stamped WISH and WANT into the earrings, but you could choose any 4-letter word… naughty or nice 😉 … to convey your message. Here are the supplies needed to make these earrings:

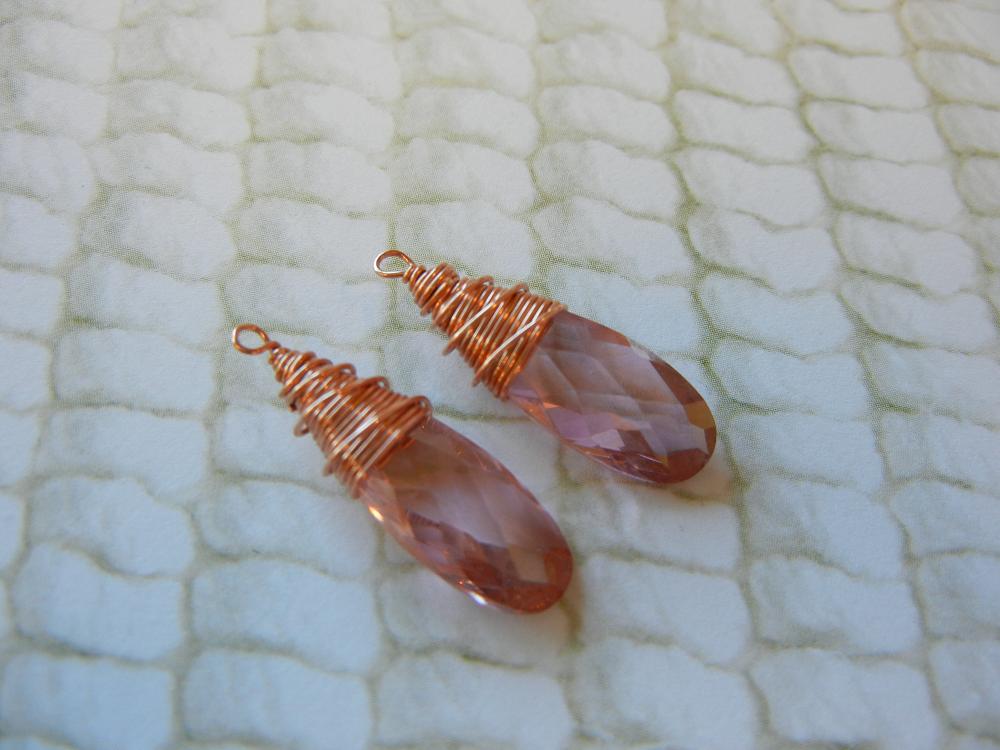
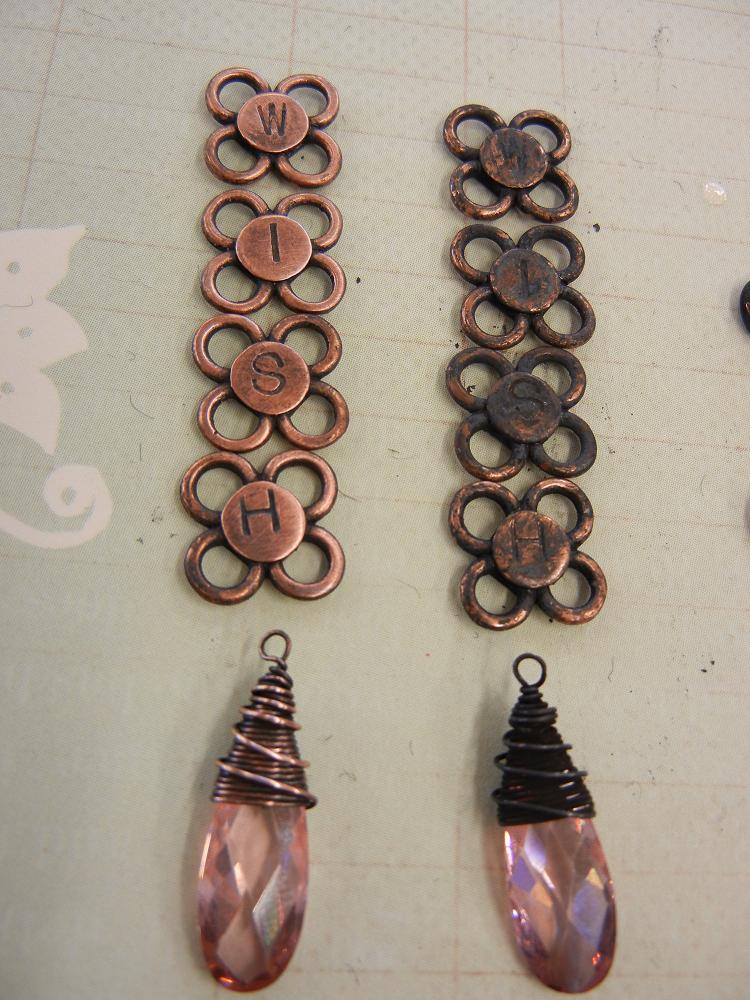
Wire wrap the cubic zirconia briolettes. See the link at the bottom of the page to learn how to wire wrap a briolette.

Stamp your desired words onto the connectors. They are two-sided, so you can choose two different words to stamp.

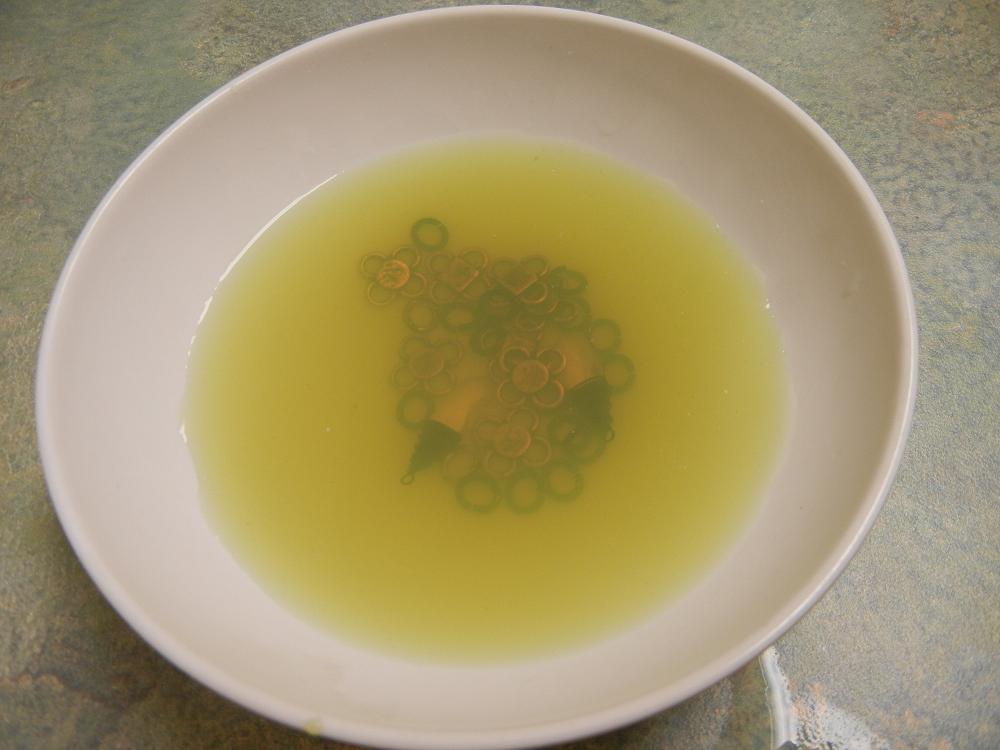
Use an antiquing solution to darken the jewelry components. *note: plated findings are not intended to be antiqued. The patina will most likely not be consistent, but the intention is only to darken the lettering. *

I used Liver of Sulfur. When you mix the gel with warm water, it will make a yellow (saffron colored) solution.

After being antiqued, the copper components will turn black.

Use a little steel wool to buff away the patina, this will make the letters really “pop”.

See what a difference a little buffing can make!

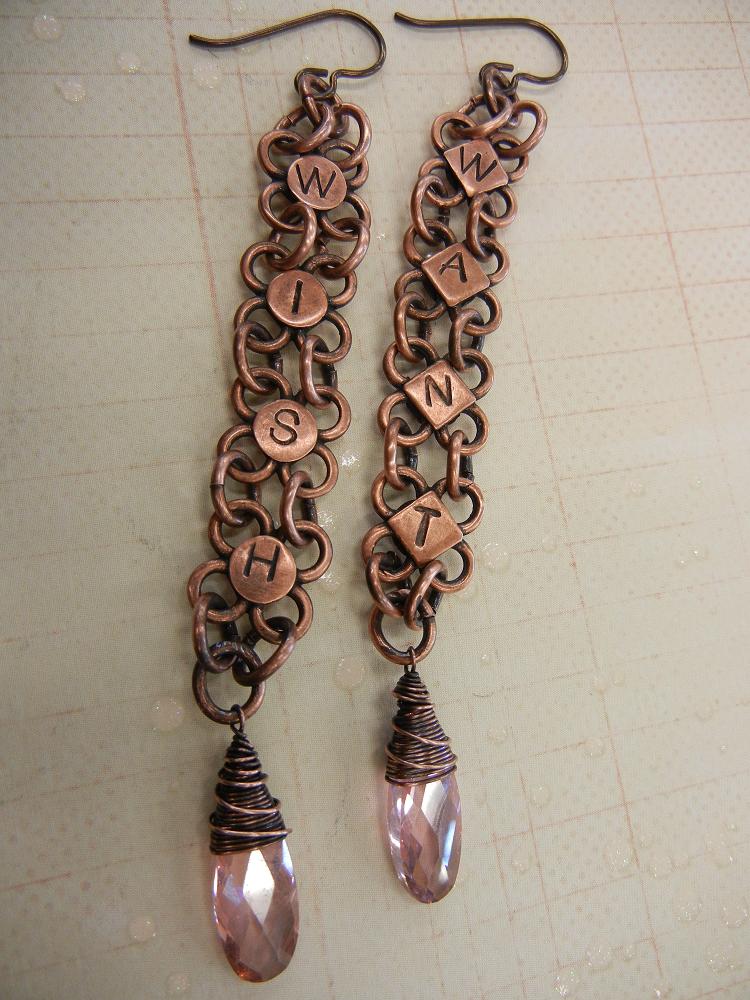
Assemble the earrings, making sure all your letters are in the right order. They are stamped on both sides, so they are reversible.

Completed Wish & Want Earrings

Well I hope I have inspired you to add a little wording to your designs! The possibilities are truly endless! Worded bracelets, necklaces and earrings galore! If you need to learn how to wire wrap a briolette, go to our blog “How to Wire Wrap a Briolette” and if you have any questions, feel free to ask me! ~~Tiffany

Make Your Own Designer Jewelry: Multi-Chain Necklace!

October 24, 2011

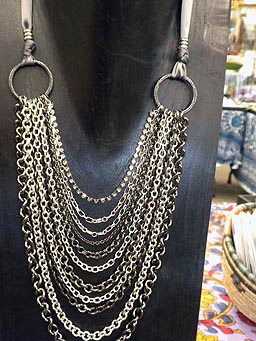
As a jewelry maker, I am constantly checking out the jewelry at department stores and boutiques for inspiration and current trends. When winter and fall comes, so does big statement jewelry. The kind of pieces that you wear to Christmas parties with your favorite black cocktail dress. This year, I have noticed that there are a lot of multiple chain necklaces and necklaces that end with ribbons and I just couldn’t resist the urge to create one myself. If you have a lot of leftover chain pieces this is a great way to use them up.

Items needed for this project:

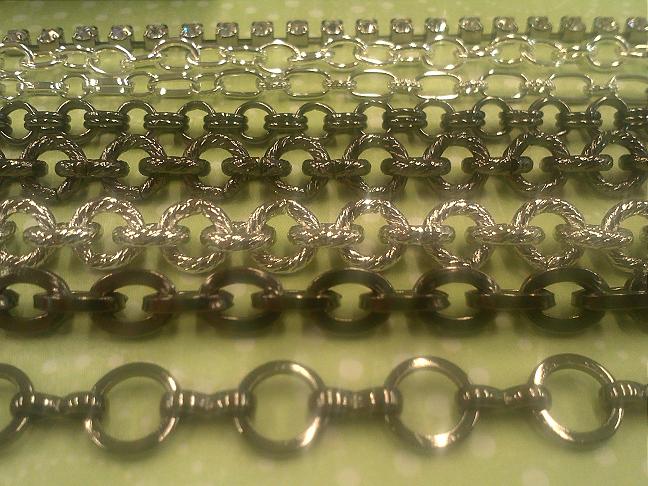
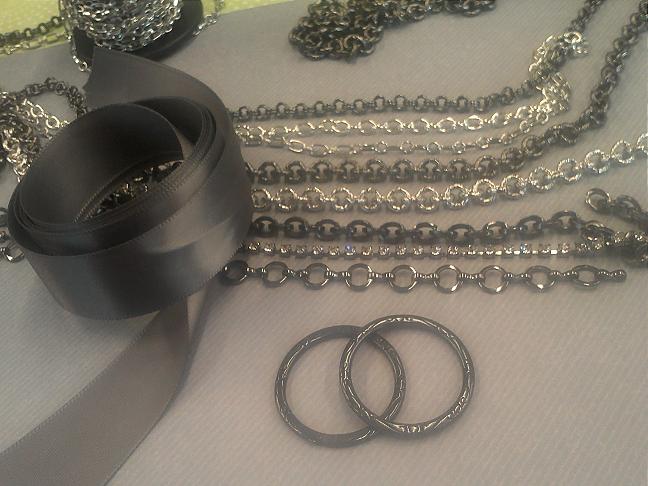
  • Chain, lots of chain. You can use all the same color and style or mix and match. I have seen ones that are in all antique brass, but with several different styles. I have also seen ones with all one style, but all different platings. For my necklace I used a variety of gunmetal and silver-plated chains, plus one strand of rhinestone chain for a little extra “wow” factor. Get creative with it!
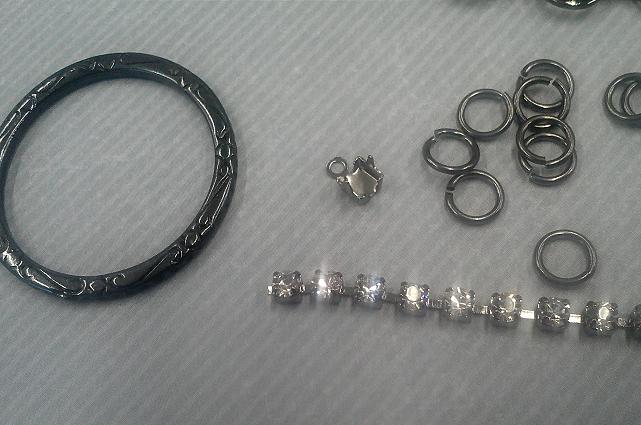
  • Large connector rings. I used 32mm gunmetal rings.
  • Satin Ribbon. Get this at the craft store. I like the nicer ribbon that you buy by the yard.
  • Hypo Fabric Cement or fabric glue, to keep the ends of the ribbon from fraying.
  • Jump rings, for the chain that has links which too small to open and close around the connector ring.
  • Chain nose pliers, flat nose pliers, semi-flush cutter and scissors.

How to create it:

Step 1: Select your chain

Step 2: Pick out coordinating connector rings and ribbon

Step 3: Attach your first piece of chain to one of the connector rings. This will be the shortest length of chain. I found that 6 inches, give or take a little, was a good starting length.

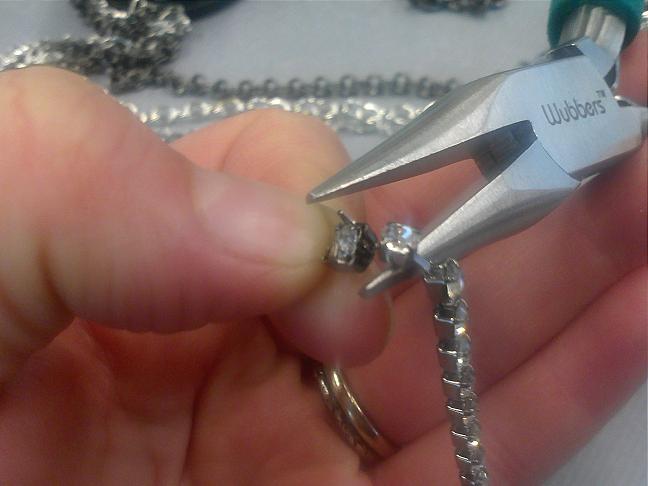
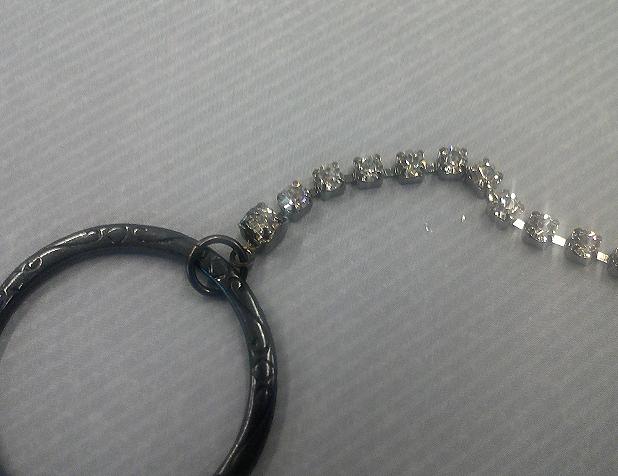
If using rhinestone chain, pinch on an end piece to the rhinestone using your chain nose pliers.

Use a jump ring if using rhinestone chain.

Step 4: Add each additional chain and attach, one at a time to the first connector link. Cut each additional chain between 1/2 inch and an inch longer than the previous chain.

This is how the necklace will look after the chain is attached on both sides.

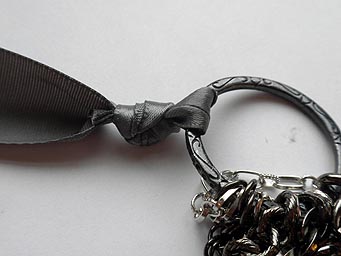
Step 6: Tie a peice of ribbon onto each connector link. Use about 16 inches on each side. Trim the short ends of the ribbon close with scissors.
Step 7: All you have to do to finish the necklace is finish the edges of the ribbon with a little anti-fray fabric glue or hypo fabric cement. I also added a few large hole metal beads for some extra pizzazze!

Showing off my new necklace in the Rings & Things Showroom 🙂

Well there you have it! If I had to rate this project on a scales of difficulty I would give it intermediate. It was a little tricky to keep my chains straight. If you do re-create a necklace like this with lots o’ chain, remember to be careful when storing it. I recommend hanging it so as to not get all the chain tangled.

~~ Tiffany

Check out these other great tutorials on our blog:

Three Great Ways to Incorporate Swirls into your Jewelry

October 12, 2011

Swirly Curly Jewelry!

For as long as I can remember I have loved making swirly curly-Q designs. In middle school, my favorite pee-chee folders were covered in them. Well I’ve grown out of my doodling habits, mostly, but I still love those swirls! Unwilling to give up on swirls altogether I have found three great ways to incorporate them into your jewelry with the help of a little wire. Adding a simple curly-Q can take any design idea from ordinary to whimsical! You can make your swirls free form using pliers or try this great Spiral Maker to eliminate marks from pliers! (Editor’s note: We now have THREE spiral makers plus a variety of coiling Gizmos!)

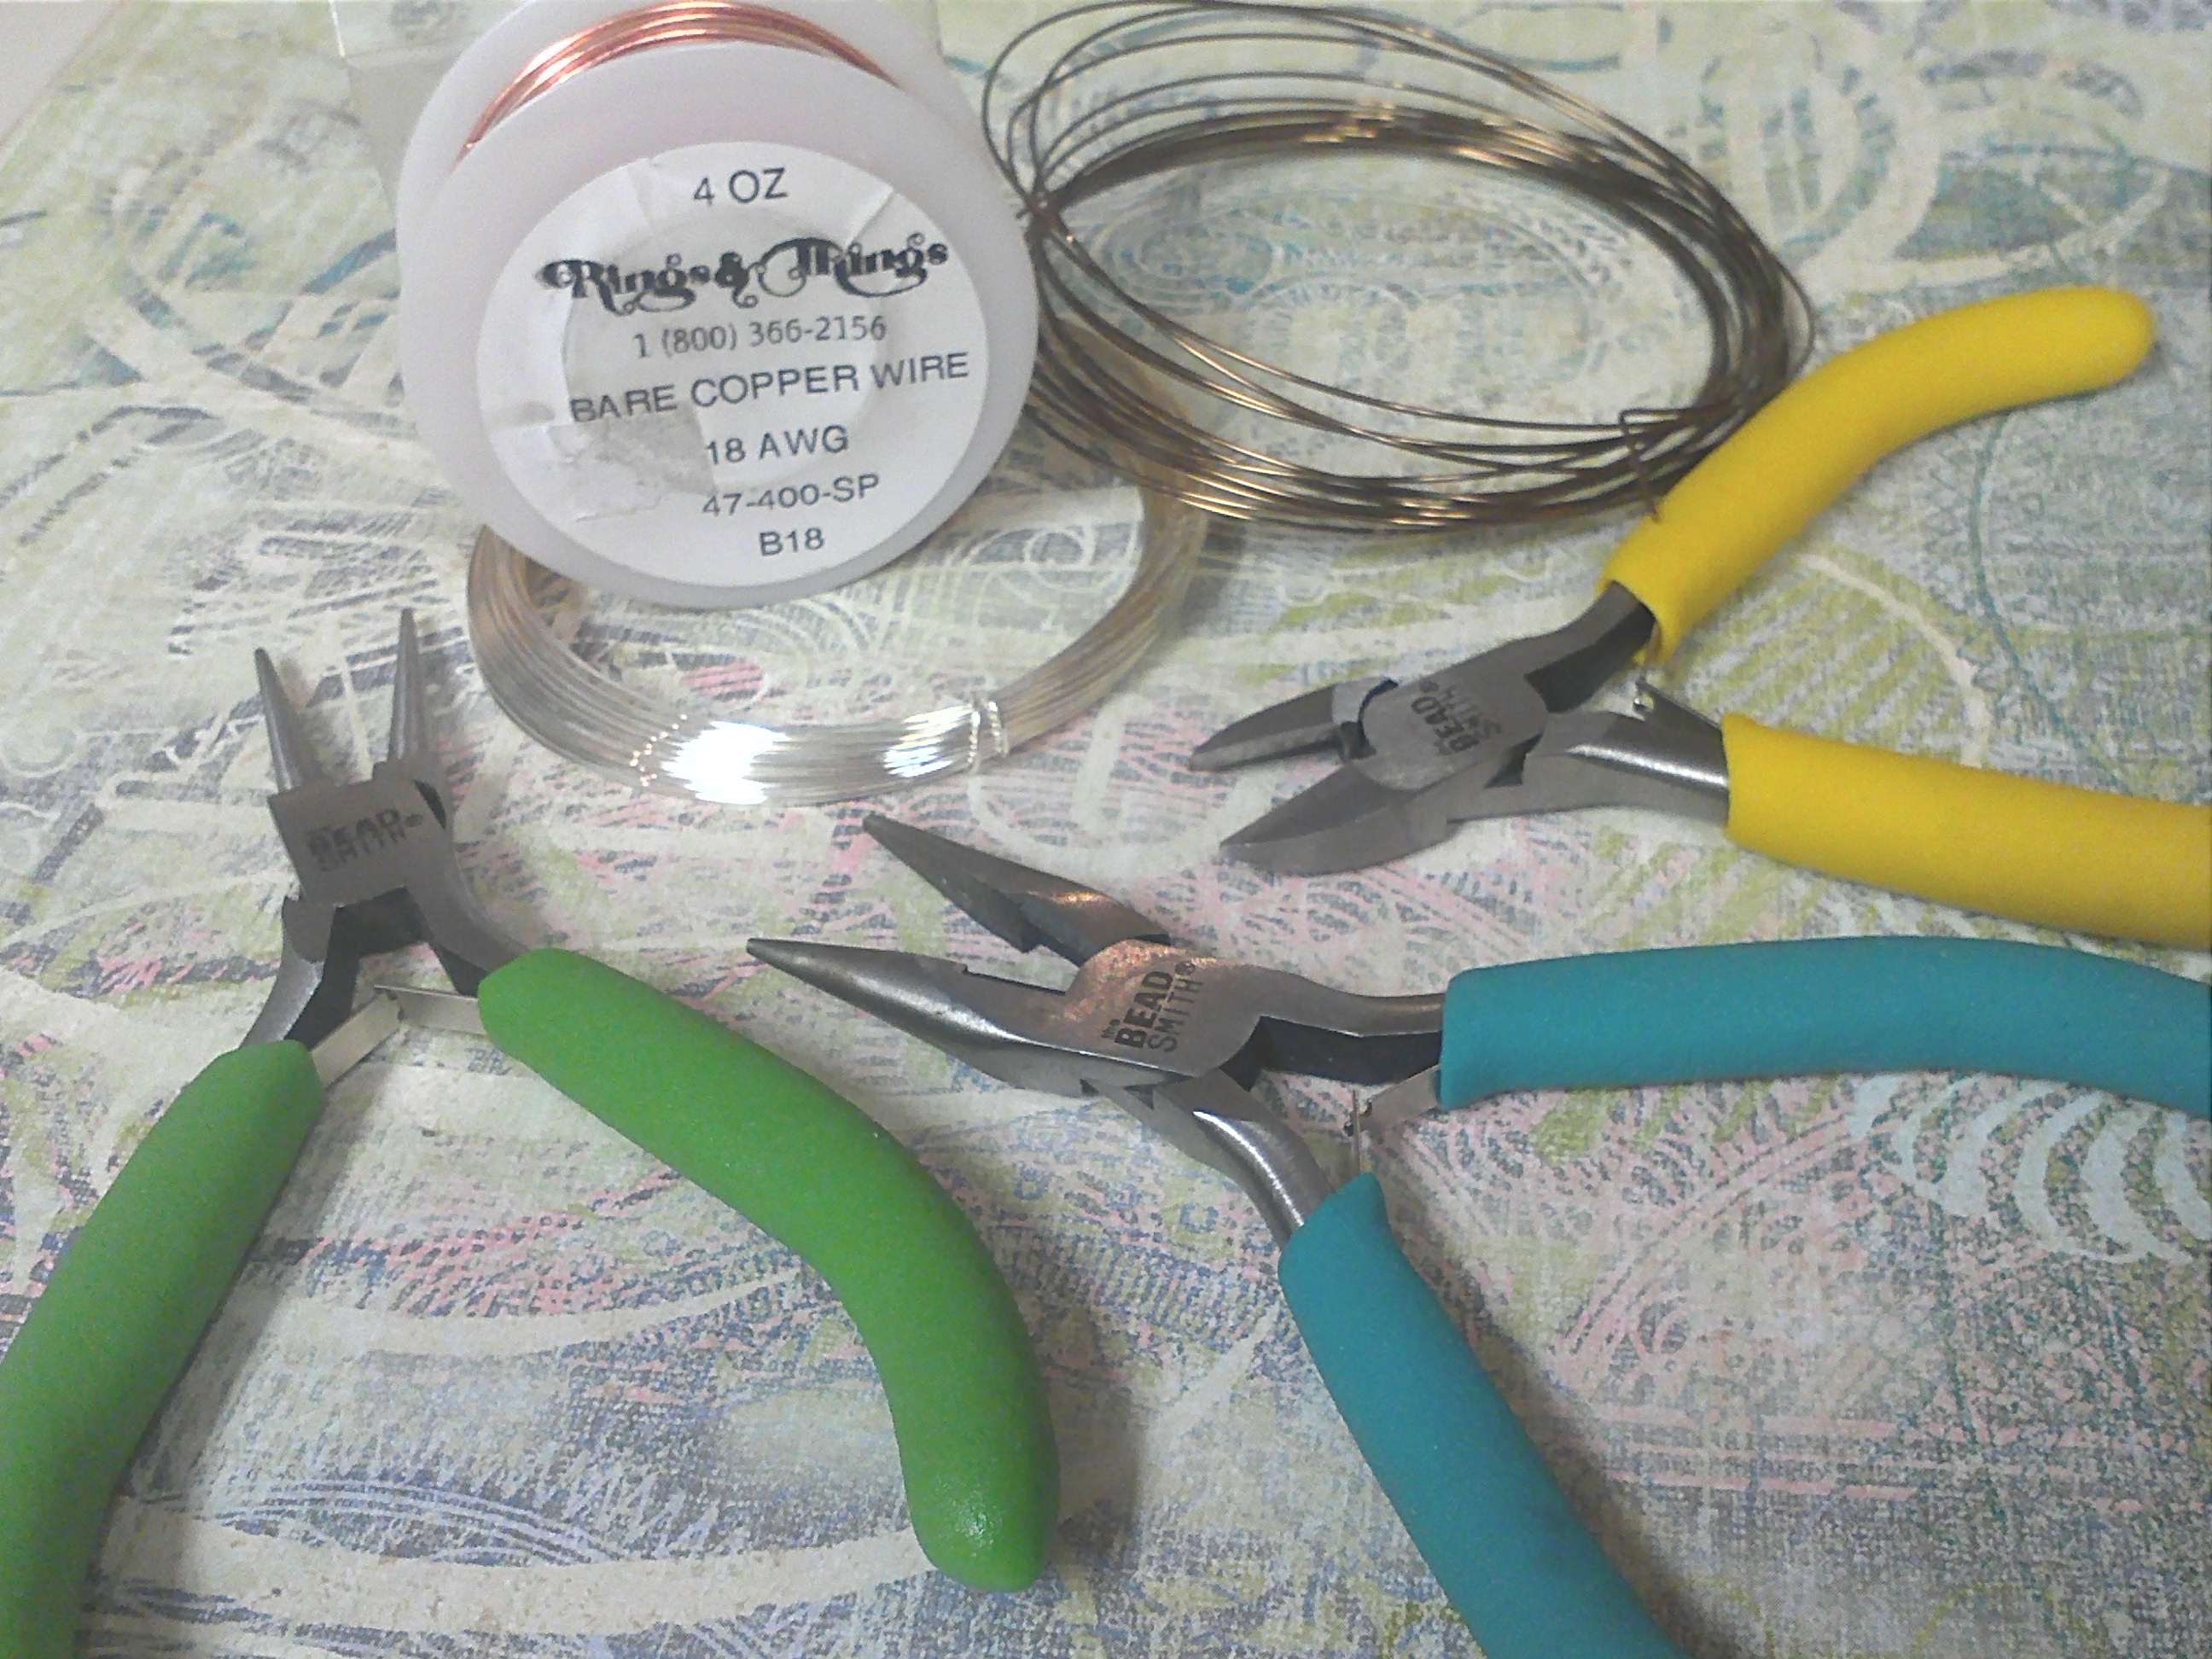
All of these projects can be made using your basic tools and 18, 20 or 22 gauge wire. The tools here are a from a fabulous mini tool set that I keep at my desk. The set is only $12 and includes these three tools plus tweezers and a mini bead board!

1. Swirly Head Pins

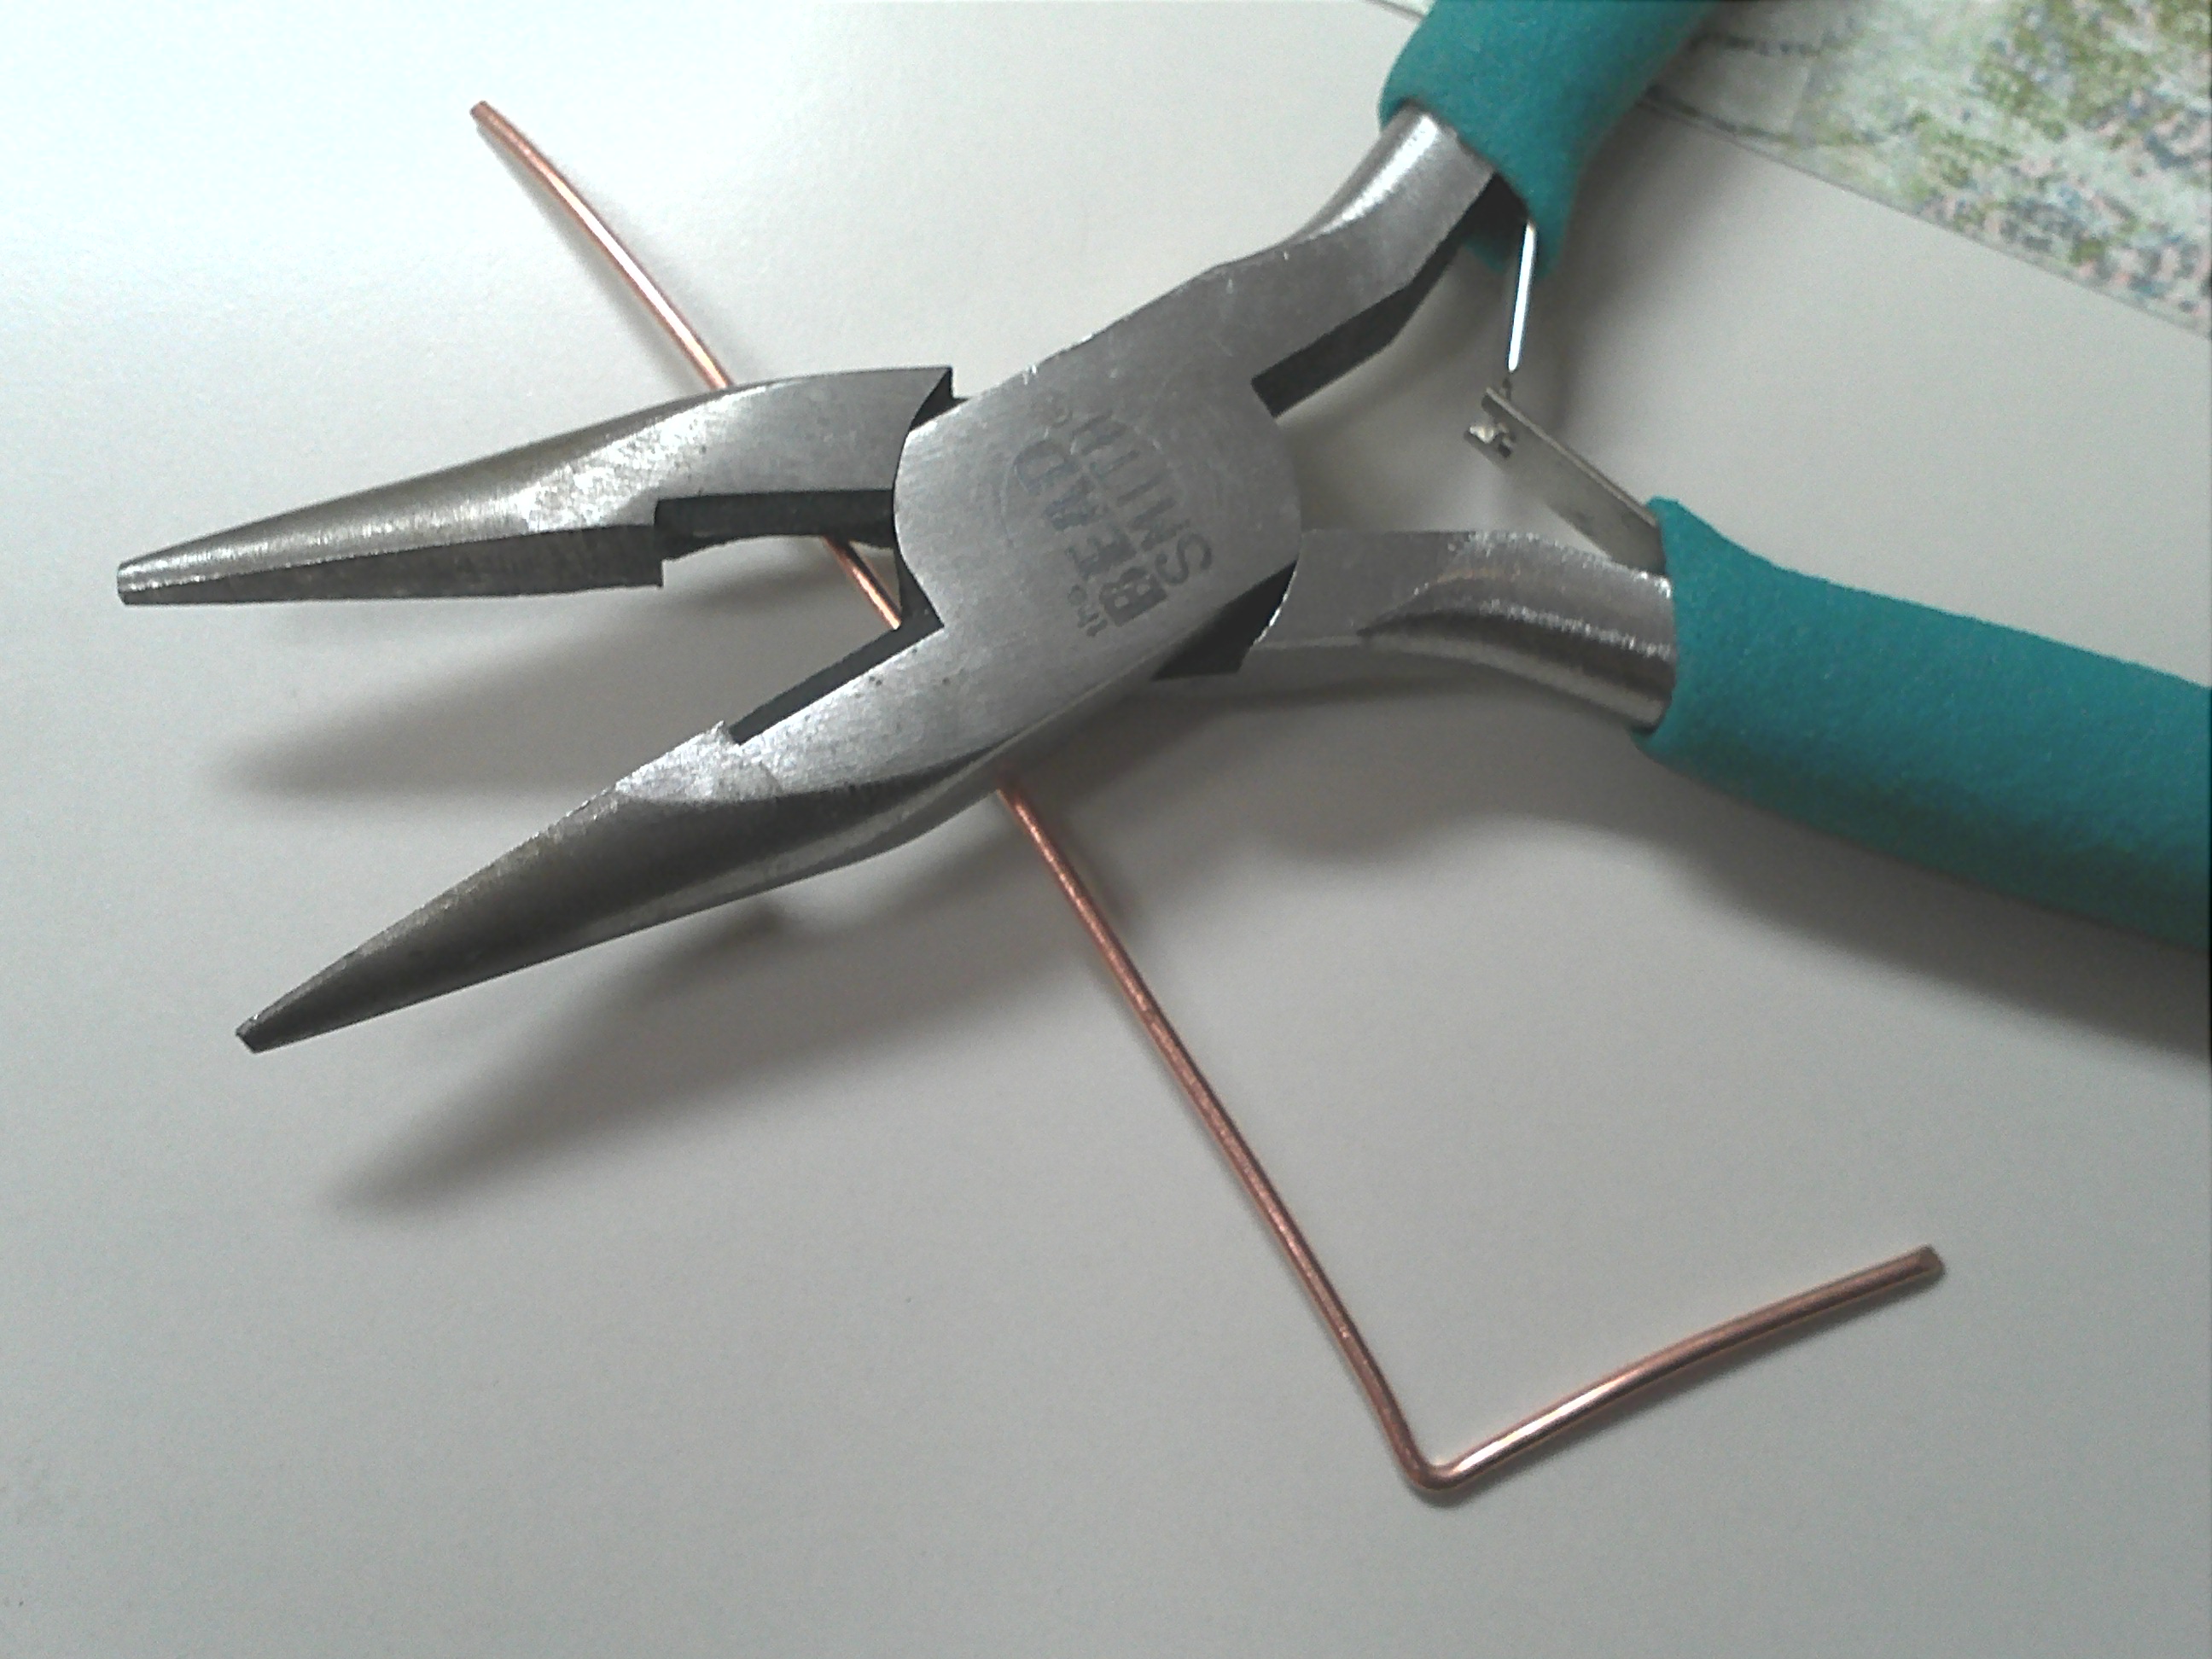
The first and easiest way to add some swirl power to your jewelry is to make curly-ended headpins. Making your own headpins out of wire is easy and gives your jewelry an even more hand-crafted look. I recommend using either 18, 20 or 22 gauge wire. (18 being the thickest, 22 being the thinnest) Keep in mind the size of beads you plan to use. If your beads have smaller holes, you will need thinner wire.

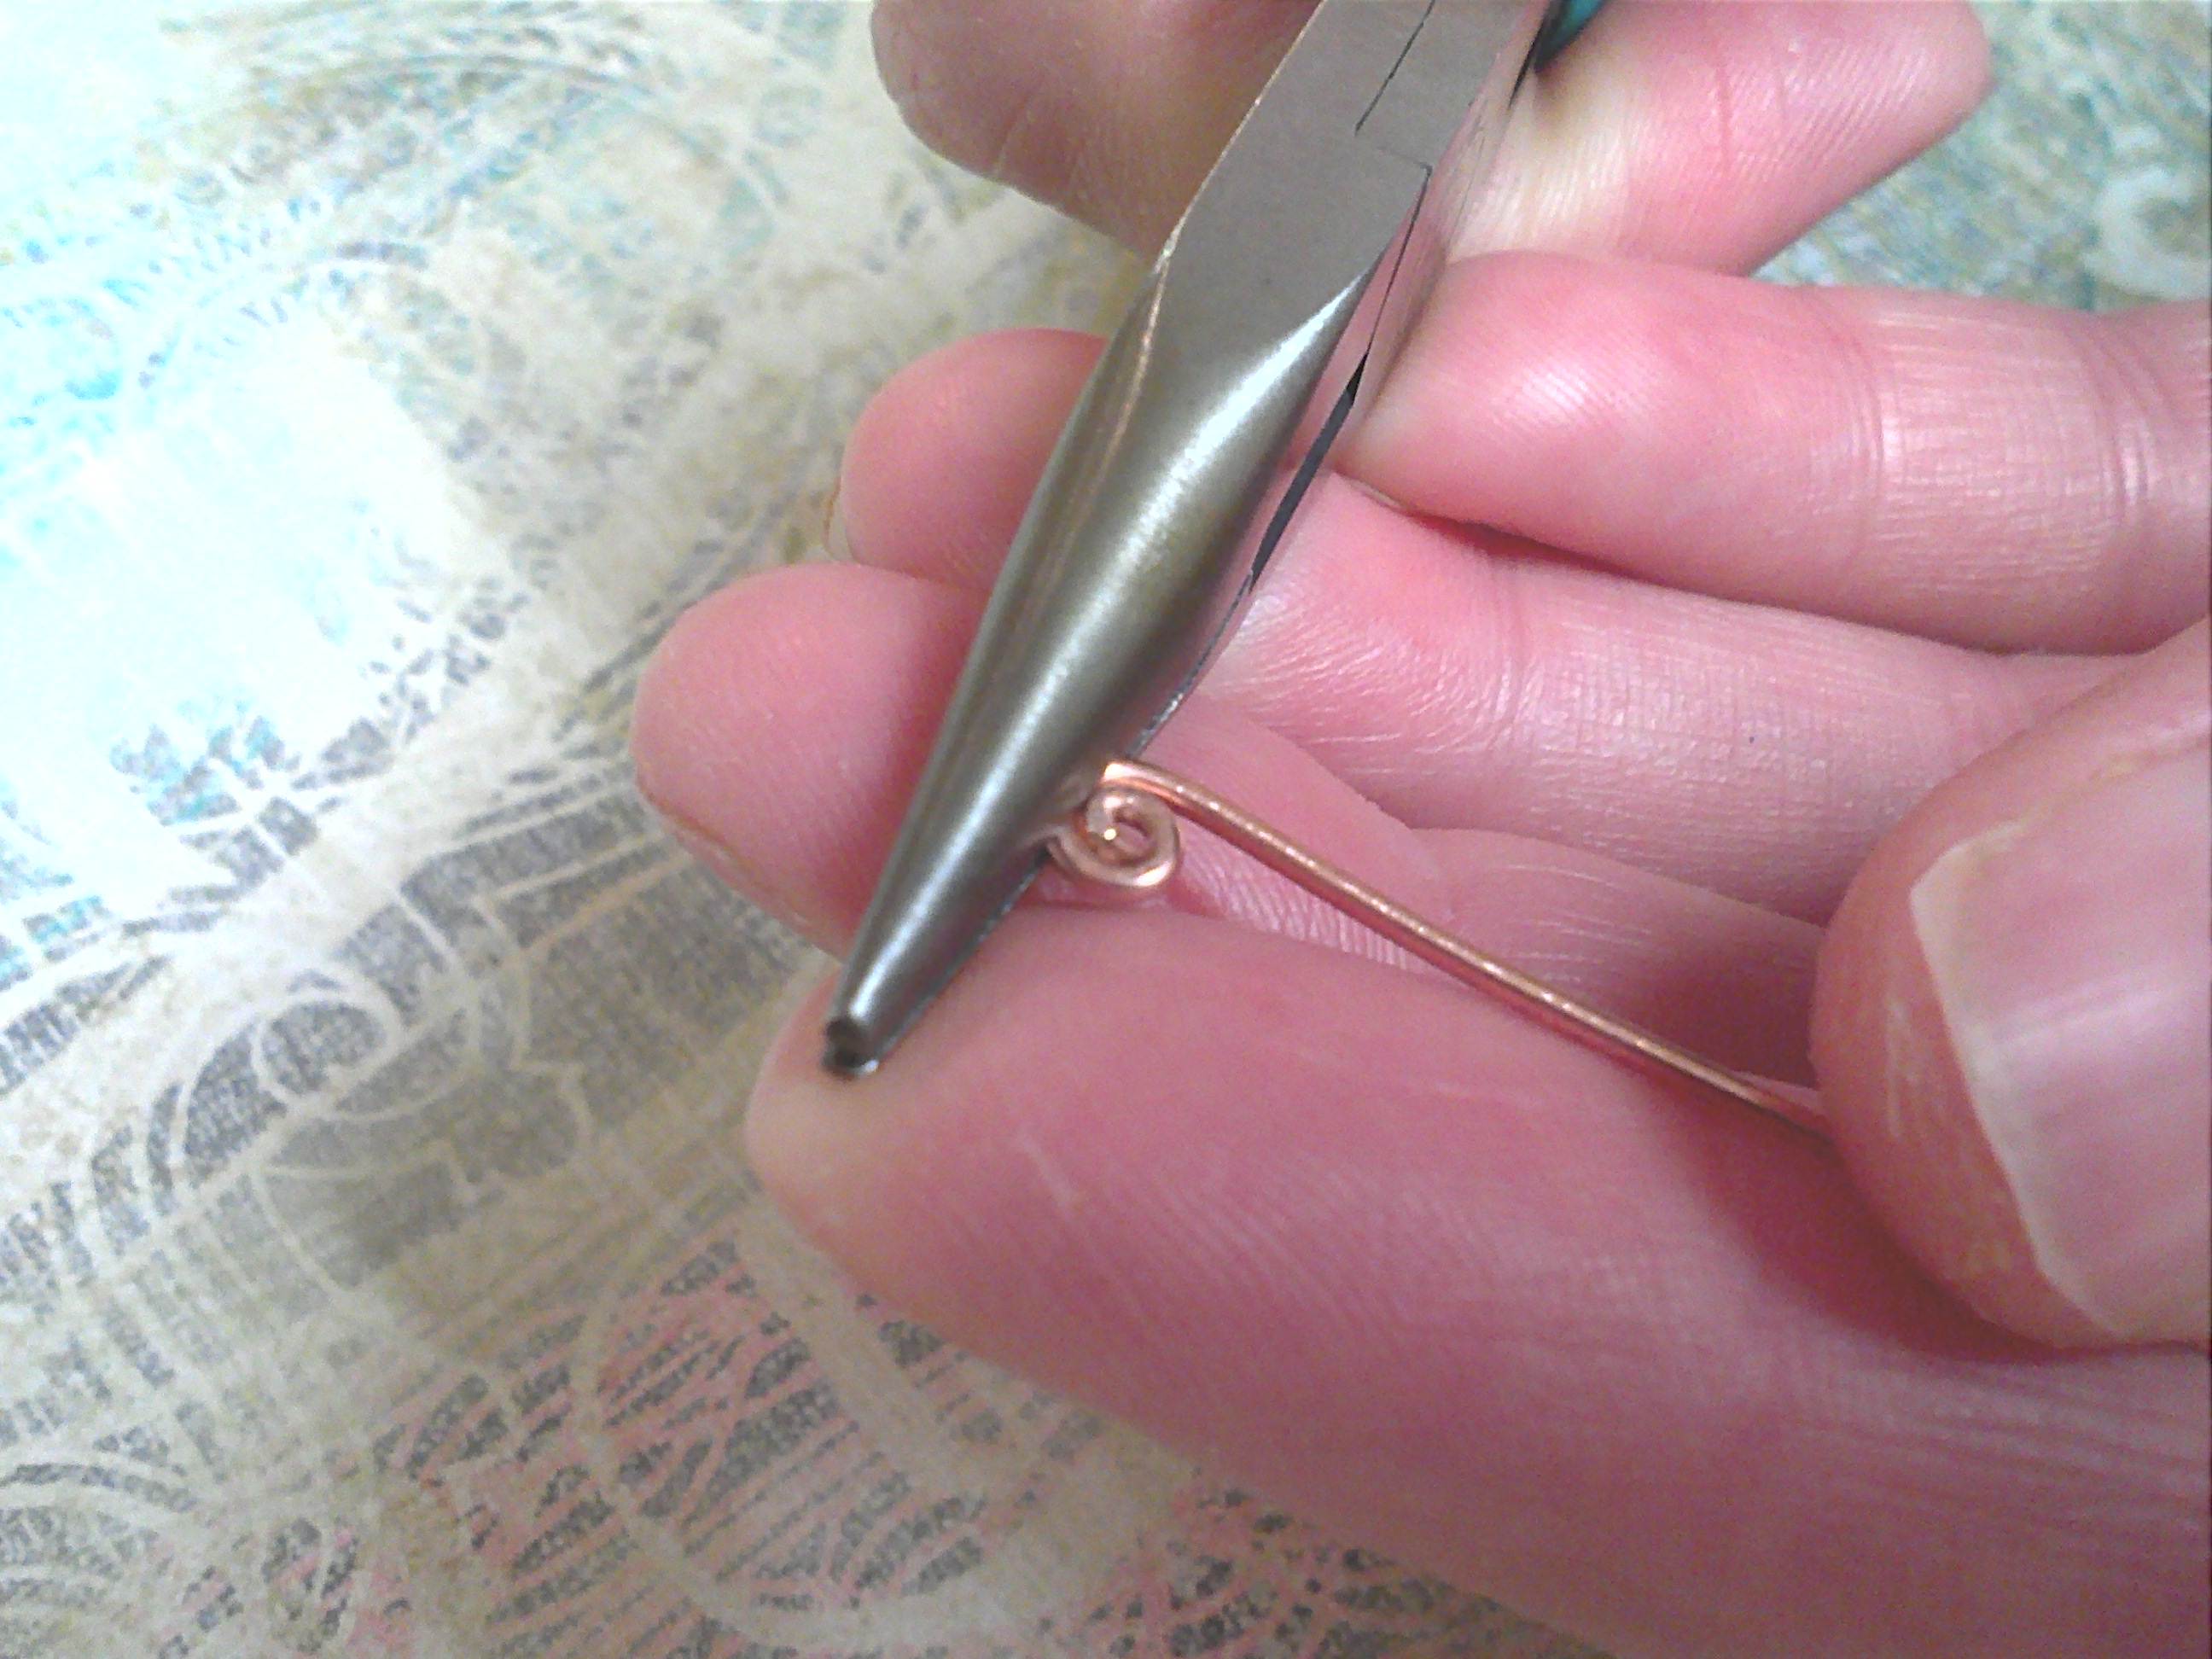
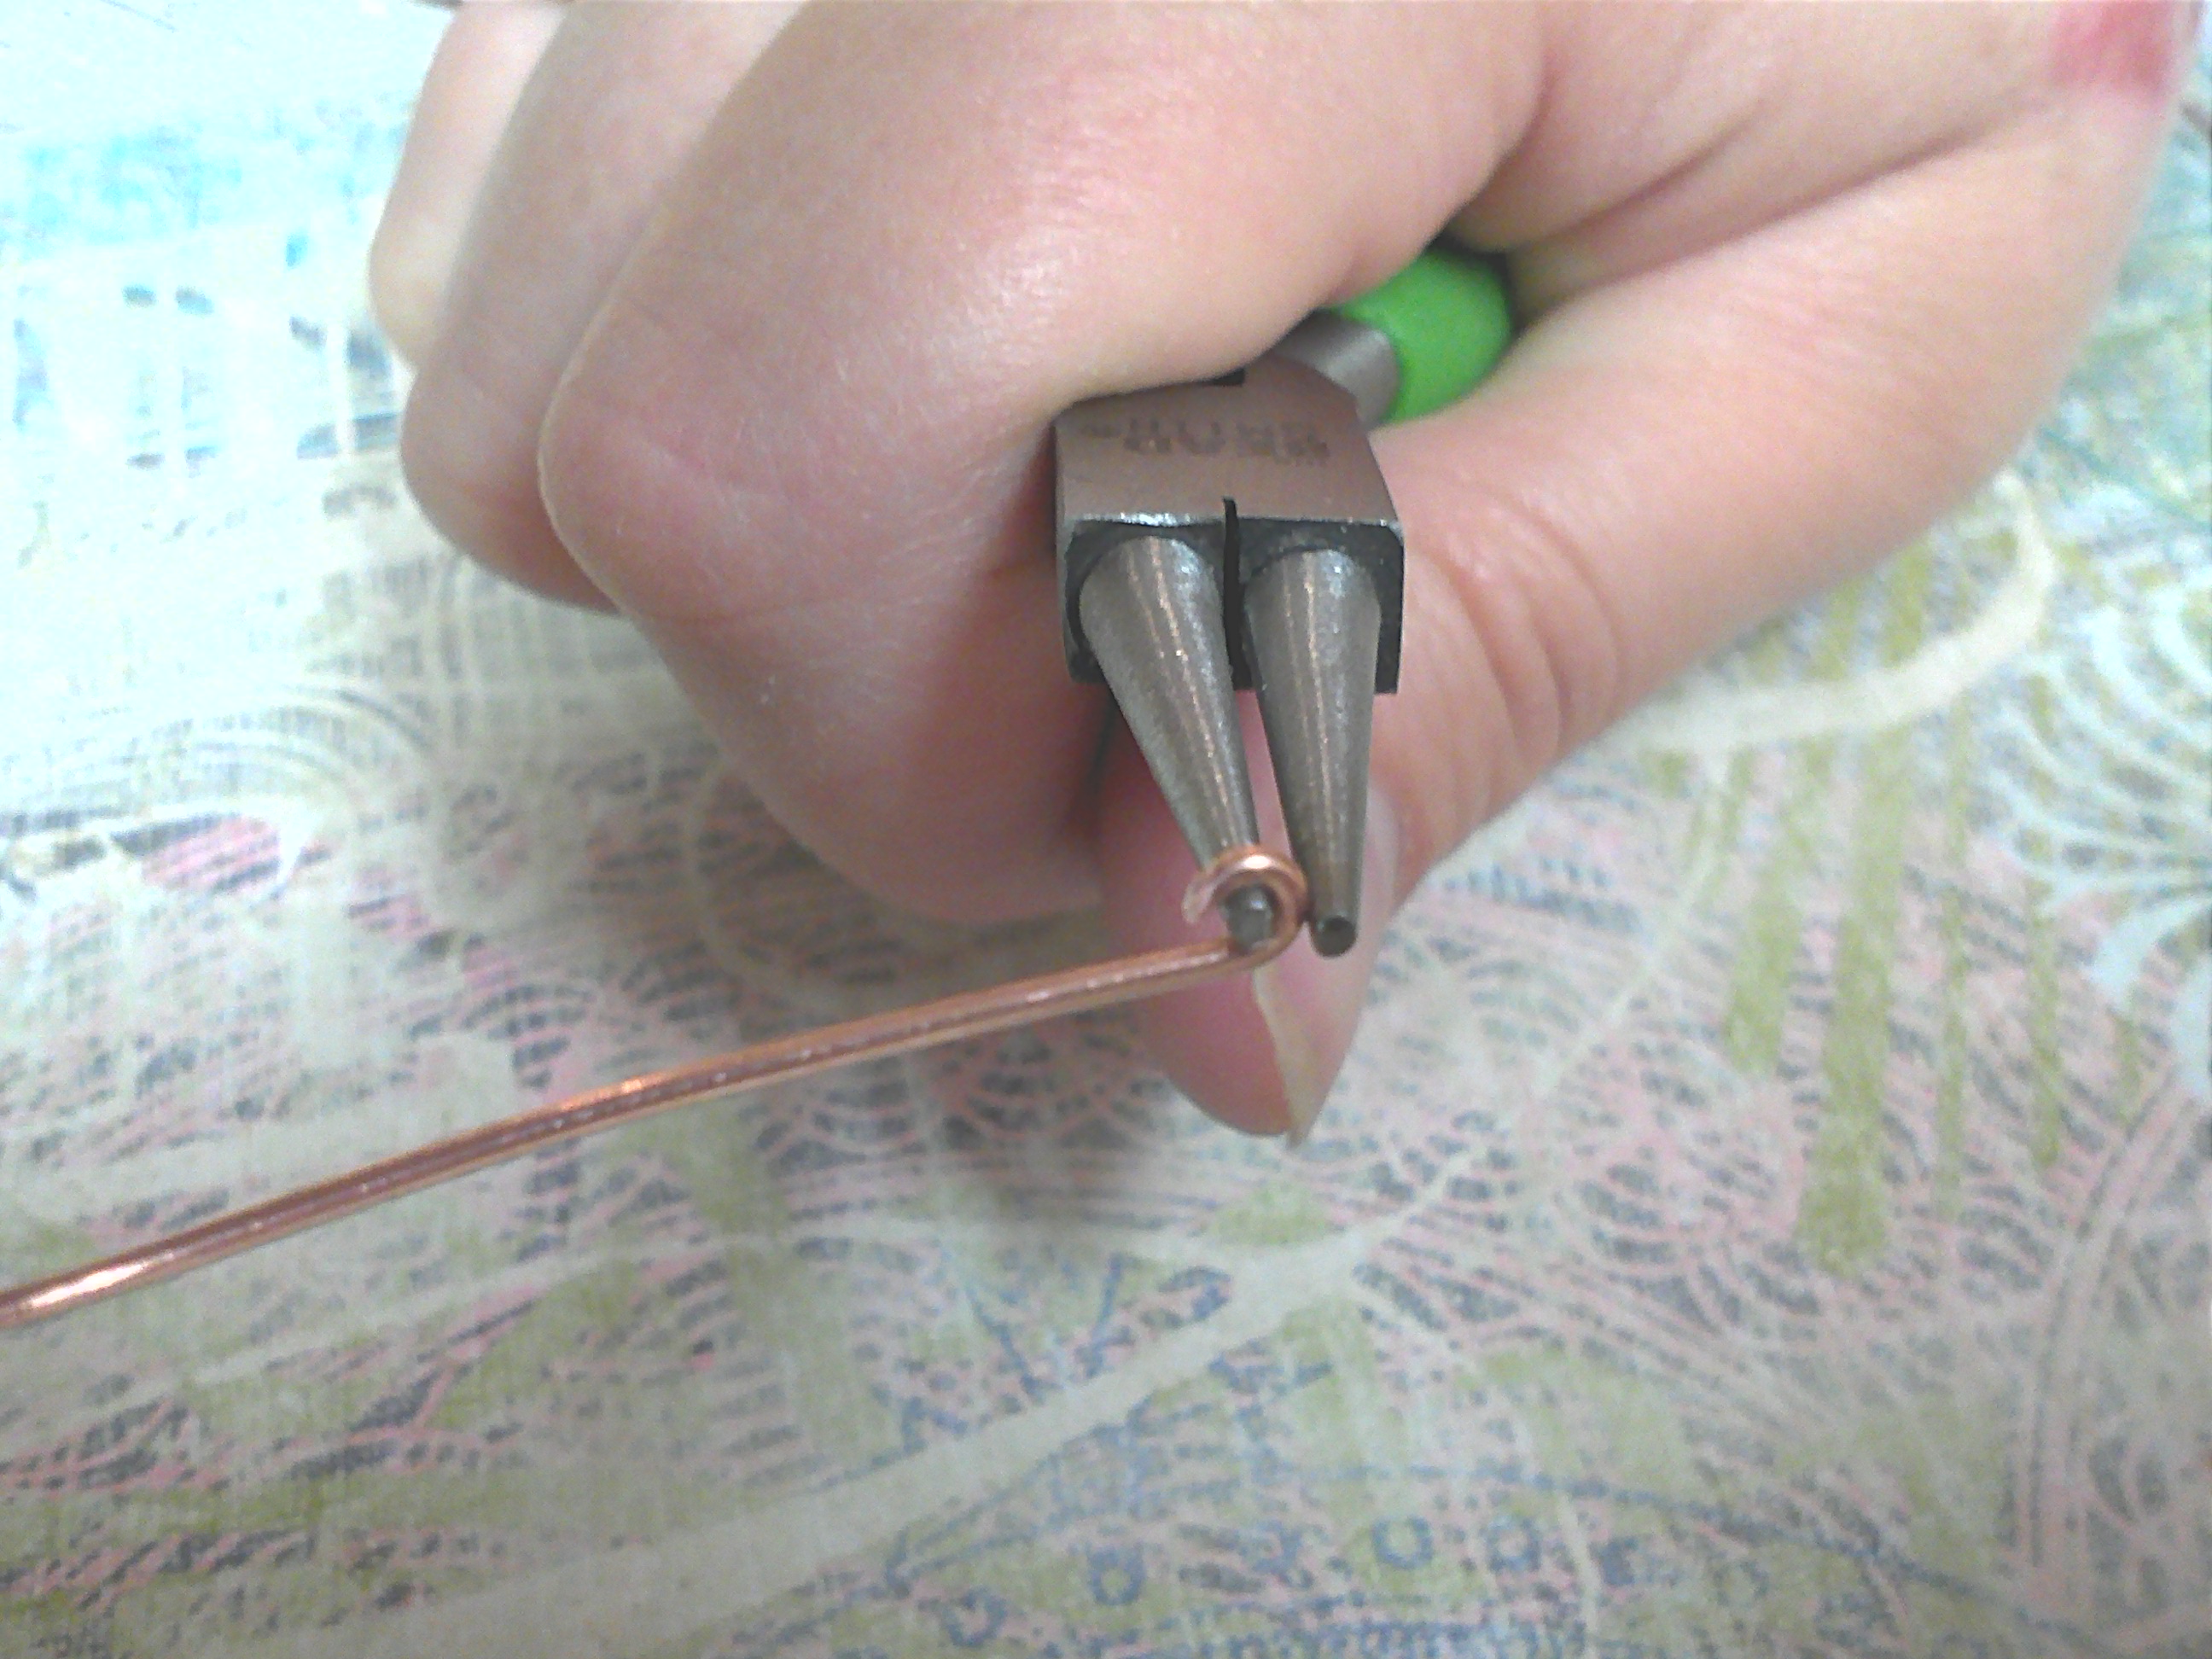
Use your Round Nose Pliers to Start the Loop

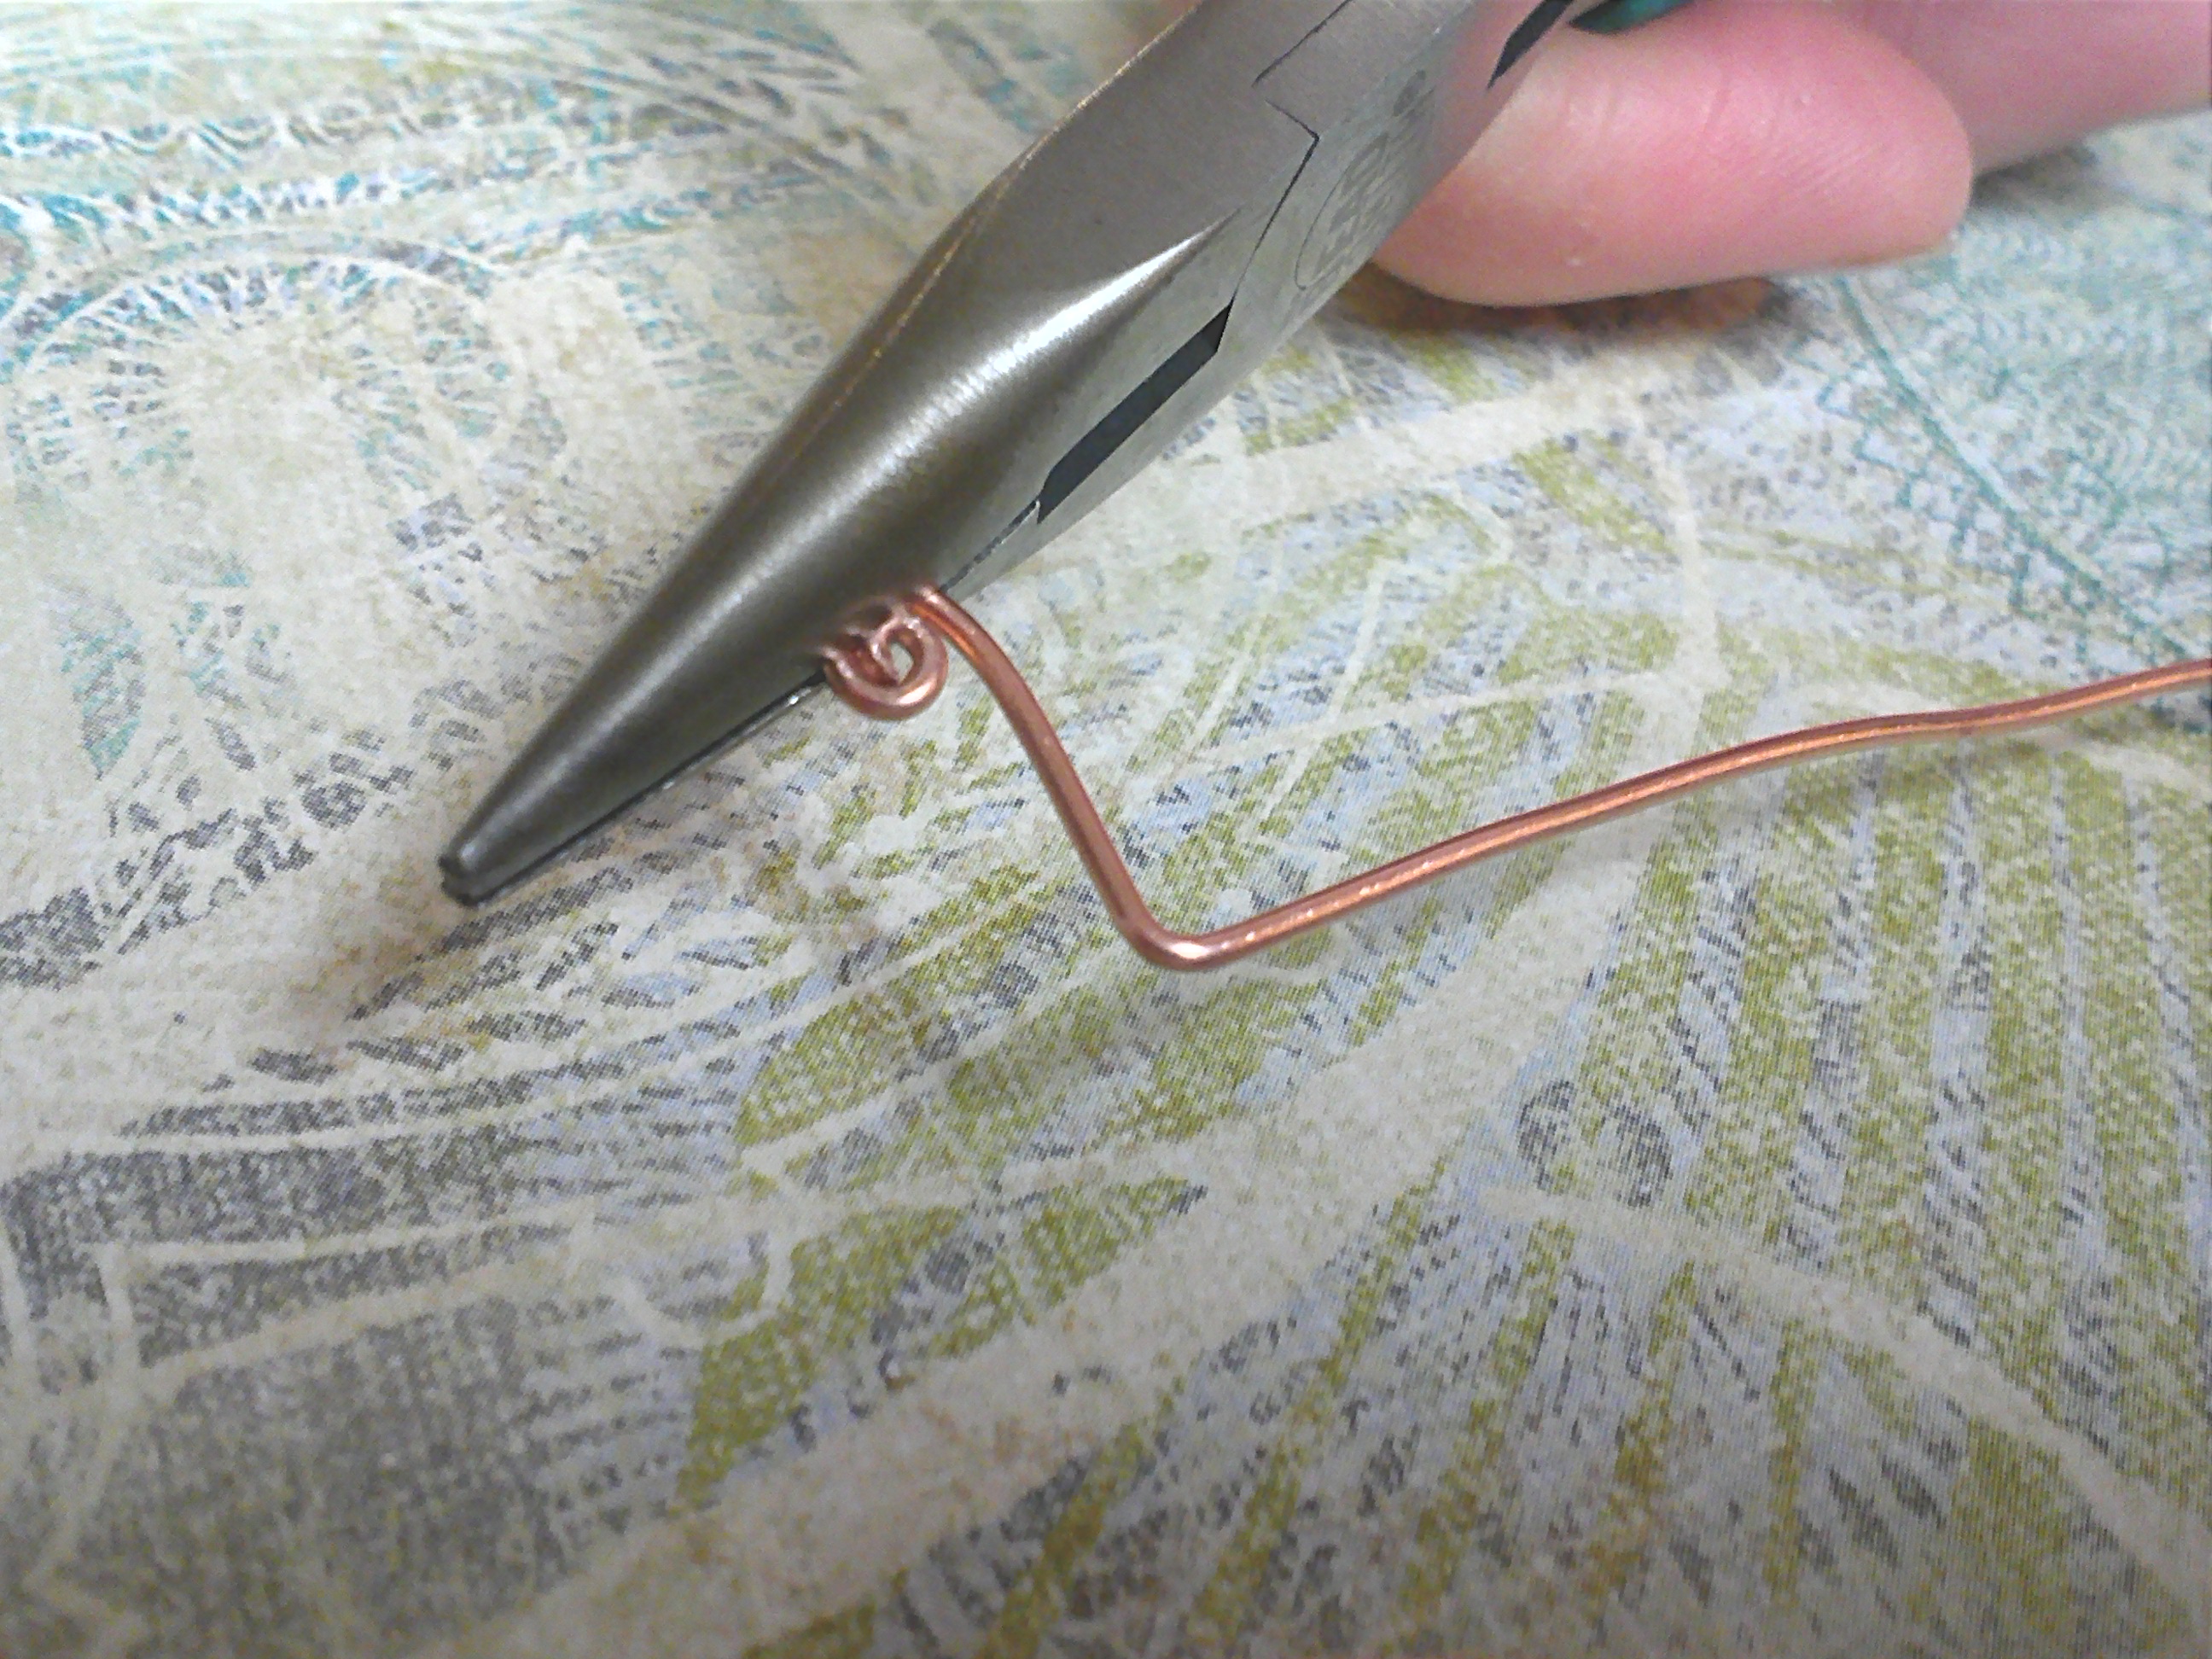
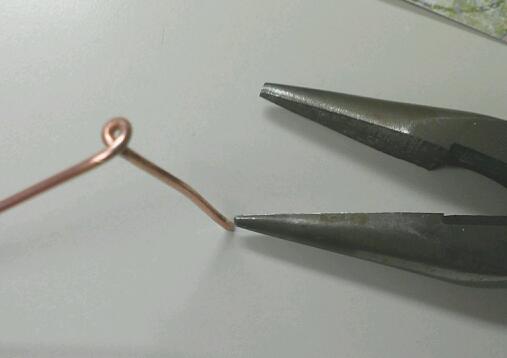
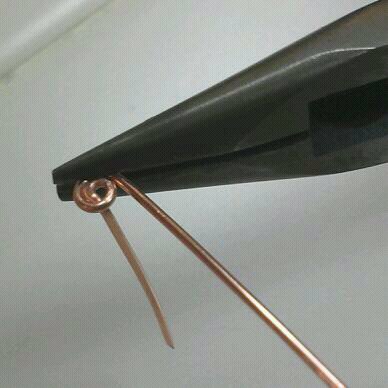
Use your chain nose pliers to create the swirl

Make a right angle with your chain nose pliers so that your head pins have nice perpendicular look at the end.

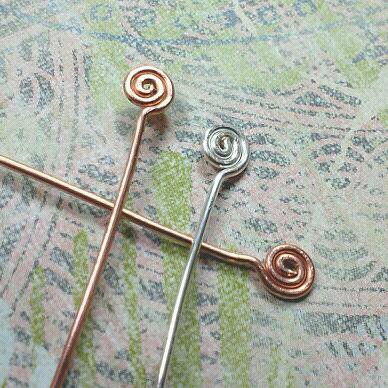
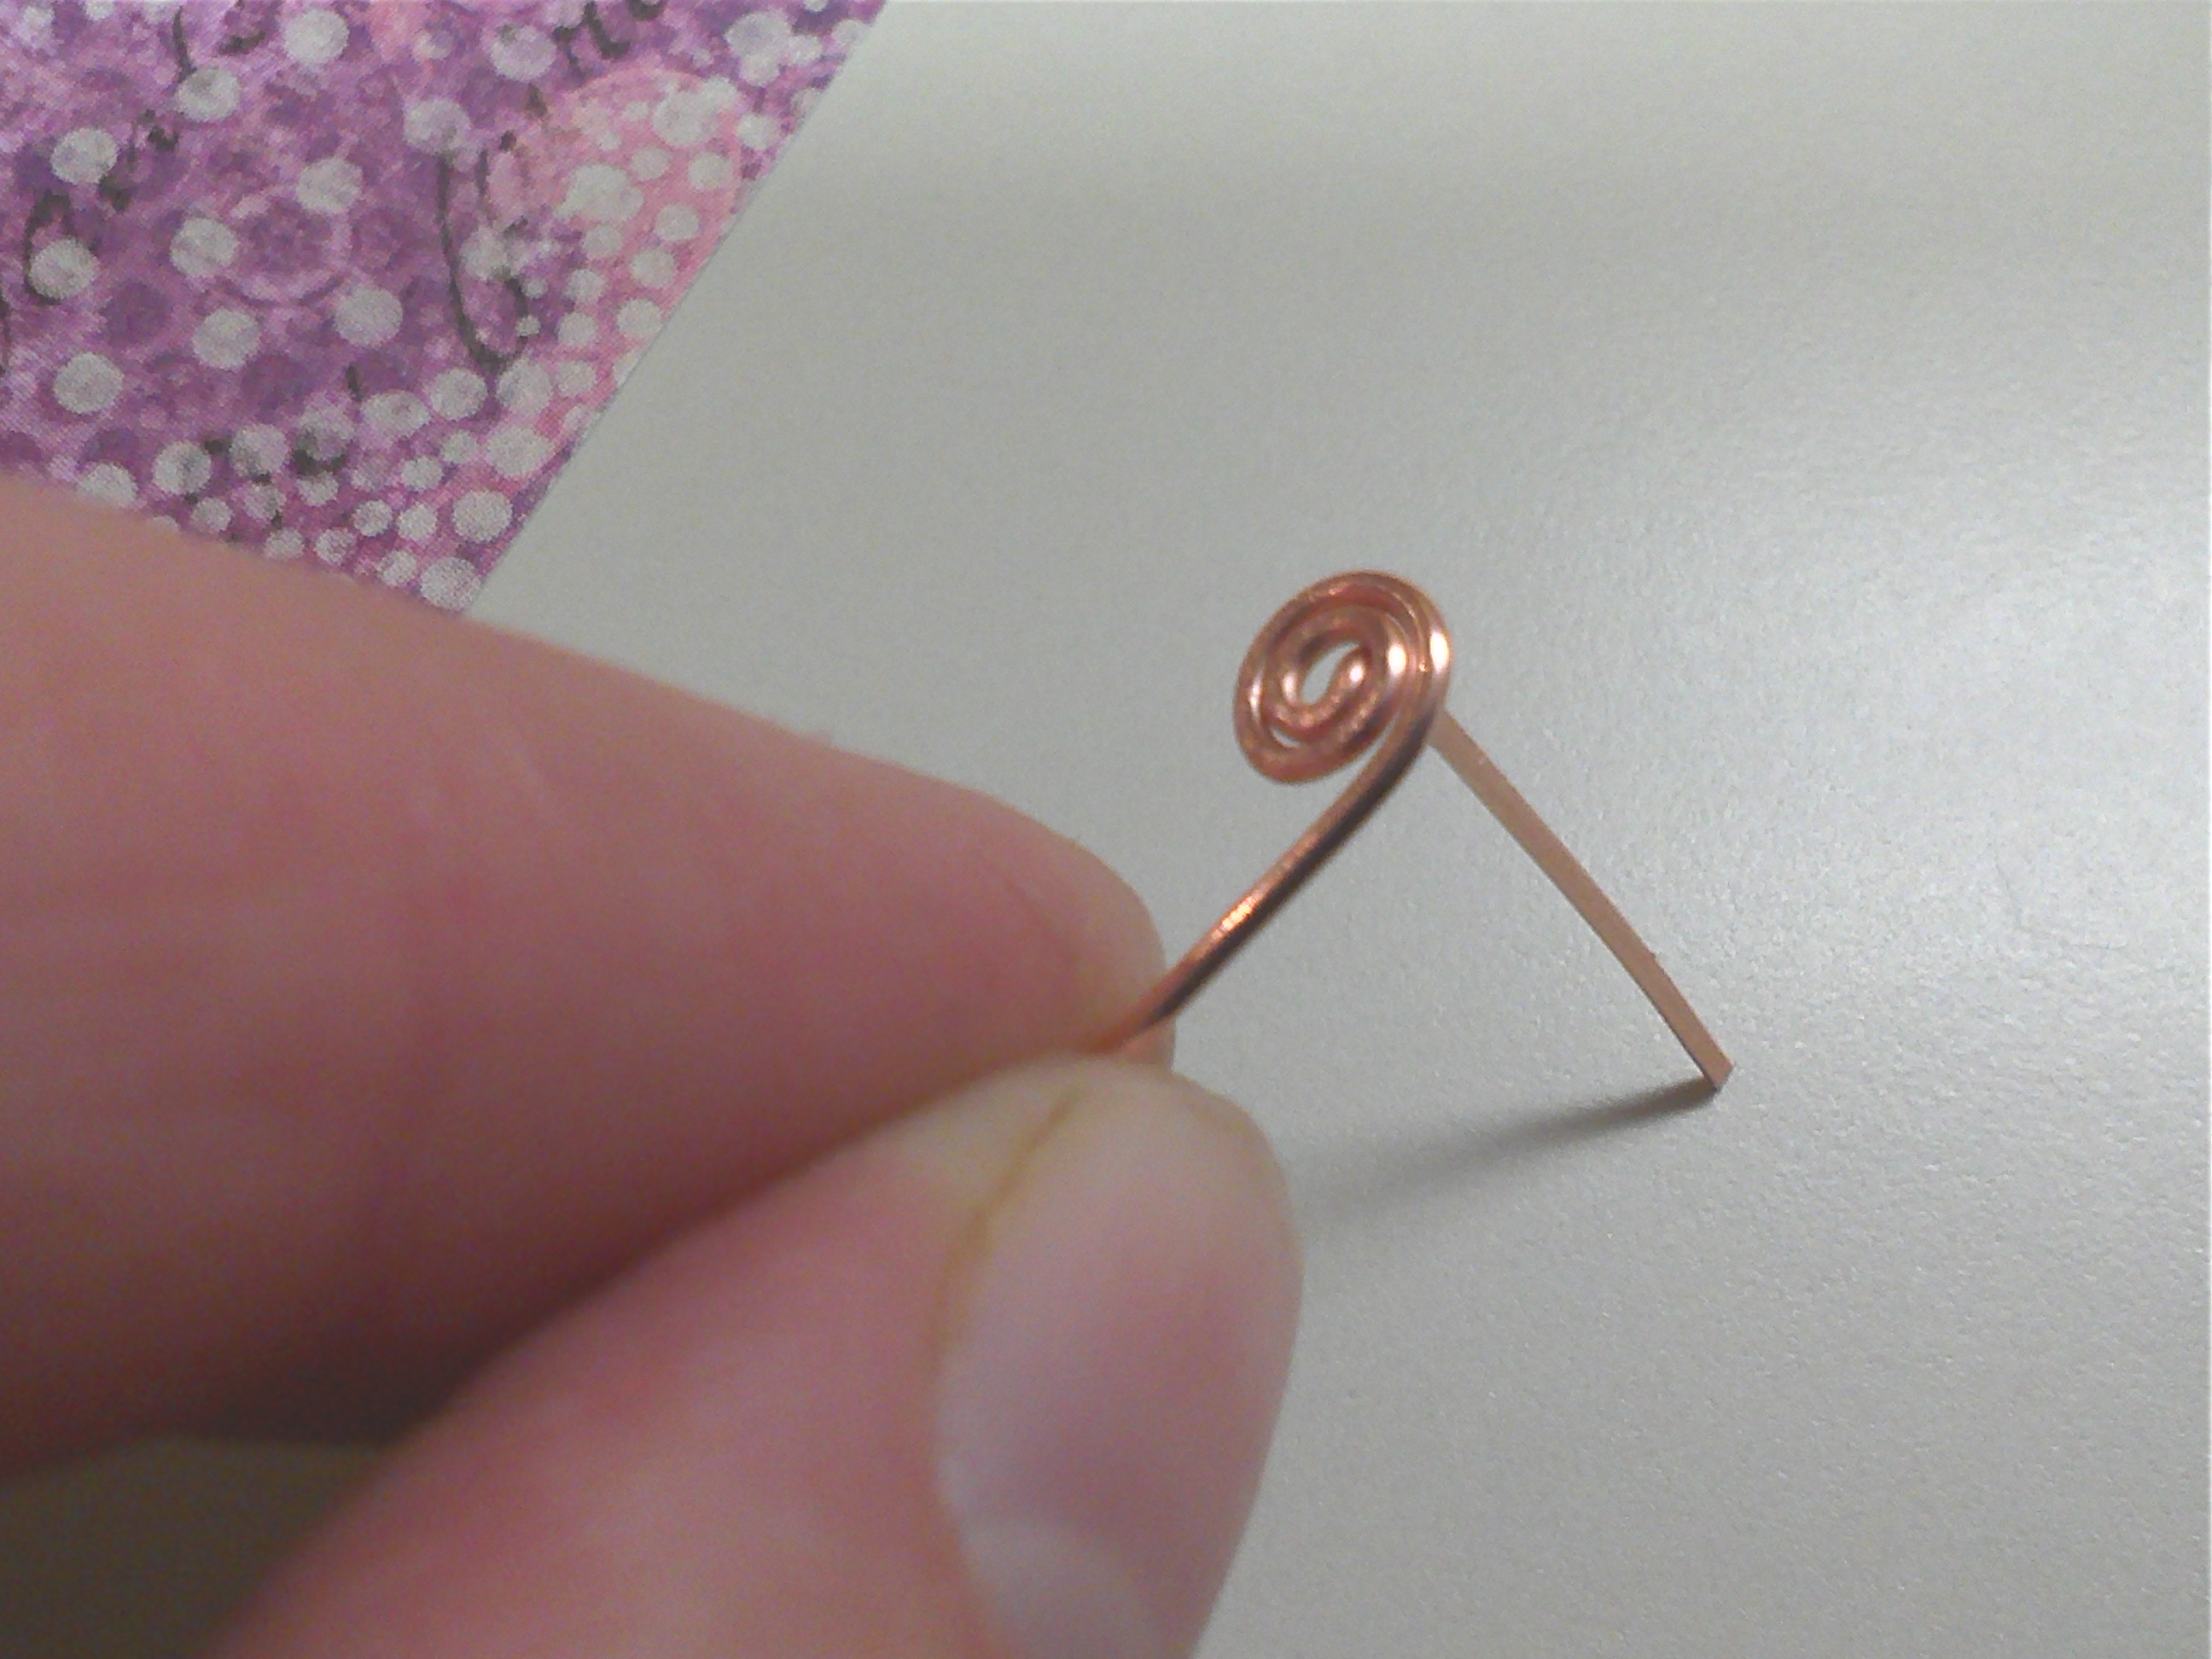
Completed head pins ready for use!

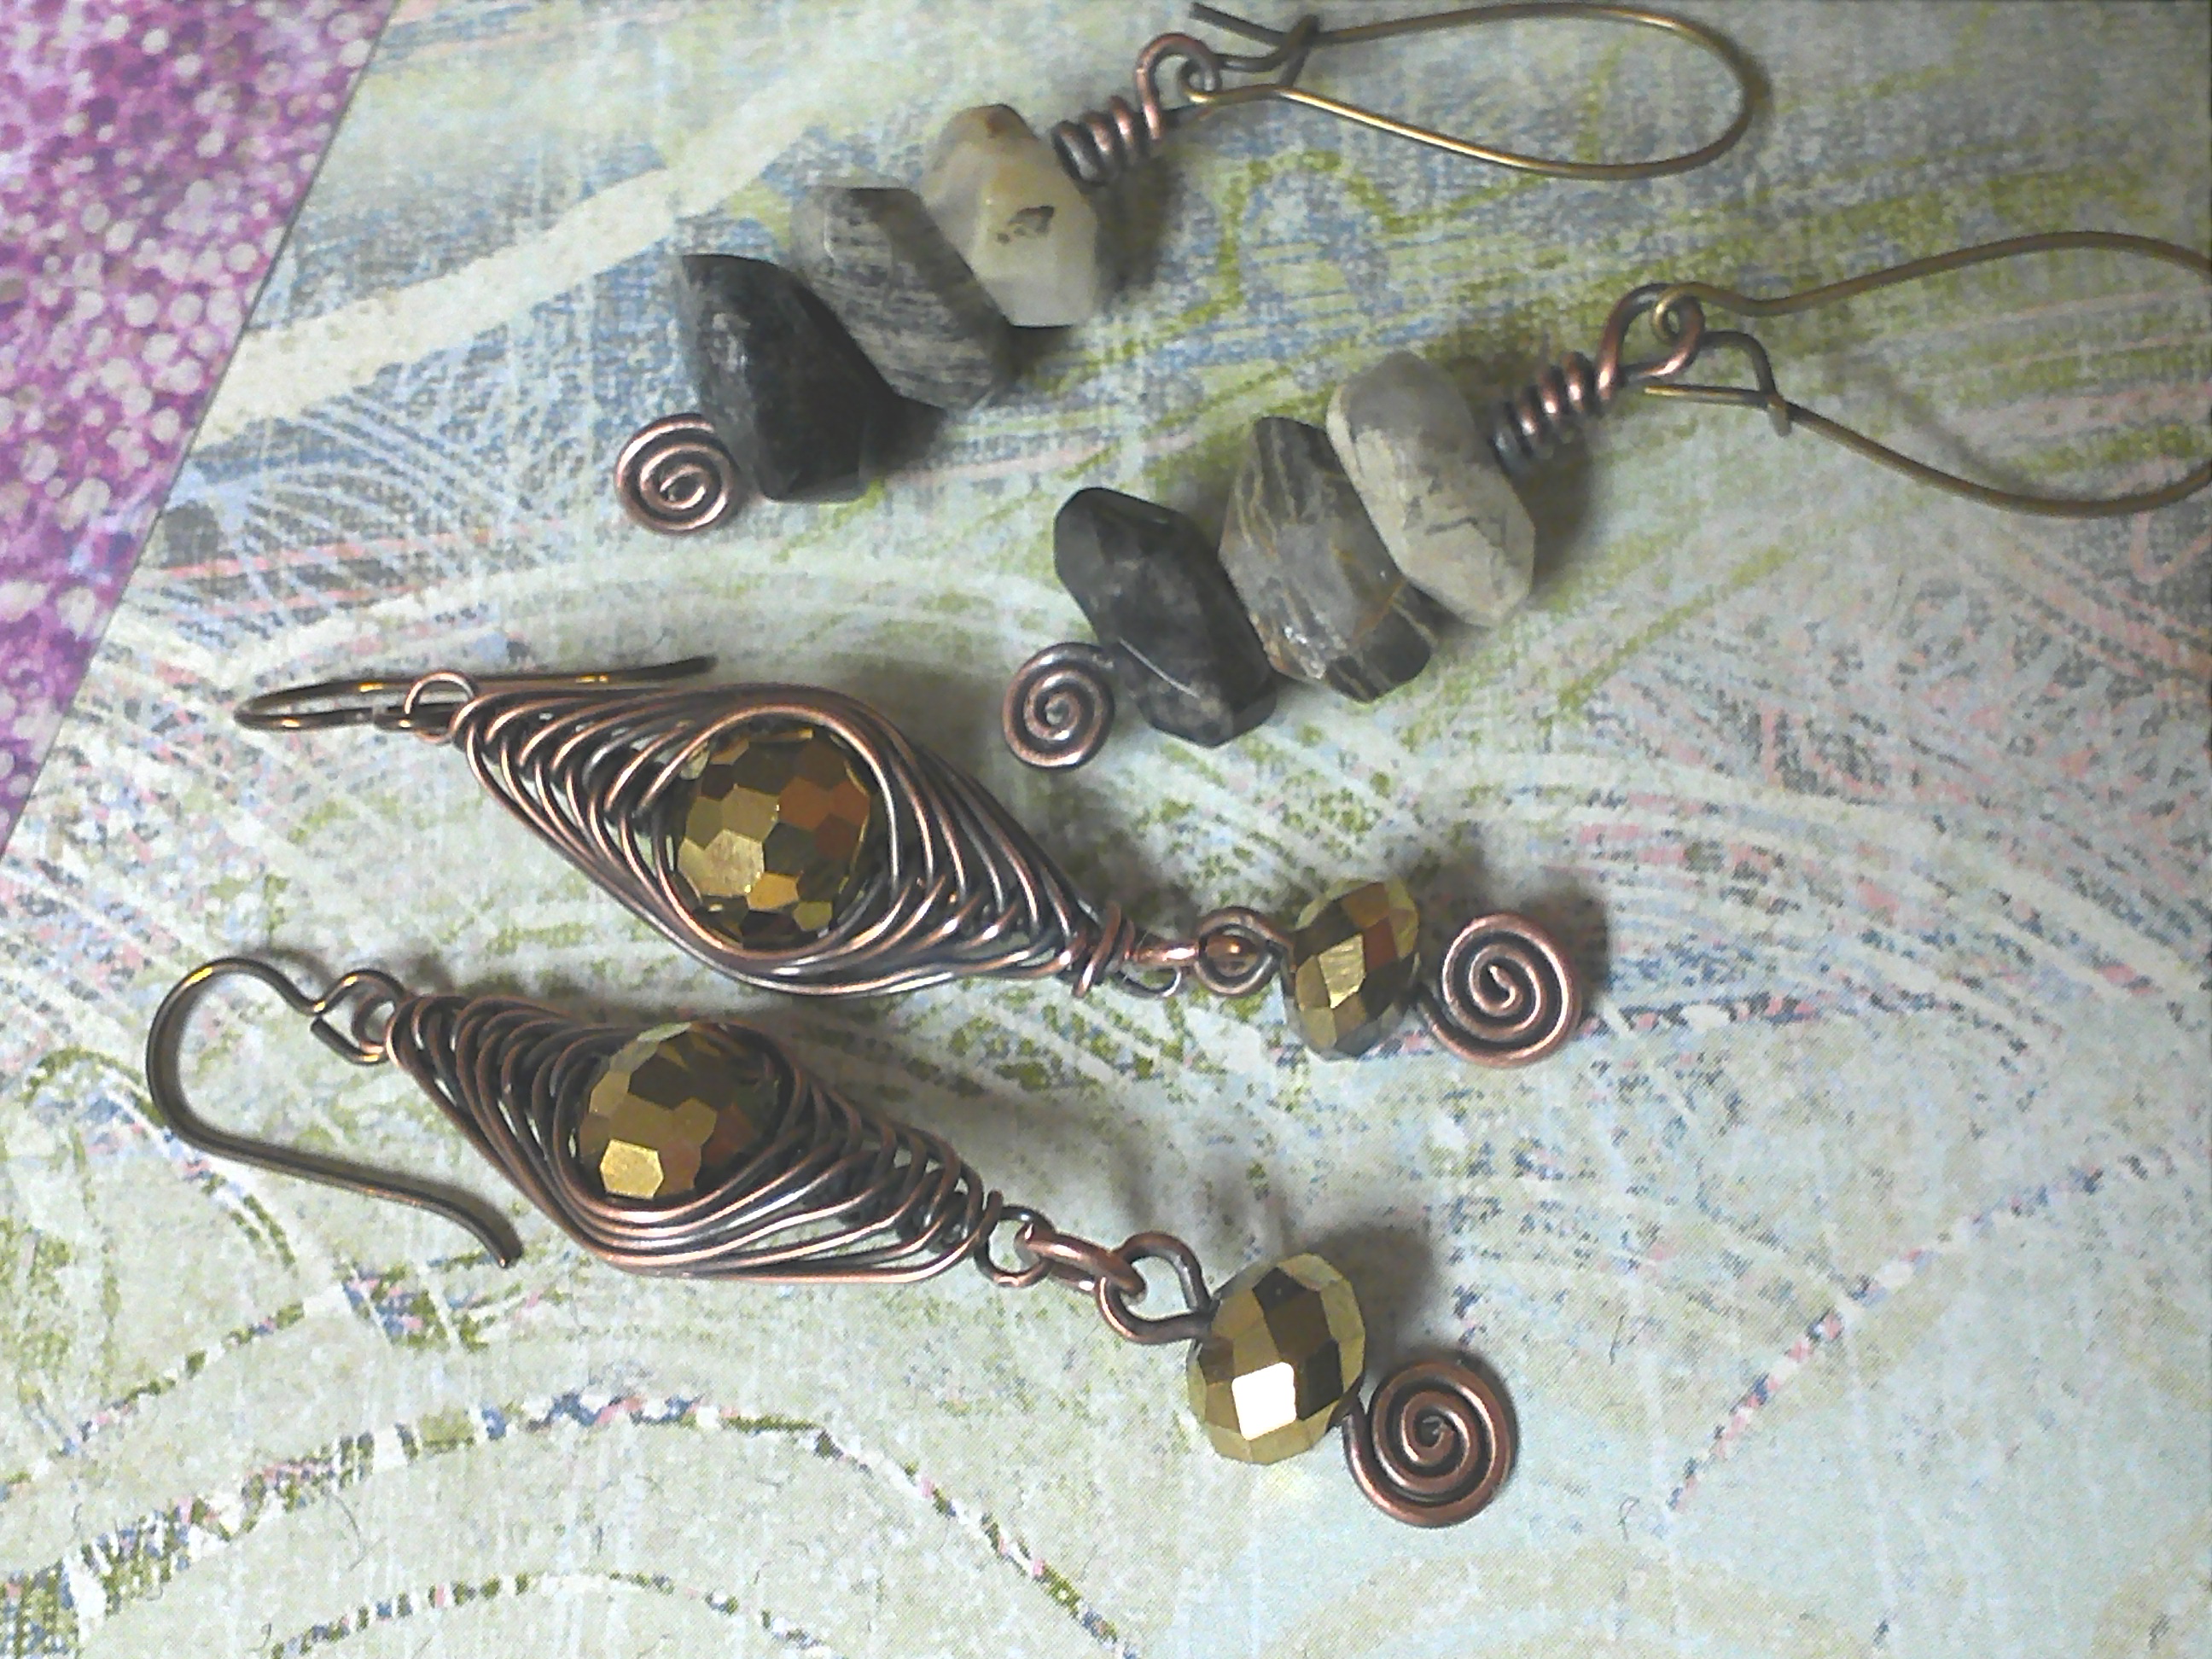
Finished jewelry made using swirly head pins. Both earrings have been antiqued to emphasize the swirl design.

2. Swirly Post Earrings

Making your own swirly post earring findings is actually quite simple. I personally like to use 18 gauge for sturdiness, though standard earring wires are not usually that thick. Most earring findings are no thicker than a 20 gauge. It’s up to you, though know if you do use 18 gauge, you will probably have to use a rubber earring back as most metal nuts won’t fit that thick of wire.

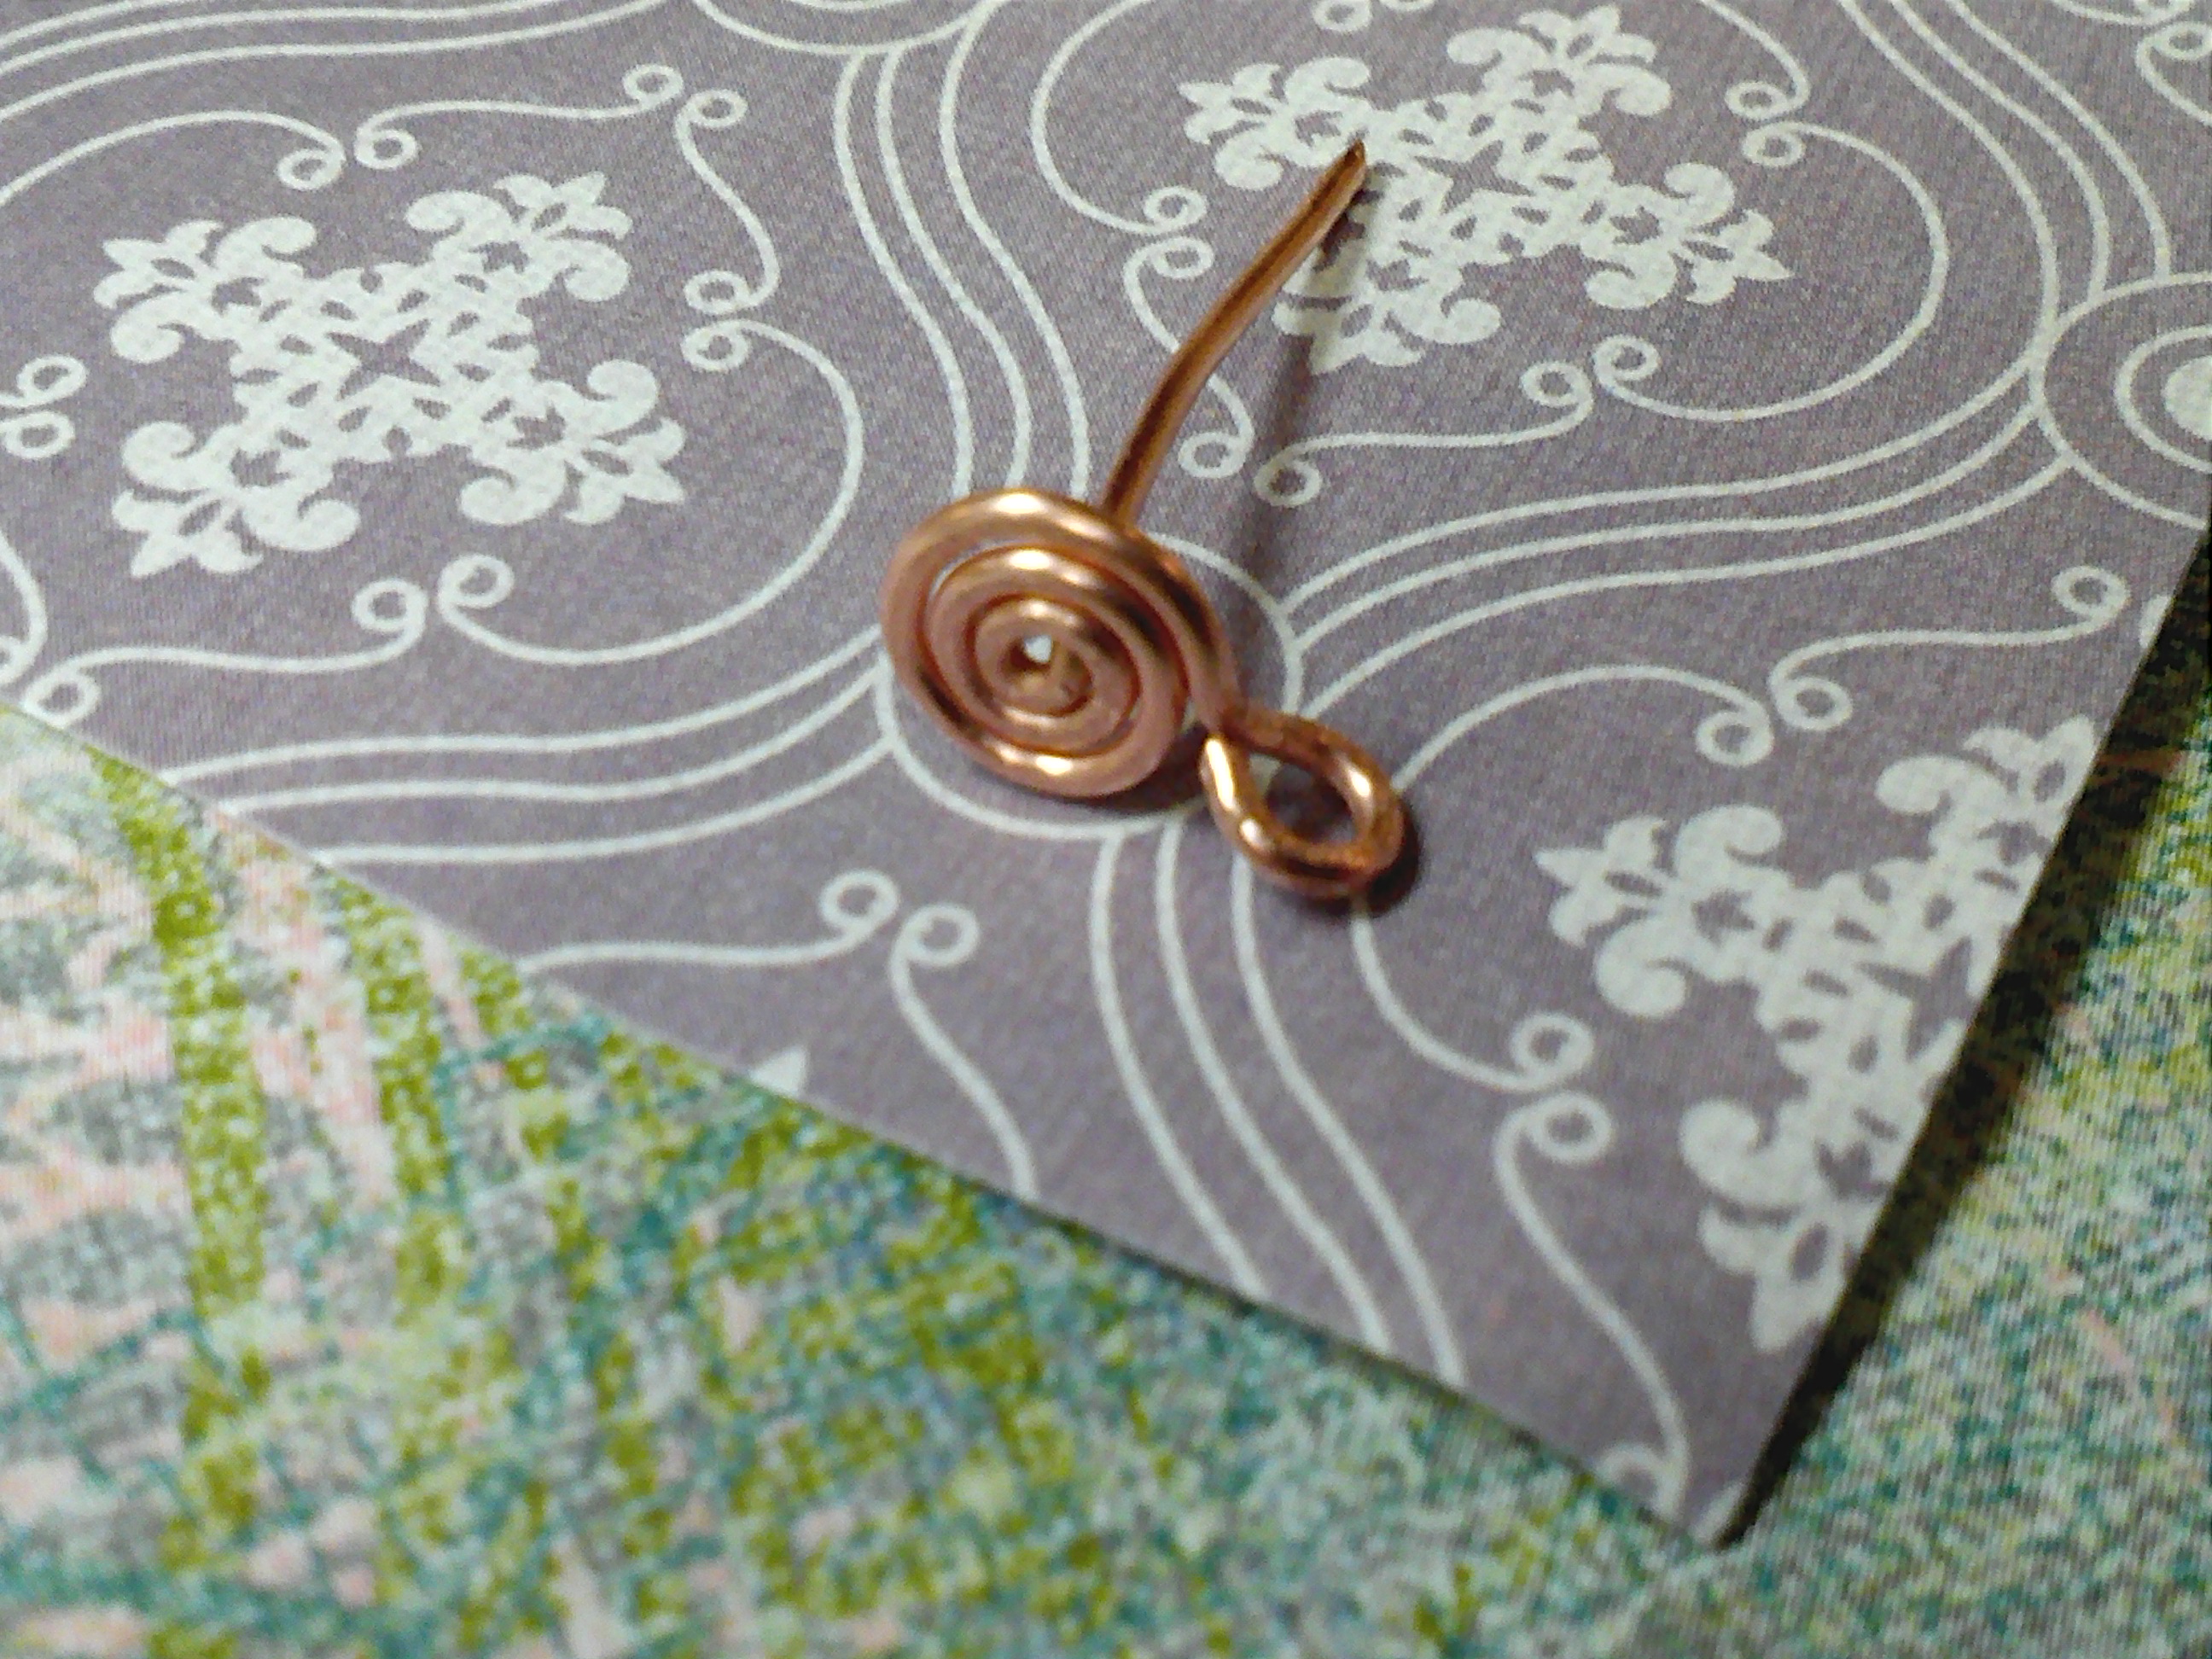
Use a piece of wire about 2 inches long. Make a 90 degree bend in the wire at about 3/4 inch

Make a loop where you bent the wire.

Using your chain nose pliers, build the swirl like you did with the head pins.

You can see the earring being formed. The post that goes into your ear is coming from the center of the loop.

Make a loop to complete your Swirly Earring Post. Also, make sure the ends of the post are smooth. You can do this with either a metal file or a cup bur.

To finish, I used Liver of Sulfur to give the earring wires a patina, then buffed them with steel wool. To prevent your ears from turning green, seal the post with a little Renaissance Wax or clear nail polish.

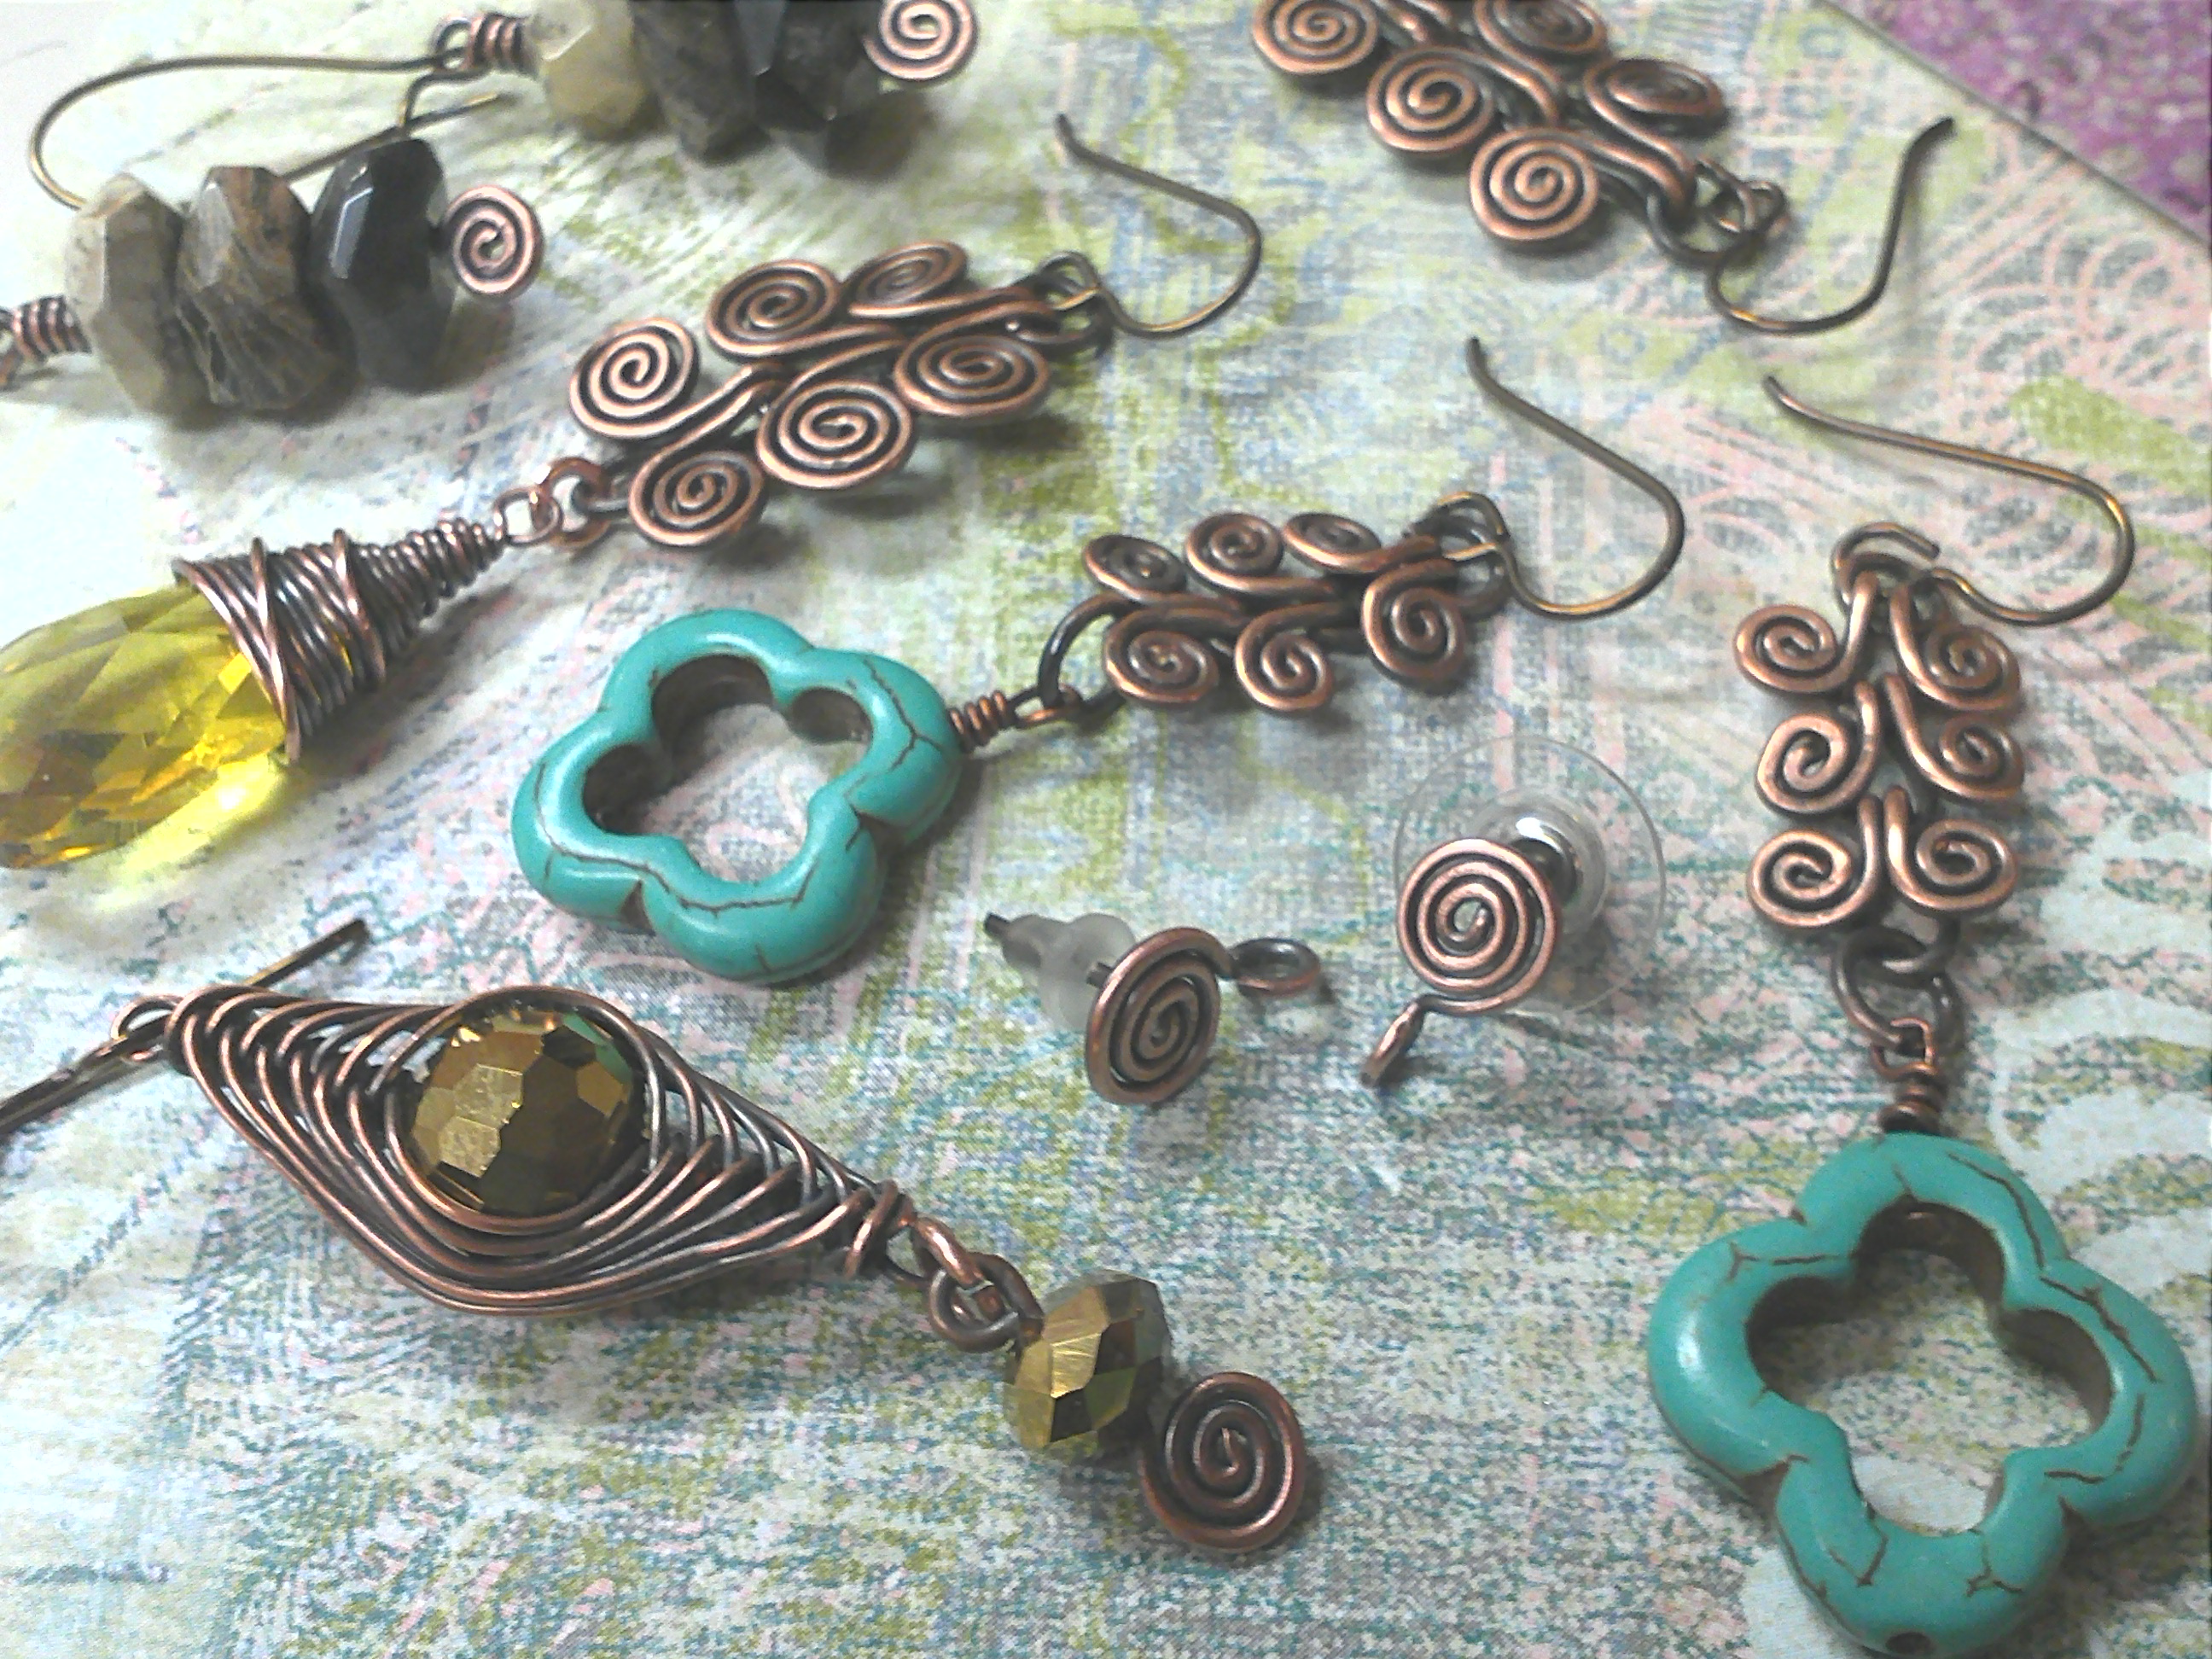
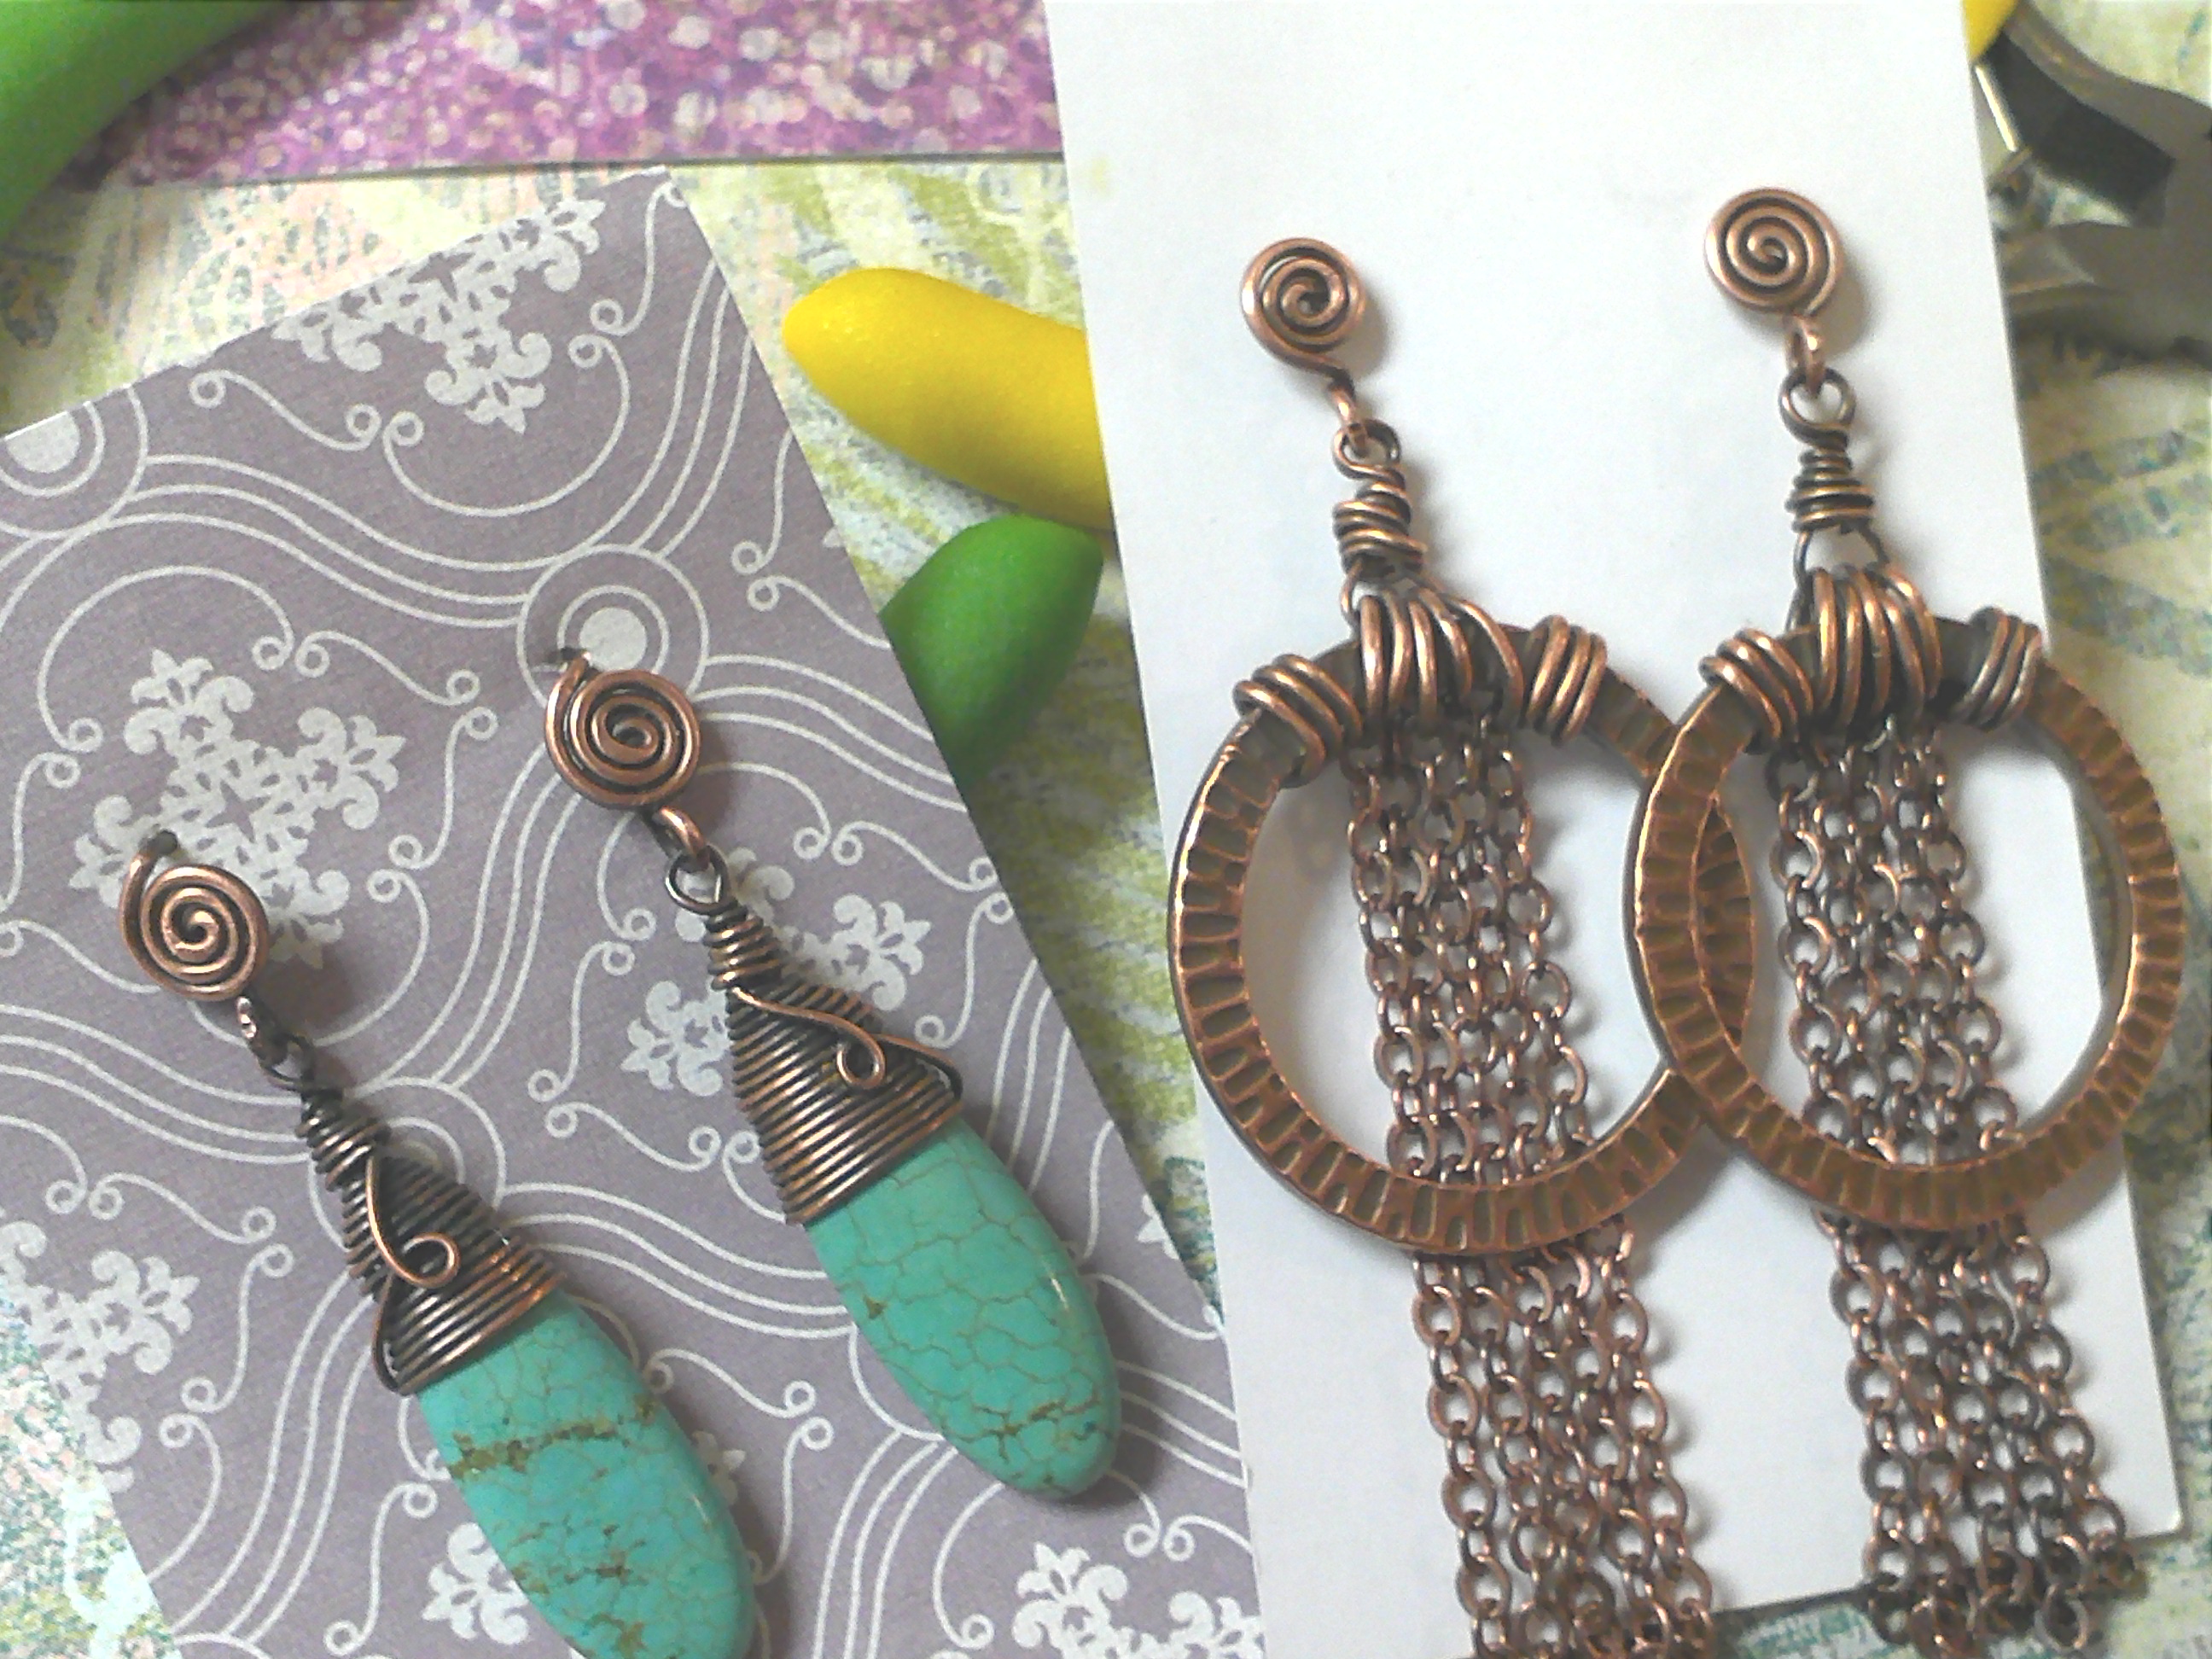
Two completed earring designs using Swirly Earring Post!

3. Egyptian Coils!

Now that you have mastered head pins and earring post, you can move onto the ultimate swirly design, the coveted Egyptian Coil! This design feature multiple swirls and looks so pretty at the top of dangly earrings or as an entire bracelet.

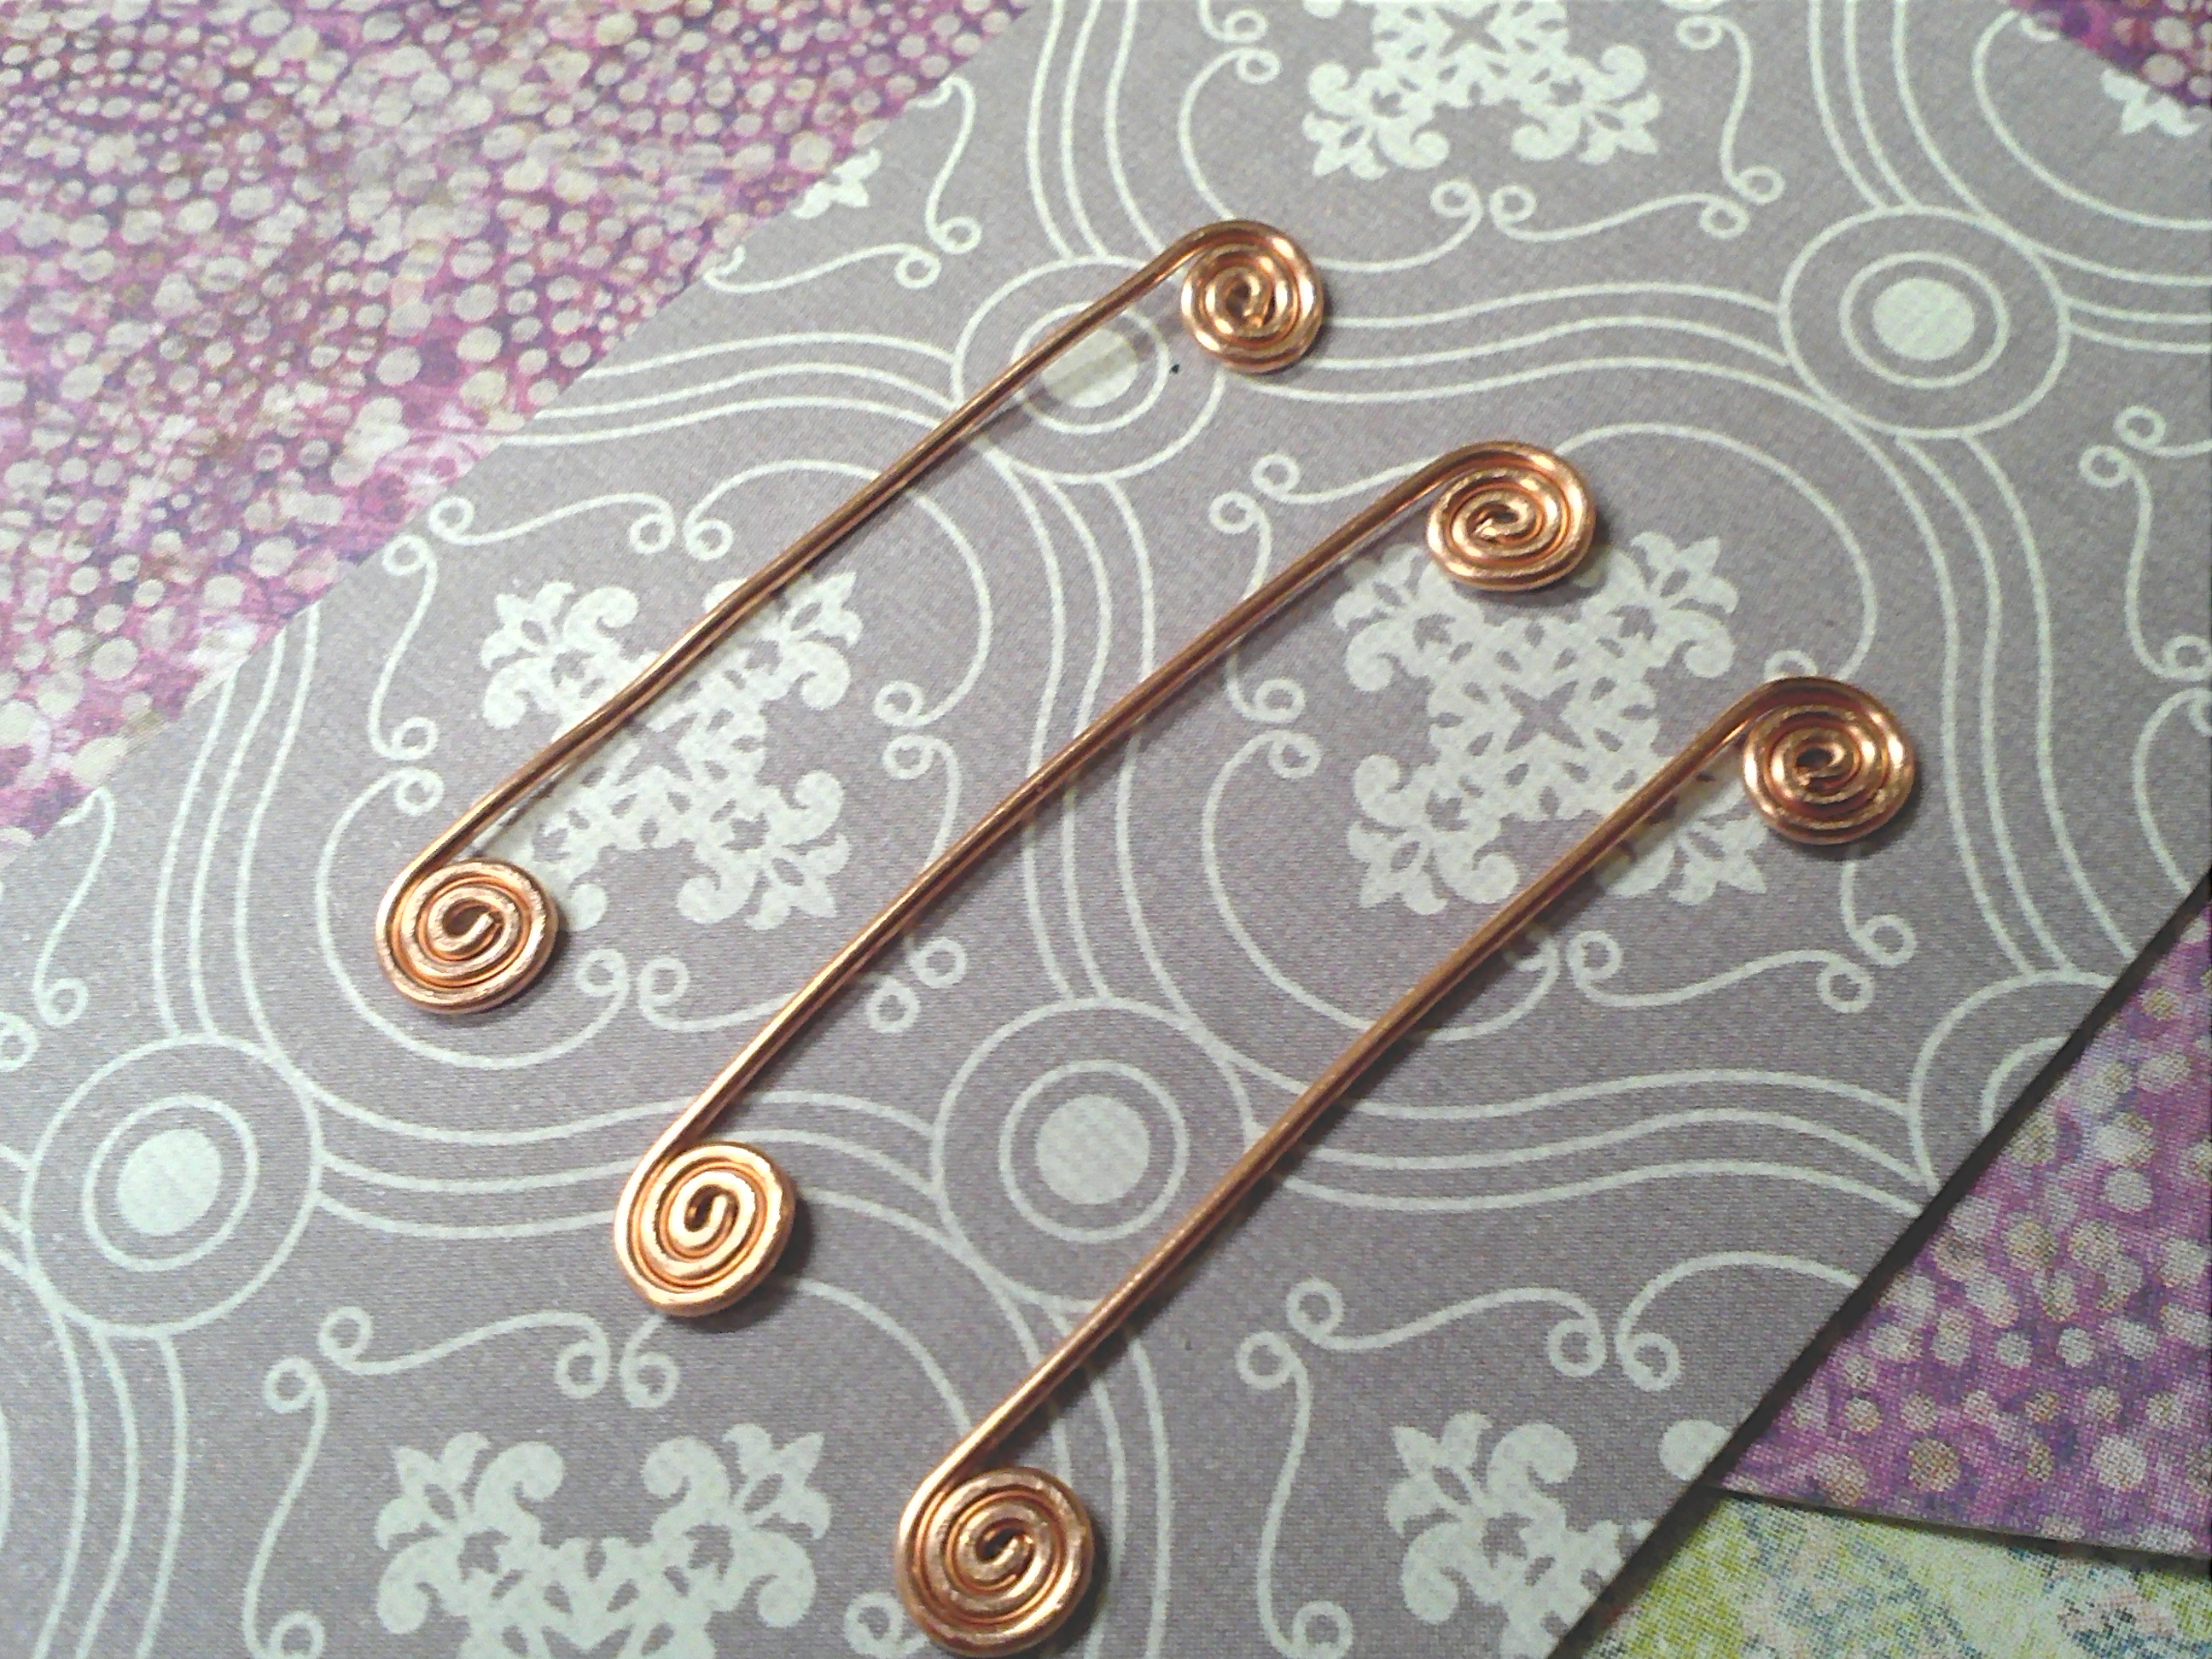
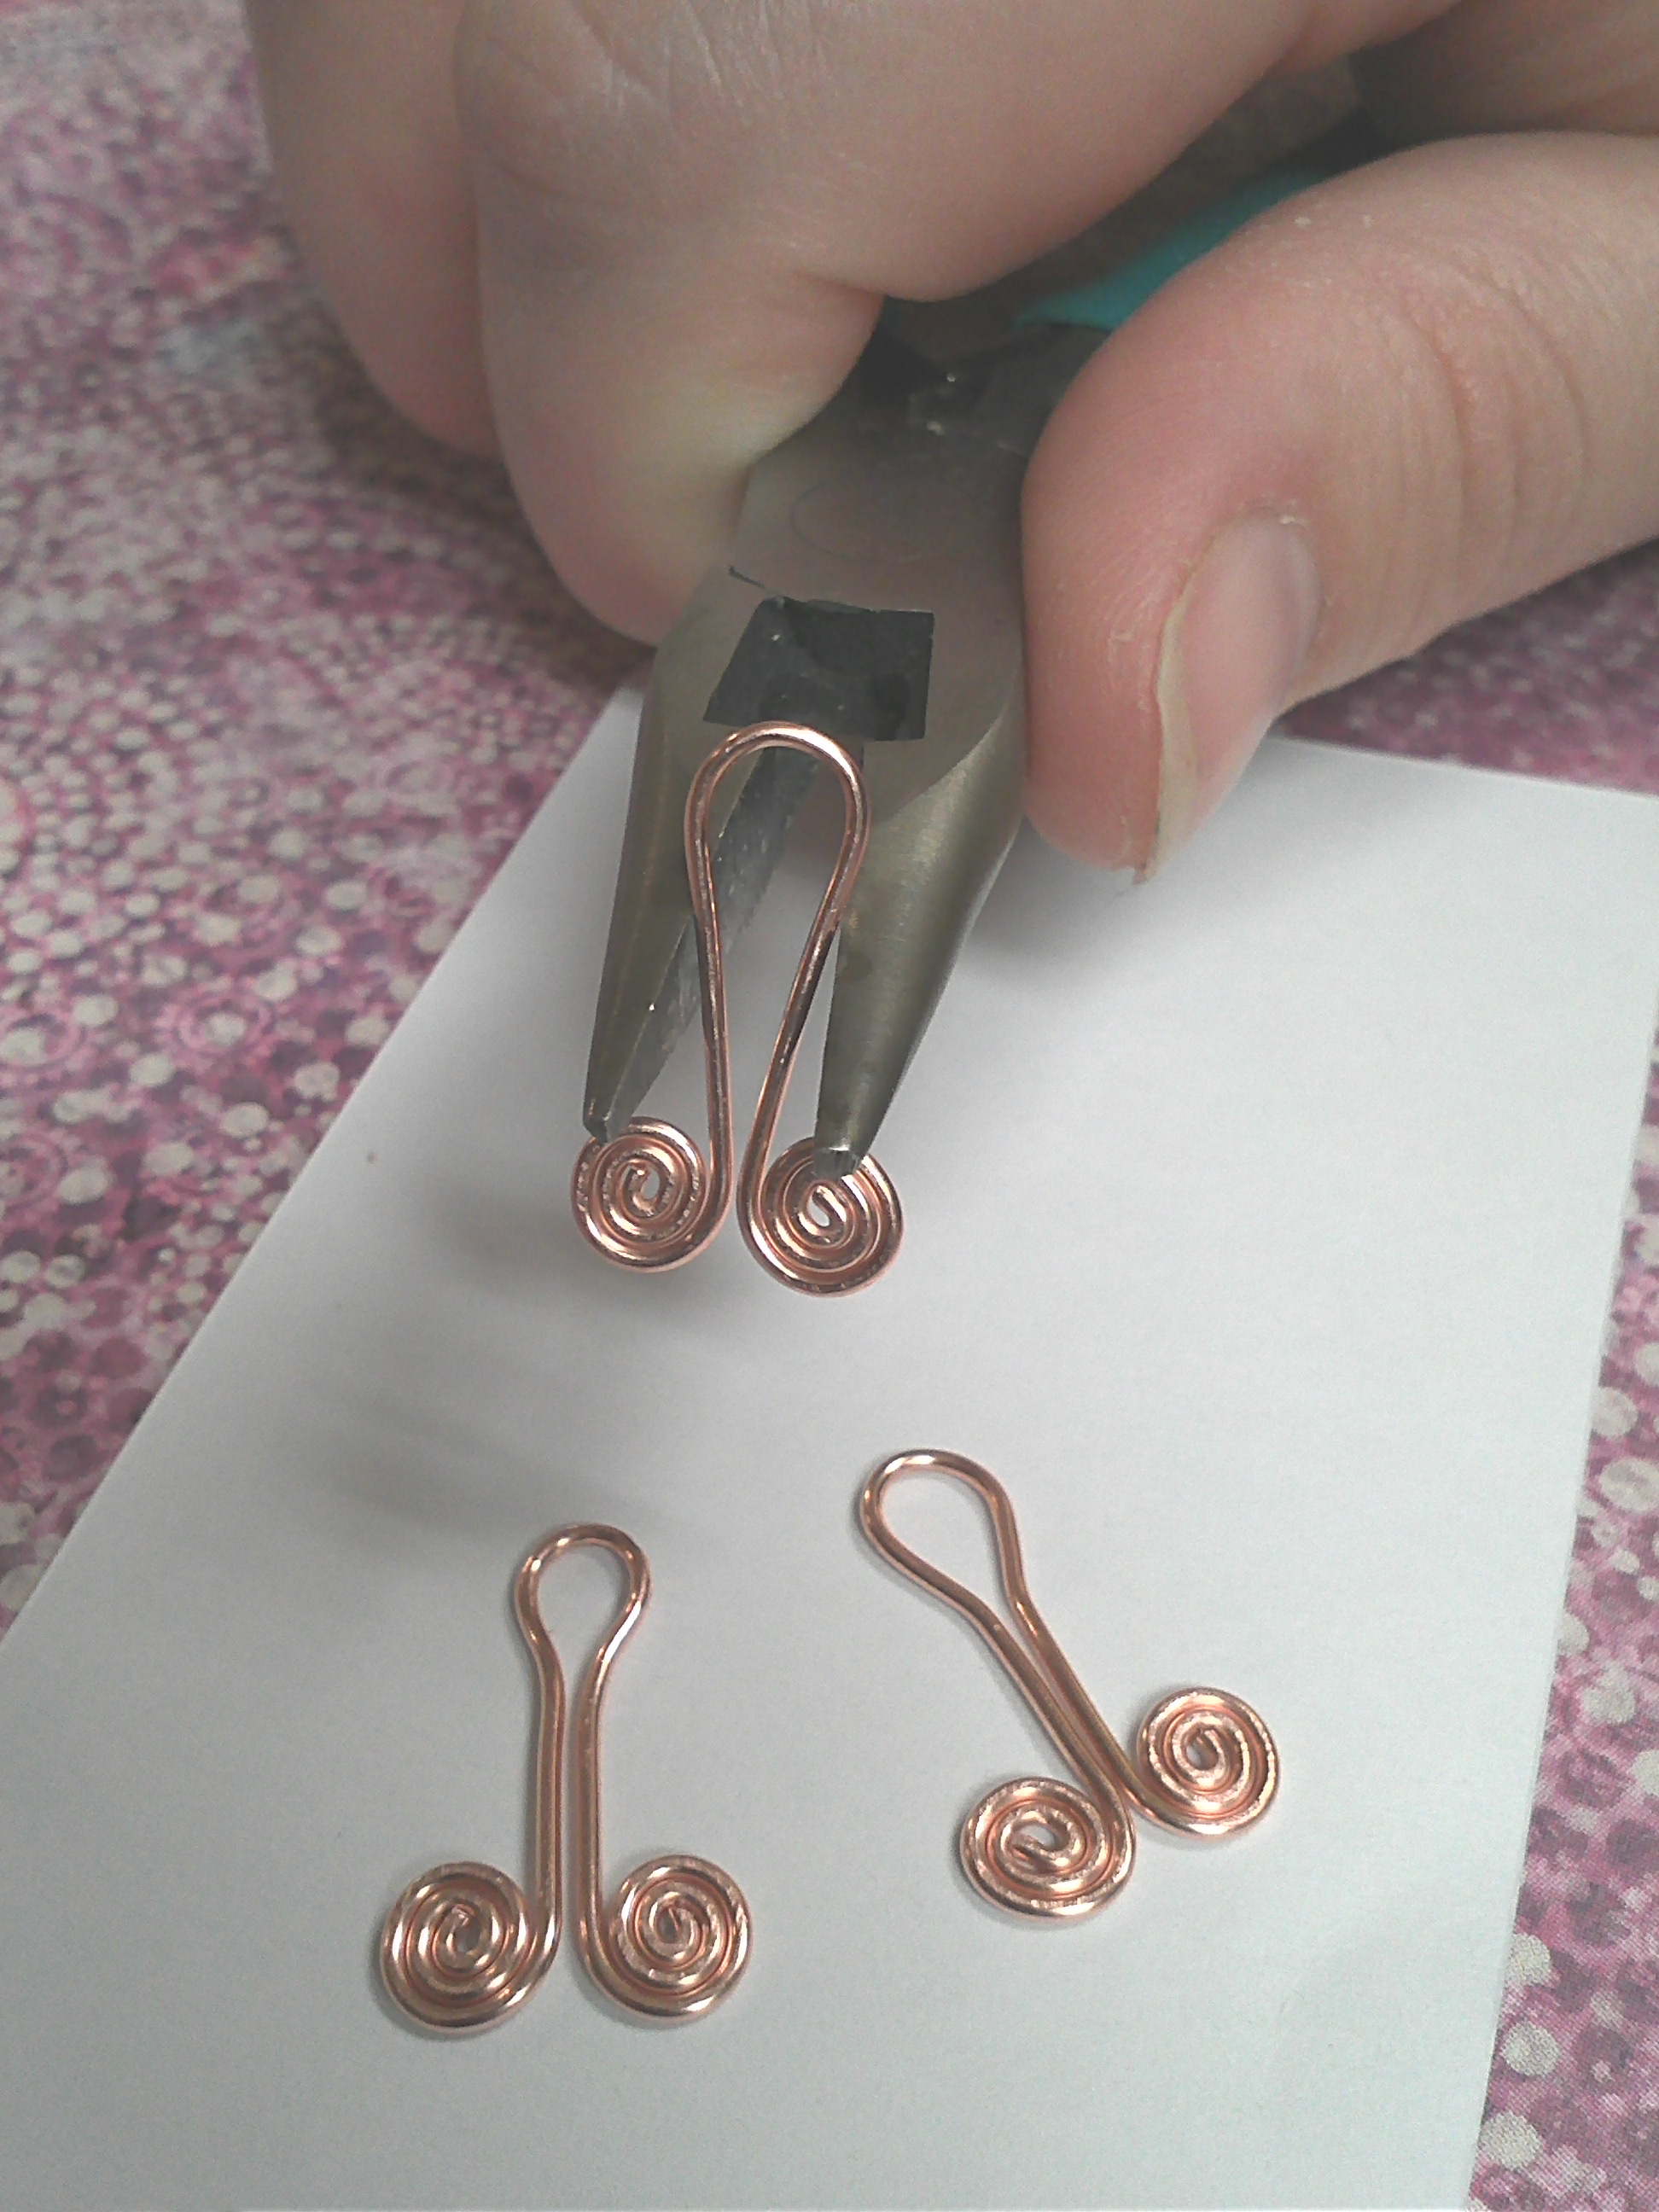
Start by making two-sided swirls. Make sure that they are all the same size.

Bend the wire in the center using your round nose pliers.

Use your chain nose pliers to flatten links like so. Don’t be alarmed, it is supposed to look kind of phallic at this point.

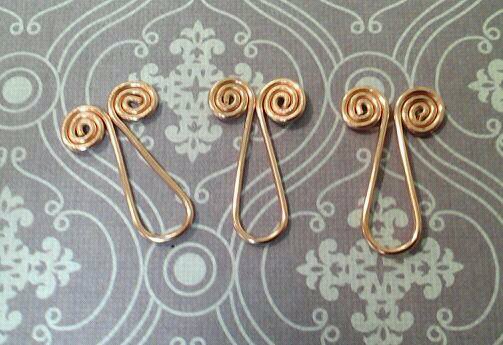
Use your round nose pliers to bend the loop back. You now have links!

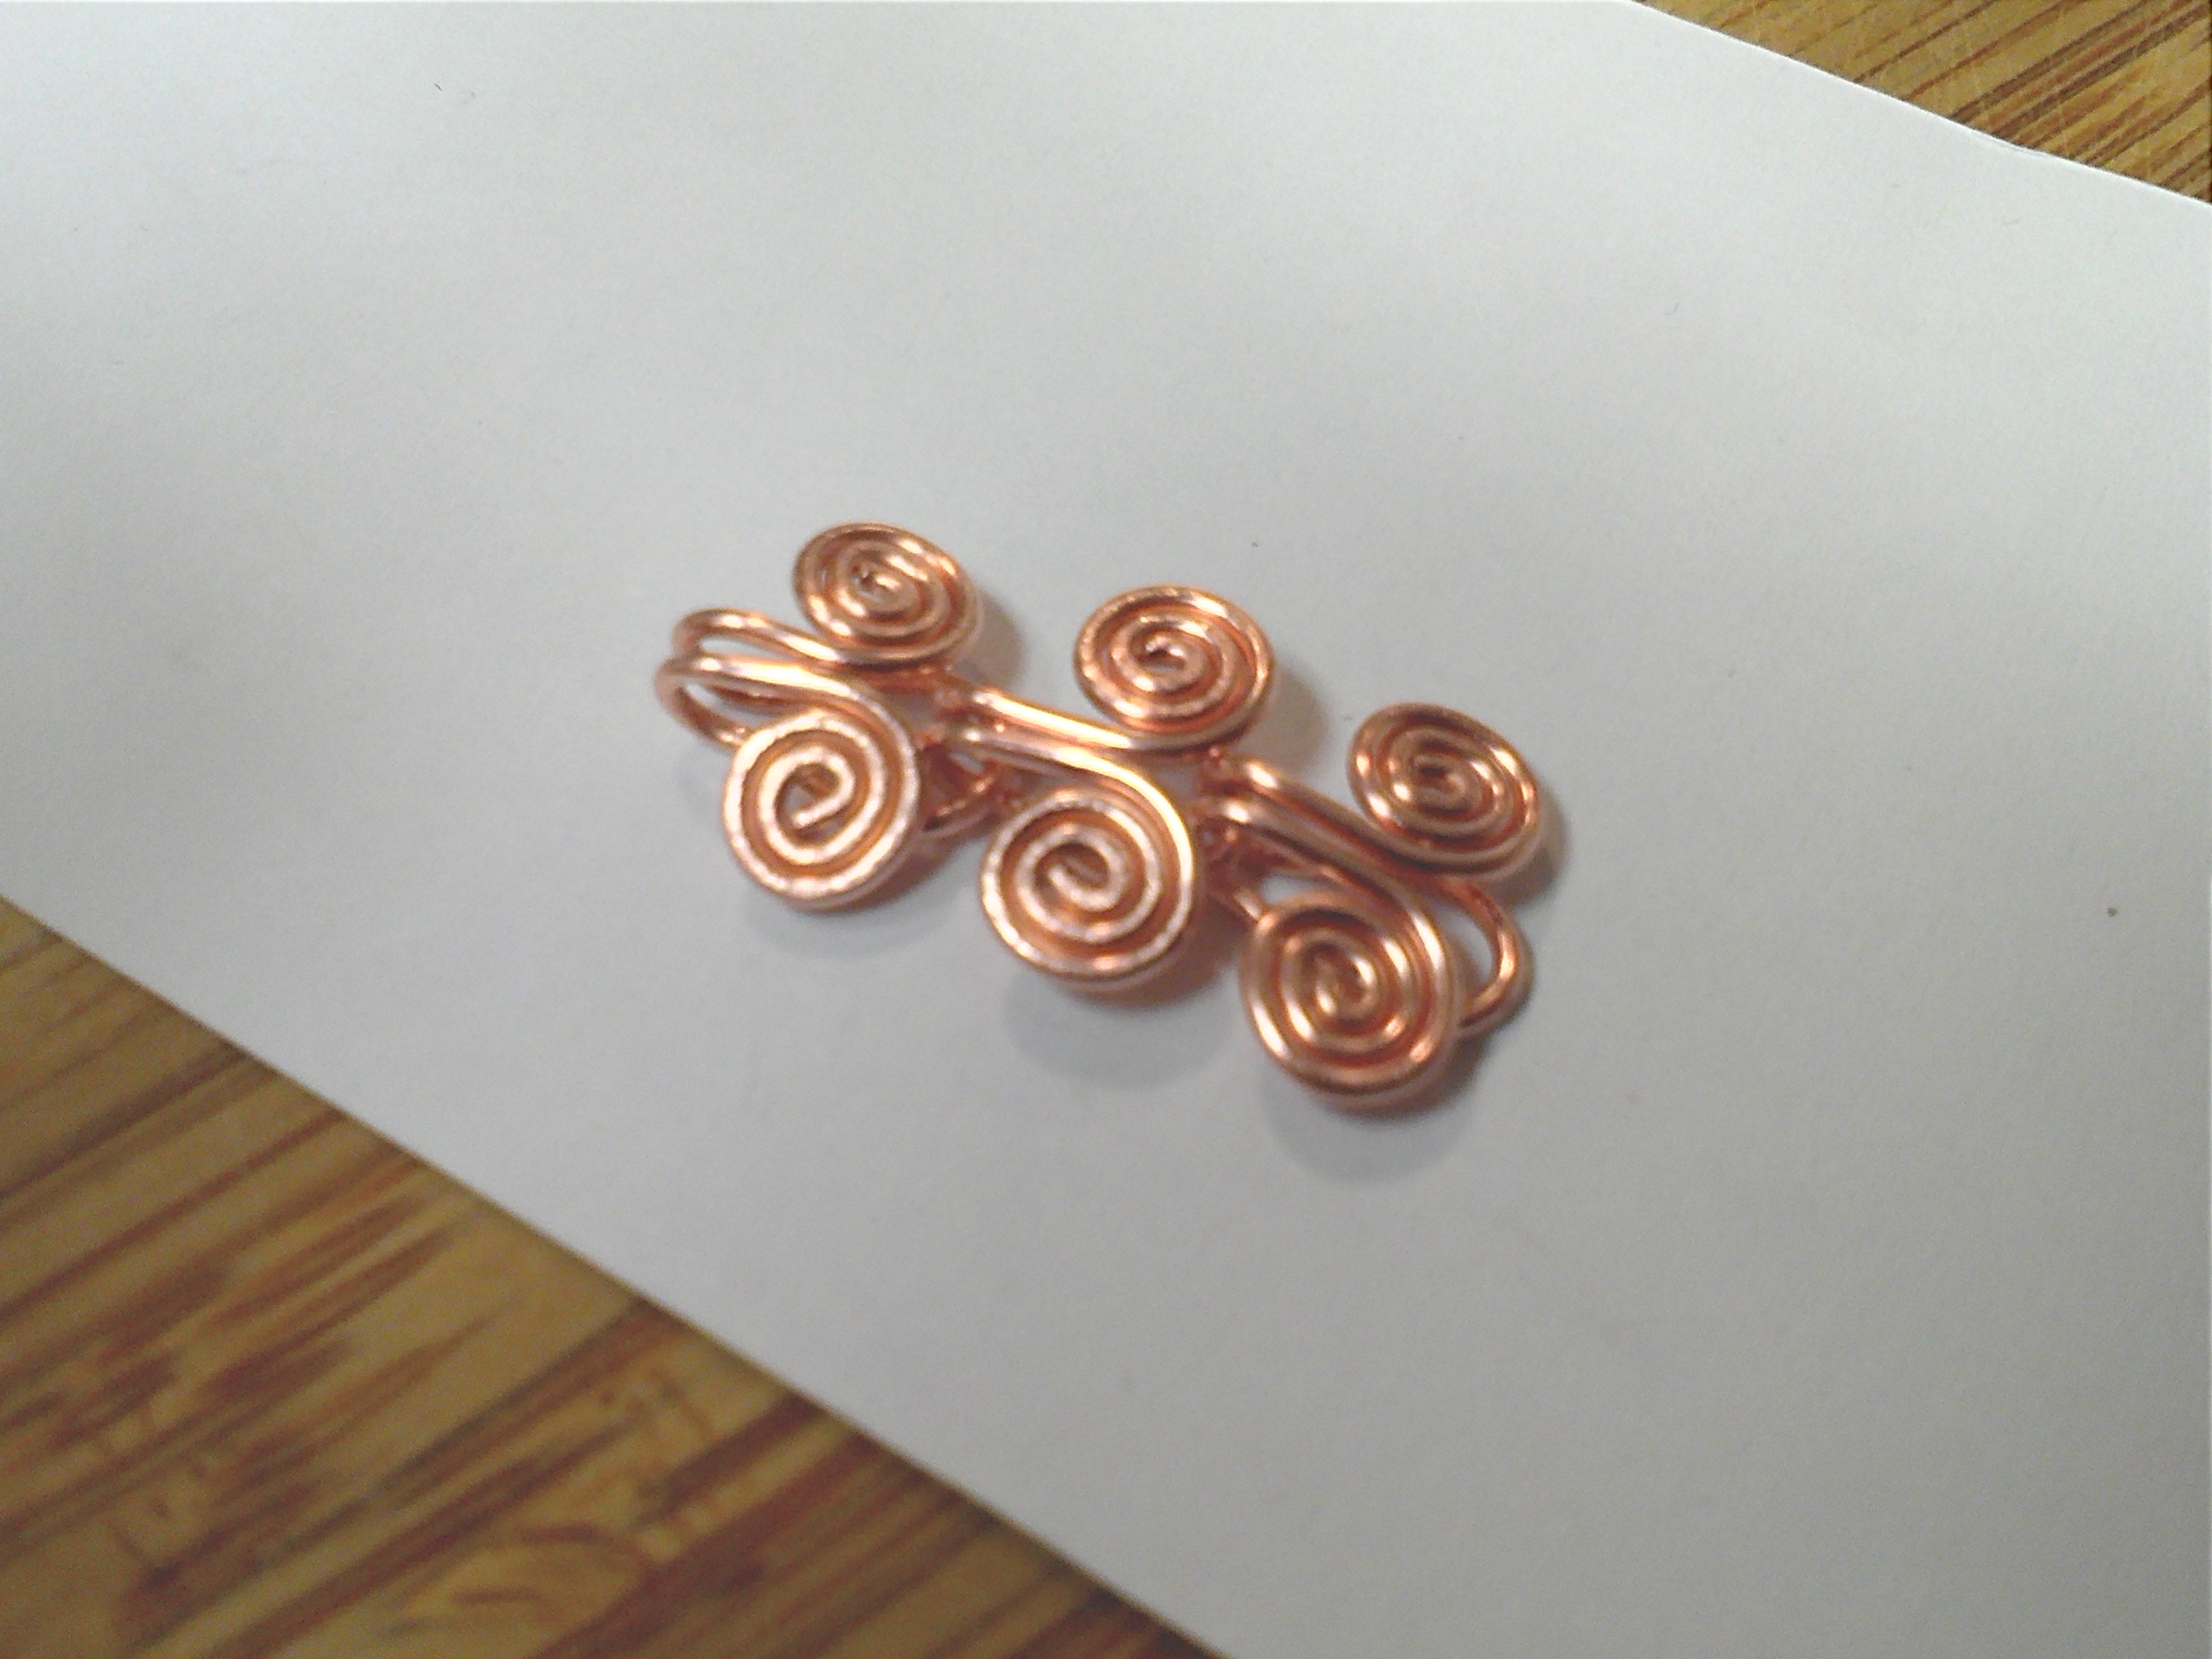
Connect links to make a chain

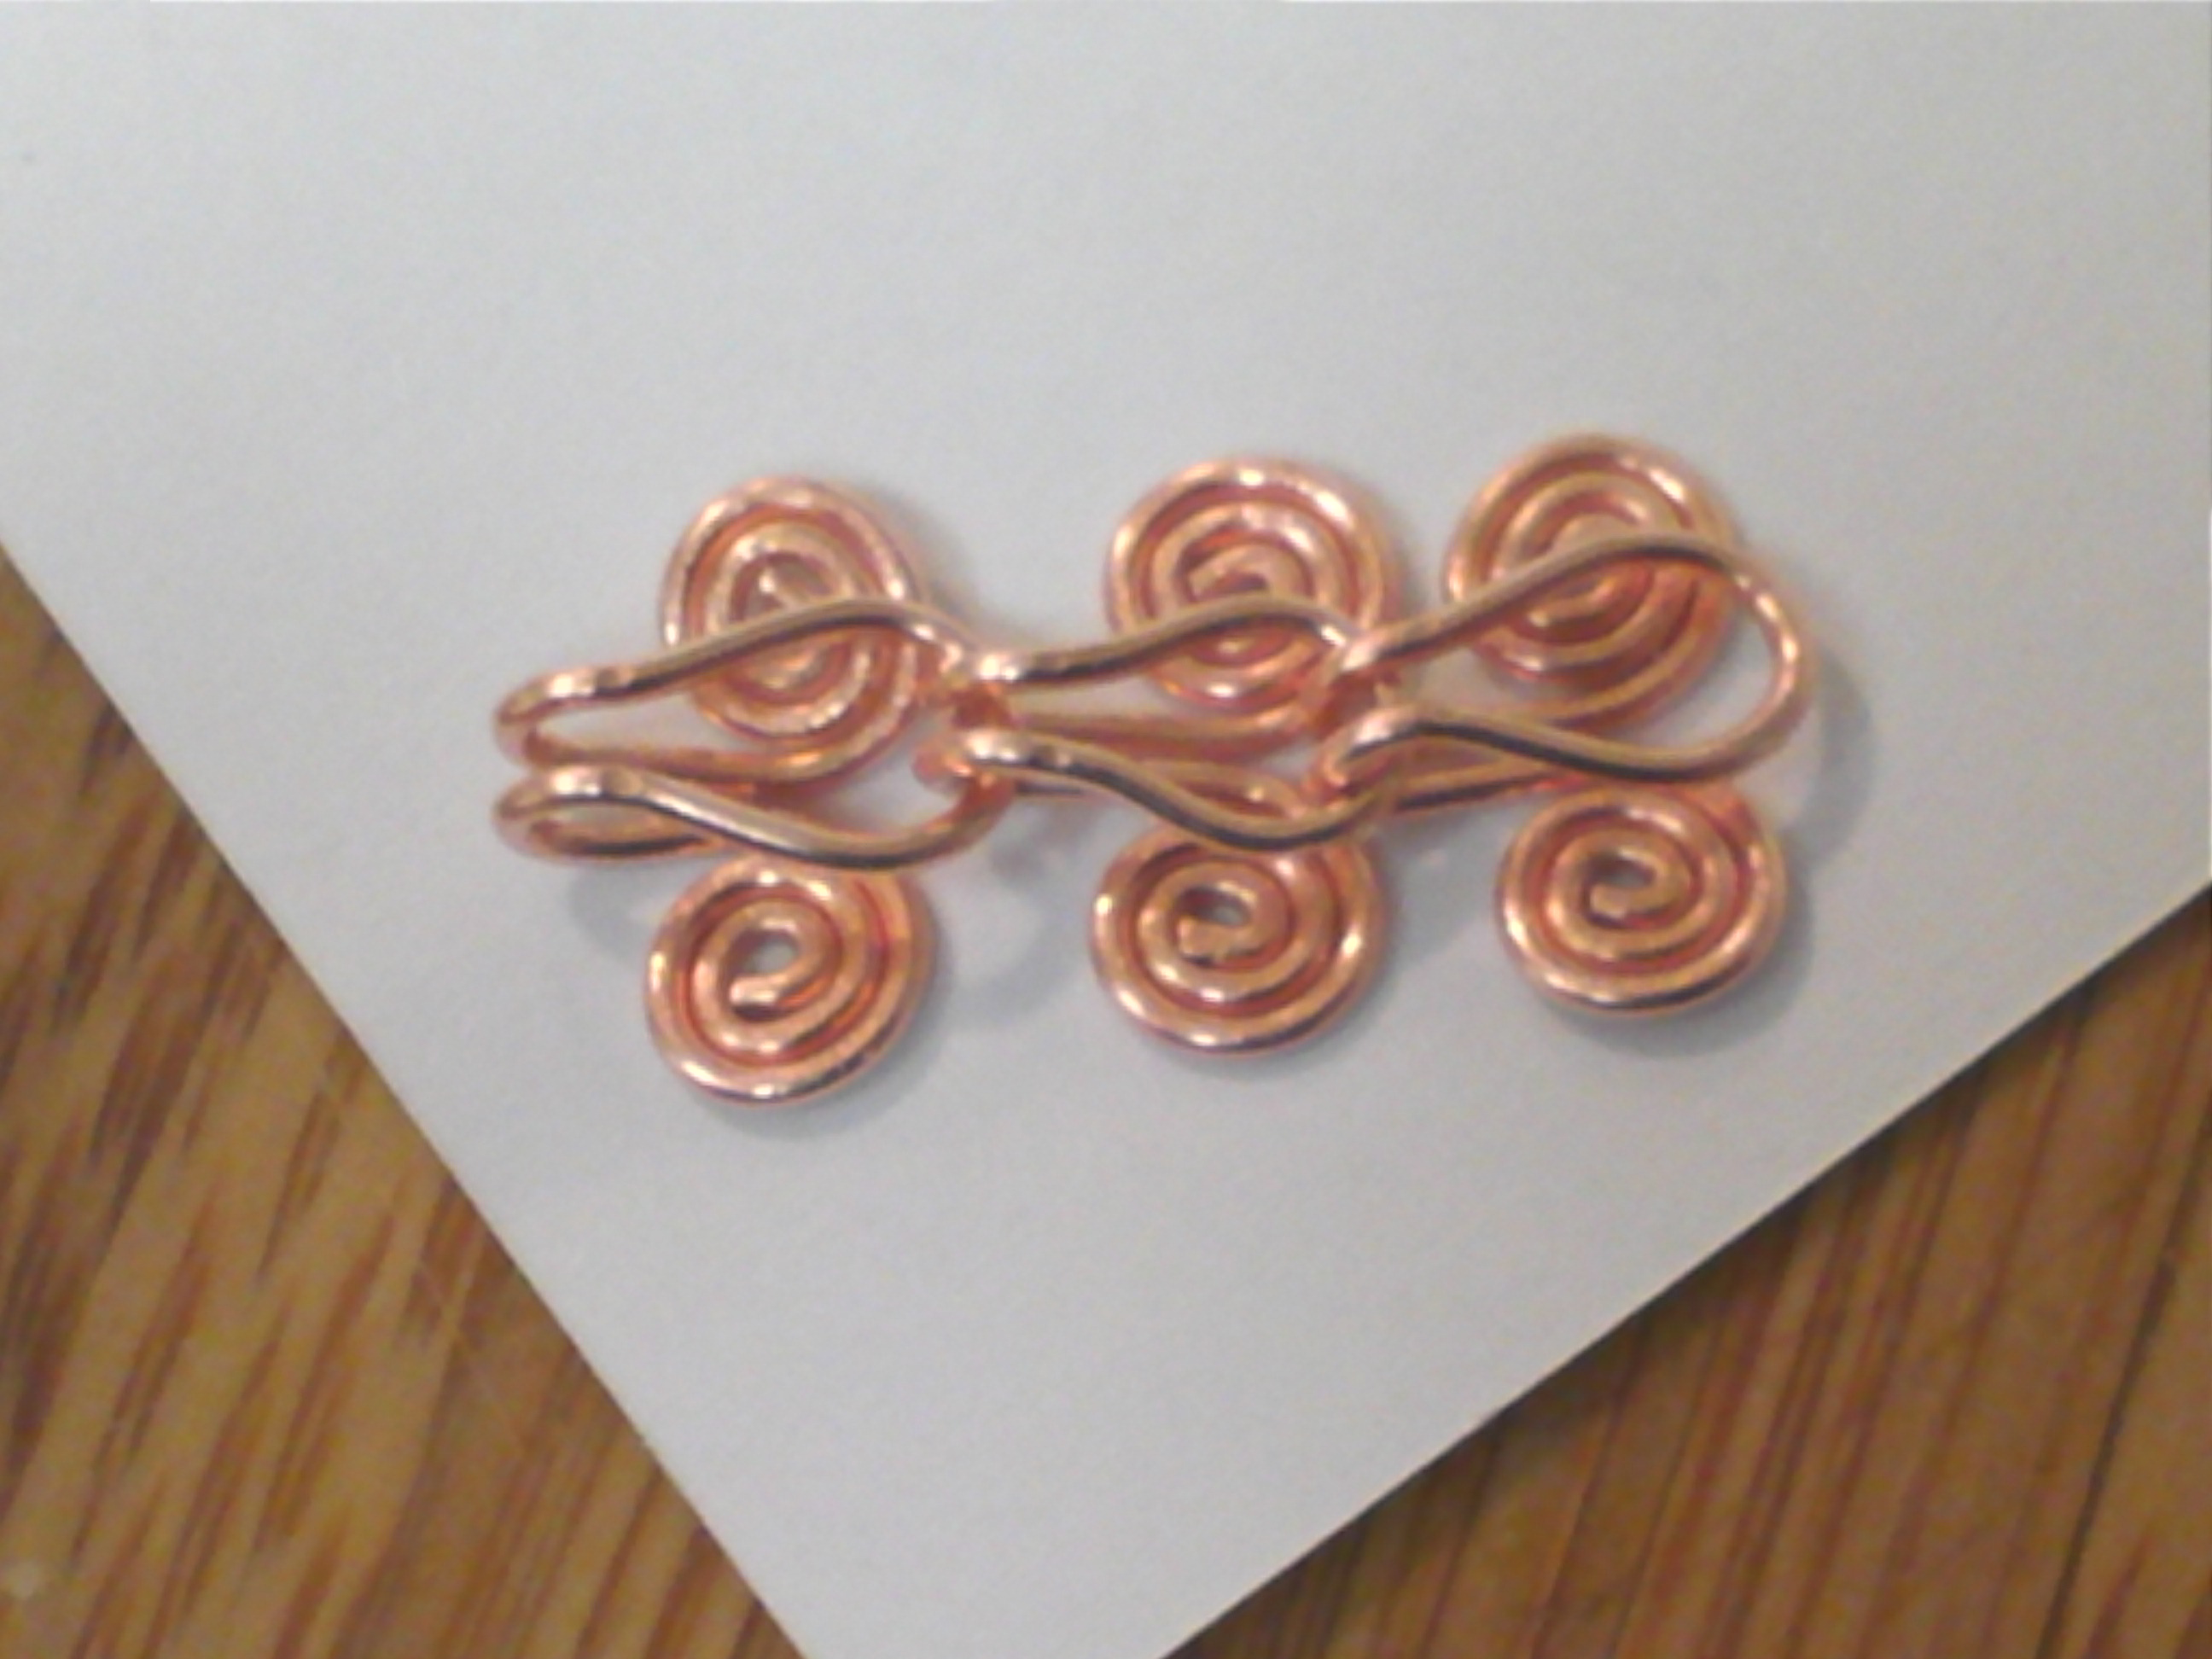
View of links from the back

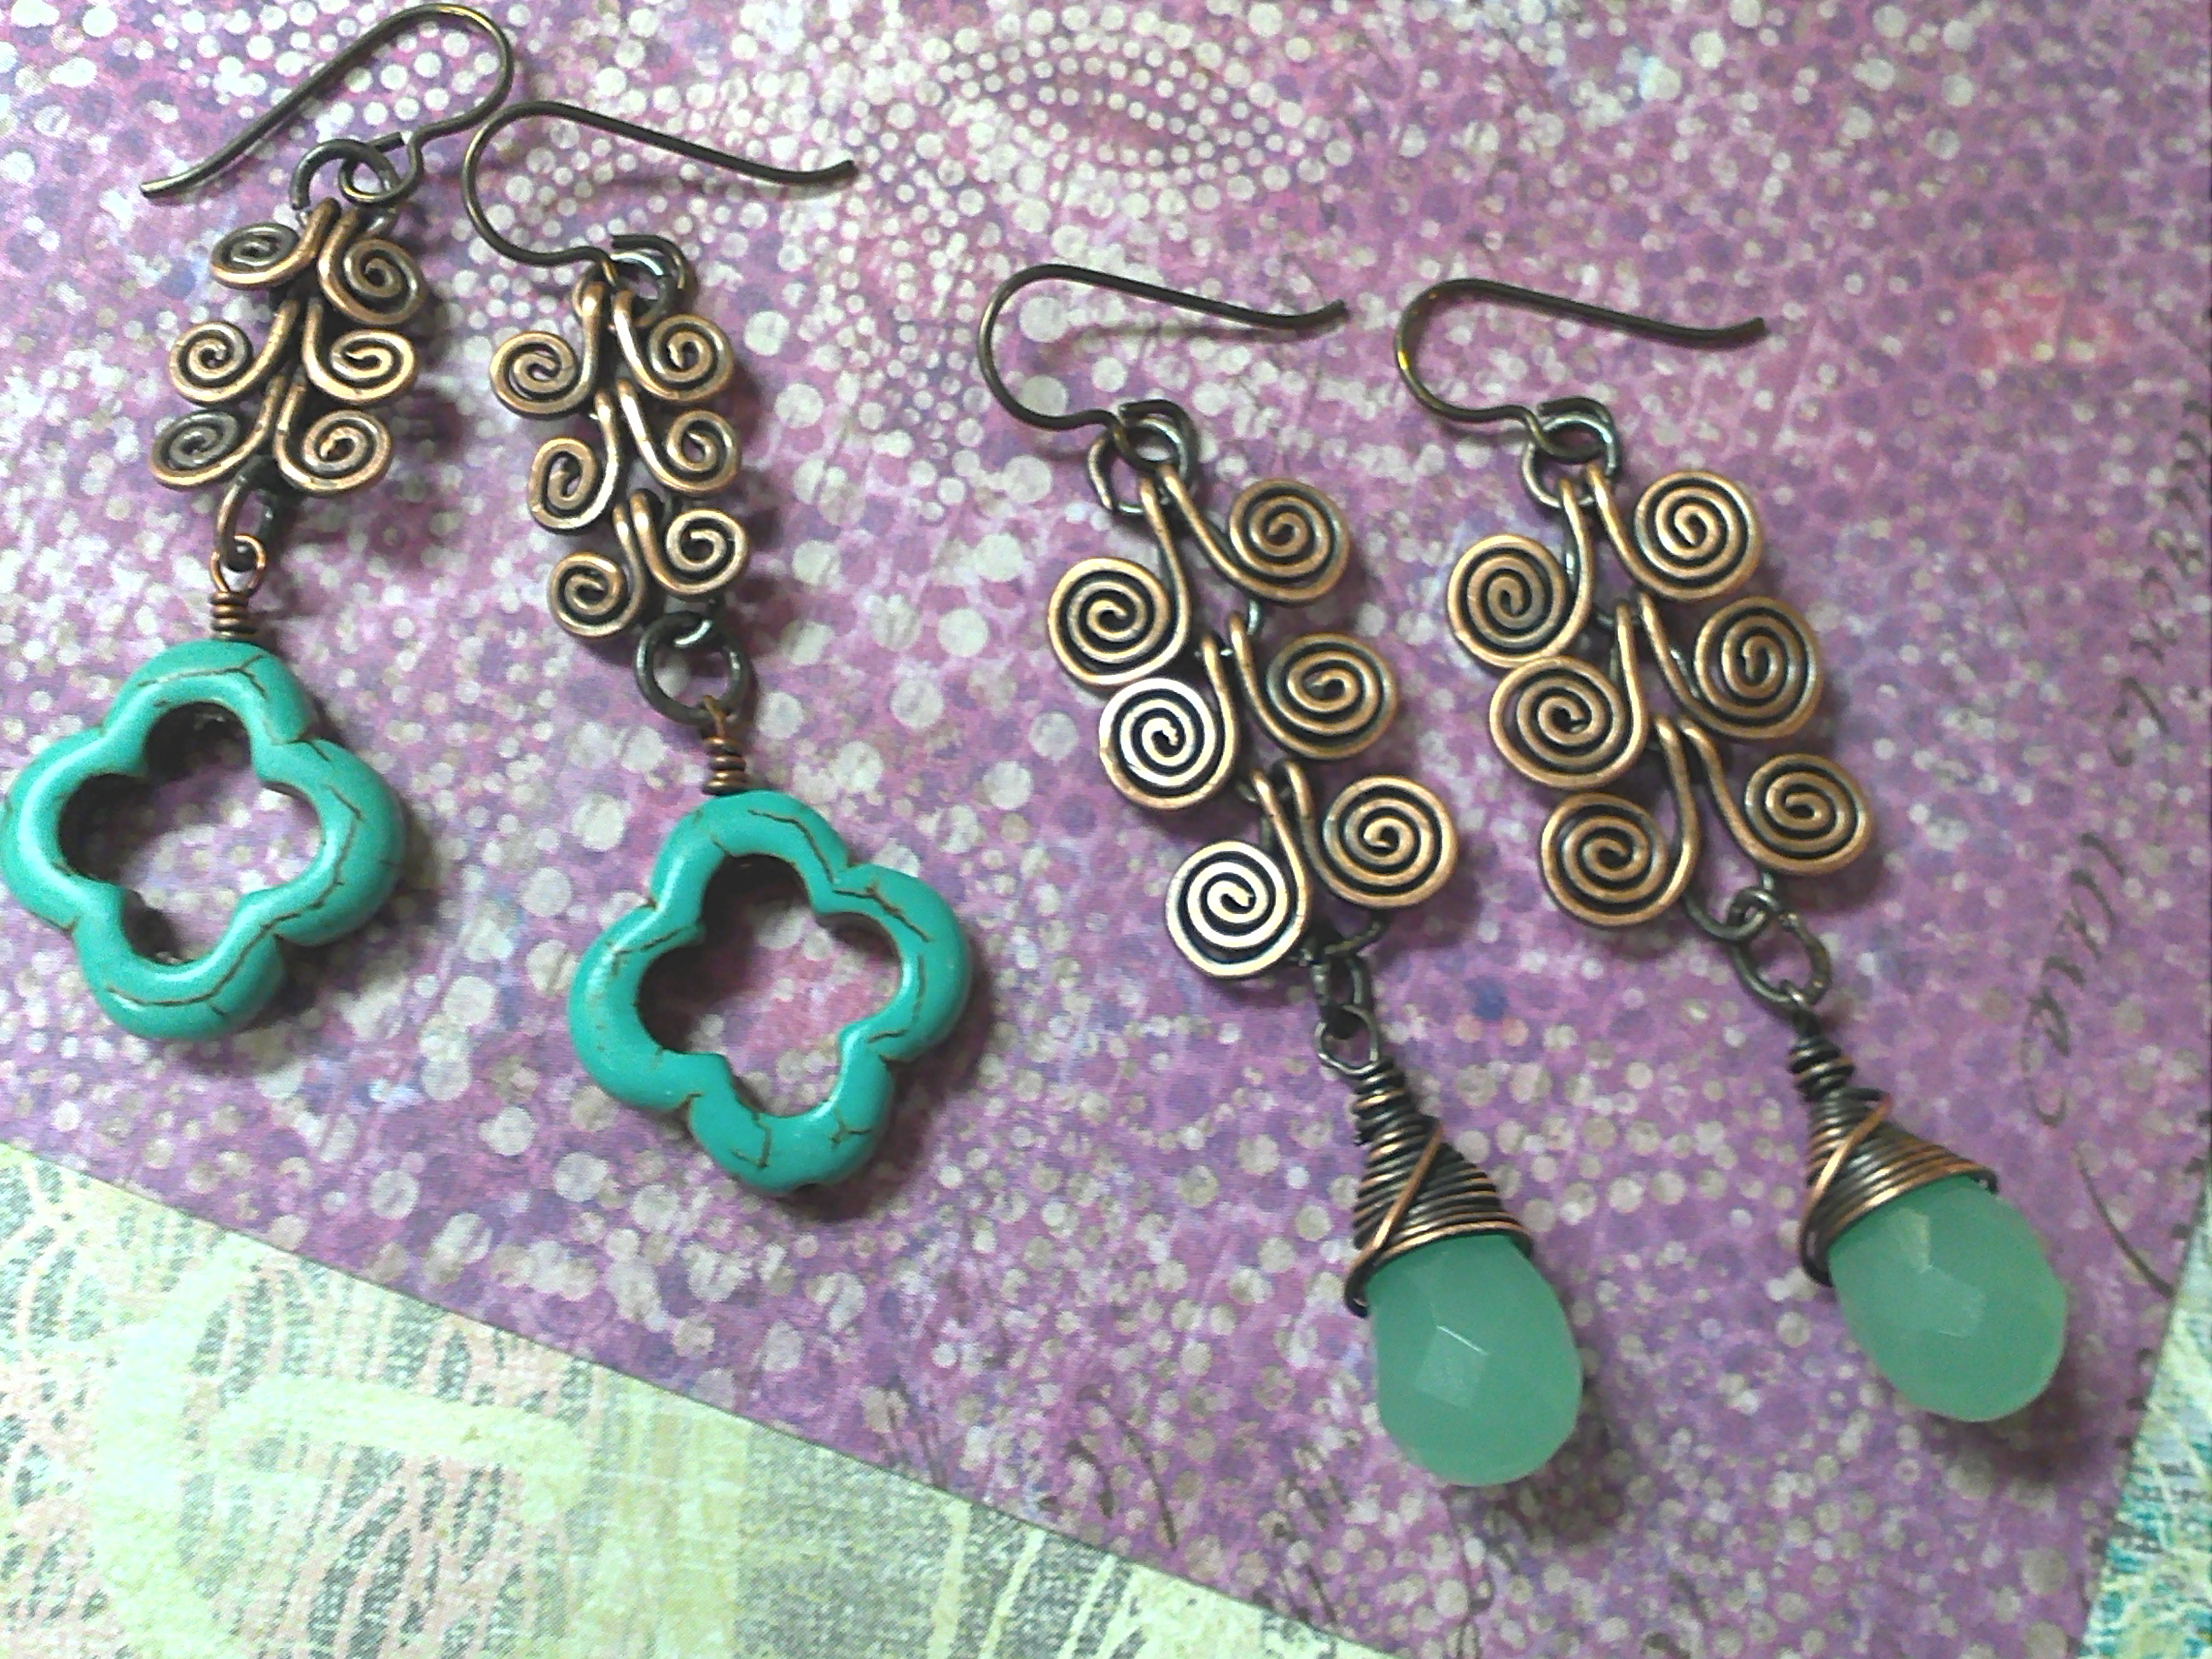
Finished Earrings using Egyptian Coils

Well I hope you enjoyed my swirly blog post and are now inspired to try out some of these ideas. For all of these earrings I used bare copper wire and then oxidized the wire with Liver of Sulfur to antique it. I then buffed the designs with steel wool to expose the bright copper. I highly recommend doing this with your swirl designs because is really makes those curly-Q’s stand out.

~~Tiffany in the Showroom

Feel free to ask me any questions about how I did anything or what materials I used for all the designs.

How to make "Cluster Earrings"

September 12, 2011

Around here I am kind of known as the “cluster earring girl”. I guess you could say it’s my signature. I just love to make earrings that resemble little bundle of grapes! Anytime I see a new bead, be it a keishi freshwater pearl or a hematite cube, I imagine, how would those look in cluster dangling from my ear?

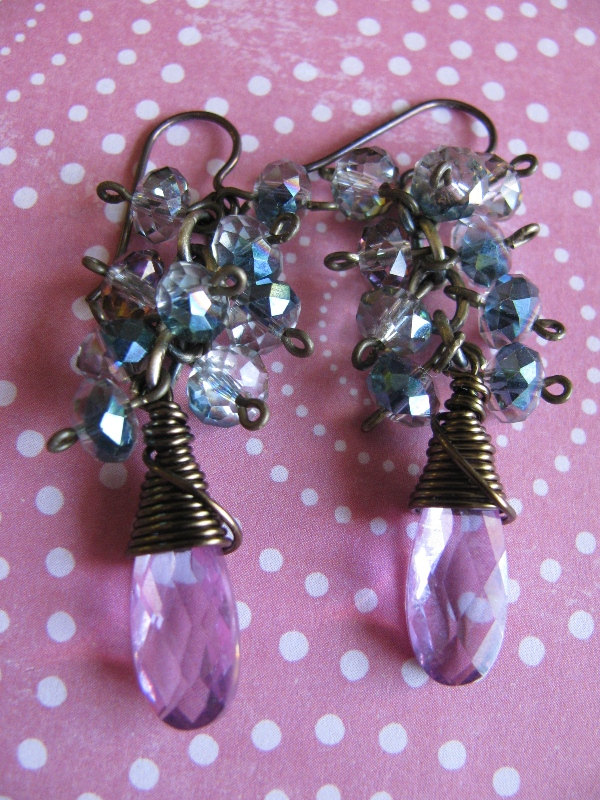
Cluster Earrings with Cubic Zirconia Briolettes and Rainbow Sparkly Glass

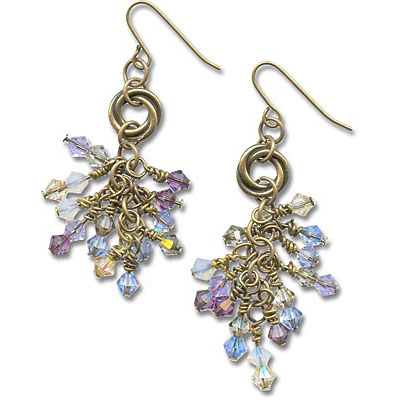
I am going to show you how to make a basic cluster, using some sparkly glass beads. Once you get the basic “formula” down, the possibilities are really endless, and the results are always beautiful! You can embellish this style by adding charms, graduating the size of the beads, or mixing different materials. Clusters can be at the top of the earring, nested above a delicately wire-wrapped briolette, or they can be hanging from a focal bead or metal connector.

There are only a couple of steps to follow when it comes to making this type of earring.

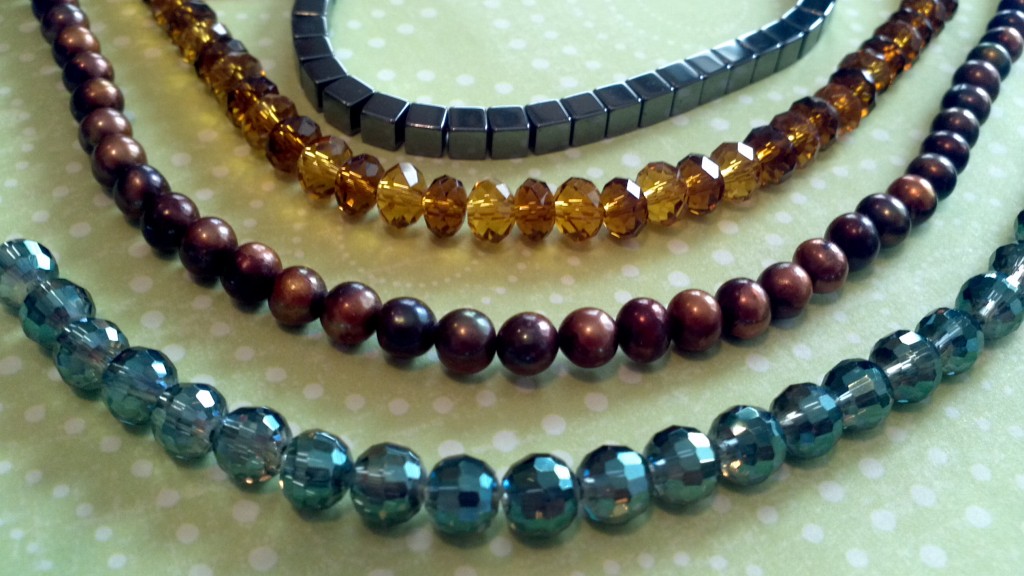
Step 1. Choose a bead that has a size anywhere from about 3mm to 8mm. You can use a round, cube, chip, or rondelle shape; both smooth or faceted beads will work. Depending on how long you want the earrings you will need anywhere from 5 to 21 beads per earring.

Hemetite Cubes, Freshwater Pearls, Sparkly Glass Rounds and Rondelles

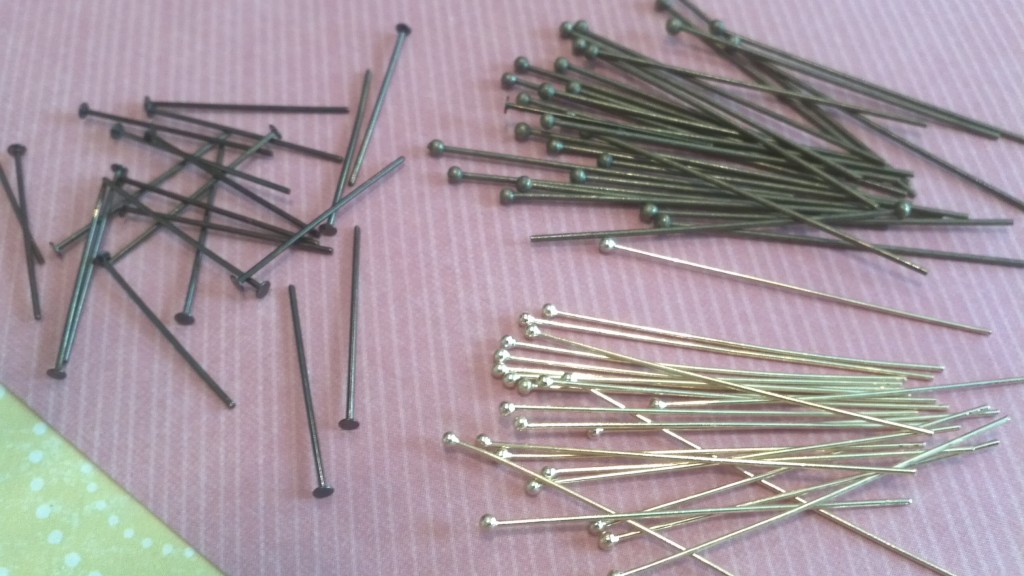
Step 2. Choose head pins. My favorite are ball-end, but any head pins will work. If you are doing a simple loop, 1″ headpins are long enough. If you would like to try a wrapped loop you will want 1.5″ or longer.

Ball end head pins are my favorite!

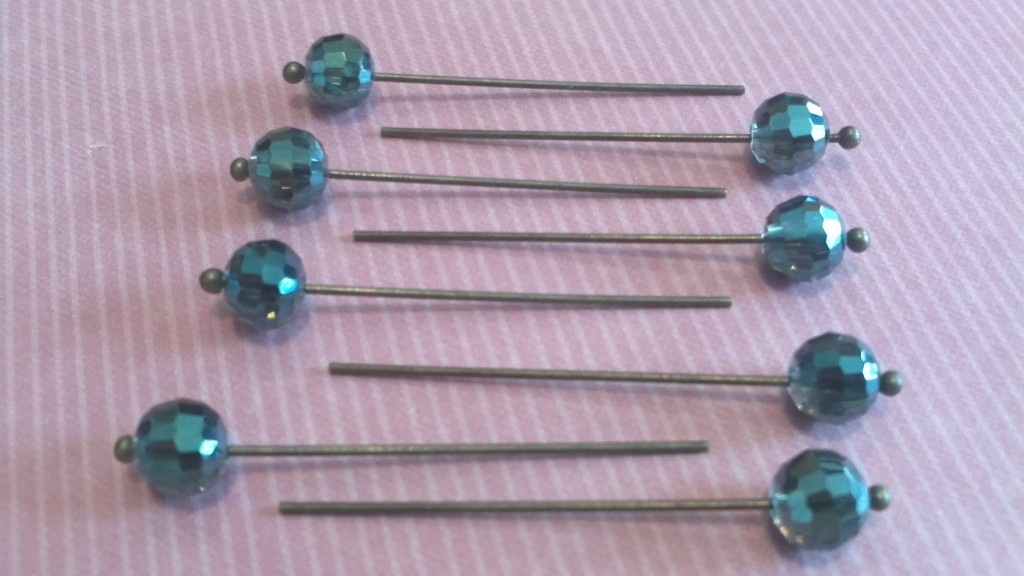
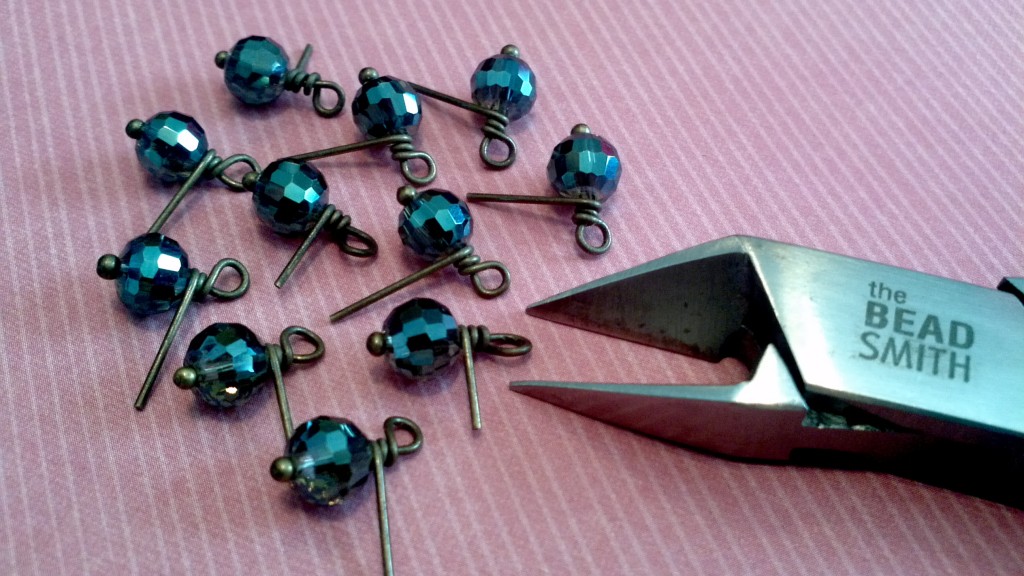
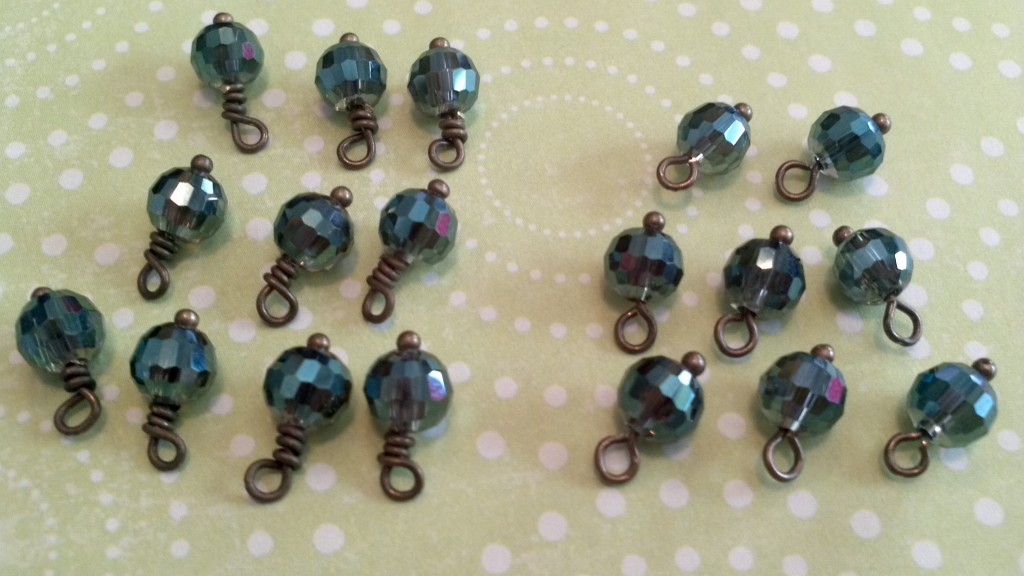
Step 3. Assemble your cluster pieces. Do this by putting one bead onto every headpin and securing with a loop. You can do a simple loop or for a fancier look try a wrapped loop. Use side-cutters to clip any excess wire and chain nose pliers to tuck the extra wire. Assemble all the beads on head pins, before you assemble the earrings.

Place beads on head pins first.

You will need side cutters to clip the excess wire

On the left are wrapped loops, on the right are simple loops. Either will work for this style of earring.

Step 4. Once you have all of your pieces made, you can begin assembling the clusters. To do this you will need jump rings. Smaller jump rings will create a tighter cluster, larger jump rings will make a looser, more airy cluster. I follow a very basic pattern for the assembly. On the first jump ring, place only one looped head pin. Add a jump ring and two more head pins, one on each side. Continue, forming a chain until you reach your desired length.

Attach one beaded head pin to a jump ring

Attach a second jump to the first jump ring and place two more beaded head pins

Keep building your cluster!

I used eleven beads on each earring.

Step 5. Attach ear wires! I sometimes I add one more looped head pin to the ear wire itself, though this step is not necessary. It’s that simple! (p.s. the earring wires I used are niobium! They are great for sensitive ears and will match your antique copper and antique brass earring designs!)

Attach earring wires and you are done! These completed earrings are the exact same, except one has small jump rings and one has larger jump rings.

Examples of Cluster Style Earrings

Well, I hope you enjoyed my tutorial 🙂 For more designs with “Cluster Style” check out the design gallery at our online store, Rings-things.com. If you have any questions about the beads I used for any of these earrings please leave a comment and I’ll get back to you as soon as possible! Happy Beading!

Tiffany @ The Rings and Things Showroom

Other great how-to blogs:

How to Wire-Wrap a Briolette

How to Make Wrapped Leather Bracelets

How to Dap and Dome Metal

♥ ♥ ♥   ♥ ♥ ♥   ♥ ♥ ♥   ♥ ♥ ♥   ♥ ♥ ♥   ♥ ♥ ♥   ♥ ♥ ♥   ♥ ♥ ♥   ♥ ♥ ♥

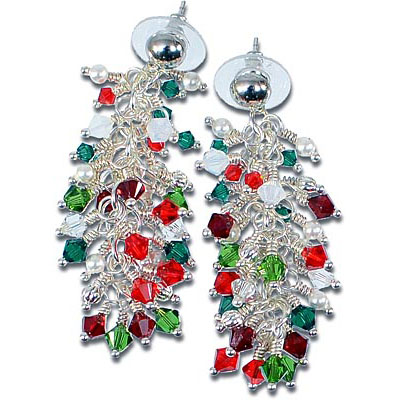
Inspired by this blog post?  Visit the Rings & Things Design Gallery for more inspiring “cluster earrings” designs!   The free jewelry-making instructions include a complete supply list!

“Tiny Dancer Earrings” Tutorial by Rings & Things designer Valorie Nygaard-Pouzar.

“Christmas Cluster Earrings” Tutorial by Rings & Things designer Rita Hutchinson.

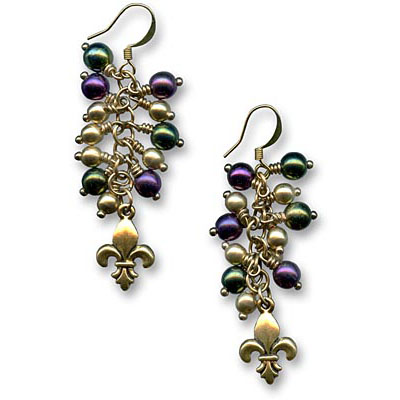
“Mardi Gras Earrings” Tutorial by Rings & Things designer Tiffany White.

♥ ♥ ♥   ♥ ♥ ♥   ♥ ♥ ♥   ♥ ♥ ♥   ♥ ♥ ♥   ♥ ♥ ♥   ♥ ♥ ♥   ♥ ♥ ♥   ♥ ♥ ♥

Editor’s note: This had a few old & broken links, but since this is such a great Winter holiday jewelry design technique, the links are all freshly updated as of November 2019.
p.s. Here are some more Winter Holiday jewelry design ideas, and a slew of semi-formal / prom / bridal jewelry tutorials, too.

How to transfer texture to metal with a hammer!

August 19, 2011

As promised, here are some photos and instructions on how to use brass texture plates to transfer beautiful patterns – pebbles, waves, flowers and more – onto other metal. With just a hammer, you can easily (but not quietly!) transfer the patterns from the brass sheets onto copper, aluminum, silver or even … brass. Transferring from brass to brass sounds silly – why not just cut up the texture sheet and use that? – but to texture pre-cut shapes, like these
brass fairy door and window cutouts, it makes total sense.

I love hammering metal because it is cheap, fast and fun. The results are similar to what you can achieve with a rolling mill (not cheap!) and etching (not fast!). Those techniques are fun though – we will post a tutorial on etching soon. But today, we hammer:

Tape your piece face-down onto the texture plate. Cover the entire piece with tape to avoid transferring a tape-seam along with your pattern.

Place the piece on a steel block and hammer away! Make sure to hit every little bit of your piece.

Pull back the tape part way to check the transfer. If there are any missing or faint spots, keep hammering.

The piece will likely get a bit misshapen as you whale away on it. Not to worry.

Once you are satisfied with the texture, remove the tape and use a rubber or rawhide mallet to flatten your piece again. You might also need to file the edges a bit.

Tada! Before and after hammer time.

When using a long strip of metal, like these pre-cut copper and brass bracelet strips, I just tape down one edge, texture up to the tape line and then turn the piece around to texture the other side. The strip will curl upwards as you work, but it is easy to flatten out.

The hammered texture on the back of the piece is a nice bonus, like on my copper bracelet.

To really bring out the high and low points in the texture, apply a patina such as liver of sulfur or Win-Ox and buff the high points with steel wool (note: these patinas do not work on aluminum).

Annealing (heating) your metal piece beforehand will make it easier to transfer the pattern, but as you can see, it isn’t necessary. Have fun hammering!

Top five reasons to come to the Rings and Things Anniversary Sale!

August 13, 2011

5. Red Tag Madness!!!
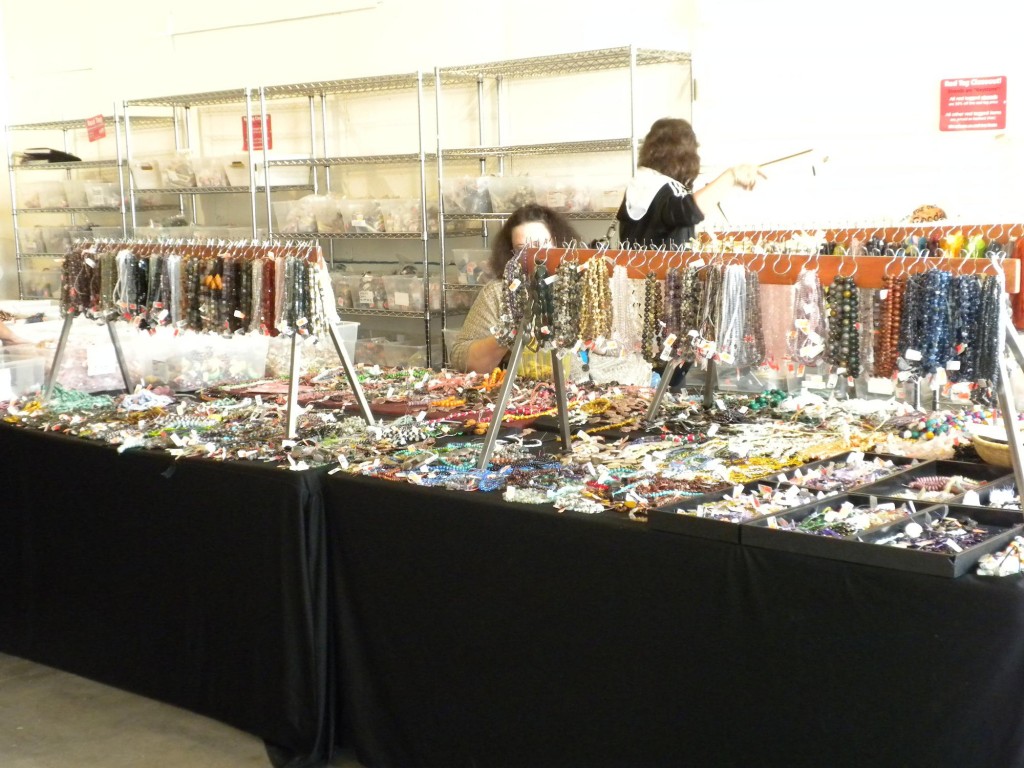
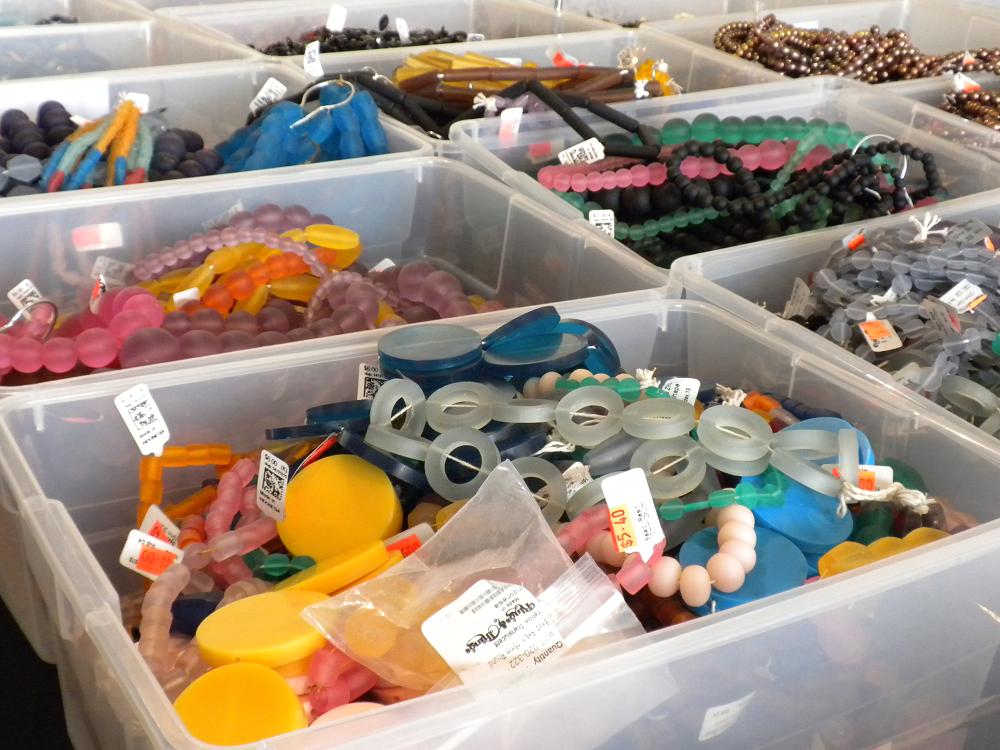
We have bins and bins of of marked down beading goodness! There are marked down gemstones, findings, pendants, glass beads and more! Get ready to dig! Oh and P.S. you get an additional 10% off all red tag times!

Tons O’ Red Tag Strands

Red Tag Resin Beads

4. Magical Gemstones Galore

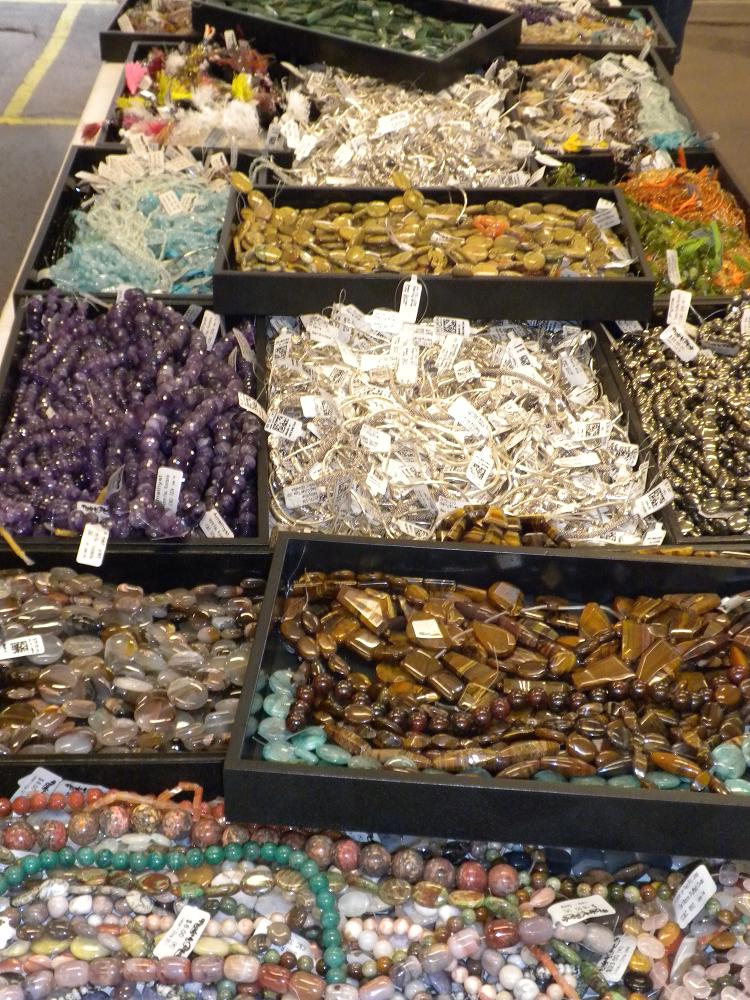
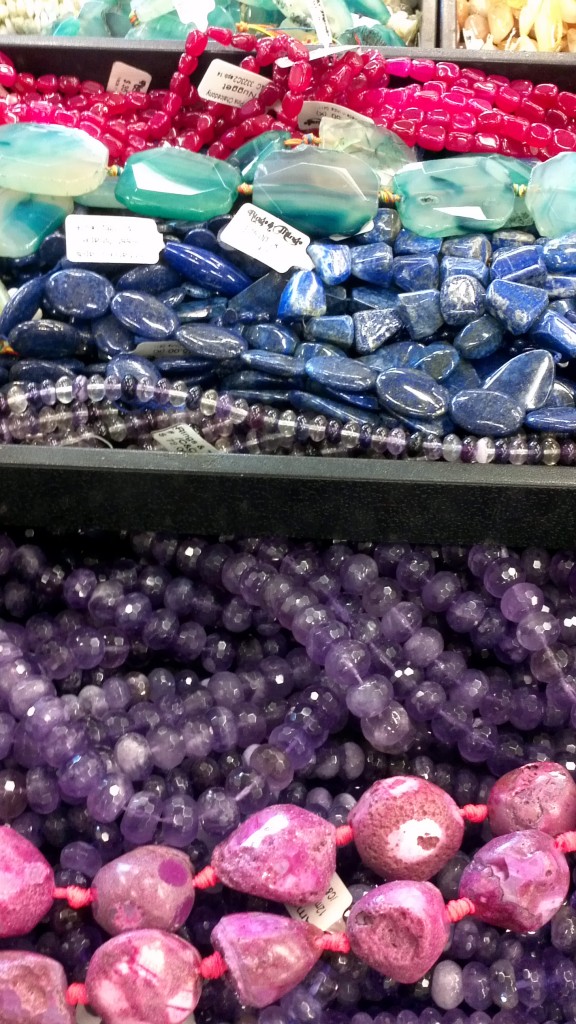
We have beefed up our inventory of gemstones in preparation for our upcoming traveling Bead Show, but before we take all these goodies on the road, we wanted to give our local clientele a sneak peak!

Gemstone Maddness!

Gemstones in Jewel Tones

3. Free Demos

Curious about Riveting and Dapping? Perhaps you feel the need to see some jewelry making power tools in action? Want to solder but don’t know where to begin? Don’t fret, here at Rings and Things we have our experienced staff doing all these things and more!

Riveting and Dapping!

Soldering Demo

2. Tools, Tools, Tools!

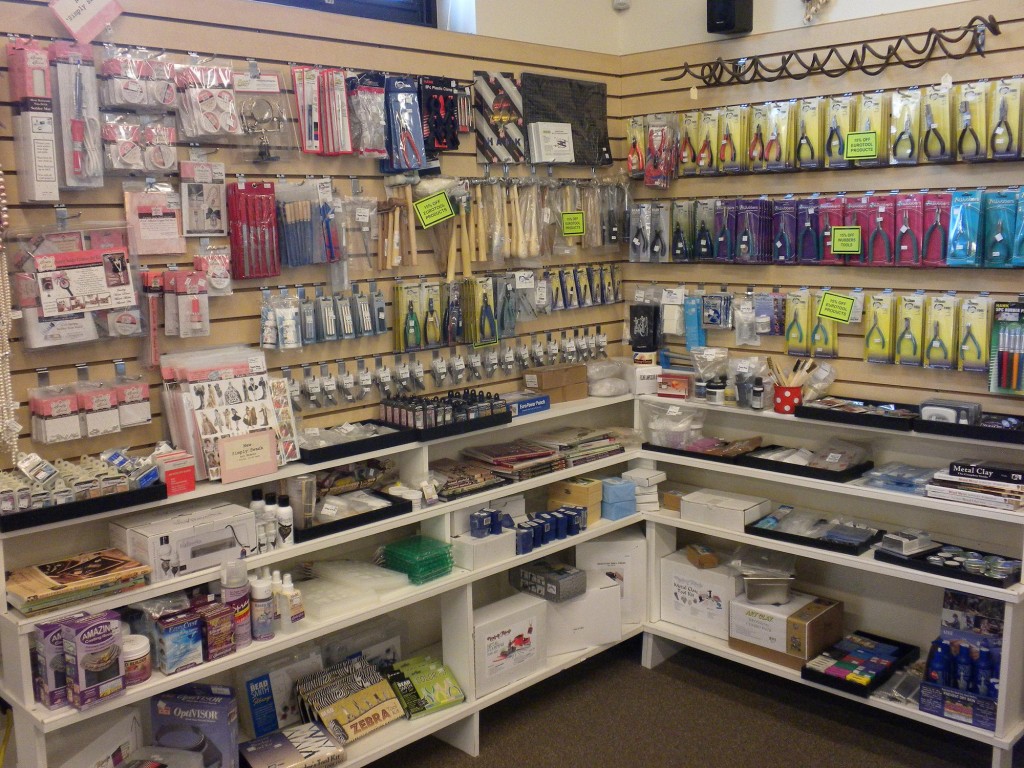
In celebration of our 39th year in business we are giving you tools at a 15% discount! Come grab a new pair of pliers or wire-cutters so you ca throw that old pair out! There is nothing like a the feel of new tools in your hands!

“Don’t be a tool……buy some tools instead!”

And the number one reason to head down to the Rings and Things Anniversary Sale……….

1. The oh so Loveable Men of Rings and Things!

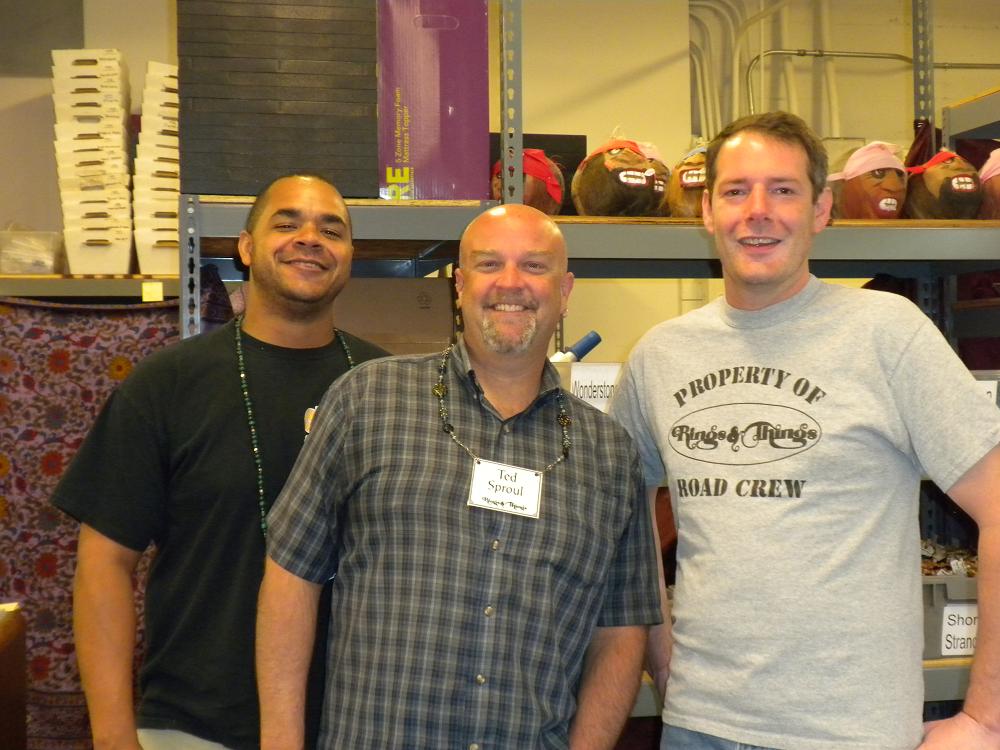
Josh, Ted and Lynn!

Oh and don’t forget Dan the Man!

Nate can help you carry out all your new tools and beads!

Quick tip: how to cut equal chain lengths

May 25, 2011

how to cut equal chain lengths for jewelry

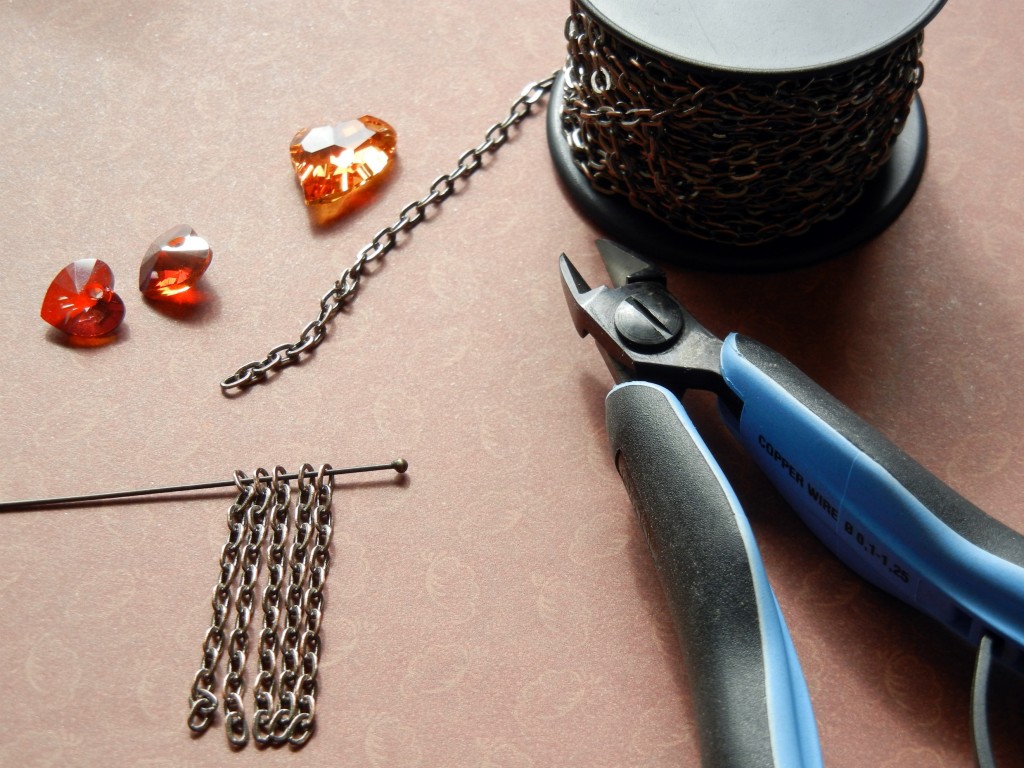
Hold up the pin and it is easy to see where to cut! Gravity is our friend.

I hate counting. But when it comes to cutting chain for your jewelry designs, sometimes you have to count links. After I’ve exhausted my attention span by counting out a section (look, sparkly crystal hearts!!!), I string it onto a head pin and snip a bunch more. This is the easiest way I’ve found to speed up the task. Do you have a better way? I’d love to hear it! ~ Cindy