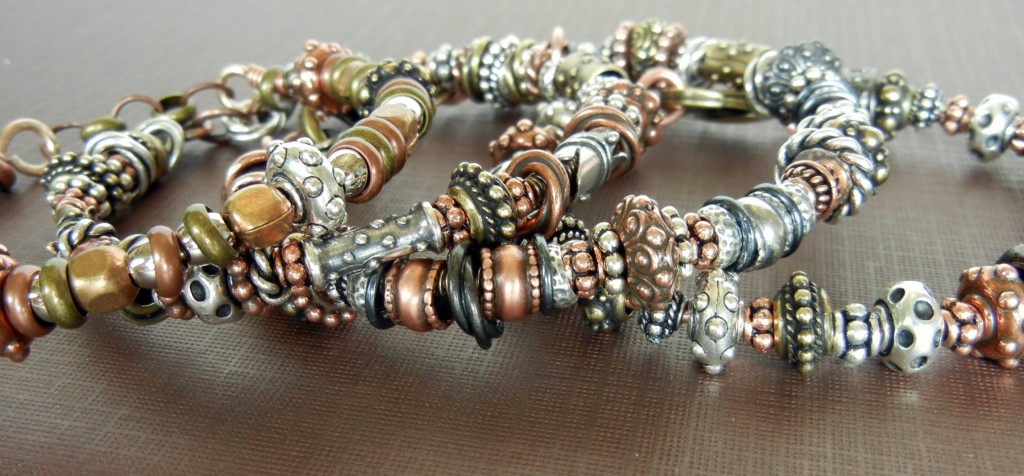
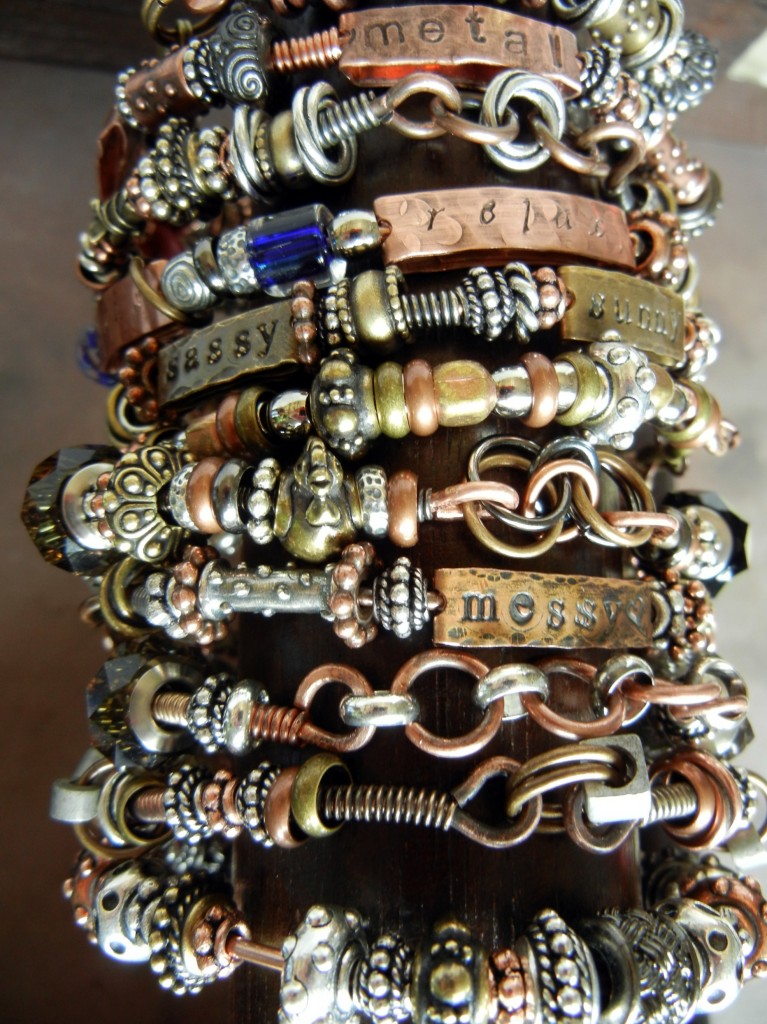
Hello, bloglandia! Our sales manager, Sondra, was fortunate enough to attend Tracy Stanley’s “Bangles with a Message” class at Bead & Button last month. We’ve been oohing and ahhing over her wristful of chunky metal, so yesterday we got together and made some of our own bracelets.
For a sturdy yet slightly flexible bracelet base, we used 14 gauge copper wire. Start with about 10-11″ of wire. Simply form a large loop on one end with round nose pliers and hammer slightly. Slide on lots of large hole beads: 14 gauge wire is about 1.63mm, so your beads need to have holes that are at least 1.7mm big. Anything marketed as a Pandora or European-style bead will easily fit.
We mostly used metal, but trade beads and gemstones look great too. TierraCast has some especially nice large hole metal beads. You can also add coils of wire as decoration beneath floating beads, or as stoppers between beads. Shape the wire into a bracelet shape around your wrist and finish with another loop.
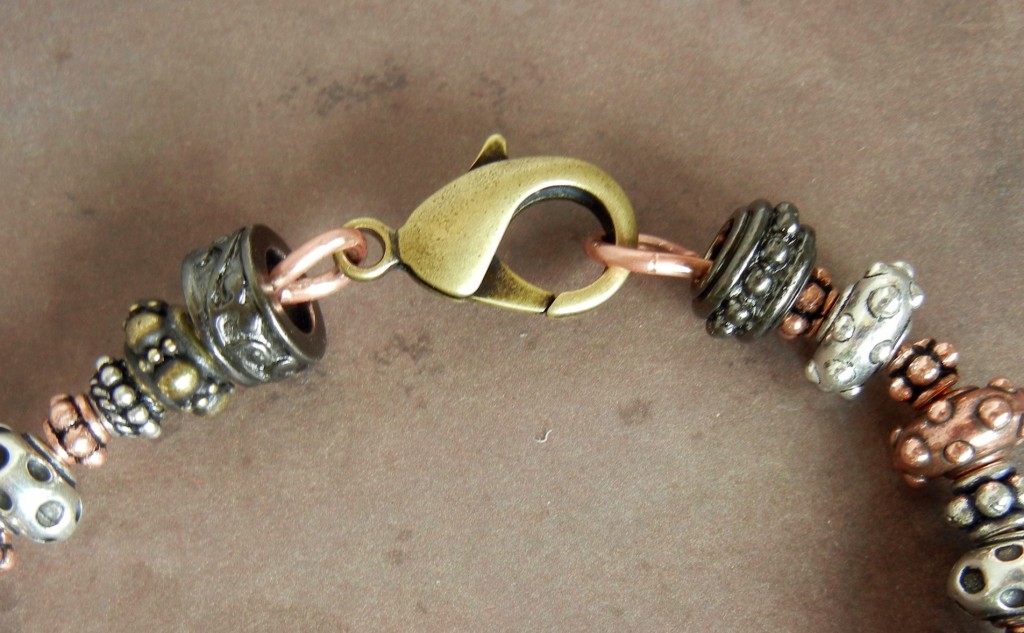
You can connect the two end loops together directly, connect them with jump rings or add a jewelry clasp. It is better to err on the small side, since a too-small bracelet can be extended with a jump ring or two, while a too-large bracelet will just go flying off your wrist!

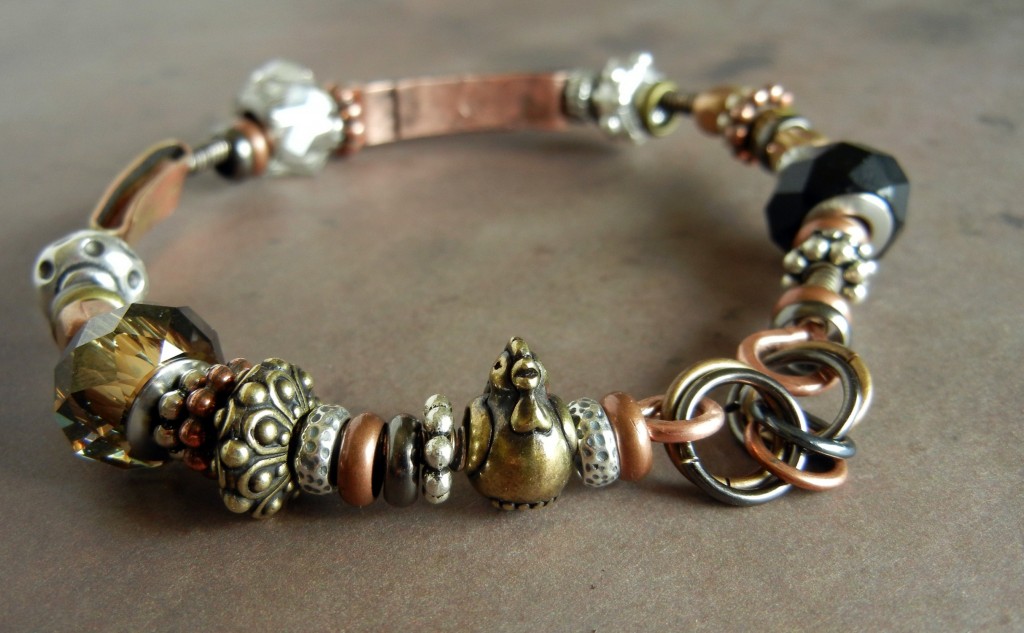
Lindsey used a few jump rings to make her bangle fit her wrist – and a rooster to make it fit her personality!
A couple of other bracelet-making tips:
- Patina your wire, decorative coils and other components before assembling your bracelet.
- Be sure to file down any sharp wire points or metal edges.
- Have a whole bunch of beads ready, because once you start, you’ll want to make a bunch!
Check out Tracy’s teaching schedule if you’re interested in learning how she makes stamped word charms to fit on bangles. Our new brass and copper strips will save you a lot of sawing and cutting time!
~Cindy


