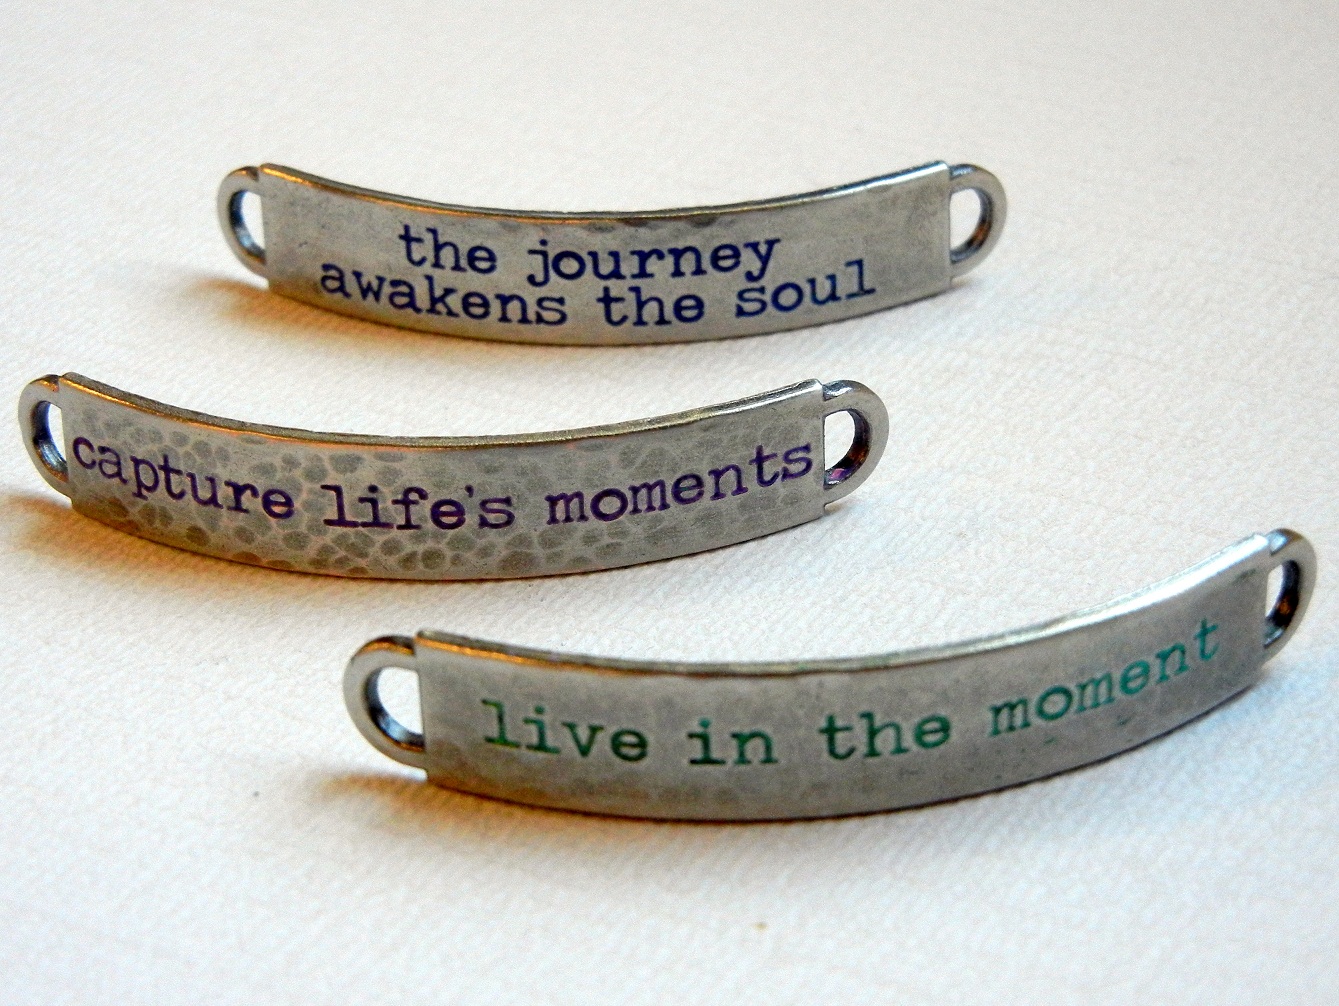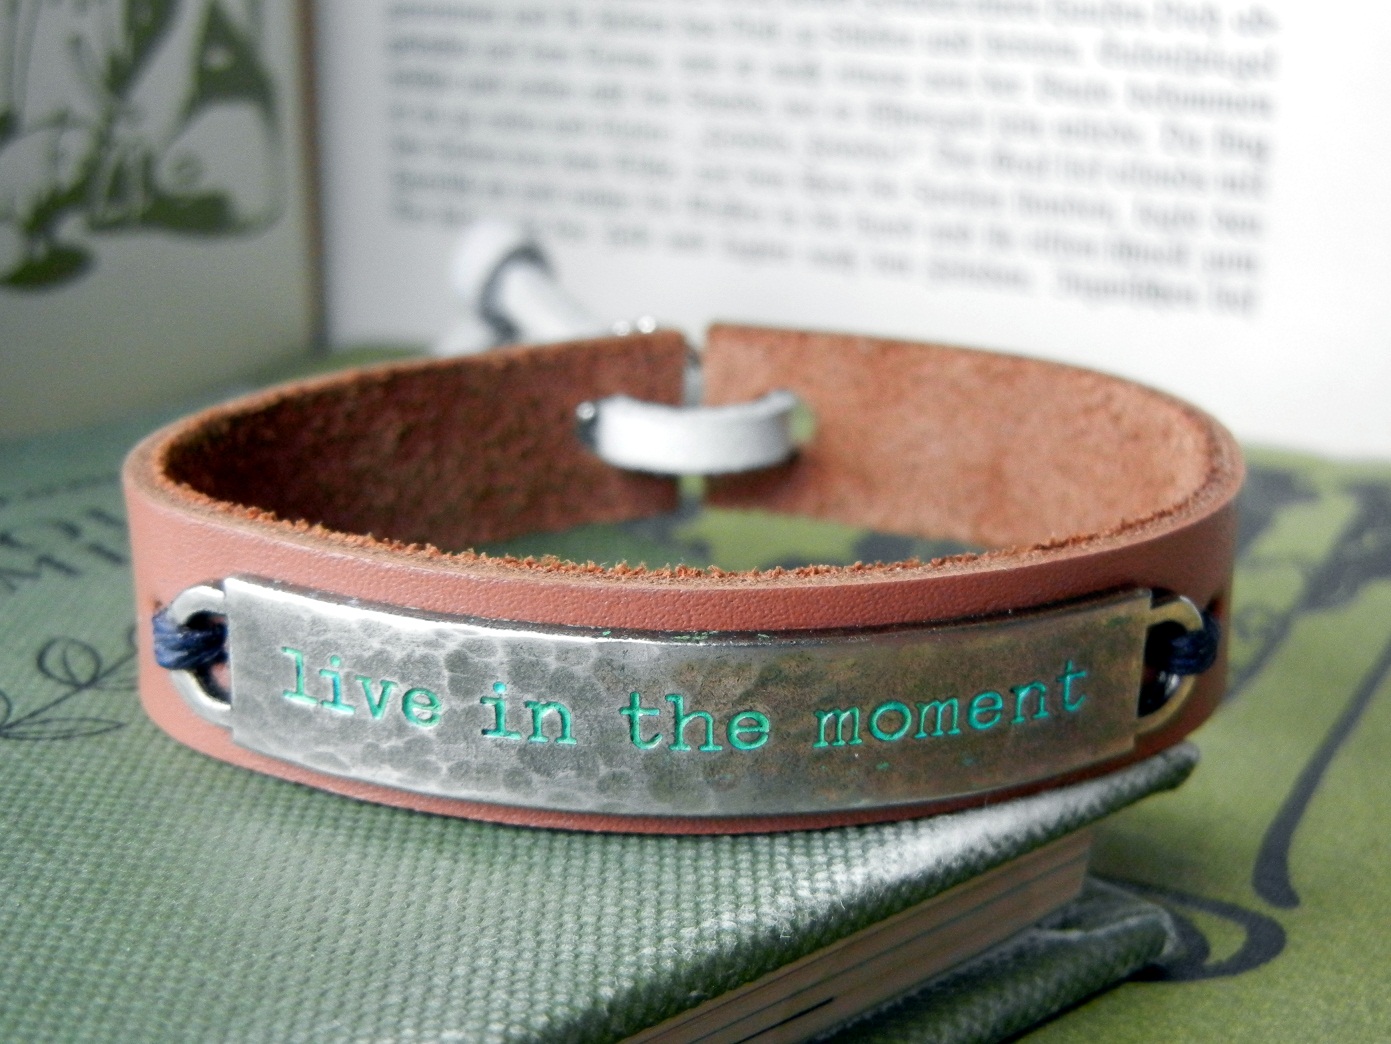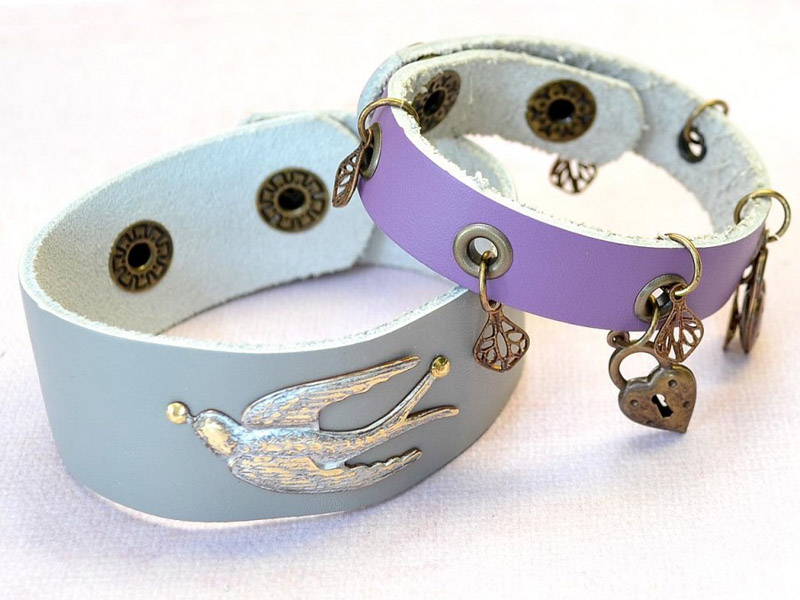
Vintaj Natural Brass findings and leather bracelets go together like butter on bread! You can unite them with rivets, thread, jump rings and more.
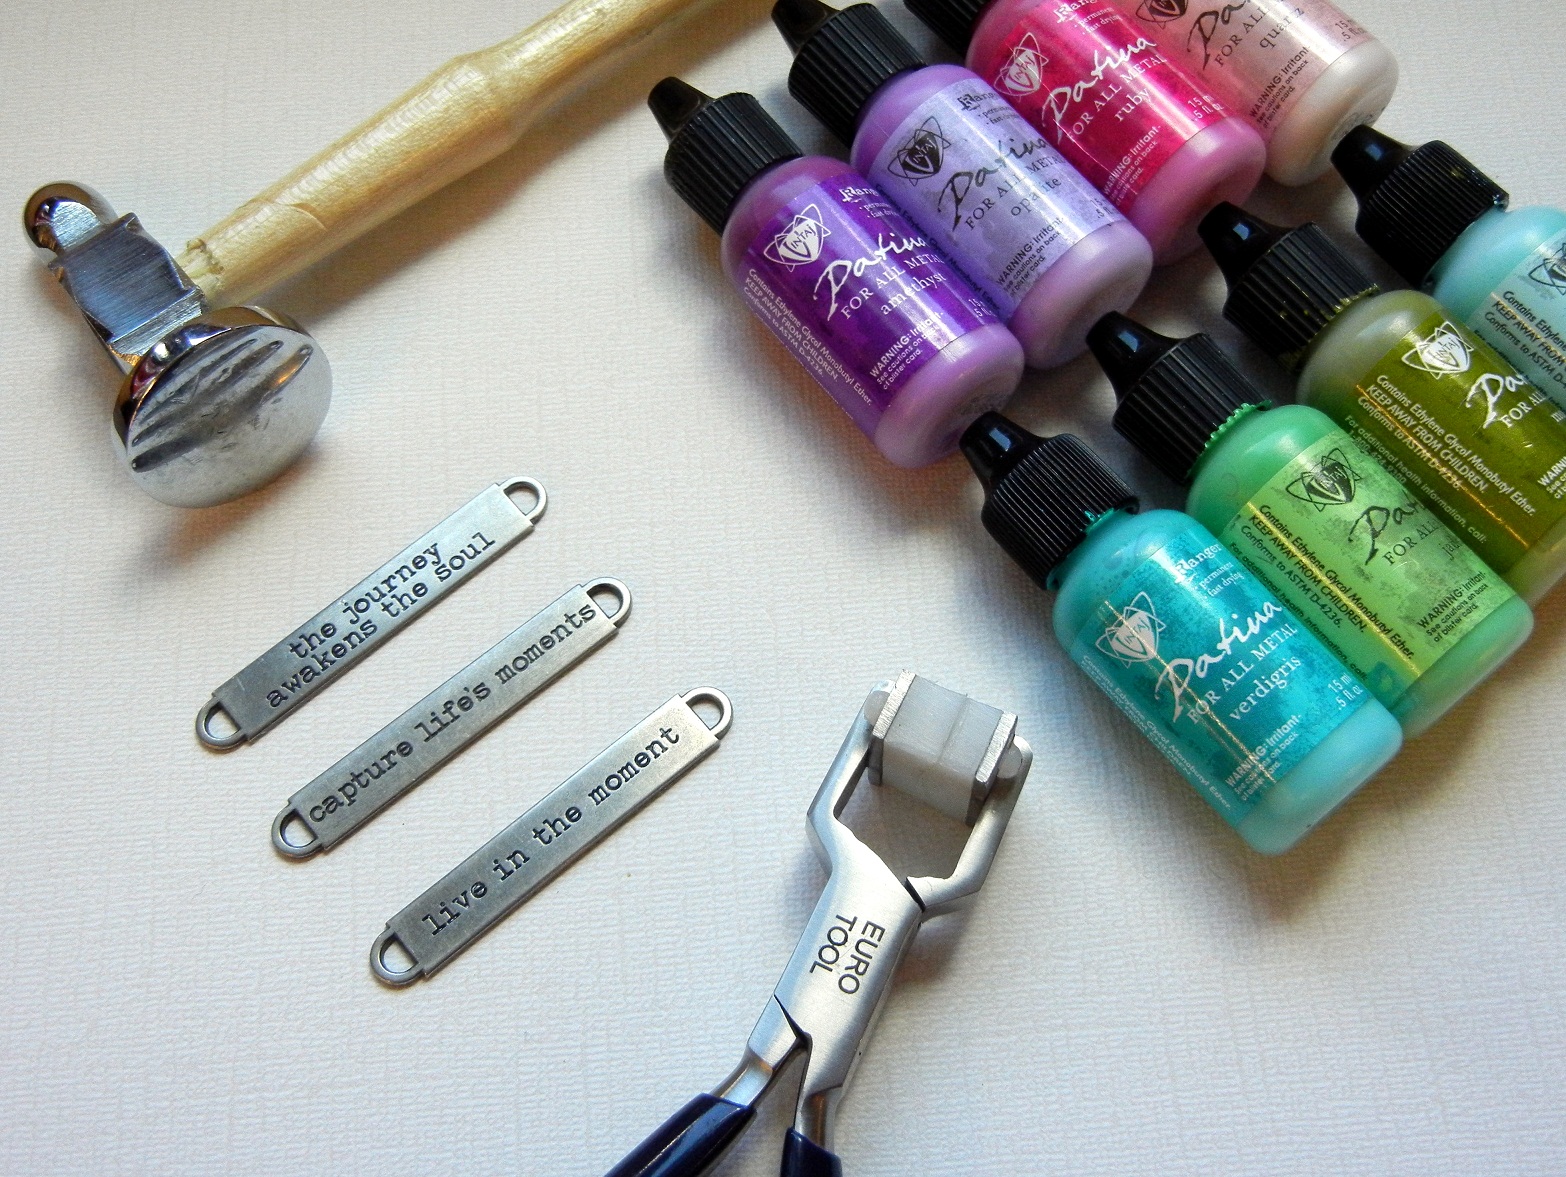
With just a few supplies, you can create stylish and unique cuff bracelets, incorporating popular and trendsetting Vintaj Natural Brass findings. For this riveted version, all you need is:
Continue Reading…


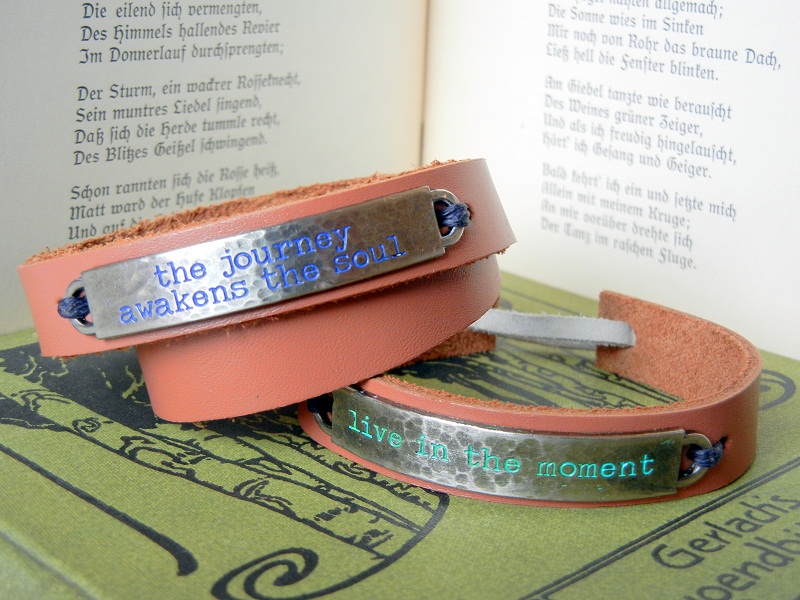


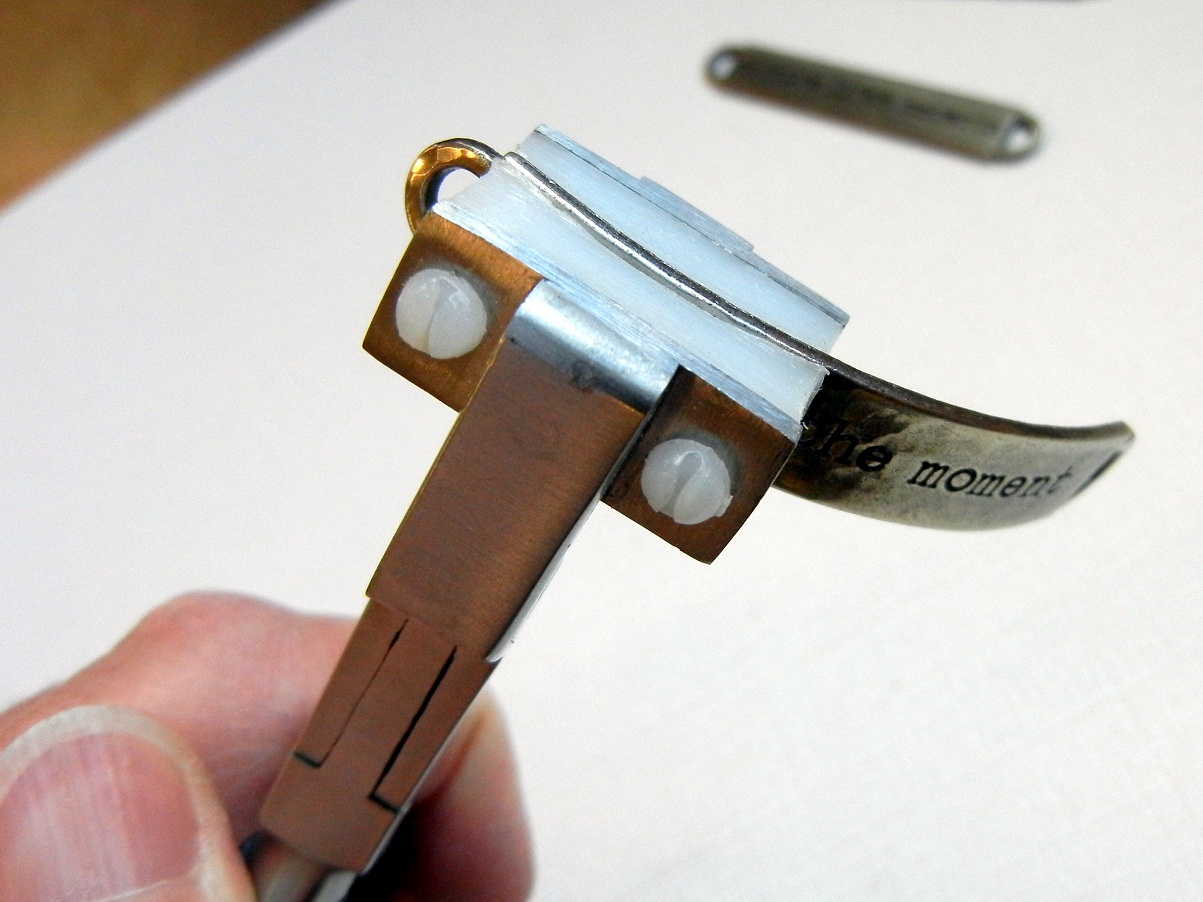
. Mark two \"stitching\" holes on either side of the two word-band loops. Also mark a \"lacing\" hole set 5/16th inch from each leather end.")
 to punch the stitching holes for the bracelet blank; use the largest punch (4.5mm) to punch the lacing holes for the drawstring closure.")


 to punch the stitching holes for the bracelet blank; use the largest punch (4.5mm) to punch the fastener holes for the hitch closure.")