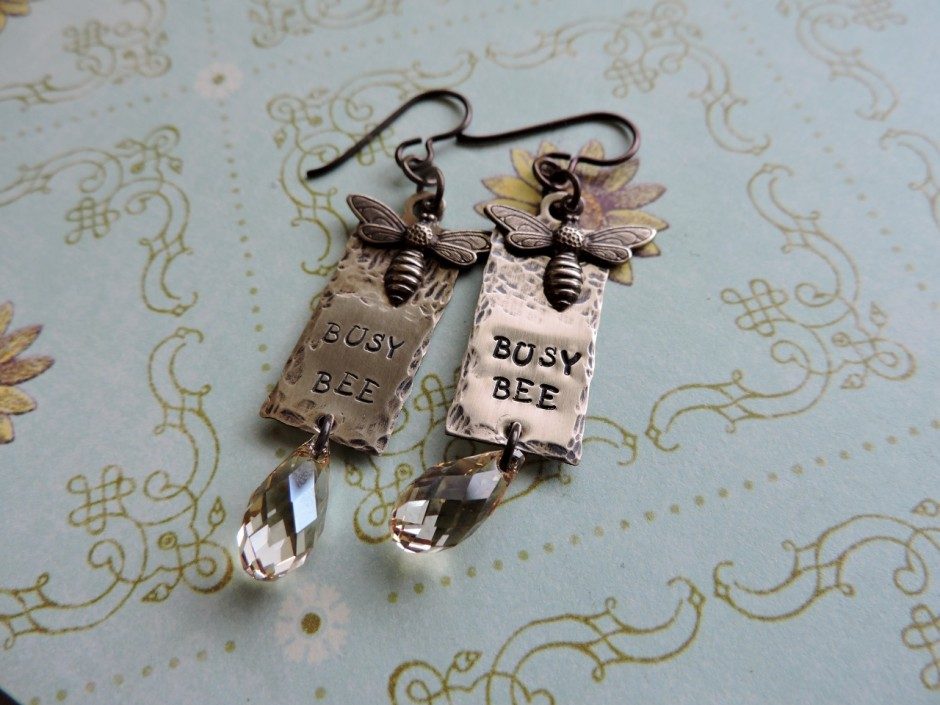
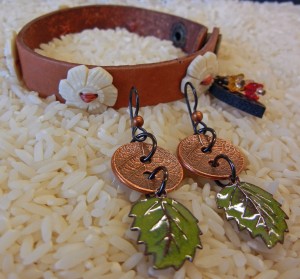
I think bees are so cute! I love to add them to my jewelry designs when I can. So when I discovered the Vintaj Bee Charms, my head went spinning with ideas! I really wanted to incorporate the phrase “busy bee” into the earrings, because that is often how I feel Like a busy little bee flying around! I love how these turned out! To learn how to create your own pair follow the simple recipe below!
How to make crystal angel earrings
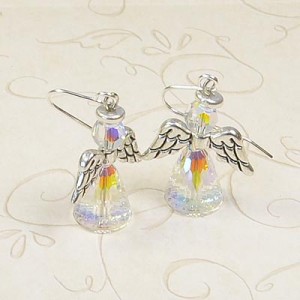
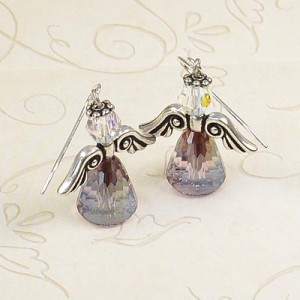
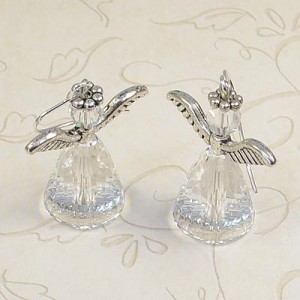
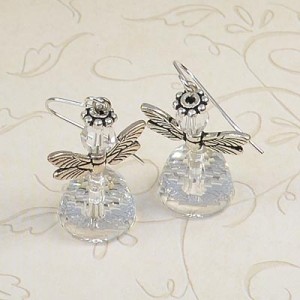
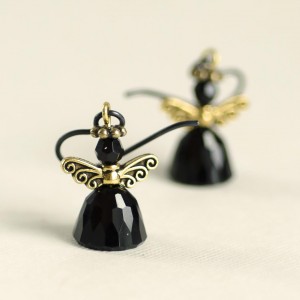
October 28, 2014When I first saw the cool shape of Swarovski’s crystal dome beads (from their Fall/Winter 2014/15 Innovations), two thoughts immediately came to my mind – bell and angel skirt.
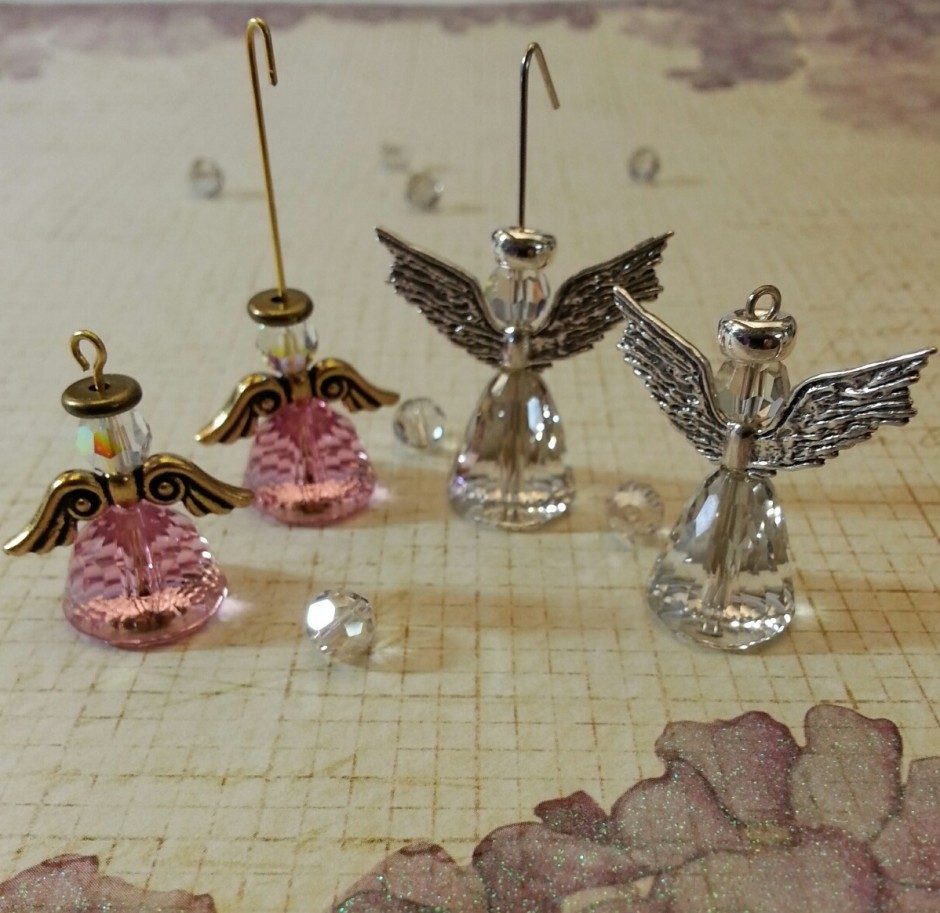
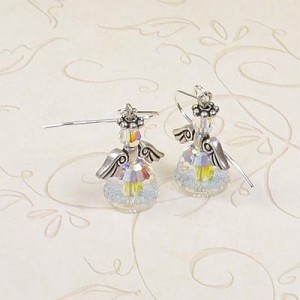
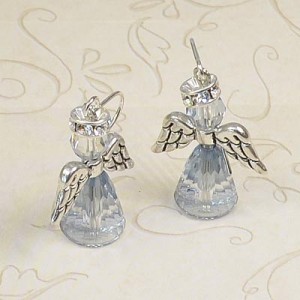
This tutorial shows you how to use these sparkling faceted beads to make angel skirts for earring designs. The exact same combinations can also be used to make single angels for pendants, bookmarks, gift tags, and more!
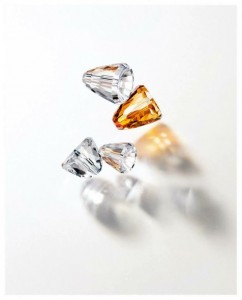
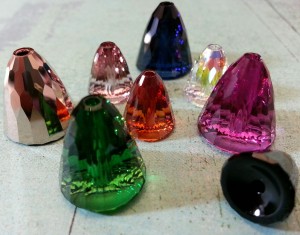
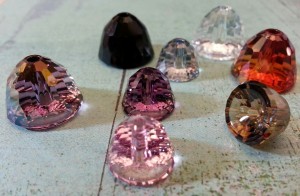
There are two styles of Swarovski dome beads to choose from. The large dome beads give you a more elongated shape:
The small dome beads have a more rounded out bell shape:
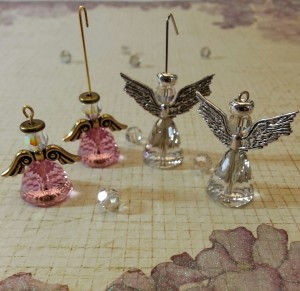
The main components of any crystal angel design are: halos, heads, wing beads, and bodies:
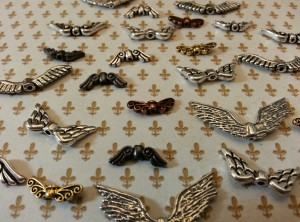
TierraCast makes a variety of wing bead styles. Additional wing beads are also available in base metal and sterling silver.
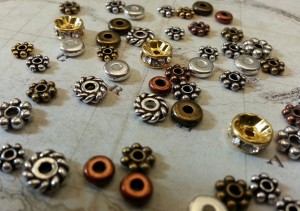
Popular bead styles for halos include heishi, and beaded heishi beads as well as rhinestone rondelles.
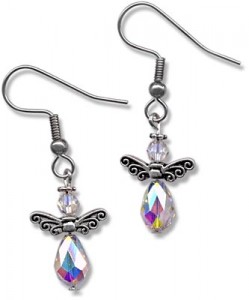
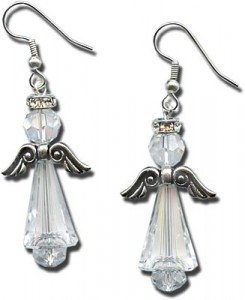
Here are several combinations of halos, wings, and bodies in different colors and sizes. For a complete parts list of supplies ready to buy, click each image below! (Or browse our Rings & Things Design Gallery.)
Other popular shapes for body include the Teardrop bead and the cone-shaped Swarovski Crystal Artemis bead.
Keep in mind that angels can be any color! Choose whatever colors you like for whatever mood you’re in!
No matter whether you’re preparing for Christmas or you’re a year round angel aficionado, take inspiration from these designs and create your own heavenly host.
~ Rita
Say it Your Way with Easy Metal Stamped Jewelry
September 10, 2014You don’t have to be Frank Sinatra to do things your own way! That’s the beauty of metal stamping as a jewelry technique. Not only do you get to assemble components, you get to make your own components – and they can say whatever you want them to say!
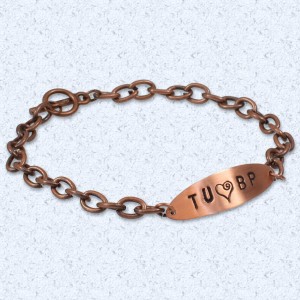
This Young Love bracelet is a perfect example of how you can easily customize jewelry with metal stamps!
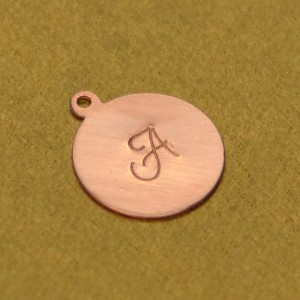
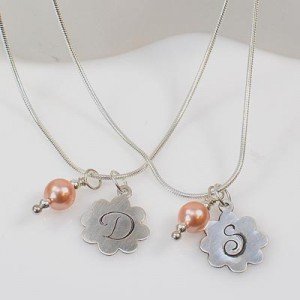
Letter stamps are the perfect way to create monogram jewelry, plus jewelry with names or inspirational sayings. Design metal stamps are the perfect way to add cuteness and panache.
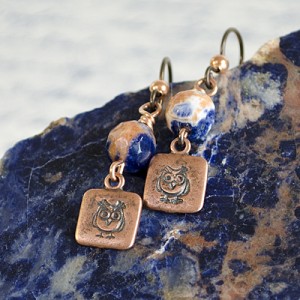
Learn to make these simple metal stamped earrings – just click the image above for the complete parts, ready to buy.
Designer Amy Mickelson’s “Hootie and the Sodalite Earrings” feature custom owl charms she made using an ImpressArt Metal Stamp and a JBB Antiqued Copper Plated Square Tag Charm. These JBB tags are plated especially for stampers – pretty amazing! For more on these components, see the full parts list and tutorial here.
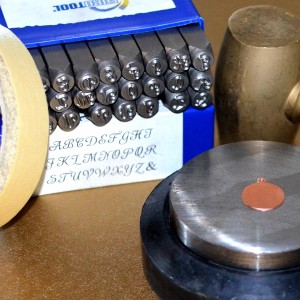
The basics of jewelry stamping are easy and only require a few tools. The tools are a small investment, but will last for years and thousands of impressions!
Supplies you’ll want:
- Letter stamps and/or design stamps
- A steel bench block (the block pictured is #69-123 combo block)
- A Brass hammer (the hammer pictured is #69-346)
- Metal blanks & tags – choose from 100’s of options!
- Optional: Stamp Straight Tape
The basic steps to jewelry stamping:
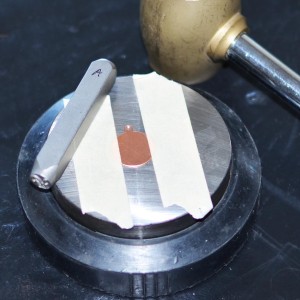
Once you’ve planned your design, secure your metal tag or blank onto your steel block with tape. Stamp Straight Tape by ImpressArt is more expensive than masking tape, but it offers a sturdier edge and does not leave sticky residue.
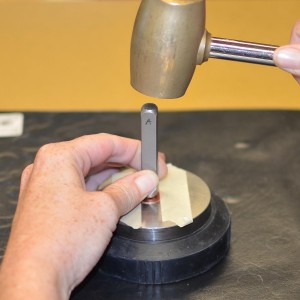
Strike the perfectly vertical stamp with one firm blow. This is important for achieving a clear impression.
That’s all there is to it! It really is that simple. Then, you can use your completed stamped charms to make earrings, necklaces, bracelets, gift tags, and more!
For a great monogram jewelry tutorial, see “Ava’s Ladies in Waiting” Necklace Tutorial in our Design Gallery.

Click this picture for all the parts and instructions you need to make adorable metal stamped owl earrings.
To make fun owl earrings, see the “Hootie and the Sodalite” Earrings Tutorial.

Click this picture for all the parts and instructions you need to make a simple metal stamped bracelet.
For the full how-to on making a metal stamped chain bracelet, see our “Young Love” Bracelet Tutorial.
Rings & Things offers a huge variety of metal stamping blanks, plus jewelry stamping tools and supplies with fast shipping and free returns.
So what are you waiting for? Isn’t it time to say things your way! ~ Melissa
How to Make a Textured Copper Ear Cuff
April 21, 2014Ear cuffs have been all the rage in the fashion world this past year, from free-form wire-wrapped ear vines to ornate over the ear styles.
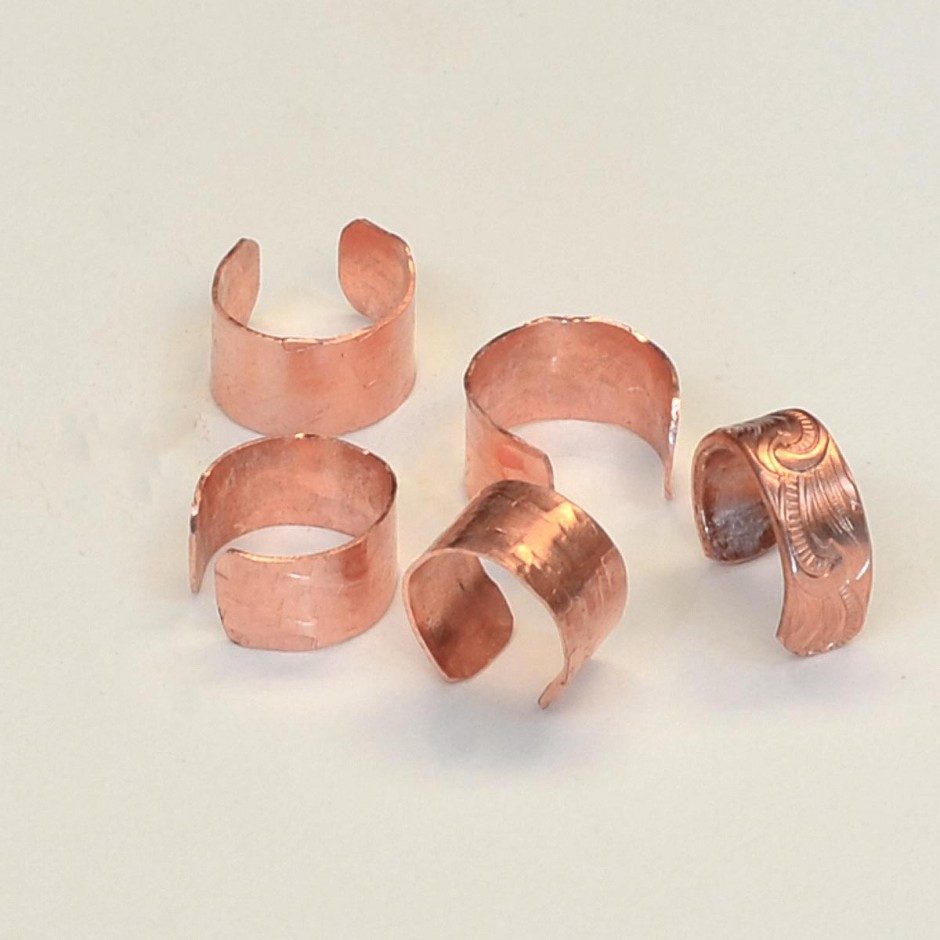
This tutorial shows you how to make a simple metal ear cuff in copper. This simple design wraps around the outer cartilage of the ear and is a popular style for men. It can be textured and colored as desired.
Choose your Metal
This simple style ear cuff can be made from most any metal. 24-gauge copper or brass strips or sheet are easy to cut and manipulate. This tutorial uses 0.25″ wide strips of copper sheet. If you choose, you can use wider strips and cut the metal to your desired width. Or if you prefer a bit thicker metal, you can use 20-gauge sheet. Just remember, this style needs to fit comfortably around the cartilage of one’s ear.
With a variety of patterns and metals to choose from, artisan patterned wire can also be an option for a DIY (do-it-yourself) ear cuff. The patterned wire comes in several gauges. If you use a heavier gauge wire, the ear cuff may not be adjustable.
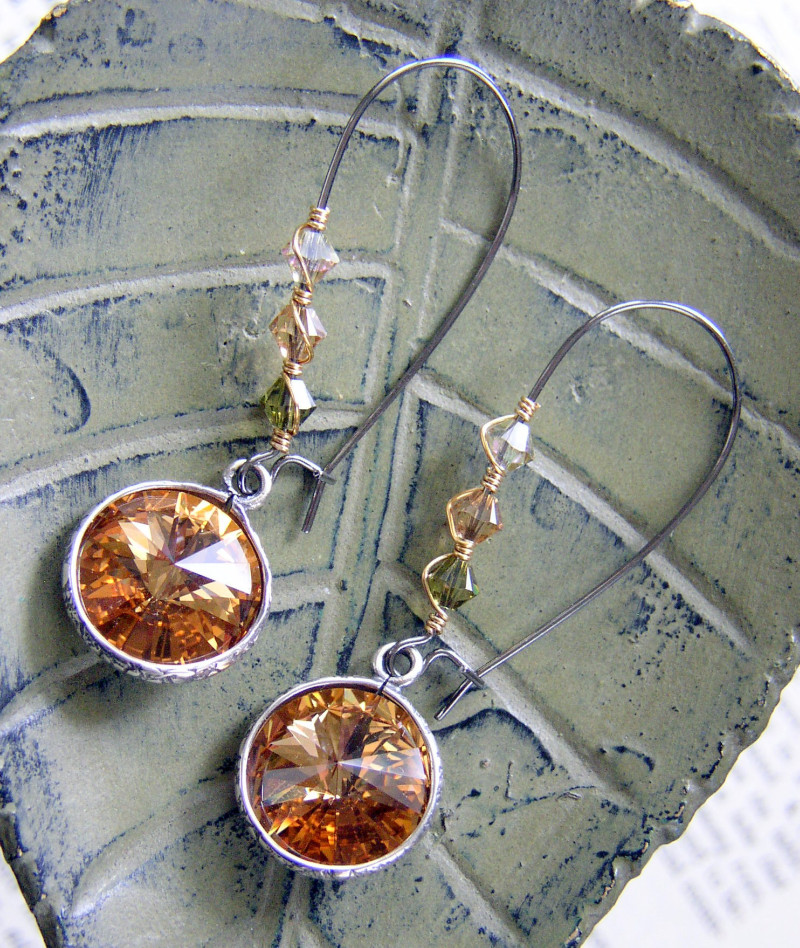
“Shining Stars Lashed Earrings” are created with SWAROVSKI ELEMENTS; bicone beads and rivoli stones add sparkle.
Learn this simple wire-wrapping technique and how to use pinch-style rivoli settings with this free wire-lashing jewelry-making tutorial from Rings & Things. Continue Reading…
Make Fashionable Ear Cuff Jewelry
October 9, 2013If you haven’t yet jumped on the ear cuff bandwagon, now’s your chance! Some ear cuff designs include an earring post to hold the design in place, but many of today’s styles work for both pierced and non-pierced ears, making them as versatile as they are trendy.
Customer service rep Tracy and Gallery guru Amy made the following Five Ear Cuffs to showcase some of the styles popping up.
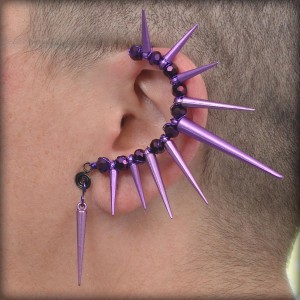
Lightweight plastic spike bead assortments give this ear cuff pizzazz and drama!
Make Your Own Halloween Jewelry
September 24, 2013Halloween has always been one of my favorite holidays – I suppose because I love having an excuse to wear a costume. Honestly, candy has nothing to do with it! 😉
Apparently I’m not the only one who loves dressing up in ghoulish attire because our Halloween beads & charms are selling as fast as fun-size candy at the grocery store !
Below you’ll find 5 DIY Halloween jewelry tutorials, from cute to classy! You can make these projects with beads and supplies from Rings & Things. Happy jewelry making as the clock ticks towards Halloween …
Mmmwwwuuuaaahaahaahaahaa!
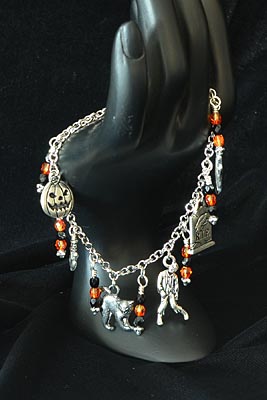
This hauntingly cool charm bracelet is made by attaching TierraCast Halloween charms and 4mm round Czech glass firepolish beads to a ready-made chain bracelet blank complete with clasp.
Click here for a full parts list, suggested tools, & tips.
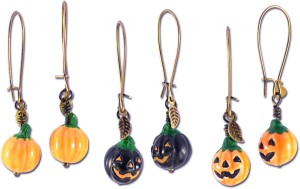
Who doesn’t love easy earring designs? Choose from 3 different ceramic beads to make your favorite version of these cute seasonal danglers. The kidney wires insure a secure earring design that won’t fall out even during serious bouts of trick or treating!
Parts list, tips, & suggested tools here.
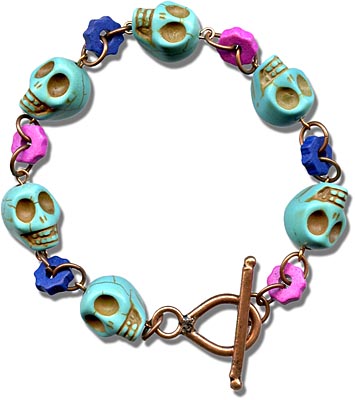
One of our most popular designs this season is the “Craneos y Flores” bracelet which links gemstone skulls and ceramic spacer gear beads. This project is great for el Dia de los Muertos too!
Get the parts list, suggested tools, and tips here.
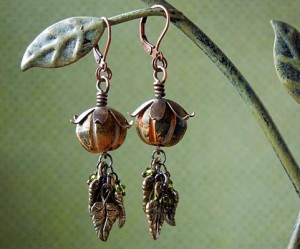
These stylish harvest earrings pair Vintaj Natural Brass petal blanks, TierraCast leaves, and large bone beads colored with Vintaj Patina inks. This makes a great mixed media project for those of you who want to expand your jewelry making skills!
Click here for parts, how-to tips, & suggested tools.
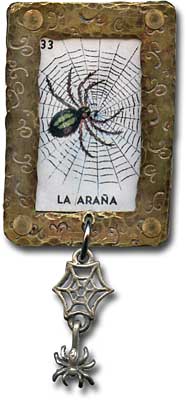
For those of you who want to try metal stamping and riveting, this is the perfect project for you! Frame a spooky creature of your choice with a custom stamped brass frame. You’ll create a top-notch bar pin for your party agenda.
Suggested tools, parts list, and design tips can be found here.
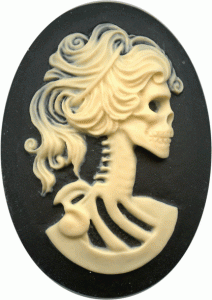
Okay, I admit this lady skeleton cameo isn’t a completed project, but it’s currently my favorite Halloween component. It’s available in two sizes, too! Choose from 25x18mm and 40x30mm.
What cool stuff can you make with it?
If the above projects aren’t enough to get your spine tingling, find more Halloween & Day of the Dead jewelry projects in our Design Gallery.
Keep in mind that you can always take the basic idea of a project and morph it into your own design. Don’t be afraid to experiment … Dr. Jekyll and Dr. Frankenstein would approve! ~ Melissa
Button, Button, What to do with buttons?
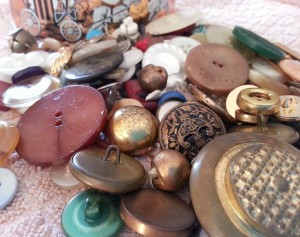
June 18, 2013I love a good button. I think most bead hoarders have a button tin somewhere as well. The materials used for buttons range from the simple and inexpensive to exotic and pricey. Obviously buttons have a practical use in sewing and clothing design, but they can be great additions to DIY jewelry as well.
Buttons as beads:
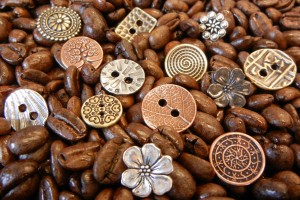
By their nature, buttons tend to have either a shank, with an opening for thread, or 2-4 holes for sewing. These holes and openings mean your buttons can substitute for beads and work as connectors in jewelry design. See round TierraCast buttons with a leaf pattern in New Leaf Earrings and bone buttons sewn on the Boston Bracelet.
Buttons as clasps:
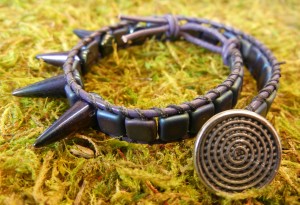
Whether for popular wrapped lashed leather bracelets, or for necklace designs, adding a button to one end of your design and creating a simple loop or series of loops at the other end will complete your creation. The Dark and Dangerous Bracelet uses a cast pewter Spiral Button for the closure.
Buttons as Cabochons or Cameos:
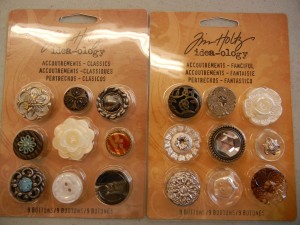
Disk & Loop Bracelets make up into quick finished jewelry by gluing buttons to the disks. If the button has a shank, you may need to trim it and file the surface, then add your favorite adhesive, and you have quickly created a new accessory. Cute as a Button Bracelet uses an assortment of plastic “accoutrements” by Tim Holtz for decoration.
Copies of Buttons:
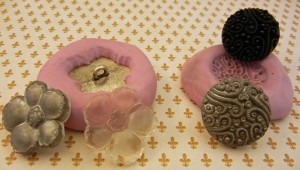
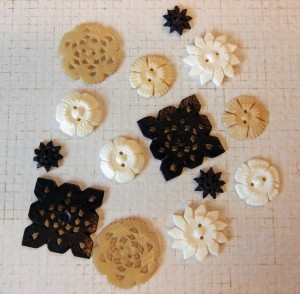
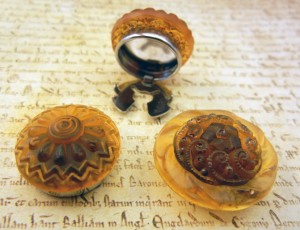
Have a one-of-a-kind or vintage button that you love, but don’t want to part with? 2-part silicone molding material works great to make a mold of your treasure that you can re-create in polymer or resin and use time after time. Silicone molds were quickly made of the buttons in this picture. Reproductions of the buttons (without the pesky shanks) were easily made with Amazing Resin and SuperClear Resin. For more information on making molds, see our previous blog: Making Your Own Molds is a Hoot.
Buttons you can buy from Rings & Things:
Rings & Things carries buttons in materials such as bone,
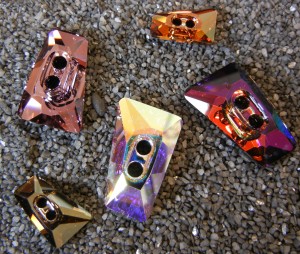
and SWAROVSKI ELEMENTS crystal
Making a Button:
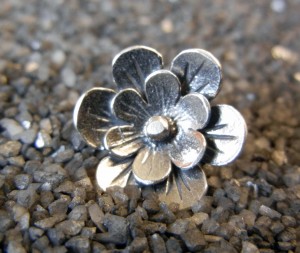
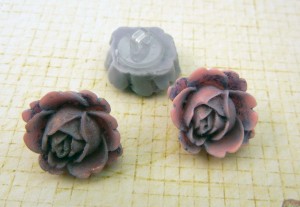
Do you have an item without holes that you want to use as a button? Easily glue a plastic button shank to your piece to create a button. These work great for turning resin, polymer clay, hand-made glass, and ceramics into useable buttons. Since these shanks are plastic, they don’t have the sharp edges that you sometimes find on metal shank findings. The set shown above are made from resin flowers, colorized with gilders paste, and attached with E-6000.
Changeable buttons:
With a button cover and some glue, you can create a decorative cover that can be transferred from garment to garment, covering the plain or boring buttons used in manufacturing. This set is made with super clear resin, colored with dye and glitter, and attached with E-6000.
Our pinterest board “Buttons” has further inspirations for using buttons and great handmade buttons.
~ Rita
Easy Elegant Earrings
May 29, 2013Easy Elegant Earrings
Using one-step looping pliers and a few supplies, you can have a set of fantastic earrings in under 30 minutes!
Step One:
Gather supplies
Step Two:
Lay out pattern and mark paddles
Step Three:
Loop paddle-end head pins
Step Four:
Adjust and tighten loops
Step Five:
Assemble
Step Six:
Repeat for other earring & enjoy!
For more information, scroll down to see the video tutorial and review tips on this one-step looping pliers page.
Turn it upside down!
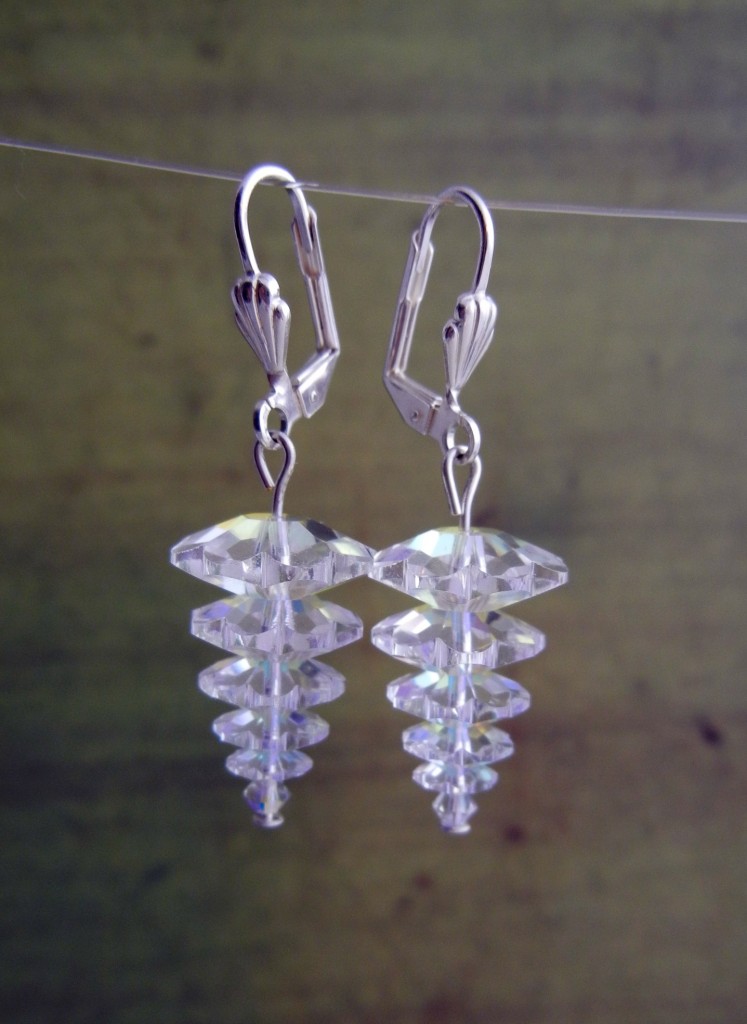
December 22, 2011What happens when you take the oh-so-popular Swarovski crystal tree charm pattern and turn it upside down? Beautiful, festive crystal earrings that can be worn year-round!
The French clips are another nice touch. Melissa made these classic clear crystal margarita earrings while on vacation with her mom and I snatched them off her ears as soon as I saw them. I think they look like frosty pine cones or icicles, but in a subtle way. Unlike the “real” crystal trees, they’ll still look appropriate in June. Something to keep in mind if you’re making last-minute gifts! ~ Cindy

