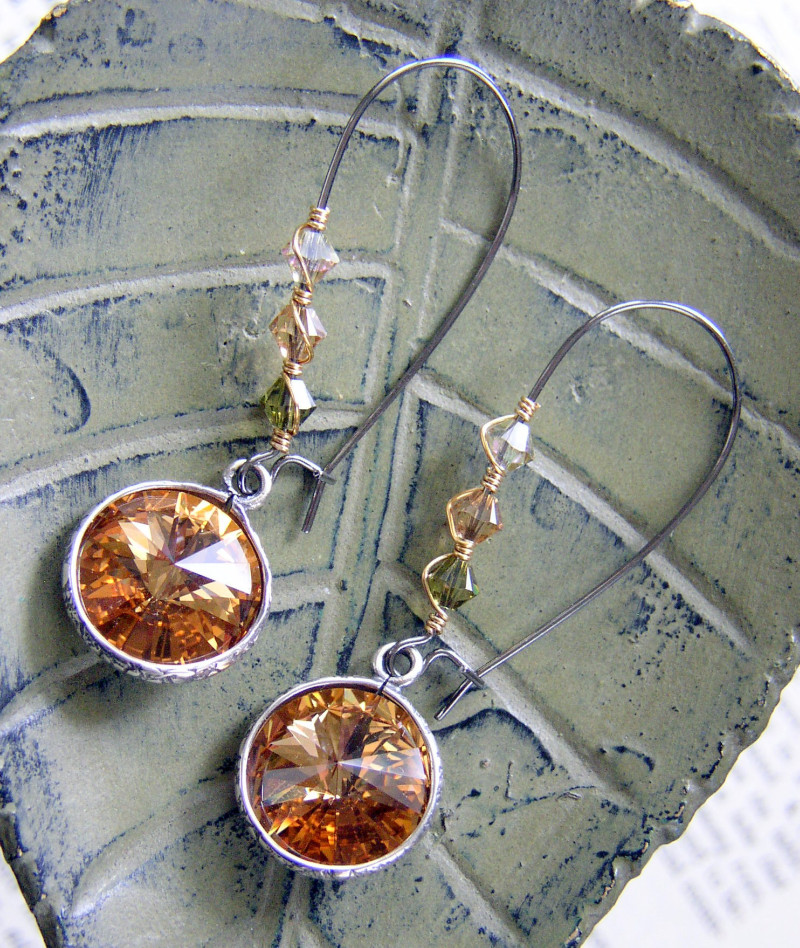
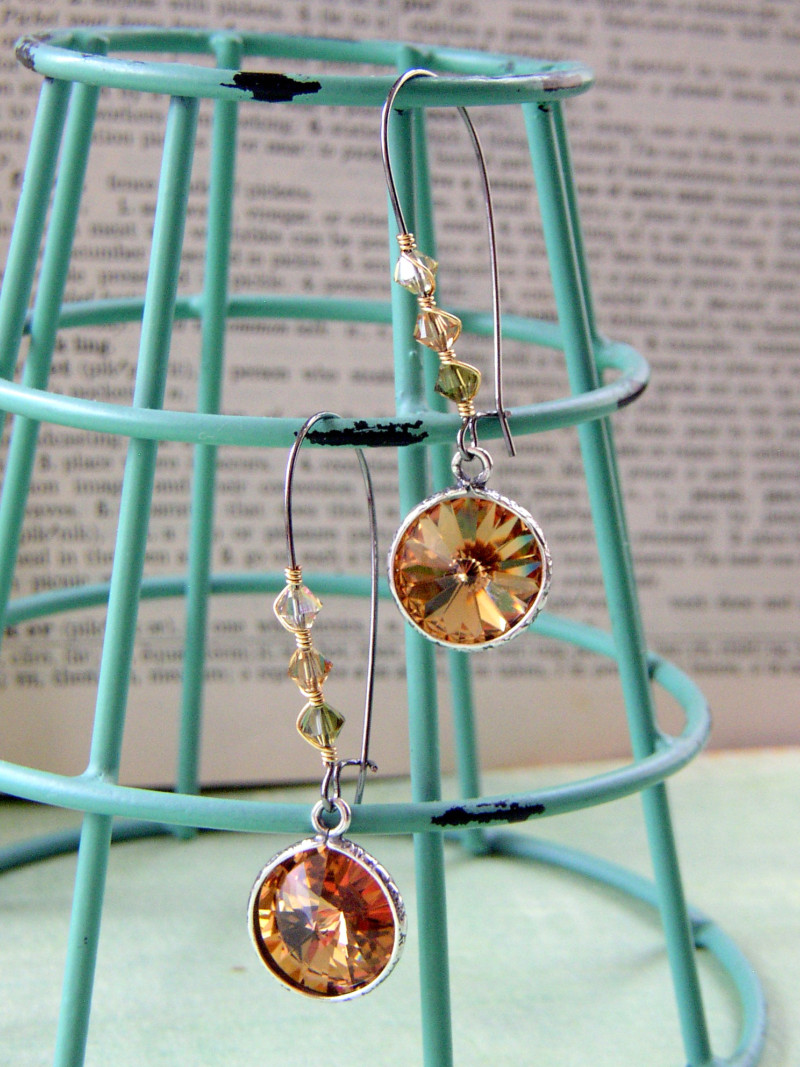
“Shining Stars Lashed Earrings” are created with SWAROVSKI ELEMENTS; bicone beads and rivoli stones add sparkle.
Learn this simple wire-wrapping technique and how to use pinch-style rivoli settings with this free wire-lashing jewelry-making tutorial from Rings & Things.
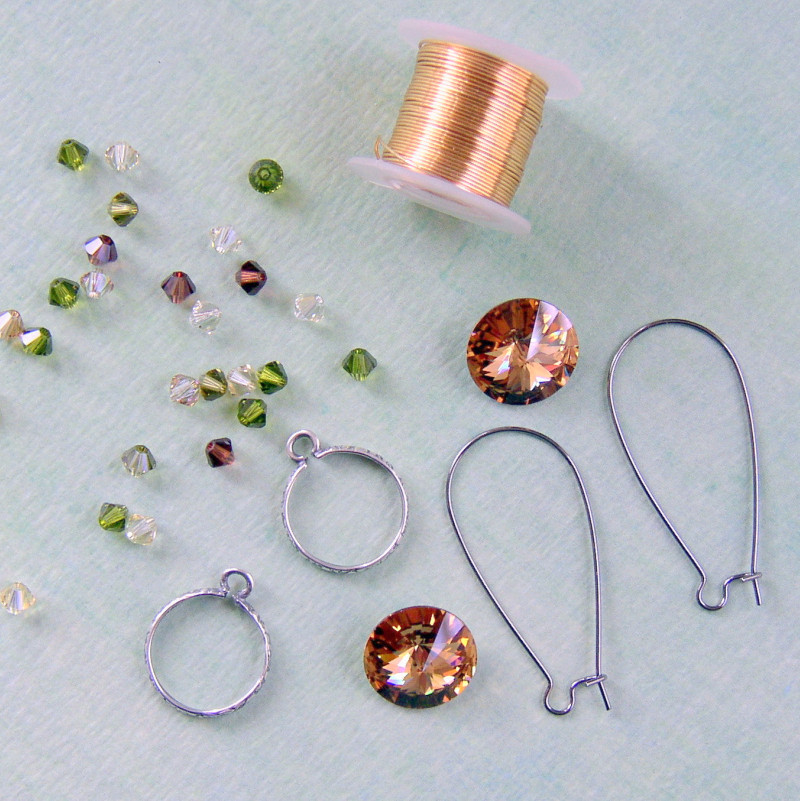
You will need the following tools and supplies:
- ruler
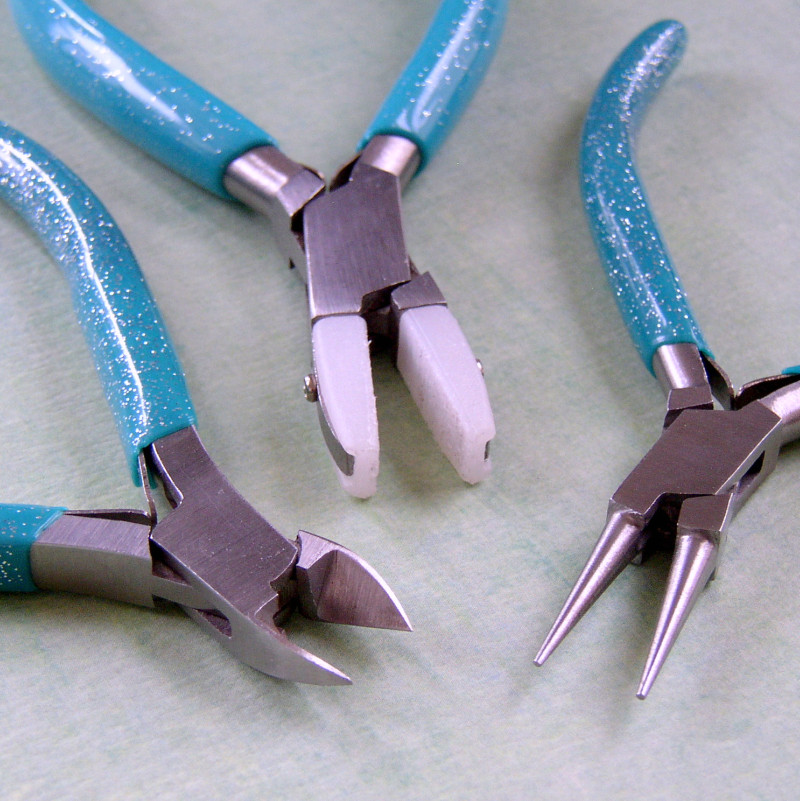
- nylon-jaw, flat-nose pliers
- round-nose pliers
- semi-flush side cutter
- sampler pack of 26ga silver-plated Artistic Wire® (use two 4 inch pieces)
- 14mm rivoli bezel with 1 Loop (use 2 bezels)
- 14mm rivoli stones assortment (use 2 rivoli stones)
- 4mm Swarovski bicone beads (use 6 beads) (I used 2 each #05-328-04-45, #05-328-04-115 and #05-328-04-CC.
- 37mm kidney ear wires (use 2 ear wires)
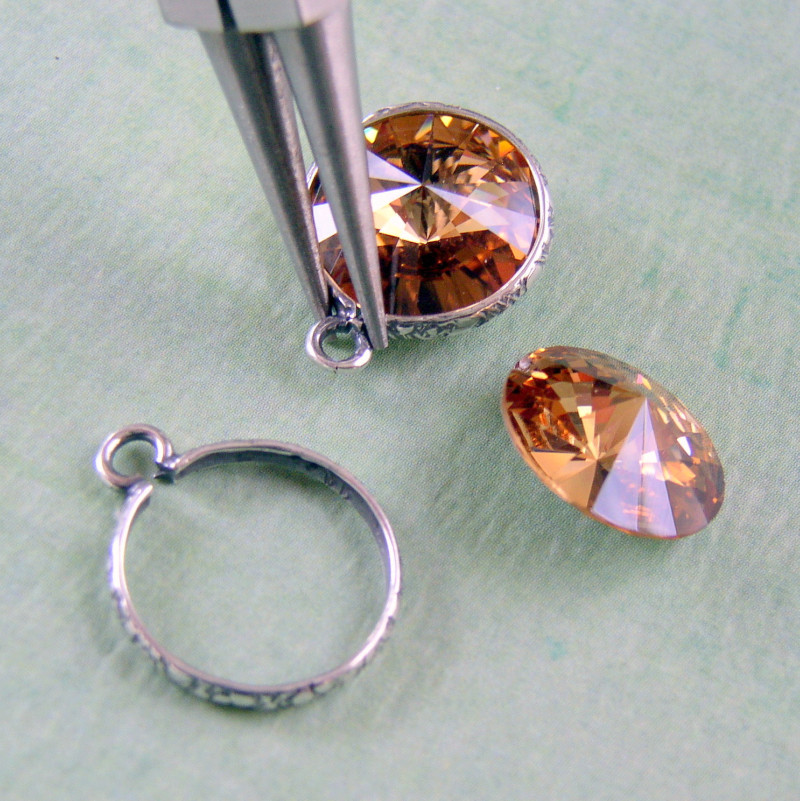
Step 2: Insert a rivoli stone in a setting and use round-nose pliers to pinch the setting closed. Repeat with the second stone and setting. The pinch-style rivoli settings don’t require messy glue or drying time.
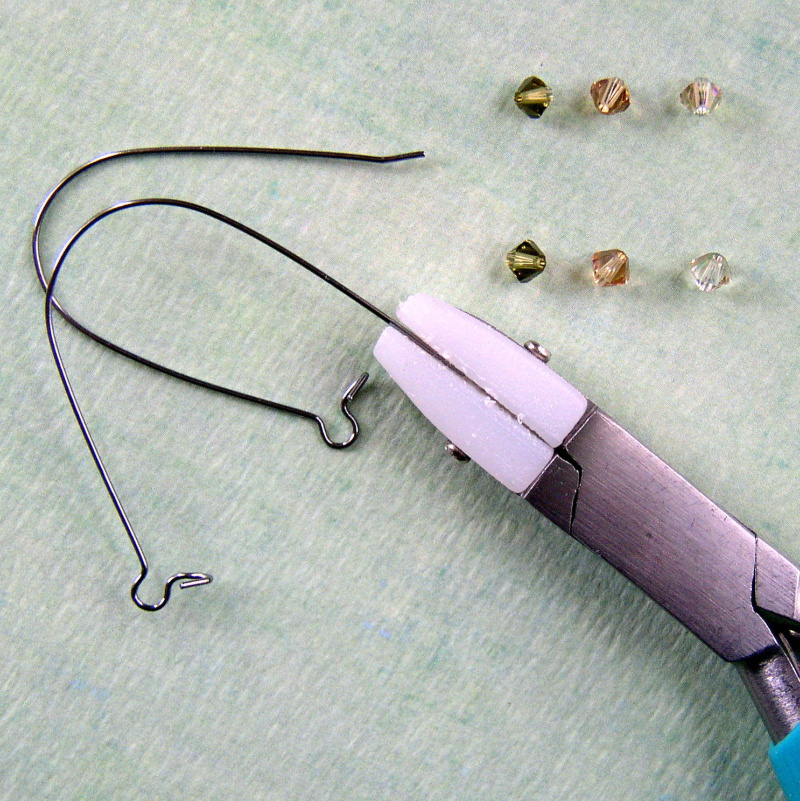
Step 3: Use nylon-jawed flat-nose pliers to straighten the bend in the ear wire tail; this will allow the beads to slide on to the kidney wire.

Step 4: Cut a 4″ section of 26-gauge wire and make three tight coils on the kidney wire near the loop. Use semi-flush side cutters to cut the beginning wire section off flush with the kidney wire.
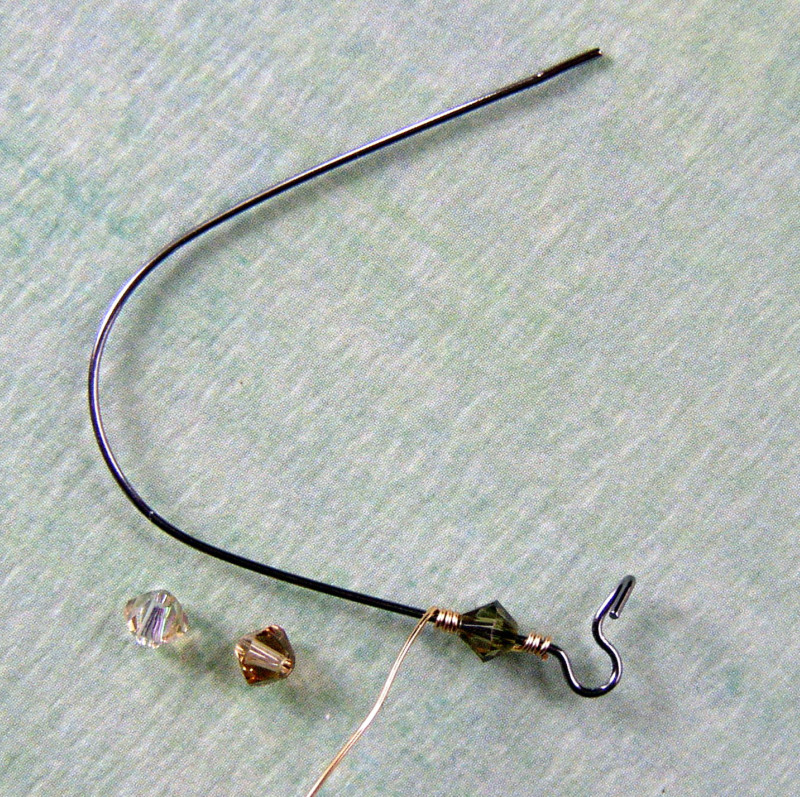
Step 5: Add a crystal bicone bead to the kidney ear wire. Pull the wire across the bead and add three more tight coils.
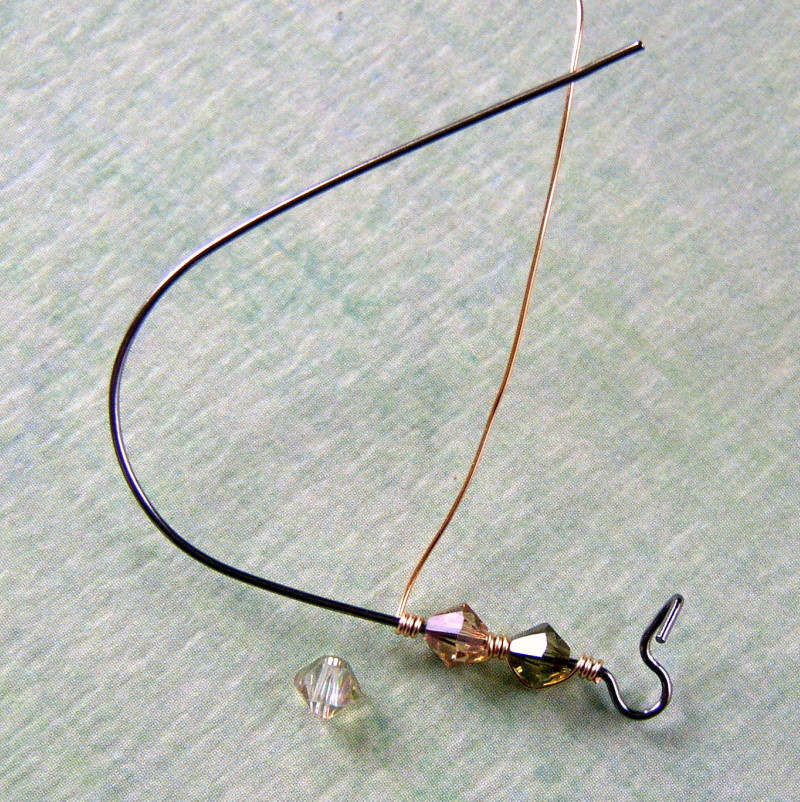
Step 6: Add a second crystal bicone bead to the kidney ear wire. Pull the wire across the bead and add three more tight coils.
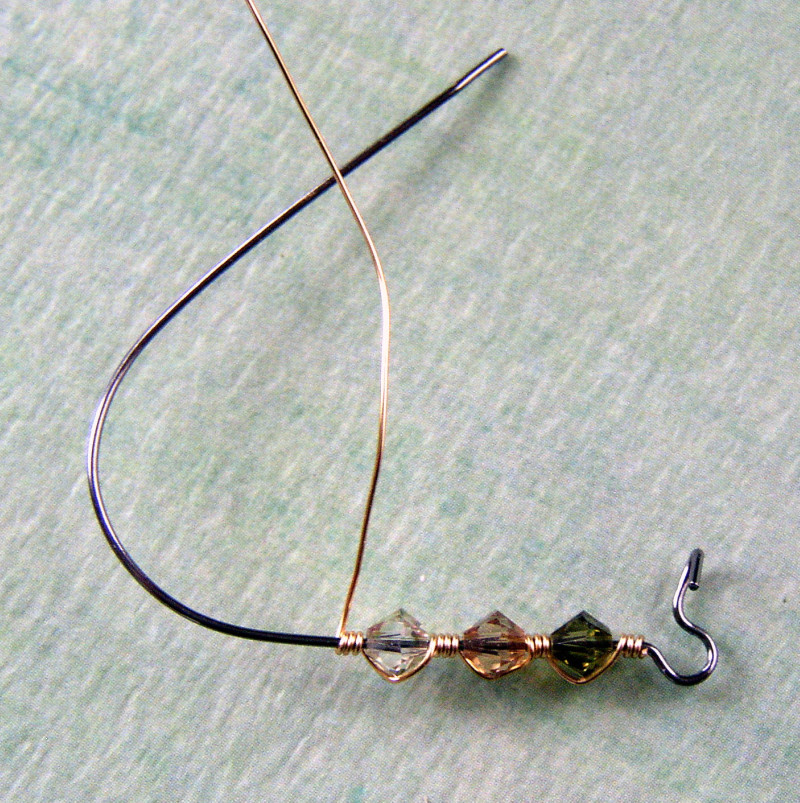
Step 7: Add a third crystal bicone bead to the kidney wire, pull the wire across the bead and add a final three coils.
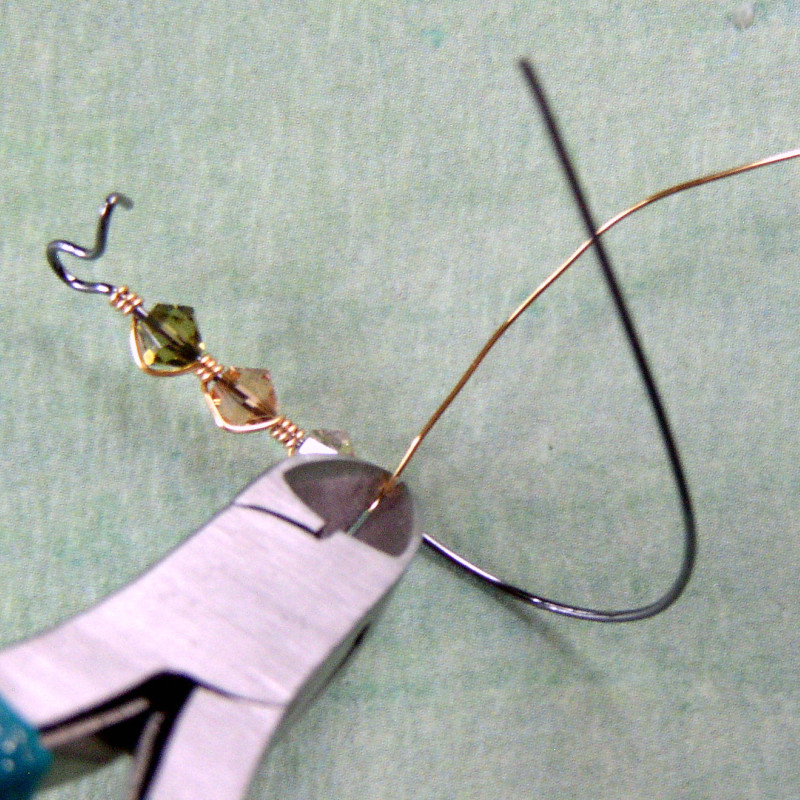
Step 8: Use semi-flush side cutters to cut the wire’s tail off flush with the kidney wire.
Repeat Steps 3 through 8 to make the second lashed kidney ear wire.

Step 9: Add the rivoli setting to the kidney wire. Use round-nose pliers to crimp the kidney-wire loop closed; use flat-nose pliers to re-bend the kidney wire tail. Repeat with the second earring.
Your handmade lashed earrings are complete and ready to wear. To make the “Shining Stars Lashed Earrings” pictured in today’s blog post, visit Rings & Things Design Gallery for a list of the exact stock used. Or change the colors by choosing from the Rings & Things 46 colors of 14mm Swarovski rivoli stones (2018 update: 80+ colors of 14mm rivolis!) and 46 styles of Rings & Things exclusive Crystal Jams™ Assortments. A pair of earrings can be made in less than 30 minutes, so why not make a rainbow?
Make things!
Mollie


2 Comments
Thank you so much for the tutorial! Do you have them often? I will be sure to pick up the supplies I need at your upcoming bead show!!!
Hi Melanie!
We definitely bring the crystal bicone beads, and many styles of ear wires to our bead shows, but I’m not sure about the rivolis and their settings. You might want to place an order a couple weeks before the show, and have us bring it to the show for you, to make sure you get everything you need.
You don’t have to pay until you pick up the items at the show. In checkout, pick “Deliver to _______ show city name” as your shipping option, and “Pay at Bead Show” as your payment option.
~Polly