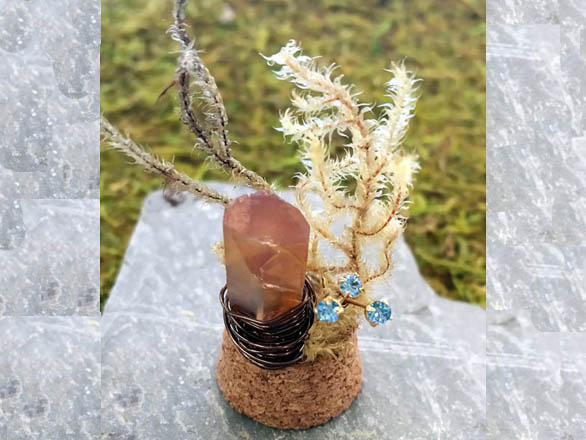
Using a small corked glass dome, create a custom mini terrarium necklace! DIY wearable cloche planters are very simple to make by following the steps in this tutorial. This tiny fairy garden is made of moss, crystal points, and Swarovski crystal blossoms. Personalize your wearable planter with anything you choose, as the basic assembly techniques will likely be similar.
Supplies available at rings-things.com and nature. Gather materials and conceptualize a basic design!
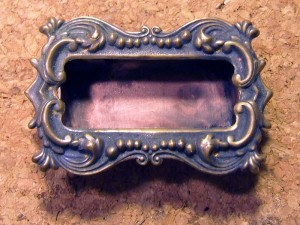
Using flat nose pliers, bend the edges of the filigree up to create a nice, decorative foundation for the corked terrarium base. Glue in place and allow to set.
Using a head pin, create a loop at the top of the cap for the cloche. Gently re-form the cap to fit the top of the glass dome as needed. Attach with glue and allow to set.

Wrap the crystal point with wire, secure ends into cork for stability. Glue and allow to set, if needed
Gather and wire wrap a small bundle of Swarovski crystal-end head pins to form a group of posies.
Poke the wire ends of the wrapped crystal and the Swarovski posies into the cork. Glue moss, branch and other natural elements into place and allow to set.
Carefully place glass cloche over your garden. Glue into place, using adhesive sparingly. Allow to set.
Use a jump ring to attach chain for a necklace. Or, not… you may choose to create without a bail or chain for a tiny tabletop decoration or desk adornment! You can also use smaller glass vials or glass bottle charms for a more petite version.

The following items can be used to make a small batch of plant jewelry:
- Filigree #44-154-6
- Swarovski Head Pins #46-372-4-10
- Artistic Wire #46-404-30
- Bead Cap #43-090-2
- Head Pins #37-422-2
- Chain #40-090-13-6
- Jump Rings #37-100-6
- Crystal Quartz Points #21-007-763-59
- Glue #60-265
- Corked Domes #55-000-46
- Dried foliage, moss, greenery & twigs
- Tiny treasures, mini statuary & pretty bits
We hope you enjoyed this step-by-step jewelry making tutorial.
Happy creating!


2 Comments
What is used to make the bail? I see the jump ring, but what is the base under the jump ring and do you just glue it on with the E6000?
Hi Mary,
She glued on a bell cap: http://www.rings-things.com/Products/Bell-Caps/White-Plated-Bell-Cap-5mm.html (sorry, it looks like the yellow bell caps are out of stock).
And I recommend 2-part epoxy instead of E-6000, for a spot like this. I love E-6000, but I find that for something like this, it only lasts 1-2 years. Whereas I have 20+ year old jewelry glued with our 2-part epoxies, that is still holding strong.
http://www.rings-things.com/Products/Two-Part-Epoxy-Glues/
–Polly