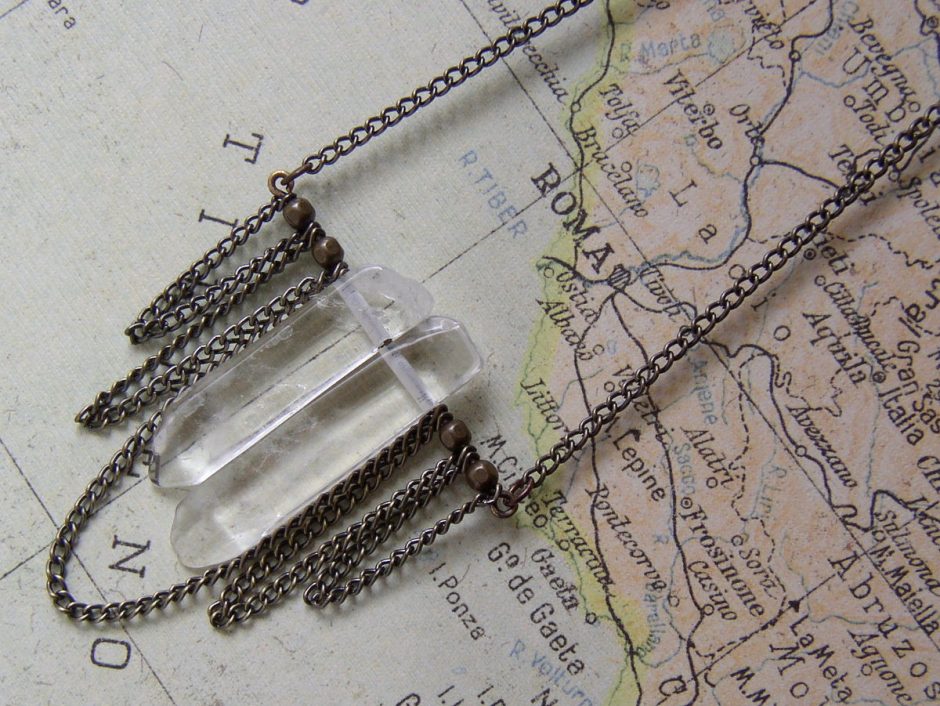
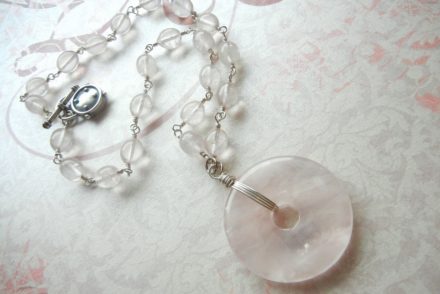
It is easy to create a unique necklace with tip-drilled gemstone rectangles or points because no two stones are identical. The stones can be wire wrapped, strung directly on cording, or strung on wire to make a bead-bar necklace. So get your jewelry-making tools out and follow these directions to make your own one-of-a-kind necklace.
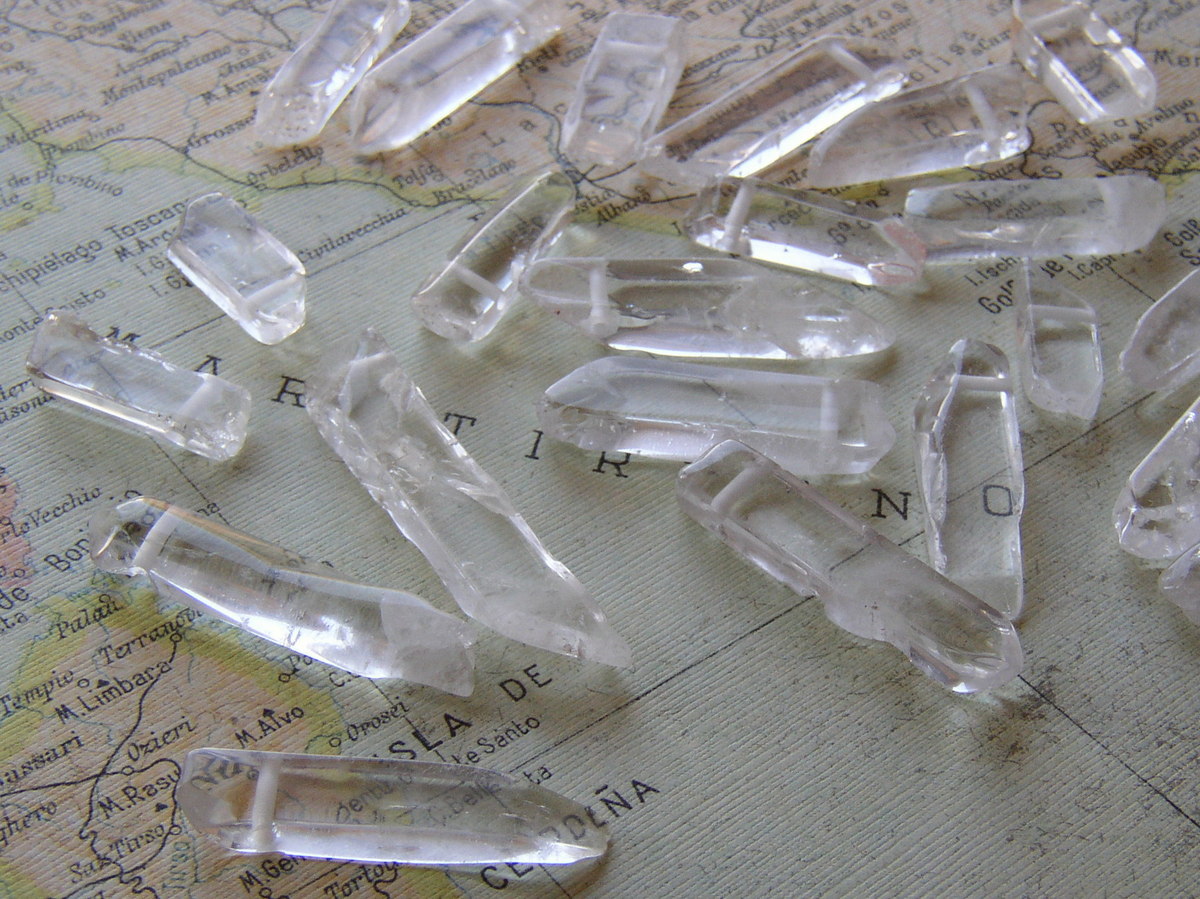
A strand of gemstone flat point-shaped beads has a variety of sizes and shapes–perfect for creating unique, one-of-a-kind jewelry. Rings & Things offers several gemstone choices, like “rock crystal quartz” pictured here.
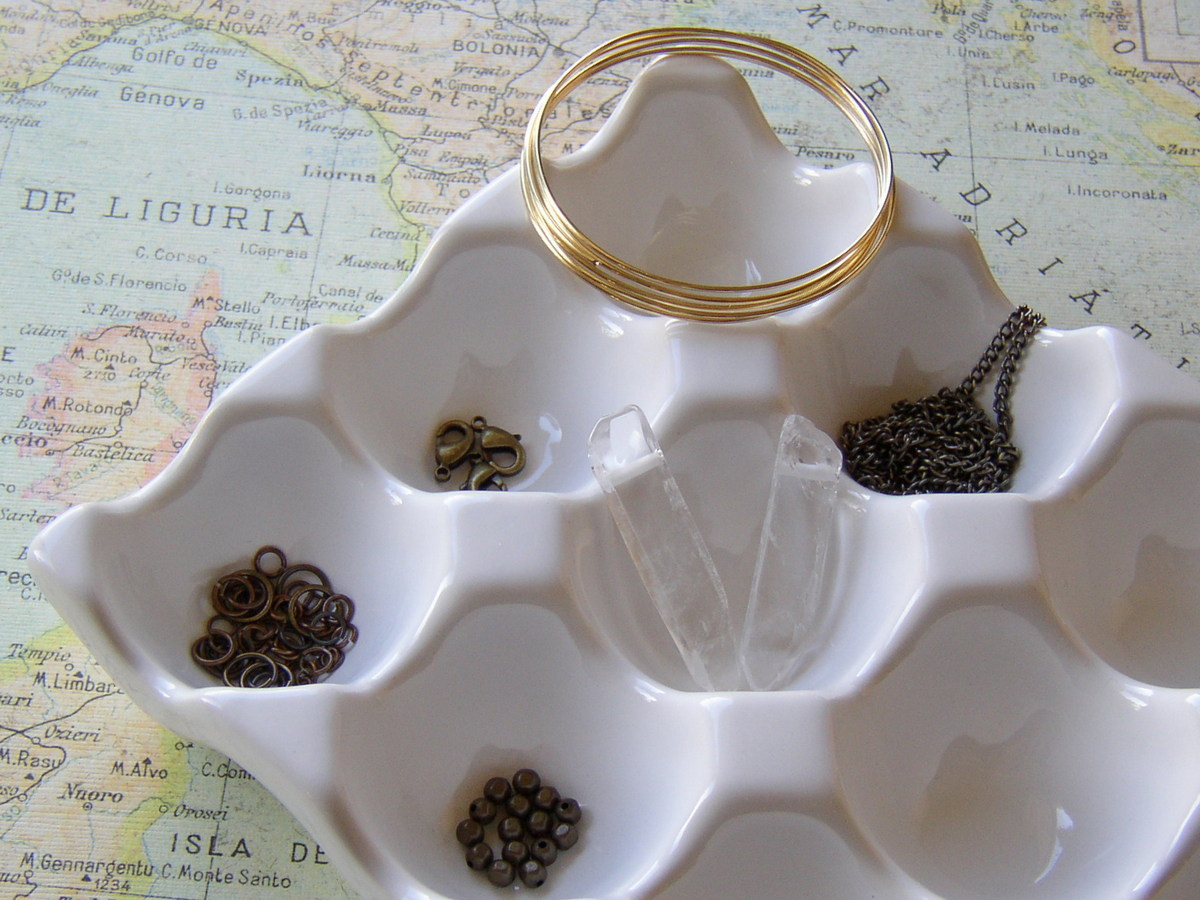
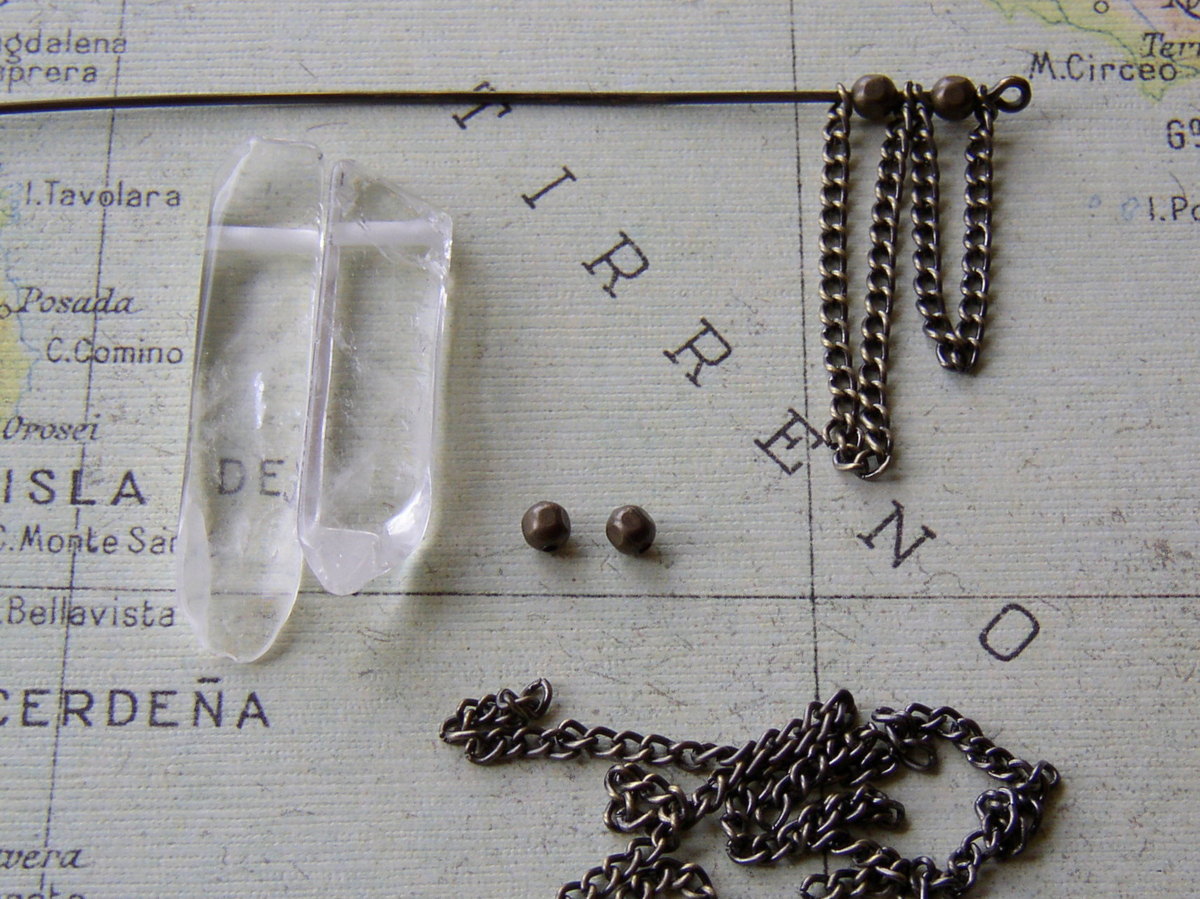
Just a few supplies are needed: 18-gauge wire; 4mm faceted metal beads; jump rings; lobster clasp; footage chain; and tip-drilled, irregular, graduated, rectangle gemstone beads.
Supplies
-
- 2 or 3 each gemstone beads, tip drilled irregular graduated rectangles or points (I used item #21-007-036-60)
-
- 4 each 4mm metal beads (I used item #26-150-40-6)
- 4 each 4mm metal beads (I used item #26-150-40-6)
-
- 3 feet jewelry chain by the foot or jewelry chain by the spool (I used item #40-090-58-6 or #40-099-58-6)
-
- 4 inches 18-gauge jewelry wire (I used item #47-208-SP)
-
- 1 each lobster clasp (I used item #39-343-6)
-
- 4 each round jump rings (I used item #37-100-6)
- Antiquing solution (I used item #86-310)
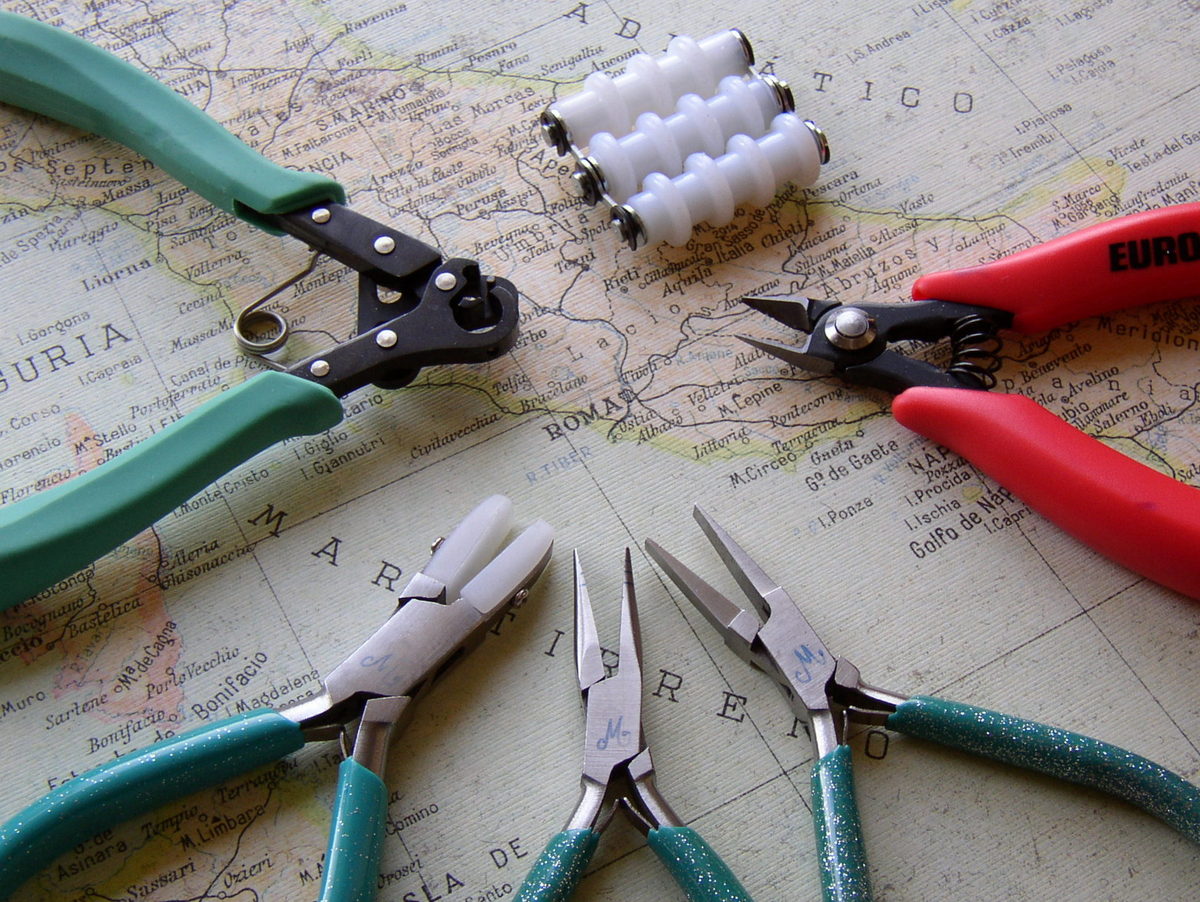
Here are the tools you will need; flat-nose pliers, chain-nose pliers, nylon-jaw flat-nose pliers, semi-flush side cutters, wire straightener, and 1-Step Looper.
Tools
- 1-Step Looper jewelry pliers (I used item #69-055, the original 1.5mm 1-Step Looper)
- Chain-nose pliers (I used item #69-271-03)
- Flat-nose pliers ( I used item #69-271-08)
- Nylon-jaw flat-nose pliers (I used item #69-271-91) [This is an alternate tool for straightening wire.]
- Polishing cloth (I used item #63-537)
- Semi-flush side cutters (I used item #69-056)
- Artistic Wire Wire Straightener
Other Supplies
- Cotton swab
Making the pendant

Straighten your wire; the Artistic Wire wire straightener works great.

Use the 1-Step Looper pliers to bend an end loop in the wire. Begin by inserting the wire into the pliers jaw.

With the wire in position in the 1-Step Looper, squeeze the handles of the pliers and (almost) magically the wire is cut and a loop is formed.
Tool Spotlight: BeadSmith 1-Step Looper Jewelry Pliers…NOW in three sizes

The BeadSmith 1-Step Looper is the perfect tool for making loops. It trims and loops head and eye pins, as well as wire in one motion. And now it is available in three sizes, 1.5mm, 2.25mm, and 3.0mm.
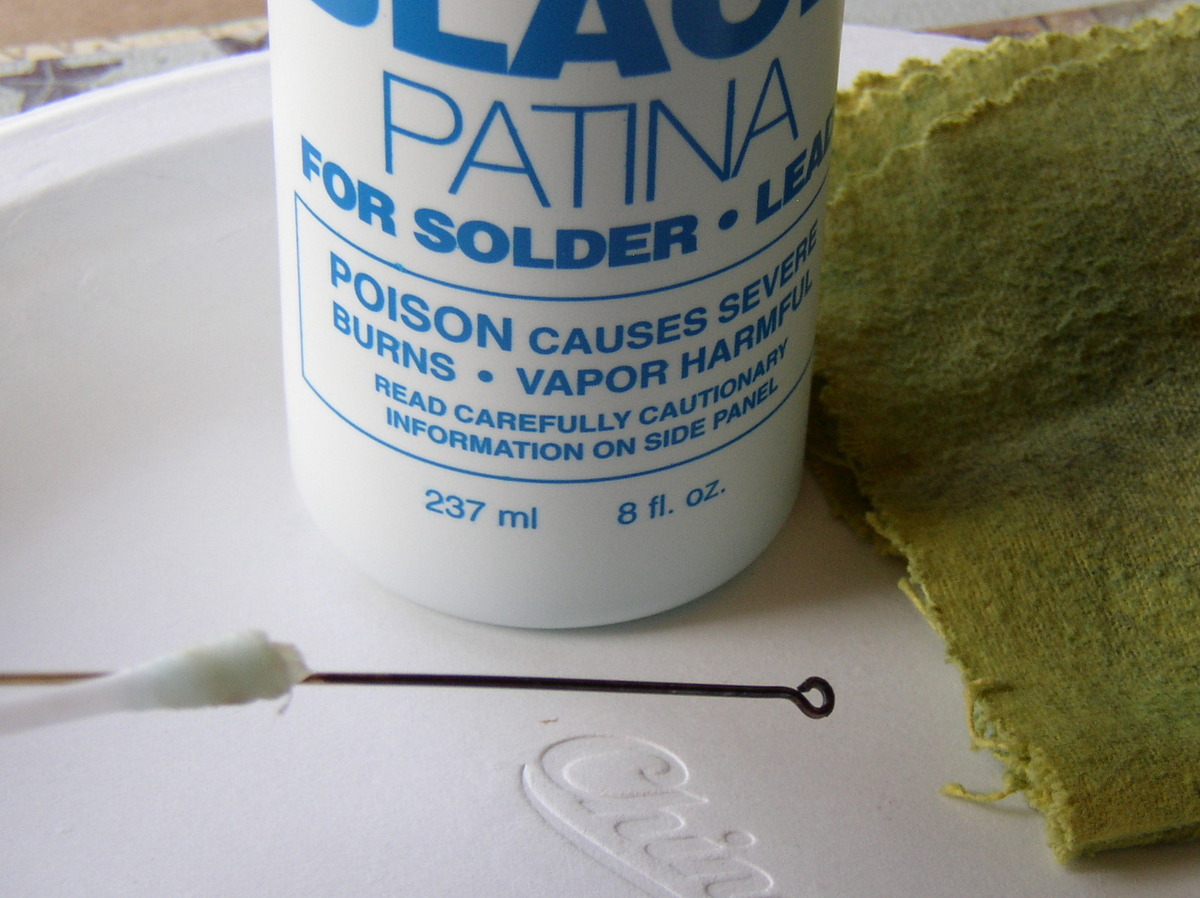
Apply antiquing solution to the wire and then lightly polish the wire with a polishing cloth.
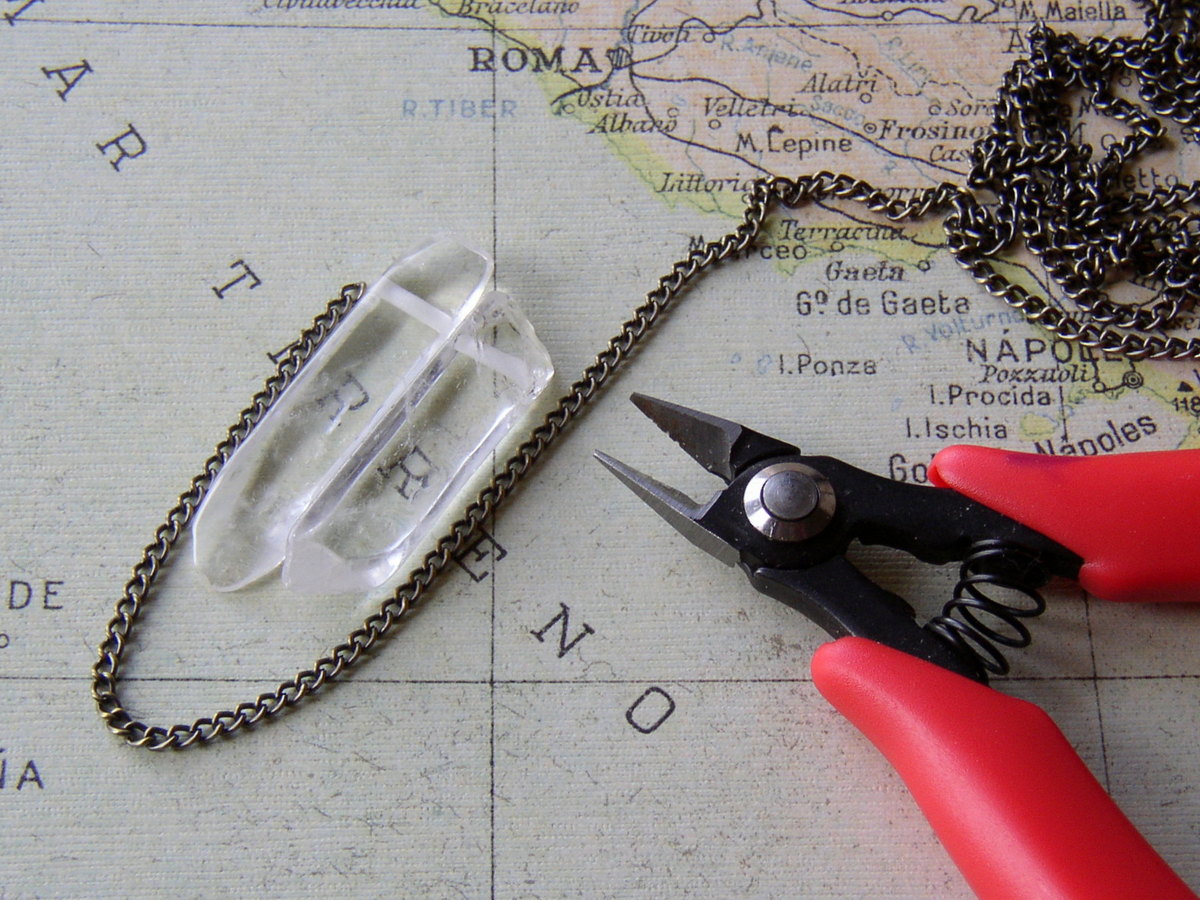
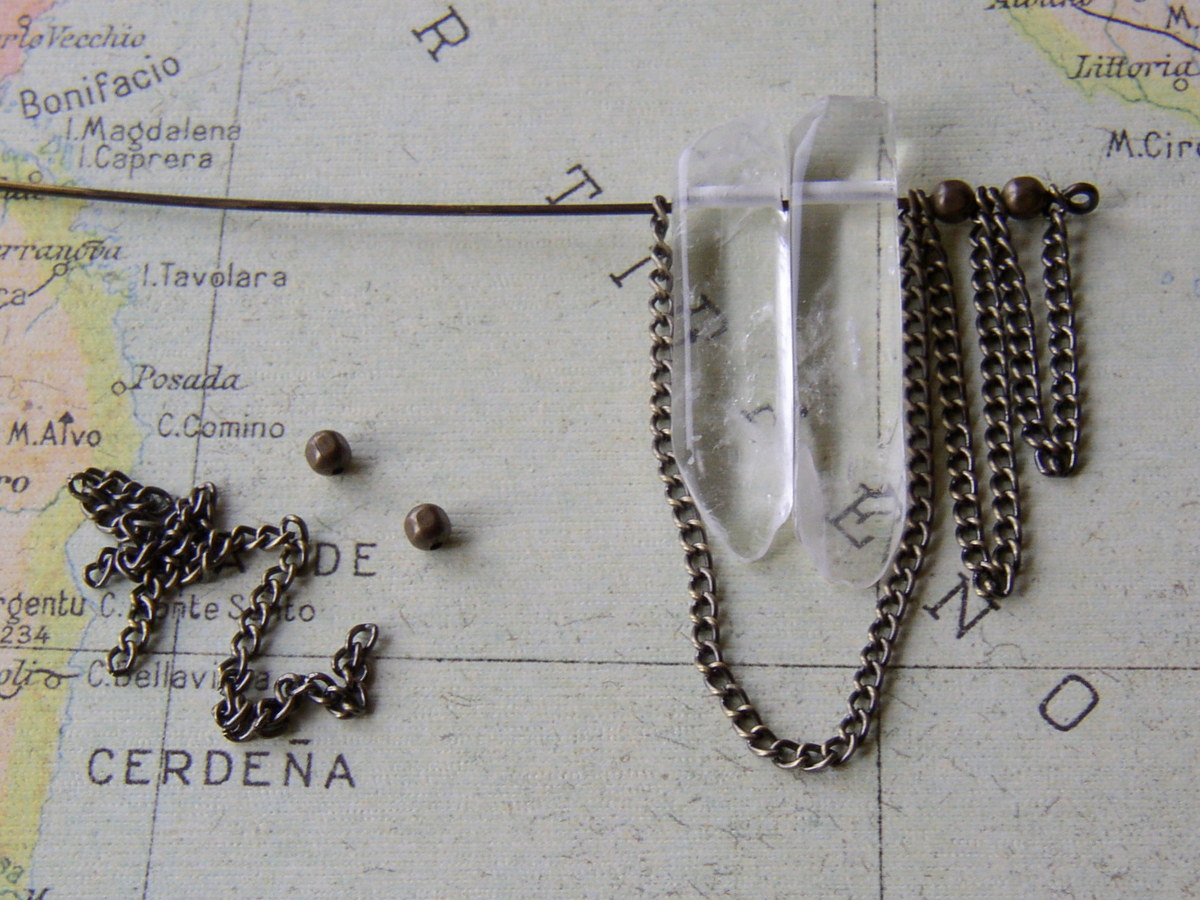
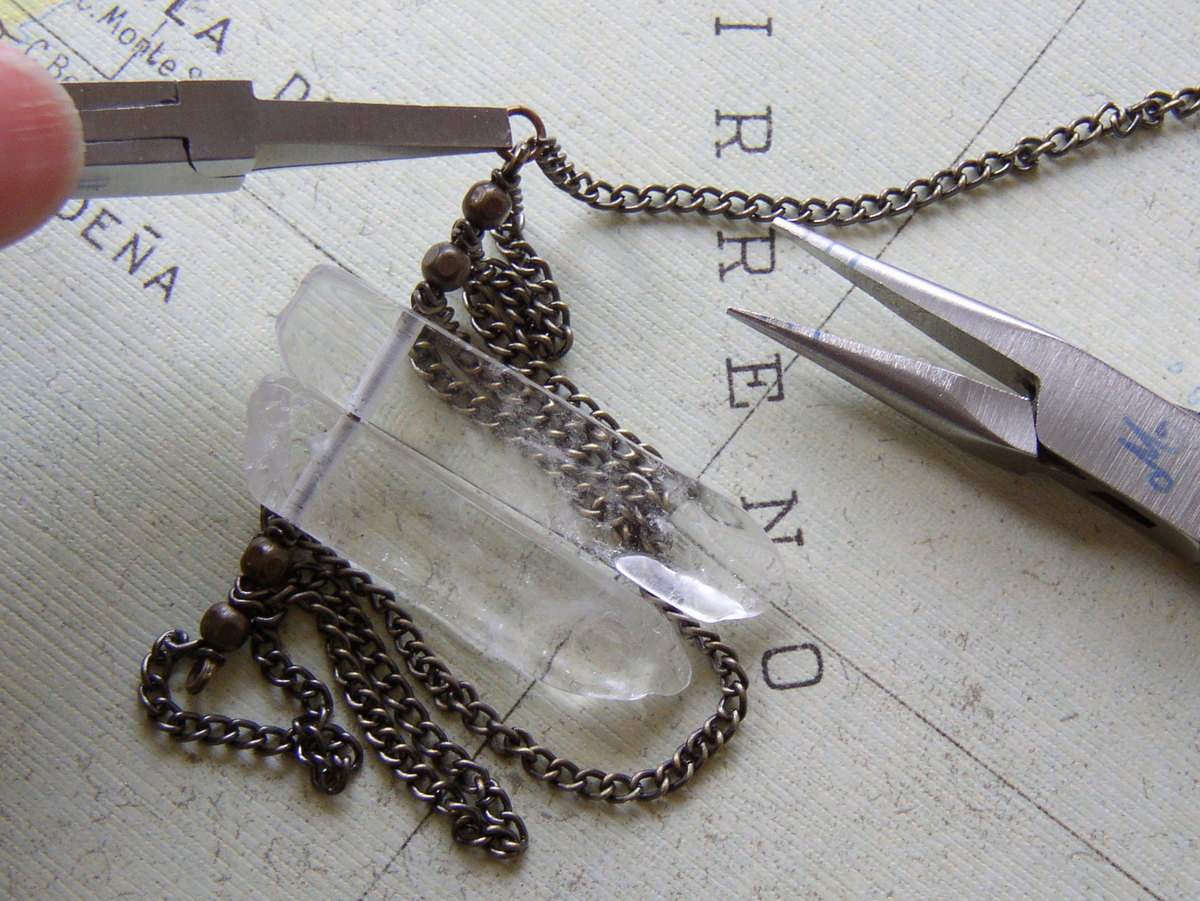
Select two (or three) gemstone points of varied length. Lay the stones side by side and drape a piece of chain from bead hole to bead hole (swag length should be longer than the gemstone points). Use semi-flush side cutters to cut the chain.

Add a metal bead and drape the chain from bead hole to bead hole. Cut the chain to preferred length (length of swag should closely match length of gemstone points).

Add a second metal bead and drape the chain from bead hole to bead hole, make the swag slighter shorter than the previous one. Cut the chain.
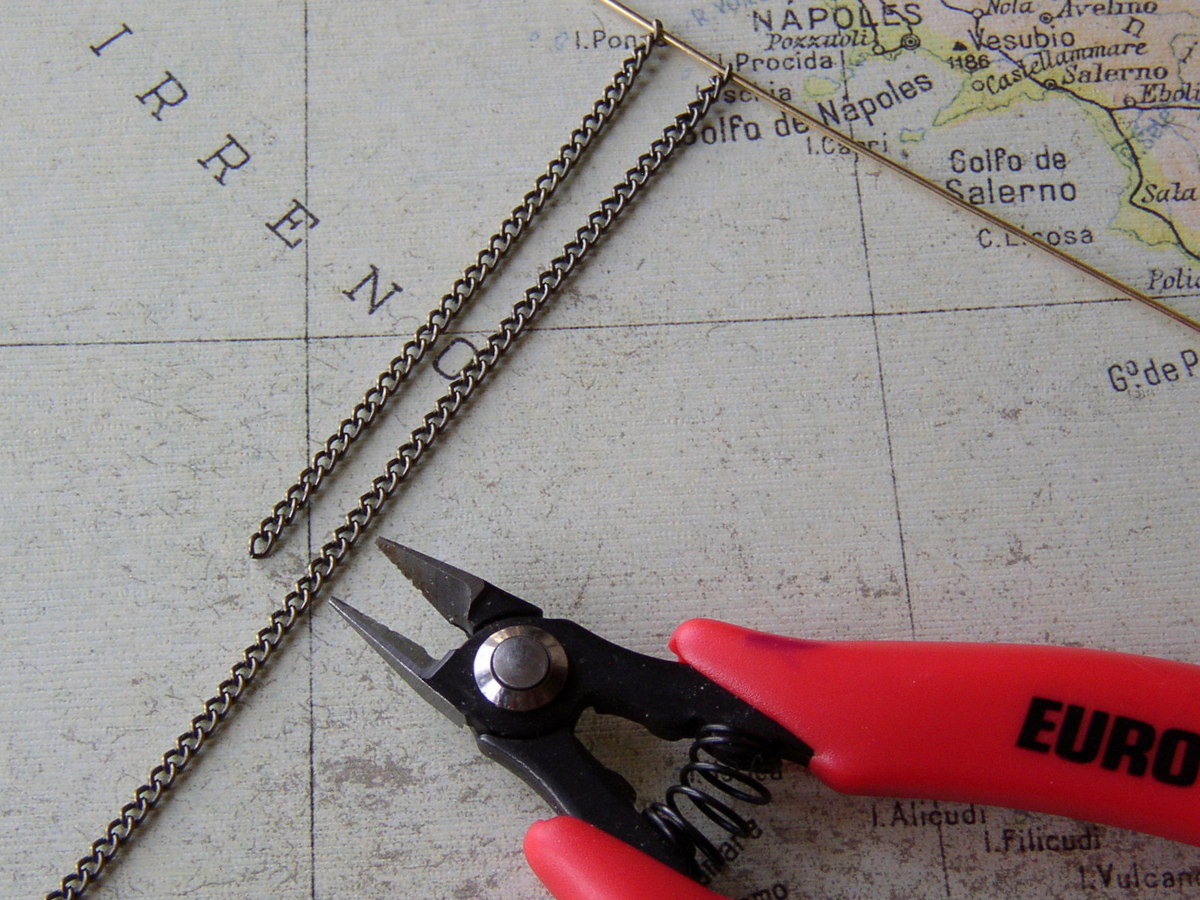
Measure and cut chain sections to match the two metal-bead chain swags; these will be used on the opposite side of the gemstone points.
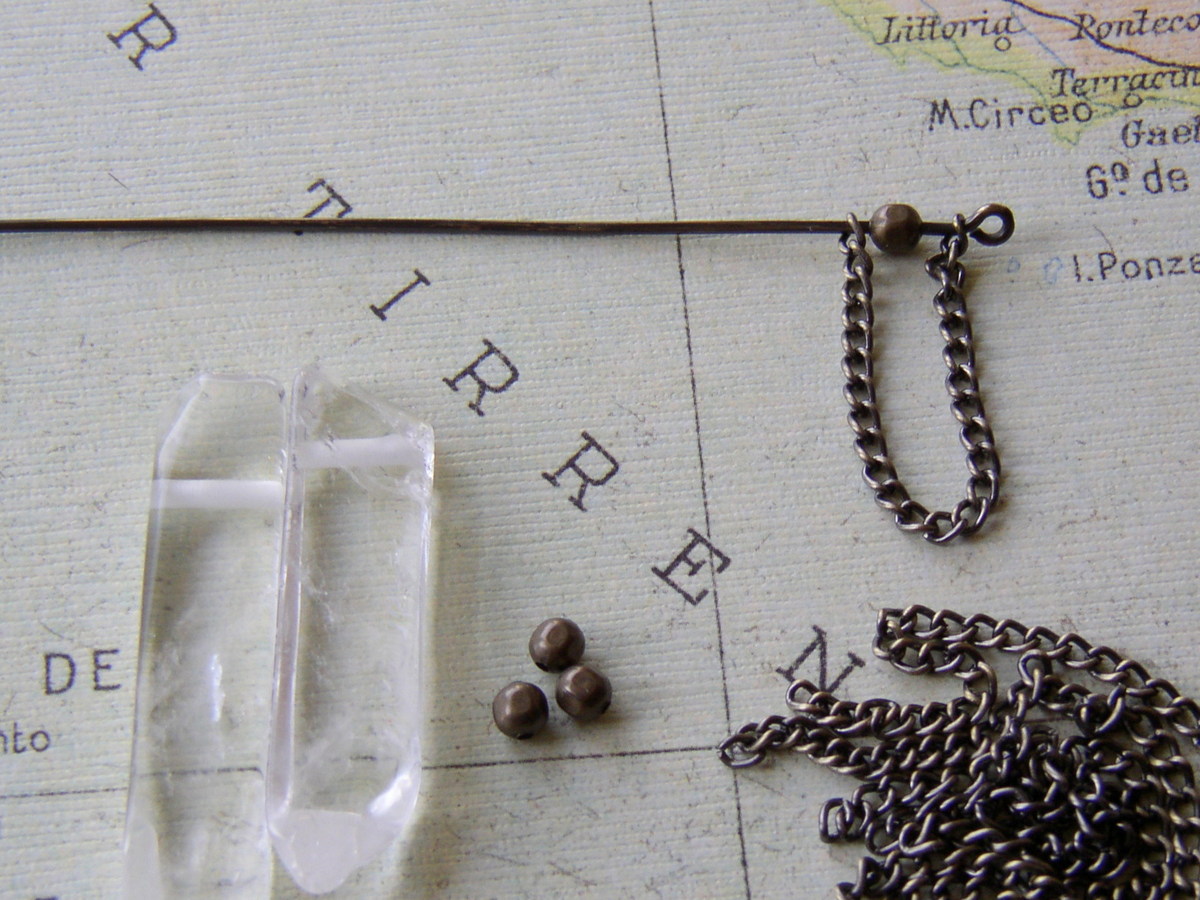
String the shortest chain swag onto the handmade eye pin in this order: First chain link, metal bead, and last chain link.
String the medium-sized chain swag onto the handmade eye pin in this order: First chain link, metal bead, and last chain link.
String the longest chain swag onto the handmade eye pin in this order: First chain link, gemstone flat point, gemstone flat point and last chain link.
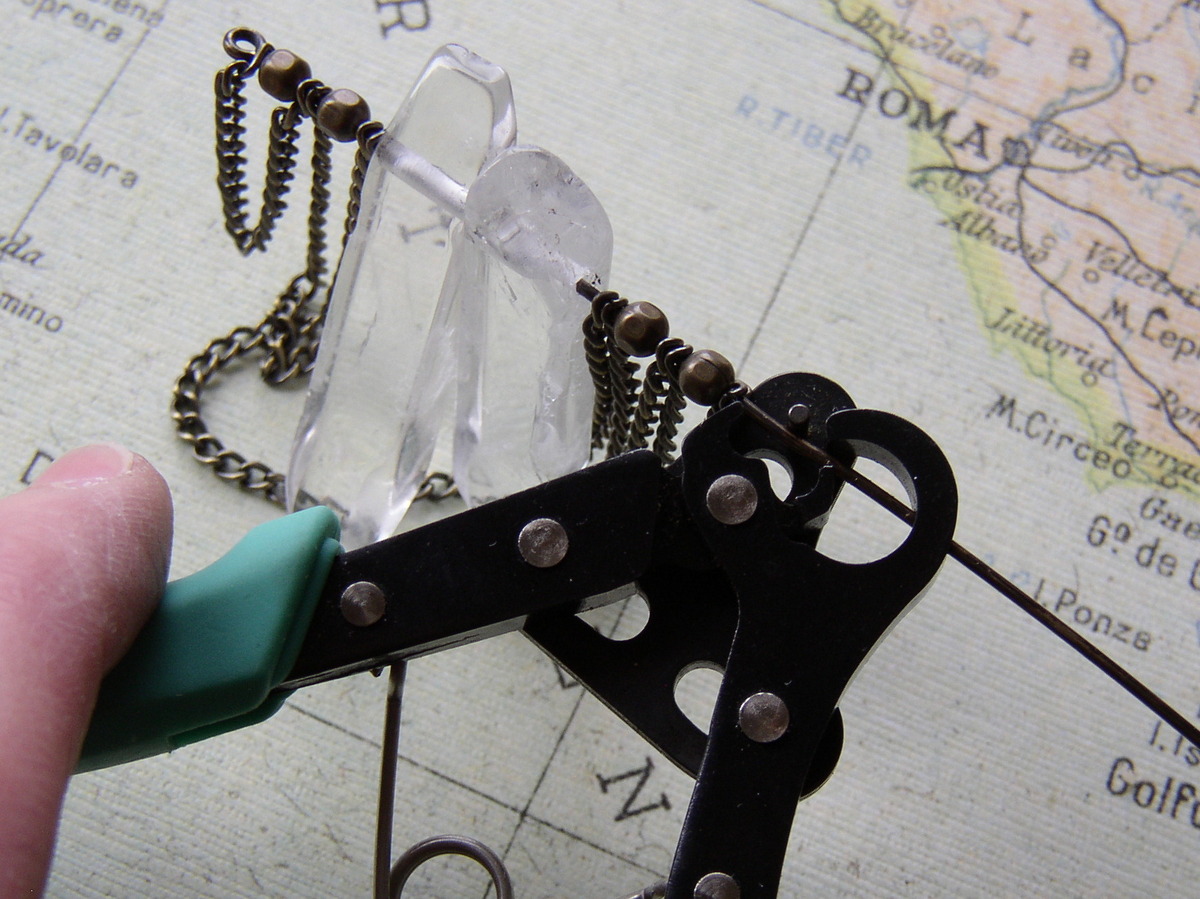
Add the remaining two chain lengths/metal beads, starting with the medium-sized and then the shortest chain length. Use the 1-Step Looper to form an end loop and finish the bead bar pendant.
Finishing the Necklace
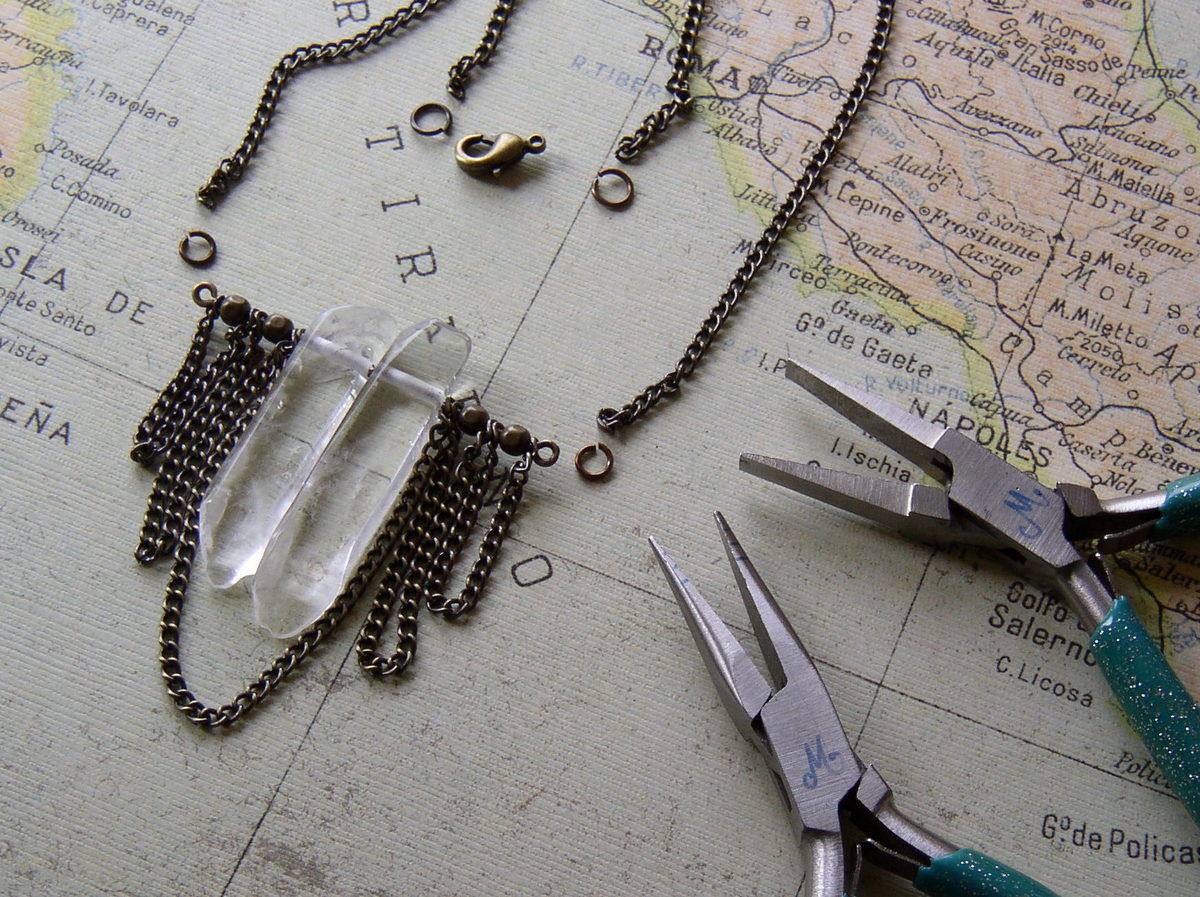
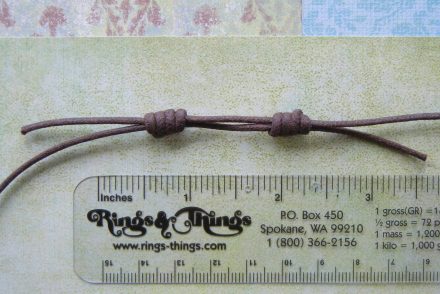
Layout the necessary components for finishing your necklace. You will need jump rings, necklace chain, and a clasp. Determine how long you want your finished necklace to be. This necklace works great as either a choker or a long necklace.
Use jump rings to attach the necklace chain to the pendant. Twist the jump ring open, add the pendant loop and the first link of the chain then twist the jump ring closed. Repeat on the other pendant loop.

Now finish the clasp portion of your necklace. Attach a jump ring and clasp to one side of necklace chain, and just a jump ring to the other side of necklace chain. Clasp the necklace together.
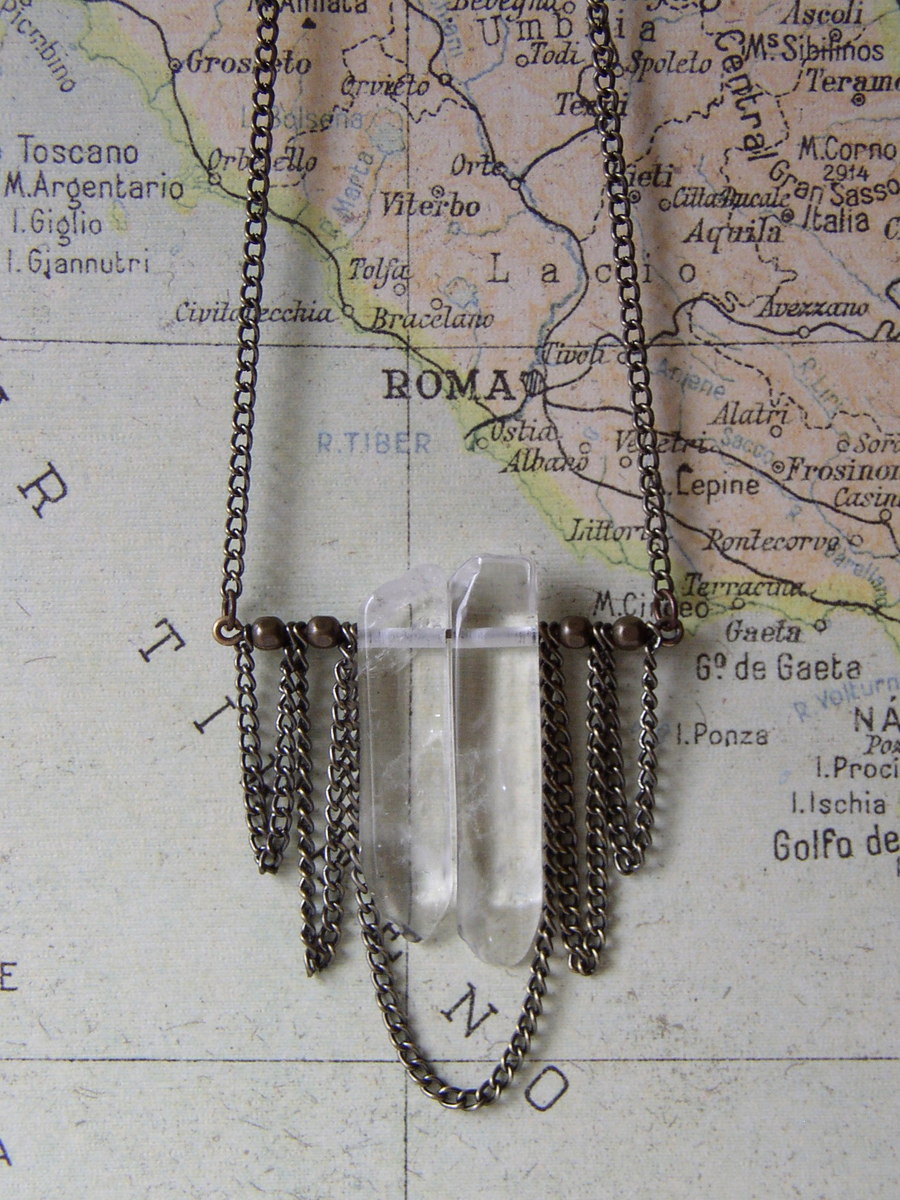
The necklace is finished and ready to wear!
♥ Make Things,
Mollie

1 Comment
This gemstone necklace is super cute! Thanks