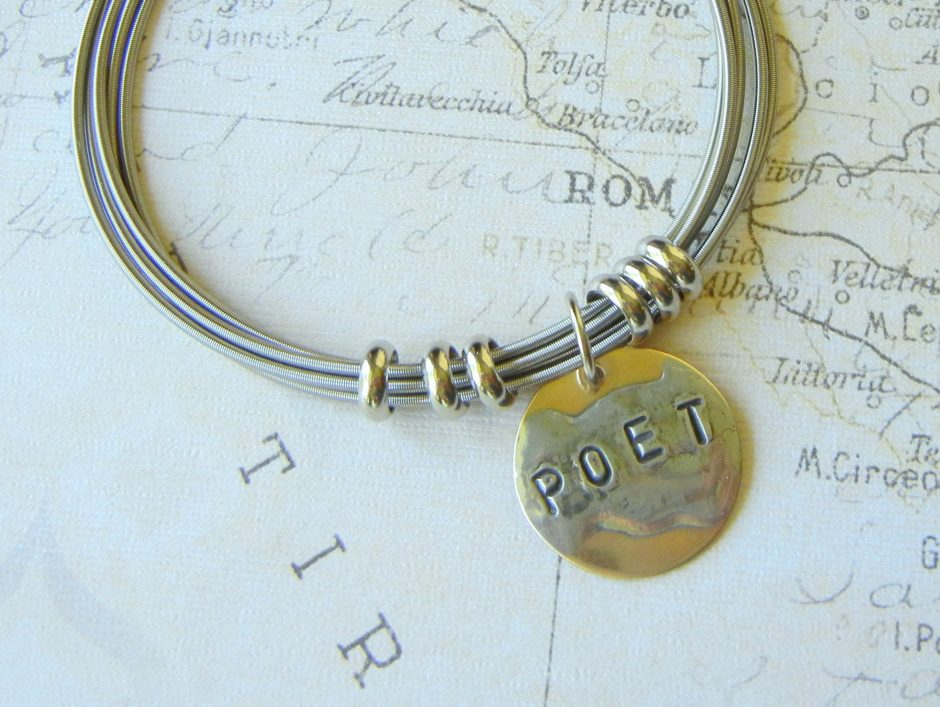
Rings & Things’ spring wire bracelets aren’t piano wire. But if you don’t have a spare piano to tear apart, they are a perfect substitute. The 7″ spring bracelets are soft and slightly stretchy, making them super comfortable to wear. They are easily connected and do not require a clasp or the use of any tools. Use them individually or by the bundle; they are the perfect backdrop for beads and charms. Now, let’s make a “piano wire” bracelet!
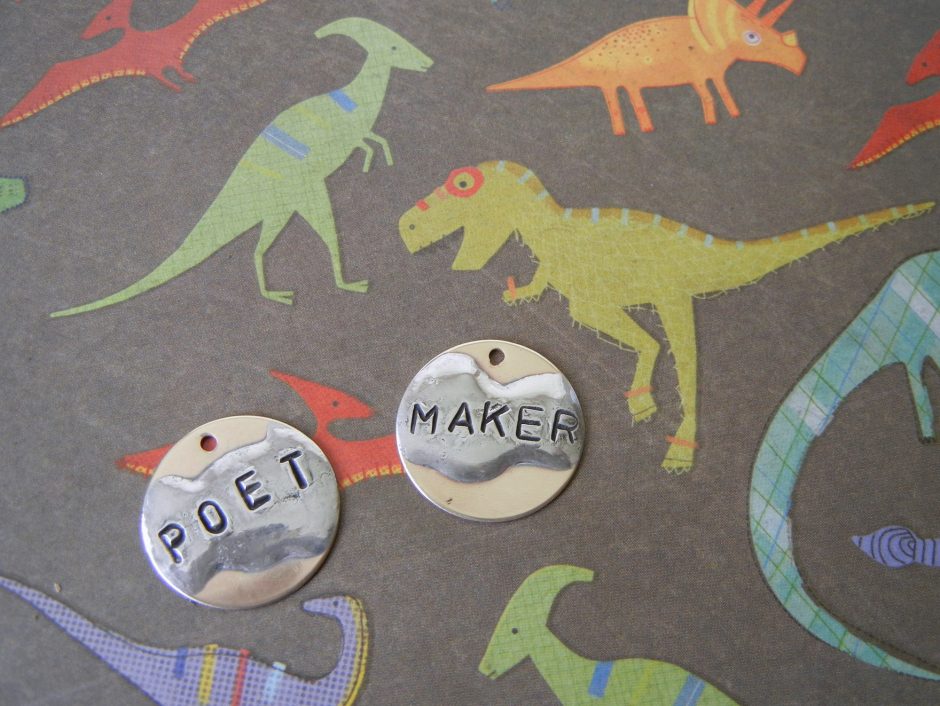
Continue Reading…I am not a fantastic metal stamper, and sadly, practice doesn’t always make perfect. I am the queen of stamped four-letter words, and even those are crooked. But actually, what I need is a process that camouflages my imperfections as rustic charm and offers the opportunity for do-overs. If this sounds too good to be true, it’s not–read on to learn how in this step-by-step tutorial.
Continue Reading…How to Make Spiral Head Pins
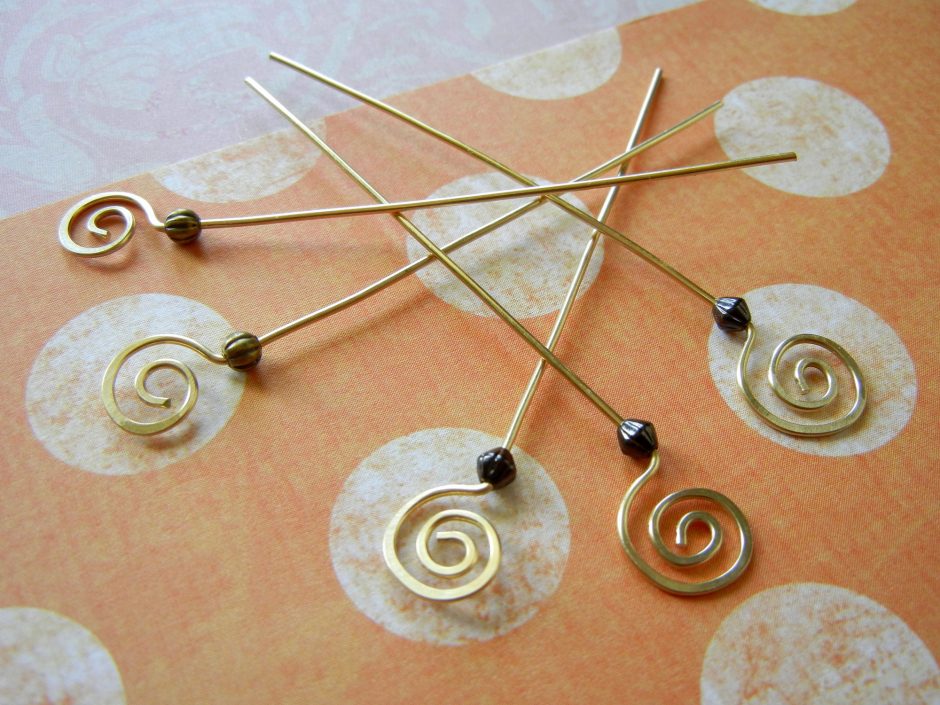
August 23, 2019Head pins are a jewelry-making staple. But in many cases, though they are necessary, they don’t add much in design value to a jewelry piece. Rings & Things offers several styles of ready-made head pins. And yes, some of the head pins Rings & Things carries are rather fancy, but not what I had in mind for a simple mixed-metal pair of earrings I was making. I needed something dramatic to combine with my favorite primitive India metal beads and a spiral shape seemed like the perfect thing. So, not having ready-made spiral head pins available, I set out to make some. (And you can too!)
Continue Reading…Jewelry Tutorial – Curved Bead-Bar Necklace
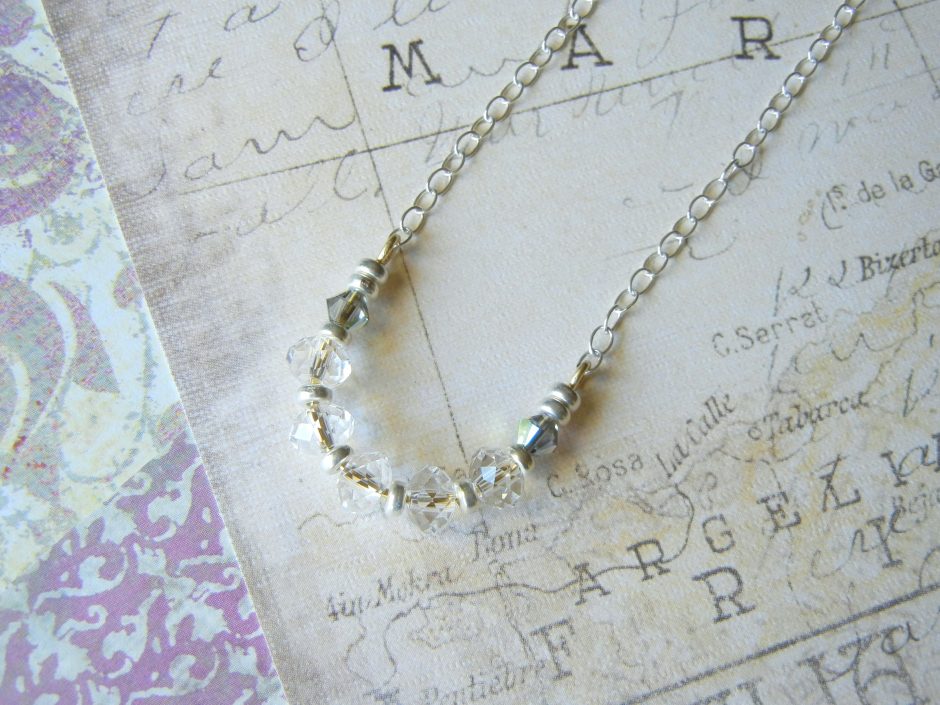
April 23, 2019Simplicity and elegance combine in this April-themed necklace. Sparkling Swarovski Crystal briolette beads, like drops of rain, line a hand-formed curved bead bar. The red brass wire glows from inside the briolette beads, and pairs with the sterling necklace for a mixed-metal effect. Best of all, this is the perfect project for using the 1-Step Looper pliers (one of my favorite things).
Jewelry-Making Classes
February 19, 2018Ready to try something new this Spring?
Check out the free projects in our design gallery! Click the learn tab on our website for technique info. Peruse the blog for design inspirations. Or, take a class in our Spokane Showroom! We have great instructors, small class sizes and exciting projects. Techniques offered this spring include torch-fired enameling, BRONZclay, soldering (copper and silver), crystal clay, ICE Resin and metal etching. Visit www.rings-things/classes or subscribe to the NW Regional News to learn more.
Tempest Clasp (shown above) is an advanced class taught by author and award-winning designer Sarah Thompson of Sarah ‘n Dippity! Stay tuned for her new beginner level classes this fall.
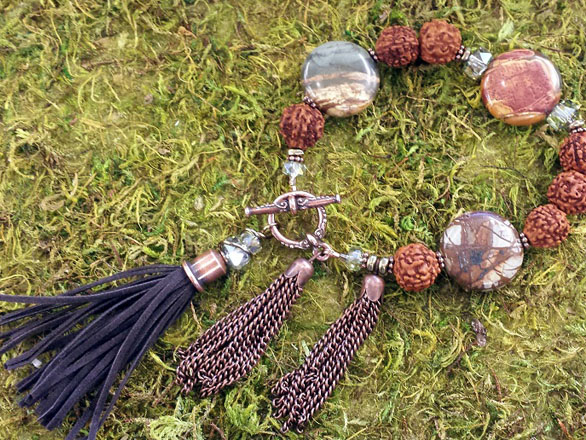
DIY Aromatherapy Tassel Bracelet Tutorial
April 28, 2016How-to Create a Custom Essential Oil Infused, Gemstone & Crystal Tassel Bracelet
This bracelet can be customized to include personal elements, represented by:
- Gemstones and their properties (chakra, metaphysical, healing…)
- Aromatherapy/essential oil blends and their uses (mosquito repellent, stress-relief, calming…)
- Color intention and symbolism (harmony, strength, stability…)
Metal Etching for Jewelry Makers: a step-by-step guide
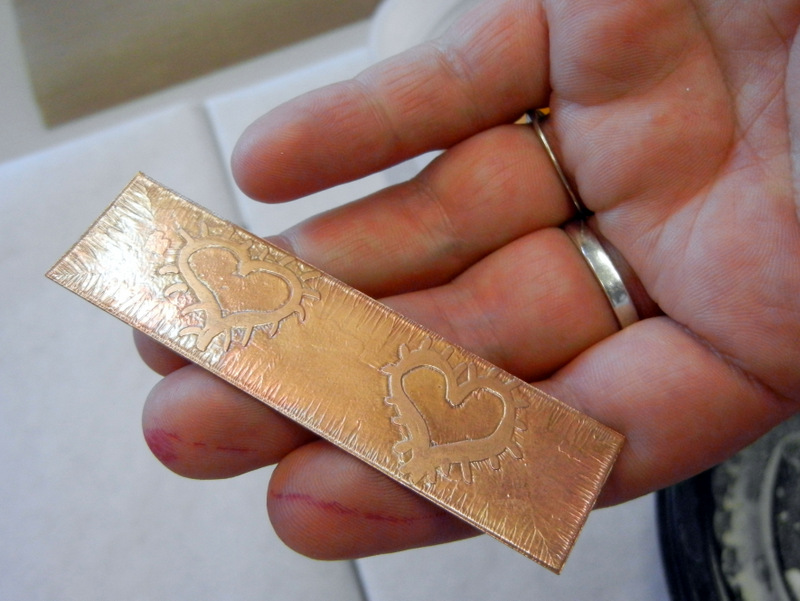
August 24, 2015Learning a new jewelry-making skill expands your creative options! Metal etching is a fairly simple technique that offers endless possibilities! With just a little experimenting, you’ll be creating unique and personalized components you can add to all sorts of DIY jewelry! Read on to find out more. —
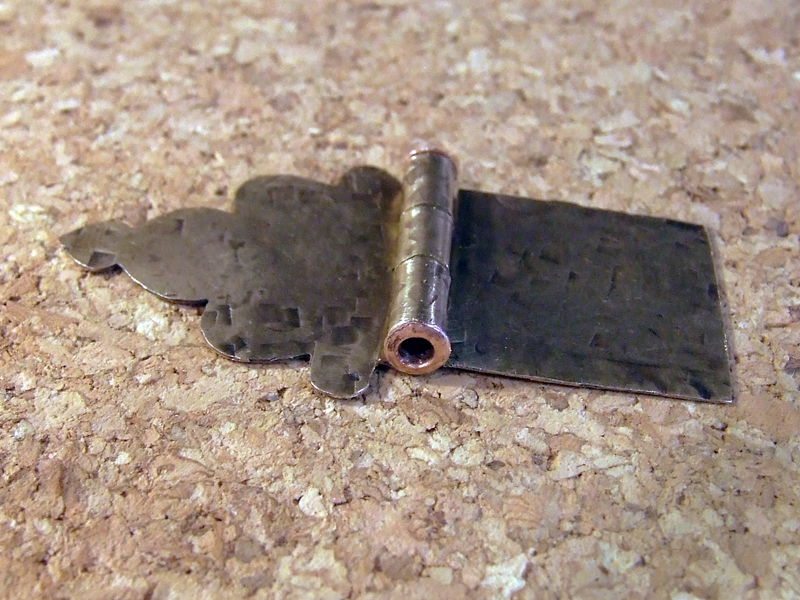
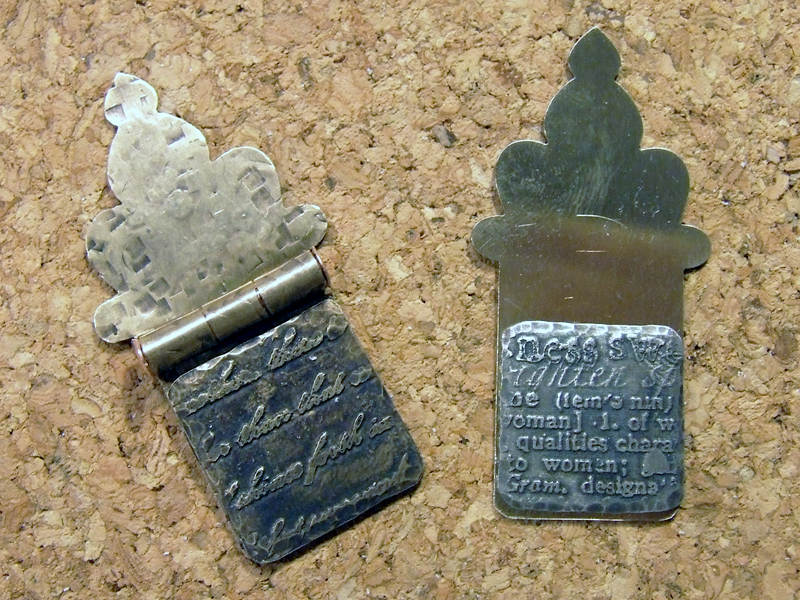
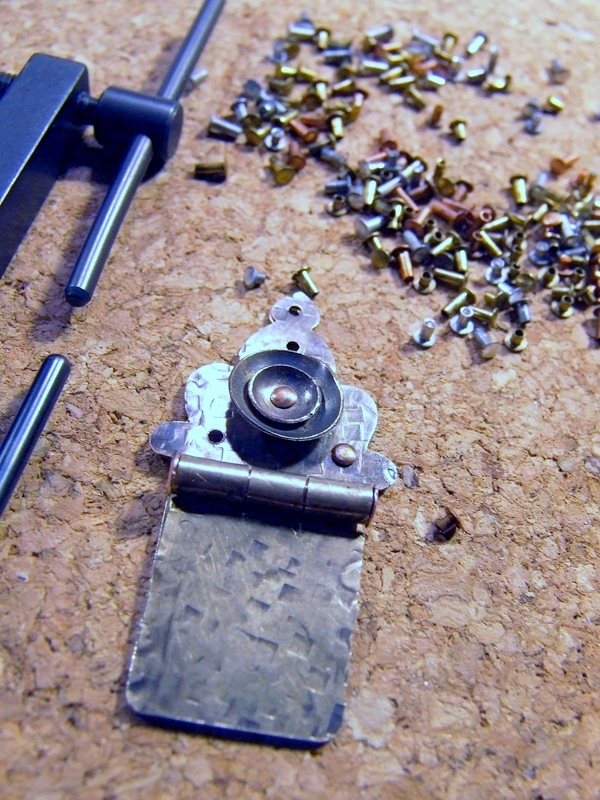
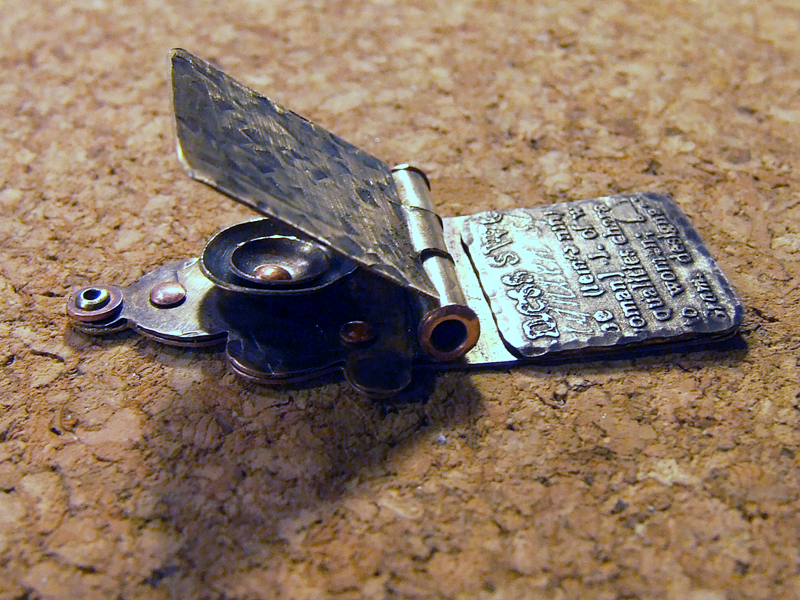
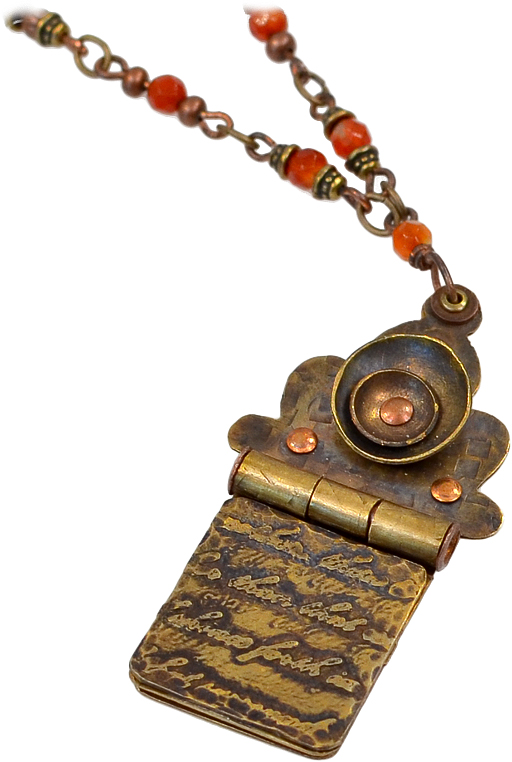
Create a Hinged Metal Memory Journal
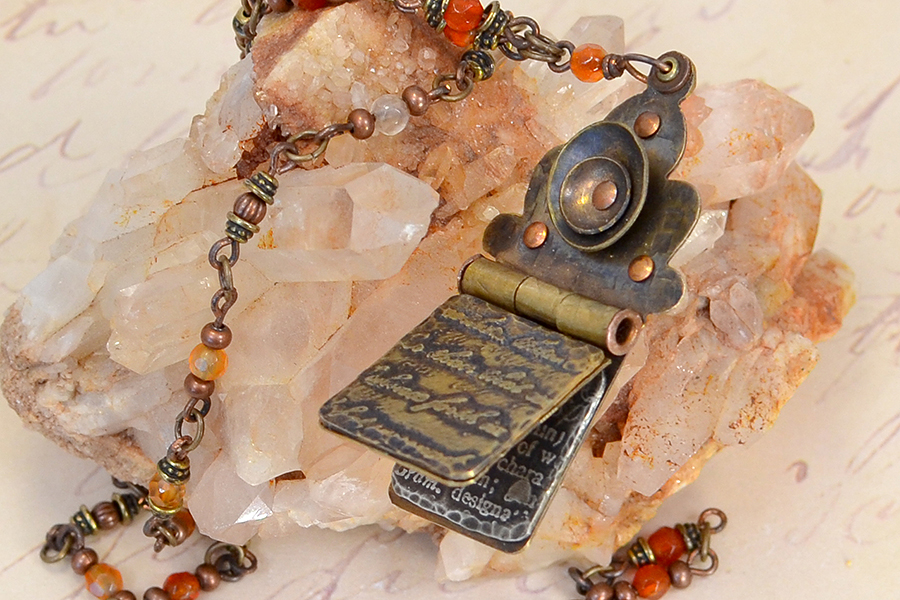
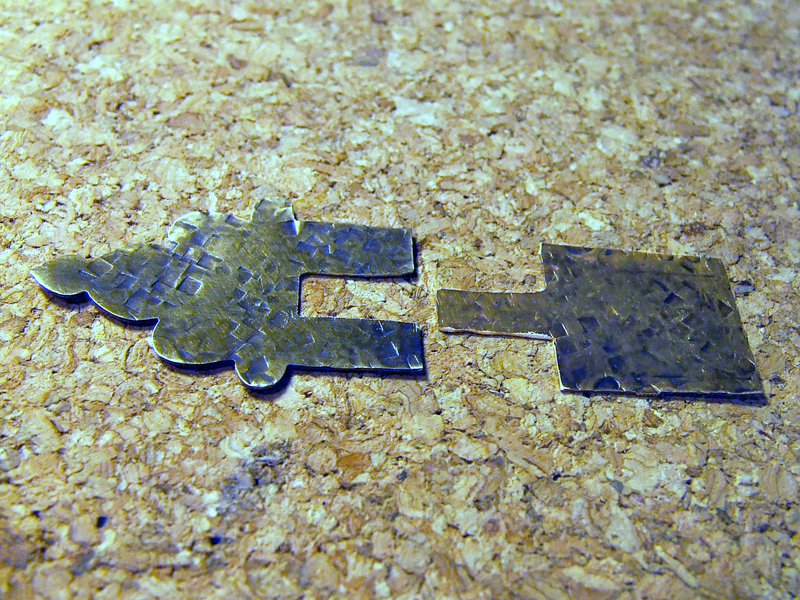
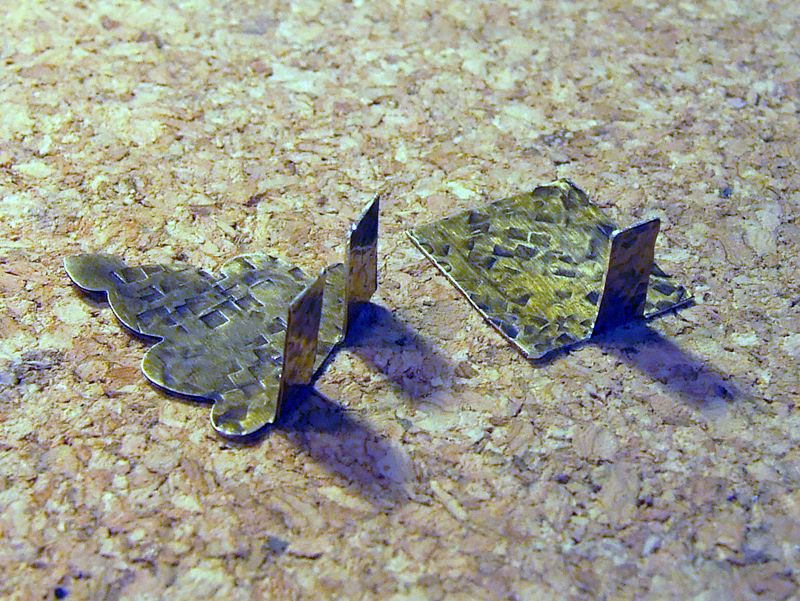
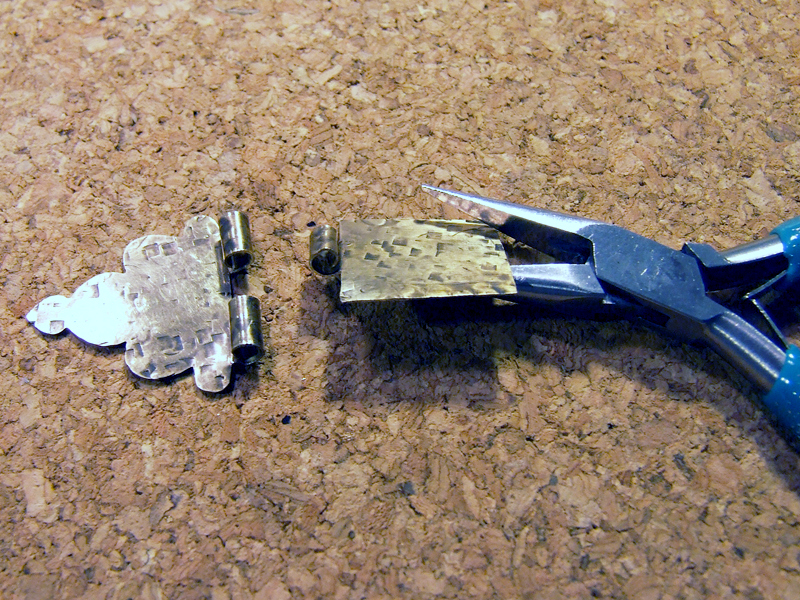
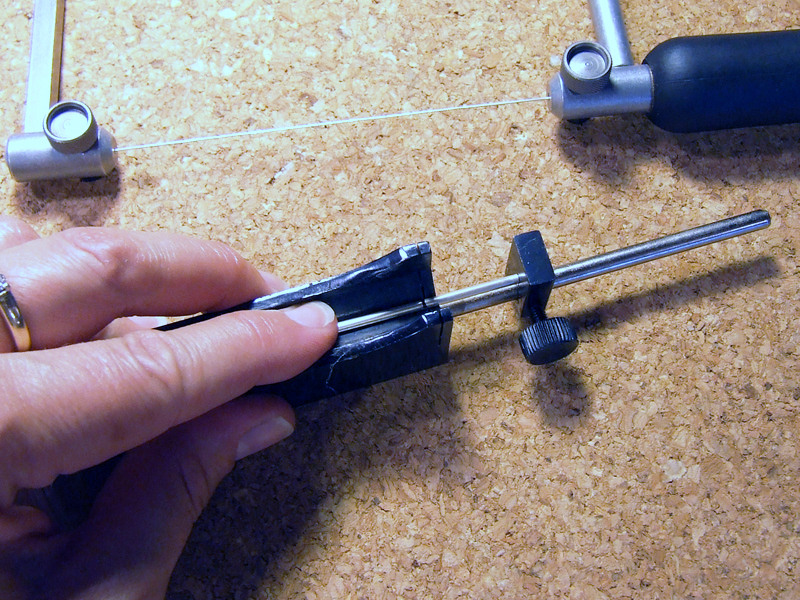
July 18, 2013Use a hinge to turn shrine-shaped metal blanks into a journal!
Slide tubing down the channel and finesse hinges as needed. Rivet tubing into place to finish the hinge. Open and close hinge to ensure a proper fit.
Carefully clean and polish the pendant before attaching the necklace chain.
Handmade jewelry looks great on a custom beaded necklace, on leather cording, silk ribbon or chain. I created a necklace by making individual links using the one-step looping plier, eye pins, metal beads and natural agates. The links were connected using jump rings.
Easy Elegant Earrings
May 29, 2013Easy Elegant Earrings
Using one-step looping pliers and a few supplies, you can have a set of fantastic earrings in under 30 minutes!
Step One:
Gather supplies
Step Two:
Lay out pattern and mark paddles
Step Three:
Loop paddle-end head pins
Step Four:
Adjust and tighten loops
Step Five:
Assemble
Step Six:
Repeat for other earring & enjoy!
For more information, scroll down to see the video tutorial and review tips on this one-step looping pliers page.
Vintaj Road Trip Design Challenge!
June 20, 2012 Hi bloglandia! We are really excited to be partnering with Vintaj for their Summer Road Trip design challenge this month. Visit their blog to see the great jewelry their designers created by pairing beads & components from Rings & Things with Vintaj products. The Vintaj blog also has all the details about how to enter the contest! Submissions are due by NOON (CST) Friday, June 29. But wait – don’t go yet!
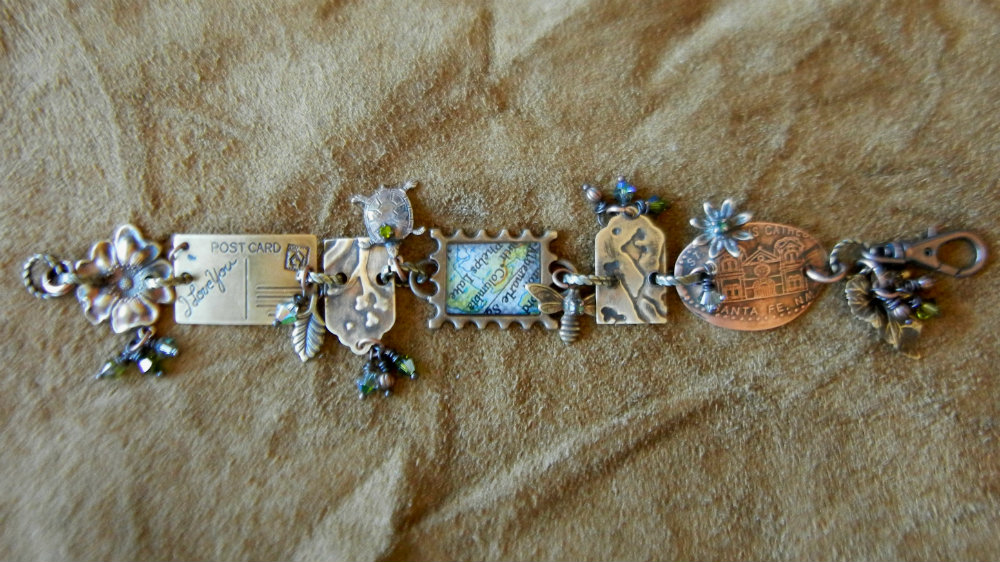
Over the next couple of weeks we’ll share some of our own Summer Road Trip jewelry pieces, starting with Sondra’s “The Trail Less Traveled” bracelet:
She used so many fun techniques that I’m sure I’ll miss a few, but here are the highlights:
The Vintaj luggage tags were DecoEmbossed with the Sizzix BigKICK. Sondra punched holes to in the tags to link them with textured locking jump rings.
She curved the postcard charm and souvenir penny using bracelet bending pliers.
The Vintaj bee and several other charms have the tips of rhinestone crystal head pins soldered onto them for extra bling.
The memoir stamp bezel from Vintaj is filled with a scrap of map coated with SuperClear resin.
The rest of the sparklies are from our Karma Chameleon Crystal Jam. Check out our Crystal Jam color themed design boards on Pinterest!
Ok. Now you can go get started on your own Summer Road Trip design challenge piece! We can’t wait to see what you create! ~ Cindy

