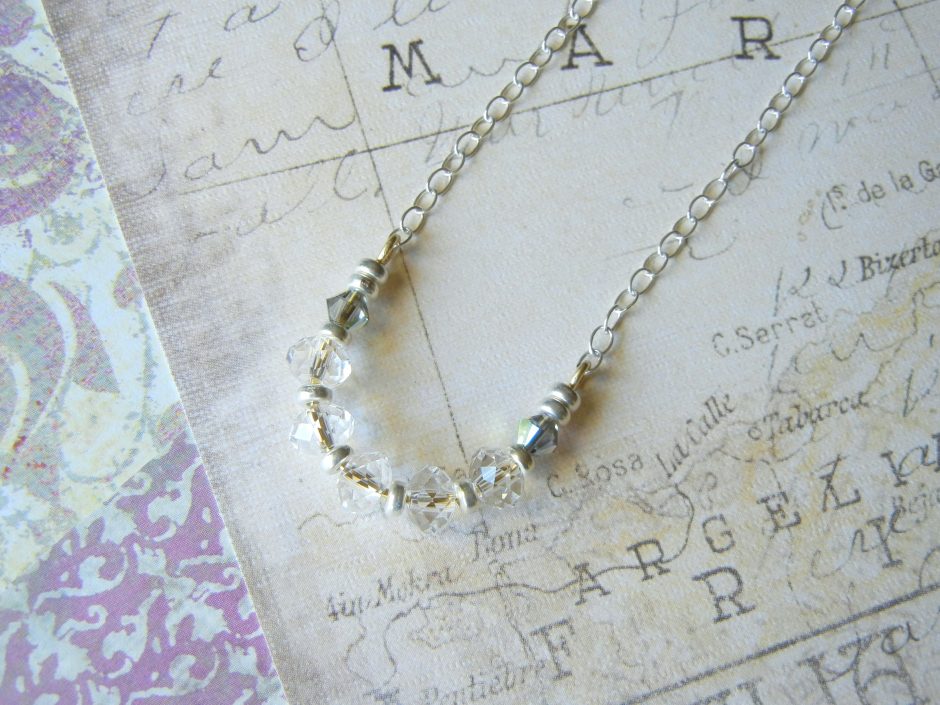
Simplicity and elegance combine in this April-themed necklace. Sparkling Swarovski Crystal briolette beads, like drops of rain, line a hand-formed curved bead bar. The red brass wire glows from inside the briolette beads, and pairs with the sterling necklace for a mixed-metal effect. Best of all, this is the perfect project for using the 1-Step Looper pliers (one of my favorite things).
Enjoy this free Rings & Things jewelry-making tutorial!
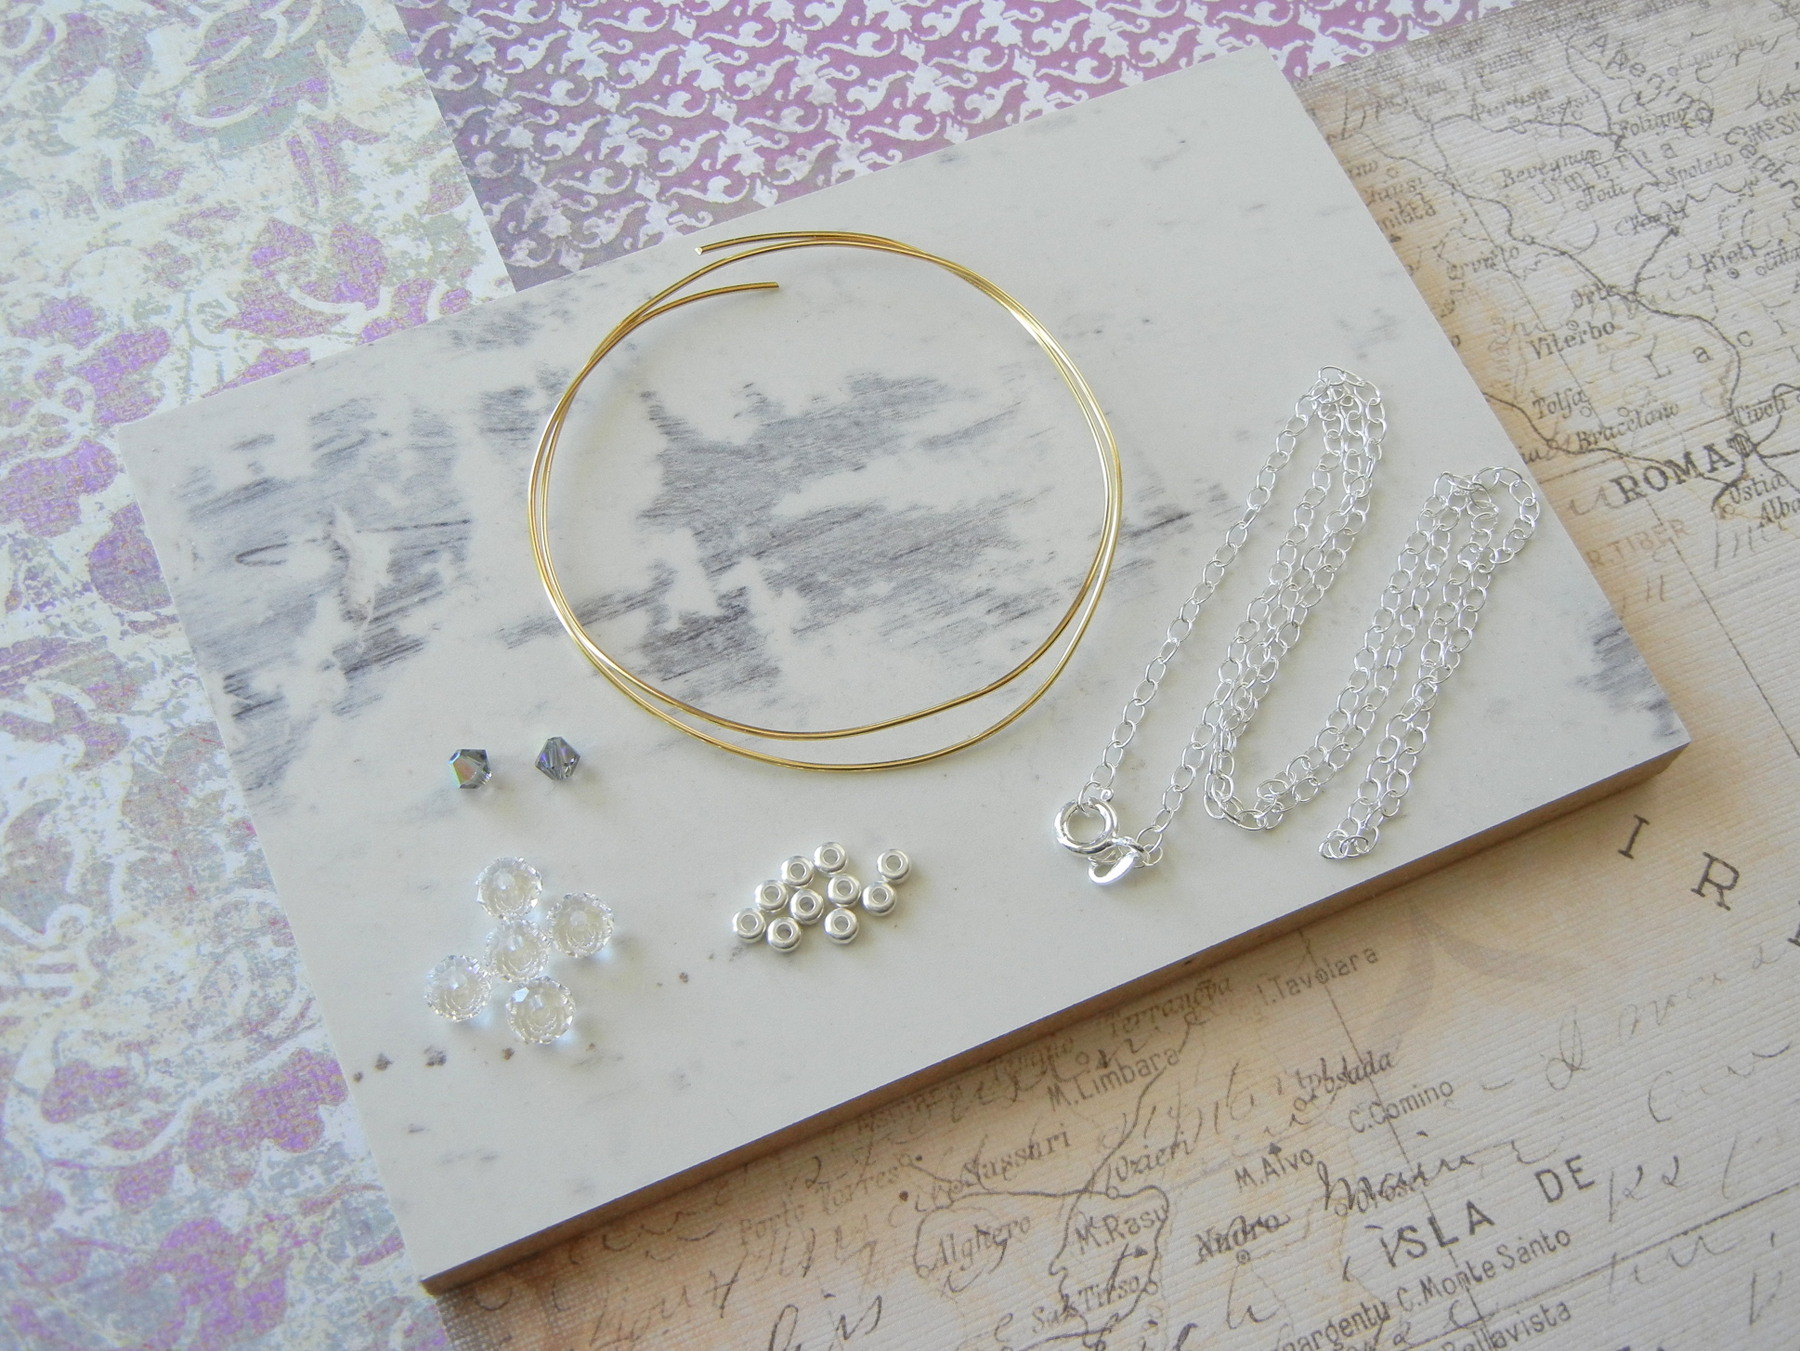
You will need these supplies:
- 5 each 6mm Swarovski briolette beads (I used item #05-040-06-01)
- 2 each Swarovski 4mm bicone beads (I used item # 05-328-04-75)
- 10 each 3mm heishi spacer beads (I used item #49-957-03-3)
- 1 sterling-silver necklace chain (I used item #50-101-19-18)
- 4-6 inches 20g round jewelry wire (I used item #47-205-20)
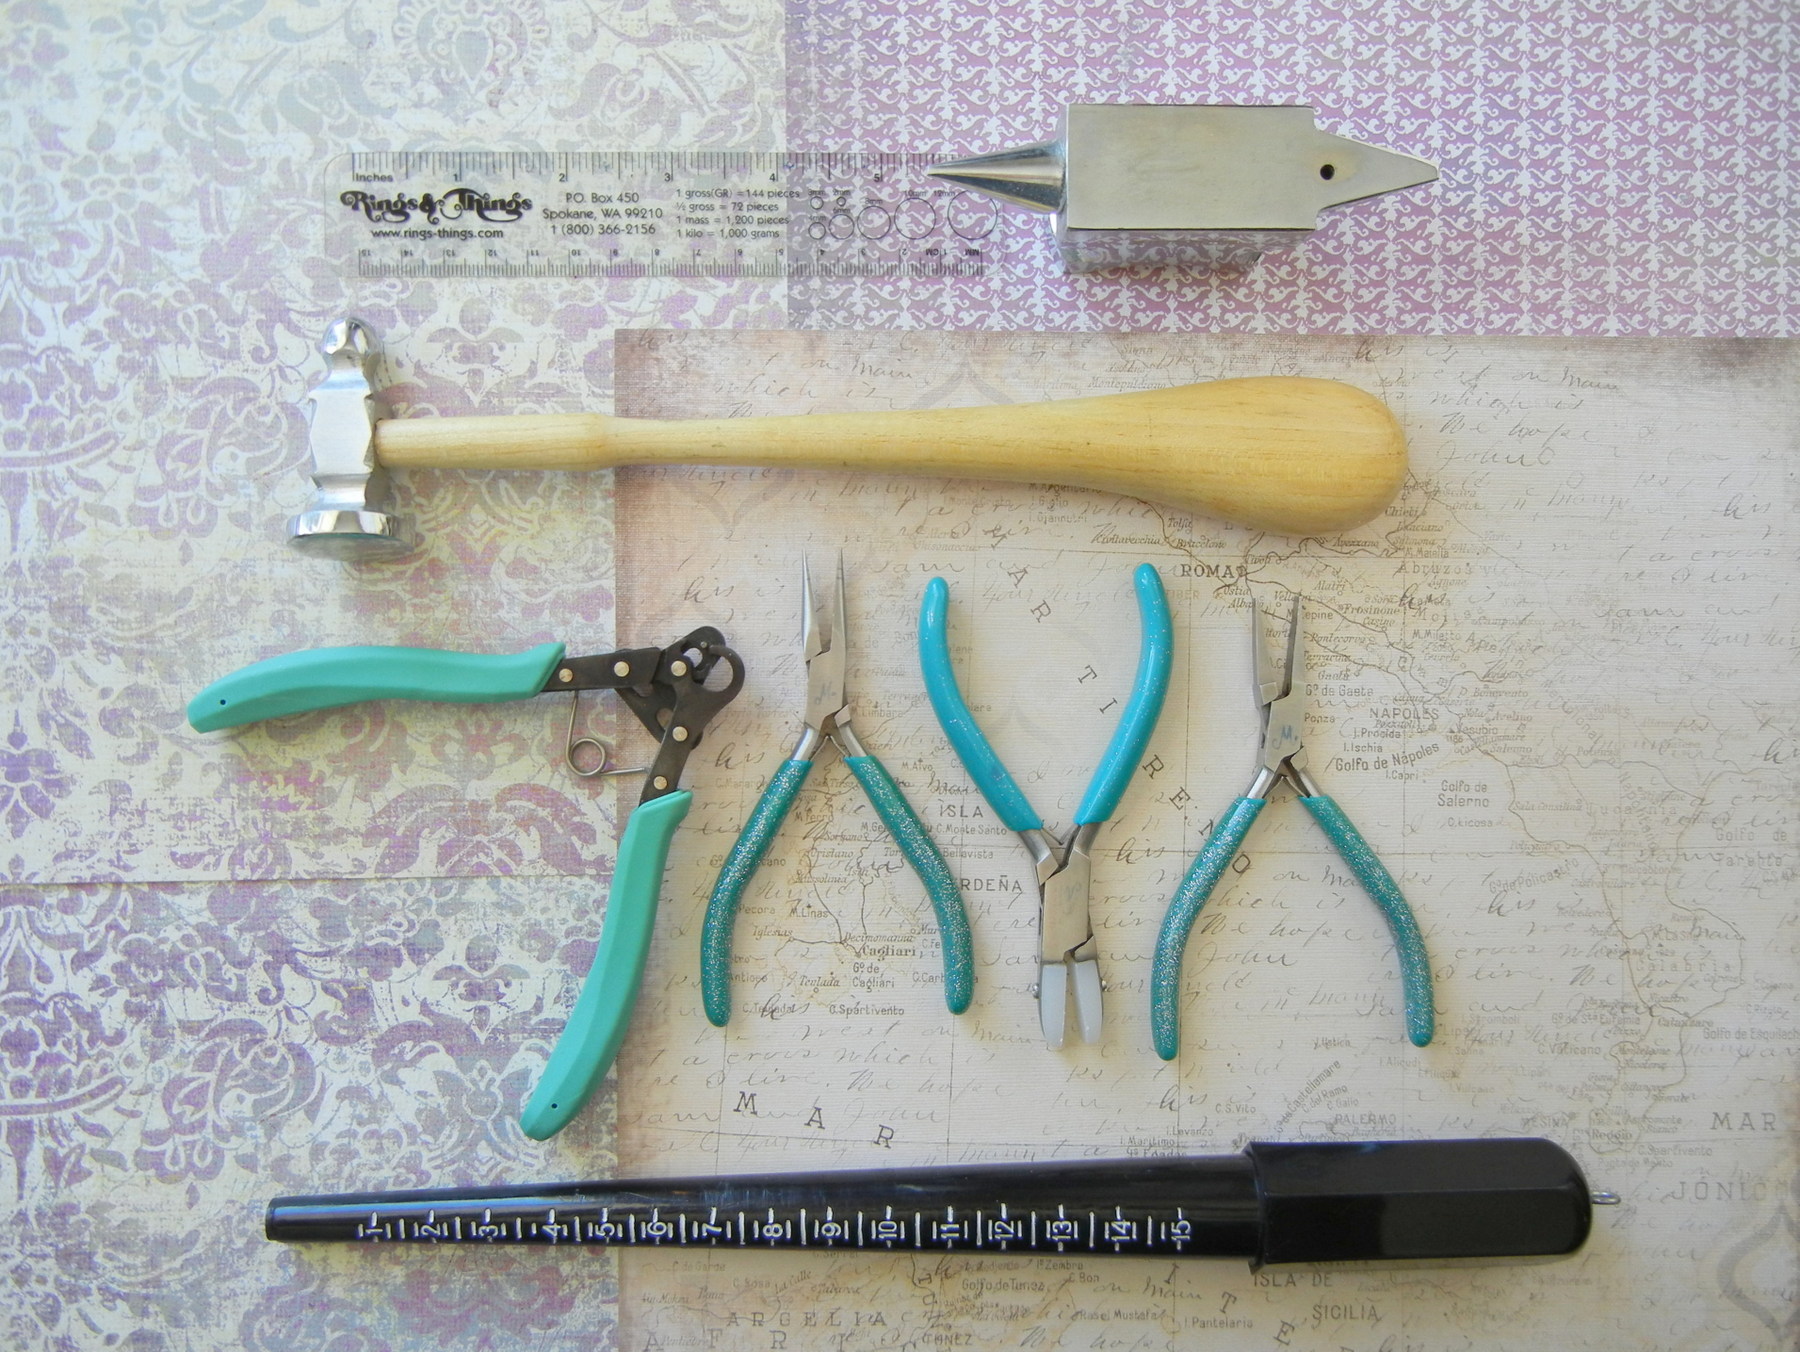
You will need these tools:
- Item #69-055 The BeadSmith Jewelry Pliers, Original 1-Step Looper, 1.5mm
- Item #69-271-91 EURO TOOL Glitter, Nylon Jaw, Flat-Nose Jewelry Pliers
- Item #69-271-03 EURO TOOL Glitter, Chain-Nose Jewelry Pliers
- Item #69-271-08 EURO TOOL Glitter, Flat-Nose Jewelry Pliers
- Item #69-271-05 EURO TOOL Glitter, Semi-Flush Side Cutter
- Item #69-138 EURO TOOL Hammer, Chasing
- Item #69-127 Beadalon, Mini Horn Anvil
- Item #69-151 Plastic Ring Mandrel, Ungrooved
- ruler
~*~ ~*~ ~*~
Tool Spotlight: BeadSmith 1-Step Looper Jewelry Pliers…available in three sizes

The BeadSmith 1-Step Looper is the perfect tool for making loops. It trims and loops head and eye pins, as well as wire in one motion. And now it is available in three sizes, 1.5mm, 2.25mm, and 3.0mm.
~*~ ~*~ ~*~
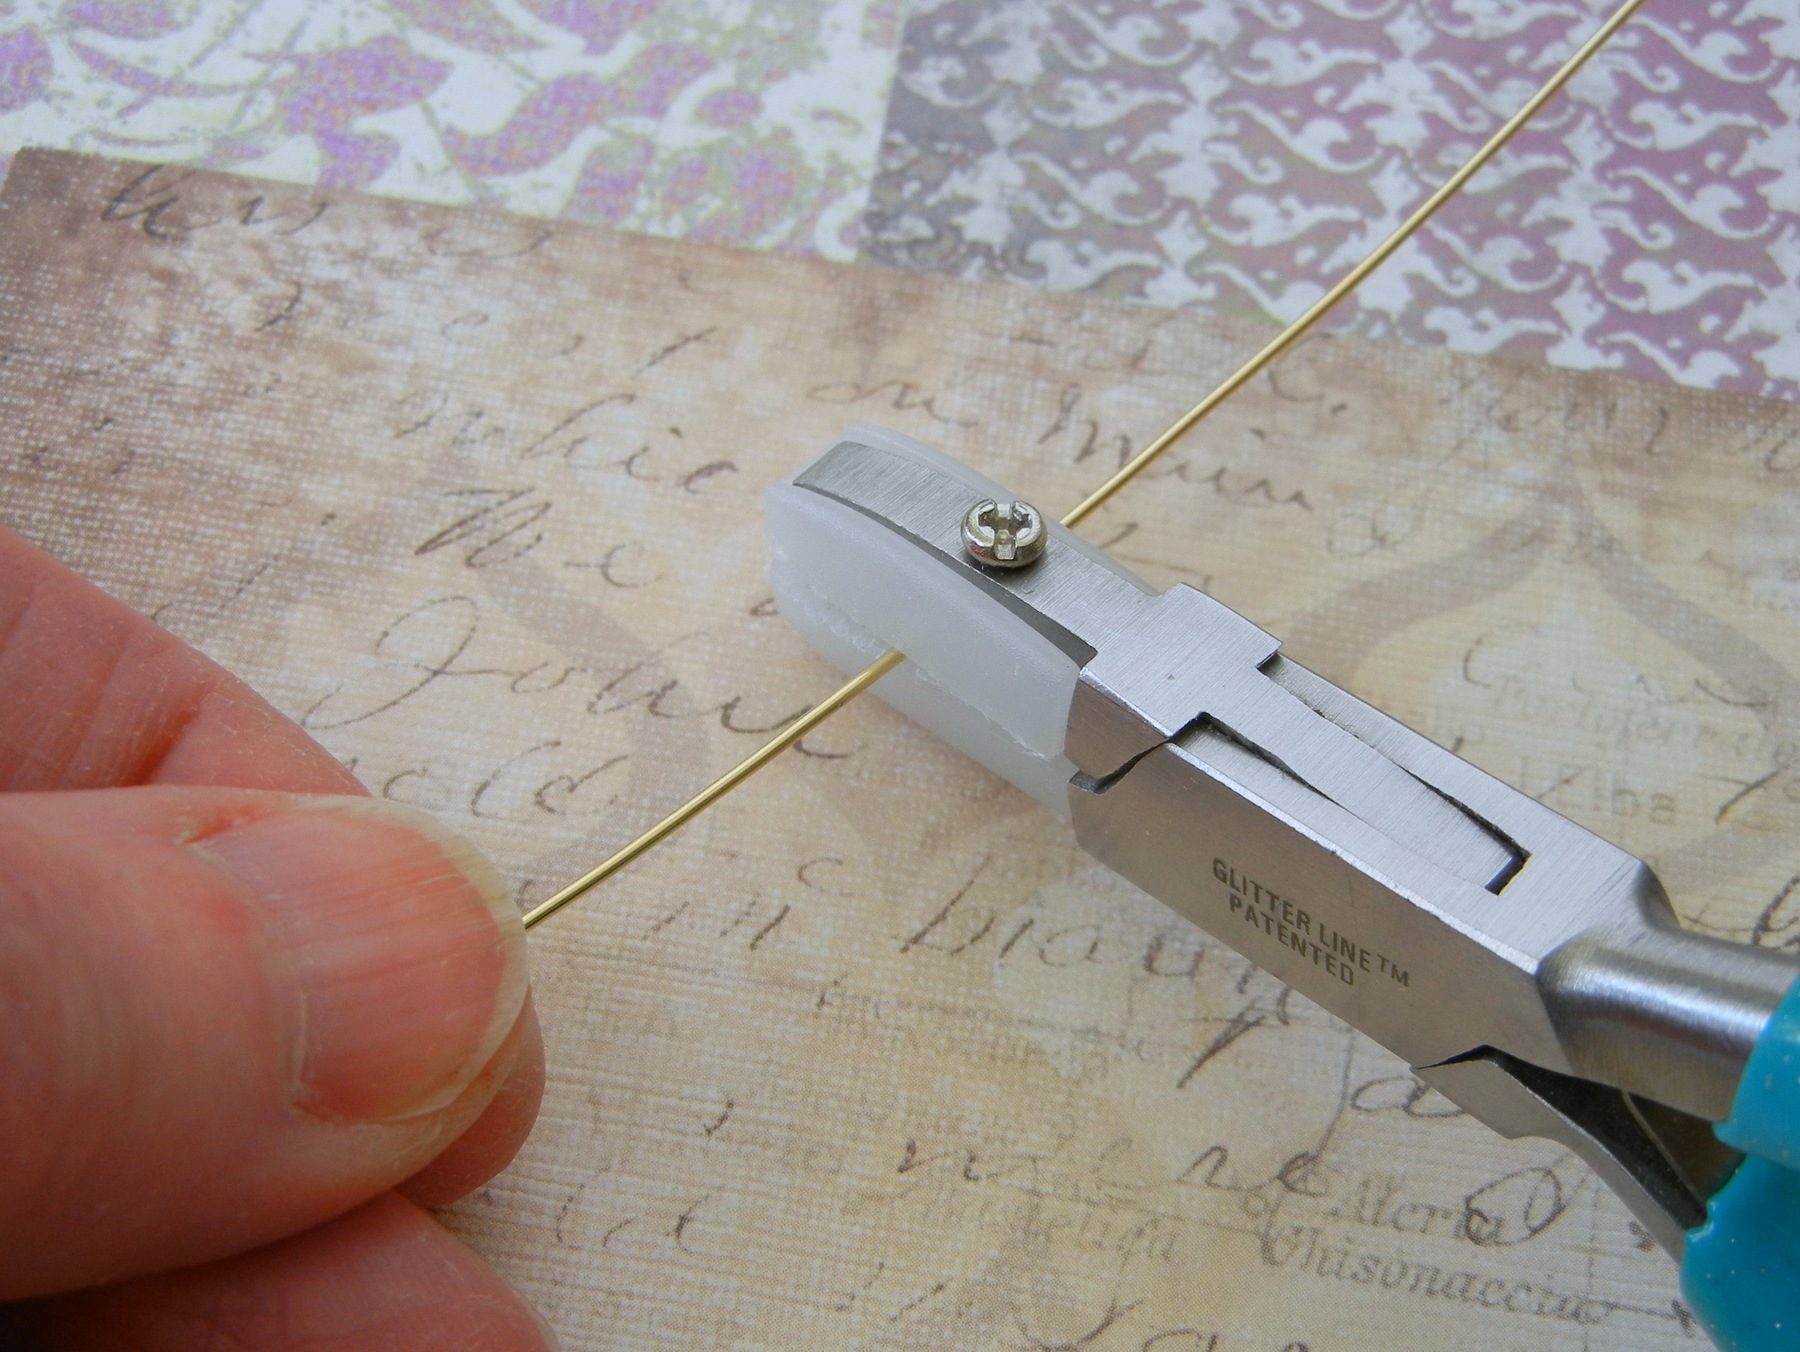
Run the wire through the nylon-jaw flat-nose pliers several times to both straighten and work harden the wire.
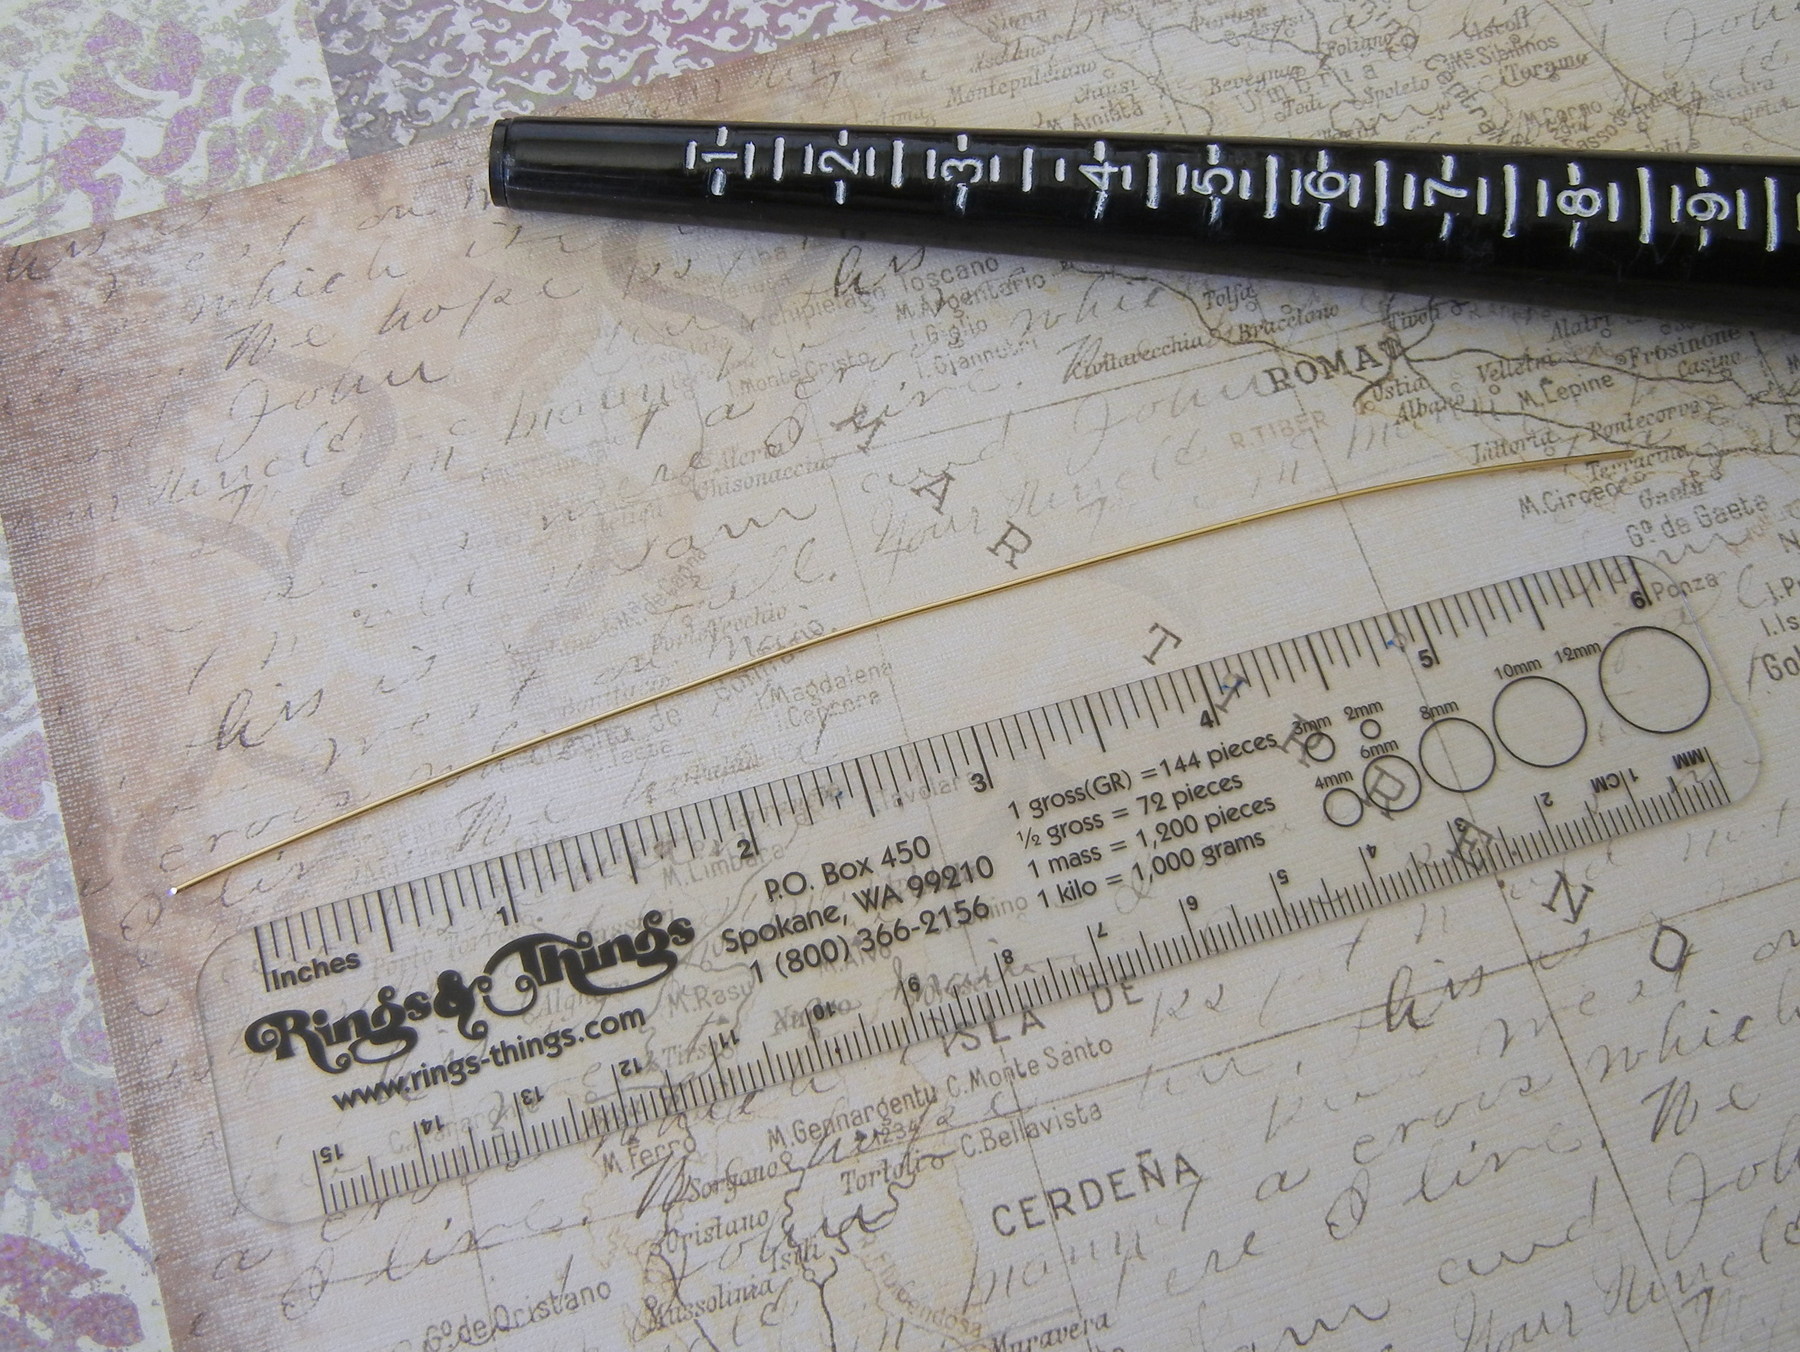
You will want to work with a piece of wire that is approximately 4-6 inches in length.
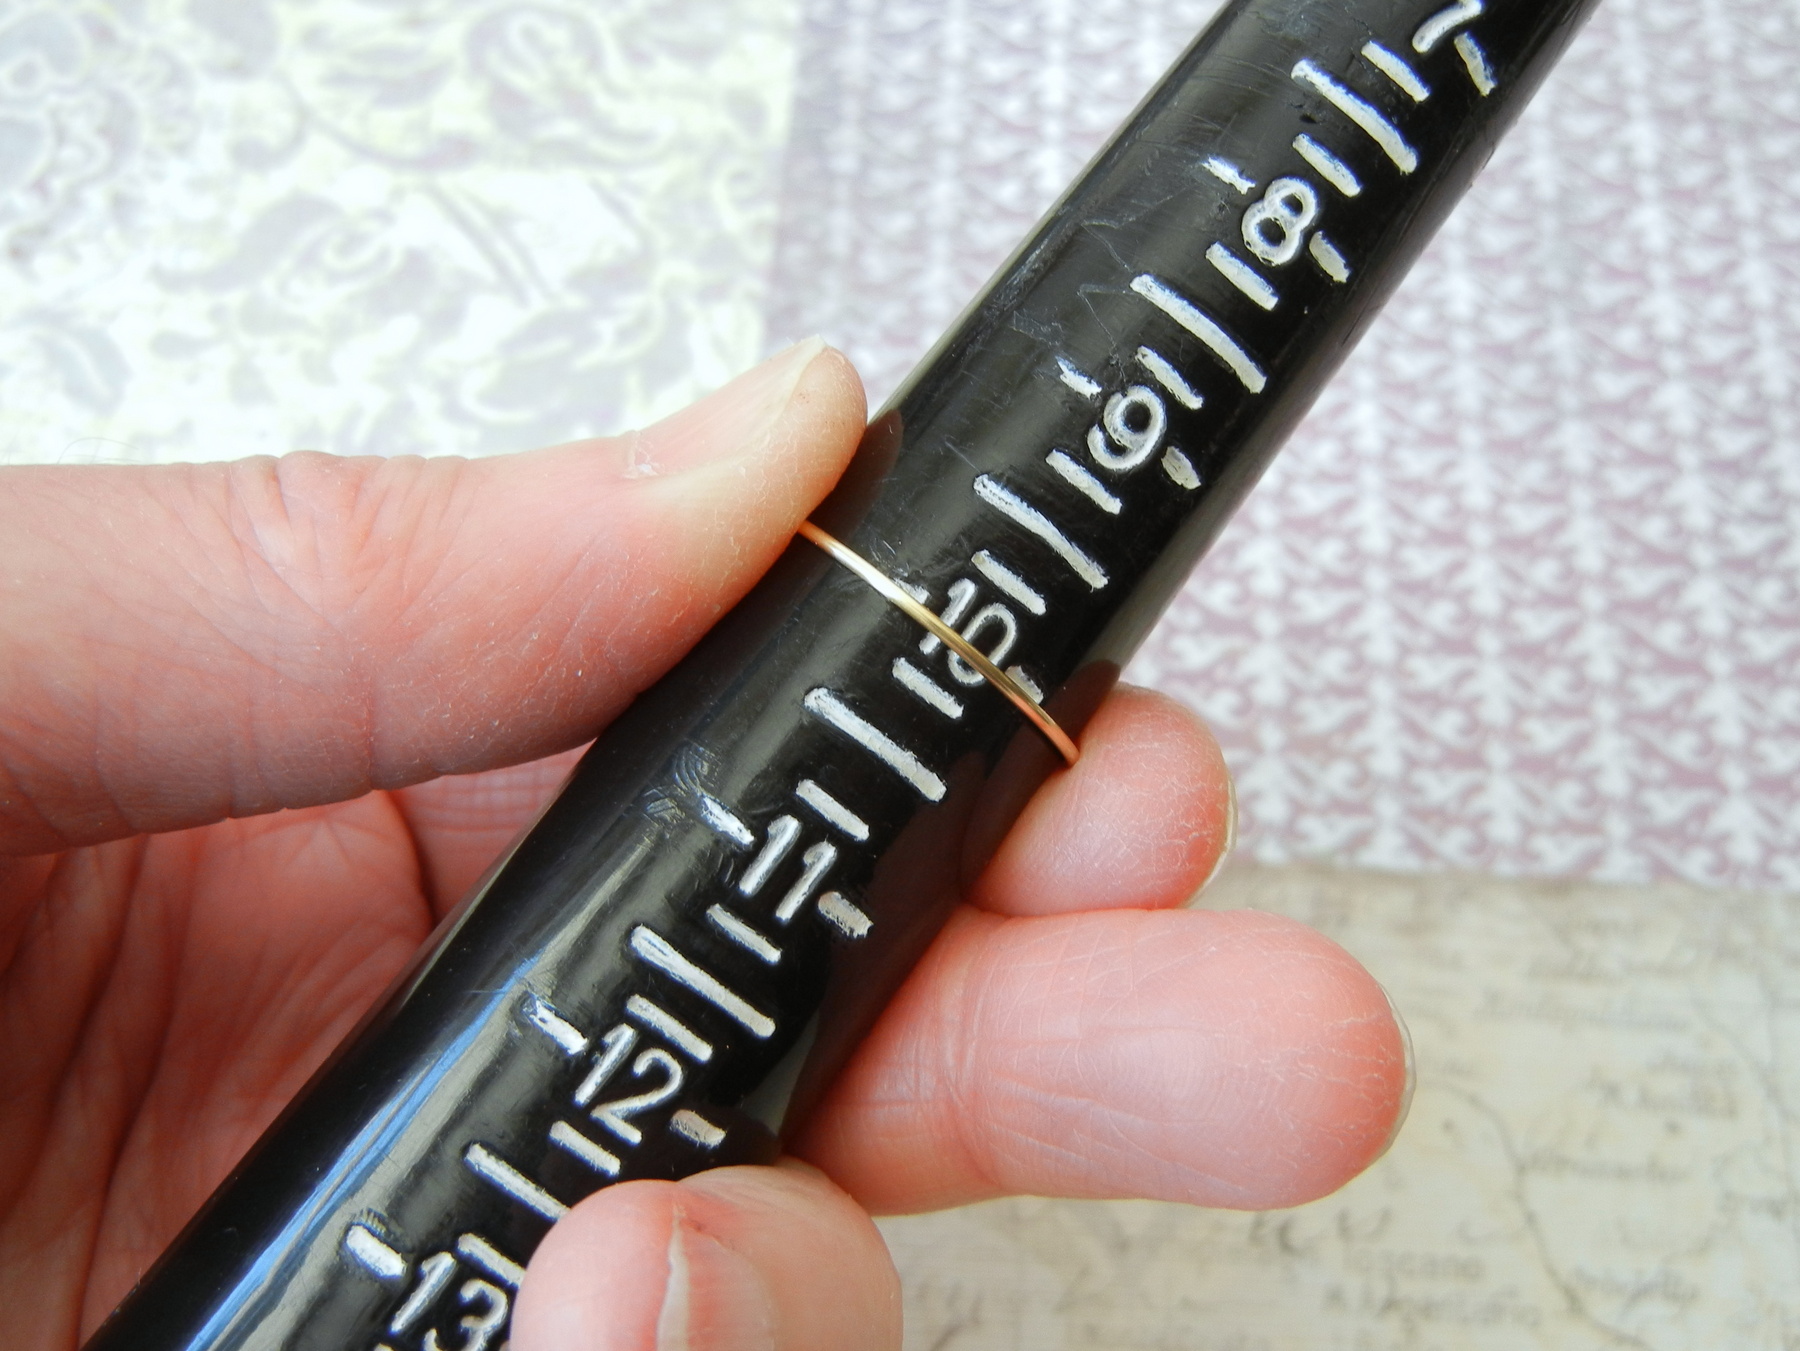
Create a U-shaped curve in the middle of the wire by gently bending it around the ring mandrel. I chose to bend the wire at the size 10 mark.
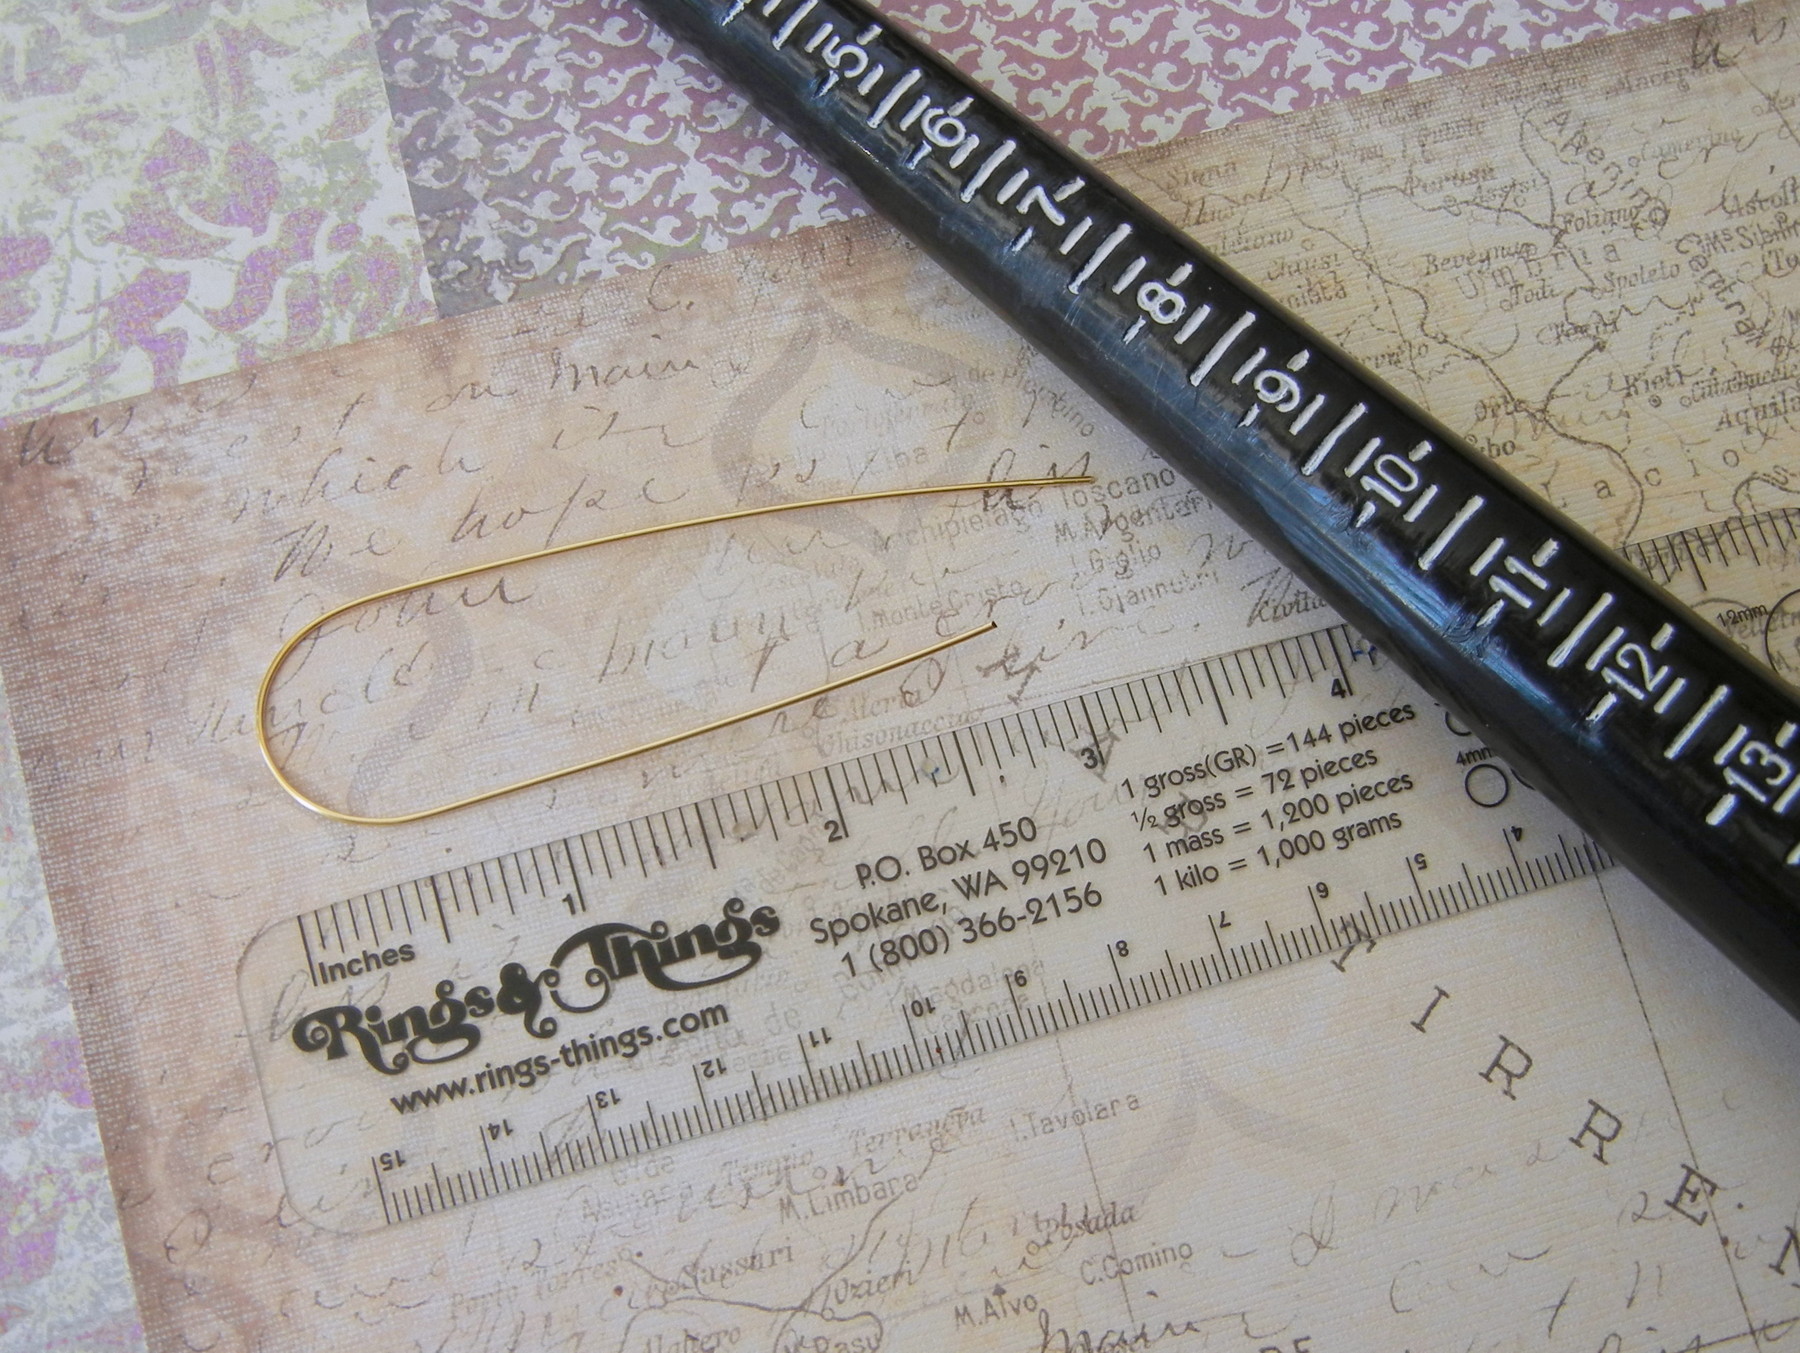
Check the size and shape of your bent wire; make adjustments if desired.
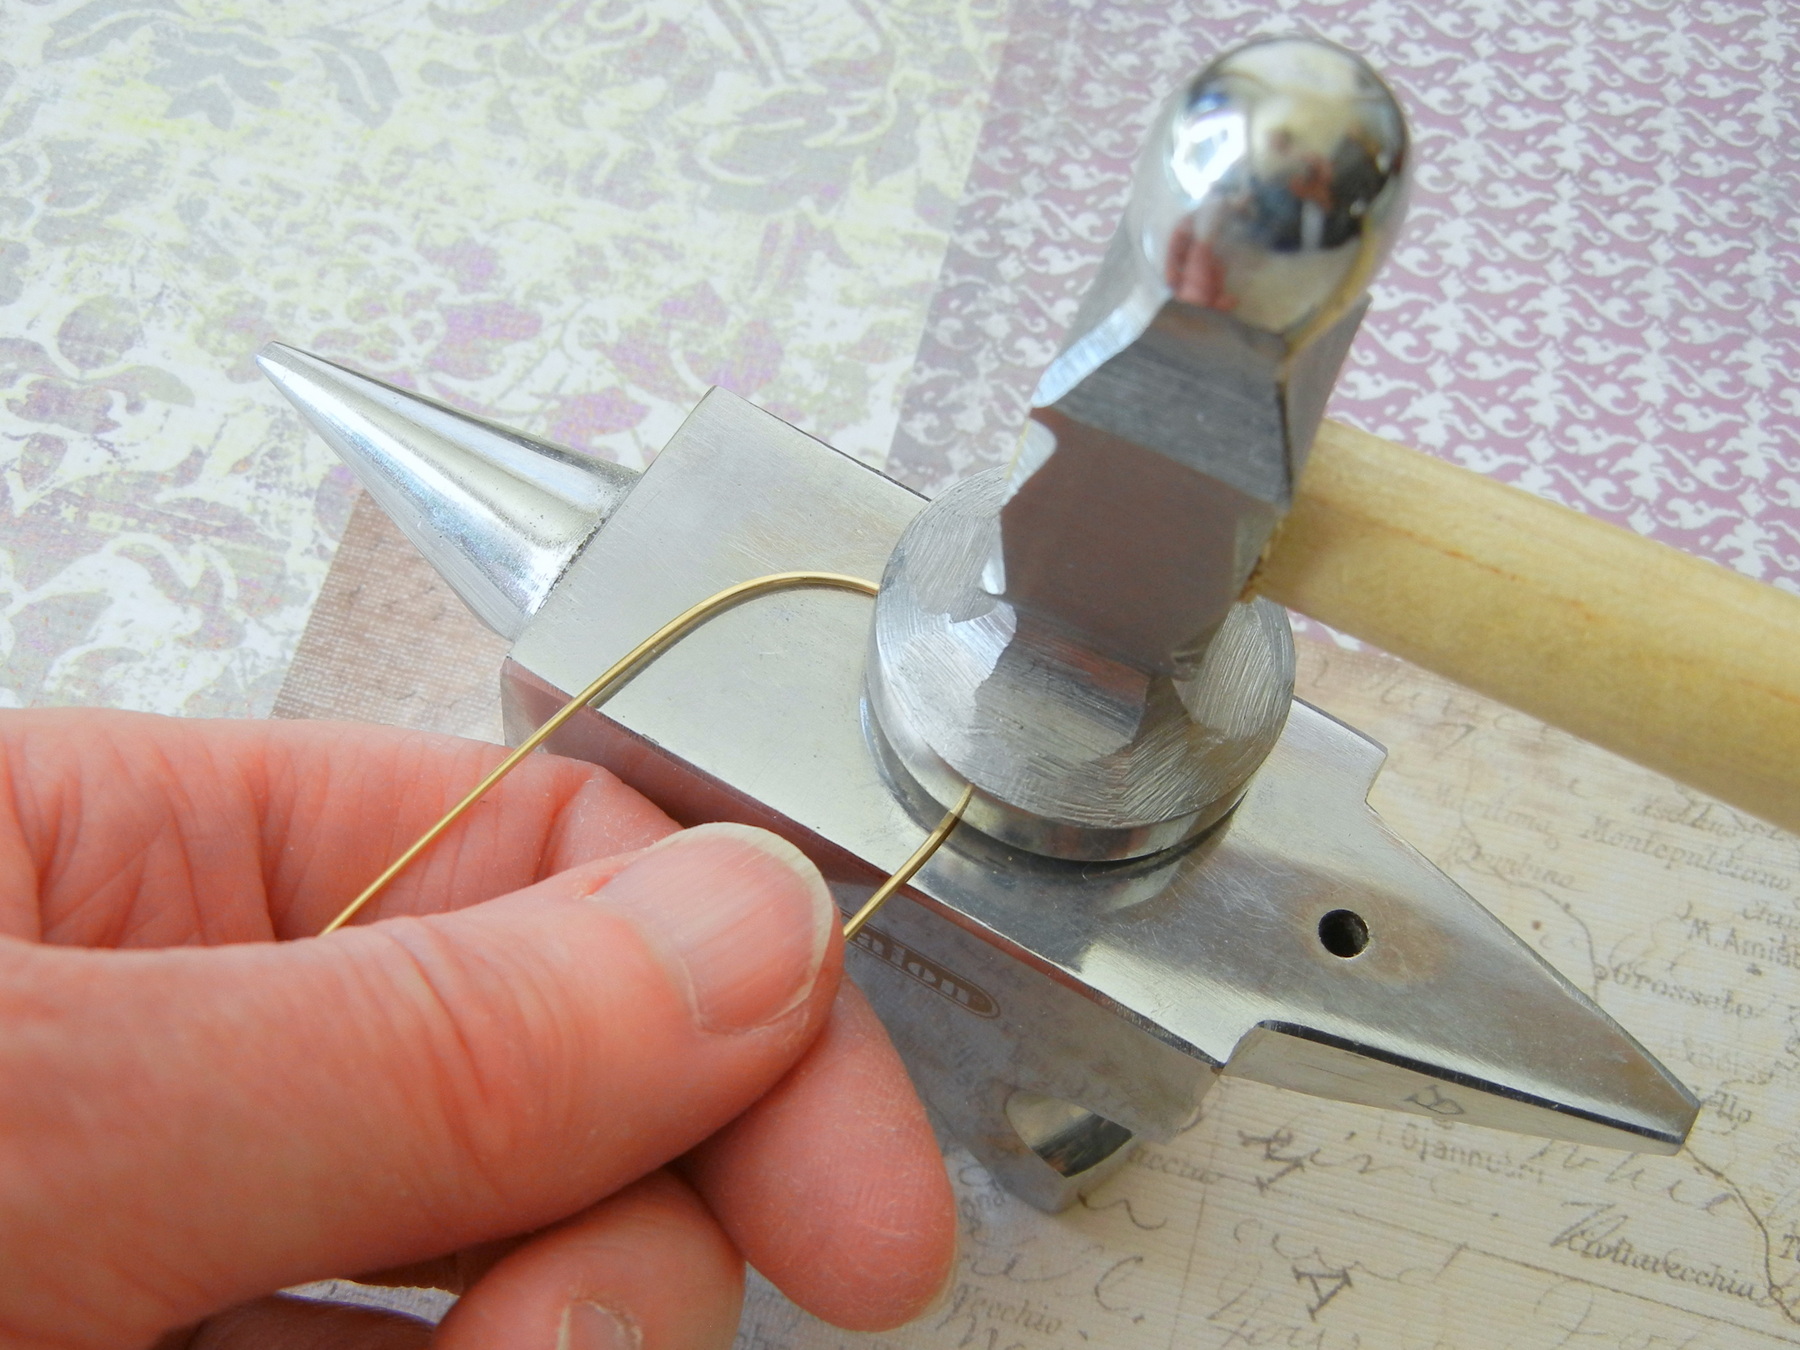
Use a round-faced hammer to gently flatten the wire. This will further work harden the wire so it holds its shape.
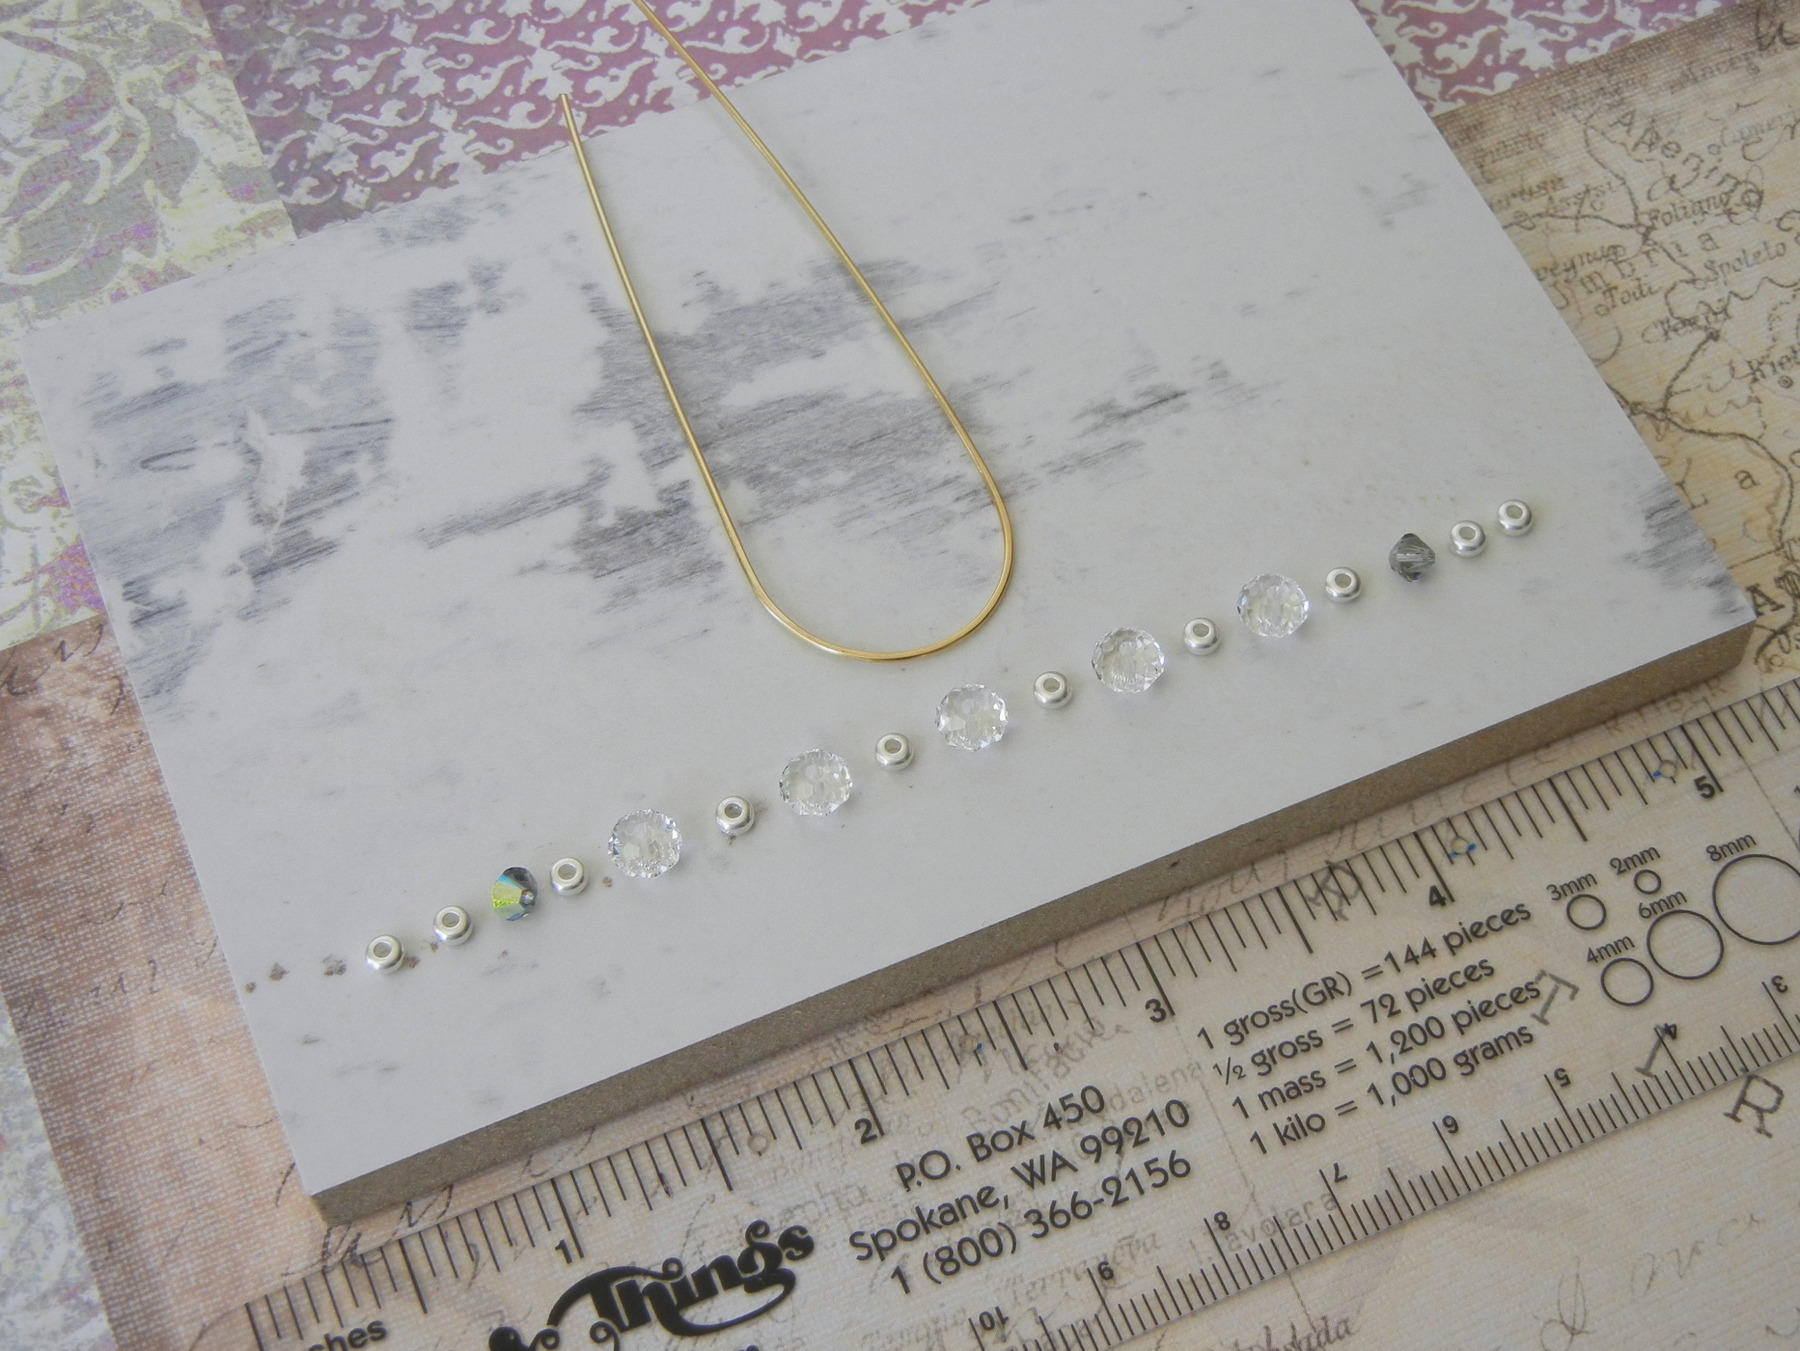
Lay out the beads in the desired pattern. Here is our pattern: pewter spacer bead, pewter spacer bead, crystal bicone bead, pewter spacer bead, crystal briolette bead, pewter spacer bead, crystal briolette bead, pewter spacer bead, crystal briolette bead, pewter spacer bead, crystal briolette bead, pewter spacer bead, crystal briolette bead, pewter spacer bead, crystal bicone bead, pewter spacer bead, and pewter spacer bead.
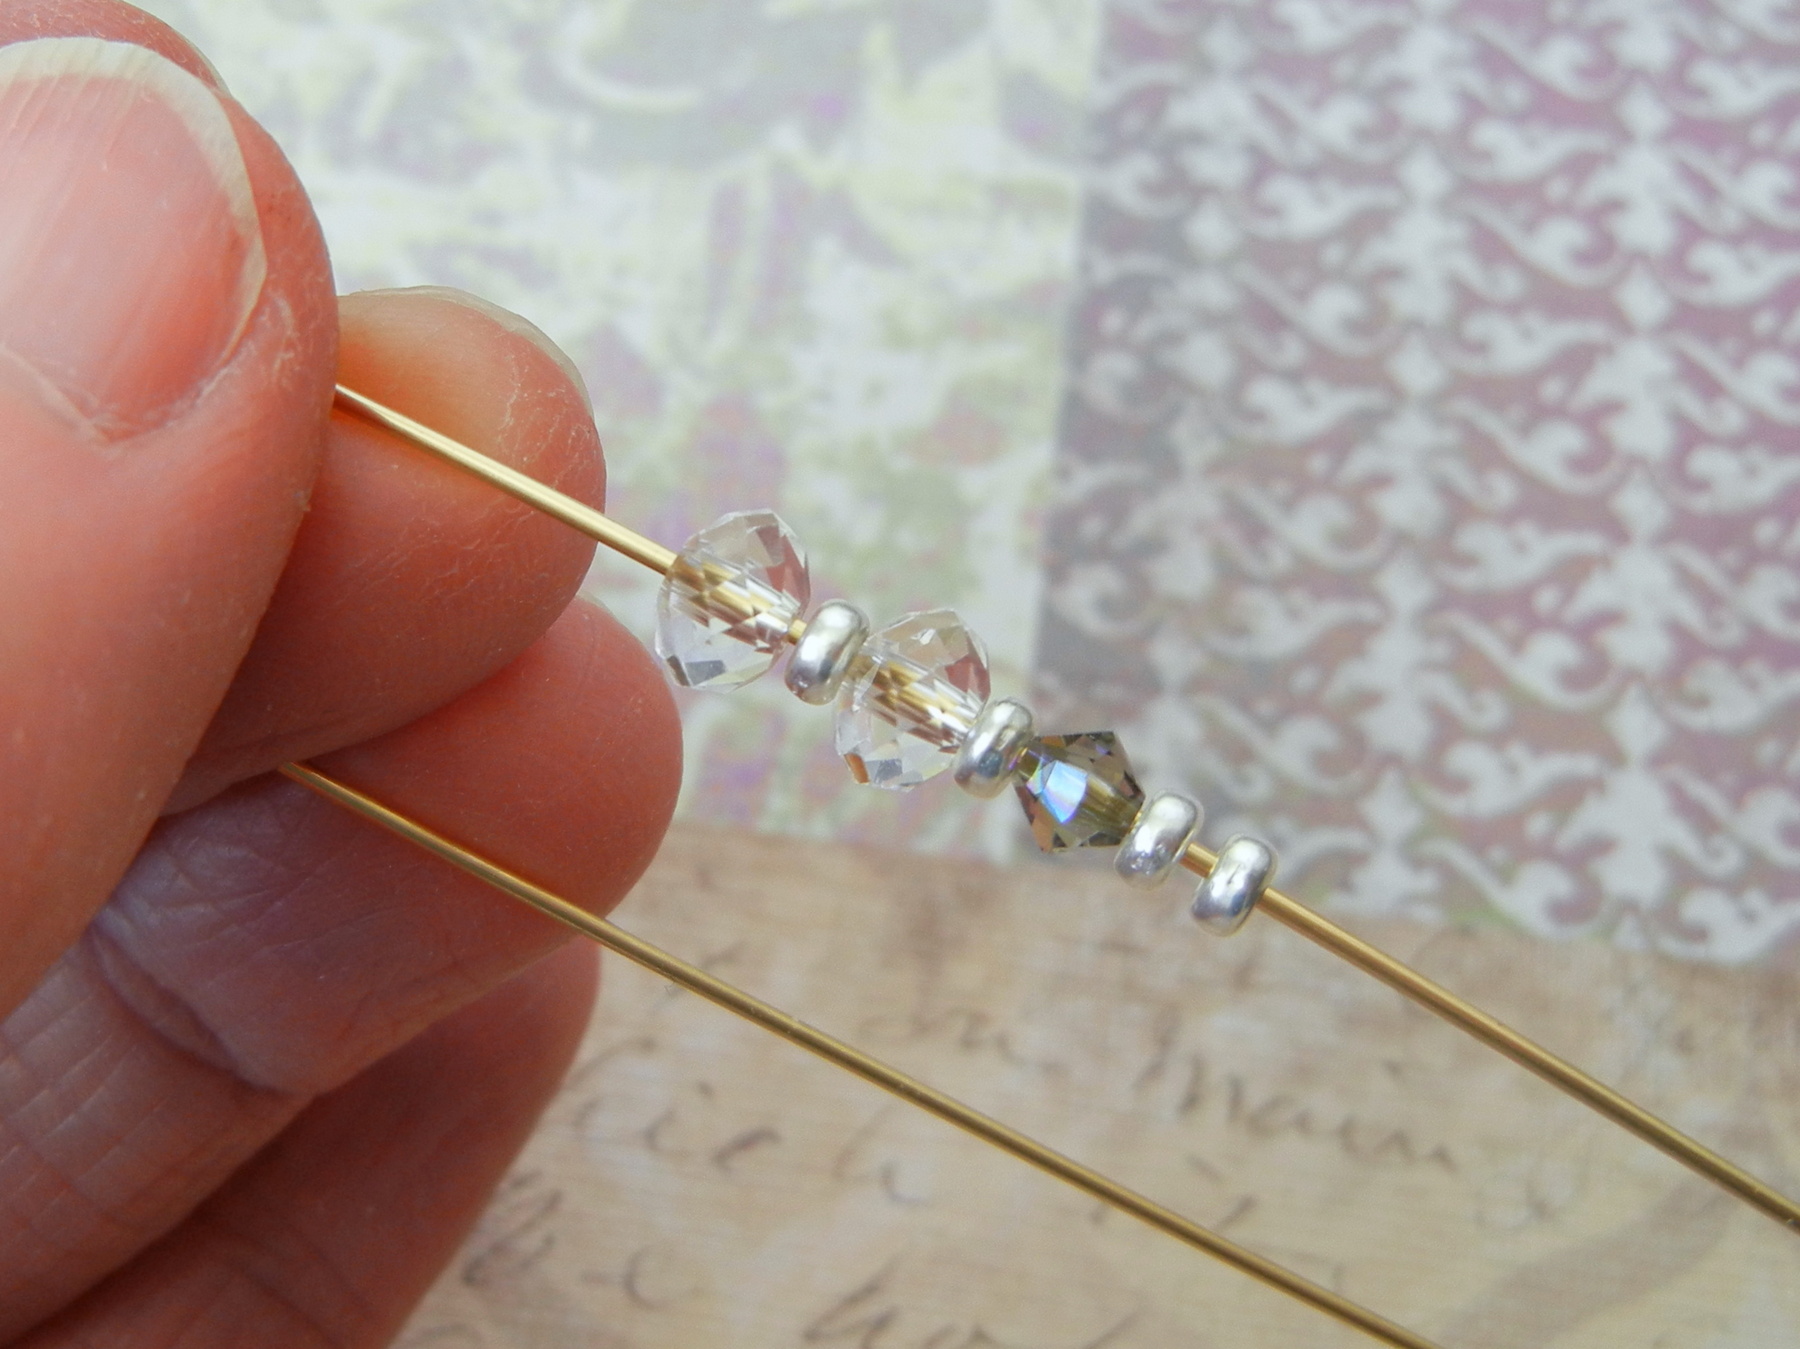
Starting with the middle bead, string half the beads on the first wire end, using the desired pattern as a guide.
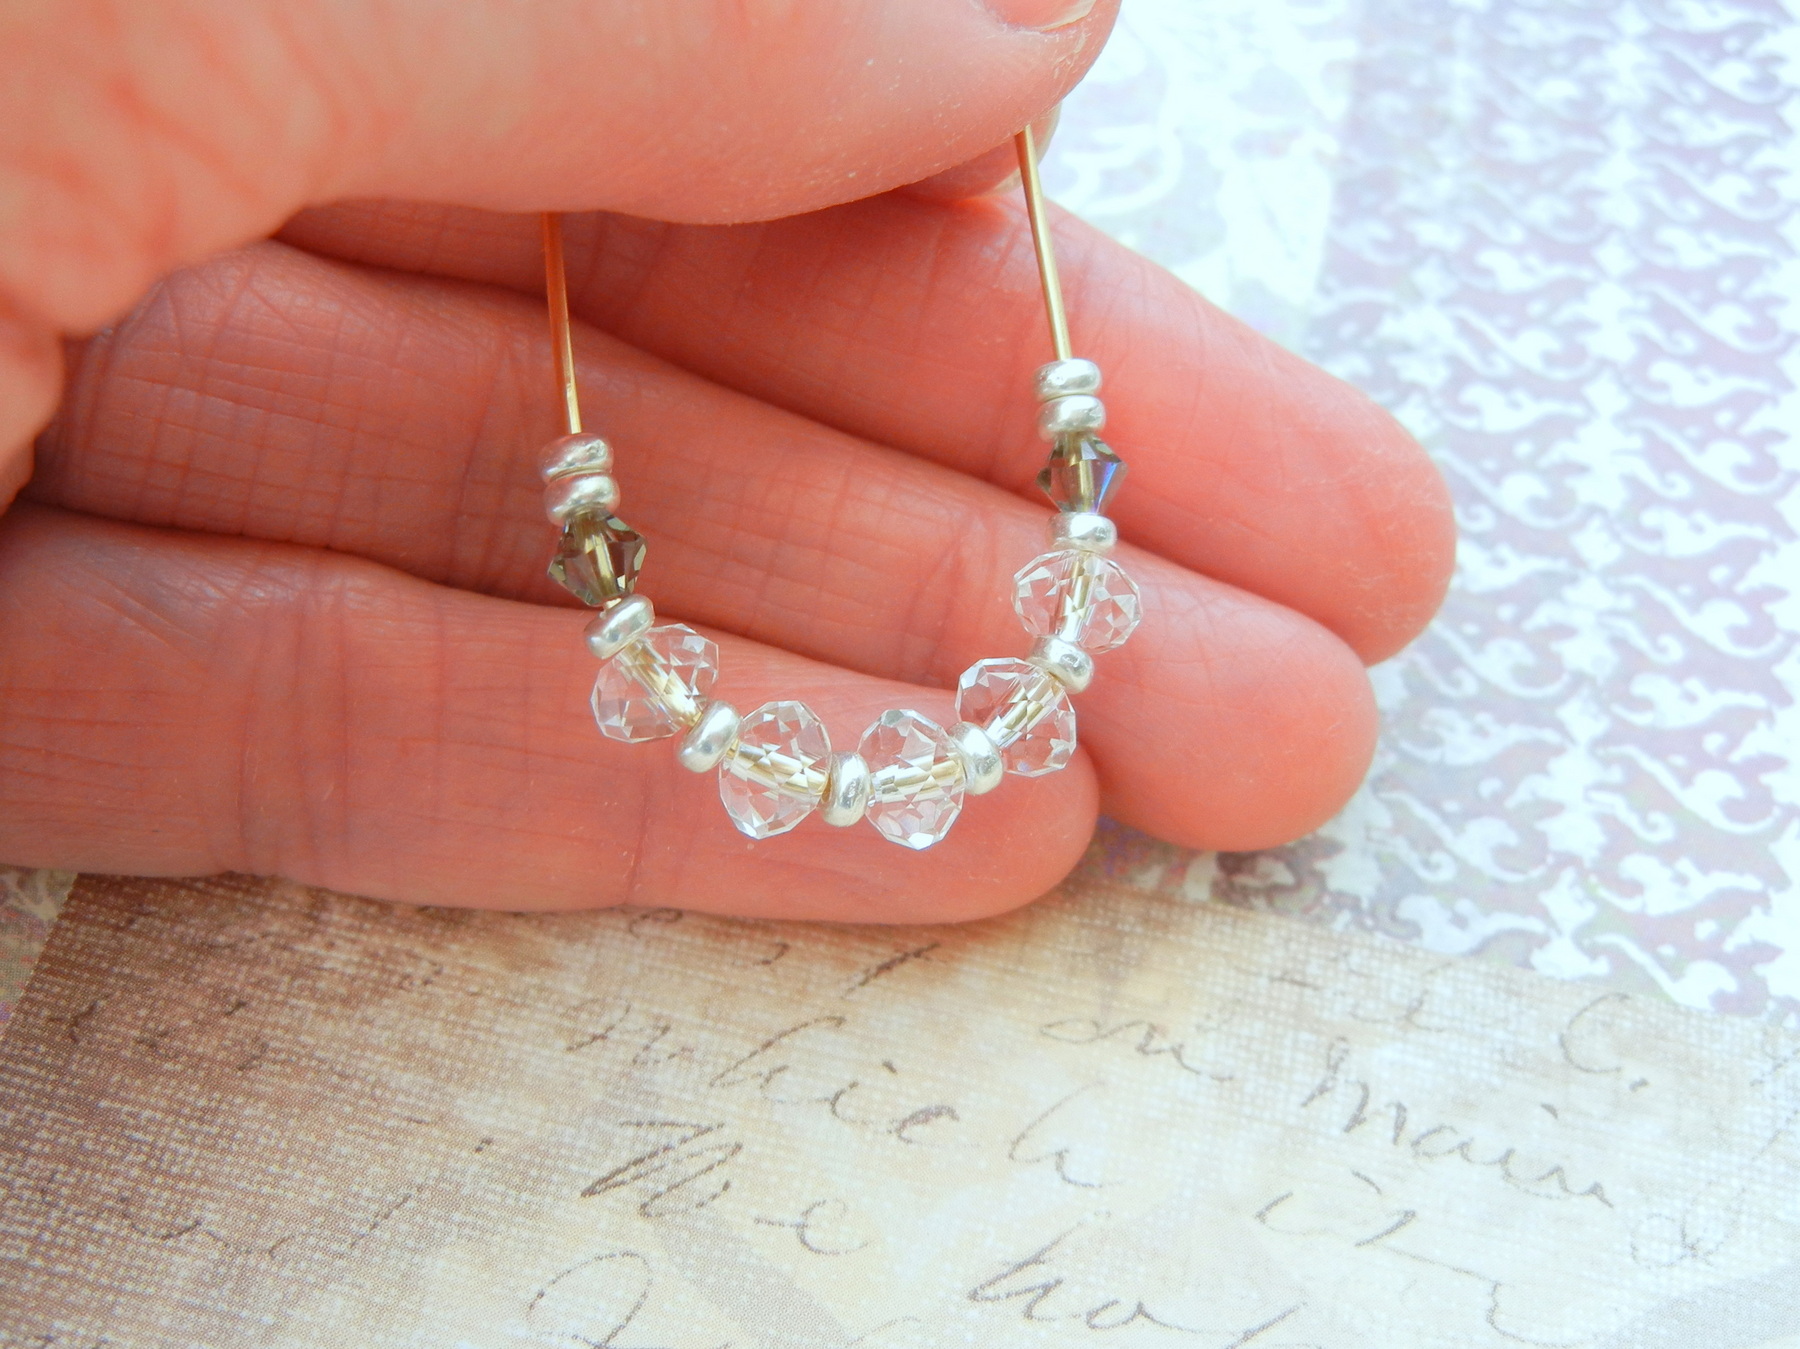
Again, starting with the middle bead, string the other half the beads on the second wire end, matching the desired pattern.
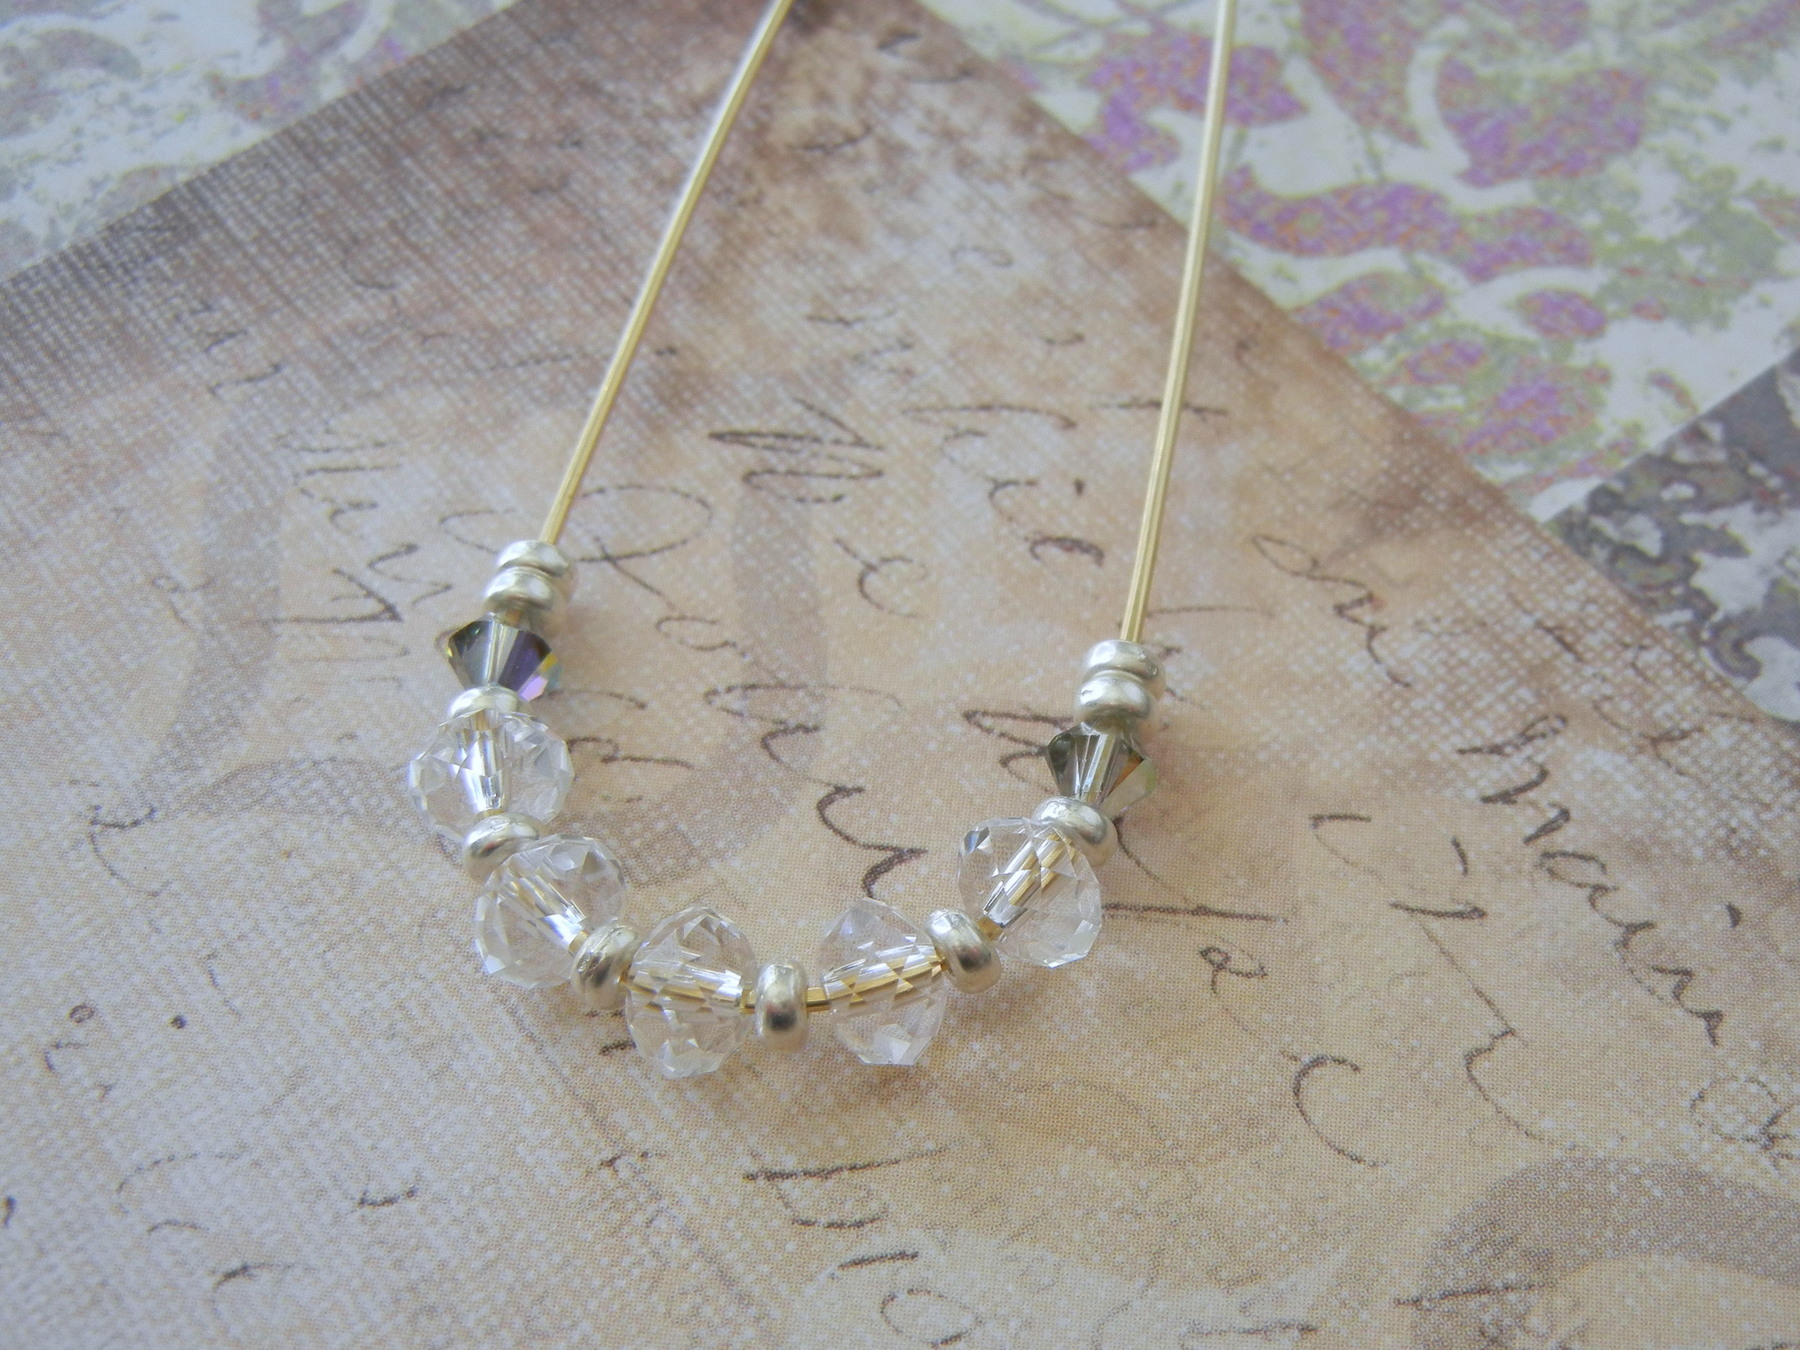
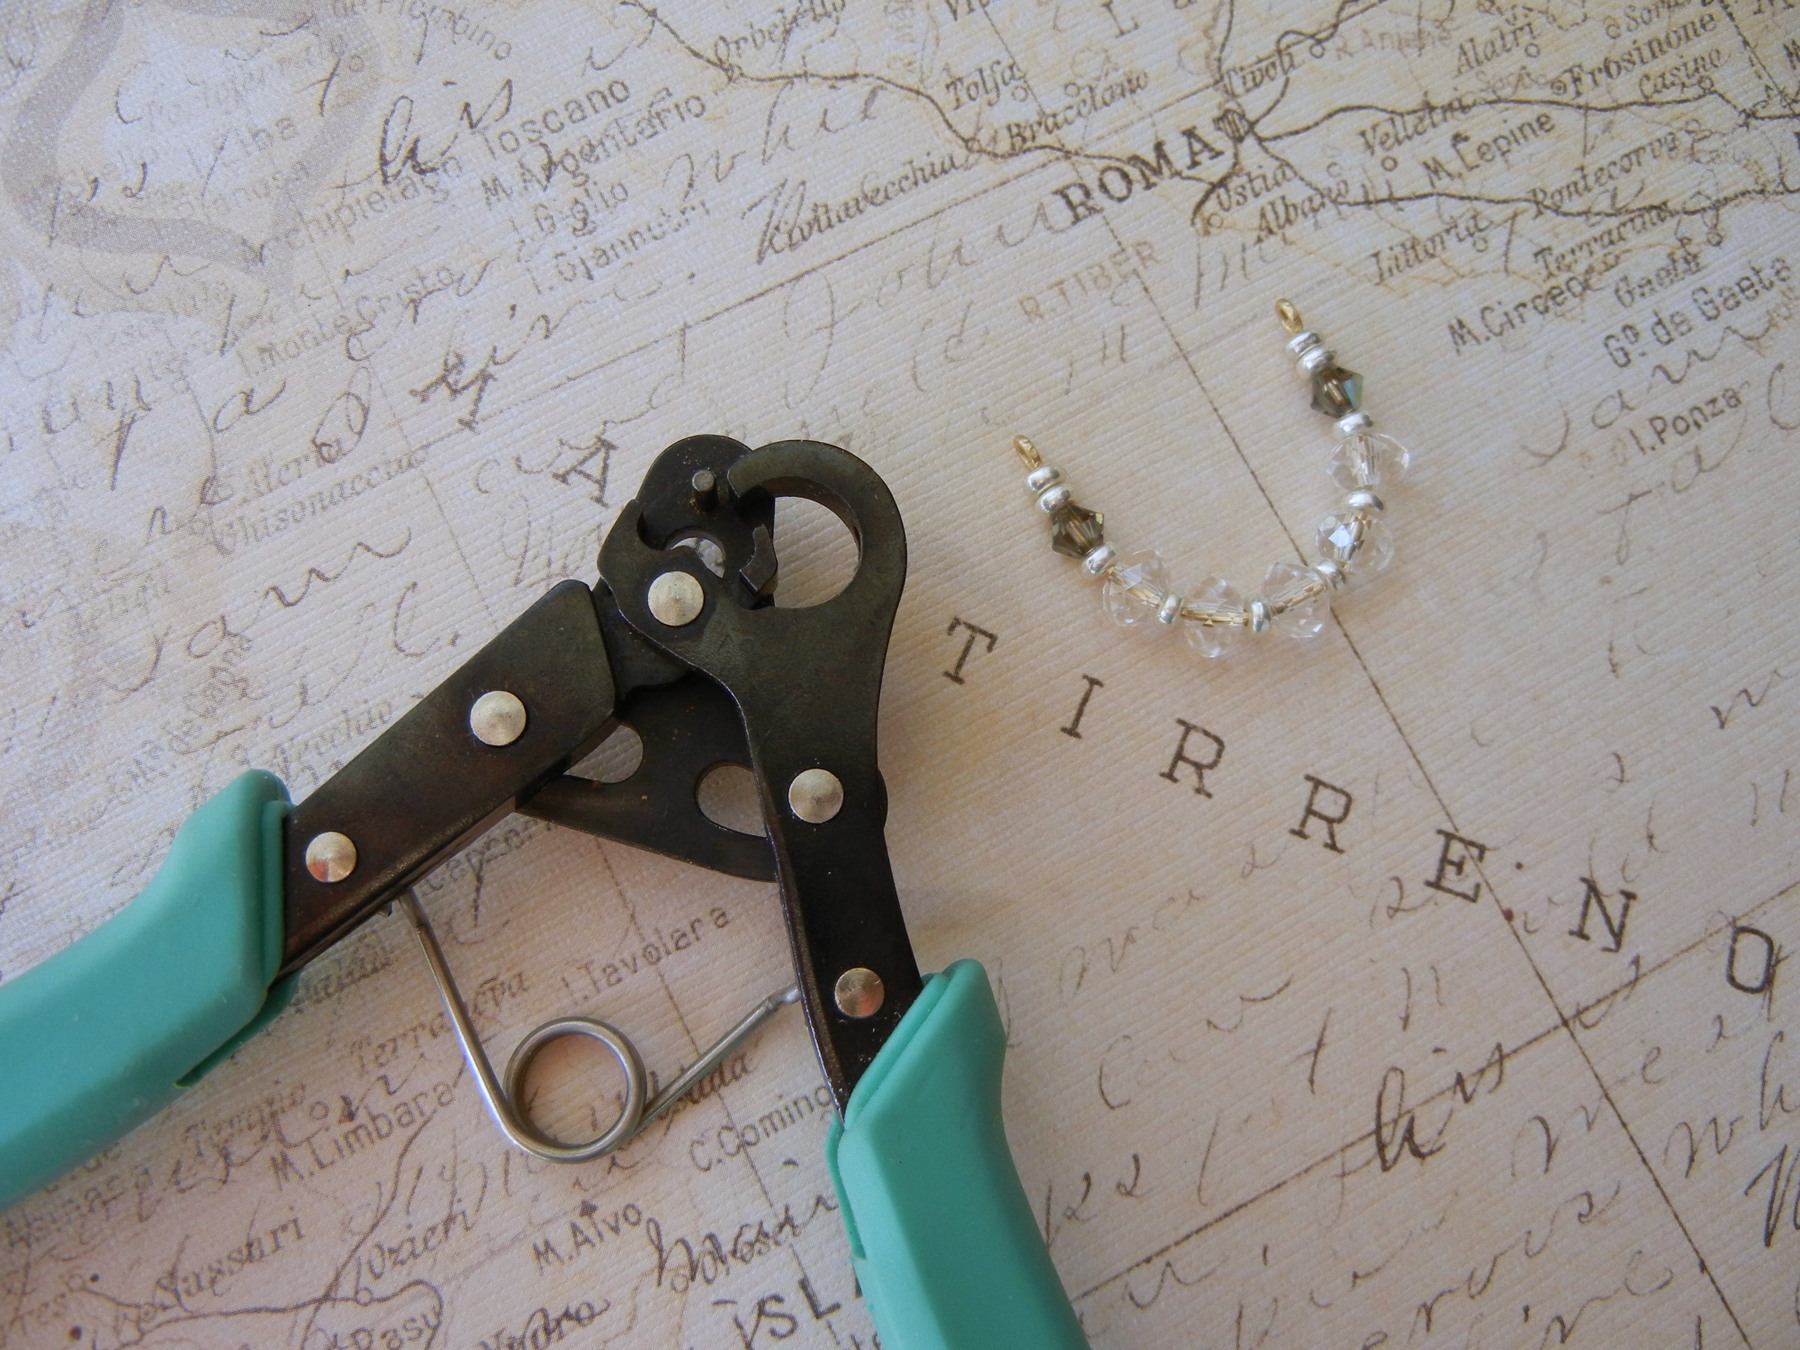
Here is the suggested U-shaped bead pattern.
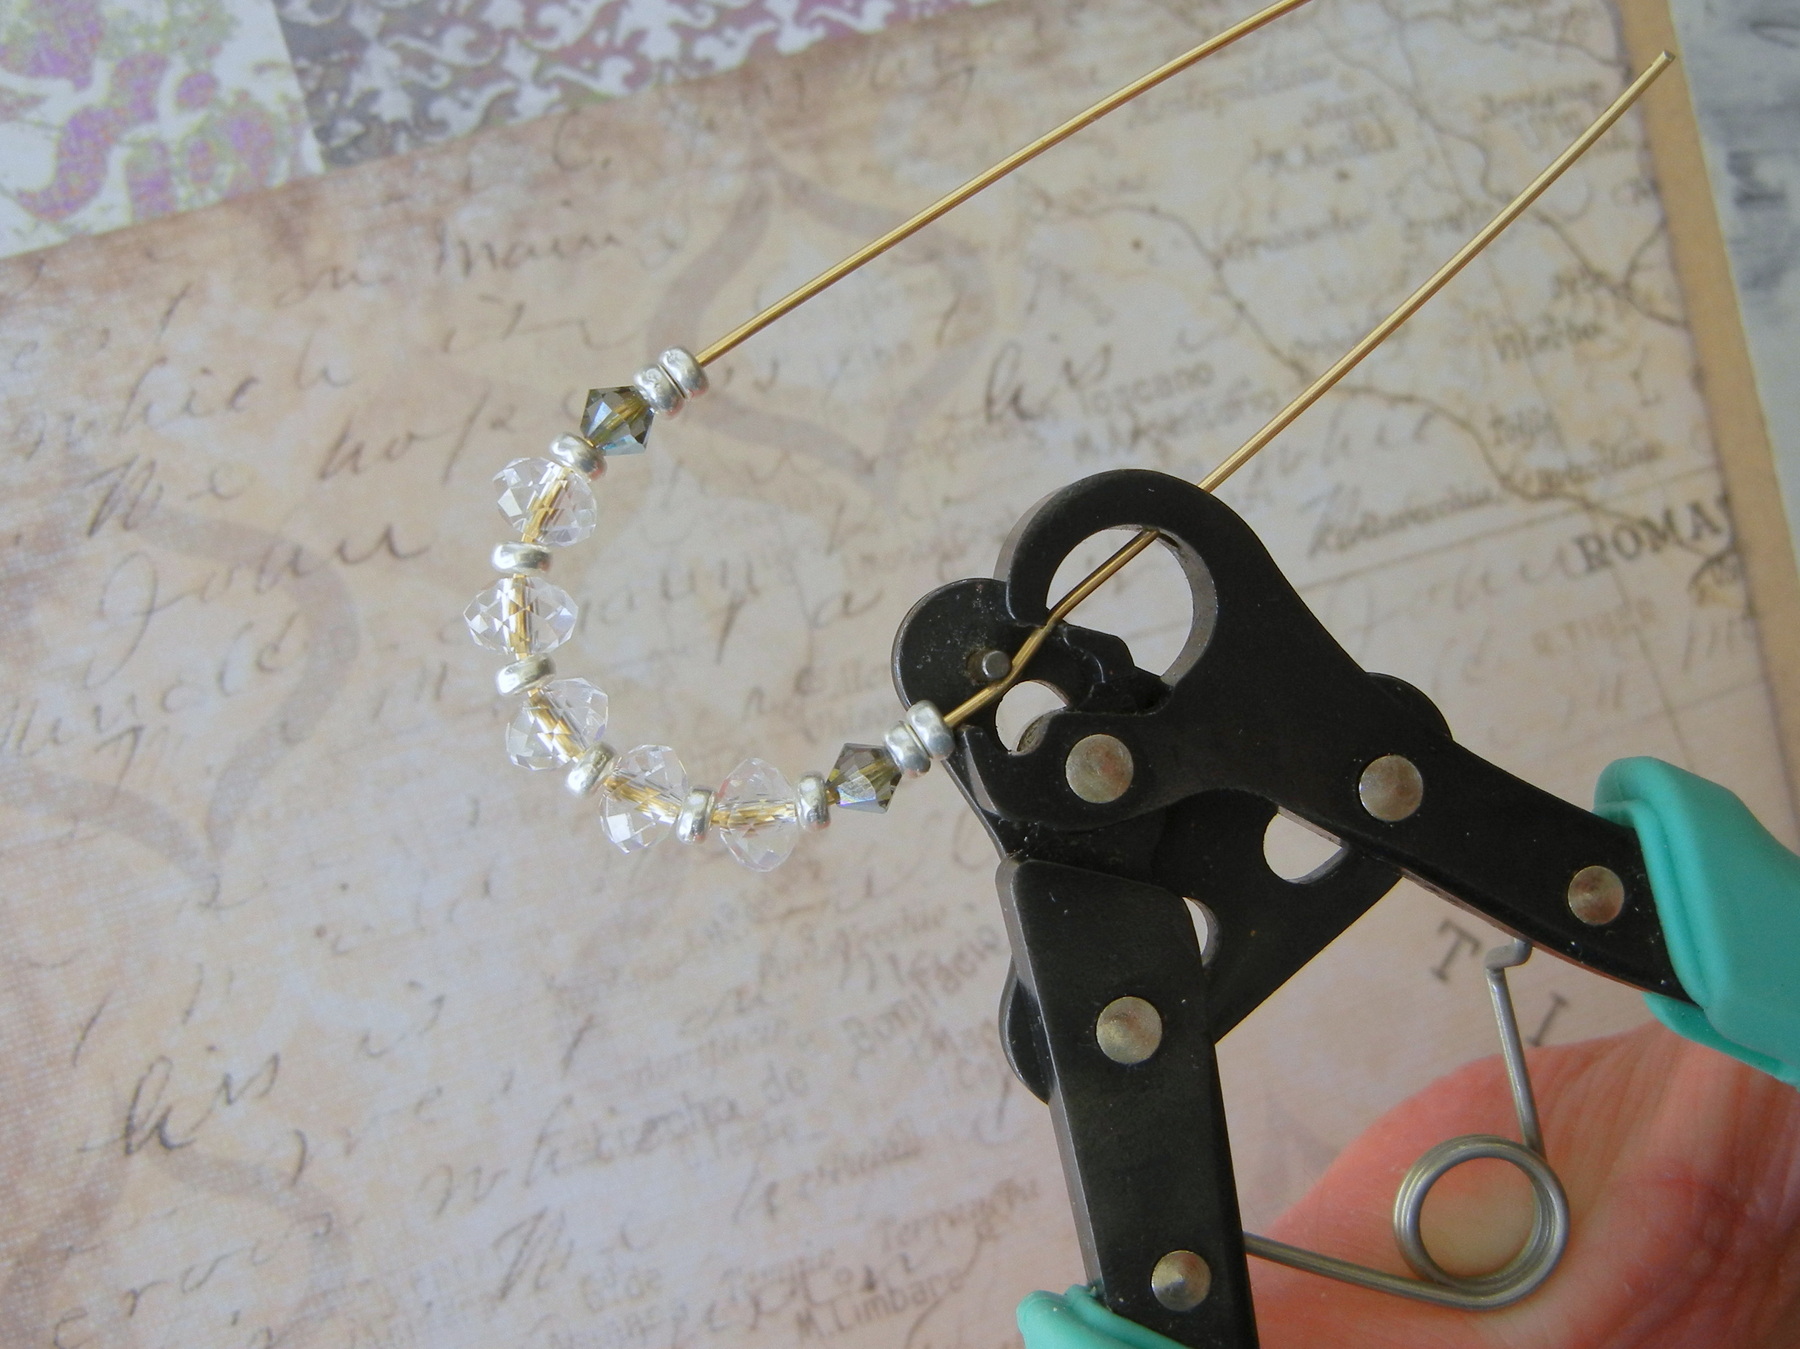
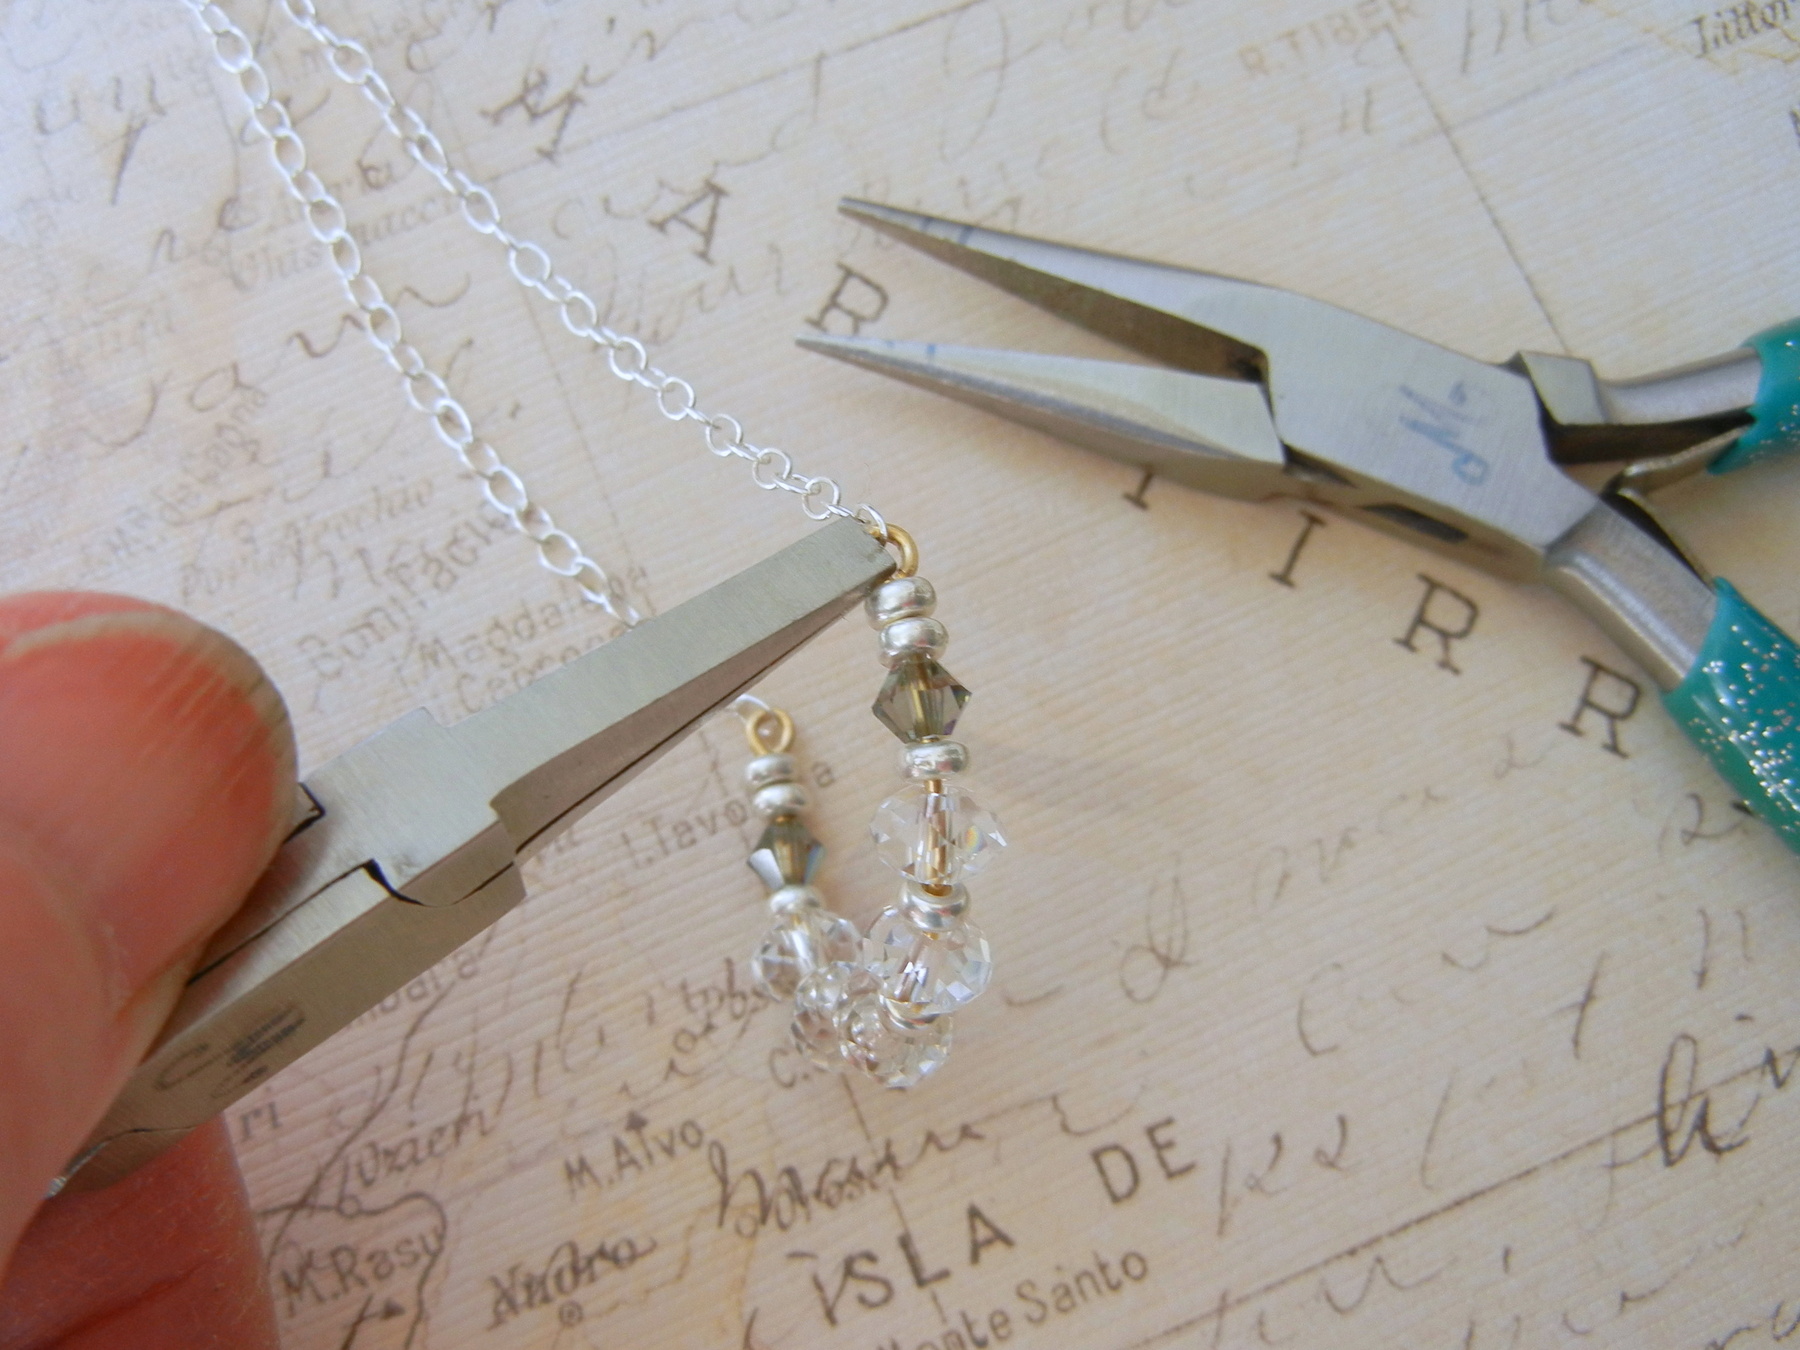
Use the 1-Step Looper to form an end loop on the first side of the beaded U-shaped pendant. The 1-Step Looper pliers cut and form practically perfect loops in one step.
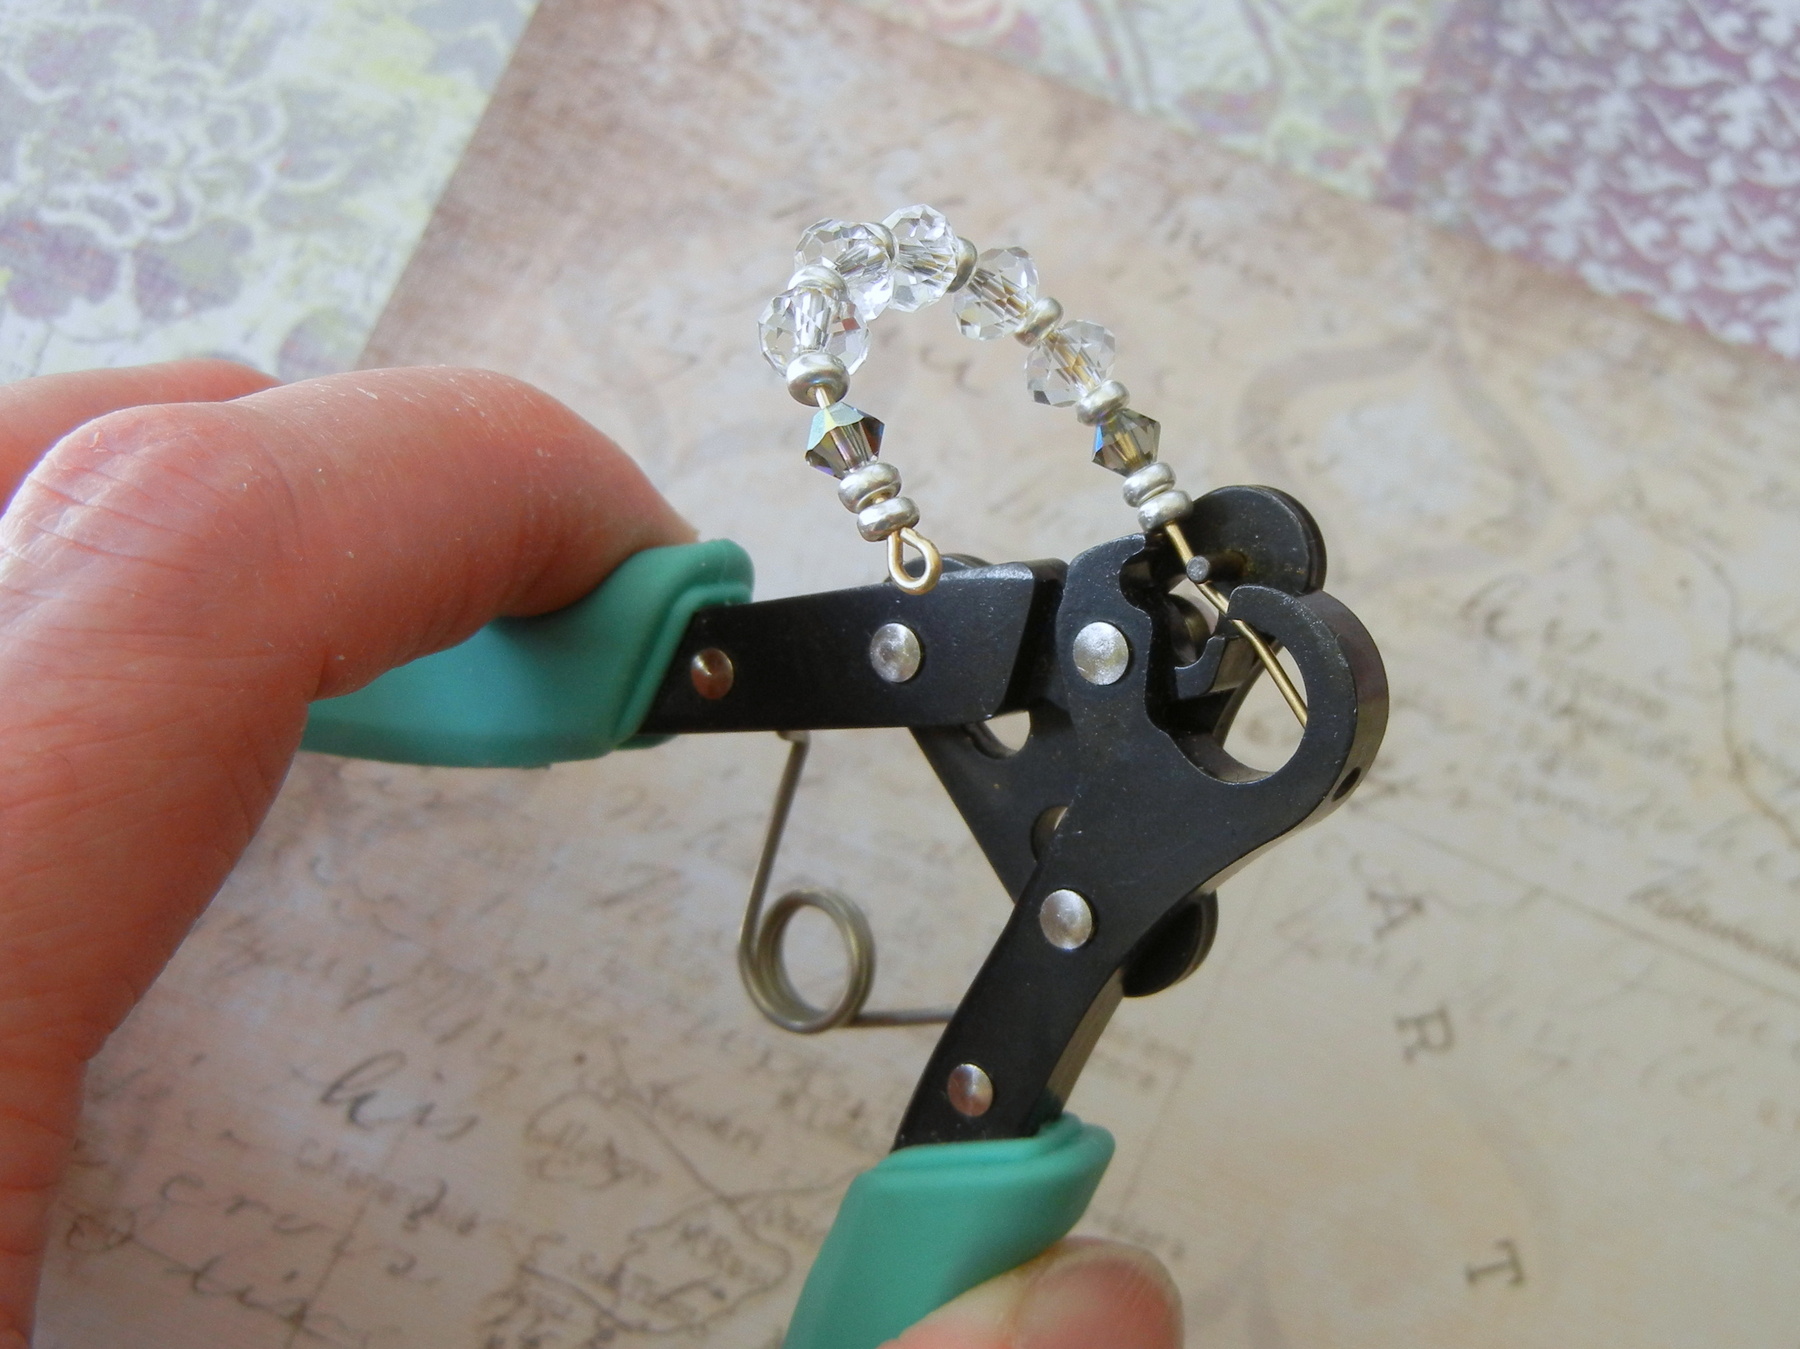
Use the 1-Step Looper to form an end loop on the second side of the beaded U-shaped pendant.
The 1-Step Looper makes is the perfect tool for making matching hanging loops.
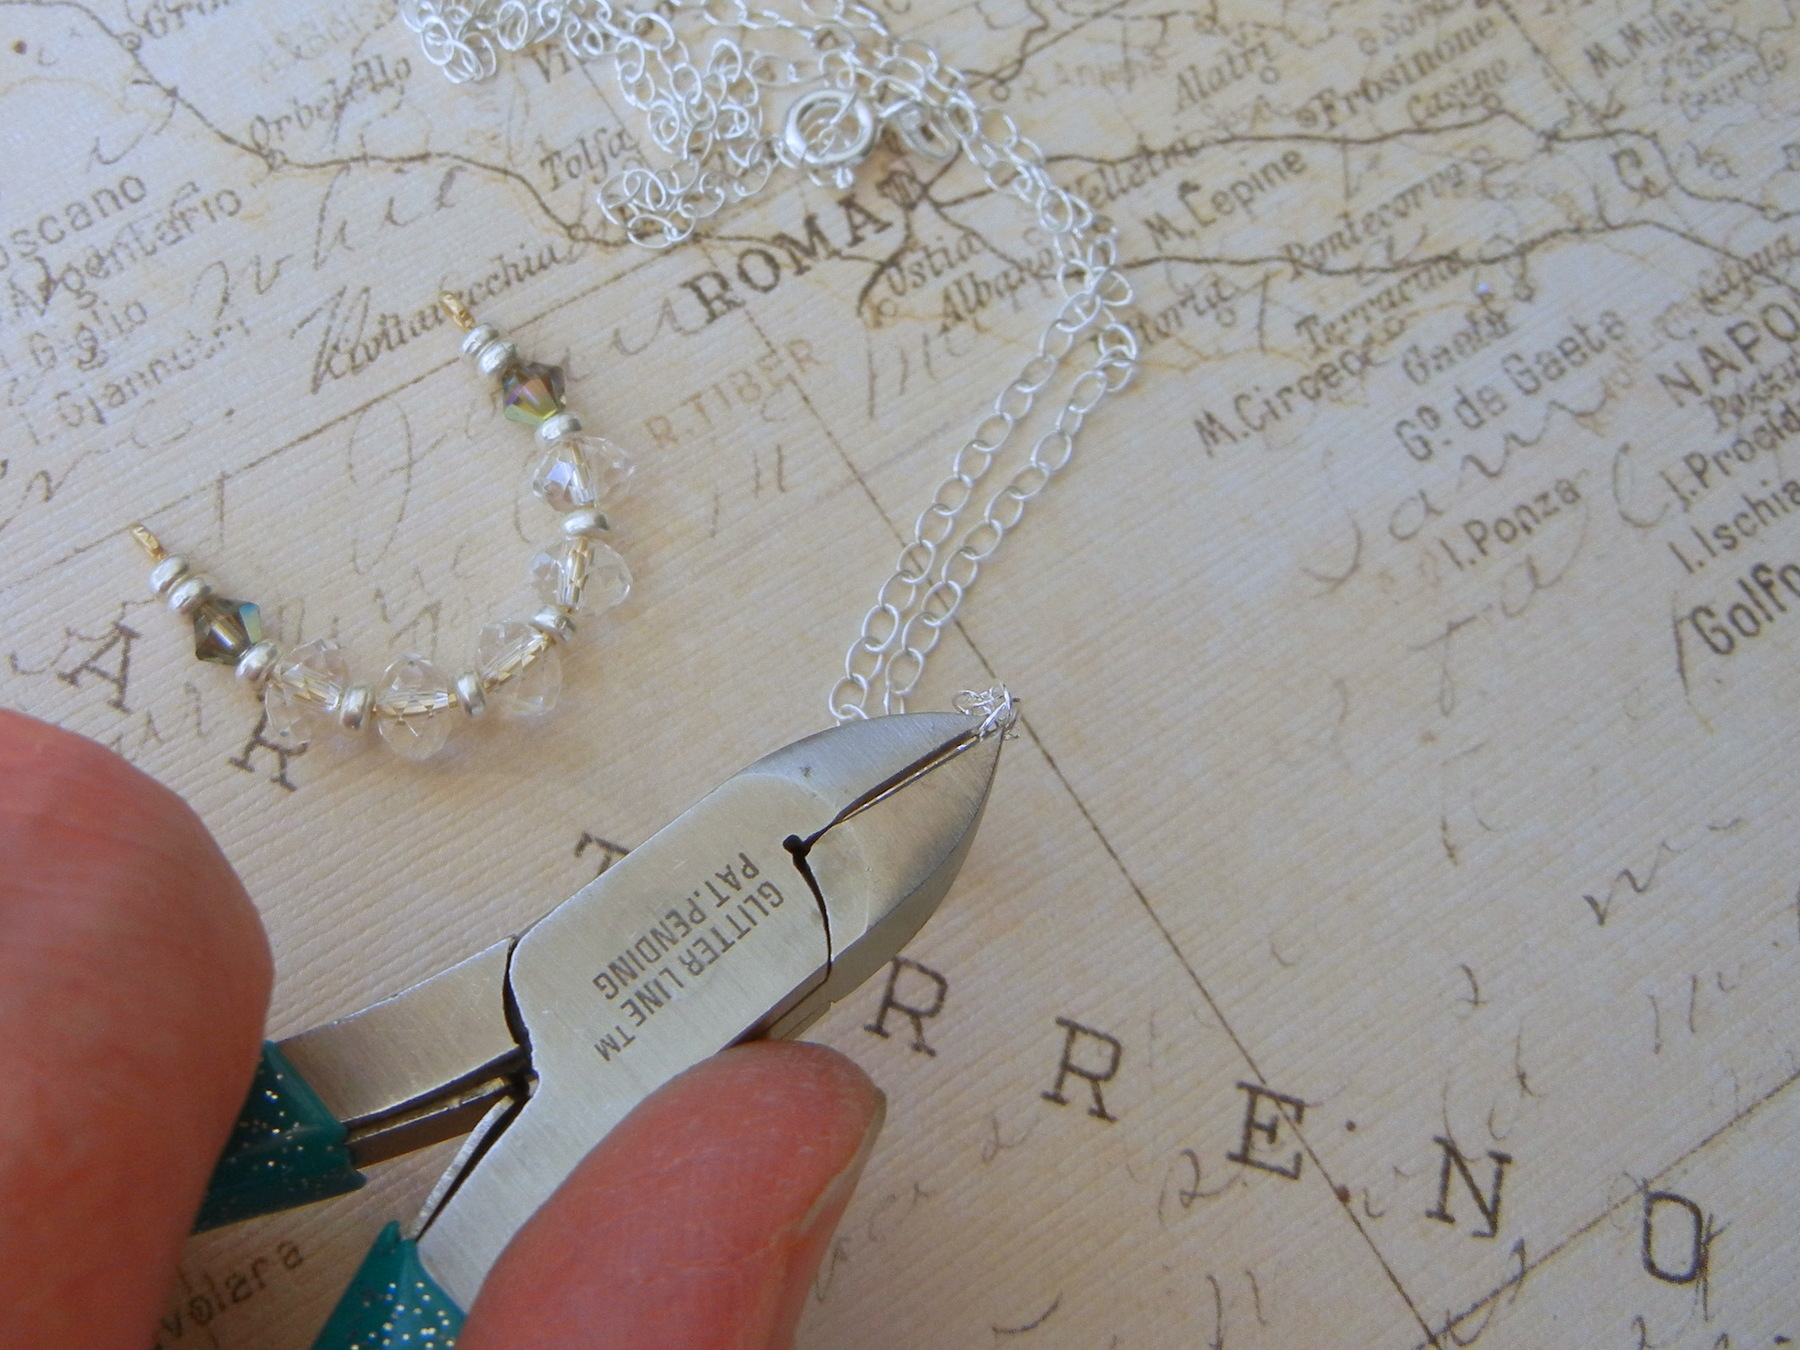
Find the middle link of the necklace chain. Use side cutters to clip the link and remove it. The necklace chain now has a clasp in the back and two open link ends.
Twist open the formed pendant loop and string on one necklace end link. Close the formed pendant loop. Repeat with the second pendant loop.
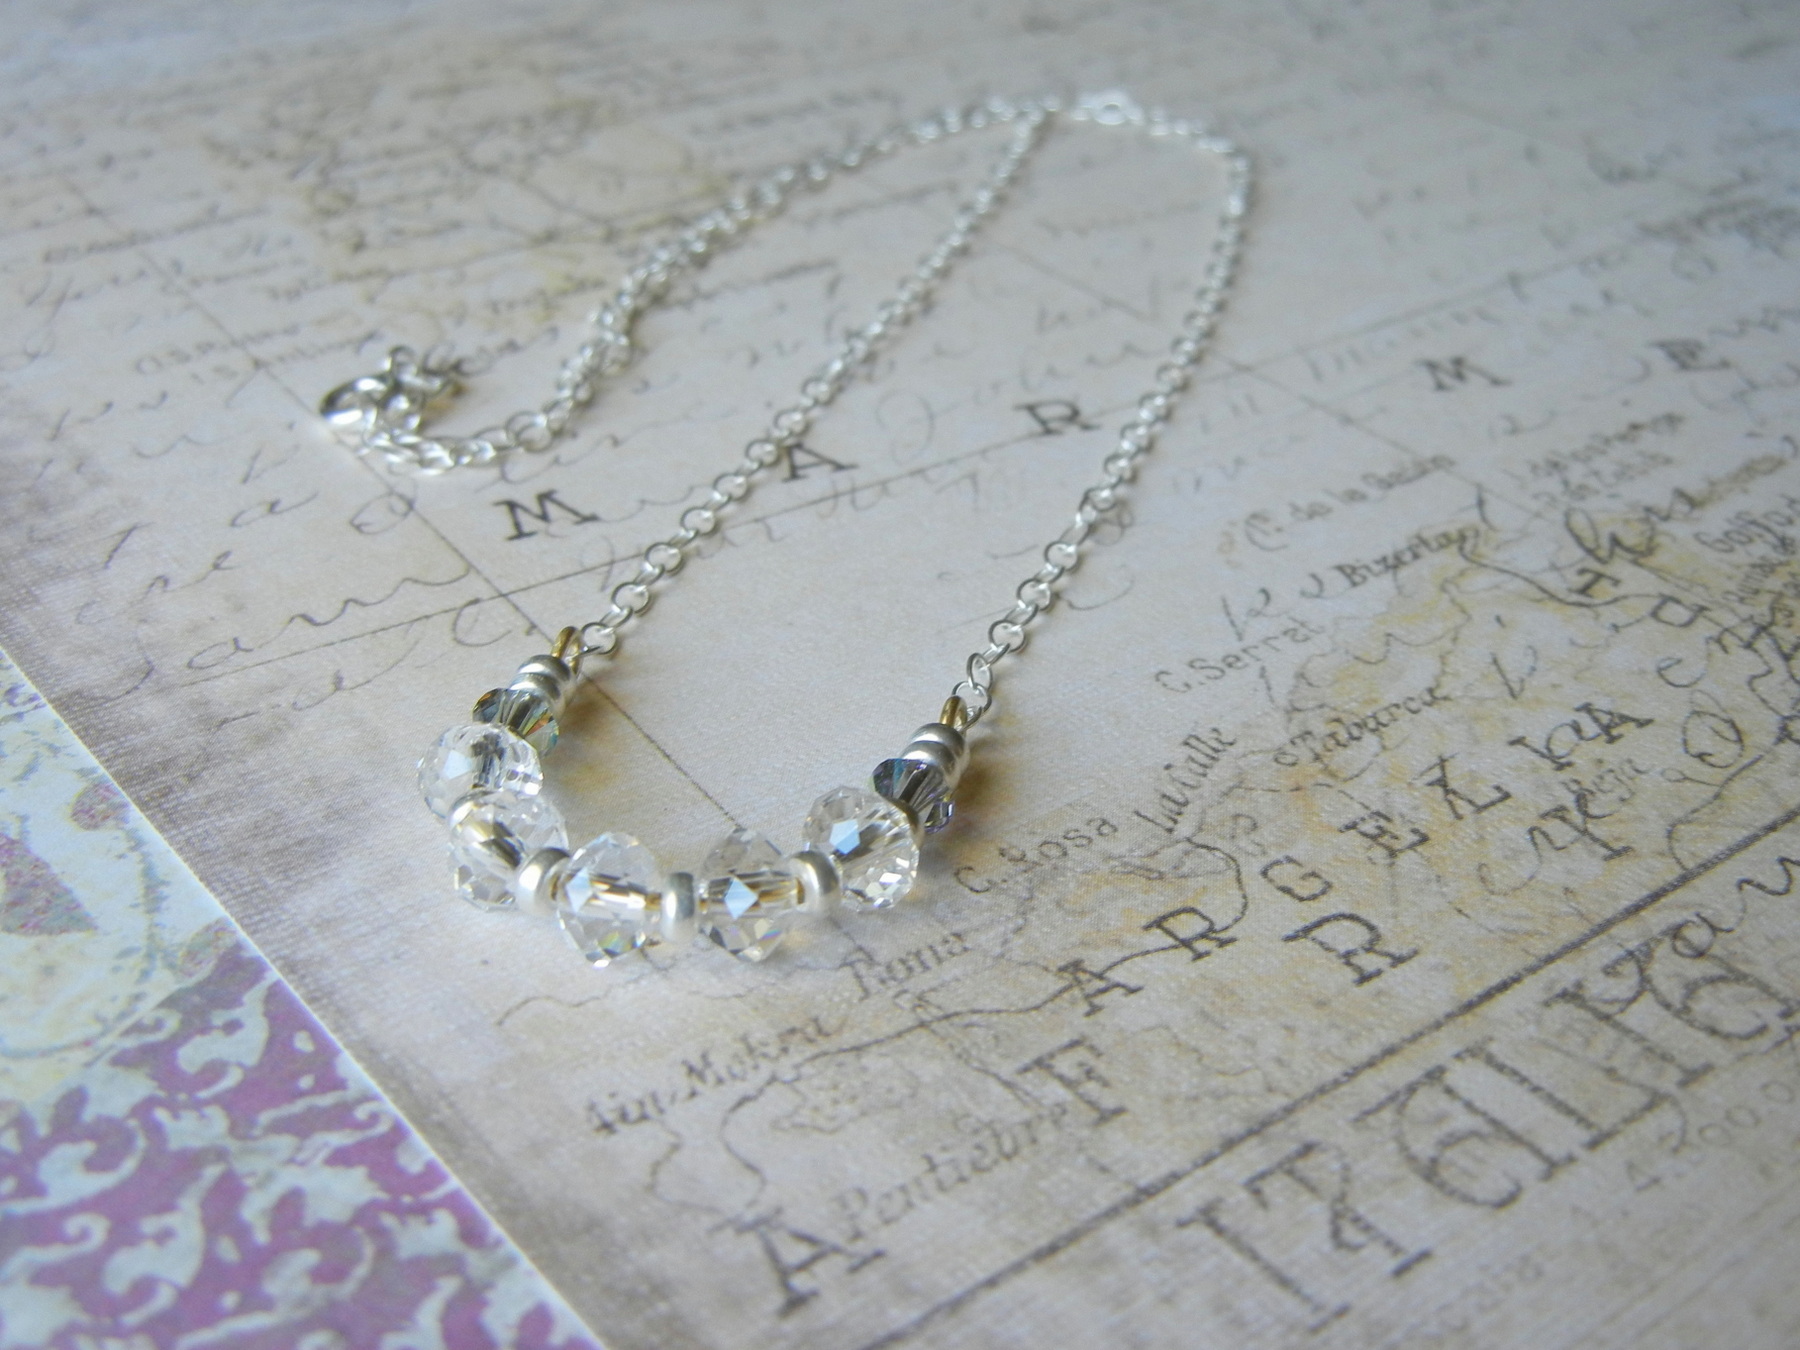
“April Rain Drops” Necklace by Rings & Things designer Mollie Valente.
Make things!
Mollie
www.rings-things.com


No Comments