Browsing Tag

rhinestone chain

Easy to Make Lashed Rhinestone and Leather Bracelet

July 10, 2013
Learn to make a rhinestone and leather bracelet in just minutes.

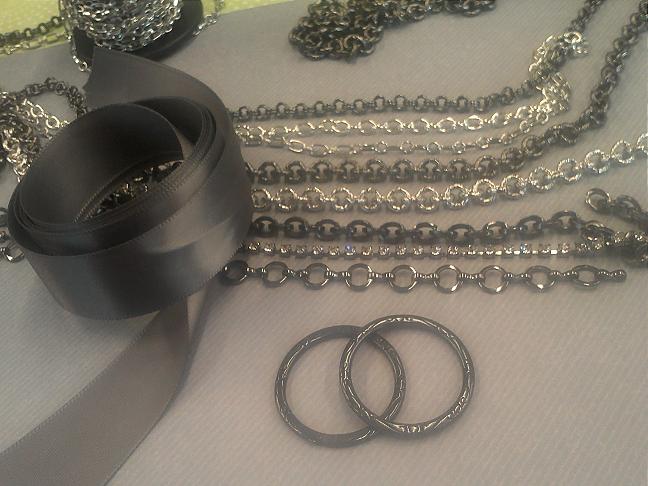
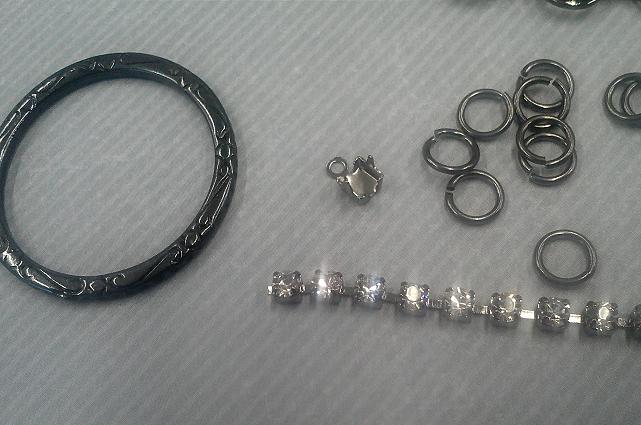
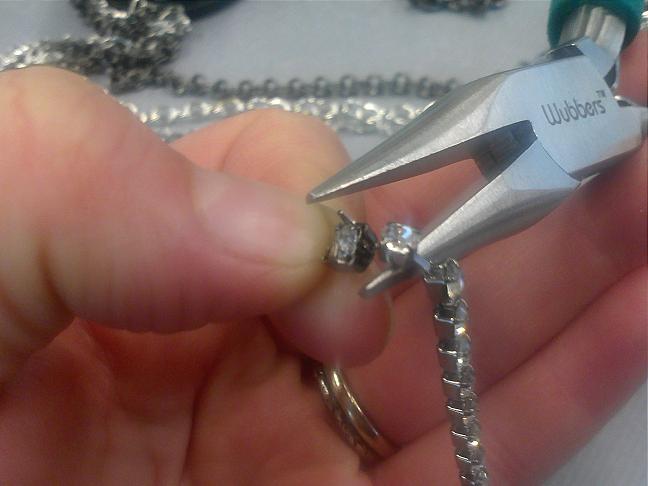
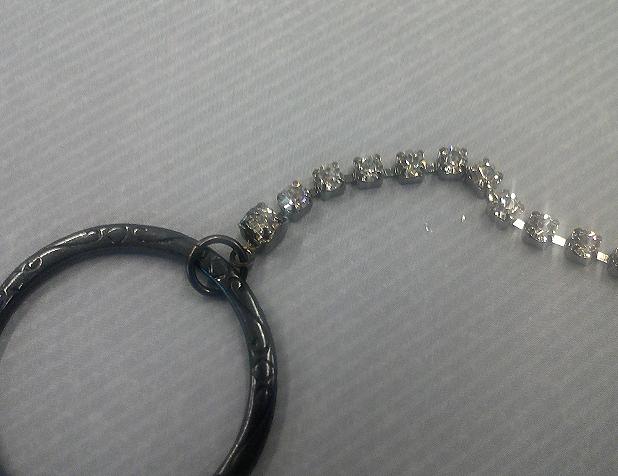
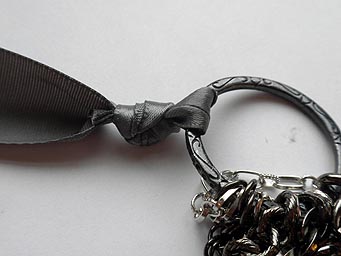
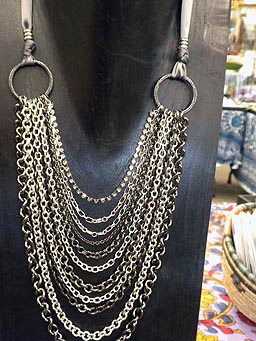
Create wrapped bracelets with this simple lashing technique.

Making wrapped bracelets just got easier because this simple lashing technique takes just minutes to learn.  You can combine leather cord with rhinestone chain for a sophisticated style or use ball chain and leather for an industrial look.

Continue Reading…

How to Create a Reliquary Pendant

May 20, 2013
Create a personal keepsake with this free DIY reliquary pendant tutorial.

Create a personal keepsake with this free DIY shrine pendant tutorial.

I love keepsake jewelry, and this reliquary necklace is perfect for capturing mementos. You can adapt this pendant design to make your own personalized jewelry; encase a family photo, dried flower petals from a special event, or perhaps a lock of baby hair.

The following is a DIY tutorial for making a glass bezel shrine necklace.

Continue Reading…

Bling Bombing

April 13, 2012

Hi bloglandia! Have you heard of yarn bombing? I highly recommend you do a quick image search if you haven’t! It is basically guerilla crafting – making public spaces more beautiful with knit and crochet creativeness. While I love the concept, I’m not very talented with fiber arts. But today, the stars converged in a way (or maybe I’ve just been in a cubicle too long…)

Nate’s Wolverine action figure (NOT a doll) needed a little sprucing up.

One, it is Friday and I’m feeling punchy. Two, it is Mandi’s birthday (you might know her from our showroom or traveling bead shows – happy birthday Mandi!) so there is lots of sugar and cake coursing through our systems and Three, I have all these snippets of rhinestone chain leftover from Monday. What does it all add up to? My new sport – bling bombing !!

The rules are really simple: embellish objects with bits of bling in a totally removable and non-damaging way (ie: wire wrapping, not super gluing). I started with public spaces but then it got personal:

bling-calendar

Why shouldn’t the meeting room calendar have a bit of sparkle?

mouse-cord-bling

The time-clock computer really looked blah before.

clipboard-bling

Justin really didn’t like my suggestion of adding rhinestone chain to his glasses. I think it actually made him ill, which conveniently left his belongings unsupervised today. Won’t he be excited on Monday?

bills-glasses

Fortunately, Bill from the sales dept. can’t get enough bling. Doesn’t he look snazzy?

rhinestone-truck

There was no way Joe, our purchasing manager, would let me dress up his glasses, so I decorated the handle of his truck instead. Of course, now I have to worry about revenge: he went to lunch, the chain is now gone…but he has not said a word. Cue the horror movie music.

handlebar-bling

I think my favorite, though, was dressing up Melissa’s bike. Indoor bike parking is one of the perks of working in the Rings & Things warehouse.

I hope to have inspired someone – somewhere – to create some sparkly mischief. The world can always use a bit more bling. Have a great weekend everyone! ~ Cindy

Make Your Own Designer Jewelry: Multi-Chain Necklace!

October 24, 2011

As a jewelry maker, I am constantly checking out the jewelry at department stores and boutiques for inspiration and current trends. When winter and fall comes, so does big statement jewelry. The kind of pieces that you wear to Christmas parties with your favorite black cocktail dress. This year, I have noticed that there are a lot of multiple chain necklaces and necklaces that end with ribbons and I just couldn’t resist the urge to create one myself. If you have a lot of leftover chain pieces this is a great way to use them up.

Items needed for this project:

  • Chain, lots of chain. You can use all the same color and style or mix and match. I have seen ones that are in all antique brass, but with several different styles. I have also seen ones with all one style, but all different platings. For my necklace I used a variety of gunmetal and silver-plated chains, plus one strand of rhinestone chain for a little extra “wow” factor. Get creative with it!
  • Large connector rings. I used 32mm gunmetal rings.
  • Satin Ribbon. Get this at the craft store. I like the nicer ribbon that you buy by the yard.
  • Hypo Fabric Cement or fabric glue, to keep the ends of the ribbon from fraying.
  • Jump rings, for the chain that has links which too small to open and close around the connector ring.
  • Chain nose pliers, flat nose pliers, semi-flush cutter and scissors.

How to create it:

Step 1: Select your chain

Step 2: Pick out coordinating connector rings and ribbon

Step 3: Attach your first piece of chain to one of the connector rings. This will be the shortest length of chain. I found that 6 inches, give or take a little, was a good starting length.

If using rhinestone chain, pinch on an end piece to the rhinestone using your chain nose pliers.

Use a jump ring if using rhinestone chain.

Step 4: Add each additional chain and attach, one at a time to the first connector link. Cut each additional chain between 1/2 inch and an inch longer than the previous chain.

This is how the necklace will look after the chain is attached on both sides.

Step 6: Tie a peice of ribbon onto each connector link. Use about 16 inches on each side. Trim the short ends of the ribbon close with scissors.

Step 7: All you have to do to finish the necklace is finish the edges of the ribbon with a little anti-fray fabric glue or hypo fabric cement. I also added a few large hole metal beads for some extra pizzazze!

Showing off my new necklace in the Rings & Things Showroom 🙂

Well there you have it! If I had to rate this project on a scales of difficulty I would give it intermediate. It was a little tricky to keep my chains straight. If you do re-create a necklace like this with lots o’ chain, remember to be careful when storing it. I recommend hanging it so as to not get all the chain tangled.

~~ Tiffany

Check out these other great tutorials on our blog:

Wire lashing: an easy way to cover your jewelry with beads or bling!

May 19, 2011
Two wire-lashed bracelets

Artistic Wire + bracelet forms = many many options!

I call this easy jewelry-making technique “wire lashing” to distinguish it from “wire wrapping” – but really, it is just wrapping thin wire around and around a component in order to cover it with beads (or chain!).

bracelet plain

A plain hook end bracelet is the perfect candidate for a good lashing!

The keys to wire lashing are simple, but oh so vital:

  1. Always begin with a few wire wraps around your base piece (in this case
    bangle bracelets) before adding beads or chain. Rather than trying to wrap the very end of the wire, leave about a 1″ tail so you have a bit of wiggle room.
  2. Always keep your wire wraps tight around the item. Pull the entire wire all the way through and around before beginning another wrap. If using beads, lay the bead against the base in the position you want it to end up in before wrapping the wire tight.
  3. Always use two or more wraps between beads to keep everything securely in place.
  4. Always stay calm if (ha – when!) the wire gets kinked or tangled. When it starts getting cranky, take a second to smooth it back out or it will grow into a major mess.
  5. When you’re all done, you can adjust the wraps and beads with your fingers to make it more uniform. Likely there will some wraps that are tighter than others. This is perfectly normal and easy to fix.

I’ve used this technique before on small items (kidney ear wires, links, ear hoops and hair combs) so decided to step up to bracelets today. The only difference is working with longer wire (about 4-5 feet for a typical bangle). You have the option of working with smaller sections of wire and adding new pieces as you go, but I really wanted to use one continuous piece. I did of course kink the wire. Repeatedly.

Looks scary, but this nightmare actually only took a few seconds to correct.

But the nice thing about using one piece of wire is that as you go along, the lashing goes faster and faster until suddenly you realize you are having fun! At the end, you feel so victorious you immediately want to make another. So you do … and realize the wire is too darn long again … but wait, now it is fun again … victory is within reach … This is how addictions start.

I like to use 24 or 26-gauge wire when lashing because it is very easy to manipulate with your fingers. Today I used several colors of Artistic Wire. The beaded bracelet has 6mm purple Miracle beads, 4mm turquoise magnesite and opalite barrel beads held in place by chartreuse Artistic Wire. It was quick and easy to make. However, I started with waaaay too much wire, so it took a little longer to add each bead than was really necessary. Impatient as always, I decided to do away with stringing beads. My next attempt uses rhinestone chain.

Sparkle mania

Sparkle mania has never been easier to achieve!

It turns out the 14pp size Swarovski Elements crystal rhinestone chain is almost exactly the same width as the bracelet form, so it stays in place nicely. I think this would be a great girl’s night jewelry project – simple, sparkly and easy to customize by adding some charms or changing up the wire color.

For those of you who prefer thread, check out Toni’s rhinestone hair comb – same technique, different materials.

rhinestone hair comb

Cover a comb with ribbon and rhinestones for easy elegance.

What else can we cover in rhinestone chain? Perhaps an easier question would be what can’t we cover! ~ Cindy