
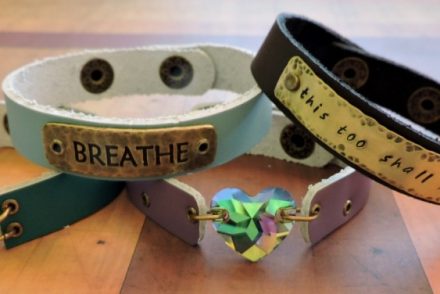
“Music Lover Necklace” by Valorie Nygaard-Pouzar features SuperClear Resin, a Piddix image, and an Amate heart-shaped bezel.
Resin jewelry is a great way to encapsulate an image; you can seal a Piddix image or even a photocopy of a cherished family photo under SuperClear resin. To get started just follow these step-by-step instructions.
Why we love SuperClear Resin:
- non-toxic formula
- crystal clear jewelry-grade formula with UV protectant to prevent yellowing
- bubbles easily dissipate
- low to no odor
- 20 minute working time
- 6-8 hour cure time at room temperature
- no shipping restrictions — This resin can be shipped worldwide!

Step 1: Gather the tools and supplies necessary to make your SuperClear Resin pendant.
You will need these tools and supplies:
- 24mm heart-shaped bezel
- 3.2mm ball chain
- 3.2mm ball chain clasp
- Piddix collage sheet
- Mixing cups
- Stir sticks
- SuperClear Resin
- Disposable plastic cup
- Lighter (use flame to draw out the bubbles)
- Fine-point scissors
- Optional paper sealer like Crafter’s Pick The Ultimate! adhesive (Piddix collage sheets are printed with a specialty ink and do not need to be pre-sealed or treated to resist bleeding)

Step 2: Cut out the image to match the size of the bezel’s interior opening.

Step 3: Place the image into the bezel; it should fit snugly. If desired, you can glue the image in place with a water-based adhesive such as “The Ultimate!” glue; the same glue can be used to seal the image by painting a thin layer over the image. Allow to dry thoroughly.
 to 1 part of hardener (part B).")
Step 4: Use the calibrated cups to measure the resin and hardener according to the manufacturer’s instructions: mix 2 parts of resin (part A) to 1 part of hardener (part B).

Step 5: Gradually combine the hardener and resin in a disposable plastic cup.

Step 6: Mix by “folding” the resin and hardener together for two minutes; scrape the sides of the cup as you mix.

Step 7: Let the mixed resin “rest” for five minutes.

Step 8: Pour the resin slowly into your prepared bezel. Add resin until the bezel is full and is gently domed. Working on a small elevated work surface makes it easy to pivot and move the piece.

Step 9: To aid in the dissipation of air bubbles, carefully hold a lit lighter above the surface of the resin; bubbles will quickly rise to the surface and burst. Once the resin is clear, set the pendant aside on a level surface and cover with an inverted container to prevent dust from settling on the resin. Allow to dry for approximately eight hours at room temperature.
If you would like to make the “Music Lover” Necklace, a list of the exact parts used can be found in the Rings & Things Design Gallery. For other resin jewelry tutorials, check out the Jewelry Design Gallery.
Make things!
Mollie

1 Comment
Also heard if you warm the resin first it helps to not get bubbles. Don’t know haven’t tried myself.