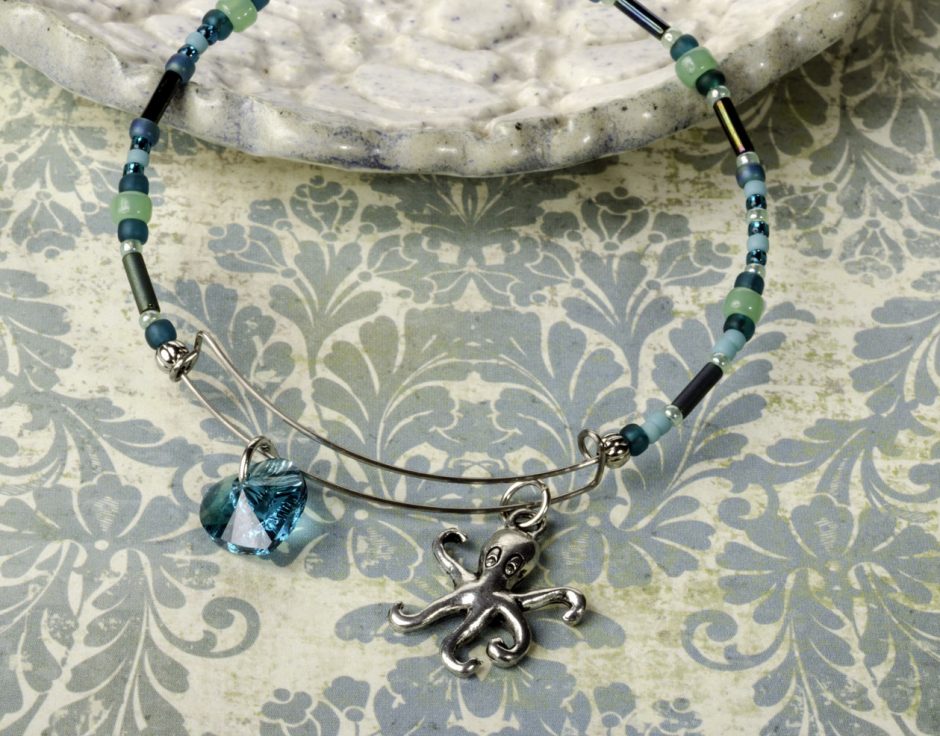
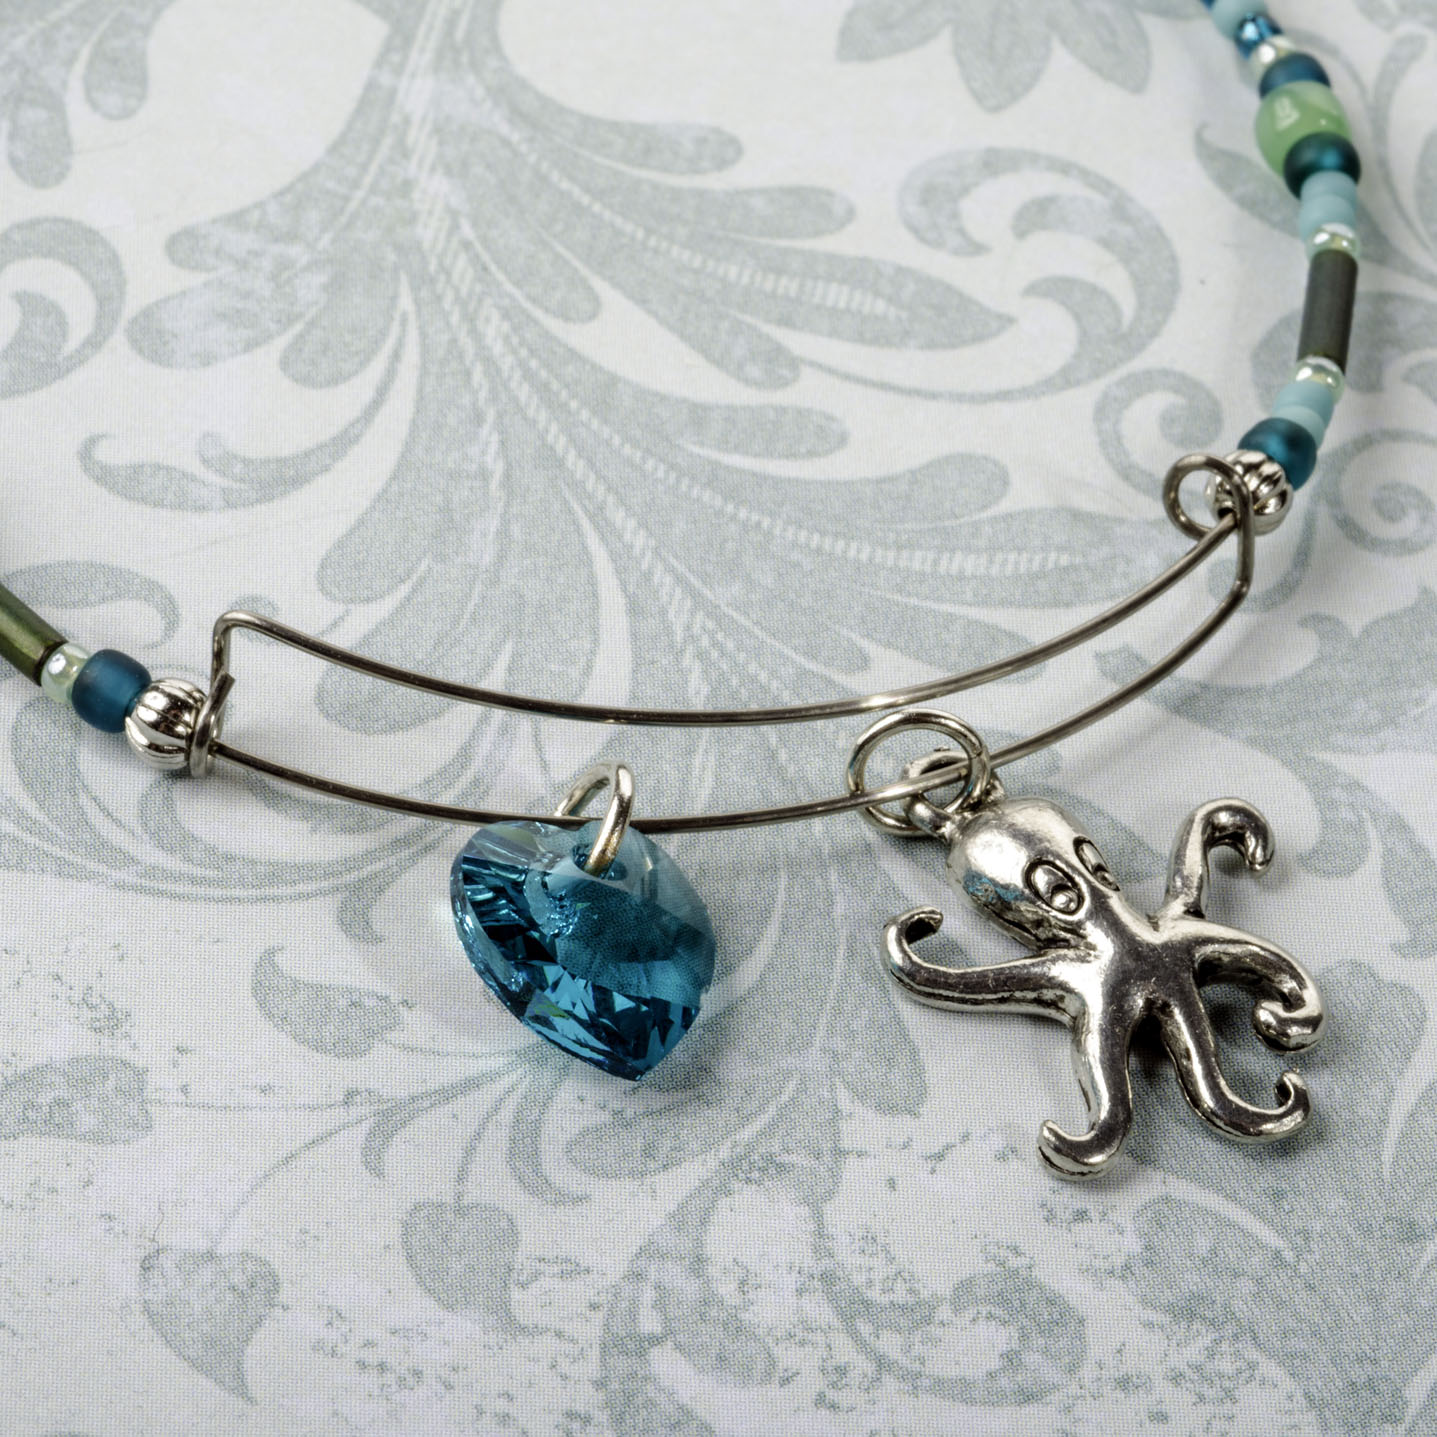
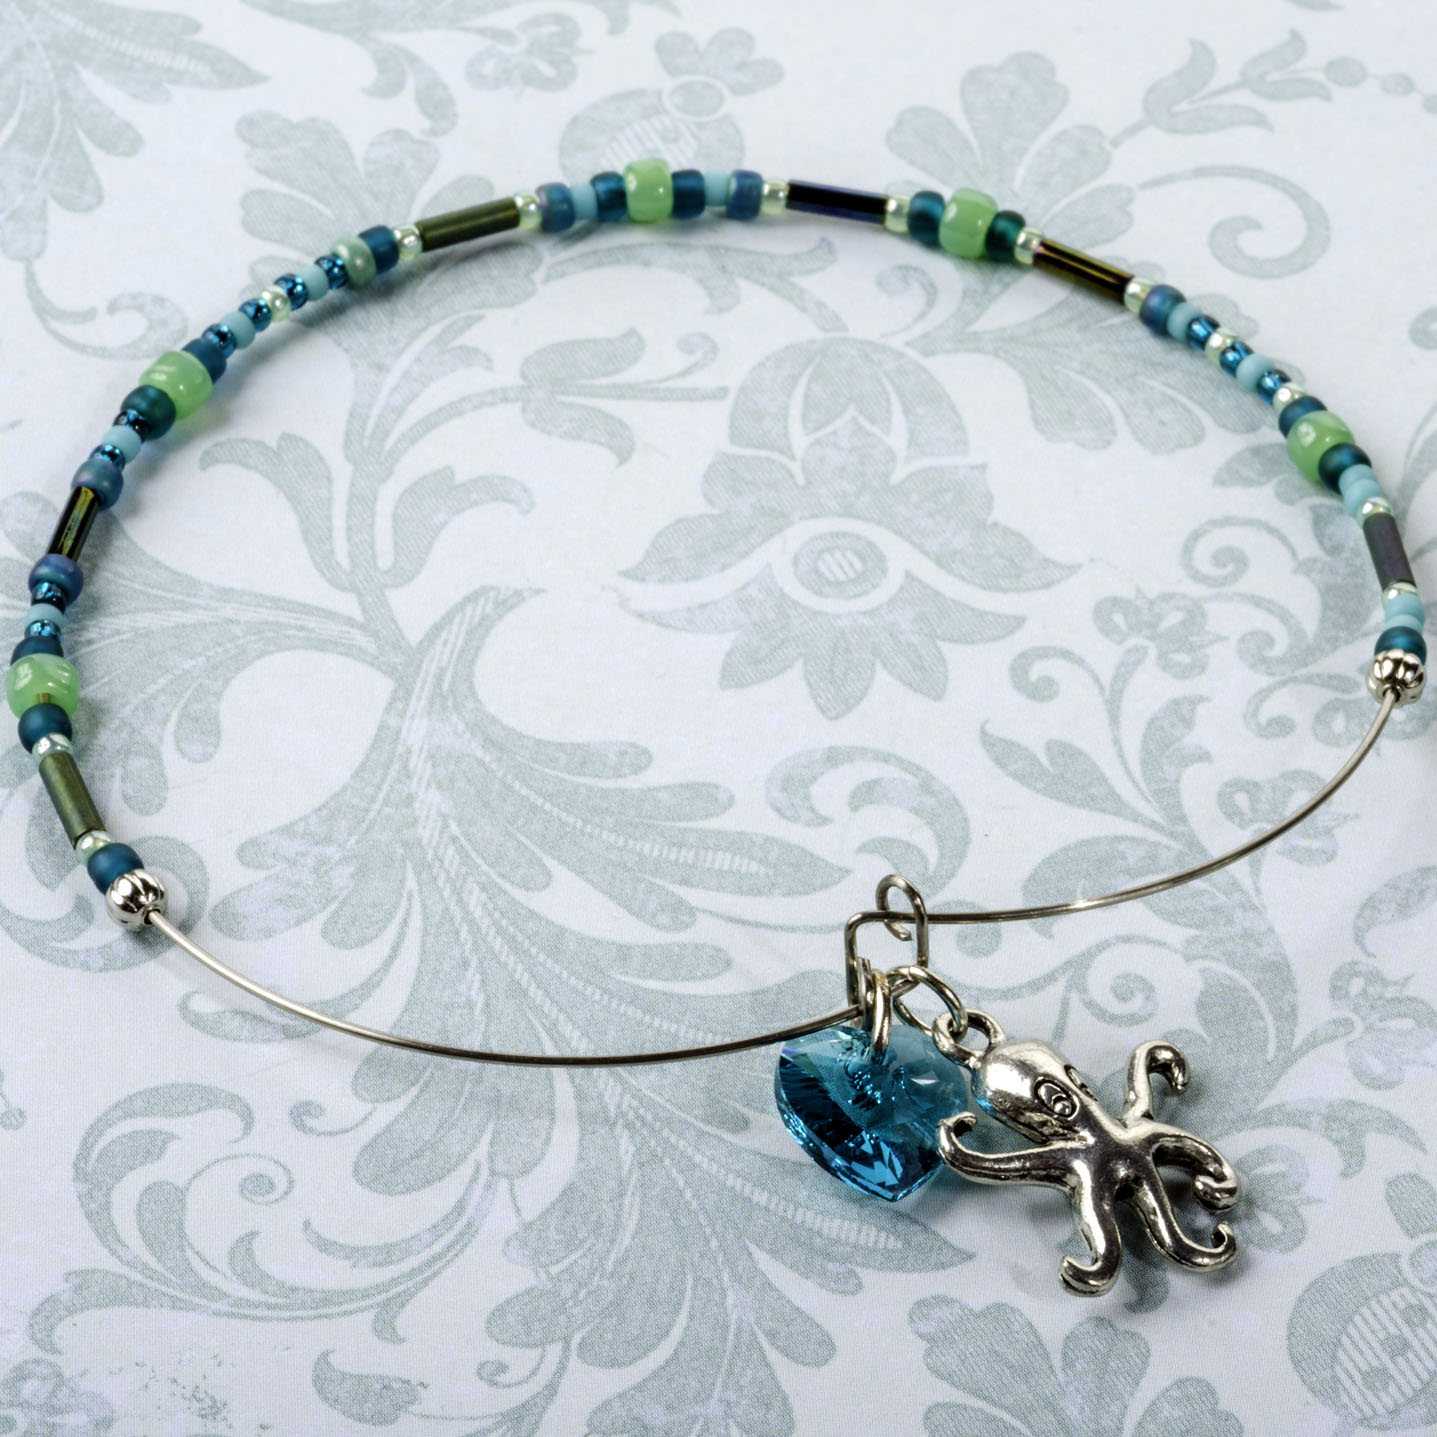
I love the charm-adorned “Alex & Ani” style adjustable wire bracelets that have been gaining popularity, and of course wanted to make my own version. For ease, I chose to fabricate my bracelet from Memory Wire. Memory Wire is made of durable stainless steel, and comes in the perfect round bracelet shape and the additional wire forming can be easily made with Memory Wire bending pliers. An added benefit to using Memory Wire is it can be adorned with colorful beads from Toho Seed Bead Cocktail Mixes. Here are the step-by-step instructions to make my “Happy Octopus” Adjustable Wire Bangle Bracelet.

Gather together the supplies you will need to make the “Happy Octopus” Alex and Ani Style Expandable Bangle Bracelet.
You will need these supplies:
-
- 1 Pewter Charm (I used the #49-948-70 Octopus)
-
- 1 Pkg Memory Wire (use 10″ of #61-167 Anklet-Size Stainless Steel)
-
- 2 Silver-Plated Round Jump Rings (use two #37-145-3 19-gauge 6mm jump rings)
-
- 1 Swarovski 10mm Crystal Pendant Heart (I used #06-228-10-28, Blue Zircon color)
-
- 1 TOHO Seed Bead Mix (I used #20-002-3222, Emerald Isle color mix)
- 2 White-Plated Round Metal Beads (use #26-463-1, 3mm corrugated)
TIP: Get all the above in our Happy Octopus Adjustable Wire Bangle Bracelet Making Kit!
And these tools:
- 1-2 pair of non-serrated jewelry pliers (I used flat-nose pliers and chain-nose pliers)
Now follow these steps to make your bracelet:
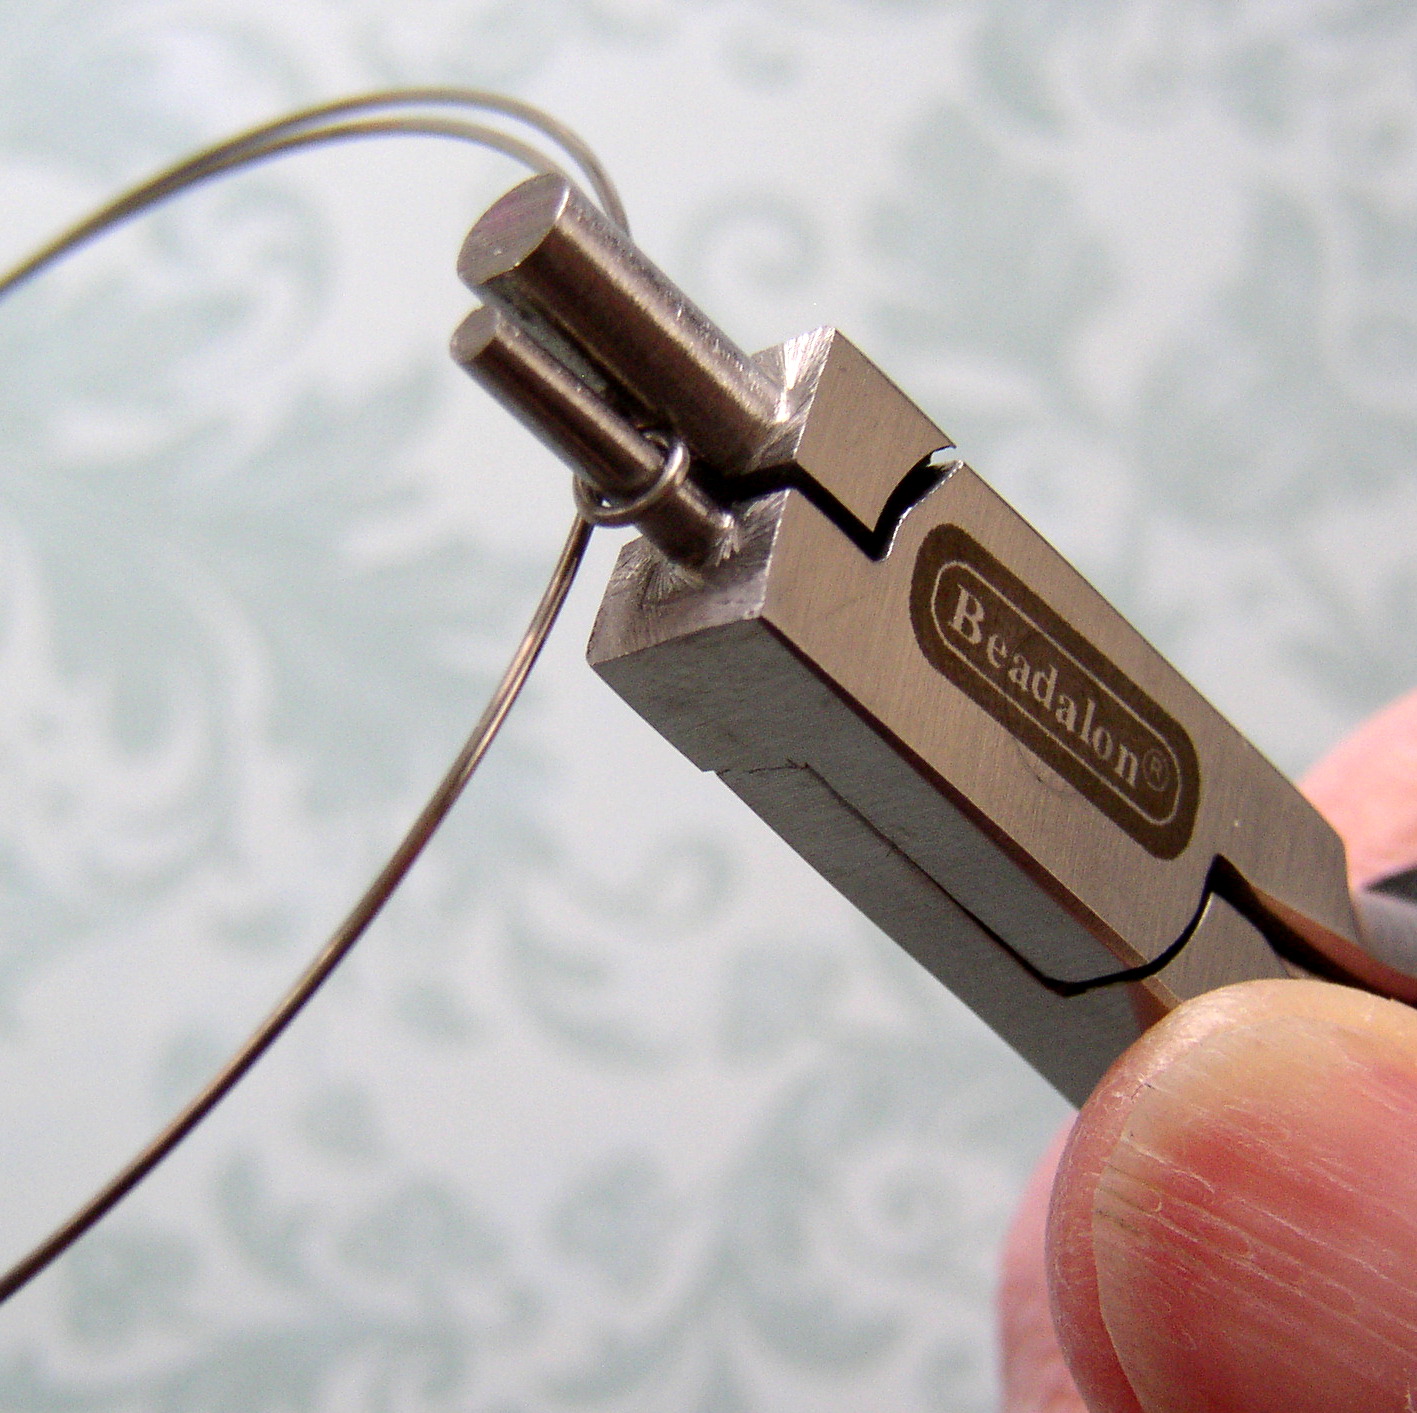
Step 1: Use the memory-wire bending pliers to form an outward-facing loop on one end.
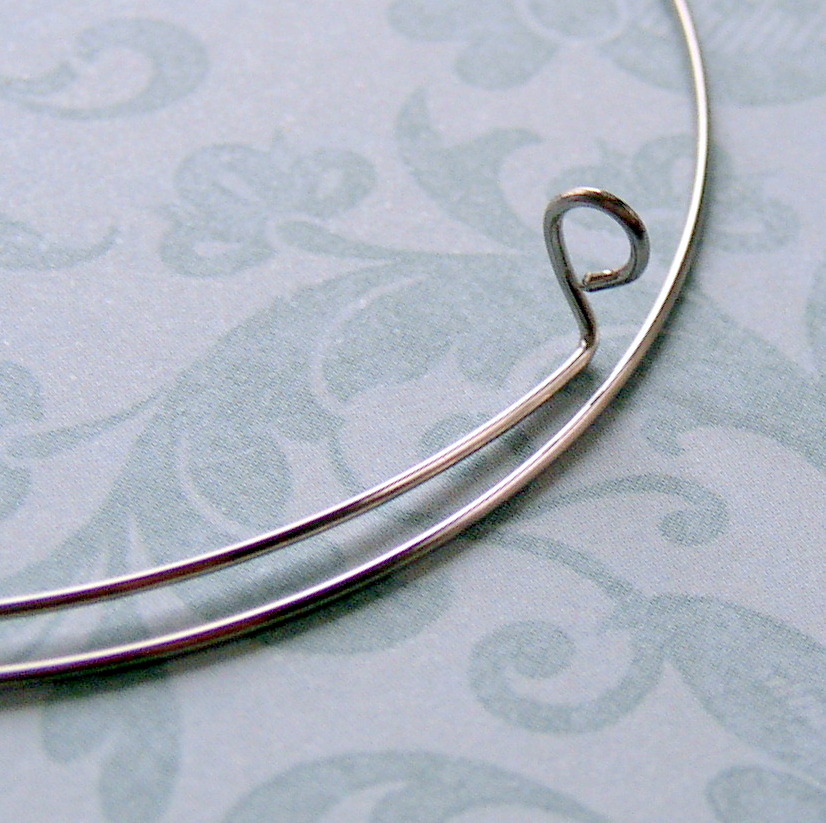
Step 2: Grasp the loop with flat-nose pliers and make a 90-degree bend.
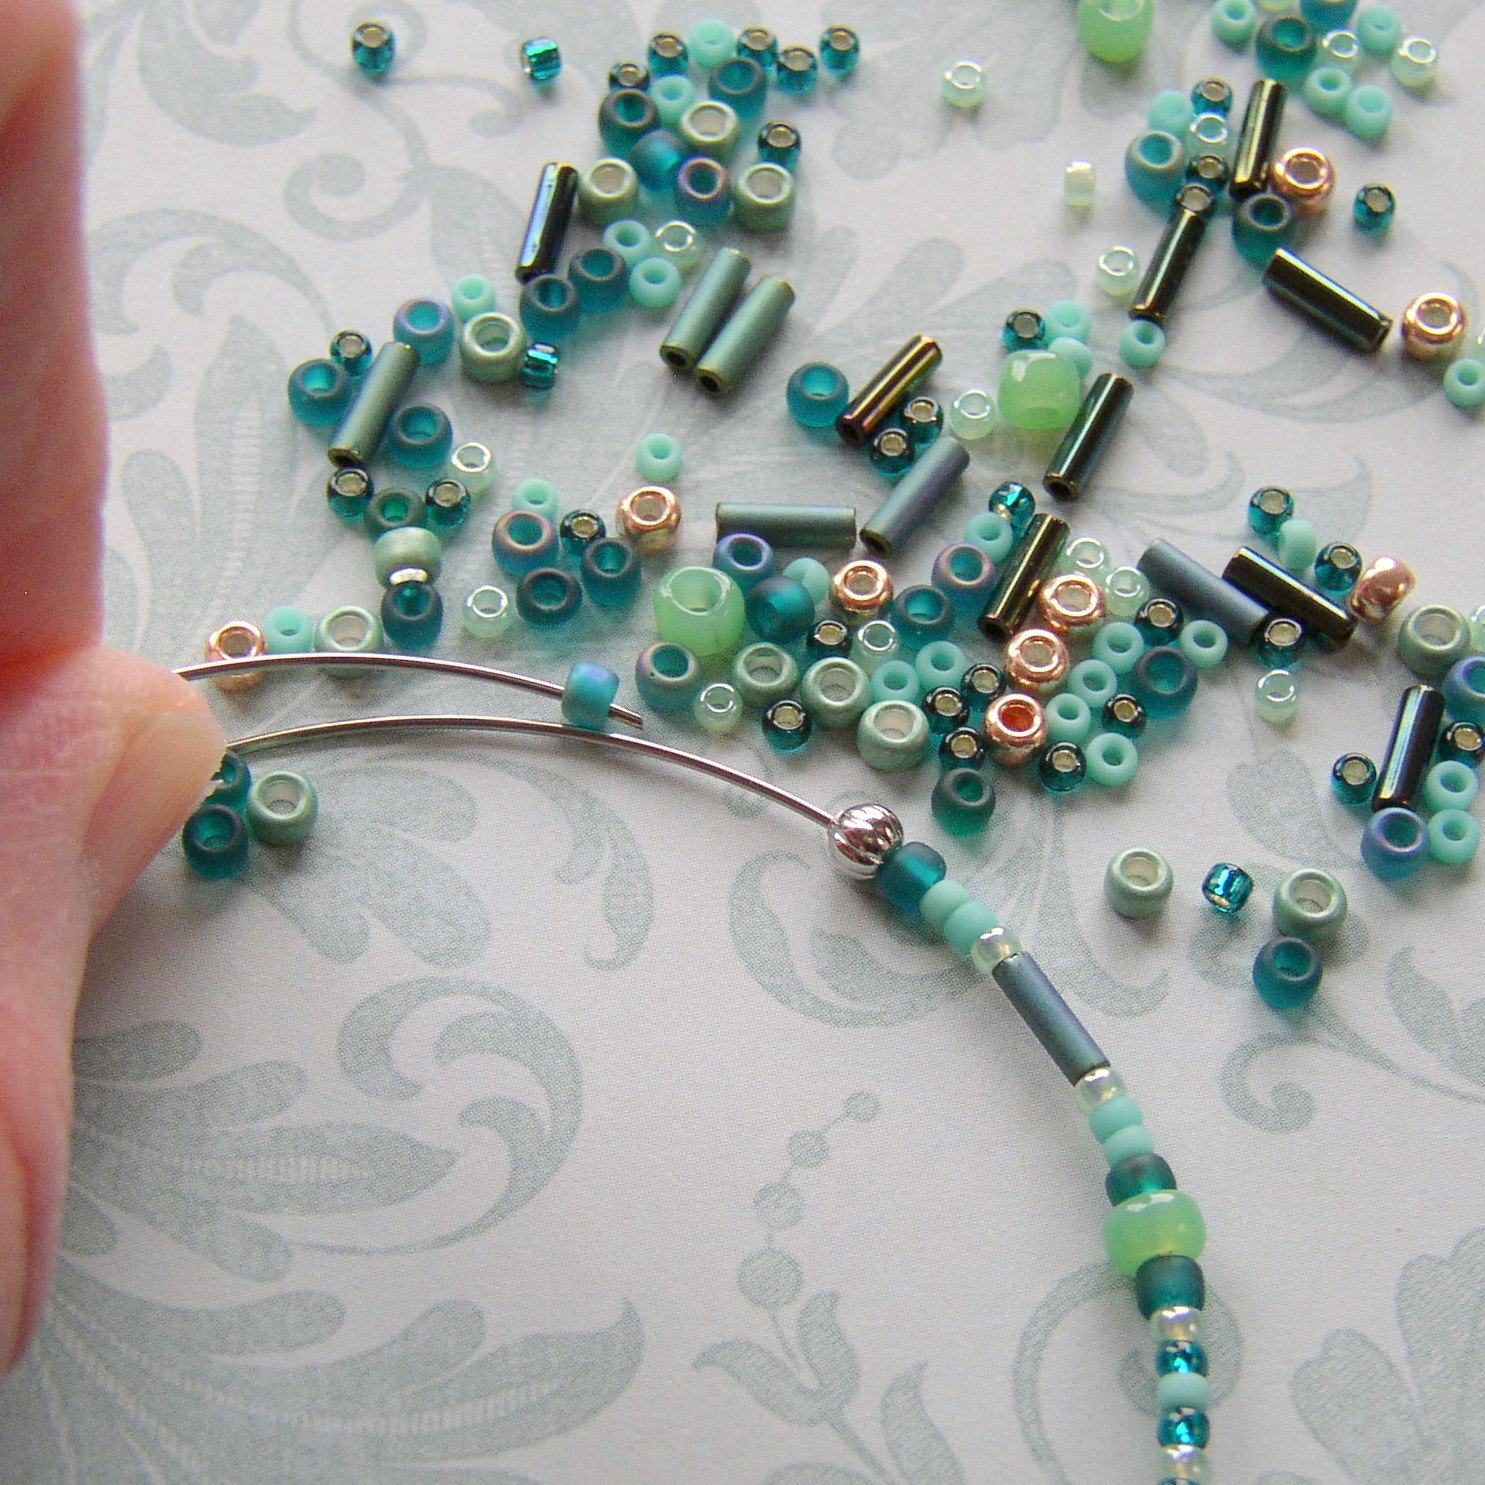
Step 3: String one 3mm round corrugated metal bead on the wire; this bead is sized larger than the end loop and will hold the beads in place. String the TOHO beads randomly or in your desired pattern (approximately 6 inches). End with a second 3mm corrugated metal bead. You now have approx. 6 inches of beaded wire and approx. 1-3/4 inches of overlapping blank wire.

Step 4: Add jump rings to each of the charm adornments. Follow the instructions for opening and closing jump rings in Rings & Things’ “Jewelry Basics 101” Technique Sheet.

Step 5: On the bracelet, use heavy-duty cutters to cut the unfinished end of memory wire 1/2 inch beyond the 1-3/4 inches of overlapping blank wire. String the cut end through the first memory-wire loop. String the two charms onto the open wire end. Use the memory-wire bending pliers to form an inward-facing loop on the unfinished end, leaving the loop slightly open.
Step 6: Grasp the loop with flat-nose pliers and make a 90-degree bend that faces the opposite direction of the first loop. Link the loop over the bracelet wire and close the loop.
Step 7: To open the bracelet, grasp the two 3mm corrugated metal beads and pull the wire to expand the opening. To close the bracelet, gently squeeze the sides.

Your finished “Happy Octopus” Alex and Ani Style Expandable Wire Bracelet is ready to enjoy!
Make Things! ~ Mollie
Editor’s Note: This blog was originally titled “How to Make an Expandable Wire Bangle Bracelet”

8 Comments
Love the colors and uniqueness of this bracelet!
Love these! But how do you close the second loop (the loop that you have to leave slightly open when the bangle is finished to slip over the wire)? I’ve managed to make a second loop, but after I slip it over the wire, I can’t close it and have it maintain its nice circle shape. Please email me! Thanks!
Hi G!
It is true, the memory wire is super sturdy and a little tricky to fully close. I used my flat nose pliers to squeeze the loop closed. Another method to try is to fully form a closed loop with the memory-wire bending pliers, and then twist the loop open to the side, slip the bracelet wire in place and then twist the loop closed (similar to opening and closing a jump ring).
Hope this helps!
Mollie
Wow! This is perfect! Thanks for sharing!
Thank you very helpful
What is the guage of the memory wire that you are ysing. I bought Bead-a-long but it seems thinner than the alex and ani wire.
Hi Glo,
Beadalon memory wire is 22 gauge. I believe the Alex and Ani bracelets are closer to 14 gauge but I’m not positive. I’m also not sure exactly what type of material the Alex and Ani bracelets are made of — some metals are too hard to work by hand at 14 gauge. (14 gauge memory wire would break jewelry pliers and cutters.) And some metals, such as copper, need to be work hardened to be springy enough to keep a bracelet shape in 14 gauge. Memory wire is a nice compromise because it is already pre-formed into a bracelet size, and it’s not too hard to make simple loops that also keep their shape. The extra steps required to make these bracelets by hand using most 14-gauge wire available for jewelers and crafters, would make it more a workshop project, rather than a kit or blog project. Another option is the pre-made bracelet blanks: http://www.rings-things.com/Products/Cuffs-Bangles-and-Beadable-Bracelet-Blanks/ that you can then add charms too. But most beads won’t fit on the heavier 14 gauge wire. ~Polly
Thank you, I look forward to trying this tonight