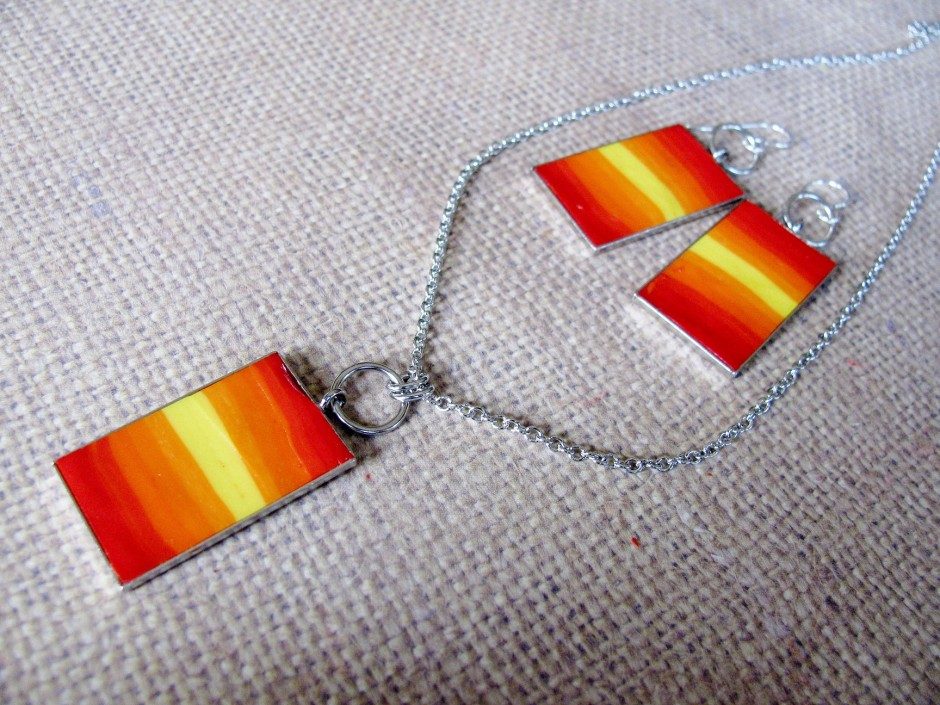
I must admit, polymer clay is a material I rarely think of using when creating jewelry designs. But lately, I have seen some jewelry on etsy and pinterest that have made me second guess this almost forgotten medium. I mean it is very versatile. It allows you to create simple, yet modern and edgy designs. So when I was faced with the daunting task of making something with polymer clay my mind went straight to an ombre design. When something is ombre it means it is graduated tones of colors, like a sunset. Perfect, I thought! I will make sunset ombre pendants! And I must admit, I love how they turned out!

Ombre Sunset Pendants, made with polymer clay
To get started with this project you need to only invest in a few supplies.
- Choose three colors of polymer clay. I used Kato Polyclay, because it is easier and more consistent to work with than other brands I have tried.
- You will need a sharp craft blade. The blades I used are designed for working with polymer clay, so there is no handle at the top that can squish your design.
- Lastly, you need some jewelry bezels to inlay your pretty ombre design. I like the modern sleek look of these rectangle silver plated bezels.
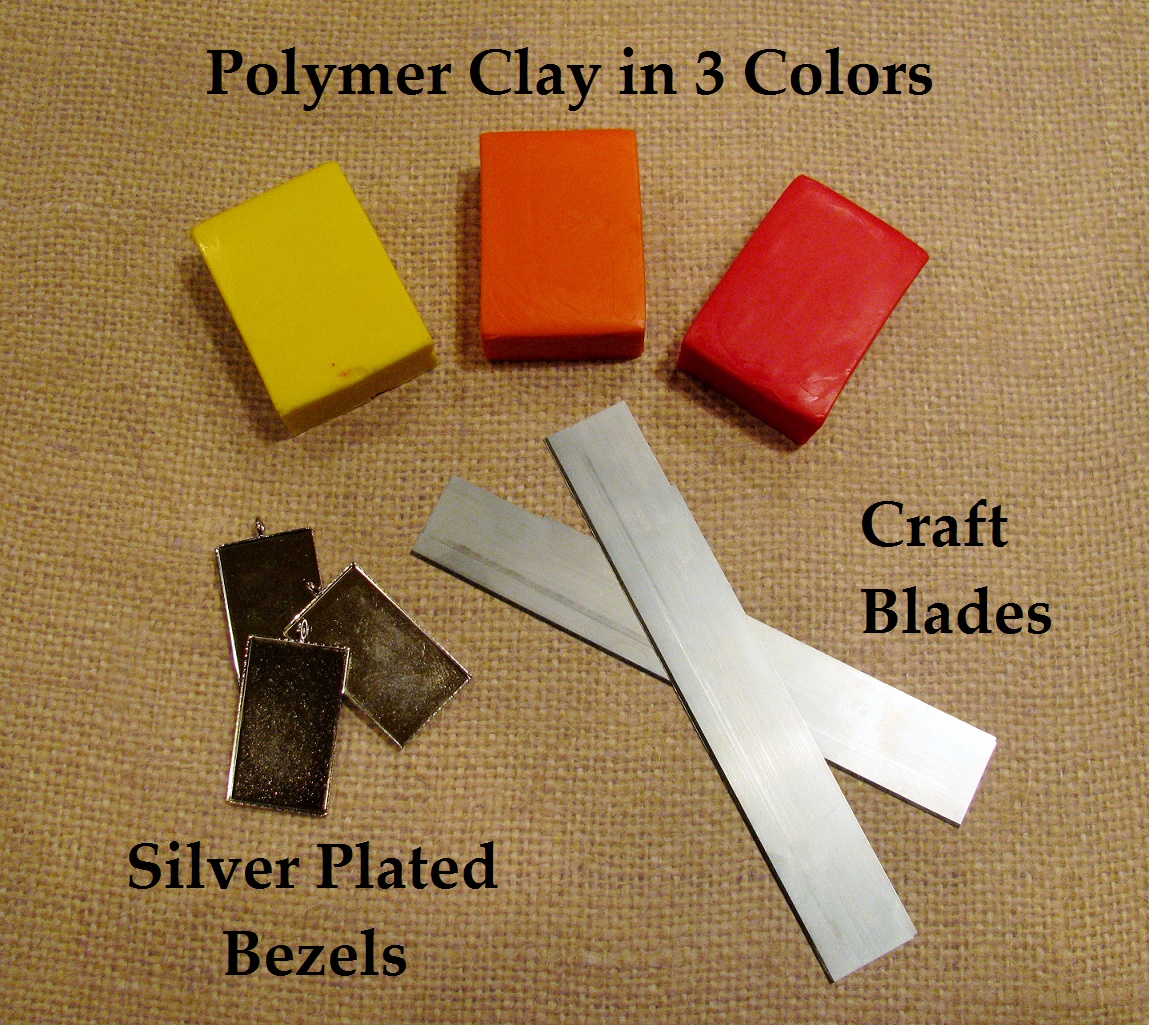
All you need to make a Ombre Sunset Pendant!
To make these Ombre Pendants, simply follow these steps!

Using your craft blade, cut up all the polymer clay into small pieces.
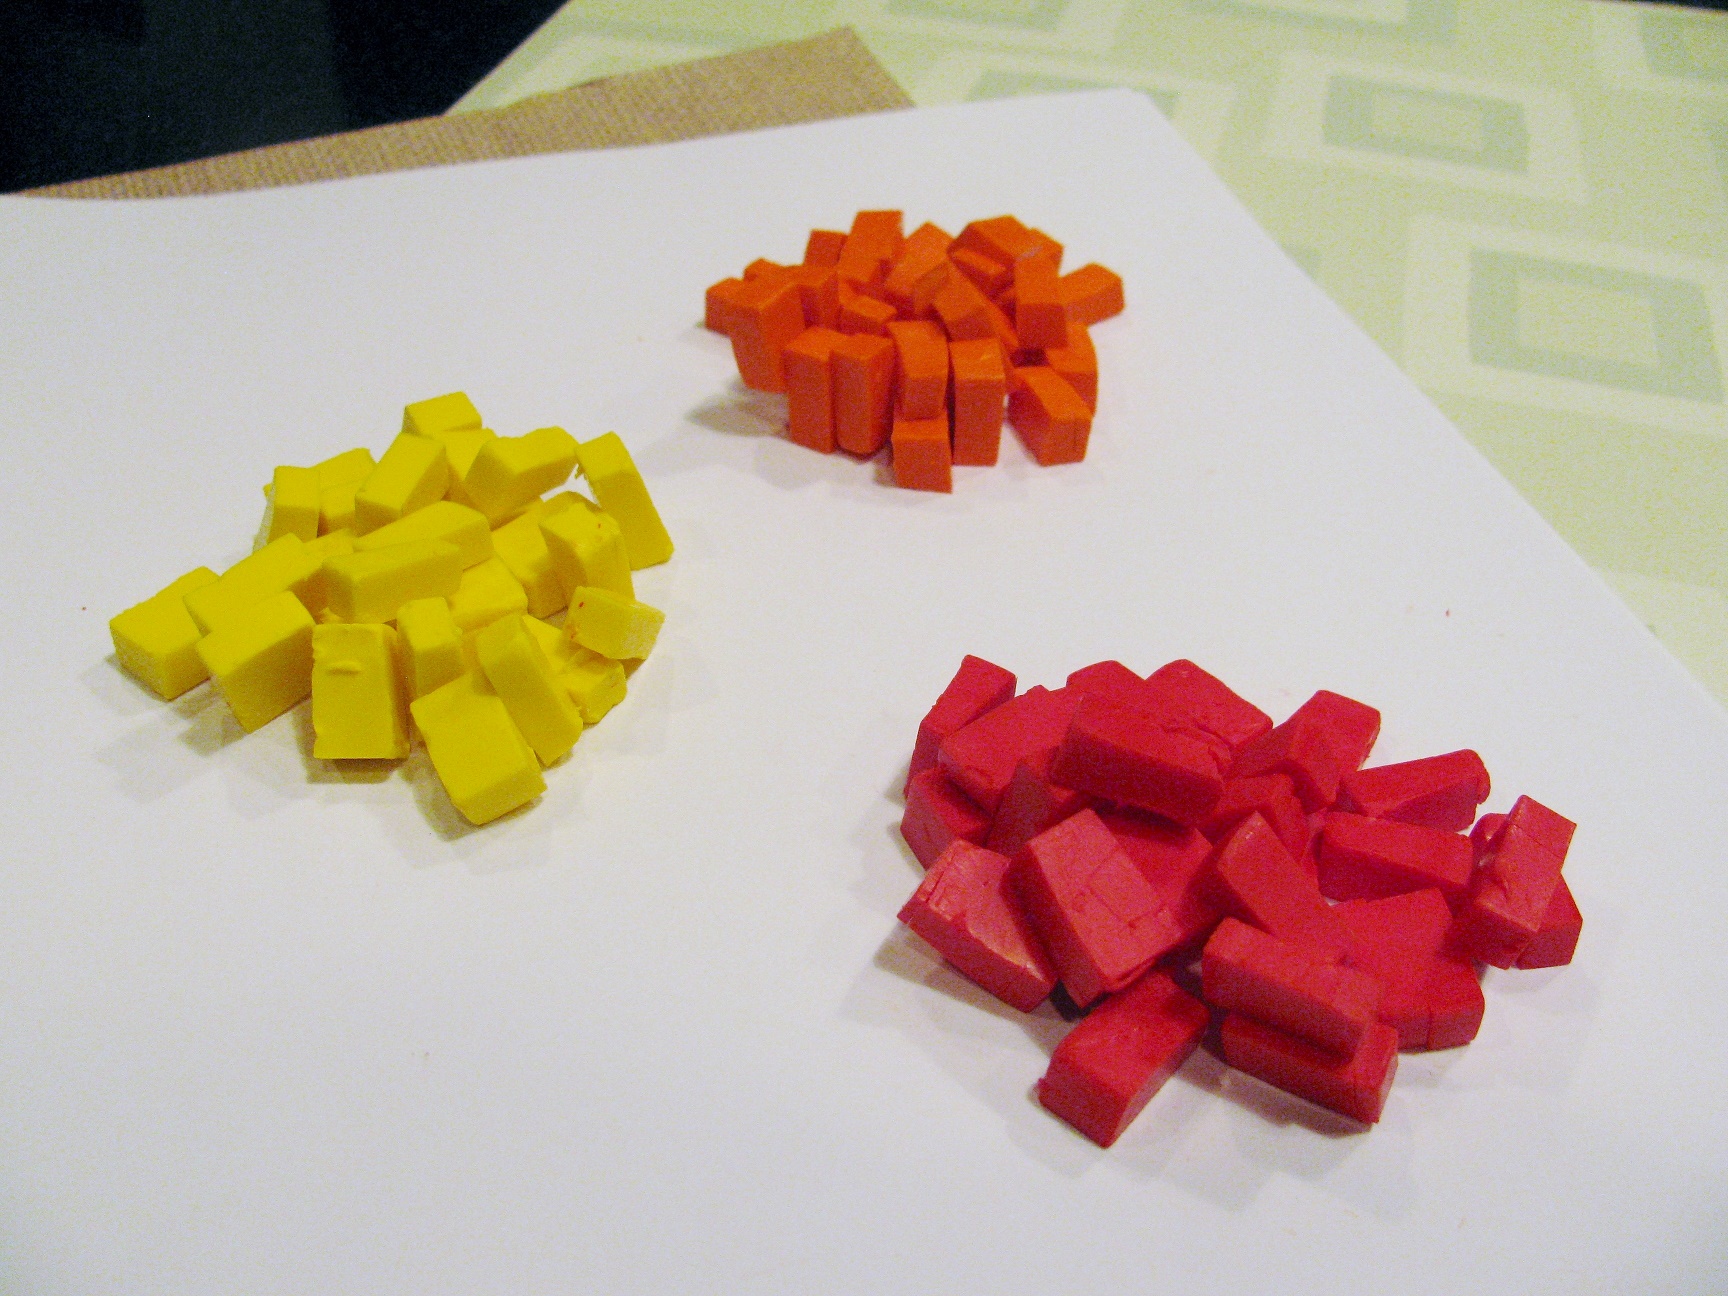
Continue cutting up the clay, until you have three small piles of colorful cubes.

Sort the colors into the categories above. They do not need to be exact. This is art after all!
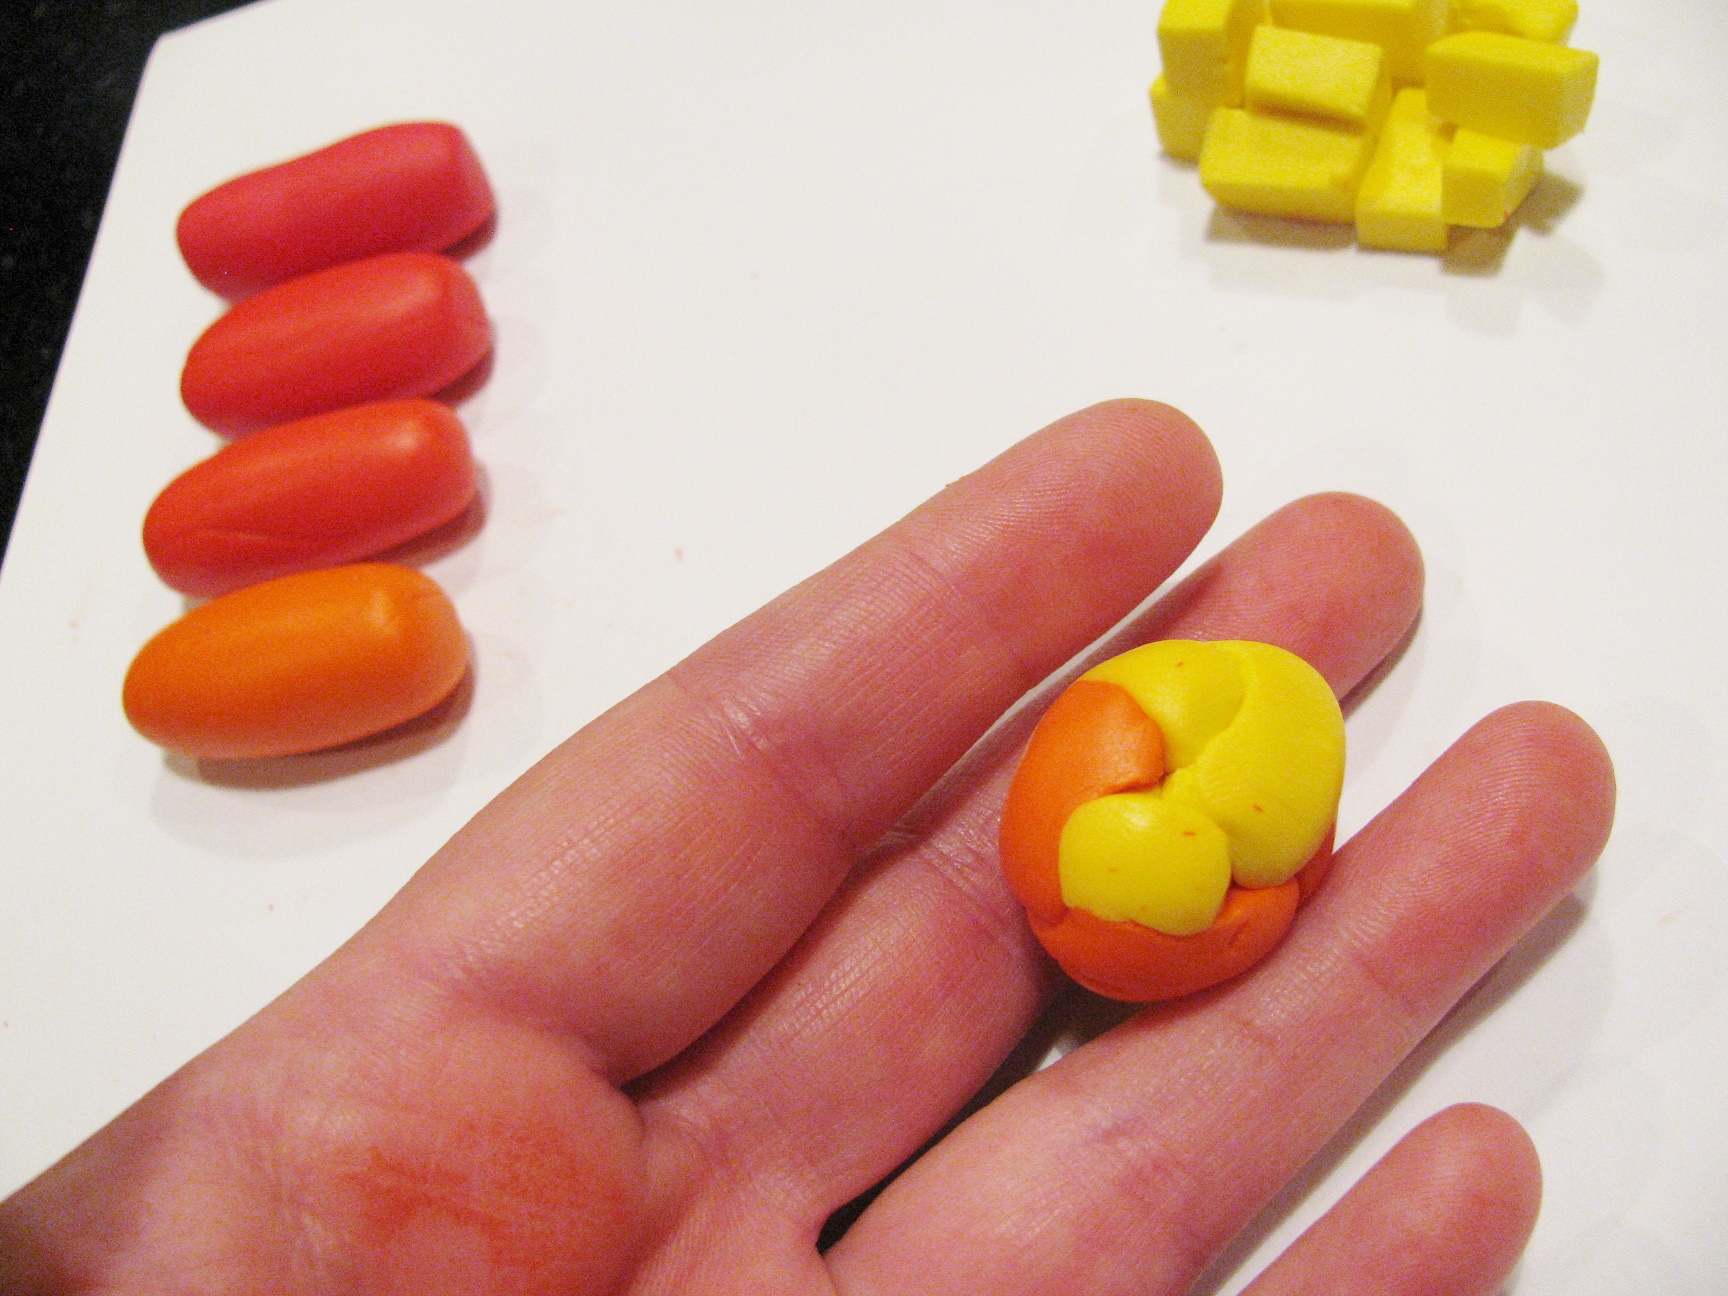
Once you have sorted all the colors of polymer clay you can begin to mix your colors. Warm hands are necessary for this step!
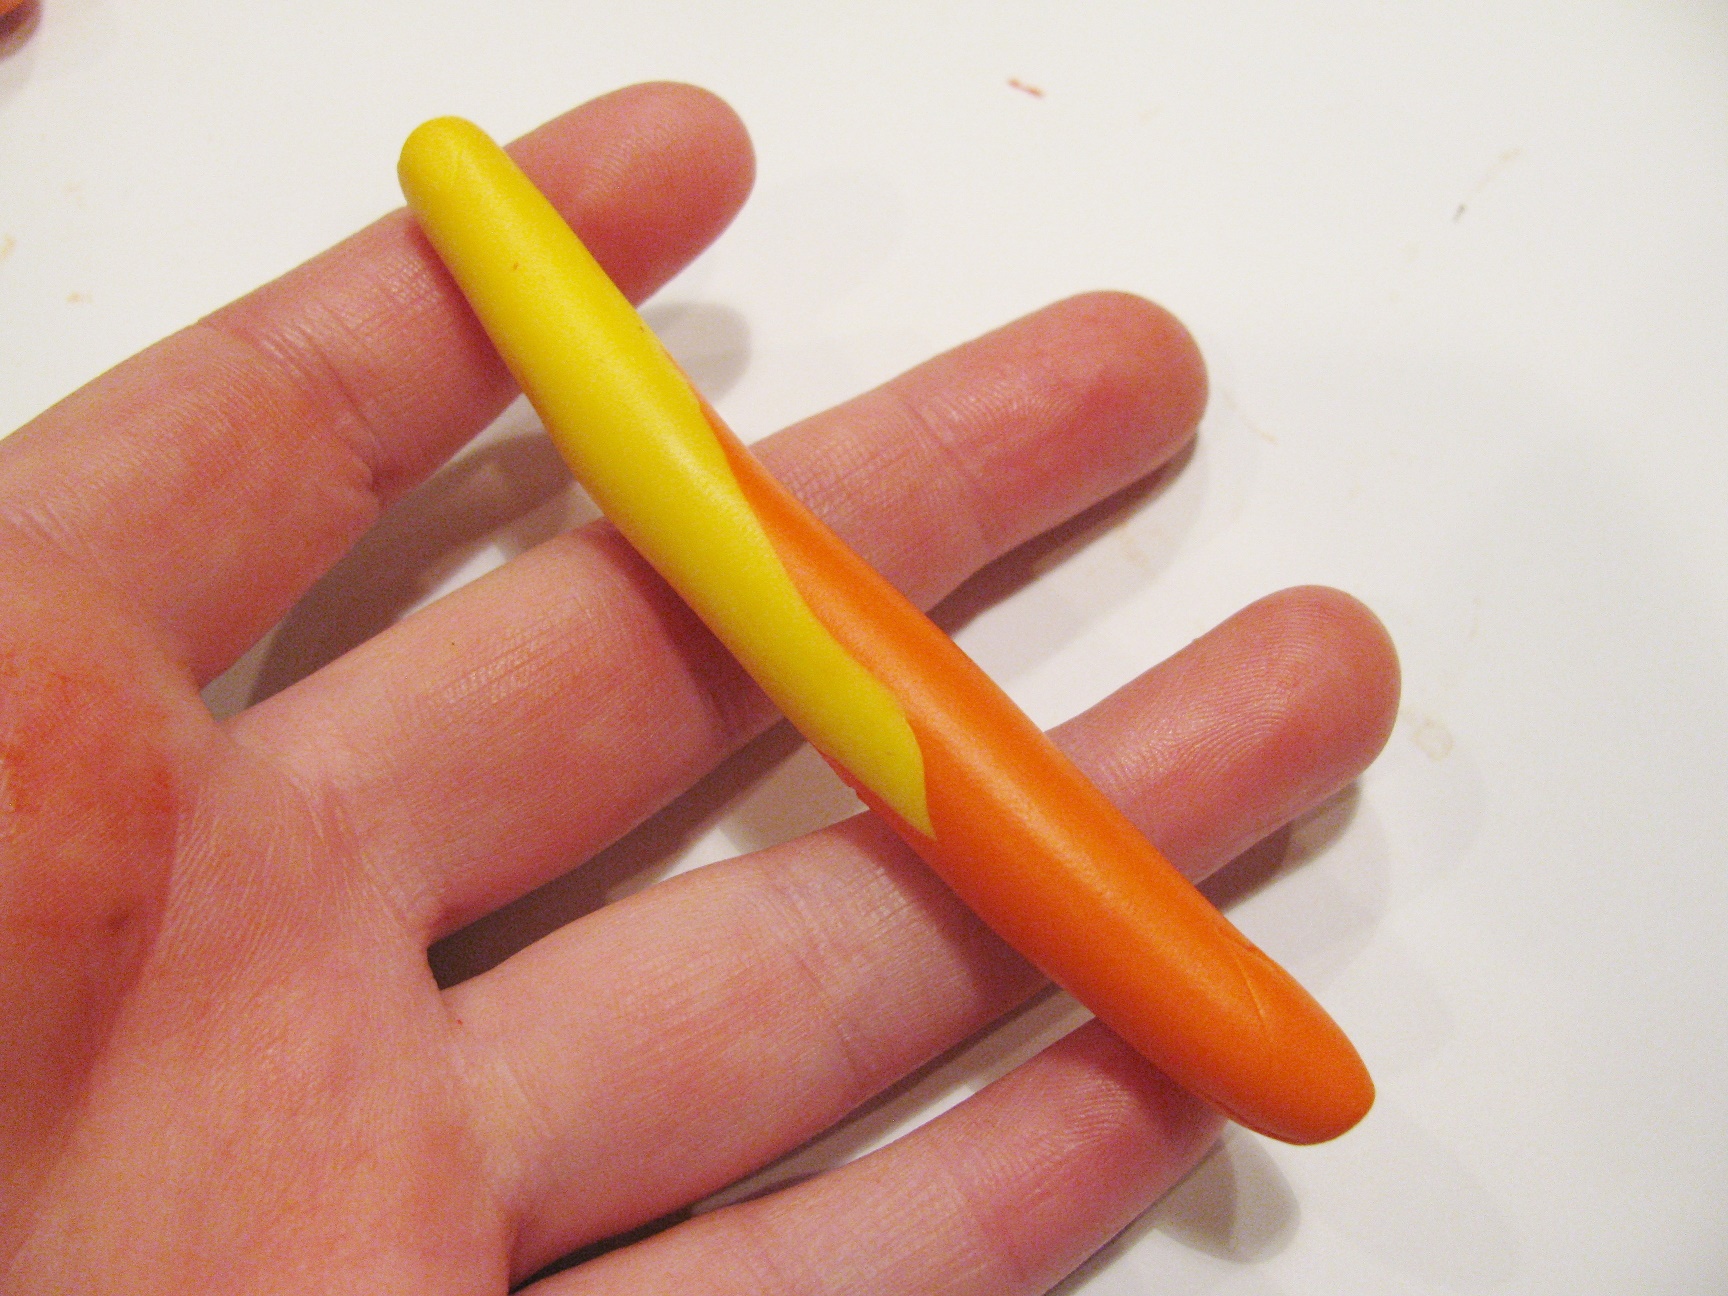
Roll the two colors between your hands until you can form a snake.
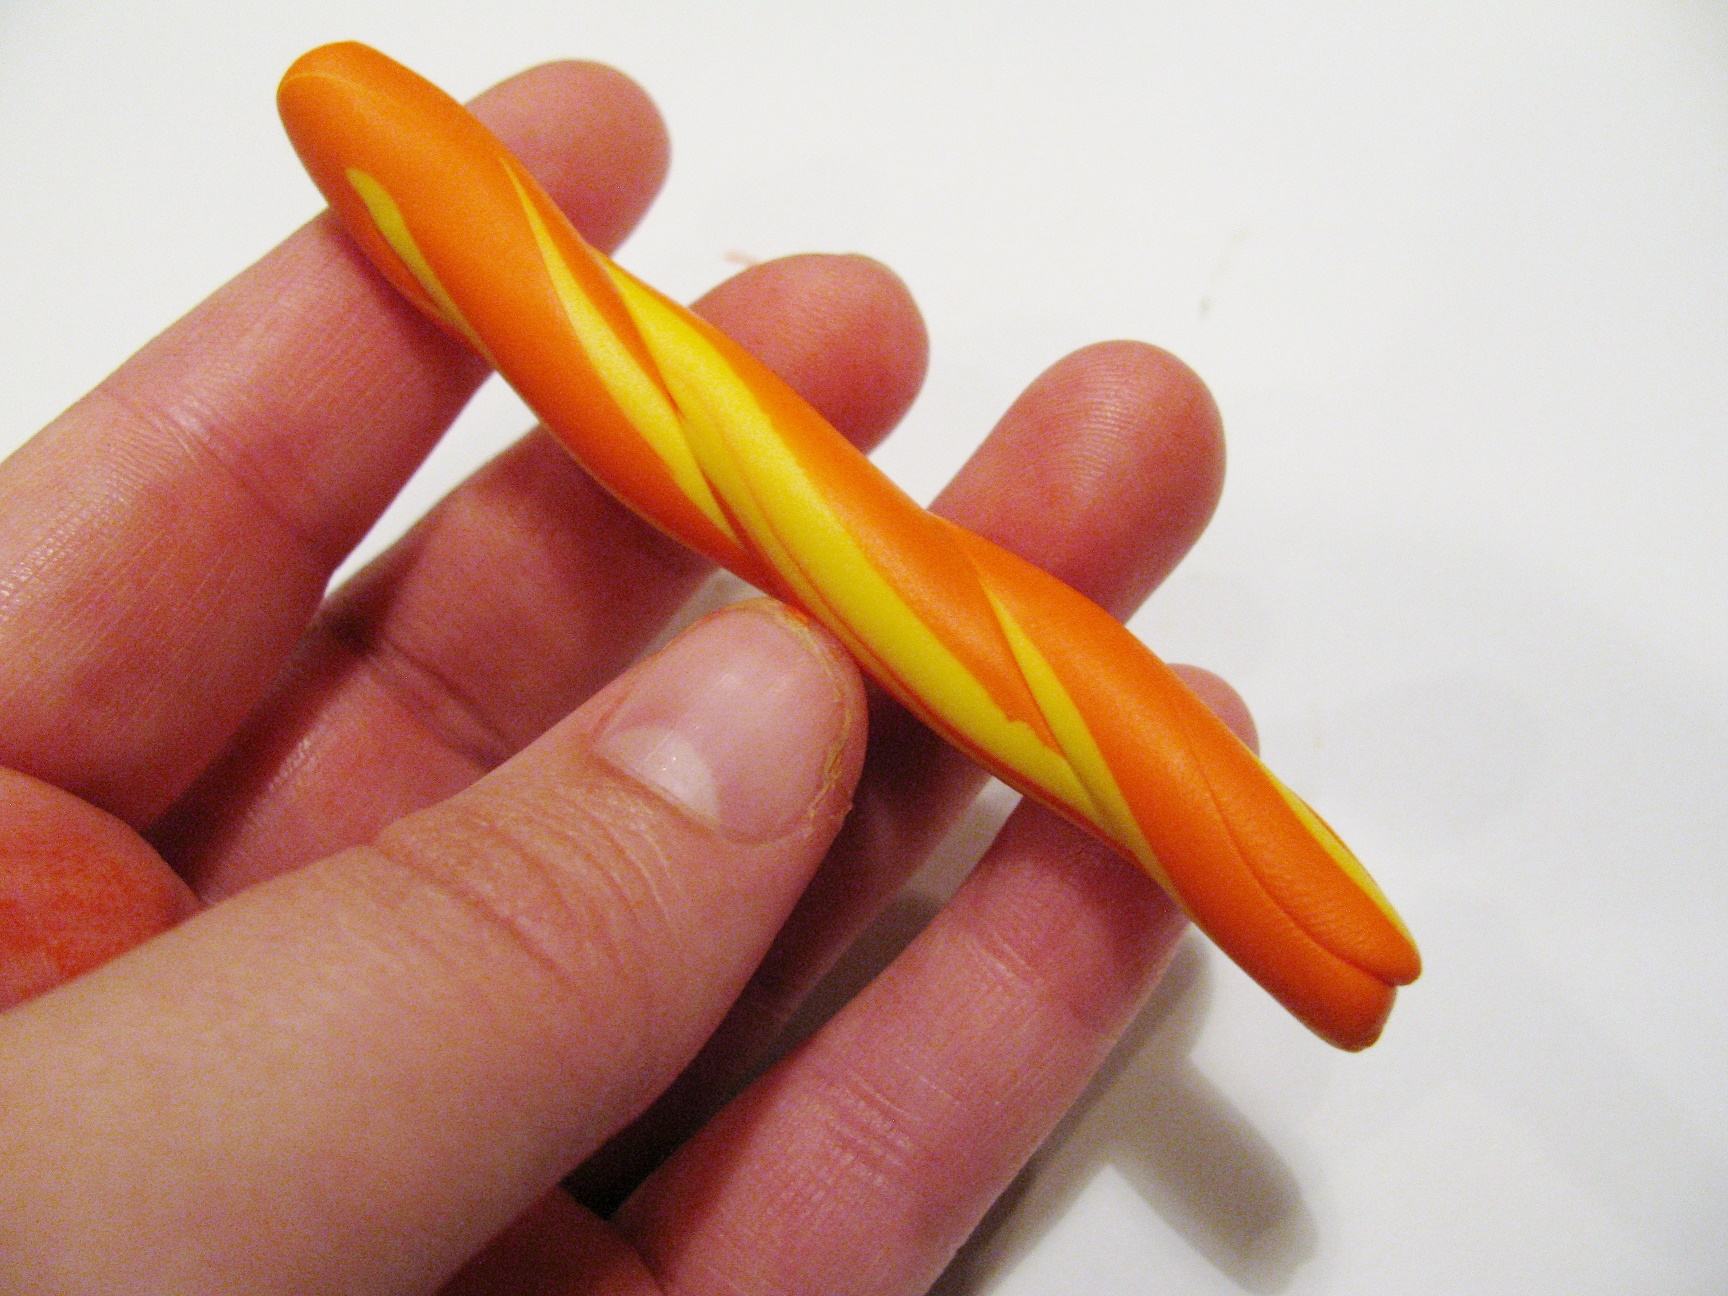
Fold the “snake” in half and continue to roll the clay out into another snake.

Repeat this process, over and over again, until you see the colors blend completely into one.
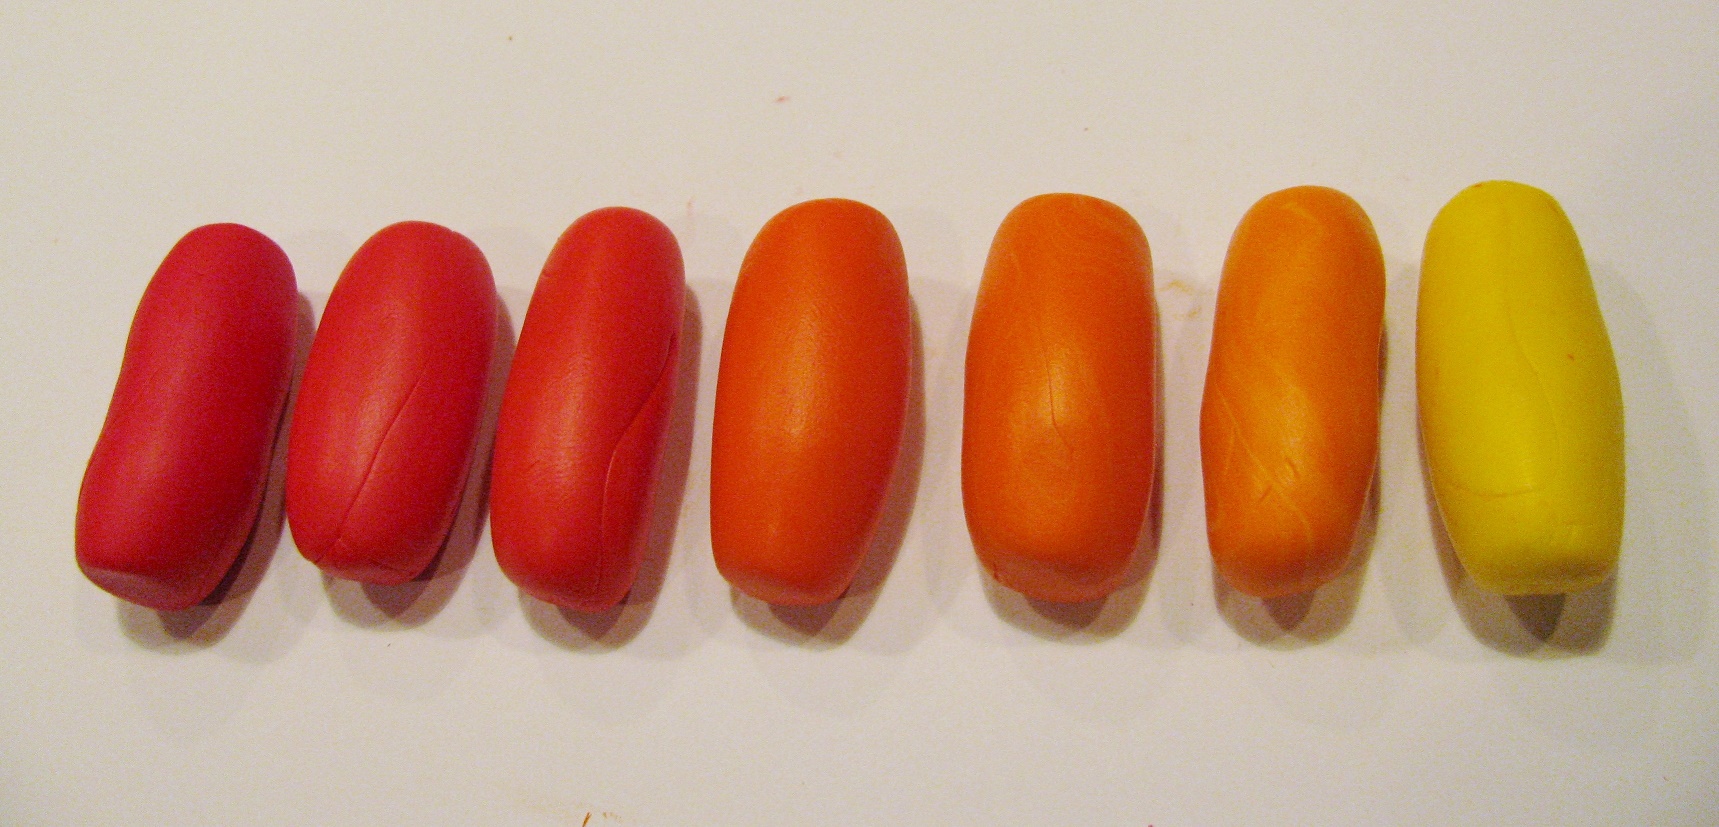
After you have mixed all the colors, roll them into about 1 inch cylinders. Place them in order like a rainbow.
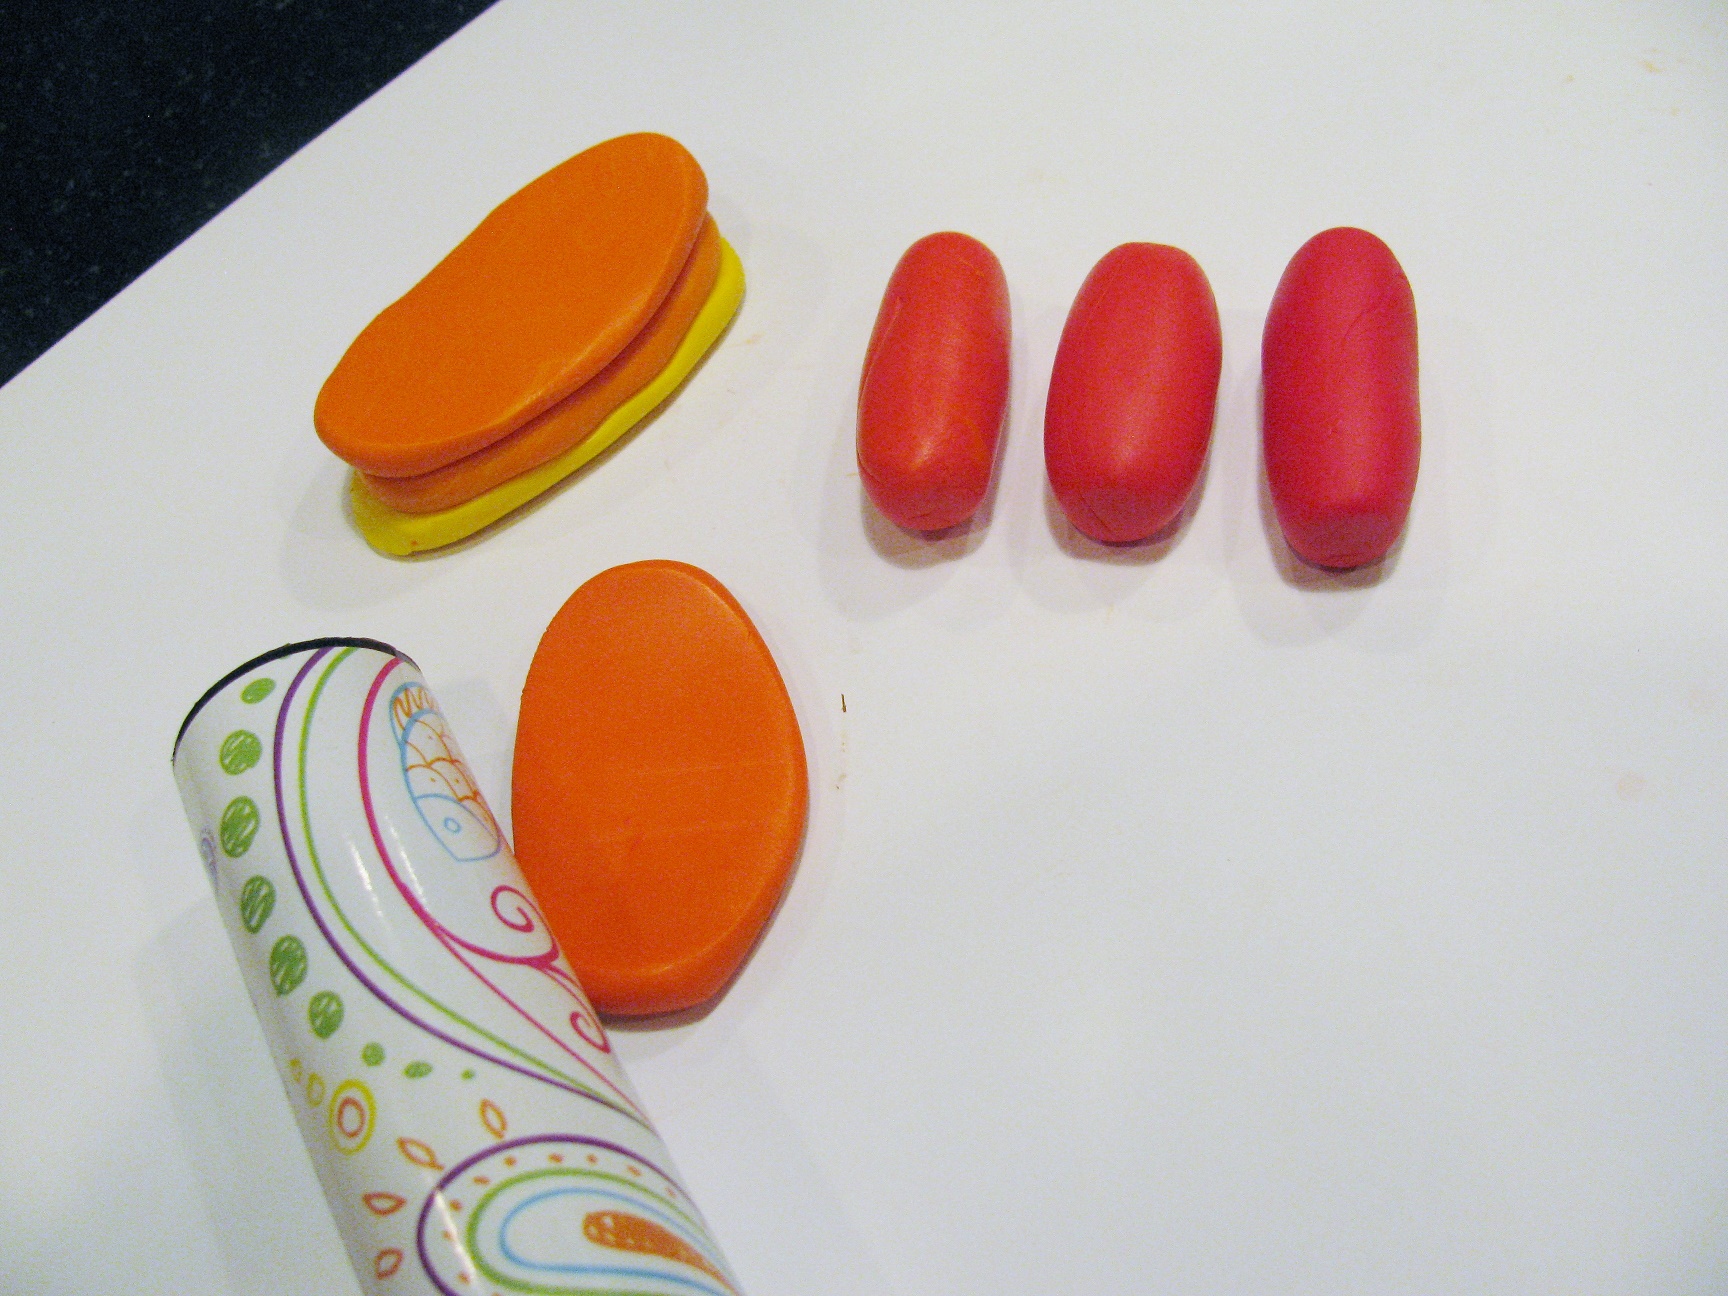
Flatten each piece by rolling it with a rolling pin or jumbo magic marker. Roll them about 1/4 inch thick.

After you have flattened all the colors, stack them like a rainbow.
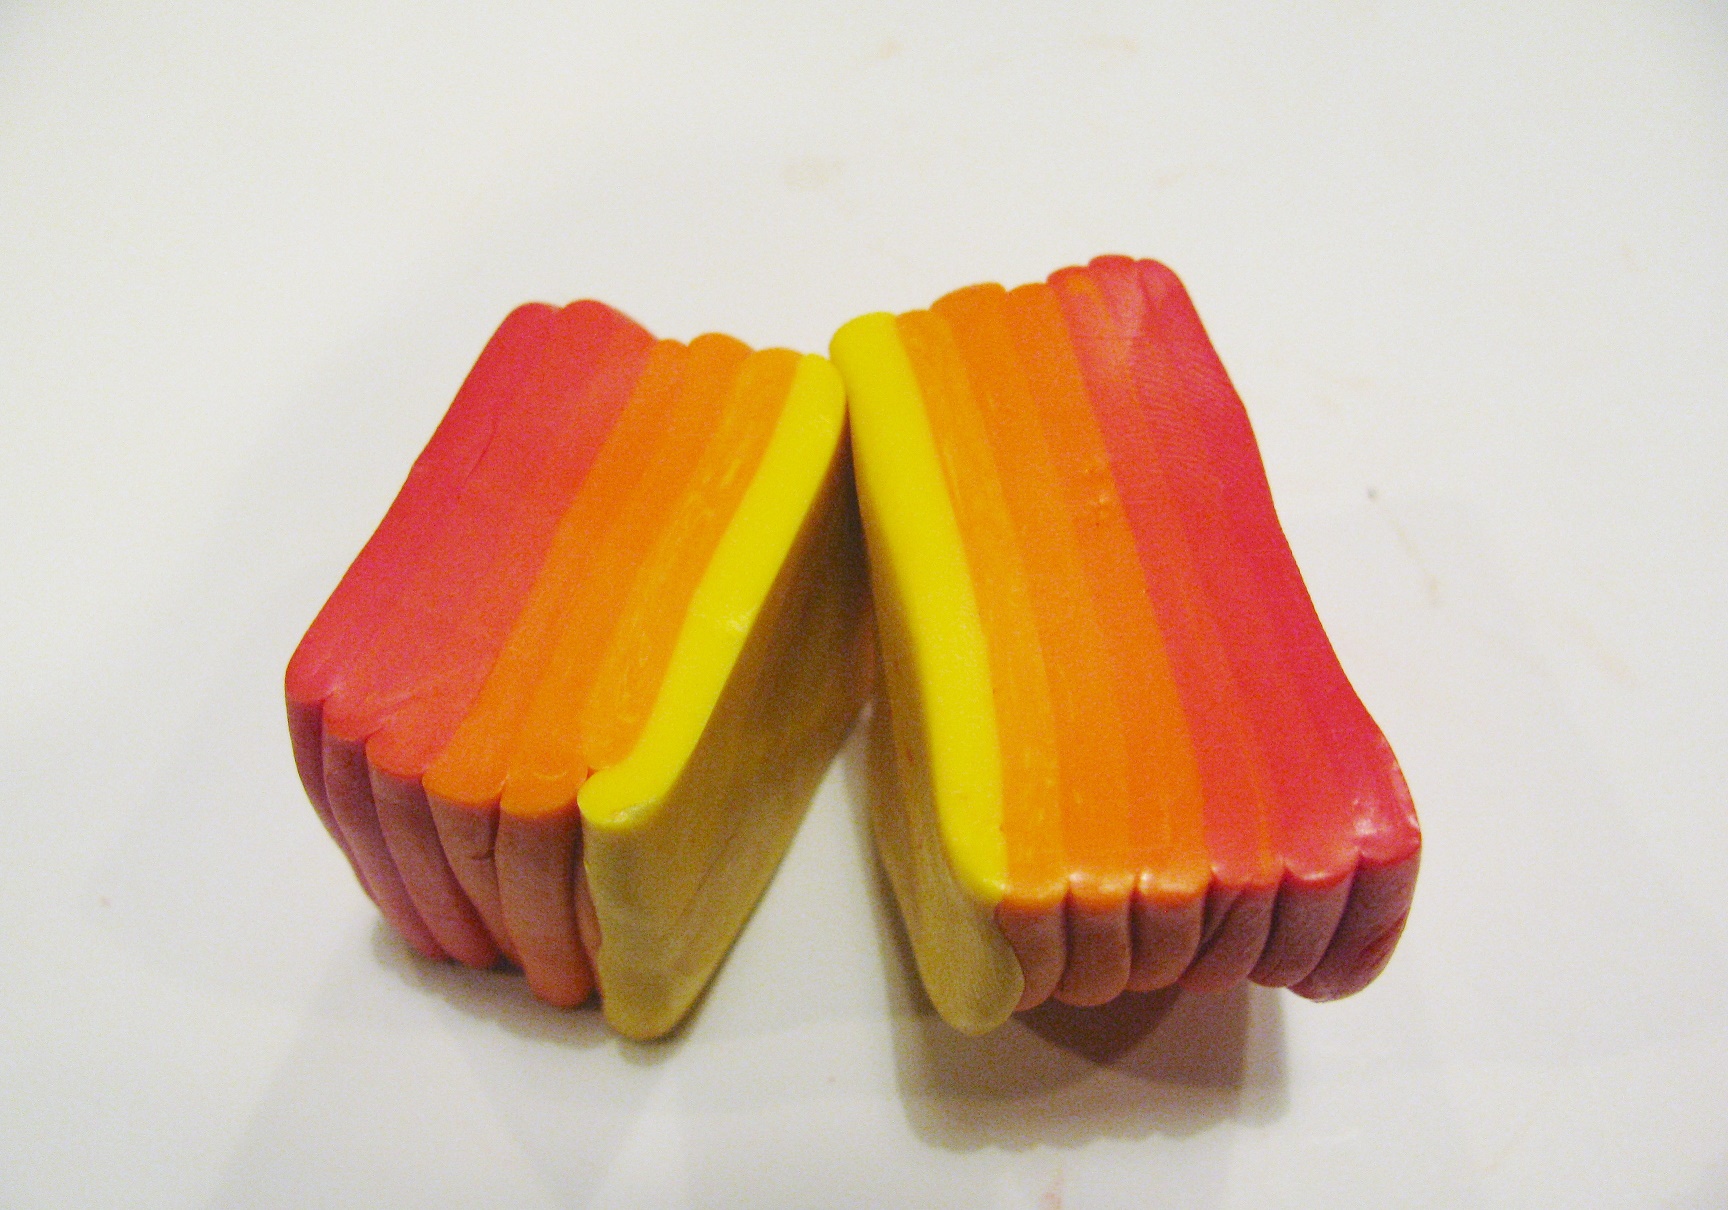
I decided that I wanted to have the ombre pattern work out from the center of the pendants, so I sliced the cane in half and layered it together, so that the yellow sides matched up.
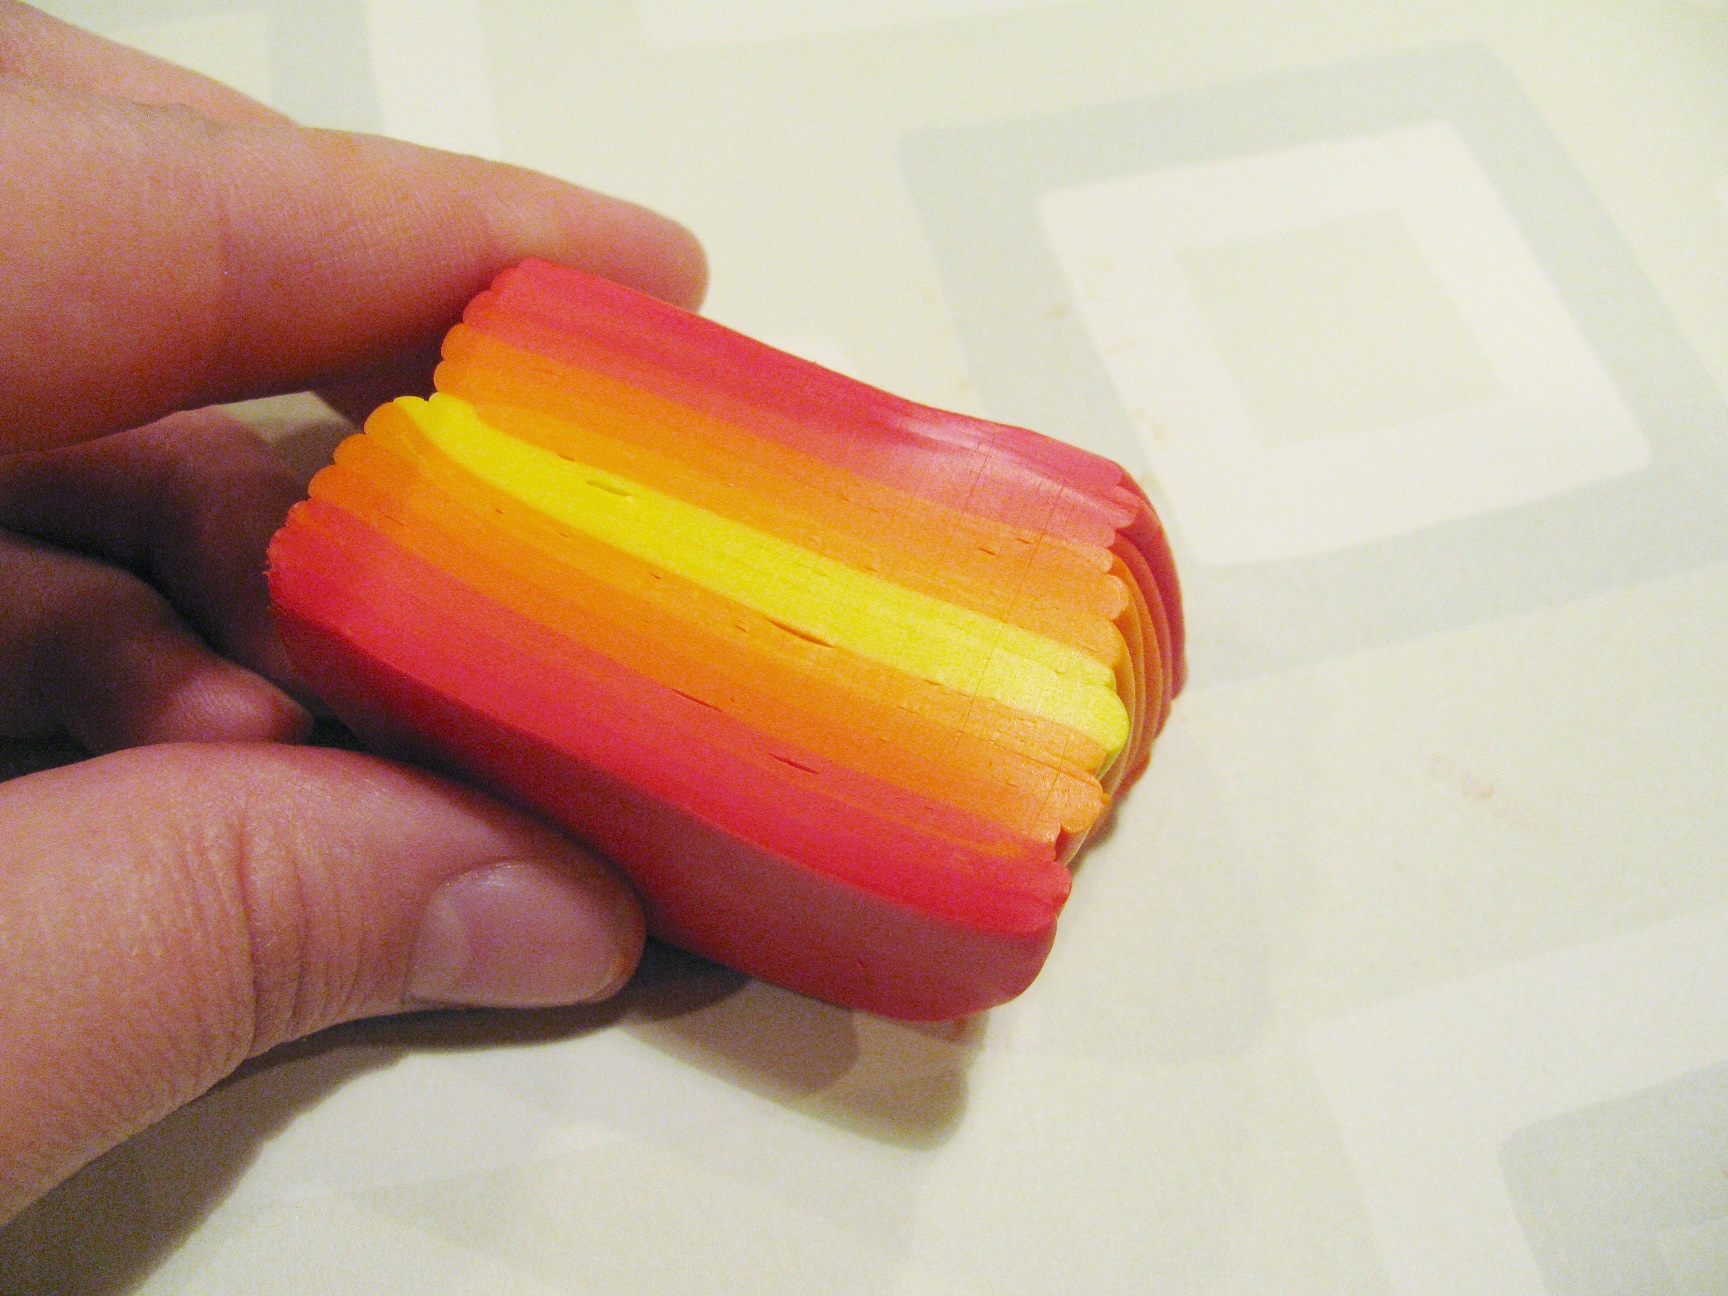
Make sure the two halves are combined by rolling them together a bit with either a small rolling pin or jumbo magic marker.
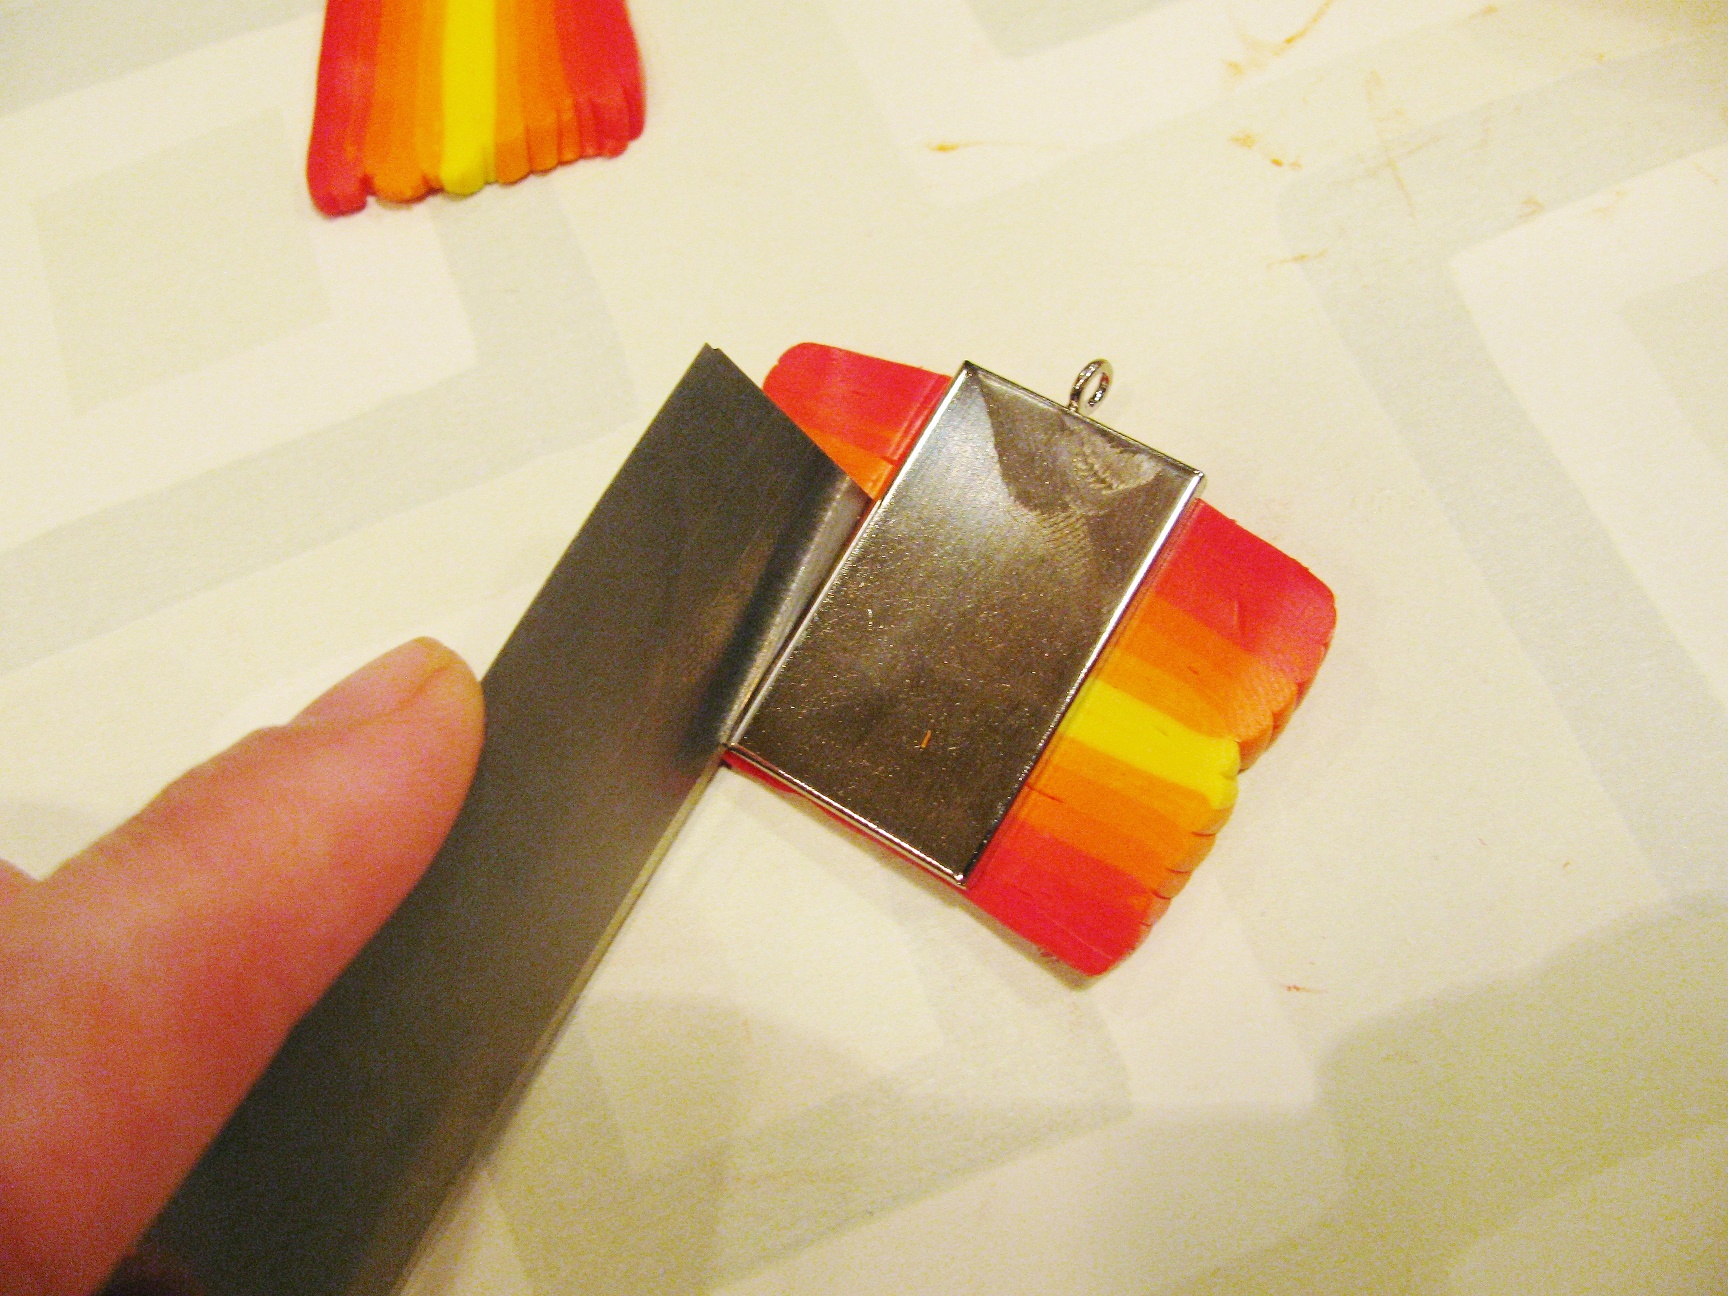
Cut a thin slice of the cane and lay the bezel on top of the slice. Using your knife, trim the clay to the shape of the bezel.
Press the polymer clay into the bezel, making sure that it fills the whole bezel.
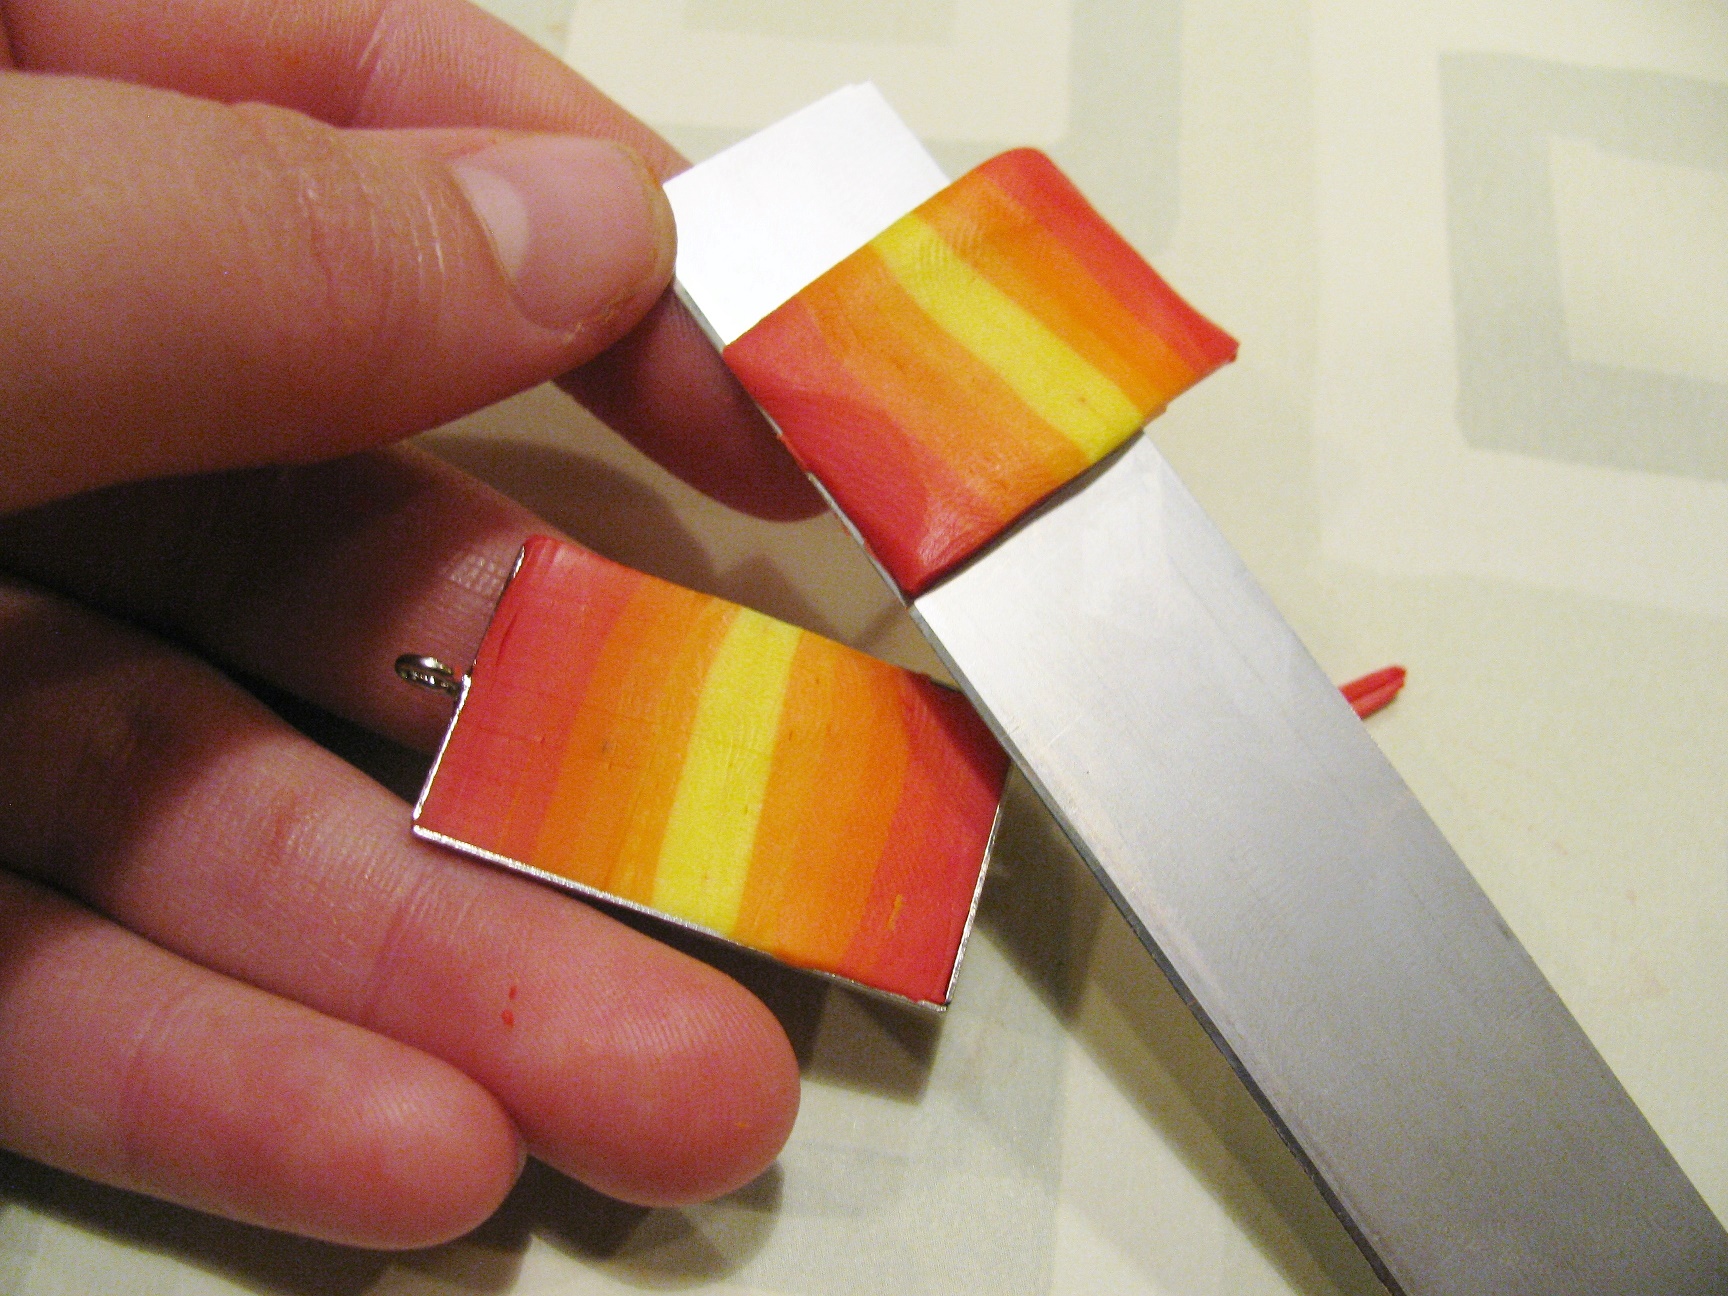
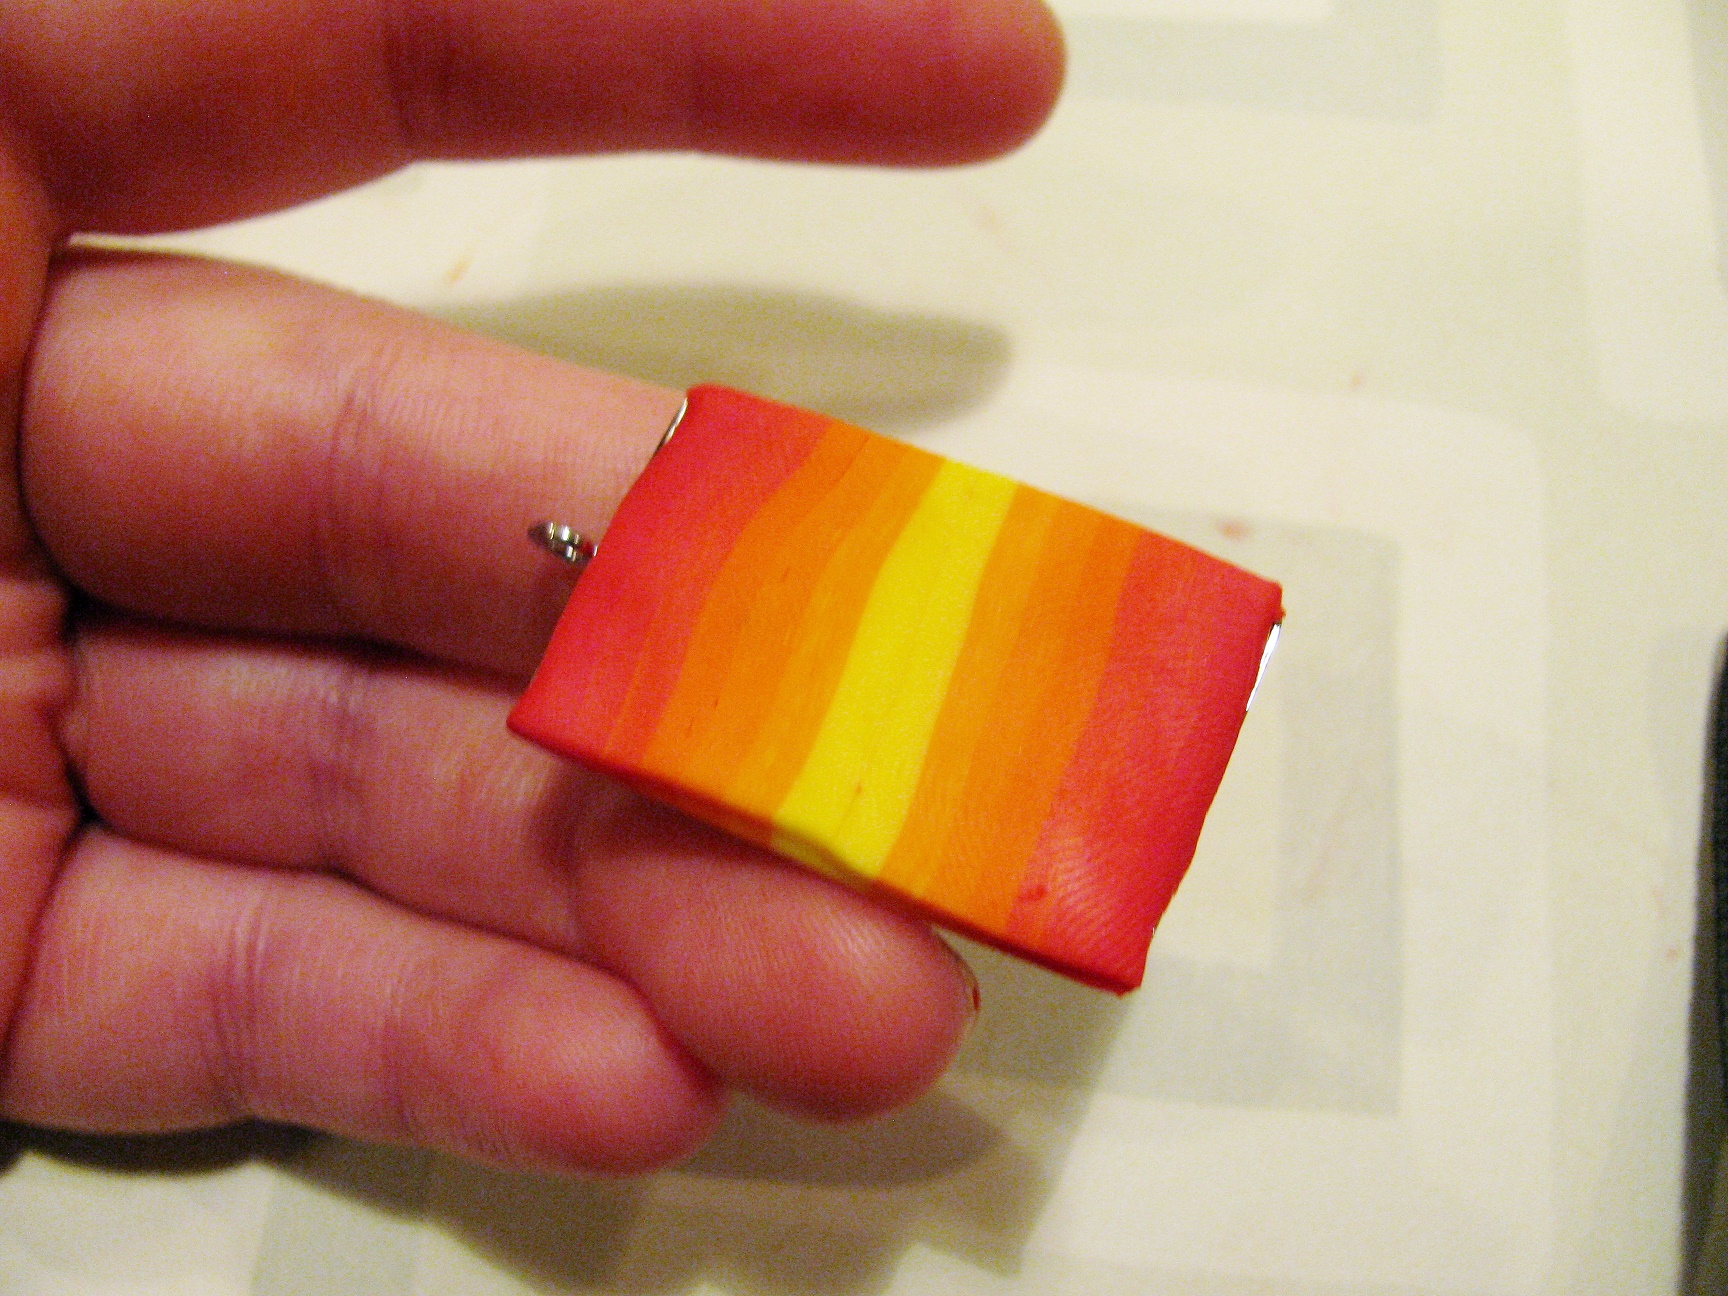
Using your craft blade, trim all the excess polymer clay. There will only remain a very thin slice of the clay in the bezel.

Bake the polymer clay pendants on a sheet pan for 10-15 minutes at 275 degrees.
After you bake the bezel cups, you now have completed pendants! They will have a matte finish, which is nice, or if you want you can make them shiny, like I did, by adding a thin coat of resin spray. After the resin spray dries, you can either hang them from chain to make a necklace, or from jump rings and earring wires to make some bright, vibrant earrings!
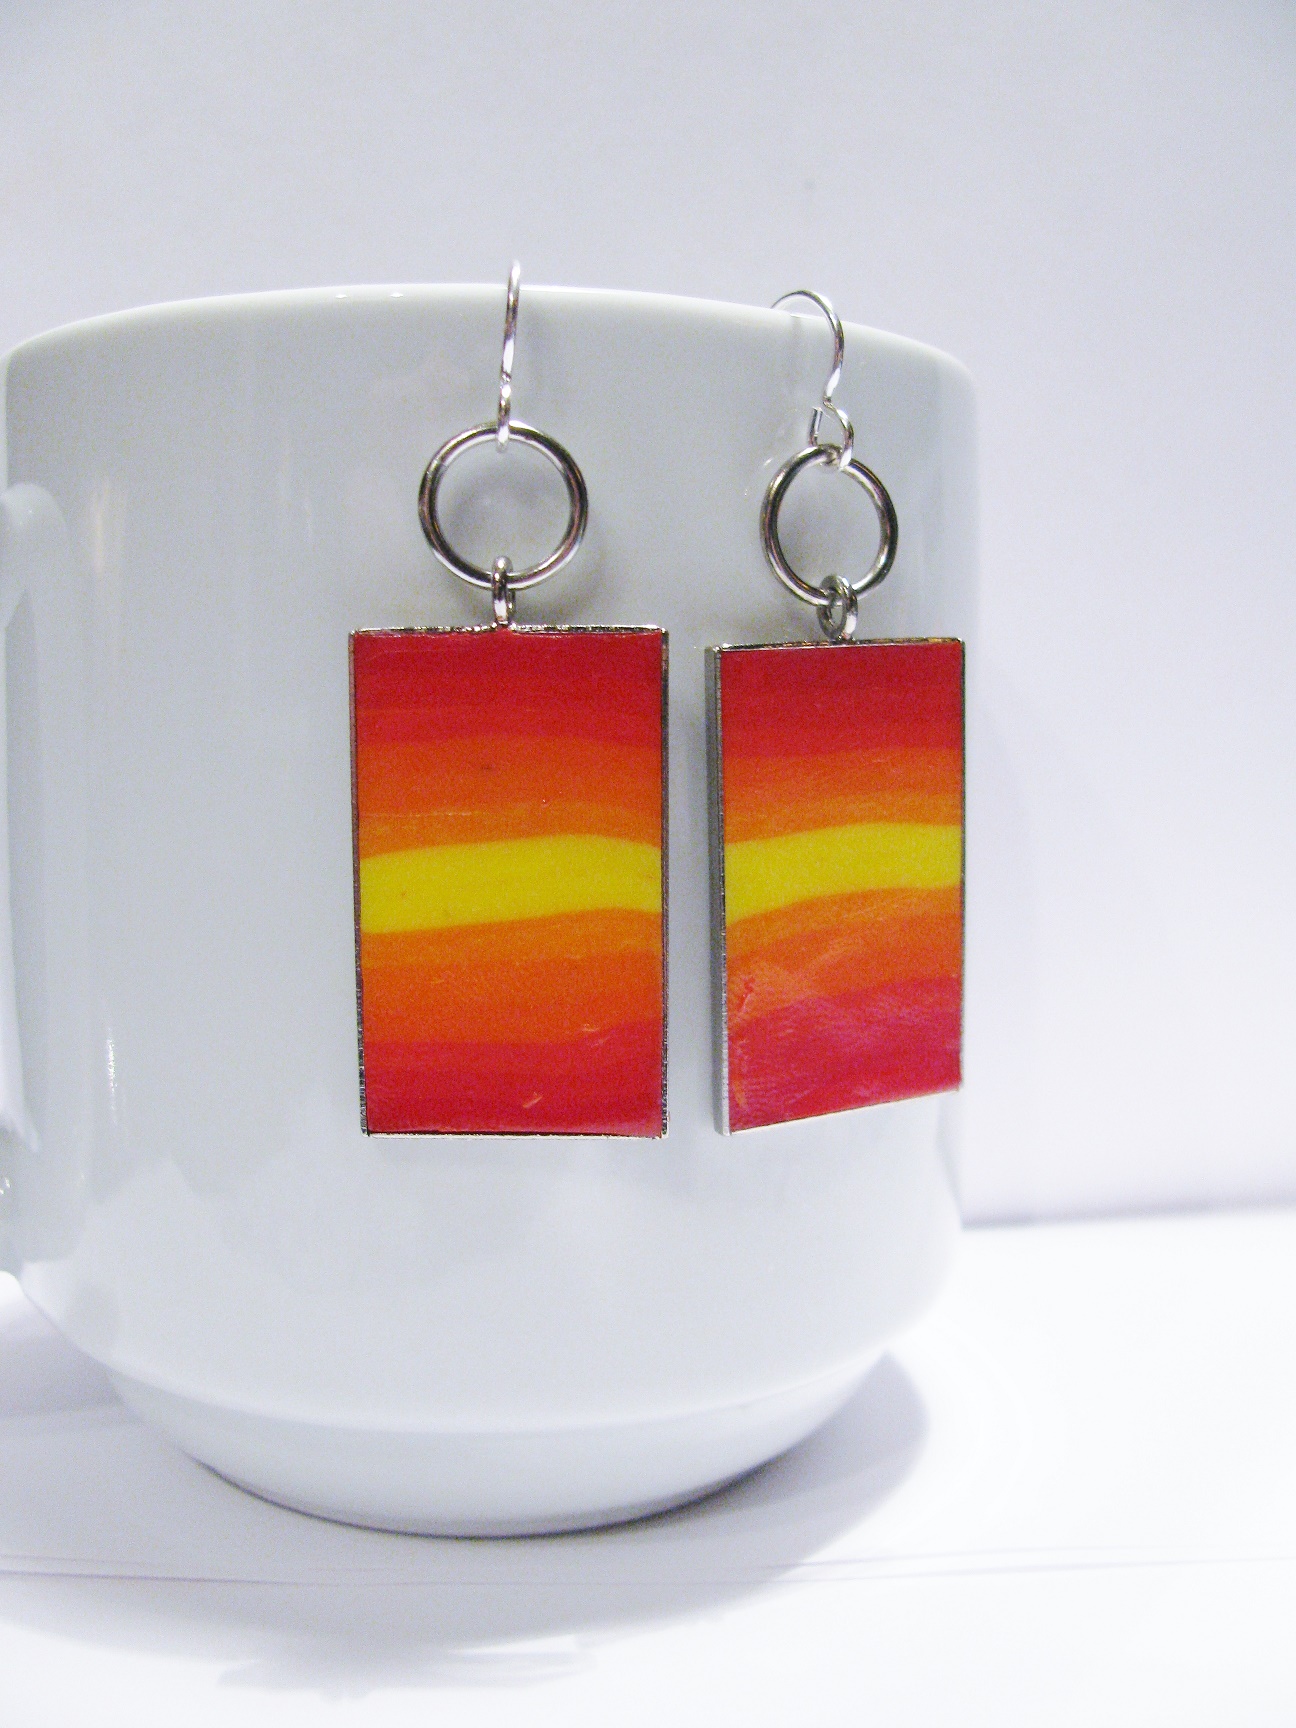
These earrings are just the pendants I made, connected to silver filled earring wires with large 10mm jump rings.
Click here to buy supplies to make these earrings!

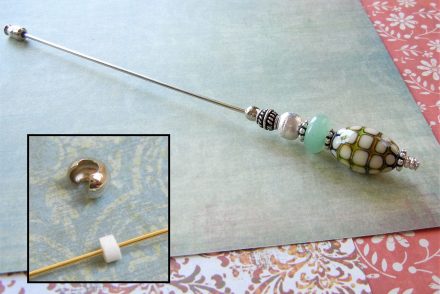
One of the pendants I made, simply hanging from silver plated cable chain.
Click here to buy supplies to make this necklace!
Well, I hope you like how these turned out as much as me! My mind is racing now with design ideas. Being that Rings & Things is based out of Washington state, I think I will make some green and blue ombre pendants to support my Seahawks! Plus, I really want to make some with the bezel cup rings that we carry! Happy polymer claying!
~Tiffany White
Geisha Creations


1 Comment
Simple and beautiful, I like the idea of this amazing, I think I can do it. Thank you