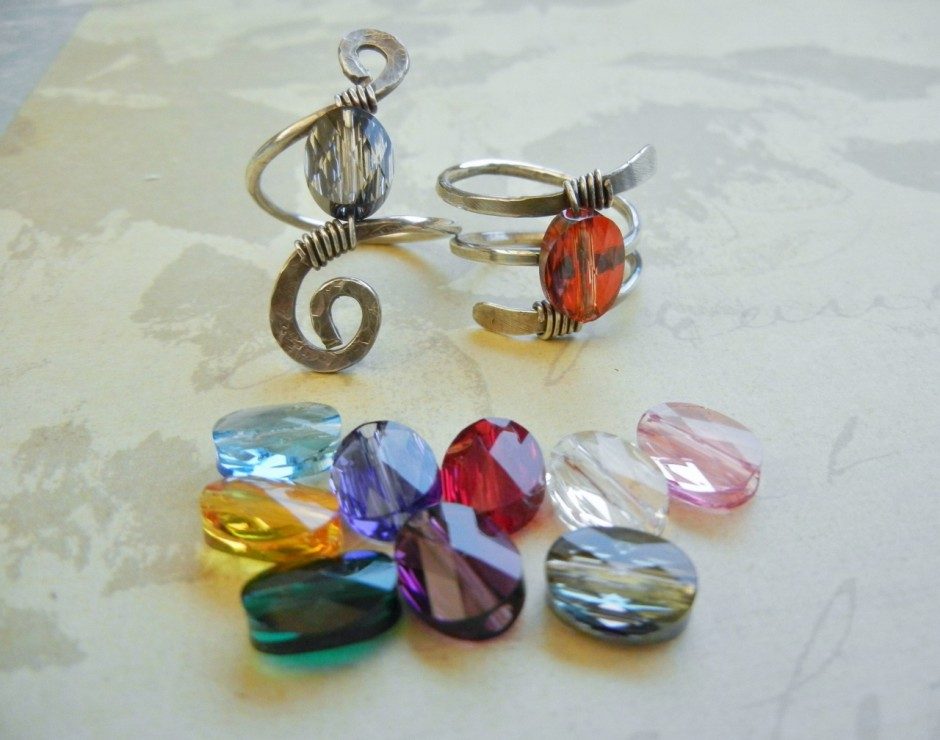
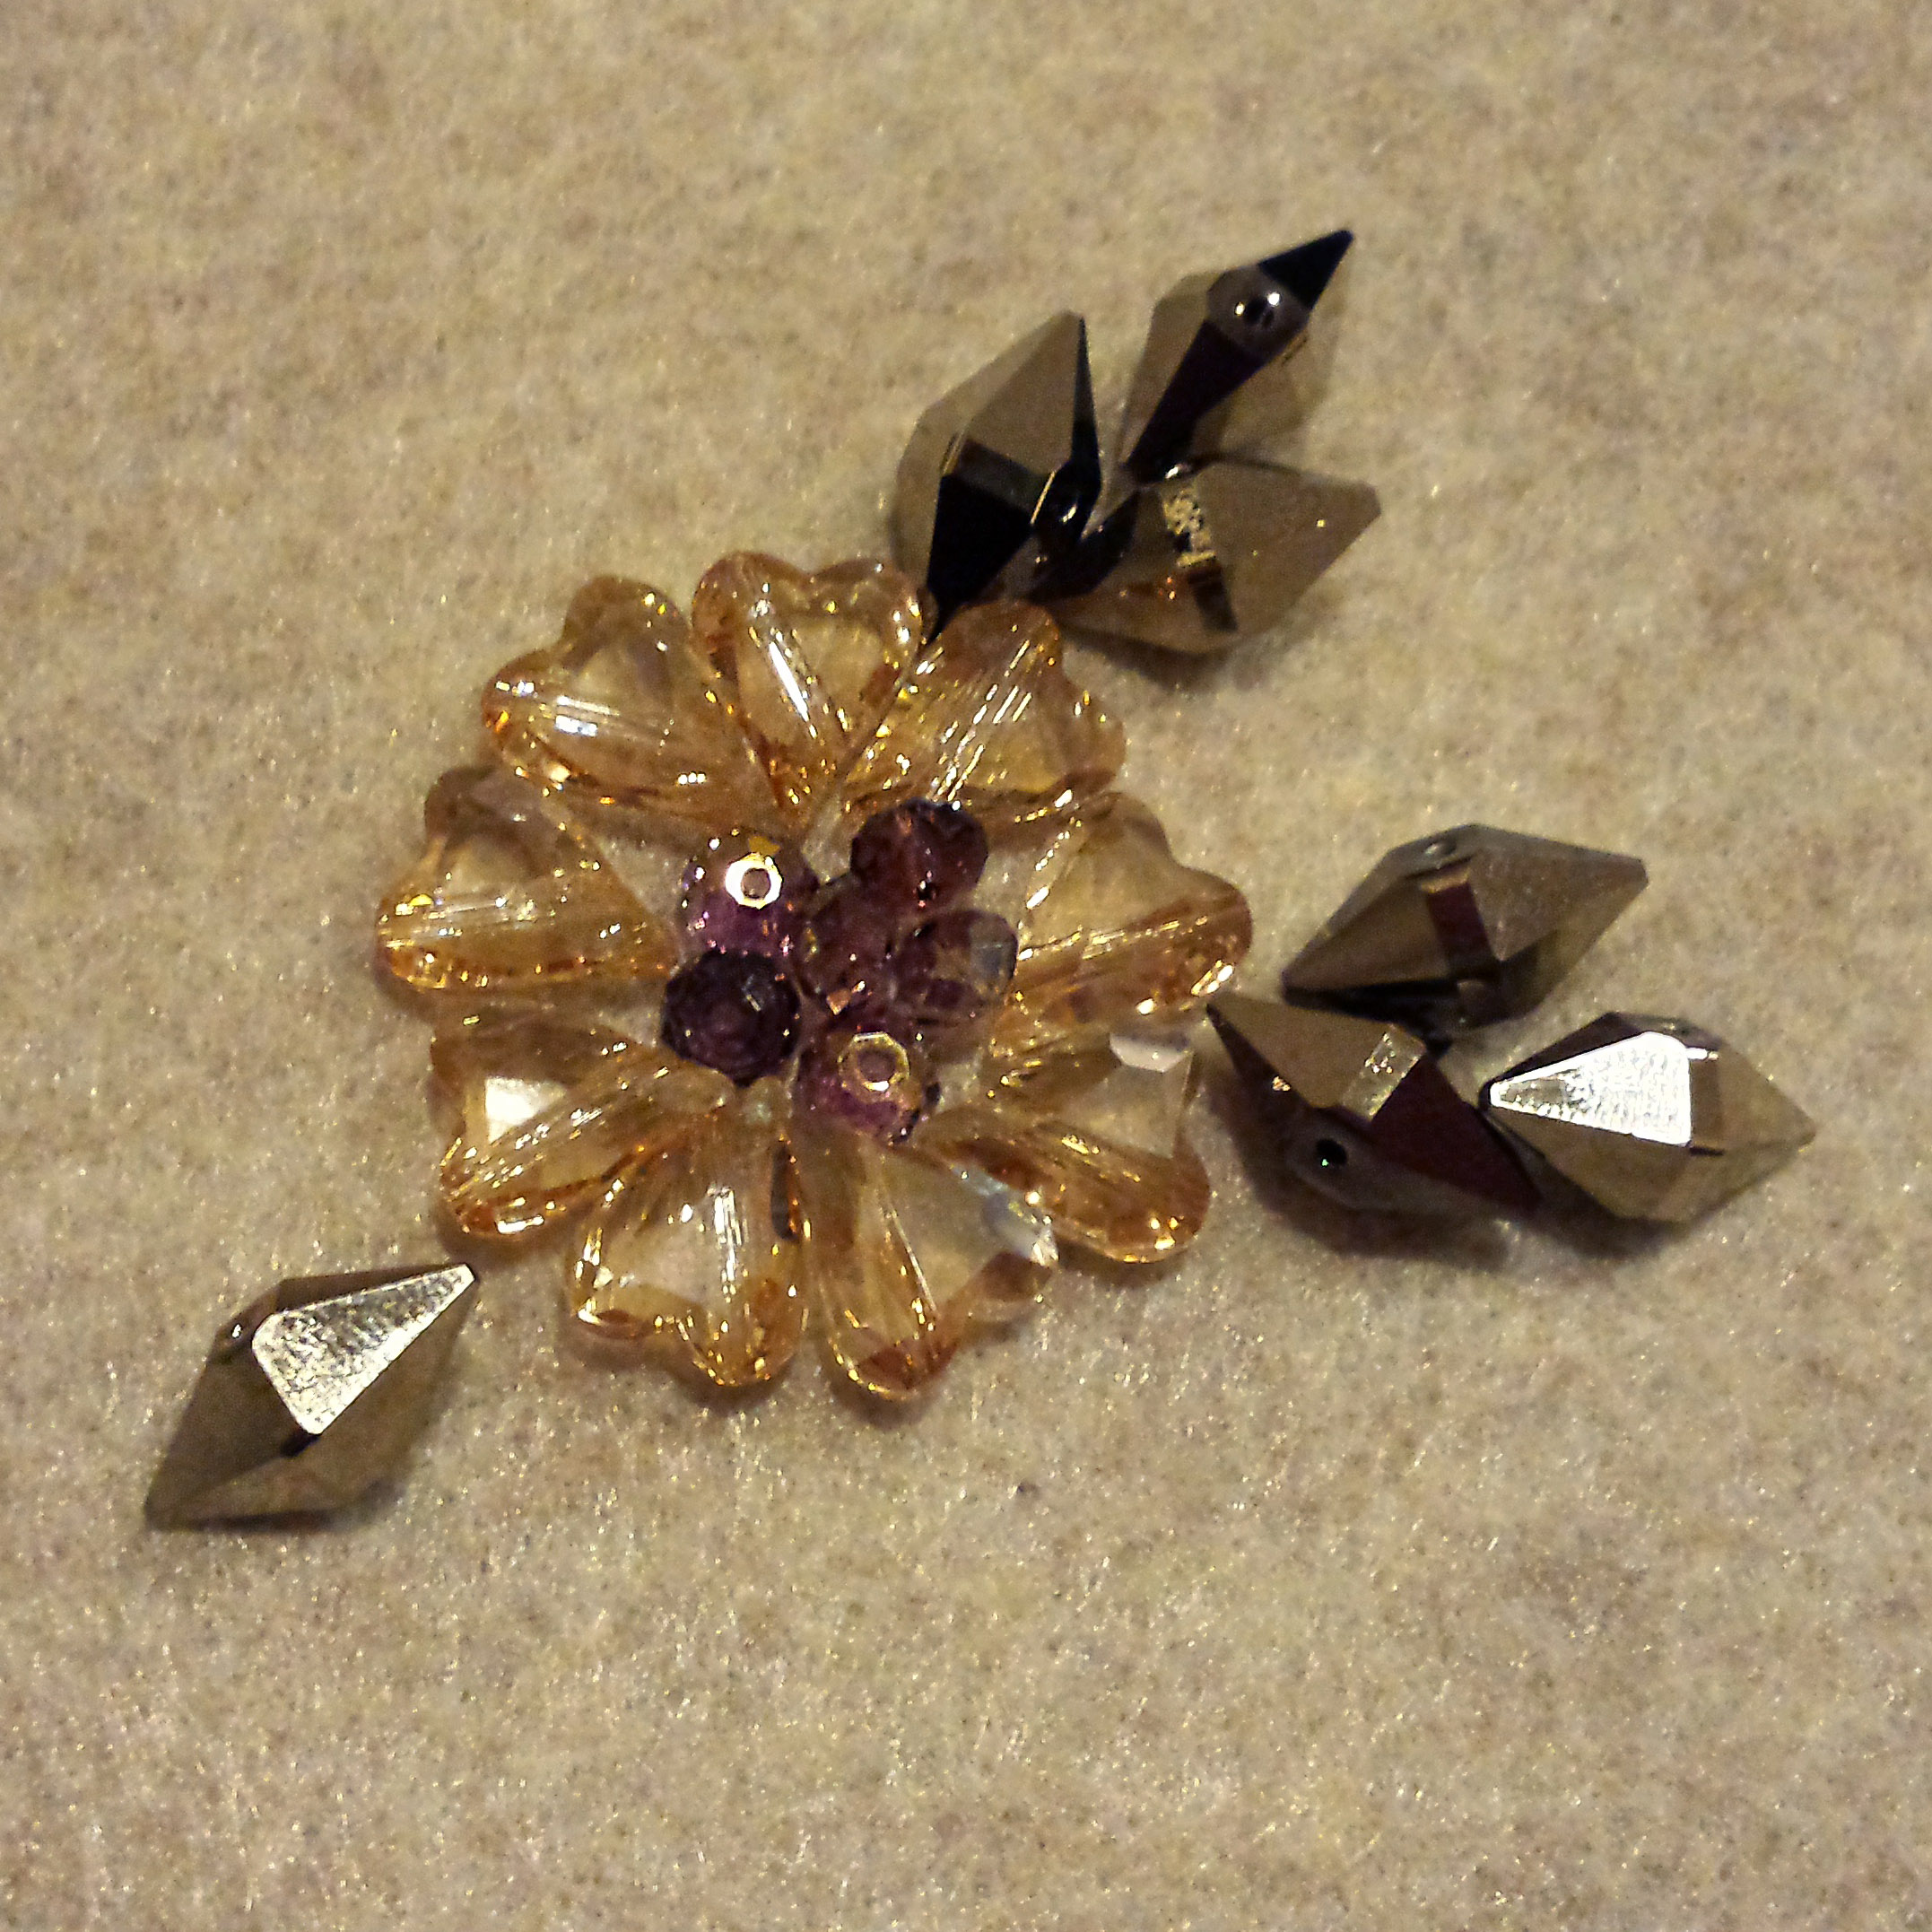
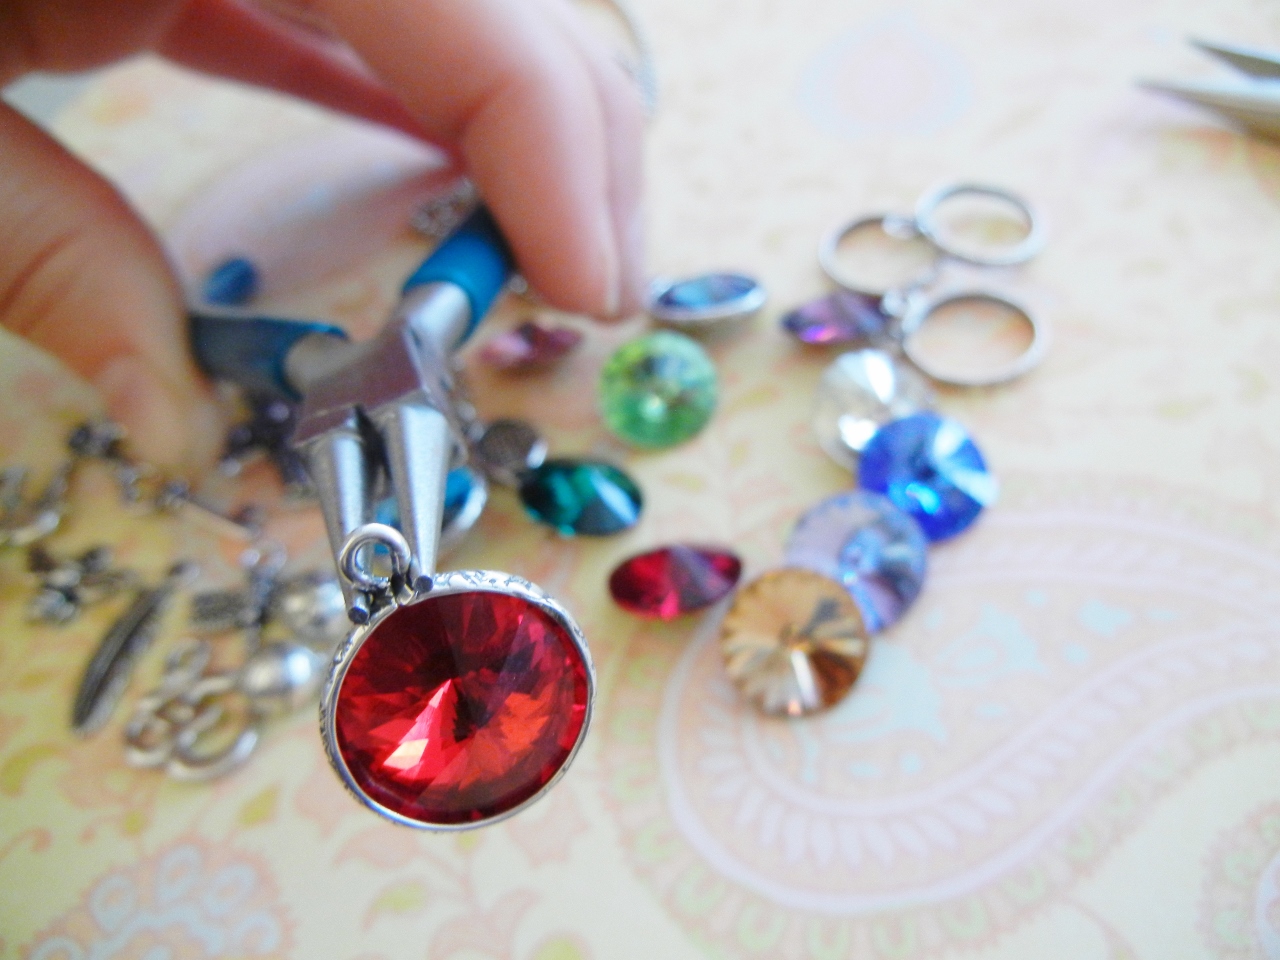
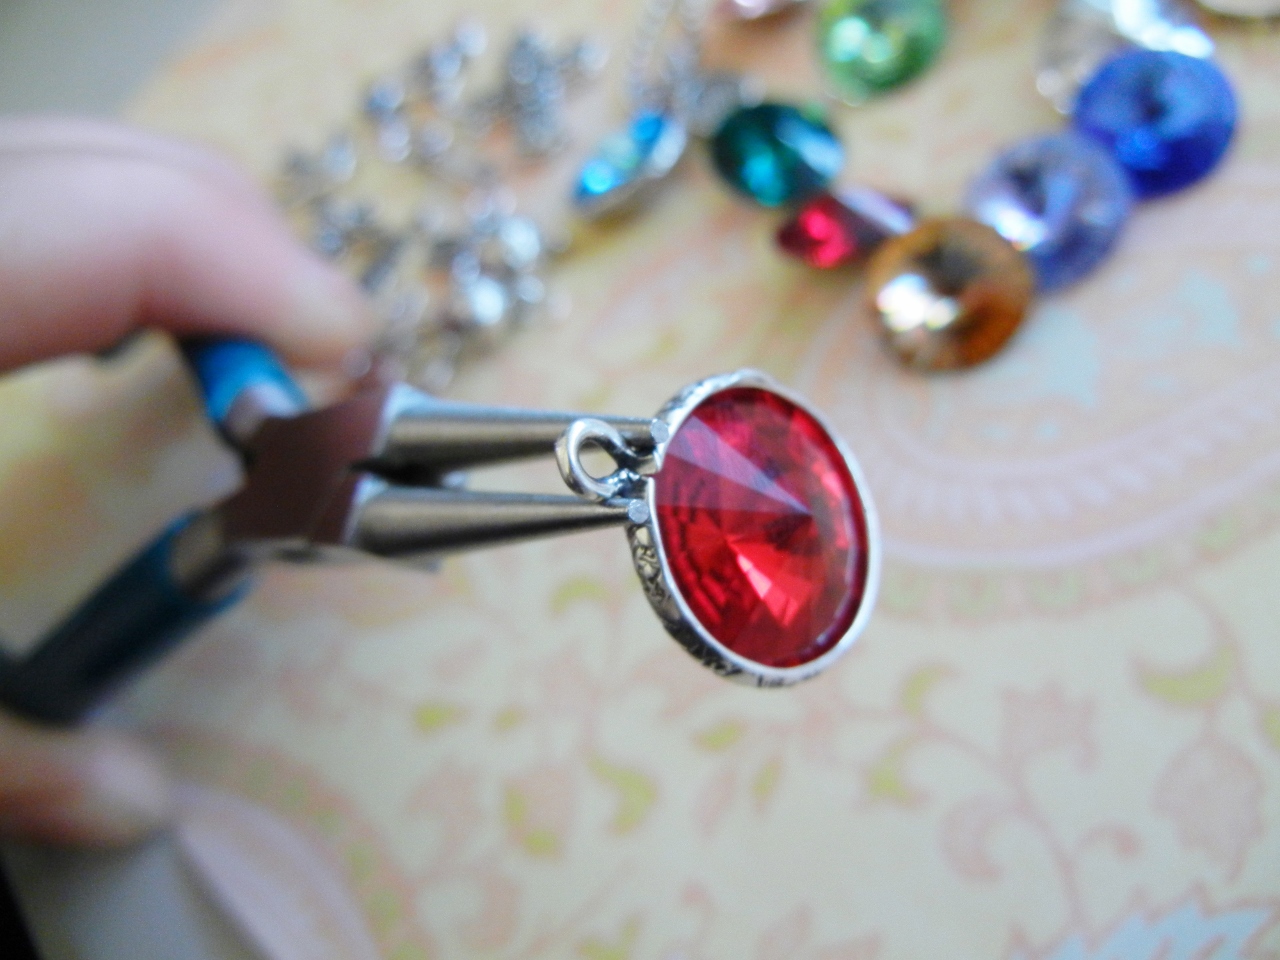
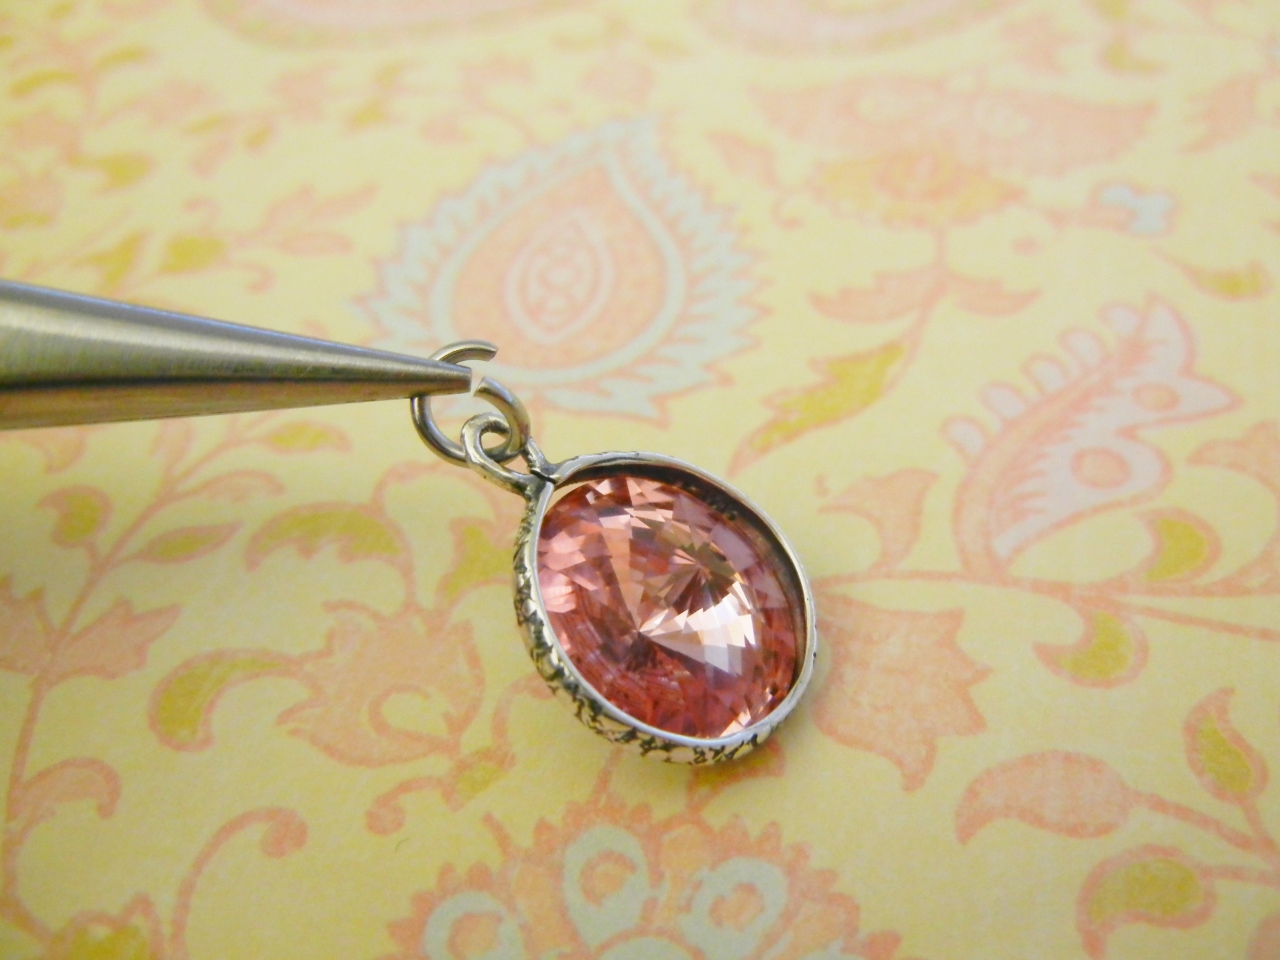
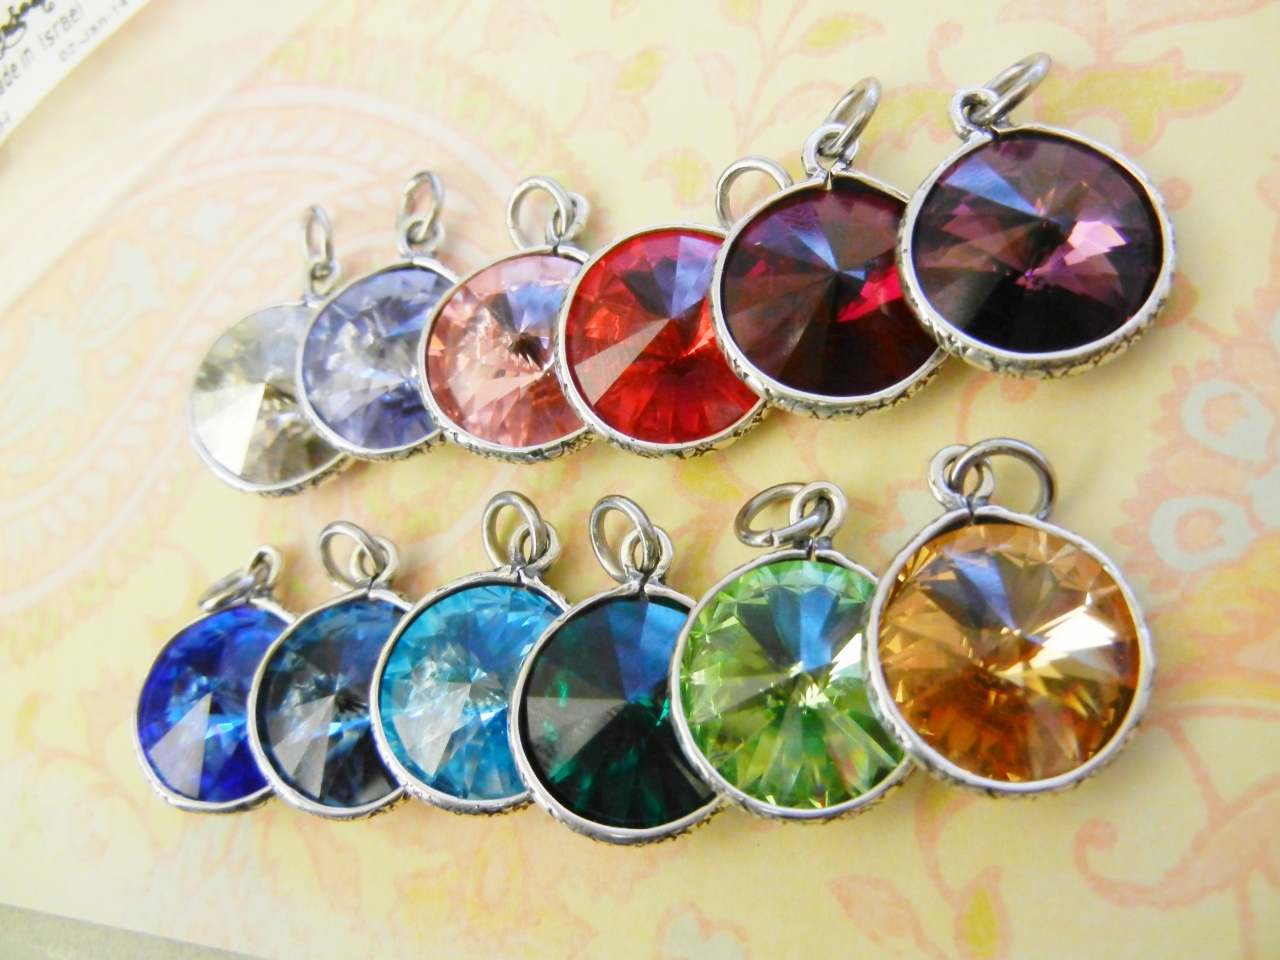
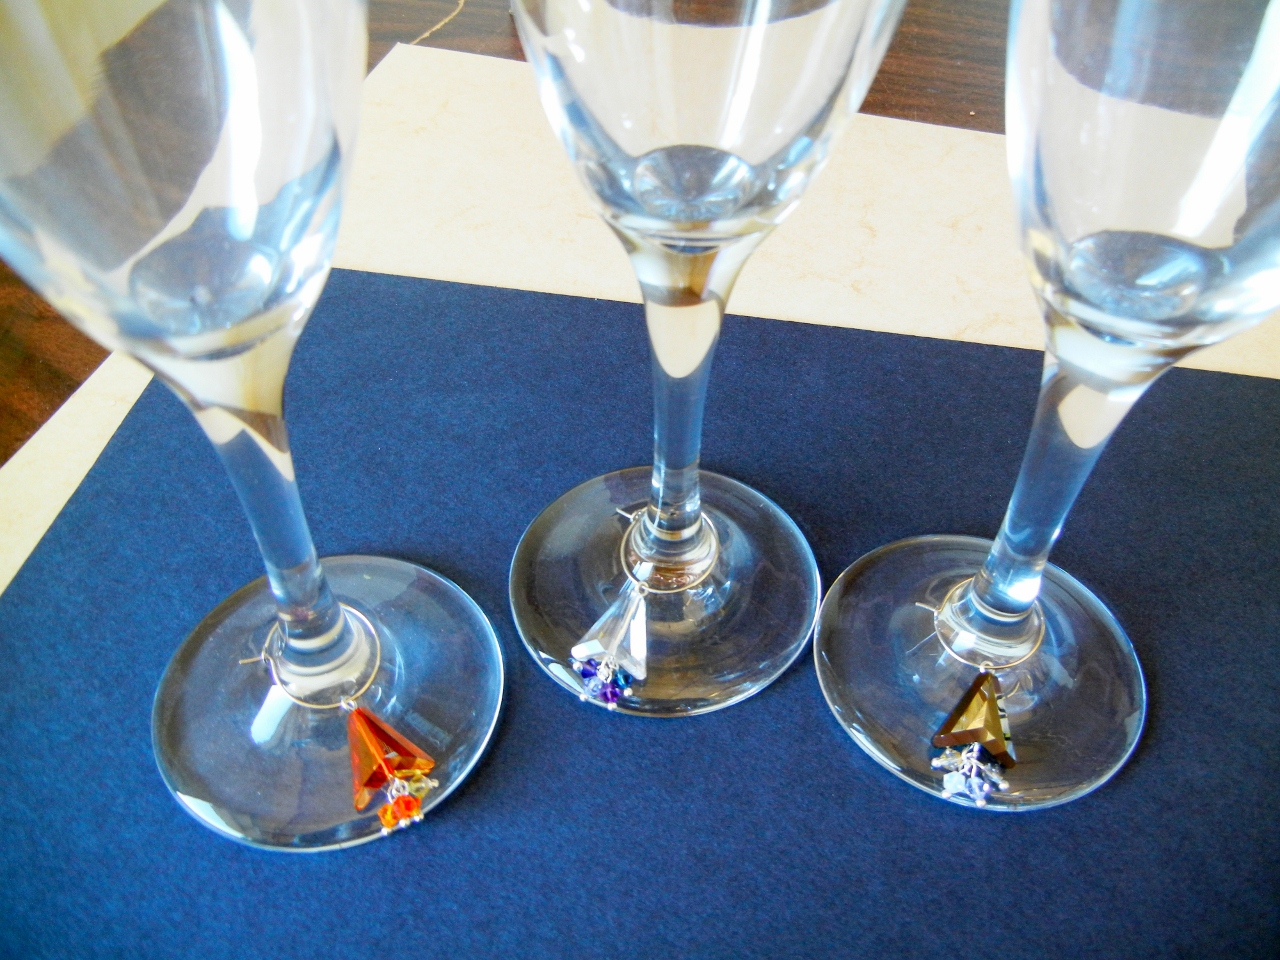
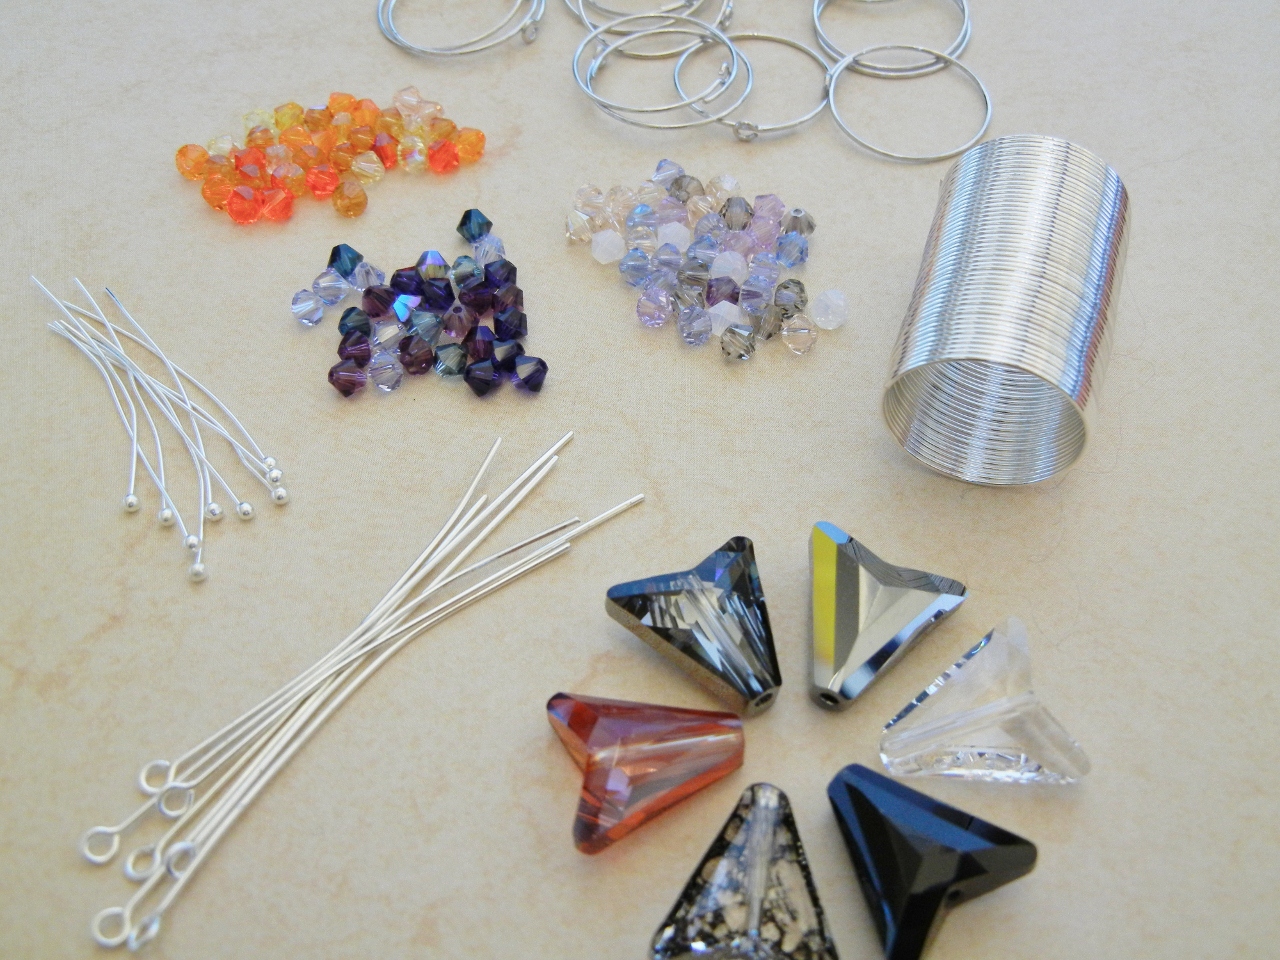
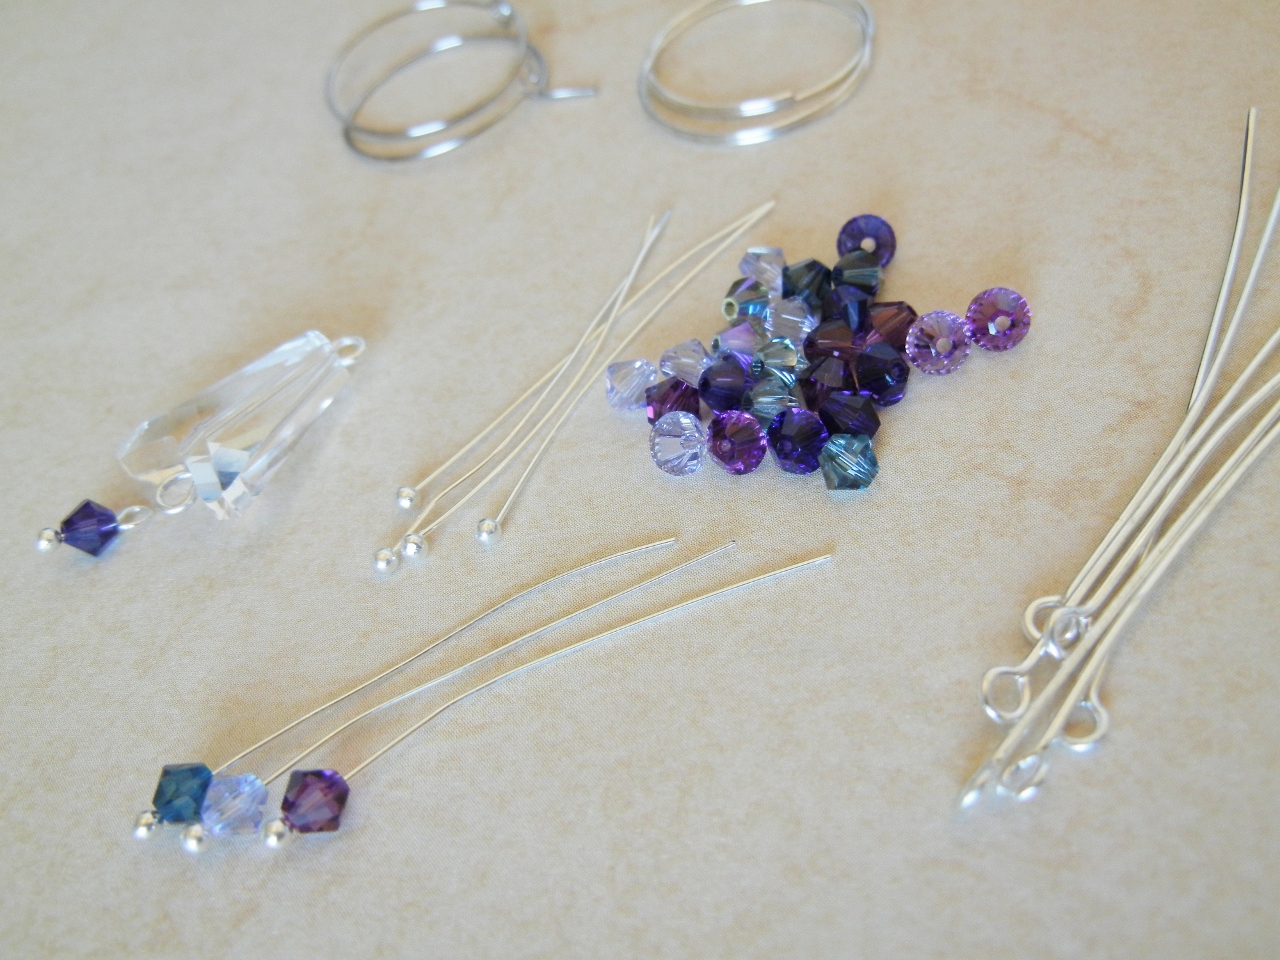
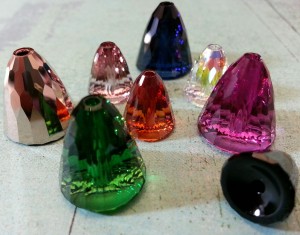
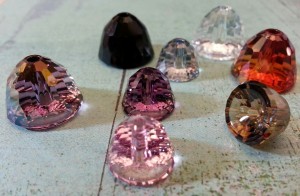
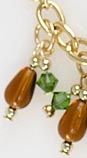
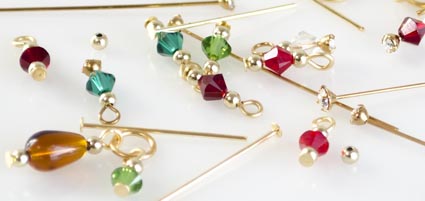
Browsing Category

DIY Jewelry Projects

Do-it-yourself custom bracelets

December 22, 2014

They are also a great way to showcase cool found objects such as vintage buttons or foreign coins. Even the most novice crafter will be able to create one of these fun, mixed media pieces!
Continue Reading…

DIY Swarovski Applique

December 9, 2014

Did anyone else notice that winter hit overnight? The below-freezing temps are here and it’s time to snuggle up in our warm winter-wear! While I hate being cold, I love wearing coats and all of the fun accessories that go along with them – so I obviously need to be cute while doing it! I’ve also found a passion for the ‘DIY’ trend that seems to be everywhere these days, and I have created a basic tutorial for applique work using Swarovski crystals and an old headband I found in my closet!

20141119_152753

Supplies

1 – John James Beading Needle, Size 10

1 – The Beadsmith Braided Bead Thread, .006in, 28yd spool (I used White)

288pcs (2 gr) – Swarovski Crystal Jams, 4mm (I used Bohemian Rhapsody) OR any color Swarovski Crystal Bicones, 4mm

9 – Swarovski Double Spike Beads (I use 12mm Metallic Light Gold 2x)

10 – Swarovski Wild Heart Crystal Beads (I used 12mm Golden Shadow)

2 – felt squares, about the size of your hand

Pair of scissors

20141117_175149

Now the Fun Part!

20141117_175441_

The beauty of this project is that you can use an assortment of crystals! I try and keep a good balance of large and small crystals, with the larger ones being the focal point. My image above shows my color and size assortment. I went for more of a neutral color palette, really playing off of the golds and light pinks. The Rings & Things Exclusive Swarovski Crystal Jams bead mixes are great for something like this, as they can help you develop a strong color story from the beginning.

20141117_180739 20141117_180928

First, I started by arranging my larger beads in various patterns (2 options I came up with are above). I knew I wanted to do some kind of floral-inspired design. For some people, it may be easier to roughly draw something as well.

Needle & Thread Basics

20141117_182404

I began by cutting a strand of Power Pro bead thread that was about the span of my arms; you can start with a smaller strand than this as this may be easier to manage at first. This thread is pretty amazing – I would not recommend using other threads that you may find at the fabric store because the crystals can actually cut through that type of thread! Power Pro by The BeadSmith is much more sturdy, and you would hate to lose your Swarovski crystals because of the wrong thread!

 20141117_182123  20141117_182205

Once the needle is threaded, tie a basic knot; I did three loops to create a thicker knot.

Step by Step

1.  Now it’s time to sew the final design onto the felt. I like to start at the center of my design when I’m sewing on the crystals. Since you have the basic design laid out and your needle threaded, start by holding one crystal in place with your thumb and index finger; insert the needle from the BACK SIDE of the felt so that the needle appears near the edge of the crystal where the hole is located (see FRONT SIDE image below). The knot that you made should be on the back side of the fabric.

   backside  front side

2.   Thread the needle through the hole in the crystal, and insert the needle back into the felt. Make sure to stay near the crystal’s edge where the needle just exited the hole.

20141117_184017  20141117_184115

3.   Continue doing this for the center crystals (ie. my ‘petals’) and expand to any other large crystals you have (ie. my ‘leaves’). Once you have each of these sewn on, leave your thread where it is. No need to knot anything.

20141117_185953  20141117_190511 20141117_195809

4.   Go ahead and grab your smaller beads – Here, I’m using the 4mm Swarovski Bicone Crystal Jams. We will begin where your left your thread after completing the larger crystal beads. Place 2 bicone crystals on your needle and push them down the thread. I wanted to arrange my bicones around my larger crystals as an outline. As soon as they fit snug against the felt, insert your needle back into the felt, staying close to the edge of the bicone. Continue your way around, using two bicones at a time

This is a fun time to play with color! My outlines consist of 3 or 4 different colored bicones, and they really play off of each other in different lights!

**If you ever run out of thread, just tie a knot on the backside of the fabric, and start a new needle & thread!**

20141117_195820 (1)

20141117_201412 (2)

5.   Once I made my way around, I decided to add a second outline with the bicones. It is completely up to you – be creative and try some different things! Once you have finished sewing all of your Swarovski Crystals, insert the needle down through the front side and tie a knot in the back; you can use the same knot technique that was demonstrated earlier!

20141117_210512

Creating a Finished Edge

1.   Cut the felt around the crystals, leaving 1/4 inch allowance on the outside.

20141118_132730

2.    Take your second piece of felt and cut an identical piece

20141118_132951

3.   Time to start with some fresh thread! Tie the same knot as shown above and insert the needle from the backside, to the front side like below. Pull the needle through until the knot is snug underneath.

20141118_133025

4.   Grab your second piece of felt and place it underneath your original piece. Insert your needle through both pieces of felt, starting with the new piece. See photo below for reference. Pull all the way through; the felt should curl up as you pull the thread as tight as you can.

This second piece of felt hides all of the thread work you have underneath, while also stabilizing and protecting these stitches from wear and tear.

20141118_133633

5.   Start working your way around the felt, using the same technique in step 4. You can see the difference in the two photos below – I have completed the technique on the upper right hand side.

20141118_134355 20141118_134407

6. Once you have completed this step, your applique is complete! You can use this for scarves, headbands, gloves, apparel, etc. I have attached this to a headband, and I used the same technique from steps 4 & 5. It’s that simple!

20141119_152633_

20141119_152648_

All of us at Rings & Things would love to see any applique work you have created! Please send us pictures or post them below! 🙂

Happy Winter!

– Laura

Custom Swarovski Rivoli and Charm Necklaces

December 5, 2014

Ball Chain + Swarovski Rivoli + Silver Plated Charms
I love sweet little customized necklaces! These necklaces make the perfect gift for girls of any age! As an added bonus, these necklaces are very quick, easy, and affordable to create! They would be an ideal item for people to customize on an etsy store, or for people to create on the spot at a craft fair as a build your own necklace!

The total cost for making 20 necklaces, with a charm and a set Swarovski crystal= $85.05 or about $4.25 a necklace.  That will also leave you with chain and clasp to make another 40 or so necklaces! One spool of ball chain can make over sixty 18-inch necklaces! The more necklaces you make, the cheaper each one will cost to make.

Supplies for this project (plus jump rings and ball chain clasps, not pictured)
Let’s look at the cost breakdown:

Total =           $85.05
To make these necklaces you need just three tools: round-nose pliers, chain-nose pliers, and wire cutters. Follow these simple steps to make the necklaces!
Step 1: Cut your chain.

Cut chain in between two ball segments

18 inches is standard length. If you are going to do this as a build your own for a craft fair or event, cut several at the same time.

Step 2: Set your crystals. 

The 14mm rivolis will be just a little loose in the bezel setting.

Squeeze your round nose pliers around the loop at the top!

It only takes a few seconds to set the crystals! Once the bezel is squeezed the crystal will be secure in the bezel.

Step 3: Add jump rings to your crystals.

Use the stainless steel jump rings for extra security. Remember to twist the jump ring apart, not pry it open.

Step 4: Add jump rings to your charms. 

Same deal, twist apart, don’t pry open. This way the jump ring will close flush!

Step 5: Create! Mix and Match! 

Pick a crystal!

Pick a charm!

String onto cut chain.

Step 6: Add a clasp to your necklace.

Drop ball end into the opening on the clasp.

Pull chain to the side, so that it clicks into place!

Endless possibilities!

Craft Fair or Show Idea! Build-Your-Own Necklaces
This is a great project to do for yourself as gifts, but it is also great for a build your own necklace at a craft fair or show! Simply have all the components ready to go, and let people choose what they want! Make a price sheet that charges a base price and then additional for each charm or crystal they want to add!

Make a display/station at a show where people can make their own necklace!

One dish with charms, one dish with crystals.

Online Store Idea! Customize your own Birthstone and Charm Necklace
Have an etsy store? Etsy has made it so easy to add customizable items to your store! Take a photo of all the options of crystals and charms you offer, and make an item in your store that people can customize! People love custom items! I choose these crystals to coordinate with birthstones and a random assortment of charms, but you could pick whatever colors and charms you like!

Choose your crystal color!

A. Silver Shade (Diamond)- April
B. Provence Lavender (Alexandrite) – June
C. Light Rose (Rose Zircon) – October
D. Lt. Siam (Ruby)- July
E. Siam (Garnet)- January
F. Amethyst– February
G. Sapphire– September
H. Denim Blue (Blue Zircon)- December
I. Aquamarine– March
J. Emerald– May
K. Peridot– August
L. Lt. Colorado Topaz– November

Choose your charm!

A. Watering Pail
B. Bumble Bee
C. Dragonfly
D. Cross
E. Tennis Racket
F. Basketball
G. Horse
H. Skeleton Key
I. Flying Bird
J. Yoga Om
K. Soccer Ball
L. Feather Charm
Matching Earrings? Why Not!

I just love these necklaces so much! I especially love these rivoli bezels. They are super easy to use, inexpensive, and a beautiful way to frame the rivolis! Of course you can always make them into to simple matching earrings too! Just add your choice of earring wires! Total cost of the earrings, around $5! Total time to make them, about 2 minutes! Not bad! Well, I hope you can see the endless possibilities with rivoli crystals!
~Tiffany White

Make Sparkling Wine Charms with Swarovski Beads

November 13, 2014

Swarovski crystal charms add panache to parties and family gatherings!

Holiday season is fast approaching, and with the holidays comes holiday parties … And of course wine, lots of wine! If you’re like me, this can lead to a common problem: wine glass confusion. Whose glass is whose? Well, don’t fret! There is a simple and shimmering solution: Swarovski wine charms! And whether you want to make a set for yourself, or give them as a gift to the host of the party, they are sure to add sparkle to your life!

I love the new arrow shape of Swarovski crystals! And they come in plenty of different colors to make multiple charms!

For these wine charms, I have chosen to use the new Swarovski crystal arrow shape, in an assortment of colors, with multicolored crystal bicone clusters. The objective, of course, is to make them all different. This way when you have a guest arrive, they can select their charm, attach it to their glass, and easily know which wine glass is theirs all night.

Three different colored wine charms, so everyone knows whose glass is whose!

As for the rings themselves, you have three options when it comes to making them. Whichever option you choose, keep in mind that the rings need to easily open and close, since they will be attached and removed from the stems of wine glasses.

Option 1: Ring-Sized Memory Wire

Option 1: Ring sized memory wire works great! Just cut it long enough to overlap about half way over. And make sure to use heavy duty wire cutters that are designed to cut through memory wire.

Option 2: 18-Gauge Wire

Option 2: Make your own rings using heavy wire. I recommend 18 gauge. I used the Wubbers jumbo round bail-making pliers to make a perfect circle. Use round nose and chain nose pliers to create a small hook and eye closure.

Option 3: Manipulating Hoops

Option 3: These 3/4-inch manipulating hoops are perfect for making wine charms! They come with a loop on one side, and a straight wire on the other side.

To use the manipulating hoops, simply make a 90 degree bend with chain-nose pliers so that they can be clasped closed.

Decorating Your Wine Charms
Now that you see how to make the rings themselves, it is time to decorate them! I used the following delicious “ingredients” to add my sparkle:

Swarovski Crystal Jams are Rings & Things Exclusive color mixes of crystal bicones. I used the Jams to add a lovely variety of colors to my charms.

For each charm, I used one Swarovski arrow bead and four 4mm bicones. I simply looped the bicones onto the silver-plated head pins, then added them to the eyepin and closed it. I strung my charmed eye pin through the arrow crystal and made a loop on the top by trimming the excess wire to about a 5mm and making a loop with my round-nose pliers.

One of the finished charms, ready to be strung onto one of our rings! Simple, sweet, and oh so sparkly!

Sweet little crystal clear and jewel tone wine charm! Just string that charm onto the wine ring, place on wine glass, and pour yourself some wine!

All six charms for the set that I made! Now no one has any excuse for sipping from your glass!

I would take the red one myself! Cheers!

Well, I hope you enjoyed this festive little post on wine charms! Basically the sky is the limit when it comes to these little glass customizers. Of course, as the wine starts to flow, people may not care which glass is theirs anyway! But either way, they are sparkly and sweet little gems to look at. I know what all my wine drinking friends will get for Christmas this year!

~ Tiffany White

How to Make a Beaded Yoga Bracelet

October 31, 2014

If you’re looking for a tranquil jewelry-making project, the stretchy yoga bracelet is perfect. It’s easy to make and takes very few tools (this also makes it perfect for beginning jewelry makers!). Our design incorporates Mala prayer beads and 8mm round gemstone beads. Plus, we’ve personalized the bracelet with a Nina Designs charm.  Whether you make one or a whole armful, you will love this project!

Easy to make Yoga Charm Bracelet made of wooden mala beads, gemstone beads, and a lotus charm from www.rings-things.com

“Lotus Flower” Yoga Bracelet by Rings & Things designer Mollie Valente.

First, gather your supplies:
Shop www.rings-things for supplies to make this trendy Yoga charm bracelet.

The “Lotus Flower” yoga bracelet combines rosewood Mala beads, gemstone beads, gold-plated beads, and a bronze Nina Designs lotus charm — all strung on Stretch Magic® cord.

You will also need just a couple of tools:
Then follow these easy steps:

To make a yoga bracelet, add a charm and gold plated beads to the center of the Stretch Magic cord.
Step 1: Measure and cut the Stretch Magic cord. Make the cord length wrist size plus 4 inches). String on the charm and position it in the middle of the cord. On each side of the charm, string one rondelle bead and one 5mm nugget heishi bead. Add the Bead Stopper to one side of the cord.

Bead Stoppers In-Use Image
Tool Spotlight: Bead Stoppers are a helpful tool for any stringing project! Simply attach the spring to your beading cord to prevent accidental bead spills. You can purchase the Bead Stoppers in both regular and mini size. This tool is a “Rings & Things Staff Choice”.

Free DIY stretchy gemstone Yoga bracelet instructions, how to string beads.
Step 2: The color of rainbow new jade beads varies from bead to bead on each strand. Take a moment and plan your bead design before stringing. String on one 8mm gemstone bead followed by one 5mm nugget bead; string this pattern three times, then end with an additional 8mm gemstone bead.

How to make a stretchy Yoga bracelet with round gemstone and wood bead.  Free DIY jewelry-making tutorial.
Step 3: Secure the cord with a Bead Stopper on the beaded side of the bracelet. String beads on the opposite side of the bracelet, matching the pattern in Step 2.

Yoga Charm Bracelet Step 4
Step 4: Continue beading. String on two 7mm nugget heishi beads. Then string on an alternating pattern of one 8mm Mala bead, followed by one 7mm nugget bead; repeat this pattern five times. Secure the beads with a Bead Stopper.

Yoga Charm Bracelet Step 5
Step 5: Secure the cord with a Bead Stopper on the beaded side of the bracelet. String beads on the opposite side of the bracelet, matching the pattern in Step 4. Vary the number of wooden Mala beads and 7mm nugget heishi beads to achieve your desired bracelet length.

Free jewelry-making instructions.  Learn to make a Yoga bracelet.  Secure the Stretch Magic cord with a knot.
Step 6: With the Bead Stopper removed, hold the ends of the Stretch Magic cord securely and form a circular bracelet. Secure the cord with a knot (square knot, surgeon’s knot, or a few over-hand knots). To tighten the knot, pull the cord tails and stretch the bracelet. Clip the cording about 1/8″ from the knot.

How to tie knots for jewelry making:  overhand knot, square knot, and surgeon's knot.
The overhand knot, square knot, and surgeon’s knot are commonly used in jewelry making.

Jewelry making tutorial, make a Yoga bracelet: how to securely finish Stretch Magic cord.
Step 7: Secure the connection by applying GS Hypo Cement to the knot. Use the super-fine applicator to generously coat the knot, and then slide the knot into the center of a wooden Mala bead and allow it to dry. Now the knot is secure, protected, and hidden.

Yoga Charm Bracelet Step Concluding Image
The Lotus Flower Yoga Bracelet is ready to wear!

Buy the Supplies to Make this Bracelet Now

Get Inspired! Enjoy 100’s more free jewelry projects at Rings & Things too!

Make Things!
Mollie

How to make crystal angel earrings

October 28, 2014

When I first saw the cool shape of Swarovski’s crystal dome beads (from their Fall/Winter 2014/15 Innovations), two thoughts immediately came to my mind – bell and angel skirt.

Dome Bead Innovation

Dome Bead Innovation

This tutorial shows you how to use these sparkling faceted beads to make angel skirts for earring designs. The exact same combinations can also be used to make single angels for pendants, bookmarks, gift tags, and more!

There are two styles of Swarovski dome beads to choose from. The large dome beads give you a more elongated shape:

#5541 Large Dome Bead

Article 5541 Large Dome Beads

The small dome beads have a more rounded out bell shape:

#5542 Small Dome Bead

Article 5542 Small Dome Beads

The main components of any crystal angel design are: halos, heads, wing beads, and bodies:

Angel Earrings in Progress

Angel Earrings in Progress

TierraCast makes a variety of wing bead styles. Additional wing beads are also available in base metal and sterling silver.

Various Metal Wing Beads

Various Metal Wing Beads

Popular bead styles for halos include heishi, and beaded heishi beads as well as rhinestone rondelles.

Metal Halo Beads

Metal Halo Beads

Here are several combinations of halos, wings, and bodies in different colors and sizes. For a complete parts list of supplies ready to buy, click each image below! (Or browse our Rings & Things Design Gallery.)

Heavenly Angel Earrings

Heavenly Angel Earrings

Lilac Shadow Angel Earrings

Lilac Shadow Angel Earrings

Angel in Training Earrings

Angel in Training Earrings

Blue Shade Angel Earrings

Blue Shade Angel Earrings

Christmas Angel Earrings

Christmas Angel Earrings

Forest Fairy Earrings

Forest Fairy Earrings

Other popular shapes for body include the Teardrop bead and the cone-shaped Swarovski Crystal Artemis bead.

Crystal Angel Earrings with Teardrop Beads

Crystal Angel Earrings with Teardrop Beads

Artemis Crystal Angel Earrings

Artemis Crystal Angel Earrings

Keep in mind that angels can be any color! Choose whatever colors you like for whatever mood you’re in!

Dark Fairy Earrings

Dark Fairy Earrings

No matter whether you’re preparing for Christmas or you’re a year round angel aficionado, take inspiration from these designs and create your own heavenly host.

~ Rita

12 Days of Christmas DIY Charm Bracelet

October 20, 2014

On the first day of Christmas my true love sent to me a Partridge in a Pear Tree.”

Here’s a fun way to remember the rest of the gifts in the “12 Days of Christmas” song: Make yourself a bracelet with a charm representing each gift.

12 days of Christmas Bracelet

“12 days of Christmas” DIY Charm Bracelet

1. Gather Supplies and Tools:

2. Determine Bracelet Length

  • Decide if the standard 7.5″ bracelet is the right length for the recipient.
    Remove links to shorten; add links to lengthen.
  • The links on this chain are tough! Use 2 pairs of pliers and twist to open a link. If you want to be able to re-use the removed chain links, open and close them just like jump rings:
Jump Ring Tip - How to open and close jump rings

Jump Ring (and Chain Link) Security Tip

  • If your pliers have scrapes or serrations on them, dip the tips in Tool Magic, or wrap the tips in masking tape to prevent scraping the jump rings and chain links.

Important notes about toggle clasps and bracelets:

Tip 1) Toggle clasps are great for bracelets because they are easy to put on and take off with one hand, but beware: If the bracelet is too loose, the toggle can work its way out and cause the bracelet to get lost! Whenever possible, adjust the length to fit the wearer’s wrist.  (I removed 7 links to get it to fit me properly. )

Tip 2) Because you pull the bar (or “T”) portion of the clasp through the round loop, toggle clasps work best if you don’t dangle any charms from the last link or 2 of chain.

3. Determine Placement of Charms

gold chain bracelet with oval links, perfect for charm bracelets

There are approximately 40 links on this bracelet.

There are approximately 40 links on the pictured bracelet. I removed 7 to make the bracelet fit more securely. This leaves 33 links.

The charms look best if you have a charm on every other link, and an empty link at each end. That takes up 25 links.

This leaves 8 links (4 open spaces to attach fun dangles for the full length of the bracelet, following the same every-other-link pattern as the charms). That brings us to…

4. Make Some Sparkly Dangles

Tutorials — How to make beaded head pins:

  1. How to make beaded head pins with a 1-step looper (blog)
    or…
  2. How to make traditional beaded head pins (PDF)
Festive beaded head pins for 12 Days of Christmas Charm Bracelet

Festive beaded head pins for “12 Days of Christmas” Charm Bracelet

What to put on each dangle:

Make 4 or more beaded head pin dangles. (I made 21.)

  • Your partridge needs a pear, so use a golden topaz teardrop bead for one or two of the dangles that you’ll place near the partridge.
12 Days of Christmas Bracelet Tutorial - Closeup of Pear "Tree"

“Pear Tree”

I topped every dangle with a tiny 2mm round gold plated bead. Why? Even though I’ve been making beaded head pins for over 20 years, I still (too often) chip glass and crystal beads when I finish my loop. A simple metal bead on top fixes this issue.

I also put a tiny round bead at the bottom of (almost) every head pin.  Why? I like the look of ball-end head pins, but they are more expensive than standard “nail head” pins. This tiny extra bead creates the look of a ball-end head pin.

Close-up of beaded Christmas head pins

Close-up of beaded Christmas head pins.  Use either Swarovski crystal head pins or standard head pins — or a mix of both.

5. Attach the Charms

Start placing your charms, then finish making the dangles. Straighten the bracelet chain and place it on the Chain Sta (“Chain Stay”), or pin/hang the bracelet on a convenient shelf, clipboard, etc.

Chain Sta (Chain Stay) chain holder

The “Chain Stay” chain holder makes it easy to keep your chain straight and add dangles at consistent intervals without worrying about losing count.

Starting at approximately the 6th link from the Ring portion of the clasp, add the Partridge.

12 days of Christmas Charm 1 Partridge In a Pear Tree

Partridge

Use large, sturdy jump rings to attach the charms in the same order as the verses in the song. To make sure you get your jump rings securely closed, use 2 pairs of pliers, and twist, don’t “oval-ize” the links. (See above tip.)

12 days of Christmas Charm 2 Turtle Dove

Skip a link, add #2) Turtle Doves

12 days of Christmas Charm 3 French Hen

Skip a link, add #3) French Hens

Keep skipping a link before adding the other charms in the following order:

4 Calling Birds

#4) Calling Birds

12 days of Christmas Charm 5 Gold Rings

#5) Gold Rings

12 days of Christmas Charm 6 Geese-A-Laying

#6) Geese-A-Laying

12 days of Christmas Charm 7 Swans-a-Swimming

#7) Swans-a-Swimming

12 days of Christmas Charm 8 Maids-a-Milking

#8) Maids-a-Milking

12 days of Christmas Charm 9 Ladies Dancing

#9) Ladies Dancing

12 days of Christmas Charm 10 Lords-a-Leaping

#10) Lords-a-Leaping

12 days of Christmas Charm 11 Pipers Piping

#11) Pipers Piping

12 days of Christmas Charm 12 Drummers Drumming

#12) Drummers Drumming

After placing the charms, fill empty end spots with colorful dangles:

  • Use a single large jump ring to put a “pear” dangle and (optional) a green crystal dangle on the 4th link from the end (near the partridge).
  • Repeat with the 2nd link from the end.
  • Repeat with other colorful dangles to fill empty spots at the “T” end of the bracelet.

For a mostly-gold bracelet, you’re done!

Or … If you decide the bracelet needs more color, fill the links between the charms with additional colorful dangles in shades of siam red, emerald green, opalescent milky white and sparkling crystal.

12 days of Christmas bracelet Finished

12 days of Christmas bracelet … finished!

Put the Christmas color dangles in any order you want, or use my “bird-brain” memory hint:
Some of these birds are easy to remember, especially once you have pictures (charms) for each. But I’ve never seen a French Hen or a Turtle Dove in real life, so I surrounded my turtle dove with “turtles are green” and “doves are white” sparkling hints.

Close-up of green and white crystal beads surrounding the Turtle Dove

Left to right: Partridge with pears, Turtle Dove with sparkling green and white hints, French Hen, open-mouthed Calling Bird

Ready to get started?

Rings & Things has everything you need!

Christmas and winter holiday jewelry supplies for sale

Purchase Christmas Components Here

How to Use Center Crimp Cord Ends

October 14, 2014

When you’re making jewelry, center crimp cord ends are an easy way to cleanly finish the ends of a wide variety of jewelry cord including but not limited to leather, silk ribbon, and chain.

Center crimp cord ends are an easy way to cleanly finish the ends of a wide variety of jewelry cord.

Center crimp cord ends are an easy way to cleanly finish the ends of a wide variety of jewelry cord.

You can finish your necklace or bracelet with a loop and a hook:

Use loop and hook center crimps together.

Use loop and hook center crimps together.

Or, use two loops and the clasp of your choice (shown here is an “S” hook clasp):

Using two loop crimp ends and a clasp.

Using two loop crimp ends and a clasp.

Here is how to apply the crimp ends:

1. Gather your supplies. All you really need are the crimp ends, some round nose pliers (or non serrated chain nose pliers) and of course your cording material. Super glue is optional, but adds extra security.

Supplies for applying center crimp ends

Supplies for applying center crimp ends: Crimp ends, pliers, cording & Glue.

2. For added security, put a dab of super glue inside the crimp end. Slide the cording end(s) into the crimp end. Do this quickly before that dab of glue dries.

Insert the cording into the center crimp end. A dab of glue will offer added security to your clasp.

Insert the cording into the center crimp end. A dab of glue will offer added security to your clasp.

3. Holding the crimp in place over the cording, use your pliers to firmly squeeze the center portion of the crimp and clamp it down on the cording.

Firmly squeeze the center of the crimp end.

Firmly squeeze the center of the crimp end.

4. Once crimped, the center of the end piece will be flattened down on the cording. Crimping the metal on top of the glue will ensure a secure connection for jewelry designs.

A crimped end piece.

A crimped end piece.

Center crimp ends with loops combined with an "S" Clasp.

Center crimp ends with loops combined with an “S” clasp and leather cording make a simple yet stylish bracelet.

Crimp ends shown using a variety of cording and clasp options.

Crimp ends shown using a variety of cording and clasp options.

Here are some jewelry inpirations that incorporate the use of center crimp ends. These designs and more can be found in our Jewelry Design Gallery where you will find the complete supplies list as well as tips from the designer. Click on the images to take you there.

Go West Necklace by Mollie Valente

Go West Necklace Tutorial by Mollie Valente

Now that you know what to do with center crimp cord ends, don’t be shy! Use them to make bracelets, necklaces, earrings and more.

Did you know? You can Shop for center crimp cord ends here.

Happy creating! ~ Val

Polymer Clay Sunset Ombre Pendants

October 6, 2014

I must admit, polymer clay is a material I rarely think of using when creating jewelry designs. But lately, I have seen some jewelry on etsy and pinterest that have made me second guess this almost forgotten medium. I mean it is very versatile. It allows you to create simple, yet modern and edgy designs.  So when I was faced with the daunting task of making something with polymer clay my mind went straight to an ombre design.   When something is ombre it means it is graduated tones of colors, like a sunset.  Perfect, I thought! I will make sunset ombre pendants! And I must admit, I love how they turned out!

Ombre Sunset Pendants, made with polymer clay

To get started with this project you need to only invest in a few supplies.

  • Choose three colors of polymer clay. I used Kato Polyclay, because it is easier and more consistent to work with than other brands I have tried.
  • You will need a sharp craft blade. The blades I used are designed for working with polymer clay, so there is no handle at the top that can squish your design.
  • Lastly, you need some jewelry bezels to inlay your pretty ombre design. I like the modern sleek look of these rectangle silver plated bezels.

All you need to make a Ombre Sunset Pendant!


To make these Ombre Pendants, simply follow these steps!

Using your craft blade, cut up all the polymer clay into small pieces.

Continue cutting up the clay, until you have three small piles of colorful cubes.

Sort the colors into the categories above. They do not need to be exact. This is art after all!

Once you have sorted all the colors of polymer clay you can begin to mix your colors. Warm hands are necessary for this step!

Roll the two colors between your hands until you can form a snake.

Fold the “snake” in half and continue to roll the clay out into another snake.

Repeat this process, over and over again, until you see the colors blend completely into one.

After you have mixed all the colors, roll them into about 1 inch cylinders. Place them in order like a rainbow.

Flatten each piece by rolling it with a rolling pin or jumbo magic marker. Roll them about 1/4 inch thick.

After you have flattened all the colors, stack them like a rainbow.

I decided that I wanted to have the ombre pattern work out from the center of the pendants, so I sliced the cane in half and layered it together, so that the yellow sides matched up.

Make sure the two halves are combined by rolling them together a bit with either a small rolling pin or jumbo magic marker.

Cut a thin slice of the cane and lay the bezel on top of the slice. Using your knife, trim the clay to the shape of the bezel.

Press the polymer clay into the bezel, making sure that it fills the whole bezel.

Using your craft blade, trim all the excess polymer clay. There will only remain a very thin slice of the clay in the bezel.

Bake the polymer clay pendants on a sheet pan for 10-15 minutes at 275 degrees.


After you bake the bezel cups, you now have completed pendants! They will have a matte finish, which is nice, or if you want you can make them shiny, like I did, by adding a thin coat of resin spray. After the resin spray dries, you can either hang them from chain to make a necklace, or from jump rings and earring wires to make some bright, vibrant earrings!

These earrings are just the pendants I made, connected to silver filled earring wires with large 10mm jump rings.
Click here to buy supplies to make these earrings!

One of the pendants I made, simply hanging from silver plated cable chain.
Click here to buy supplies to make this necklace!

Well, I hope you like how these turned out as much as me! My mind is racing now with design ideas. Being that Rings & Things is based out of Washington state, I think I will make some green and blue ombre pendants to support my Seahawks! Plus, I really want to make some with the bezel cup rings that we carry!  Happy polymer claying!

~Tiffany White

Geisha Creations