Browsing Category

Fun

Bike to Work Week 2012

May 25, 2012

bike-to-workRain. Sun. Wind. More rain. Gusts of sun. We’ve had it all this week! And yet, we (some of) the ladies of Rings & Things have ridden our bikes to work!

bike-week-2012

Polly, Cindy, Amy, Melissa and Gretchen!

Amy, in the middle, is our ETC. An ETC is an Employee Transportation Coordinator for Washington’s Commute Trip Reduction (CTR) program/law. Yes, law. For employers with more than 100 employees in one location, the state mandates compliance with the CTR, since people driving alone to work creates so much air pollution. Rings & Things doesn’t have to comply with CTR, but we like to be green! Plus the CTR offers fun prizes and incentives to reward people who use public transportation, carpools, bikes or their own two feet to travel to work.

A lot of people use clothing issues as an excuse to not ride, so I feel like I must point out how nice we all look! Dresses, slacks – jewelry of course – Polly is even wearing a WHITE SKIRT. She is obviously much braver than I. BikeStyle, you should be proud of your fellow Spokanites! While none of us are sporting heels, I do admire Barb Chamberlain’s ability to bike in pumps. Again, she is obviously much braver than I.

roast-house-spokane

Roast House poster.

Finally, thank you to Roast House Coffee here in Spokane for contributing their most excellent coffee to the energizer station Rings & Things hosted on Wednesday morning for bike commuters heading to work. We all need to be alert on the road!

Floral meadows filled with handmade jewelry!

May 22, 2012

vintage june 2012 challengeHi bloglandia! Our friends at Vintaj have a blog challenge every month. This month the theme is “Vintage Meadows.” We created a special category in our shop to make it easier to find vintage-y meadow-y components to create with, but it is really just a small sampling of what we have. I also thought it would be fun to show you a few of the jewelry designs we’ve made here at Rings & Things. Hopefully their vintage-y meadow-y feel will help get you inspired!

busy-bees-bracelet-rt

Vintaj hammered rings, bead caps & bee charms, linked with sturdy 10mm jump rings, make up the Busy Bees & Blueberries Bracelet. Use a quality hole punch to make the second hole in each hammered ring.

galileo-figaro-earrings

Vintaj game piece bezels with bone flower buttons. The sparklies are 4mm bicones from our Bohemian Rhapsody Crystal Jams mix. Understandably, they are named Galileo Figaro Earrings – but if you go!oh!oh!oh!

bell-flowers-bracelet-rt

Czech glass flower bead caps, antiqued brass head pins and antiqued brass leaf chain compose this sweet Bell Flowers Bracelet.

tequila-sunrise-earrings-rt

And finally, my favorite: Tequila Sunrise Earrings. These also use the hammered brass rings from Vintaj, plus their small bird charms. I love the gemstone colors (rainbow new jade and olive jade) layered with the brass.

The deadline is fast approaching for the Vintaj Vintage Meadows challenge, so get busy! AND – do you follow Rings & Things on Facebook? You should! Right now we are having a May Flowers design challenge. Simply post a floral jewelry piece that you’ve created on our wall by 5/31 for a chance to win great prizes!

Great Spokane Art Party 2012

April 30, 2012
artparty-beads

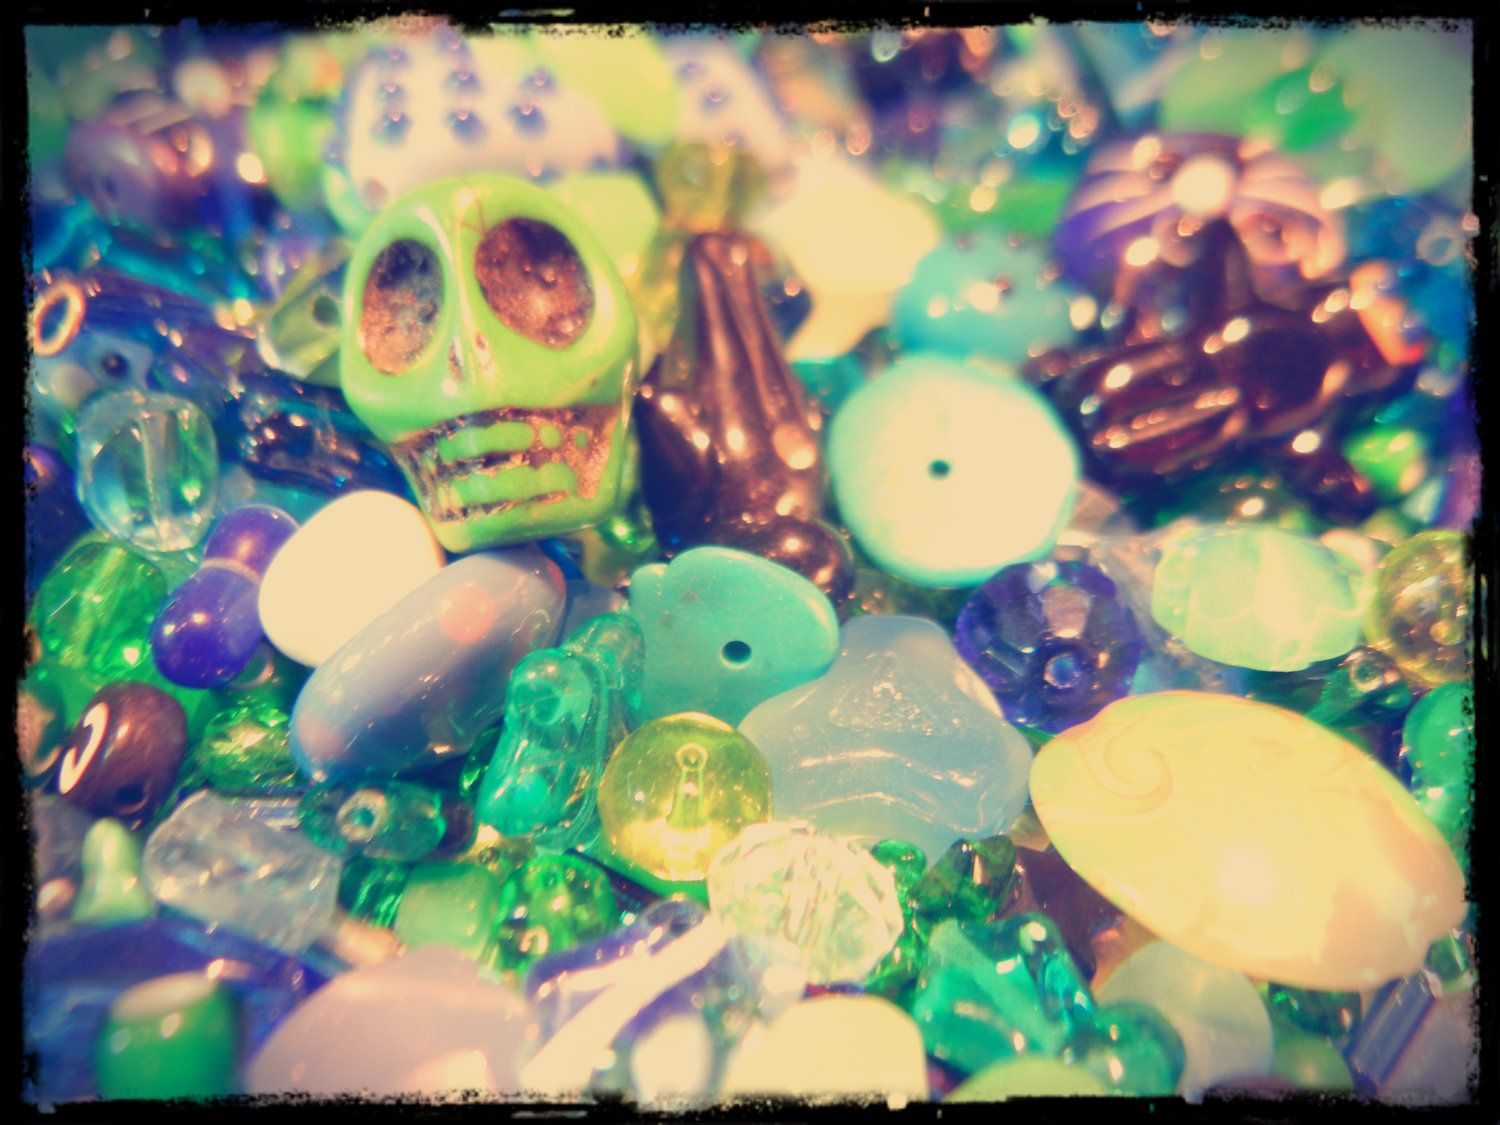
Oh so many interesting beads to choose from!

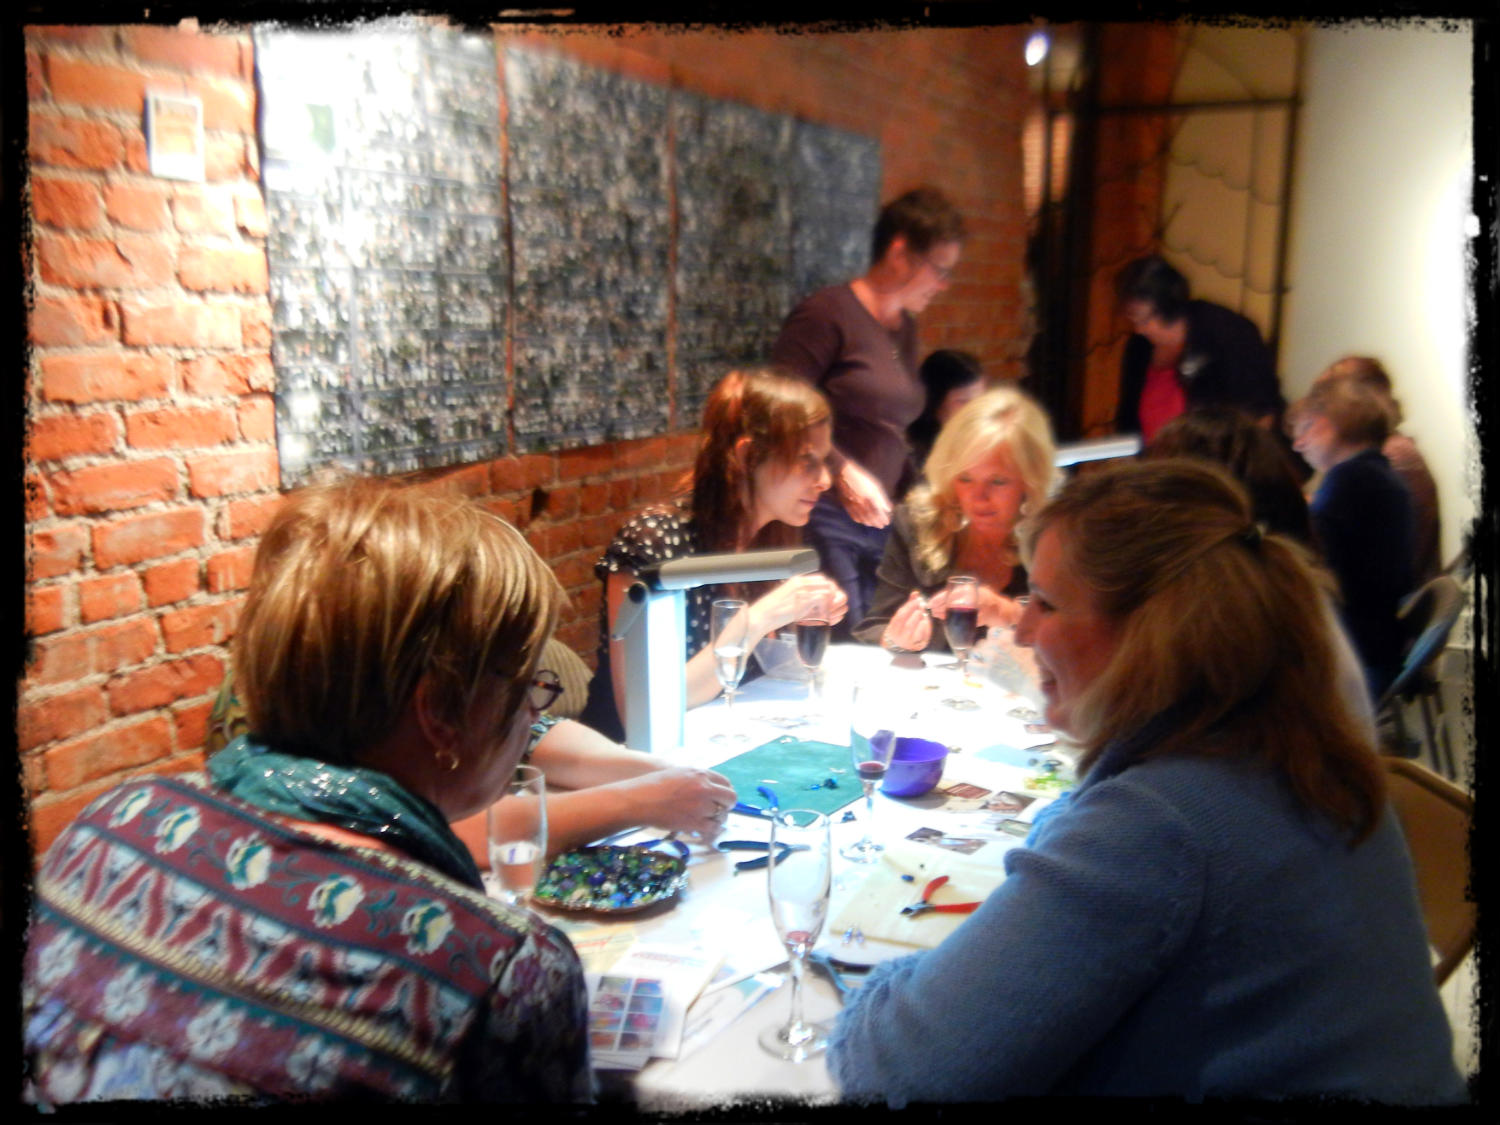
Truly a FUNdraiser, the Great Spokane Art Party is an annual event that gives adults the chance to socialize and be creative while supporting the Community Building Children’s Center and Blueprints for Learning program. Rings & Things donated supplies, training for volunteers plus a few staff volunteers to help make the night a success.

rt-artparty-claudia

Claudia getting ready for the chaos!

We had five tables where attendees dug through big dishes of beads to make their own unique earrings. We’ve been doing this for a few years and have learned some important lessons along the way. For example, bringing natural light task lamps for each table helped a ton – otherwise, come morning there would have been some unpleasant color combos! Also, after one event where attendees seemed to glue more beads to themselves than to their bracelets, we stuck (haha) to a glue-free project!

rt-artparty2

Fun-for-all jewelry fest!

I wish I would have gotten some pictures of the actual earrings people made – I was so impressed with their creativity! But at that point I had three pairs of pliers in my hands and not a second to spare.

Thanks to everyone who supported the party, either as an attendee or a volunteer! While we were busy making jewelry, other organizations and artists were helping people create everything from printed silk scarves to clay mosaic tiles to handmade paper. What a blast! Check out our Spokane Showroom Facebook page for more photos. We’ll post details about other community events there too.

~ Cindy

Bling Bombing

April 13, 2012

Hi bloglandia! Have you heard of yarn bombing? I highly recommend you do a quick image search if you haven’t! It is basically guerilla crafting – making public spaces more beautiful with knit and crochet creativeness. While I love the concept, I’m not very talented with fiber arts. But today, the stars converged in a way (or maybe I’ve just been in a cubicle too long…)

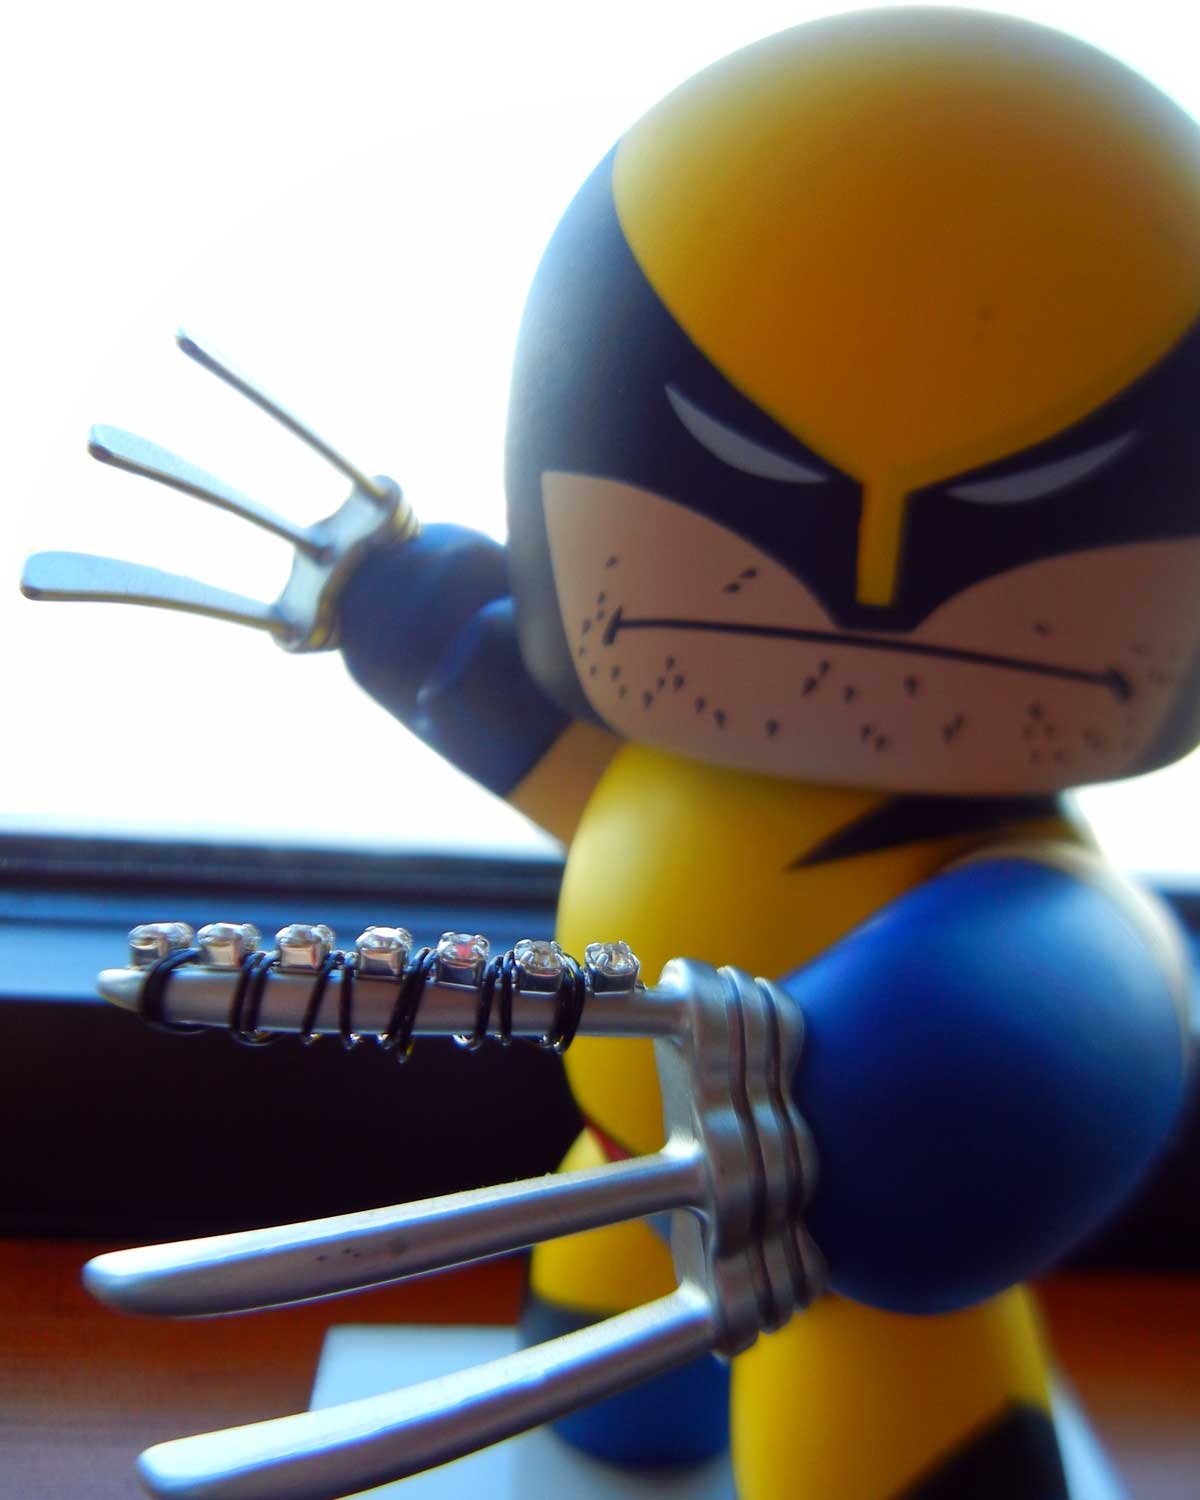
Nate’s Wolverine action figure (NOT a doll) needed a little sprucing up.

One, it is Friday and I’m feeling punchy. Two, it is Mandi’s birthday (you might know her from our showroom or traveling bead shows – happy birthday Mandi!) so there is lots of sugar and cake coursing through our systems and Three, I have all these snippets of rhinestone chain leftover from Monday. What does it all add up to? My new sport – bling bombing !!

The rules are really simple: embellish objects with bits of bling in a totally removable and non-damaging way (ie: wire wrapping, not super gluing). I started with public spaces but then it got personal:

bling-calendar

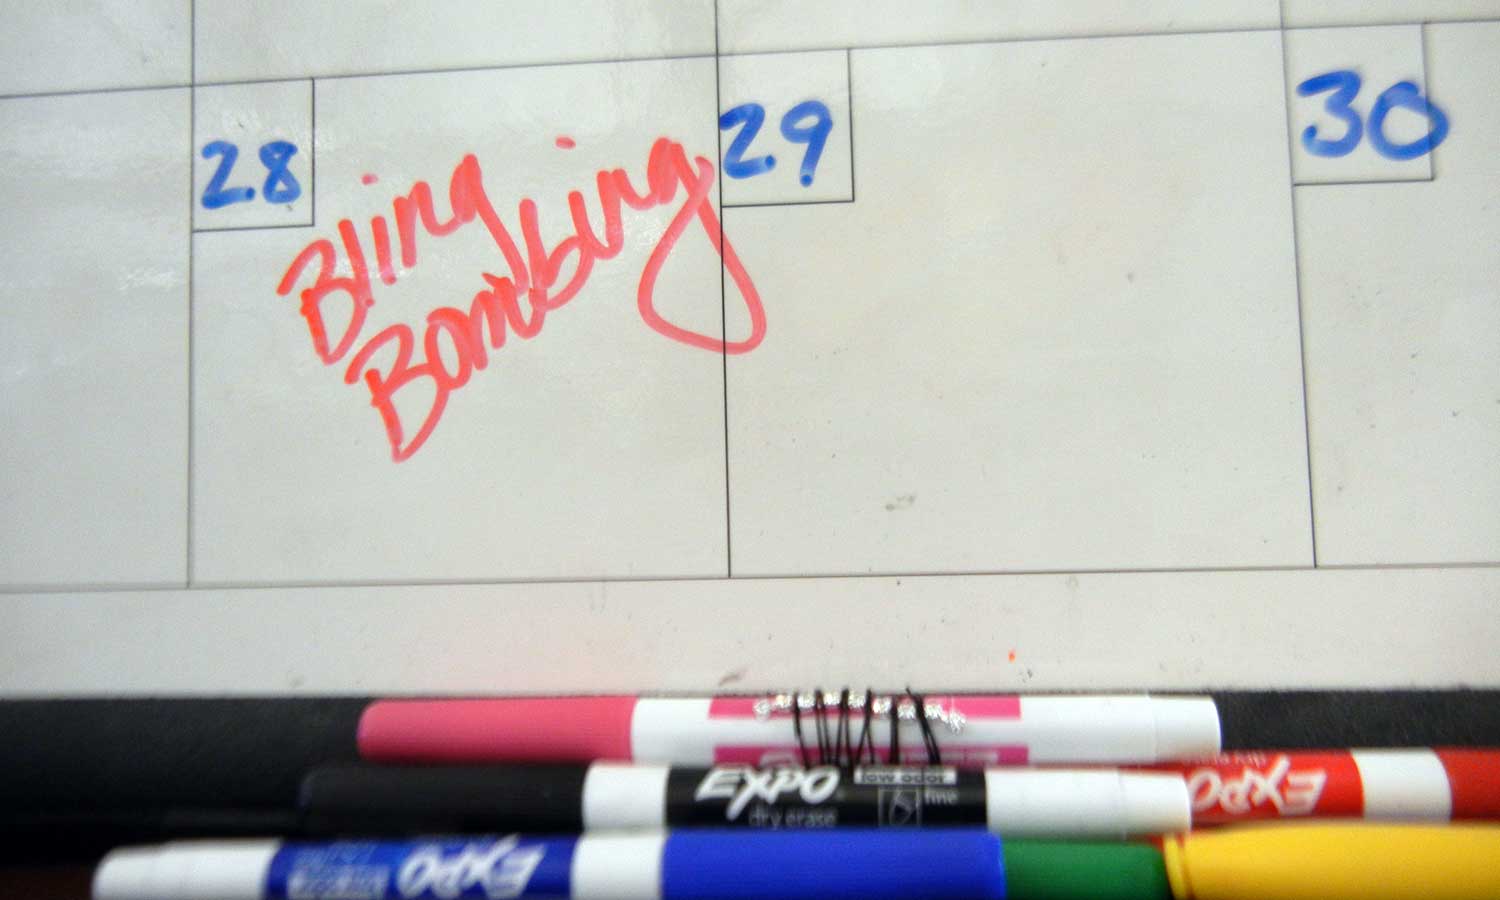
Why shouldn’t the meeting room calendar have a bit of sparkle?

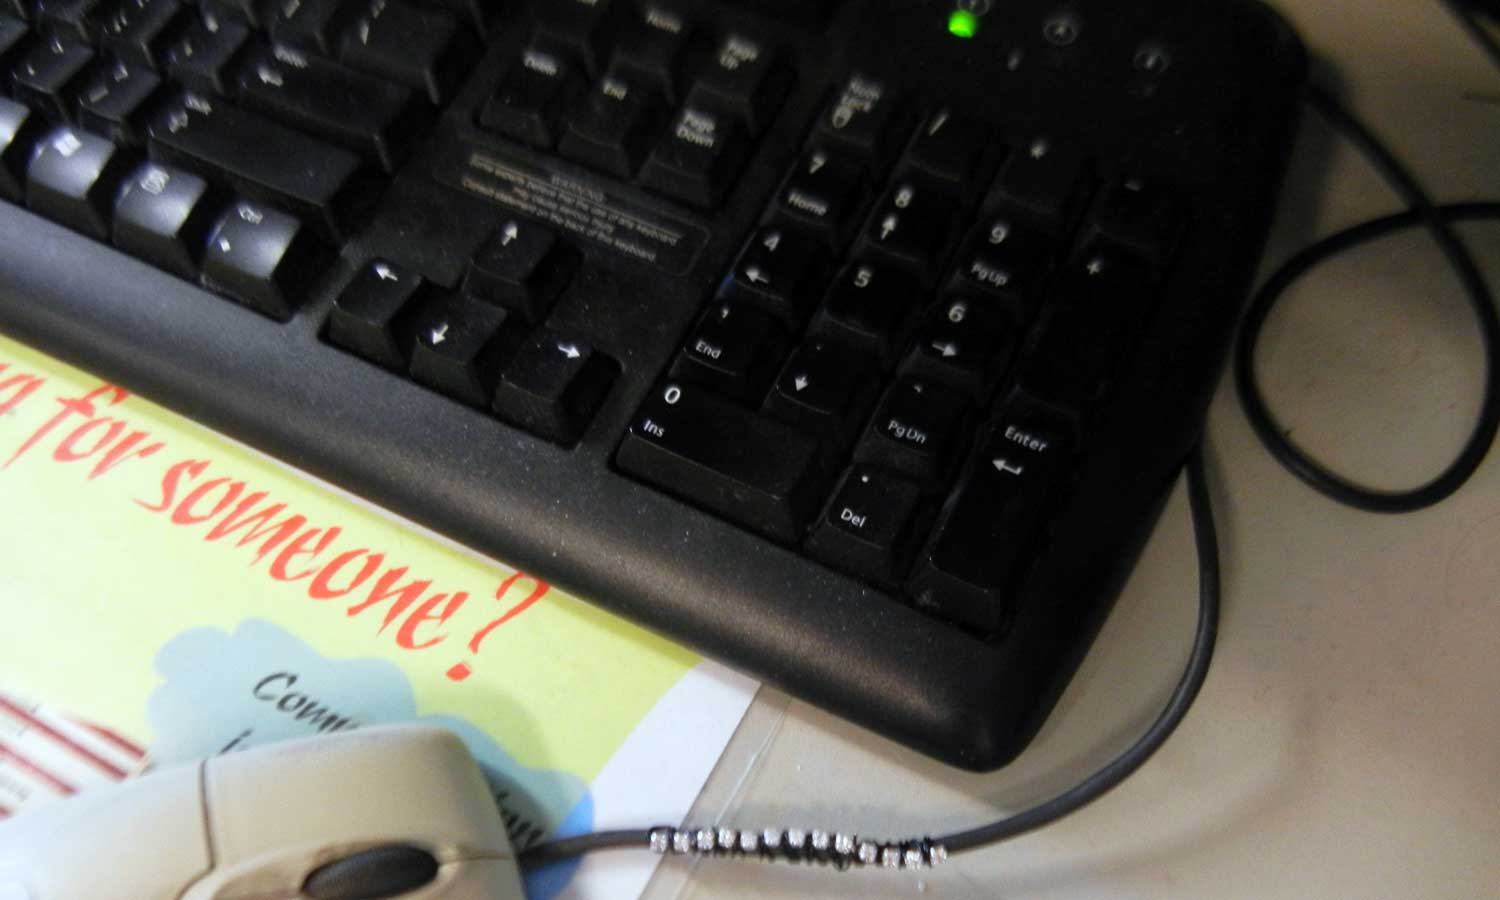
mouse-cord-bling

The time-clock computer really looked blah before.

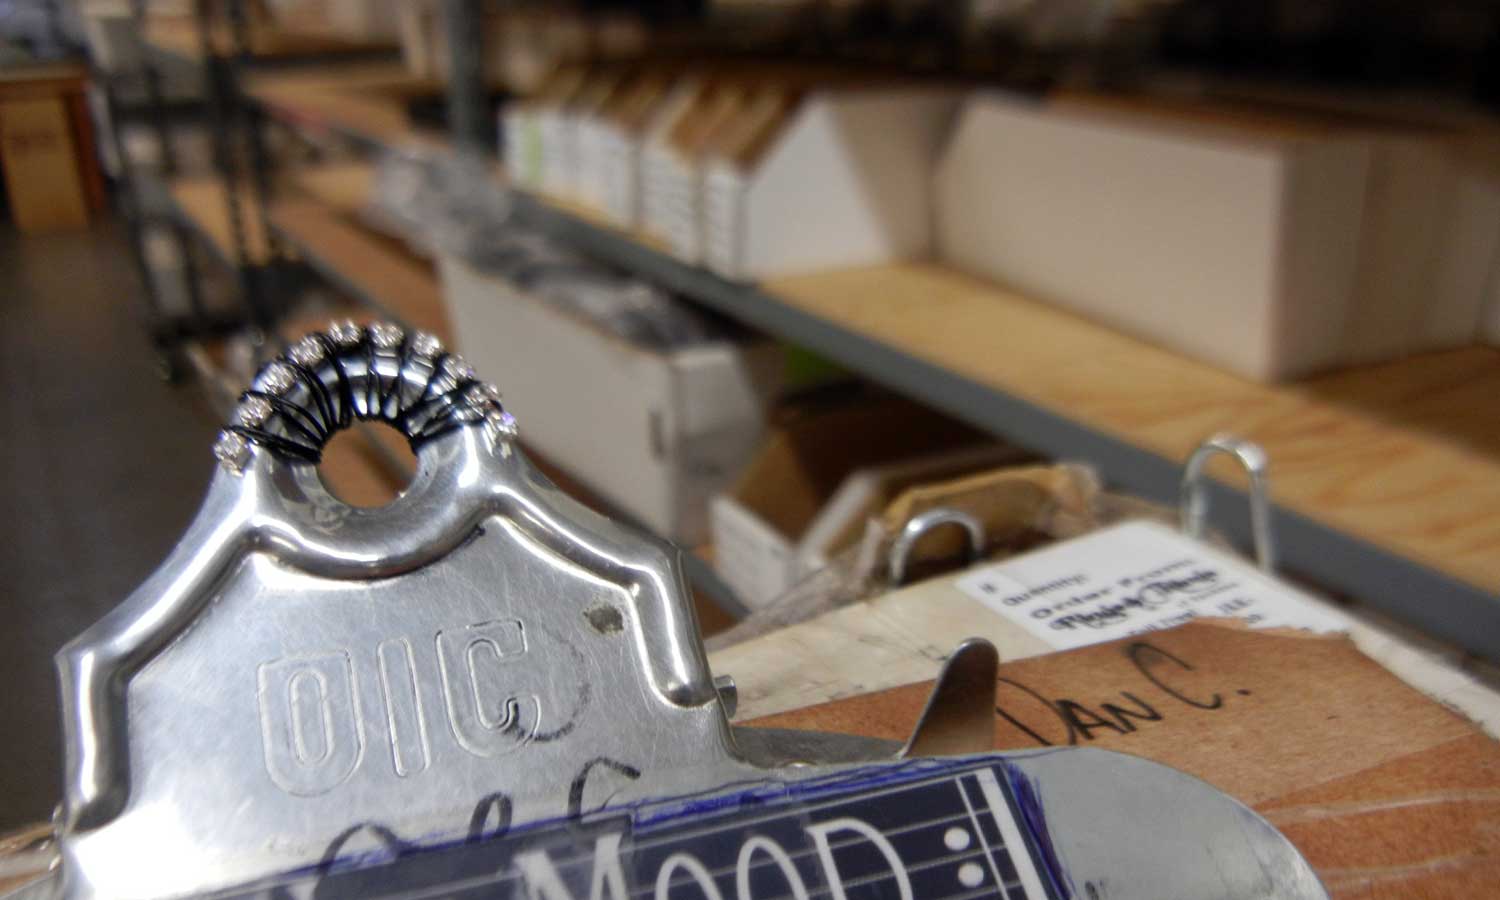
clipboard-bling

Justin really didn’t like my suggestion of adding rhinestone chain to his glasses. I think it actually made him ill, which conveniently left his belongings unsupervised today. Won’t he be excited on Monday?

bills-glasses

Fortunately, Bill from the sales dept. can’t get enough bling. Doesn’t he look snazzy?

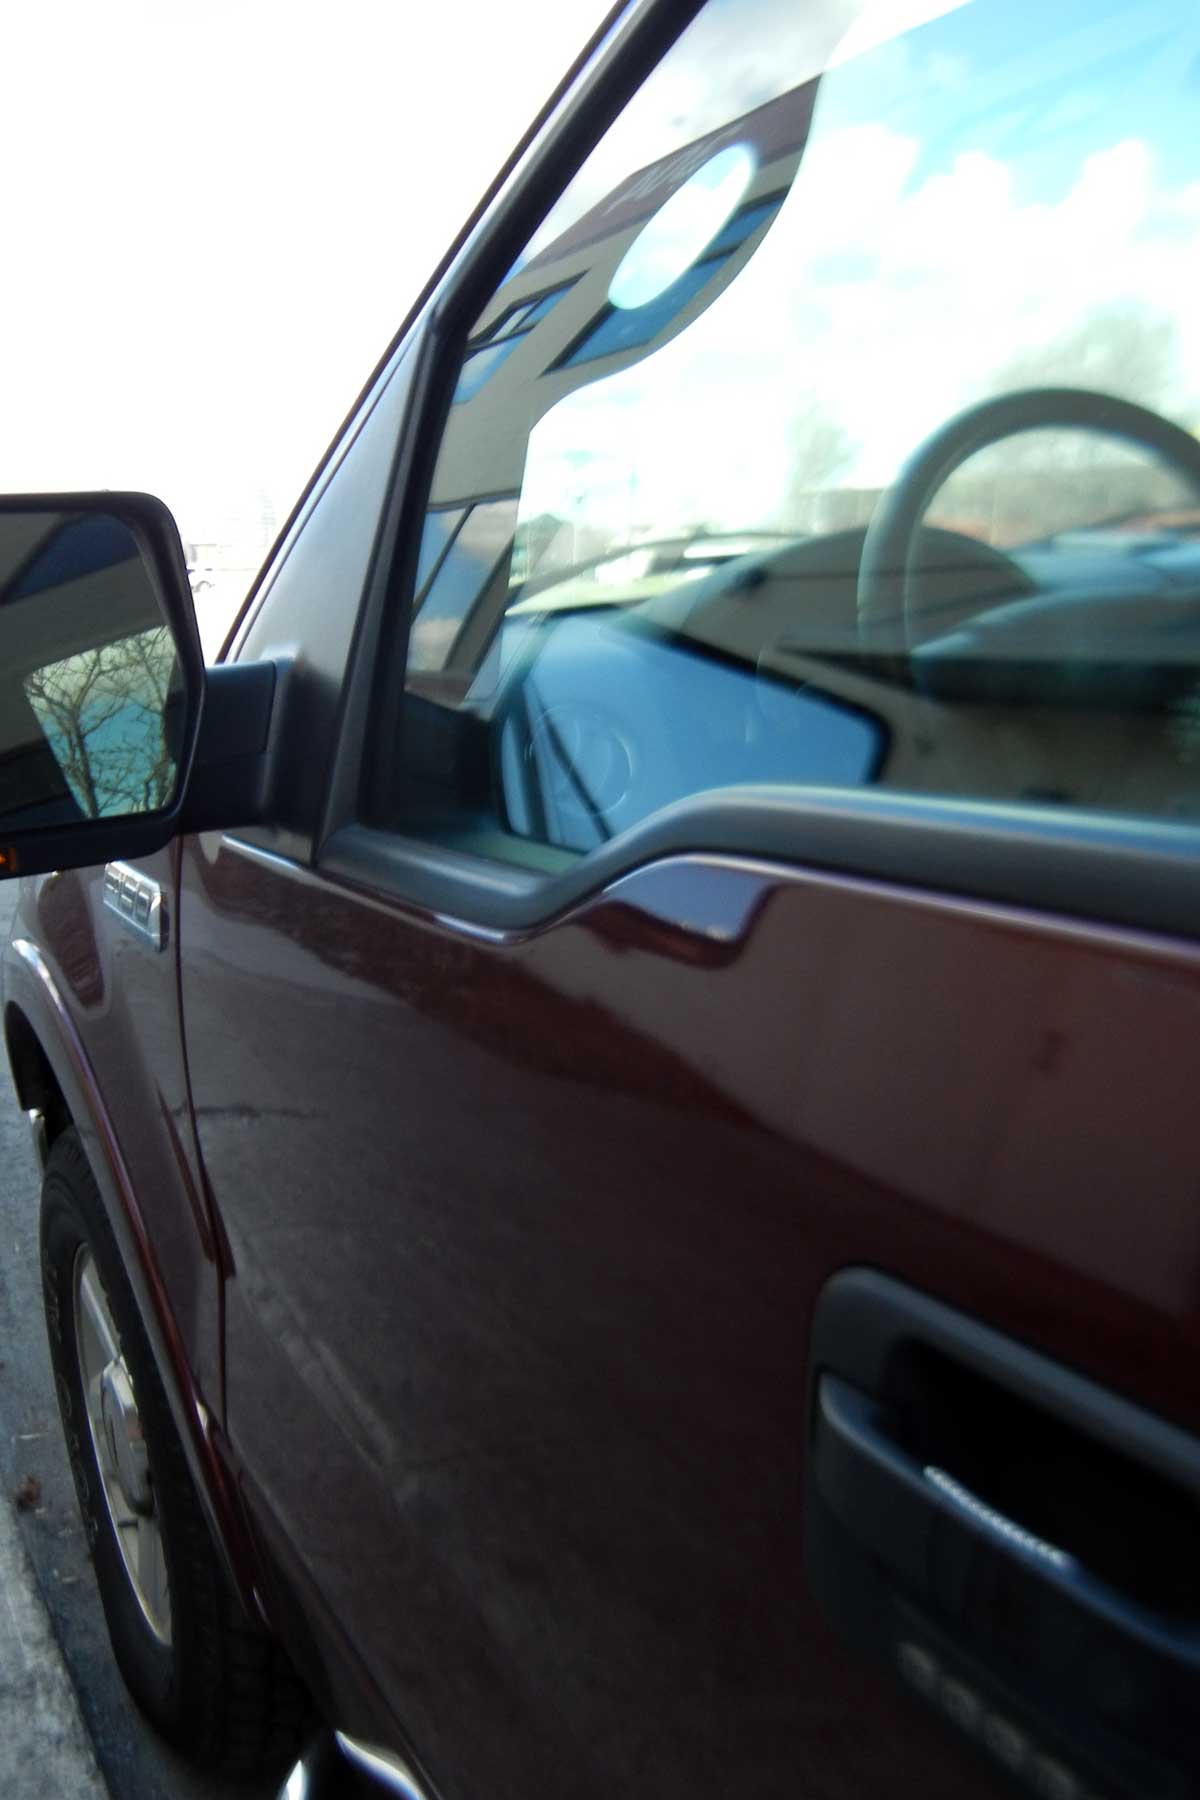
rhinestone-truck

There was no way Joe, our purchasing manager, would let me dress up his glasses, so I decorated the handle of his truck instead. Of course, now I have to worry about revenge: he went to lunch, the chain is now gone…but he has not said a word. Cue the horror movie music.

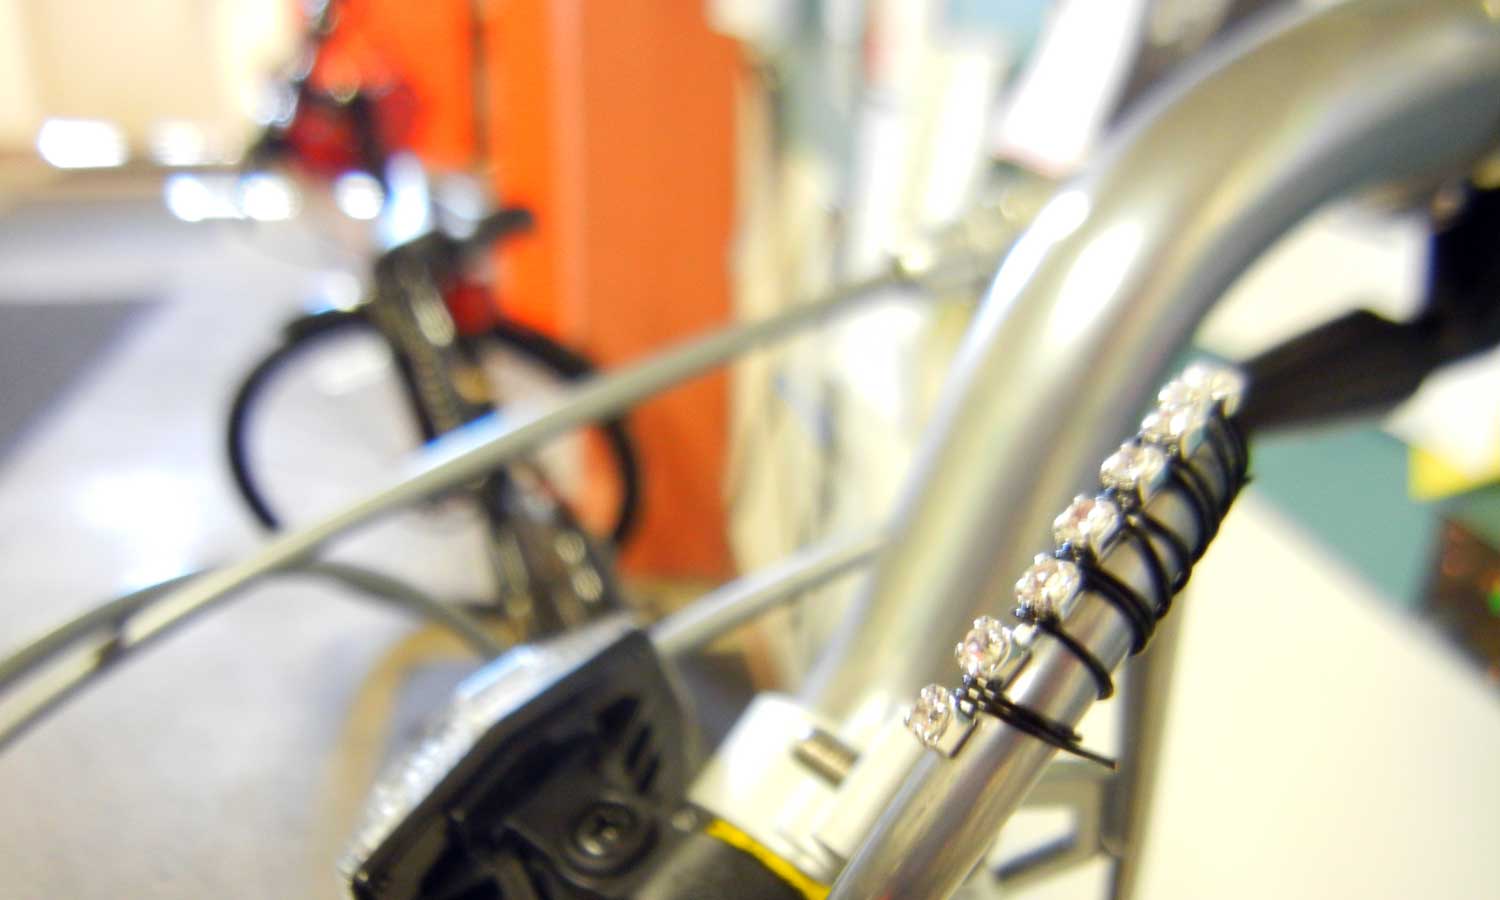
handlebar-bling

I think my favorite, though, was dressing up Melissa’s bike. Indoor bike parking is one of the perks of working in the Rings & Things warehouse.

I hope to have inspired someone – somewhere – to create some sparkly mischief. The world can always use a bit more bling. Have a great weekend everyone! ~ Cindy

spring bling

April 9, 2012

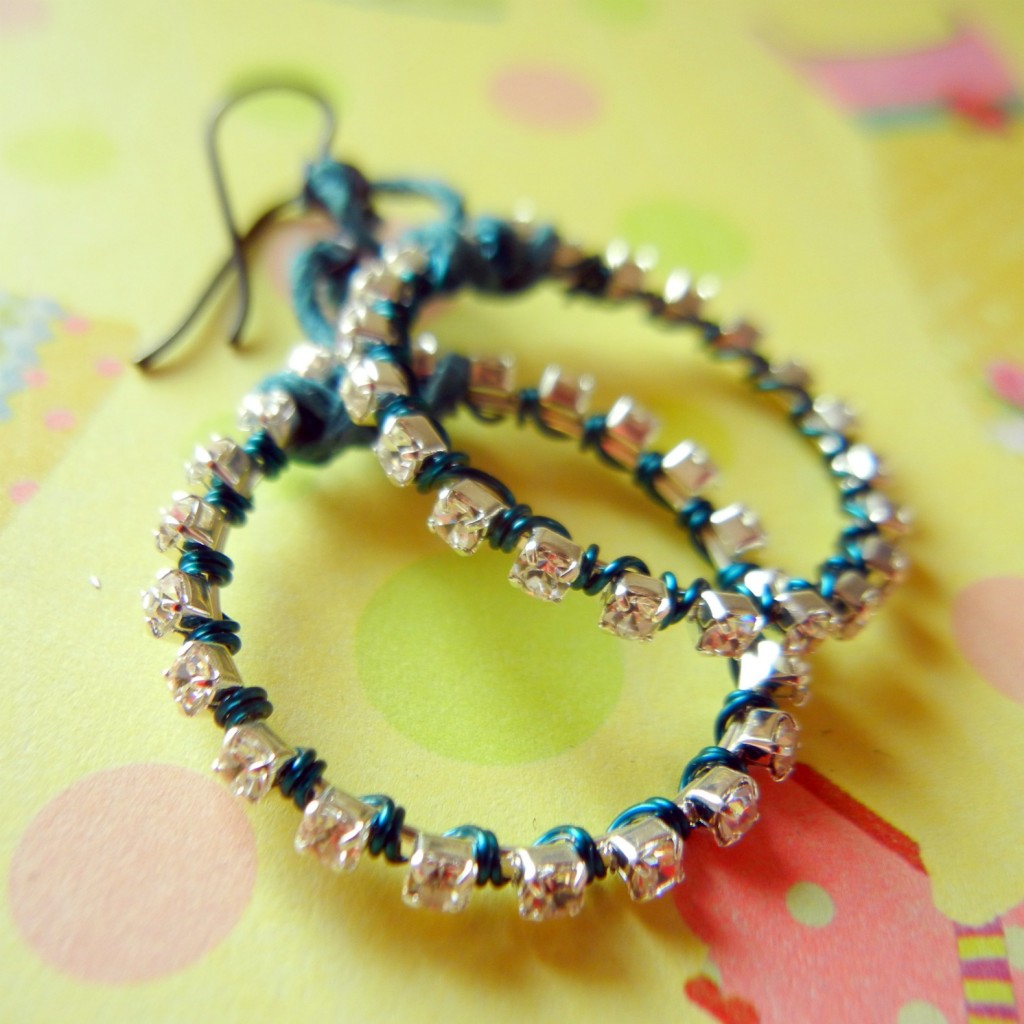
Hi bloglandia! Today we had a make n’ take event in our Spokane showroom. I taught customers how to make wire-lashed bling pendants using rhinestone chain and 24-gauge Artistic Wire. Very fun! You get a lot of sparkle in a very short amount of time.

rhinestone-chain-earrings

Rhinestone chain wrapped onto hoops with turquoise wire.

A common complaint we get is that our showroom is just too far away for most of our customers, who happen to live all over the world. Sadly, we can’t transport our showroom to y’all, but I thought I would let you know that the techniques we used today are available here on this blog and in our design gallery. Plus I wanted to show off the insanely sparkly earrings I made while teaching. Happy Monday! Hope you find time to do something creative! ~ Cindy

Hoppy DIY Easter Jewelry Ideas!

March 27, 2012

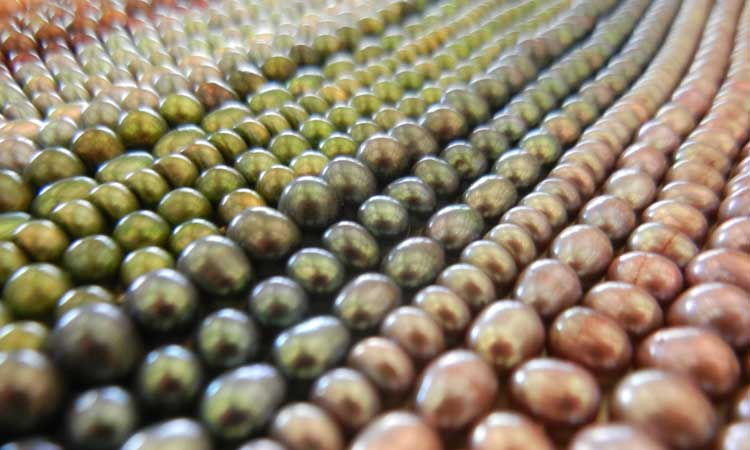
I just spied this new selection of freshwater pearls over in our sales department and suddenly I realized – Easter is almost here! There is something about the egg-shaped pearls that is just so very…what’s the word…eggy?

eggs-pearls-easter

Freshwater pearls in candy-delicious colors.

Hop over to our design gallery – we have a whole category devoted to spring and Easter jewelry. We make all of our designs “copyright free” meaning you are welcome to replicate them exactly, or to just as eye candy (eye jelly beans?) get your creative ideas flowing. Several of the designs are official “Create Your Style with Swarovski Elements” designs that use crystal pearls and sparkly crystal beads. No matter what materials you choose, now is the perfect time to add a pop of spring color to your wardrobe…unless you are Bill. Bill already has enough color – if you’ve ever placed an order by phone you’ve probably experienced it! ~ Cindy

rings-things-bill-style

I don’t remember what I said to get the “oh no you didn’t!!” finger wag, but it must have been good. Or maybe he is dancing? Hmmm. One never can tell wtih Bill!

Leather strap wrap bracelets in bright new colors!

March 6, 2012

Spring is (almost!!) here, and what better way to celebrate the return of short sleeves than a wrist full of bracelets? With this in mind, we chose a fun new palette of leather strap bracelets based on the Pantone Color Chart. These triple-wrap bracelets are 1/2″ wide and feature three snaps for an adjustable fit. The gorgeous colors are created with lead-free vegetable dyes. Vegetable dyes are color fast, but you should avoid getting your leather bracelets soaking wet, as it could damage the leather.

Leather bracelets are easy to customize and fun to wear. Here are some of the ways our design team dressed them up:

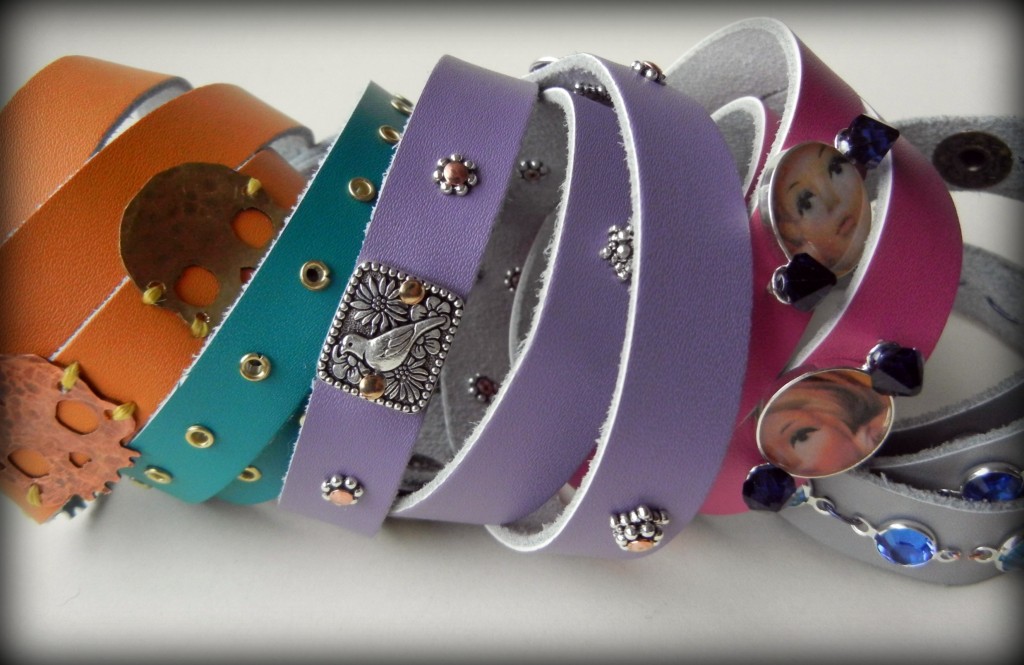
orange-teal-purple-pink-gray-leather

Some of the brighter and bolder Pantone-inspired color choices – Solar Power, Lagoon, Bellflower and Pink Punch! The concrete gray makes a great neutral base for many colors, including sapphire crystals.

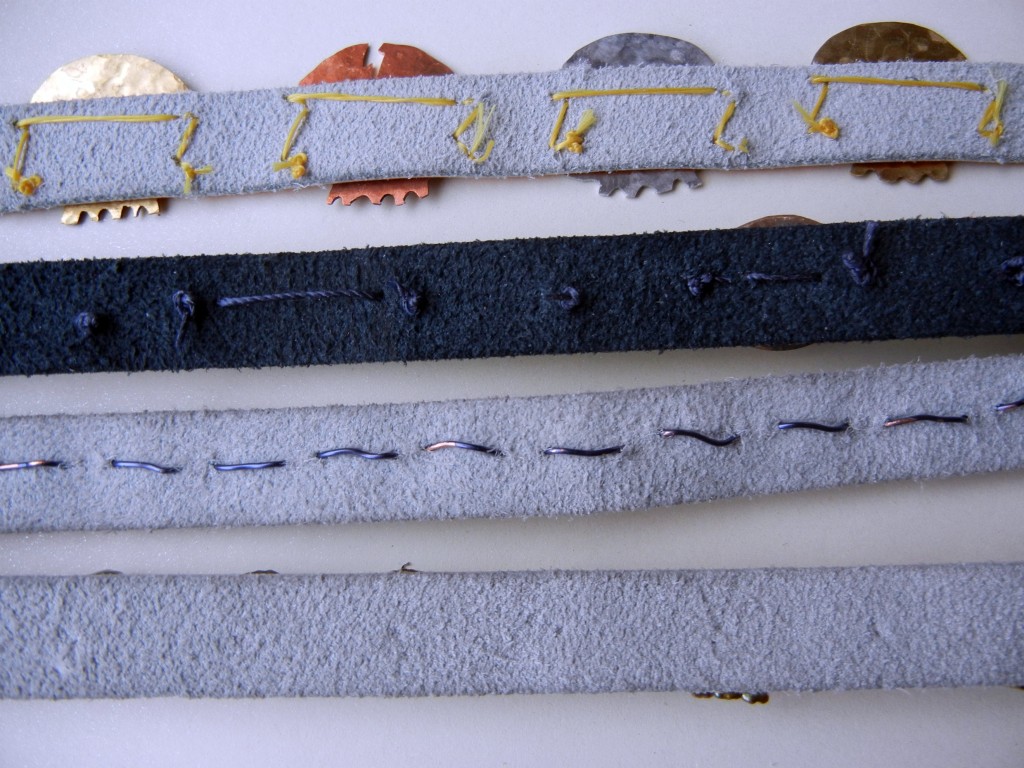
Most of our designers chose to sew their beads, charms, crystals and other decorations in place. Pretty much any stringing material can work, depending on the situation. We used Nymo, Superlon, embroidery floss, hemp cord and even wire.

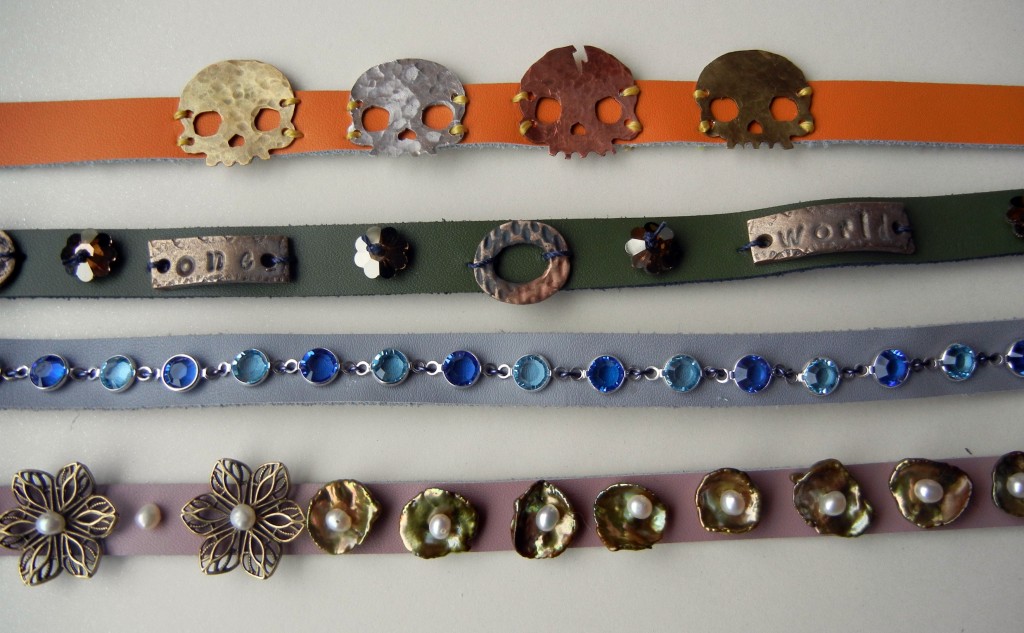
sewn-adornments-leather-rings-things

From the top: Jaci used a jeweler’s saw to cut skulls out of sheet metal. I attached bronze clay charms and bronze shade crystal margaritas. Laurae stitched crystal channels on with wire. Toni used freshwater pearls and antiqued brass filigree.

Use a rotary hole punch tool or an awl to make holes where needed, and stitch away! Just be sure to choose a thread thickness that feels durable enough for the weight of the items you are attaching.

stitches-reverse-rings-things

As you can see, our stitch methods varied a lot. Mine are quite clumsy while Toni’s are practically invisible – but they all worked! Laurae’s wire was the most problematic to sew with, but it does add a nice heft to the bracelet.

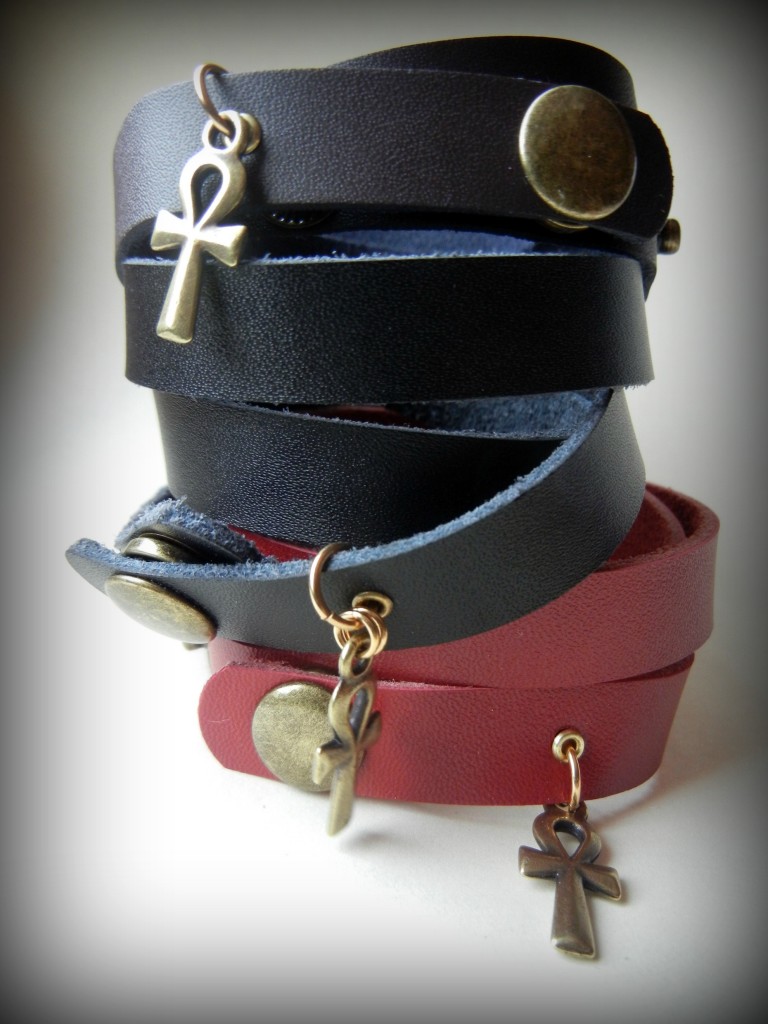
Another leather embellishing option is to use rivets and/or eyelets. Eyelets line holes nicely for durability, which allows you to hang charms from them, like on Sondra’s stack of ankh bracelets:

wrapped-in-ankhs-rings-things sondra barrington leather ankh bracelets

Simple and stylish wrapped leather bracelets in black, dark brown and scarlet leather. I wanted to name that color of red “lipstick red” but was out-voted on the grounds that not all lipstick is red! Scarlet won because it is a pretty true red without orange or brown tones.

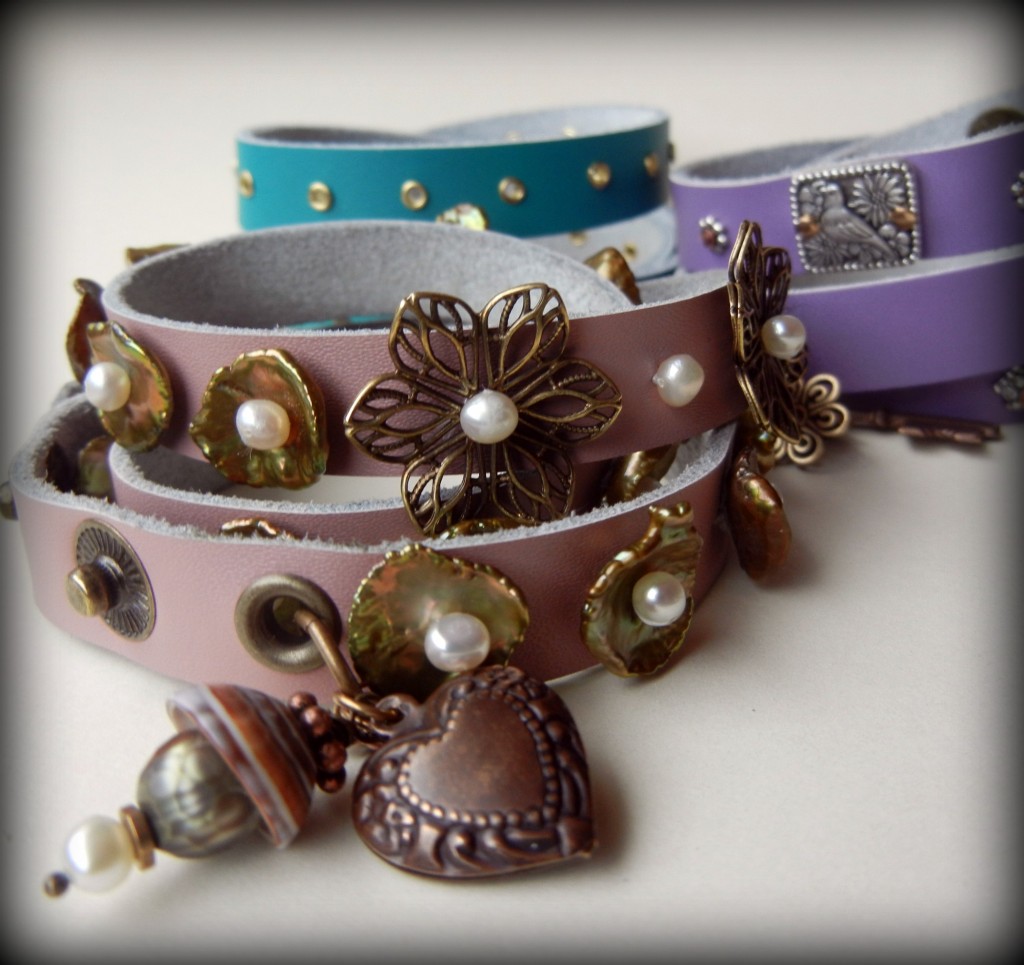
Polly used the Crafted Findings riveting system to attach TierraCast charms and spacer beads to her purple leather bracelet. The teal blue bracelet uses evenly spaced eyelets to create an industrial style, while Toni used a couple of large leather eyelets to create attachment points for pretty charms and beads.

romantic-wrap-bracelet

The front pearl bracelet is on “Silly Putty” colored leather. The pinkish yet neutral color is hard to describe, but somehow we all agreed silly putty summed it up!

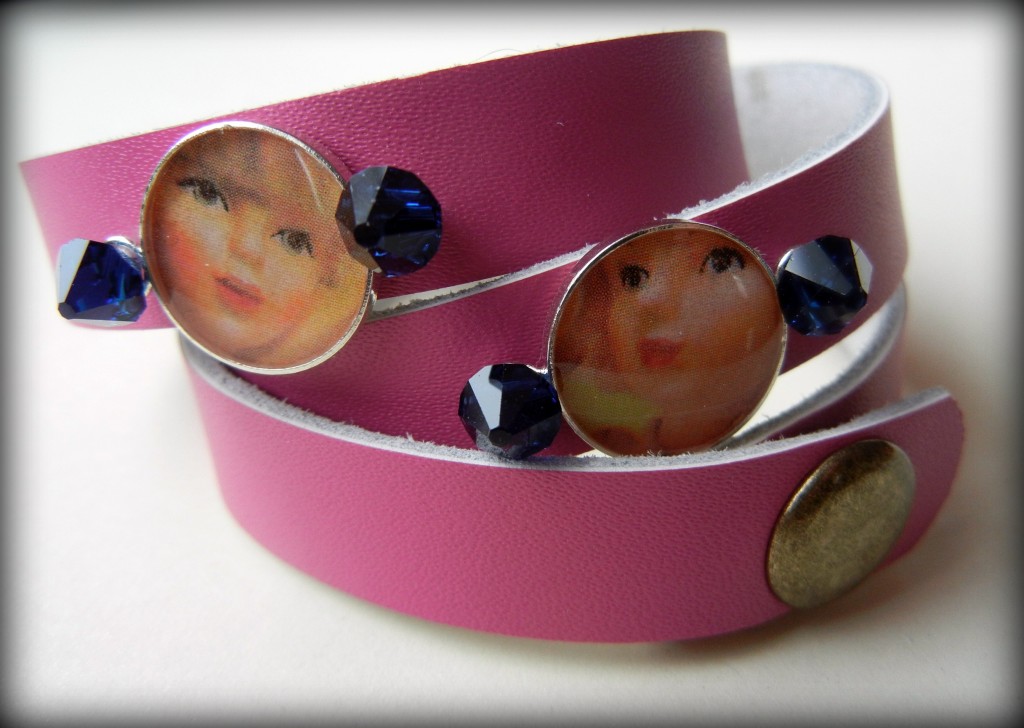
pink-leather-resin-bracelet

I stitched Dark Indigo bicone drops in place over the bezel loops on my “Clueless” bracelet to make spikes.

I had a hard time rounding up all these bracelets … I didn’t quite have to pry them off people’s wrists, but almost. They’ve been getting a lot of wear – and a lot of compliments! We hope you have just as much fun creating your own jewelry with them! ~ Cindy

Sweet heart jewelry designs – for Valentine's Day and more!

January 19, 2012

Valentine’s Day is just a few weeks away. How did that happen?!? But there is still plenty of time to make your own jewelry to wear, to gift, even to sell (how many men wait until the day before to purchase gifts, hmm?).

brass-heart-vintaj-earrings

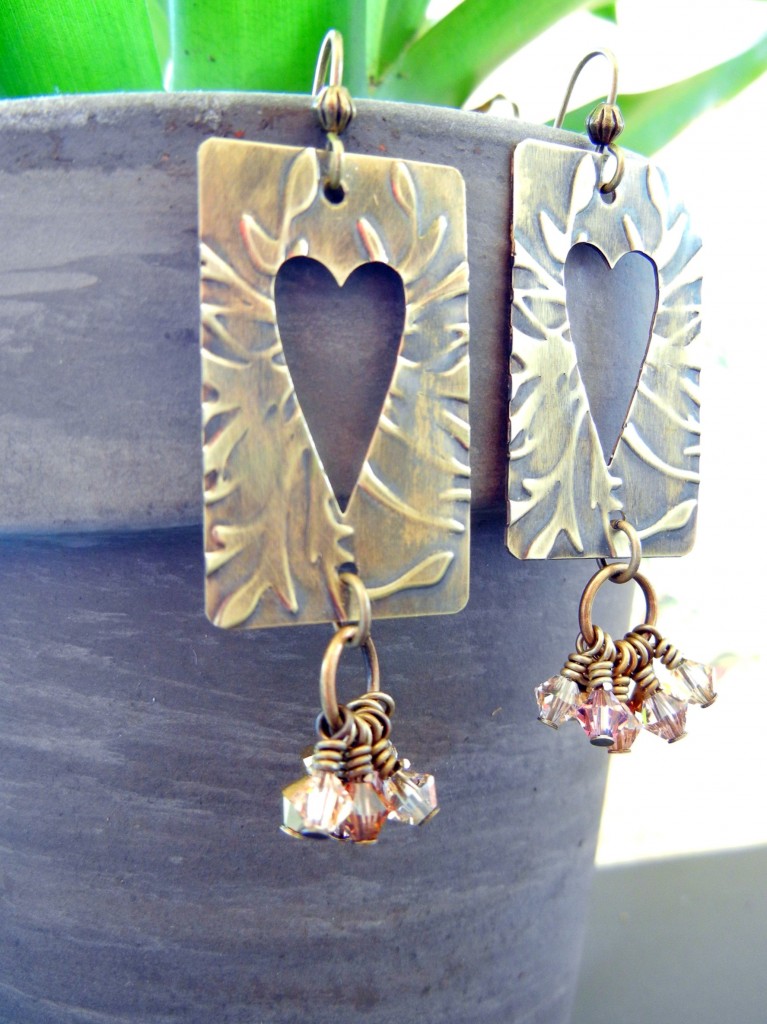
Brass heart cutouts textured with the new Vintaj BIGkick machine.

Mollie made the above earrings with our brass fairy doors and the Vintaj BIGkick (tutorial coming soon!). Hearts are popular year round. Especially SWAROVSKI crystal hearts – they are so sparkly!

blue-valentine

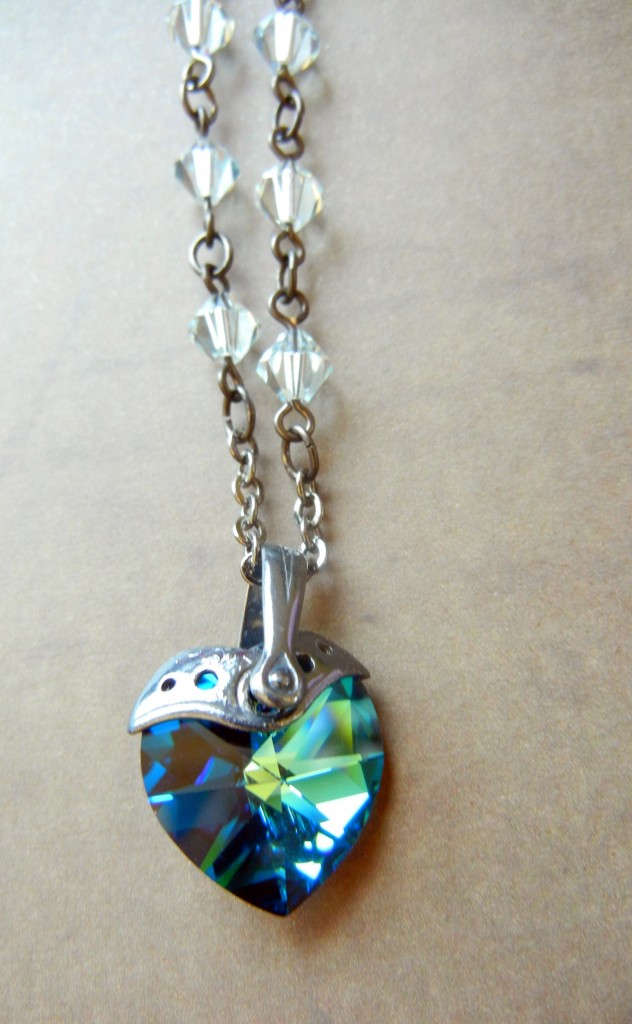
Mollie’s “Blue Valentine” necklace is a classic.

zombie-love-valentine-cindy

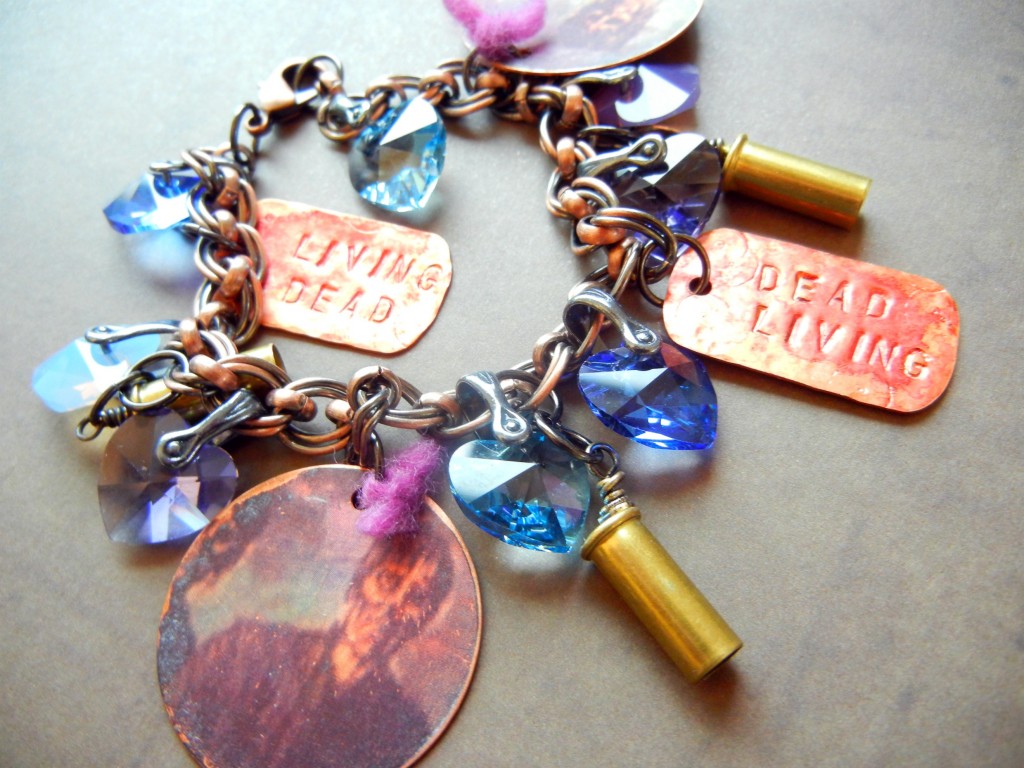
My zombie bracelet is not!

I used ITS (image transfer solution) to copy the zombies to the copper disks, and alcohol inks to colorize the stamped tags.

But hearts are just the beginning. Since Valentine’s Day is all about love, I think jewelry that features items you or the intended wearer love is totally appropriate. How about sweets for your sweet?

sweet-treats-bracelet

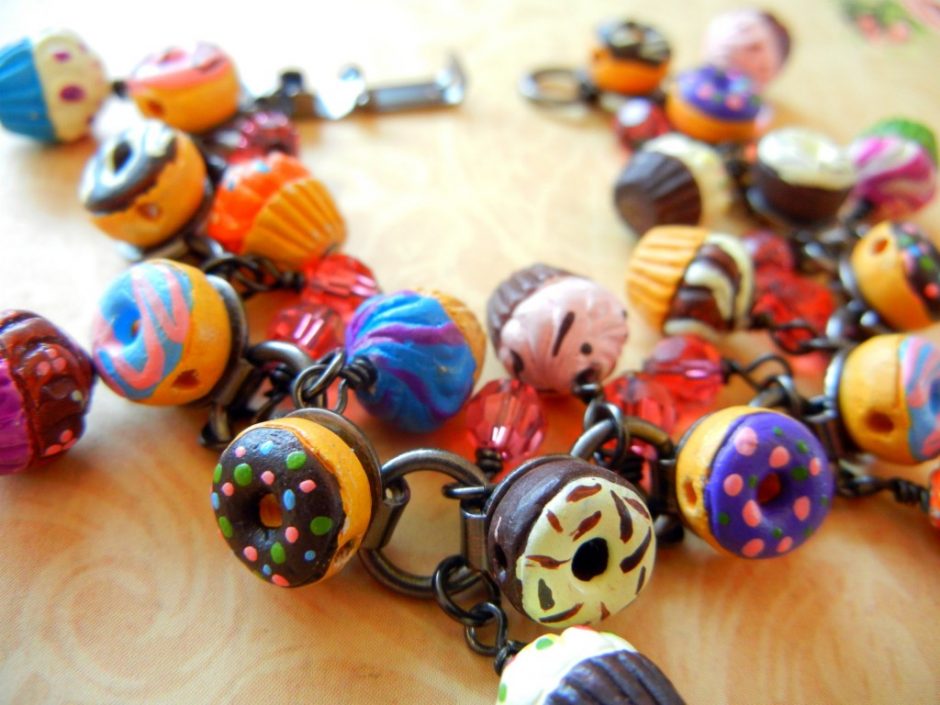
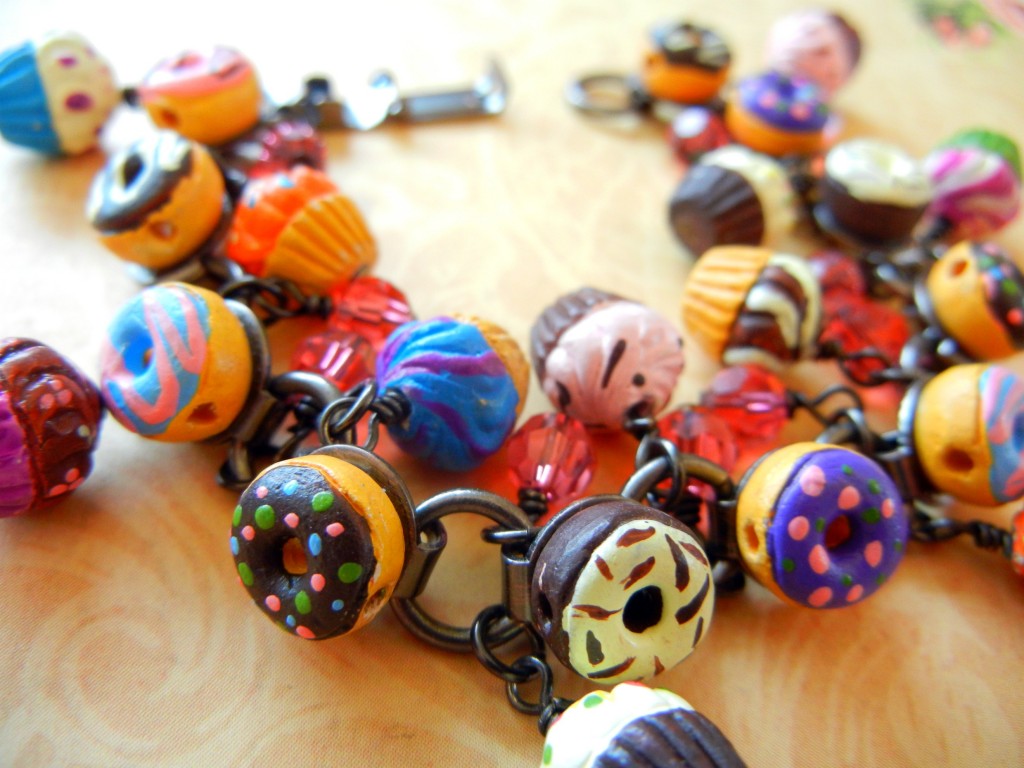
Toni’s sugar rush of a bracelet.

Tiny ceramic cupcake beads create an adorable confection. And don’t forget about toys. Who doesn’t love to play?

barrel-o-monkeys-necklace

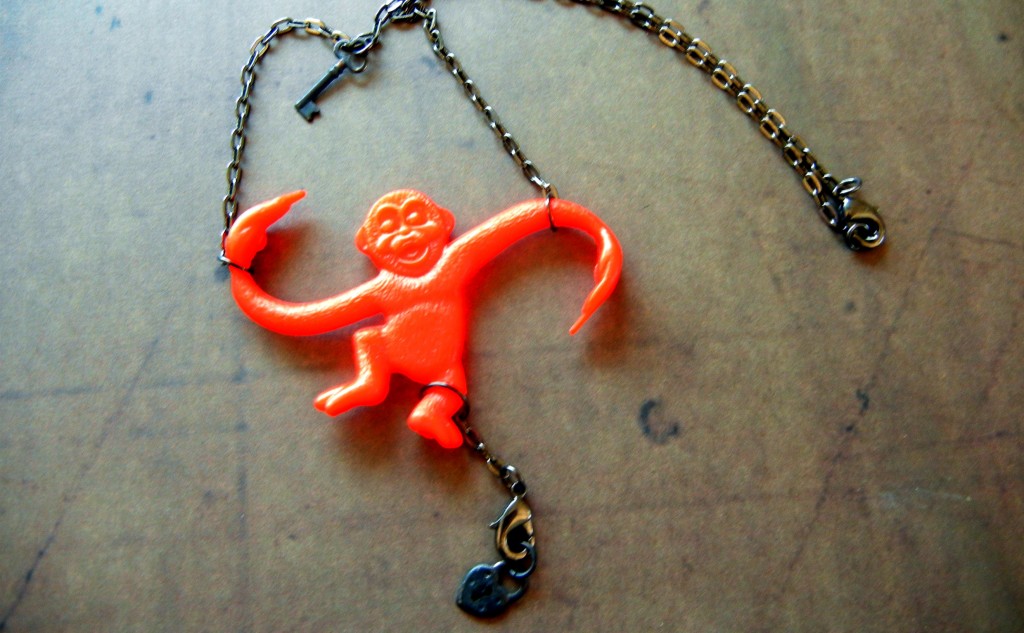
Mollie’s monkey is barrels of fun!

Jump rings and chain can turn most anything into a necklace! Does anyone else think the monkey bears a striking resemblance to Dr. Quinn’s (Jane Seymour’s) open hearts? Maybe if you flip it sideways and upside down?

Whatever your style, have fun with your Valentine’s creations! ~ Cindy

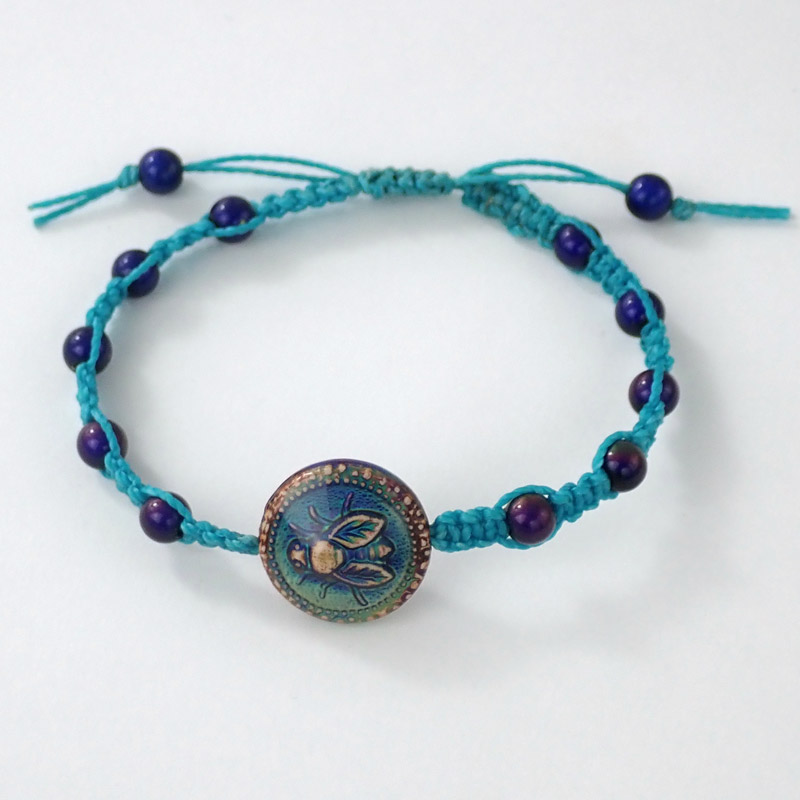
DIY Shamballa style macrame bracelet tutorial

January 8, 2012

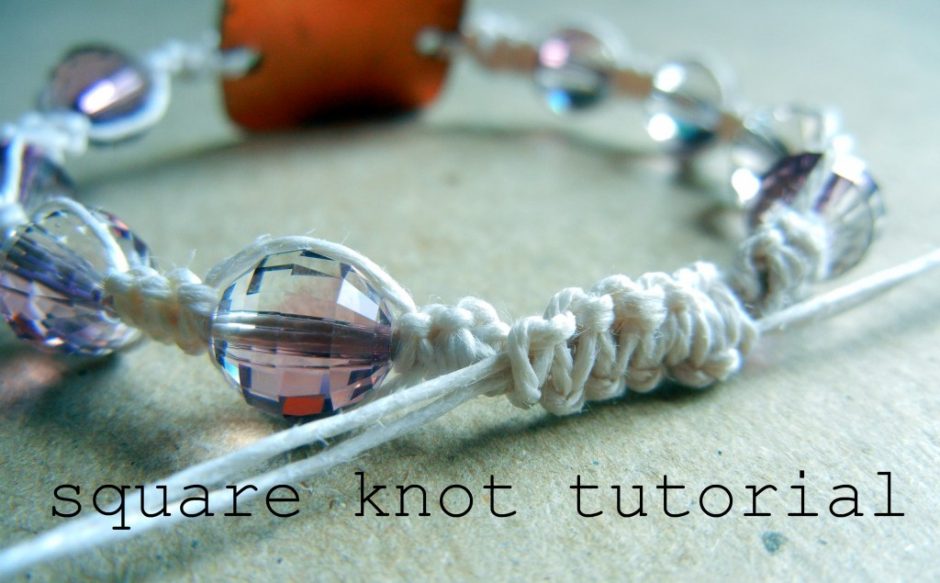
Square knot macrame bracelets have been given new life due to the influence of high end designers. I’ve got the “Circle of Life” from The Lion King playing in my head as I write this. How else to explain how a simple macrame bracelet design, which has spent years as a summer camp staple and a tourist shop standard, has been reborn as the chic “Shamballa” brand must-have look?

I think it is a great example of how basic techniques can be adapted to suit nearly any style or budget. Have hemp cord and plastic pony beads? You can make this bracelet. Have premium knotting cord and diamond-studded platinum beads? You too can make this bracelet! The trickiest part is making the sliding clasp, but like any type of magic, once you know the trick, it is no problem.

Rings & Things actually made a square knot (aka half knot) macrame bracelet instruction sheet years ago (updated macrame bracelet instructions here). The sliding clasp instructions were also published as part of our “Meteor” macrame bracelet, which has a totally different look. It is past time to update the tutorial with some photographs!

Supplies needed for square-knot macrame bracelet with sliding clasp:

Cord – hemp, Chinese knotting cord, linen, cotton – whatever you like. You’ll need about 12 feet total.

Beads – again, whatever you like – but the holes must be large enough for two strands of your selected cord to fit through. Depending on your knot to bead ratio, you might need one bead or 20.

Scissors, needle, a clipboard (or a work surface and a binder clip), and flat or chain-nose pliers.

Cut two 2′ pieces of cord and one about 6′ long. Leaving approx. 8″ tails, clip the two anchor cords to your work surface. Center the long cord under the two anchors. (For the sake of photos only, the anchors are blue and the knotting cord is black.) You can start with either side, but I start from the right:

2-right-loop

3-left-through-loop

Pull to tighten the cords, and you’ve completed 1/2 of a square knot. The second 1/2 is the same, just from the left:

4-left loop

5-right-through-left

Pull tight and you have a complete square knot.
Tip: If you want your knots to spiral, then skip this “second side” step… just repeat the first half of the knot, always starting from the same side of the knot.

6-keep-knotting

It is totally up to you how many knots to tie between beads, but odd numbers (1, 3, 5, etc.) look best. Tie a few knots, slide a bead onto the anchor cords, tie a few more knots…it is really quite fun! Continue until you have the length you want. Keep in mind that the clasp will add about 1/2″ to the overall length.

Since you started knotting with a single long piece of cord, the starting end is “finished” while the tail end has….tails. To remedy this, sew the tails (one by one) up through the last section of knots. I needed to use pliers to pull the needle through.

7-sewing-up-end

Snip off the ends and it is like they were never there!

8-magic-clean

Now that you know how to make square knots and finish the ends, let’s make the “magic” part – the sliding clasp. Make your bracelet into a circle and overlap the anchor cords. Use bits of cord to bundle them together for the moment.

9-ready-to-tie-clasp

Now clip the top to your work surface. Cut a 12″ piece of cord and center it under your four anchor cords. Start tying square knots, just like you did for the bracelet itself. Continue for about 1/2″, then sew the ends back in. This section of knots should be able to slide back and forth on the anchor cords. Now, for the tails: they serve an important purpose. Make slip knots an inch or two away from the clasp on each pair of anchor ends. Tie beads on too if you like. These knots/beads act as stoppers, ensuring the ends don’t slide out of the clasp. Make sure you leave enough length to make the bracelet big enough to get over your hand. And ta-da! Adjustable bracelet bliss.

10-sliding-clasp

***

FREE Rings & Things Design Gallery Projects

Rainbow Bead Macrame Bracelet Tutorial” created by Rings & Things designer Michelle Horning.

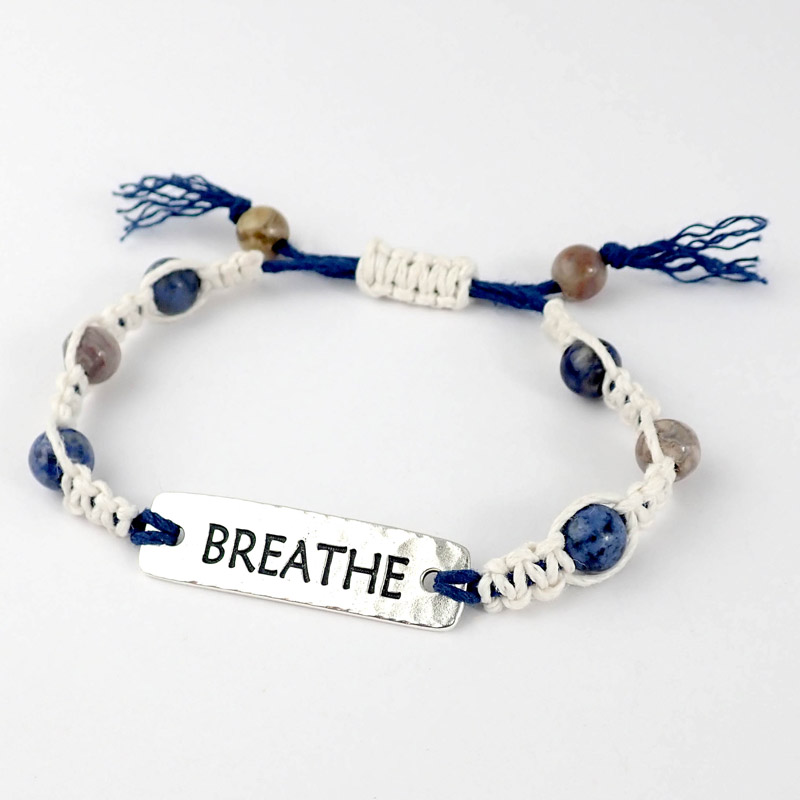
Remember to Breathe Bracelet Tutorial” created by Rings & Things designer Michelle Horning.

Bee Moody Bracelet Tutorial” created by Rings & Things designer Michelle Horning.

***

Happy knotting! Please let me know if you have questions, and have fun making your own bracelets! ~ Cindy

www.rings-things.com

Torch fired enamel jewelry ideas

January 4, 2012

[editor’s note: links updated March 2018]

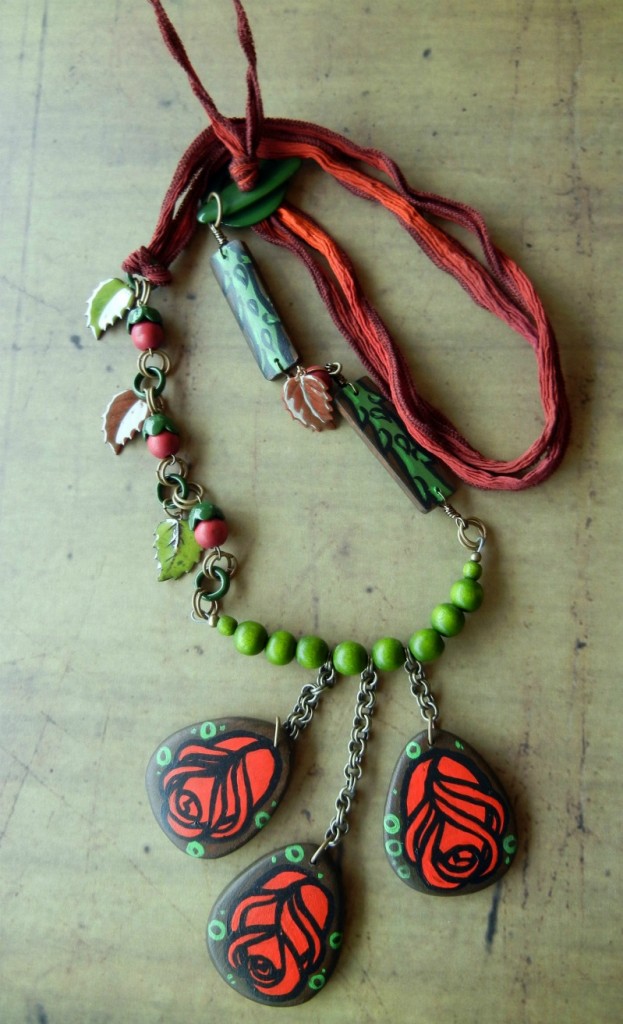
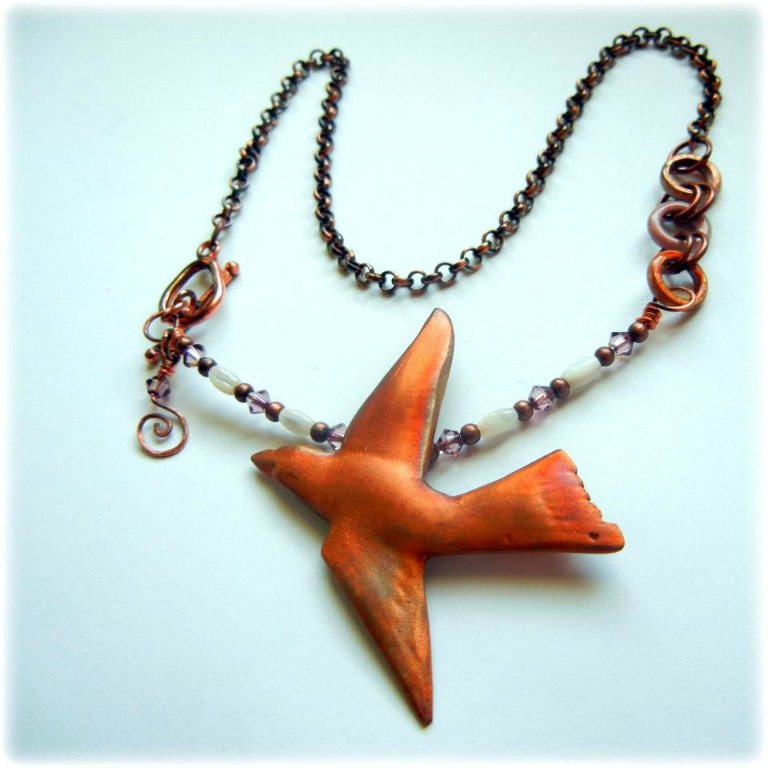
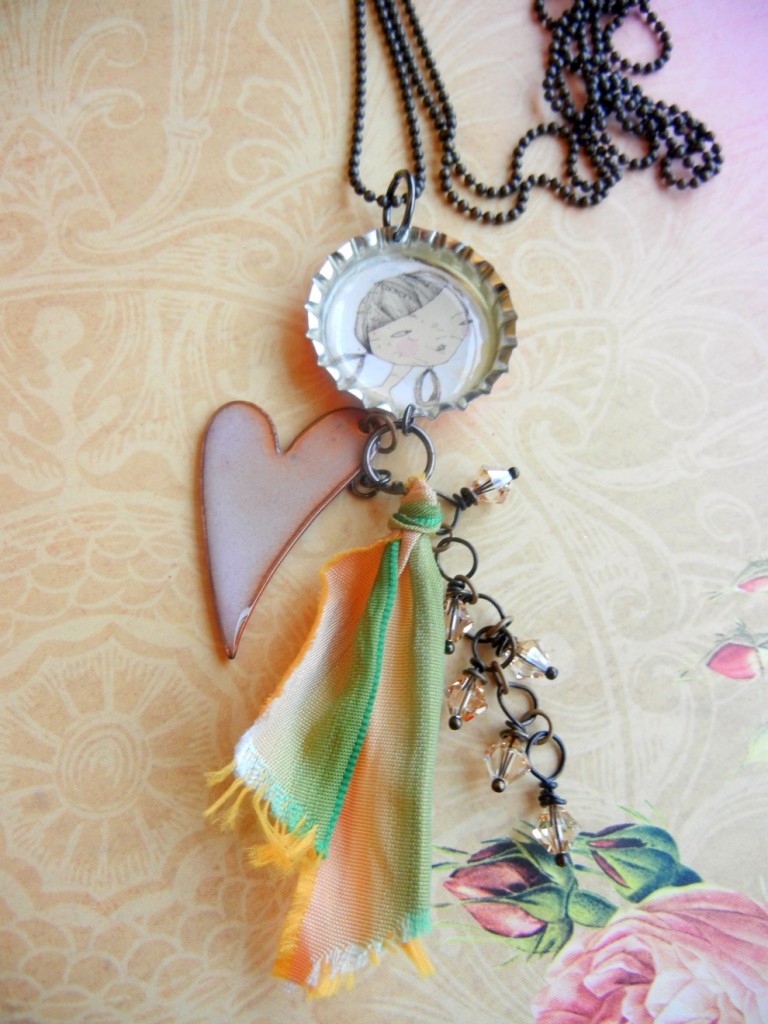
Torch fired enameled metal is really (really!) quite beautiful! You can create your own on copper (or a few other metals) using Thompson vitreous enamels, or purchase artisan copper components from C-Koop Beads. C-Koop components’ colors are deep and lustrous due to the layers of glass fused to the surface of the metal, and since they are handmade, each one is slightly different. Here are a few of the mixed-media jewelry pieces our designers have recently created with enameled copper:

enameled-leaves-handpainted-wood

Nory painted wood pendants and beads with a rose motif, and had Tiffany construct his design using silk ribbon and brightly dyed wood beads. The enameled copper leaves, rings, bead caps and toggle clasp are all by C-Koop.

cindy-morris-gogoshebogo-design

I used copper clay powder to create the bird pendant, which coordinated well with C-Koop enameled pink rings and Swarovski antique pink crystals. I love how you can see bits of copper underneath the enamel.

bottle-cap-necklace-enameled-heart

The elongated heart shape is practically Sondra’s signature, so of course it was the finishing touch on her bottle cap necklace.

enameled-etched-copper-bracelet

Rita etched a copper washer to create the center link on this bracelet, and used a clasp and beads from C-Koop to add more color.

~Cindy