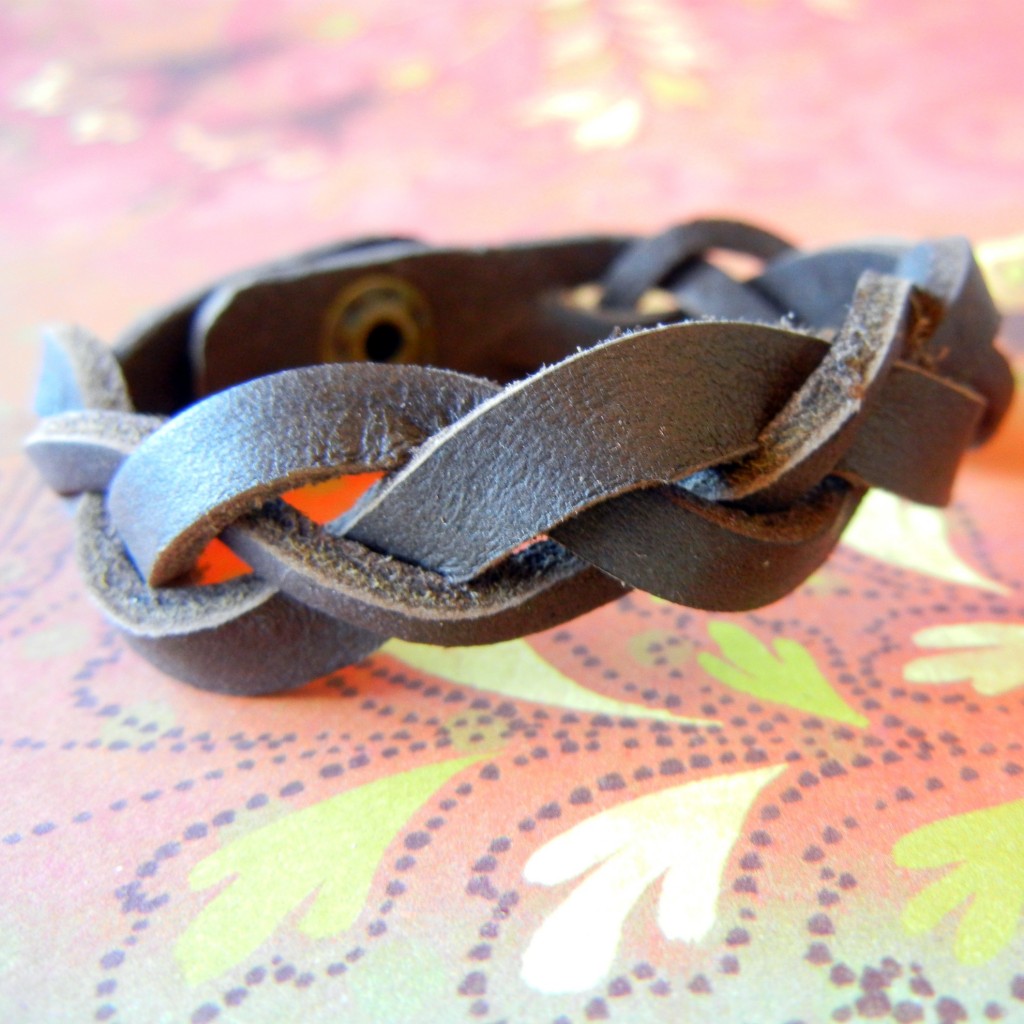
Hi bloglandia! I came across this great Magic Braided Leather tutorial today and immediately had to try it with our pre-made leather cuff bracelets. In less than 5 minutes I had a finished braided bracelet! Here’s how you can make your own:
Supplies:
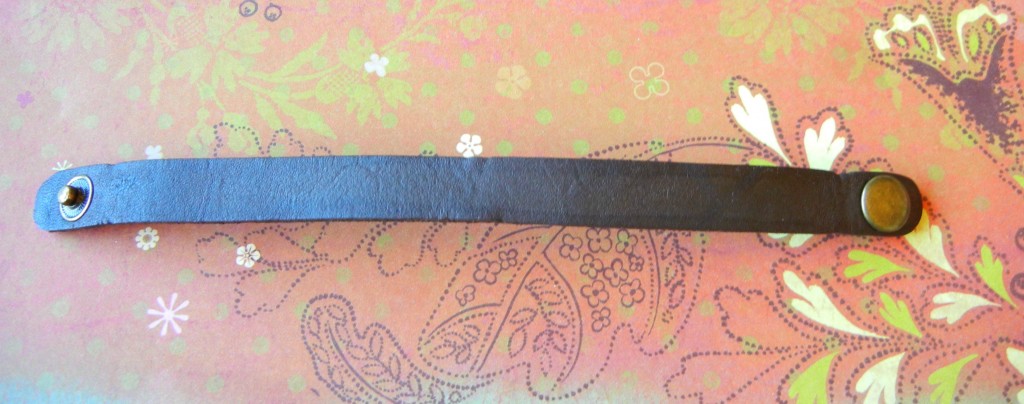
- Leather cuff bracelet (mine is 0.5″ wide, dark brown)
- Sharp hobby knife
How to:
- Cut two slits in the bracelet blank, so that there are three strips or “strands.” (My strands are woefully uneven…I thought holding a ruler down next to the blade would help me cut a straight line, but the opposite occurred. I had much better luck just free handing.)
- Braid the three strands together. The bottom will get all twisted and tangly. Just ignore that until you’ve braided halfway.
- Then, holding your braid securely, untangle the bottom section by feeding the bottom bracelet end up through the tangle: “reverse braiding” if you will. It only takes 2 or three “reverse” maneuvers to make the bracelet straighten out.
- Then…just continue braiding. Untwist the bottom as needed and like magic the whole piece is one continuous braid!
As it gets worn, the leather braid will flatten out and get smoother, but I’m pretty happy with it as it is! ~ Cindy

