Browsing Category

How-To

Upcycle cans and tins into jewelry!

October 7, 2011

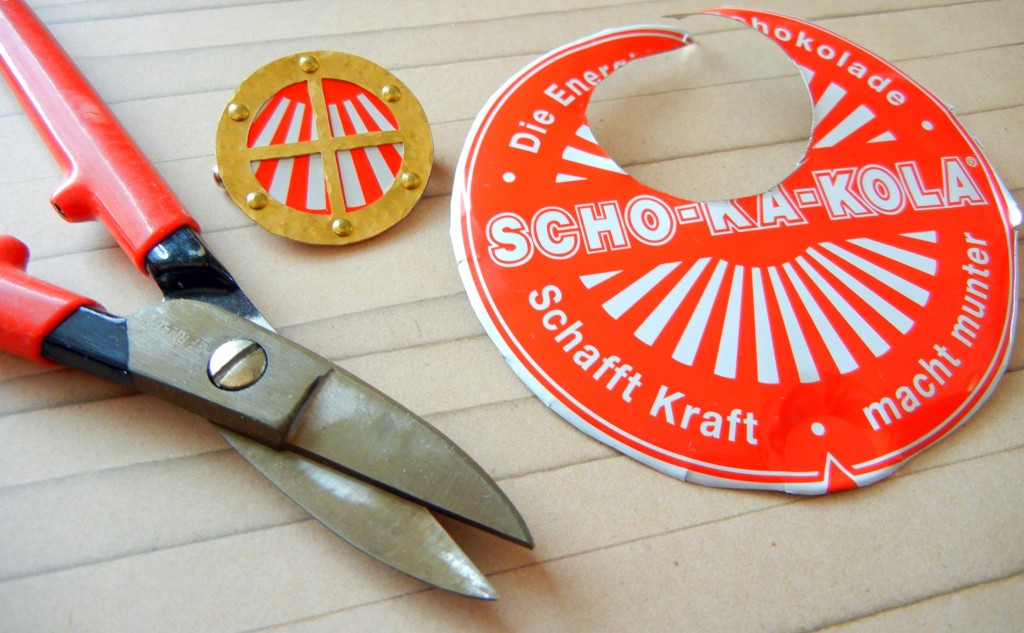
Metal shears, a metal tin and the completed metal pin!

We all know recycling is a good thing, but upcycling is even better! Aluminum and tin cans can easily be turned into jewelry, but there are a couple of things to keep in mind:

  1. Metal edges can be wicked sharp. Make clean cuts and file off any jagged points. Quality jewelry metal shears make this much easier! Most tin snips and other shears from hardware stores are difficult to grip.
  2. Aluminum cans and most tins are too thin to be durable enough for jewelry by themselves. We suggest layering the metal you cut from recycled items. Three ways of doing this are riveting, gluing and/or coating the metal pieces.

Here are a few examples of how to turn packaging into lovely adornments:

pollys-tin-pins

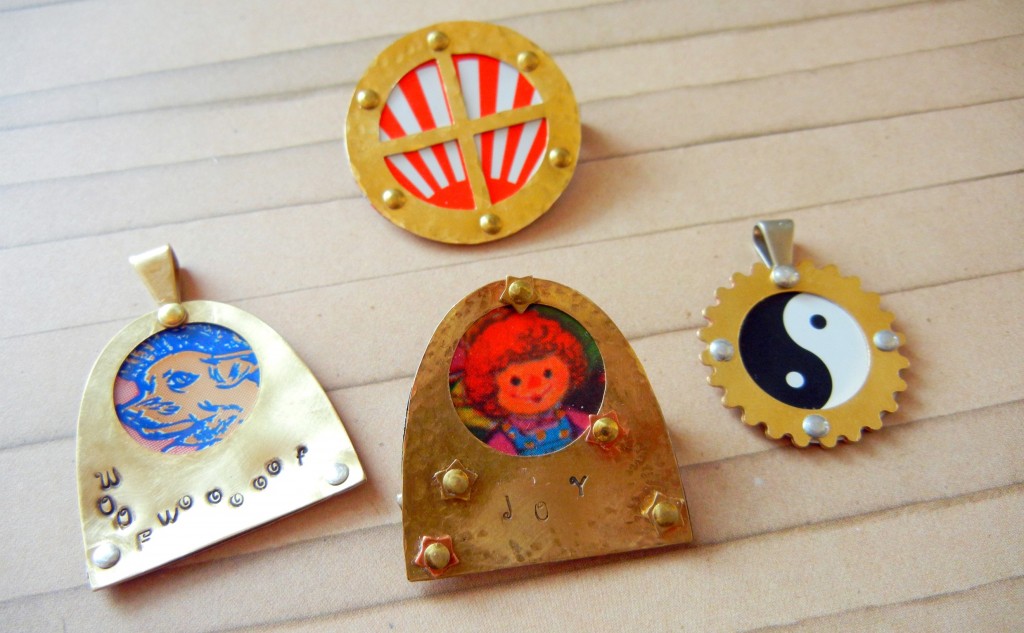
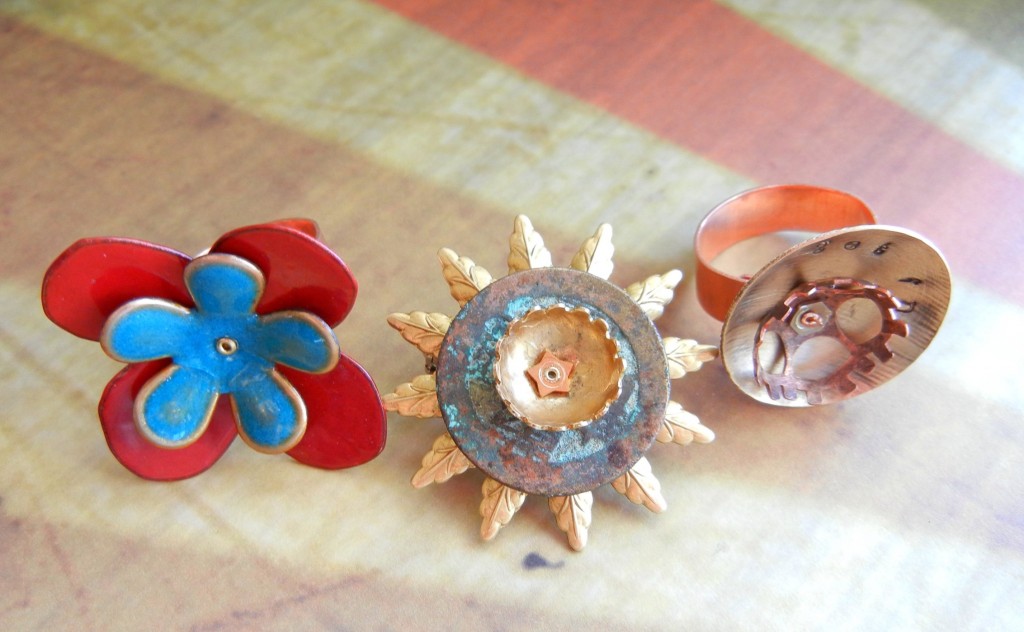
Polly’s tin pins and pendants

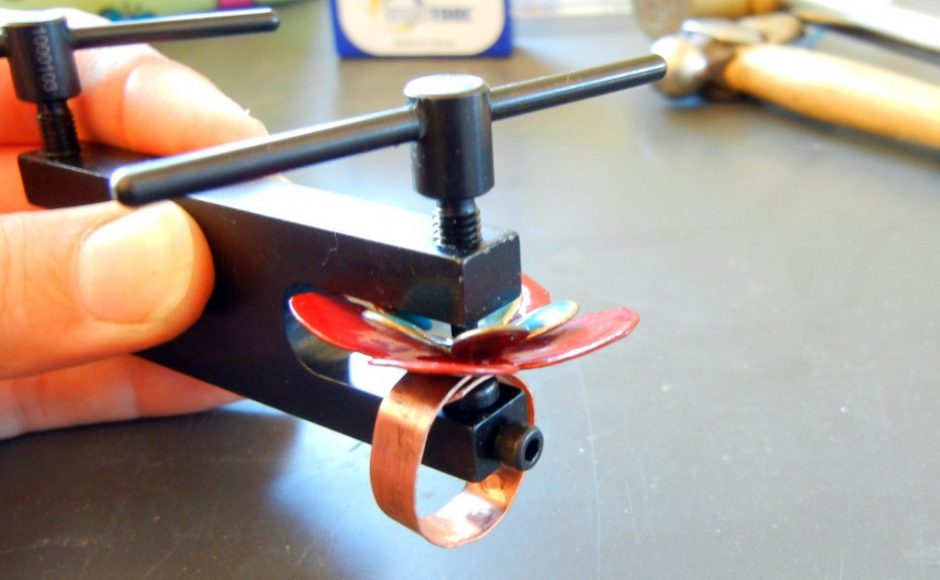
Polly sandwiched her recycled metal elements between brass fairy doors, disks and gears. She riveted the pieces together using Crafted Findings’ riveting tool. Learn more about the riveting tool system here.

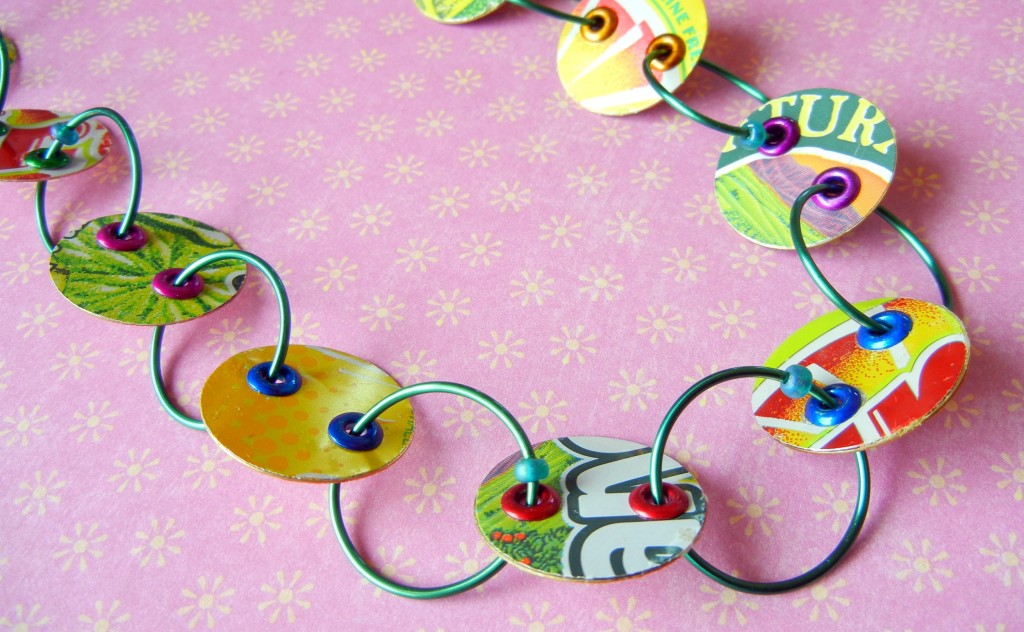
soda pop can necklace

The holes are lined with large eyelets from a scrapbooking supplier.

For this Soda Pop necklace, we cut disks out of cans and then glued them to brass disks to make them thicker. A circle template (commonly found in Art Supply stores and sometimes Craft Store) makes this task easier. Get more info in our design gallery.

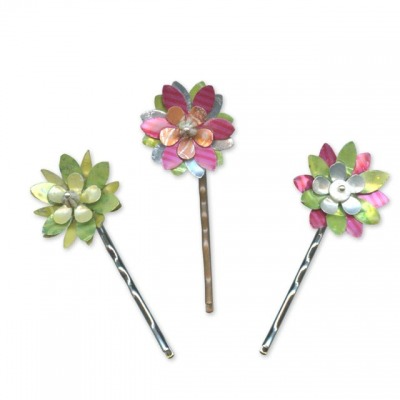
soda can bobby pins

Layers of flowers punched from soda cans form these fun bobby pins.

Instructions for how Toni coated these pins with liquid polymer clay to make them safe to wear are in our design gallery.

Start looking at soda cans and other product packaging in a different way! I for one always check the bottle cap design when deciding on a beverage.

How I wish every city had an Upcycle Exchange Market (yikes! Link removed in 2019 … that link goes to something COMPLETELY different and unsavory now). It is a brilliant idea for reusing and redistributing crafty supplies and recyclables! Until then, ask your friends and family to help collect interesting materials for you. You might just upcycle something wonderful!

How to do a Herringbone Wire Wrap

September 30, 2011
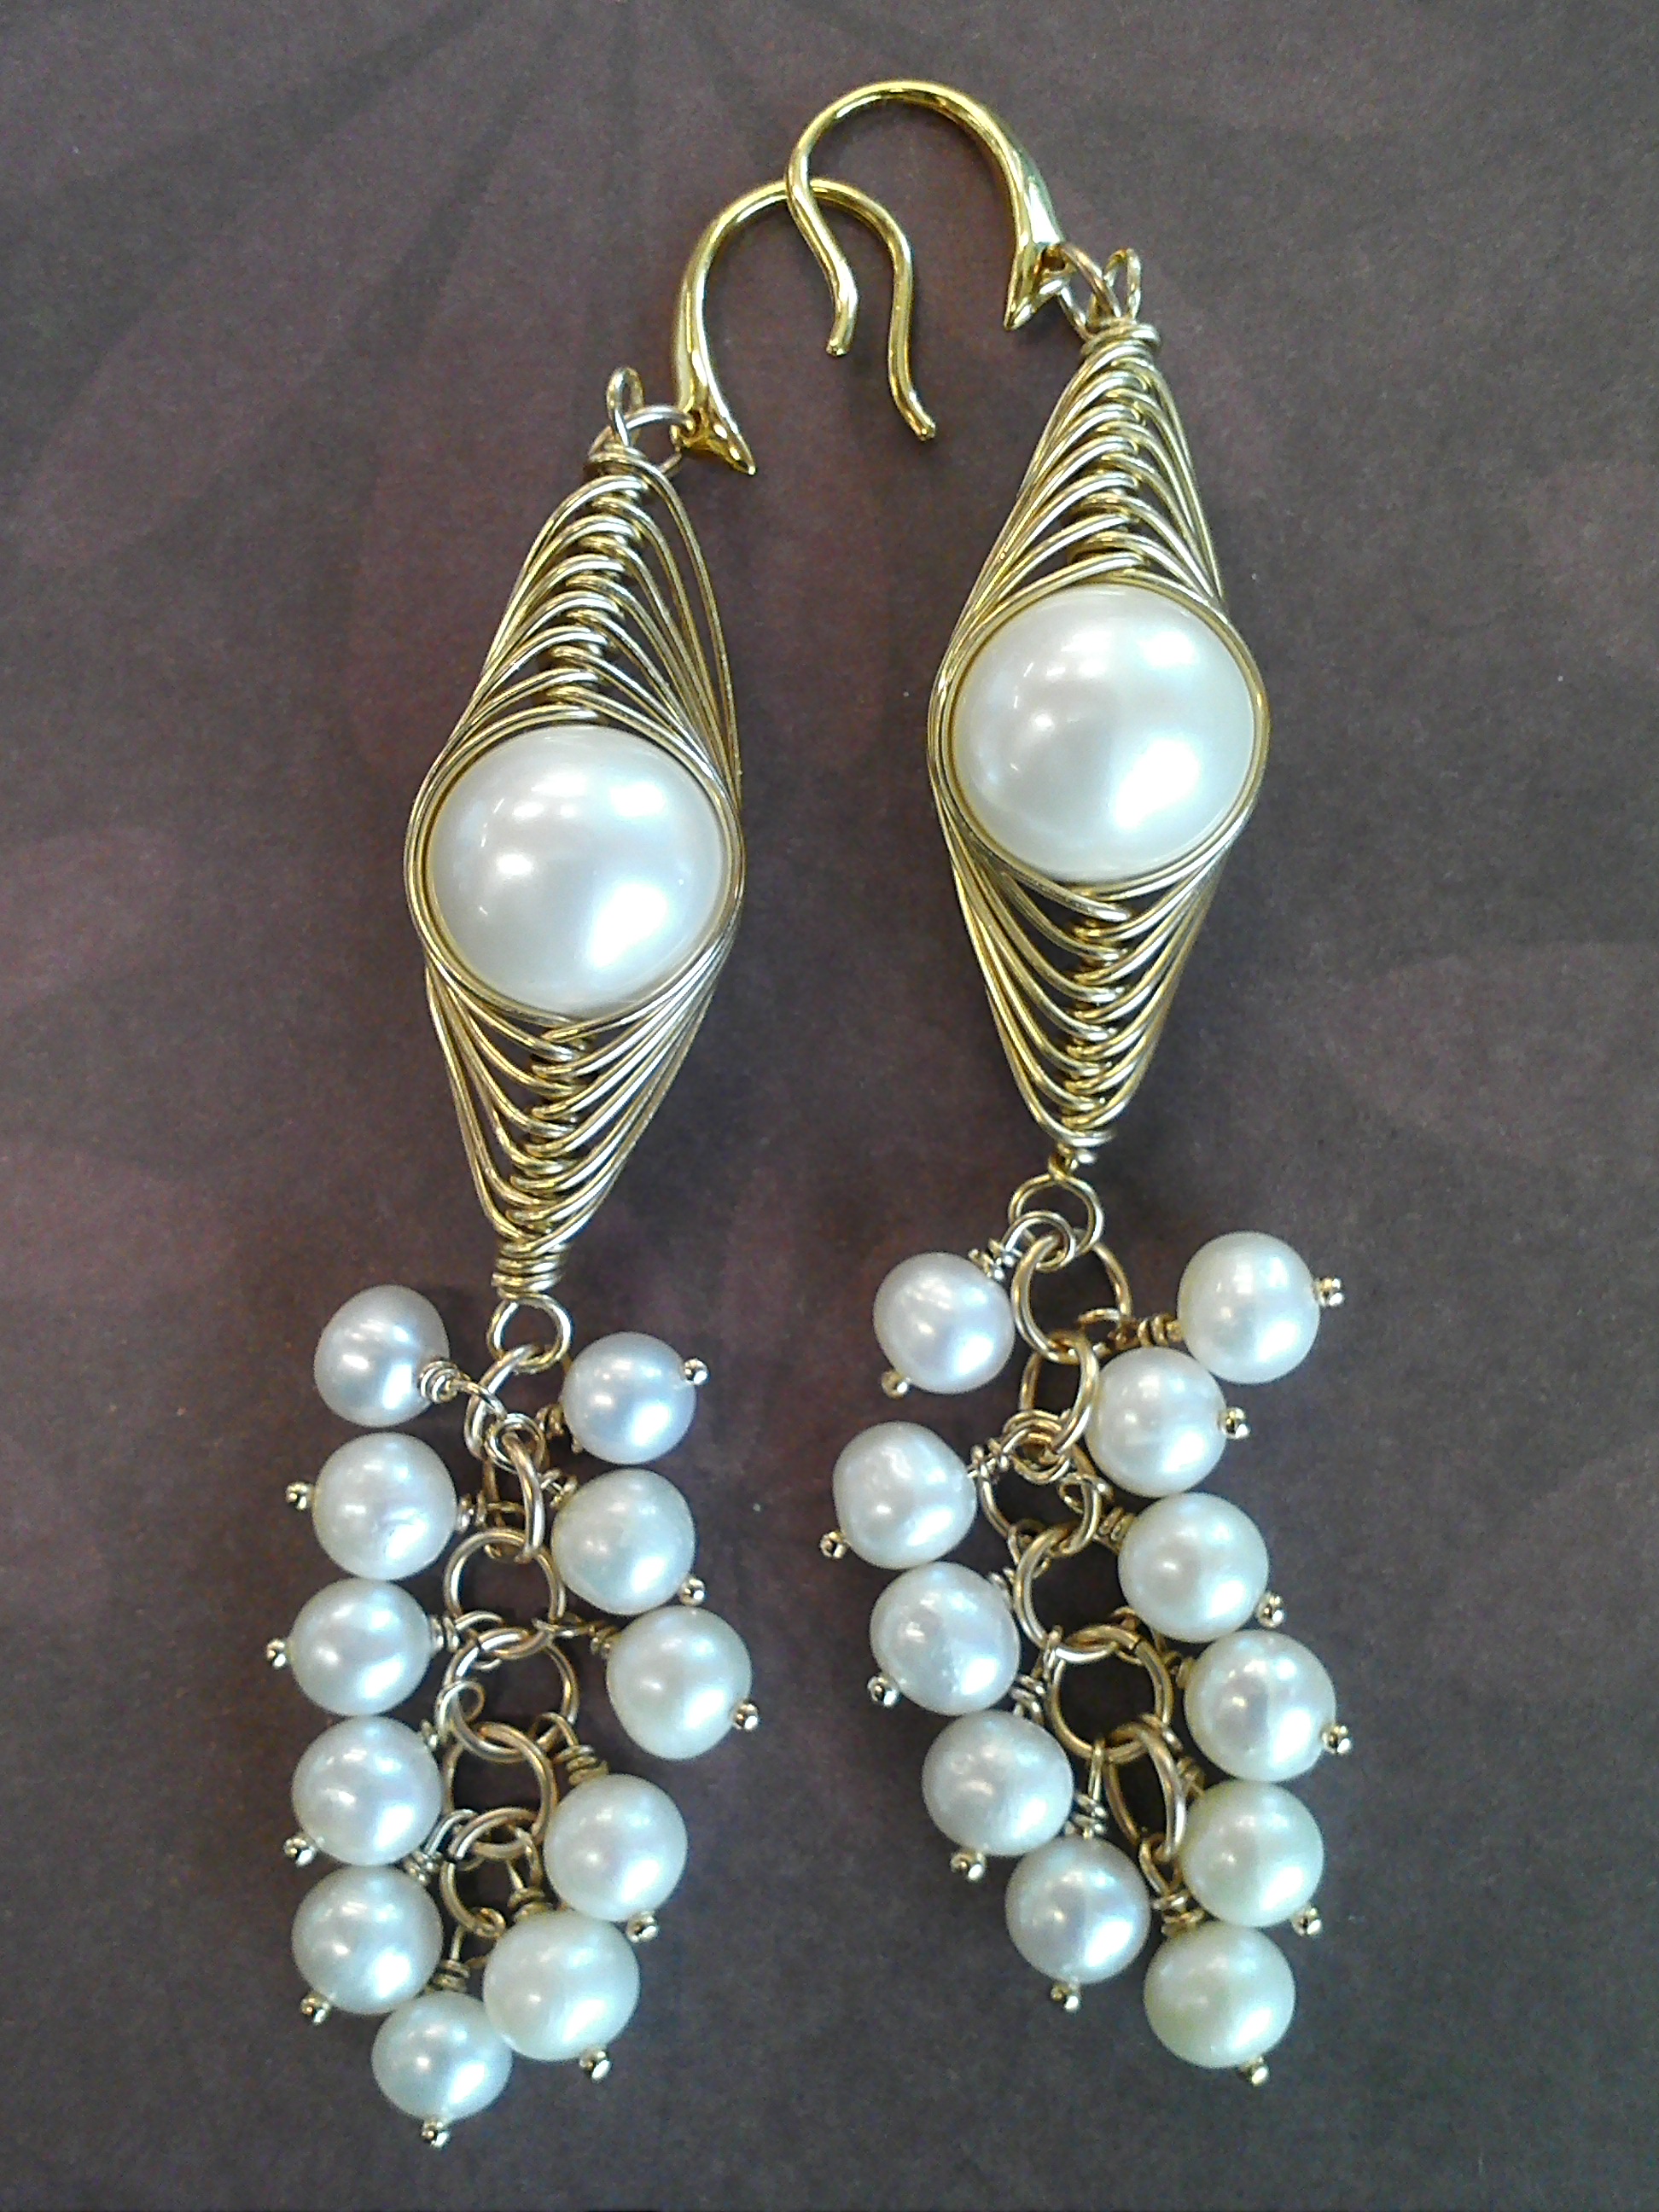
Earrings made using a Herringbone Wire-wrapping Technique

Earrings made using a Herringbone Wire-wrapping Technique

Wire-wrapping has become my newest jewelry making addiction! I am always browsing the internet and looking for new inspiration and techniques that I have yet to master. My latest accomplishment was learning how to create the oh so complicated looking herring bone wrap. I have admired this style of wire wrapping for years but was always too intimidated to attempt it. A couple of weeks ago, I decided it was time to learn it. And guess what? It was really pretty easy! Now I will pass my knowledge on to you, fellow bloggers and bead addicts, so you too can feel that sweet satisfaction that comes from creating something new and beautiful! (not to mention the compliments you are sure to receive by your coworkers!)
Continue Reading…

How to make "Cluster Earrings"

September 12, 2011

Around here I am kind of known as the “cluster earring girl”. I guess you could say it’s my signature. I just love to make earrings that resemble little bundle of grapes! Anytime I see a new bead, be it a keishi freshwater pearl or a hematite cube, I imagine, how would those look in cluster dangling from my ear?

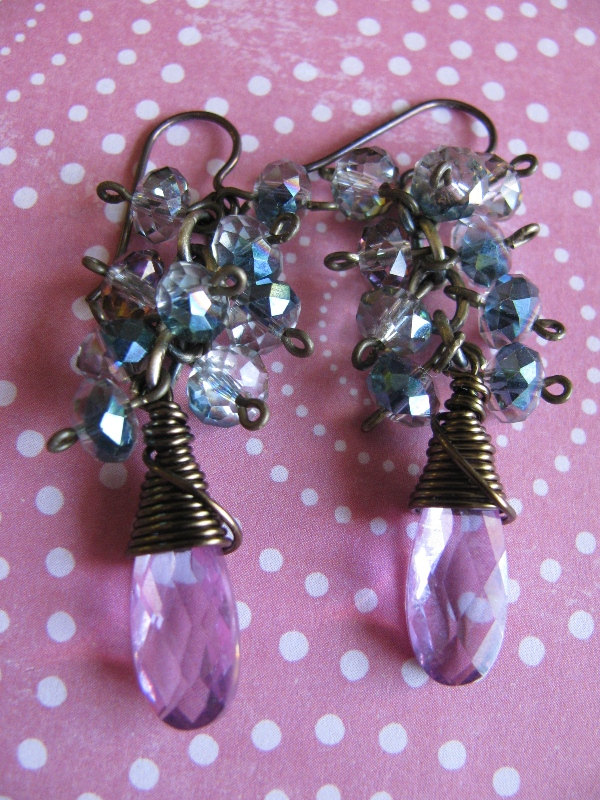
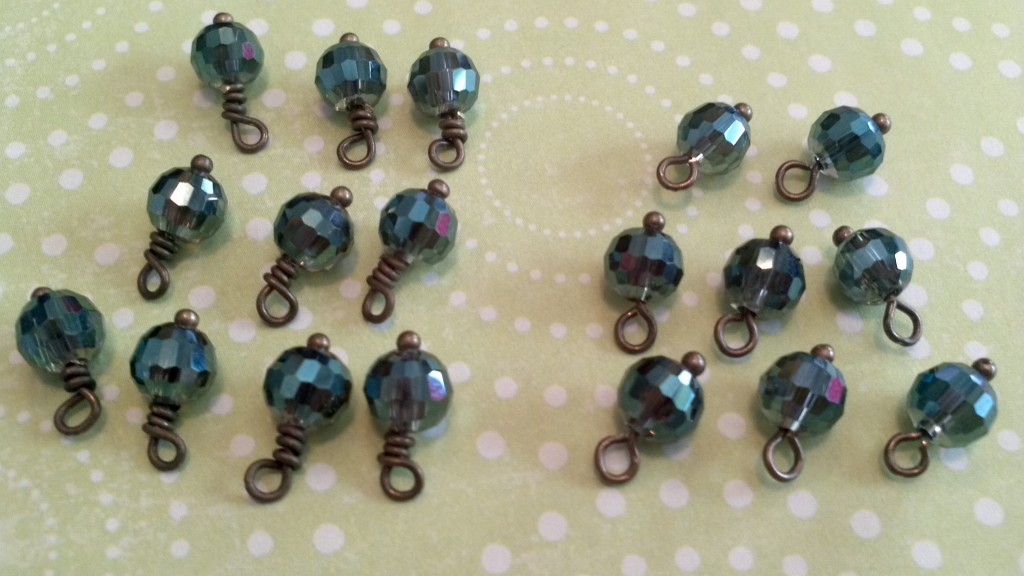
Cluster Earrings with Cubic Zirconia Briolettes and Rainbow Sparkly Glass

I am going to show you how to make a basic cluster, using some sparkly glass beads. Once you get the basic “formula” down, the possibilities are really endless, and the results are always beautiful! You can embellish this style by adding charms, graduating the size of the beads, or mixing different materials. Clusters can be at the top of the earring, nested above a delicately wire-wrapped briolette, or they can be hanging from a focal bead or metal connector.
There are only a couple of steps to follow when it comes to making this type of earring.

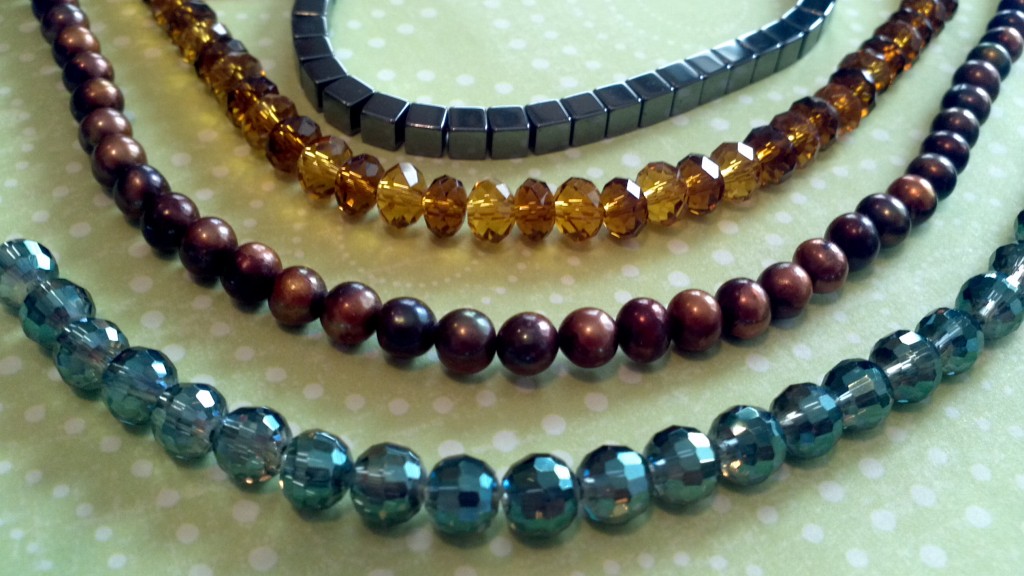
Step 1. Choose a bead that has a size anywhere from about 3mm to 8mm. You can use a round, cube, chip, or rondelle shape; both smooth or faceted beads will work. Depending on how long you want the earrings you will need anywhere from 5 to 21 beads per earring.

Hemetite Cubes, Freshwater Pearls, Sparkly Glass Rounds and Rondelles

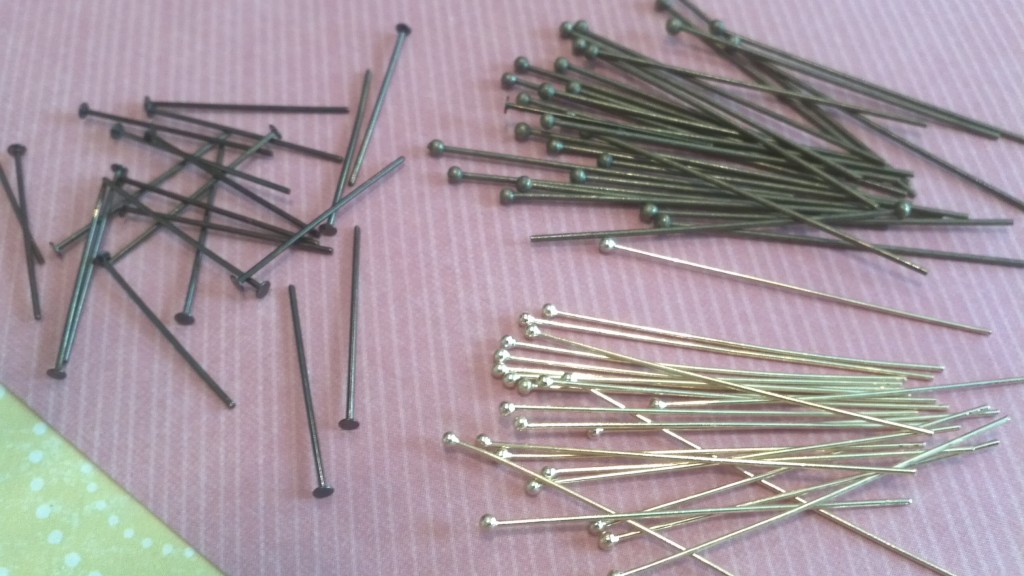
Step 2. Choose head pins. My favorite are ball-end, but any head pins will work. If you are doing a simple loop, 1″ headpins are long enough. If you would like to try a wrapped loop you will want 1.5″ or longer.

Ball end head pins are my favorite!
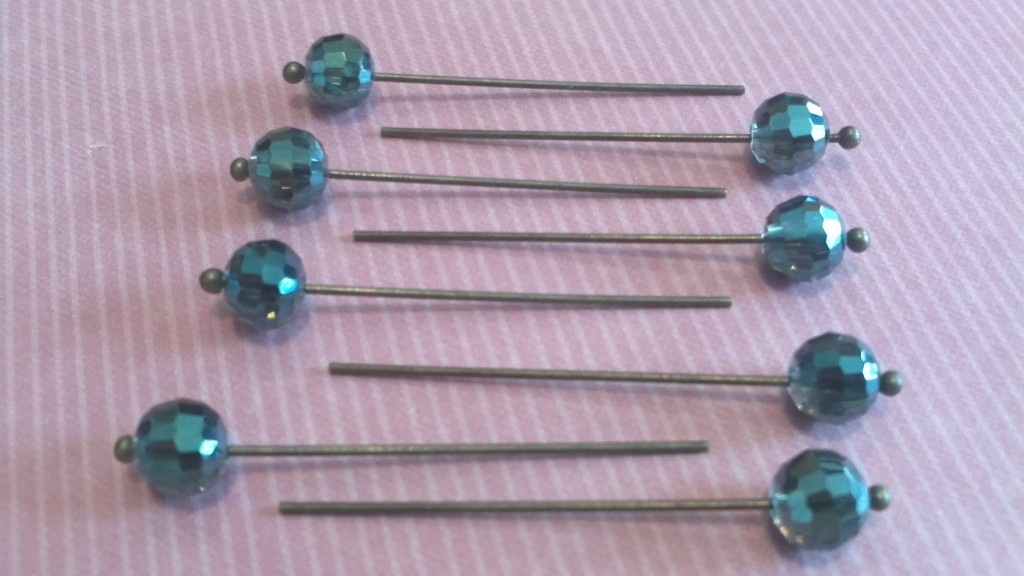
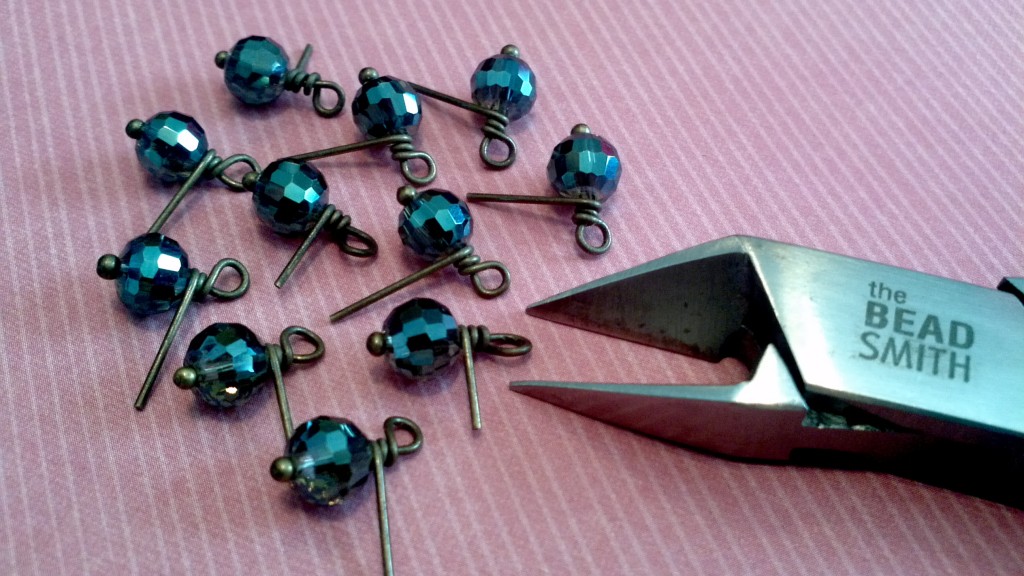
Step 3. Assemble your cluster pieces. Do this by putting one bead onto every headpin and securing with a loop. You can do a simple loop or for a fancier look try a wrapped loop. Use side-cutters to clip any excess wire and chain nose pliers to tuck the extra wire. Assemble all the beads on head pins, before you assemble the earrings.

Place beads on head pins first.

You will need side cutters to clip the excess wire

On the left are wrapped loops, on the right are simple loops. Either will work for this style of earring.

Step 4. Once you have all of your pieces made, you can begin assembling the clusters. To do this you will need jump rings. Smaller jump rings will create a tighter cluster, larger jump rings will make a looser, more airy cluster. I follow a very basic pattern for the assembly. On the first jump ring, place only one looped head pin. Add a jump ring and two more head pins, one on each side. Continue, forming a chain until you reach your desired length.

Attach one beaded head pin to a jump ring

Attach a second jump to the first jump ring and place two more beaded head pins

Keep building your cluster!

I used eleven beads on each earring.

Step 5. Attach ear wires! I sometimes I add one more looped head pin to the ear wire itself, though this step is not necessary. It’s that simple! (p.s. the earring wires I used are niobium! They are great for sensitive ears and will match your antique copper and antique brass earring designs!)

Attach earring wires and you are done! These completed earrings are the exact same, except one has small jump rings and one has larger jump rings.

Examples of Cluster Style Earrings

Well, I hope you enjoyed my tutorial 🙂 For more designs with “Cluster Style” check out the design gallery at our online store, Rings-things.com. If you have any questions about the beads I used for any of these earrings please leave a comment and I’ll get back to you as soon as possible! Happy Beading!

Tiffany @ The Rings and Things Showroom

Other great how-to blogs:

How to Wire-Wrap a Briolette

How to Make Wrapped Leather Bracelets

How to Dap and Dome Metal

♥ ♥ ♥   ♥ ♥ ♥   ♥ ♥ ♥   ♥ ♥ ♥   ♥ ♥ ♥   ♥ ♥ ♥   ♥ ♥ ♥   ♥ ♥ ♥   ♥ ♥ ♥

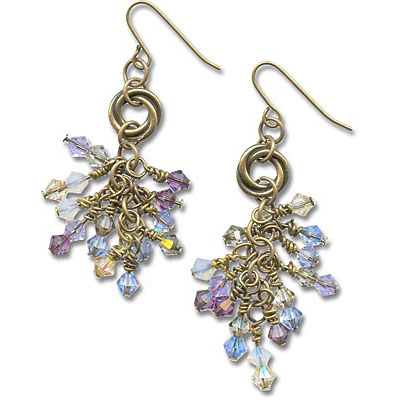
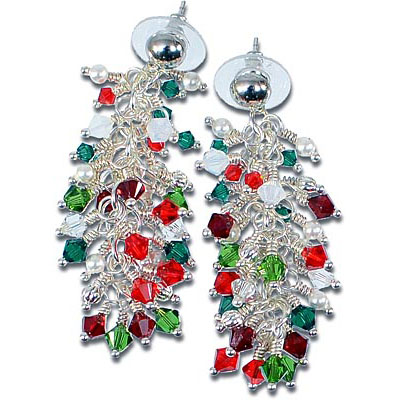
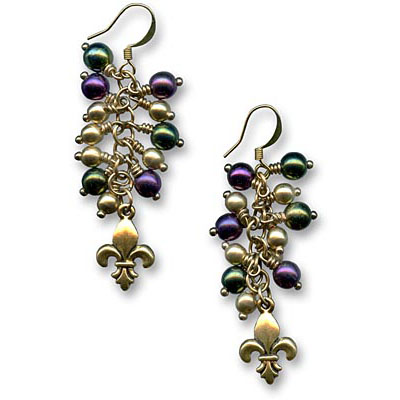
Inspired by this blog post?  Visit the Rings & Things Design Gallery for more inspiring “cluster earrings” designs!   The free jewelry-making instructions include a complete supply list!

“Tiny Dancer Earrings” Tutorial by Rings & Things designer Valorie Nygaard-Pouzar.

“Christmas Cluster Earrings” Tutorial by Rings & Things designer Rita Hutchinson.

“Mardi Gras Earrings” Tutorial by Rings & Things designer Tiffany White.

♥ ♥ ♥   ♥ ♥ ♥   ♥ ♥ ♥   ♥ ♥ ♥   ♥ ♥ ♥   ♥ ♥ ♥   ♥ ♥ ♥   ♥ ♥ ♥   ♥ ♥ ♥

Editor’s note: This had a few old & broken links, but since this is such a great Winter holiday jewelry design technique, the links are all freshly updated as of November 2019.
p.s. Here are some more Winter Holiday jewelry design ideas, and a slew of semi-formal / prom / bridal jewelry tutorials, too.

Affordable designer font stamps!

August 29, 2011

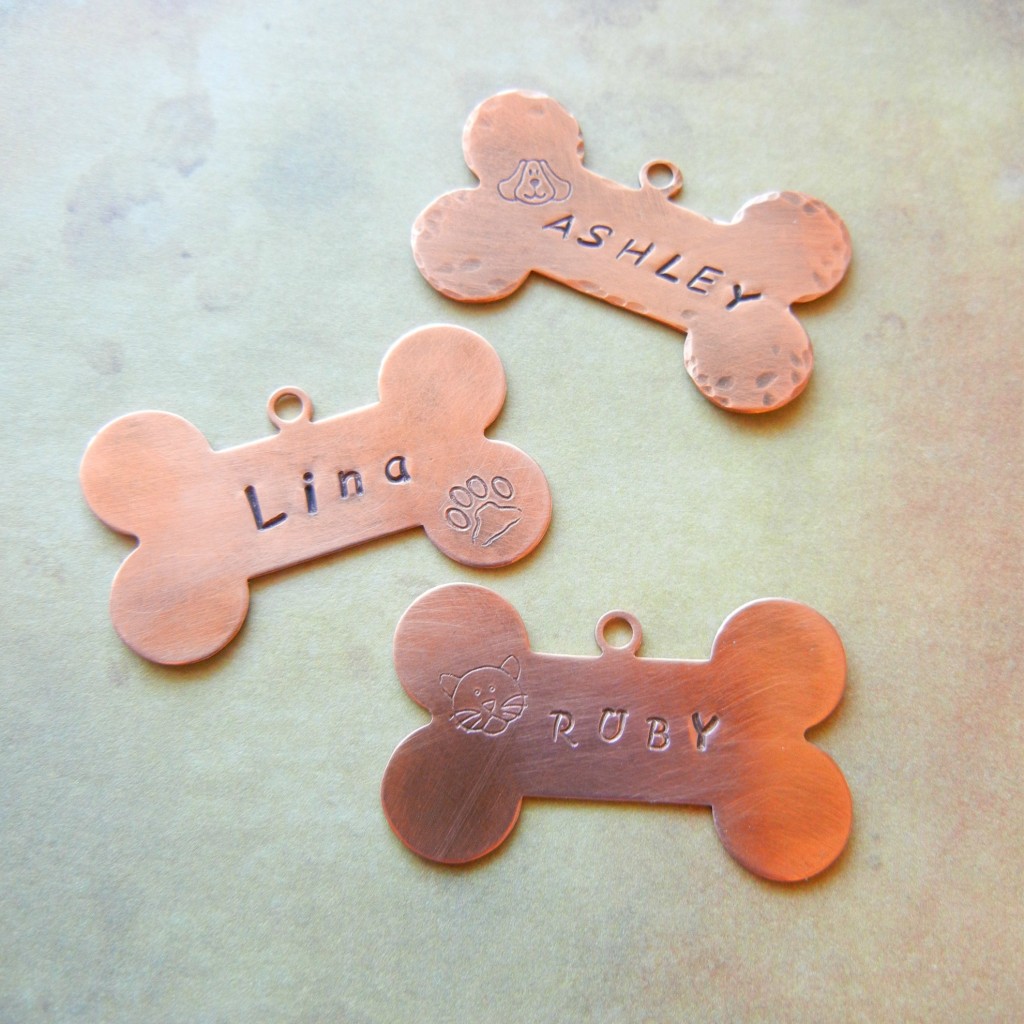
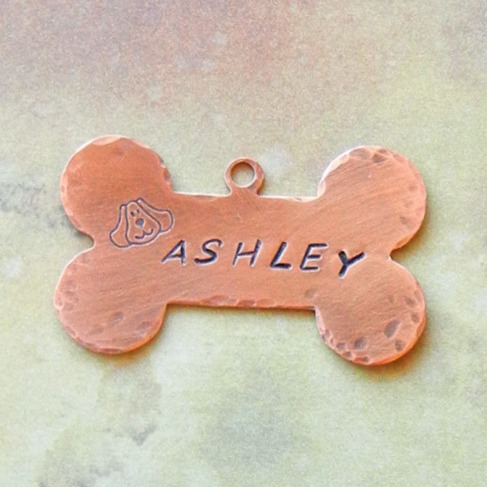
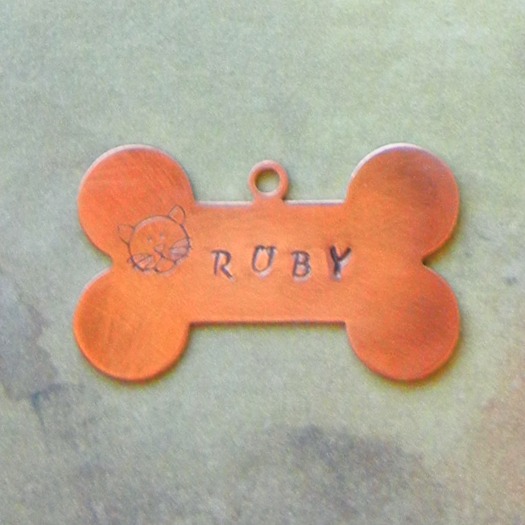
Fun fonts add more personality to stamped jewelry – even to stamped dog jewelry!

When stamped metal jewelry first became popular, most artists were limited to the basic block letters that were available in the market. But, wow, how things have changed! There are now many fonts available – fancy script fonts, playful lowercase fonts, swirly decorative fonts. How is a jewelry-maker to choose?

Well, one consideration is price. Our new font sets cost less than HALF the price of similar font sets on the market! Made by EuroTool, our quality stamp sets are available in five new fonts.

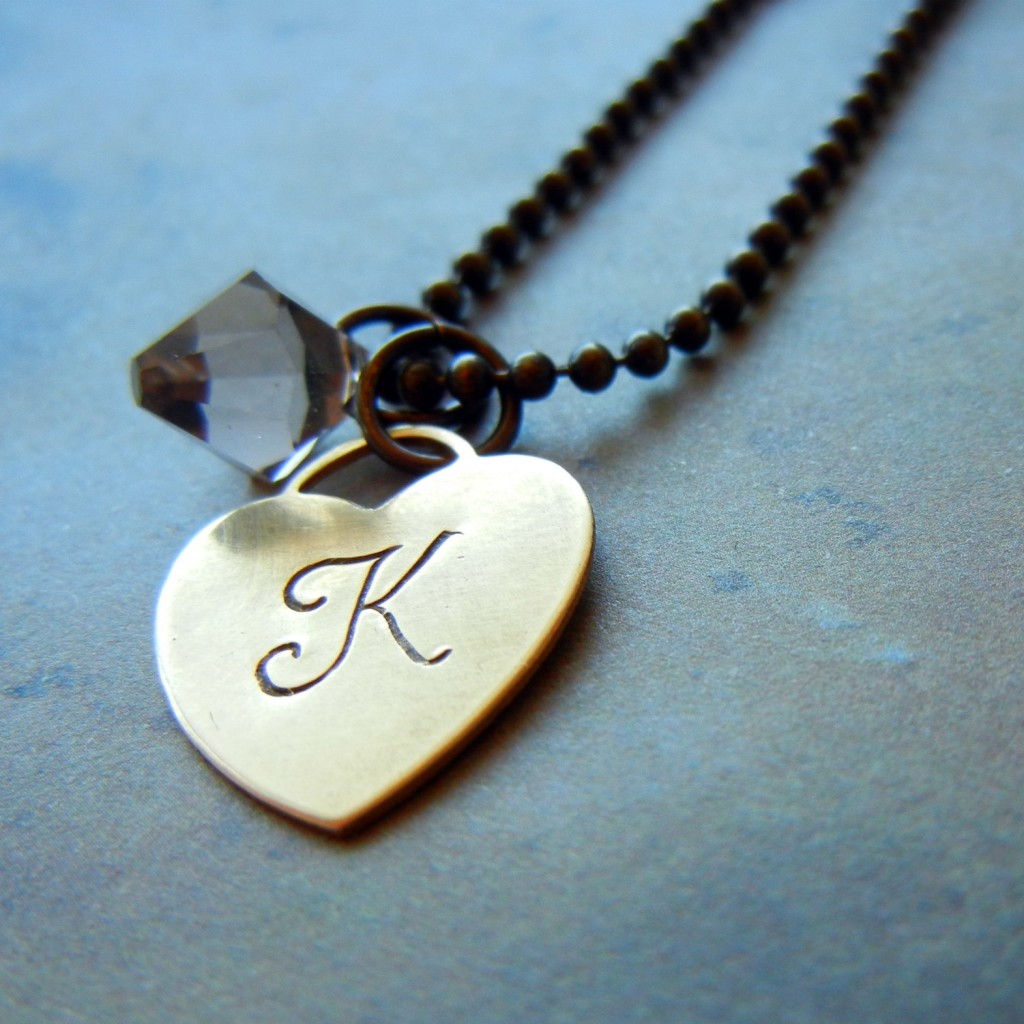
The letter ‘K’ on a brass heart with a crystal drop on antiqued ball chain. Simple and sweet!


Monogram
– 6mm high ornate script capital letters. Perfect for initialing and monogramming charms and tags.

The next four fonts are available in both uppercase and lowercase, so you can stamp with proper capitalization even!

I used uppercase Verona on this pendant.

Verona – a curly serif font with bubbly personality.

I like how the letters aren’t quite the same size in the Siena font – makes it look much more natural.

Siena – an easy to read sans-serif font that looks like very neat handwriting.

All uppercase Highland letters on this dog tag.

Highlands – clean handwriting with a italic slant. Sans serif.

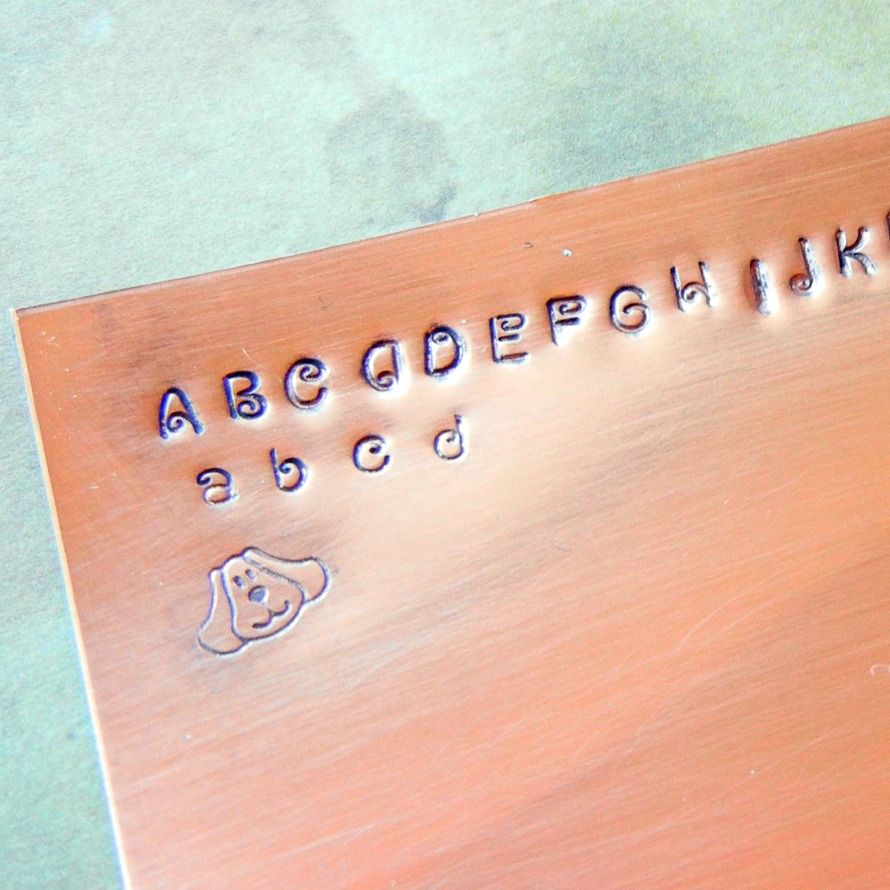
Aras – a whimsical, playful font. It reminds me of the ever-popular Comic Sans font, but with serifs.

Metal stamps make impressions in sheet metal. When you hammer, the stamp displaces metal. The thicker the metal, the less you will notice the movement of metal: all you’ll see is the indent left by your stamp. On thin pieces, you’ll likely see a shadow of the stamping on the backside, and the edges might get kind of wonky. Sterling silver, brass, copper and even aluminum can be personalized with metal stamps. 24 gauge or thicker is best, but 26 gauge works too, as long as you don’t get too close to the edges.

Want to get started with metal stamping, but don’t know where to start? Check out both our metal stamping tool kit and our metal stamping blanks assortment. The kit includes basic uppercase block letters. For maximum enjoyment, add a set of the above font stamps and/or a few design stamps! For step-by-step instructions on how to make a stamped charm from sheet metal, check out our free Metal Stamping 101 page or our free technique sheet here.

I messed up almost immediately on my test piece, but it makes me think the letter ‘D’ could make a great decorative border!

One last tip: be sure to keep your stamps organized. These artistic fonts are especially easy to mess up (is that an ‘a’ or an upside down ‘g’ ??). Since the stamps will arrive alphabetized, take a moment to write the letter for each one on the side that faces you while you stamp. A fine-tipped Sharpie works great! ~ Cindy

Editor’s note: That was 2011, and I’m updating this in 2018 to fix old links … we have even MORE fonts and 100’s of design stamps now! See our full line of metal stamps (letters, number, punctuation and design stamps), stamping blanks, and metal stamping tools & accessories. ~ Polly

A quick guide to beading needles

August 23, 2011

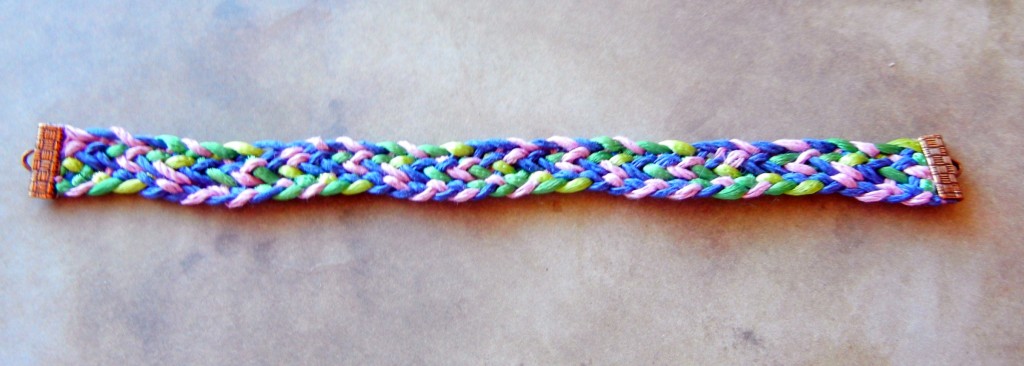
Hello, bloglandia! Today I finally decided to finish the ends of a flat braid I made with a square Kumihimo disk. I recently blogged how to finish the ends of round Kumihimo braids (versions of which can be made with either the square or the round disk). What stalled me on finishing my flat braid was lack of a needle.

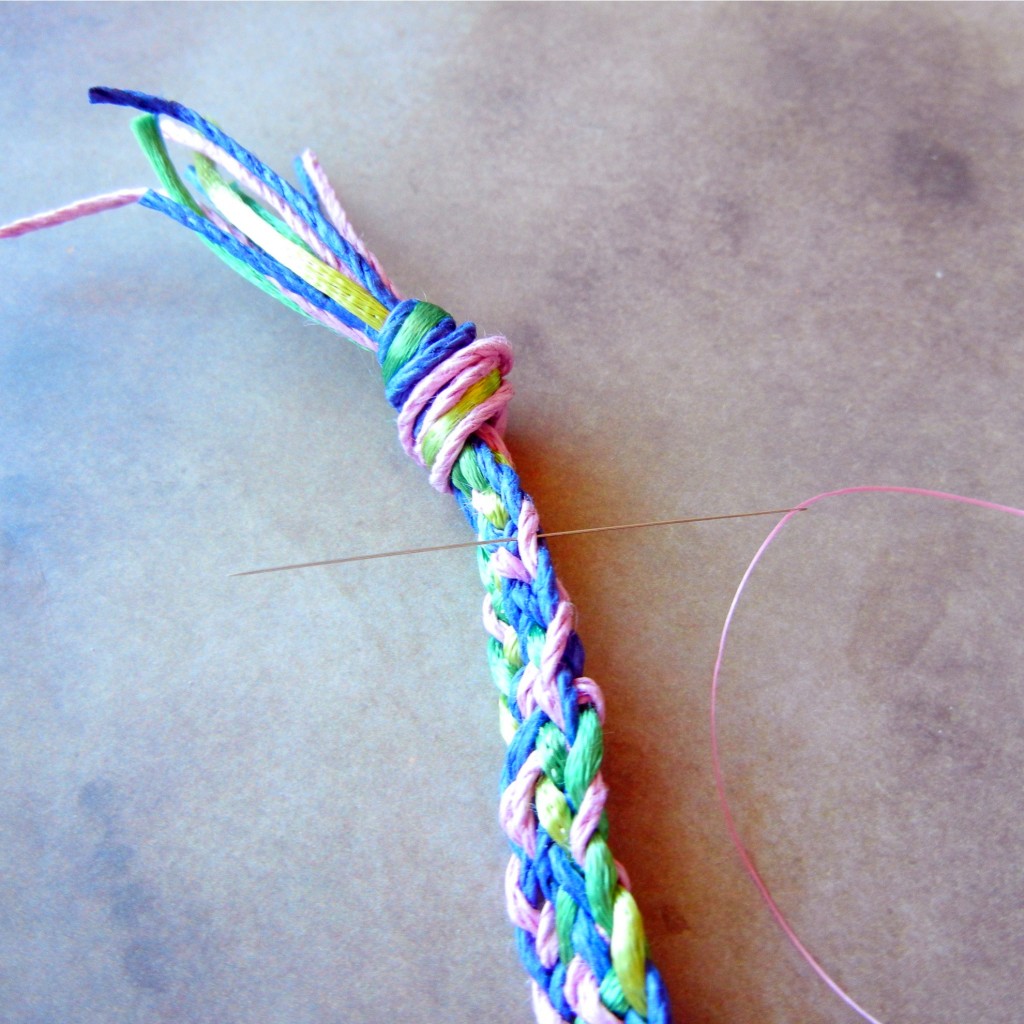
It just takes a few quick stitches to secure the braid before you cut off the knot and add a cord end. Make sure to use thread that matches your project so you don’t notice the stitches.

Since the flat braid is well, flat, you need stitch through the braid to keep it from unraveling. Sadly, needles and I don’t get along too well. It is never the poor needle’s fault. It is my fault for not choosing the right needle. When you treat all needles the same, instead of appreciating their unique qualities and character quirks, you can quickly run into frustration.

So today when Amy loaned me a needle, warning me it was a size 15, I said, “oh, that’s fine!” even though I had no idea what she meant. After several frustrating minutes trying to thread the darn thing, I learned. Size 15 is tiny. Check out this great bead needle and thread size chart from New Native Nation. You gotta love Spudmama!

While I’d long suspected that beading needles must be different than regular sewing needles, now I know why. As Spudmama explains, beading needles don’t “bulge” around the eye – this is what allows them to pass through seed beads multiple times for bead stitching and bead weaving projects. The smaller the number, the bigger the needle. (ex. size 10 needles are larger than size 15). Plus, “sharps” are stiffer than standard beading needles. Therefore, the smaller the project, the tinier and flex-ier the needle should be.

So, if you need a needle for something other than seed beading (like finishing a flat braid or making a wrapped leather bracelet) I recommend using size 12 sharp beading needles since they are (relatively) large and sturdy.

I used “choker clamps” designed for flat ribbon, such as velvet and organza, to finish the ends of my braid. There are teeth inside the clamp, so once you flatten the clamp firmly with pliers, it won’t slide off.

If you are brave enough to make tiny seed bead jewelry, refer to Spudmama’s chart and stock up on aspirin and magnifying glasses! Oh, and needle threaders! ~ Cindy

Torch-enameled components from C-Koop Beads!

August 16, 2011

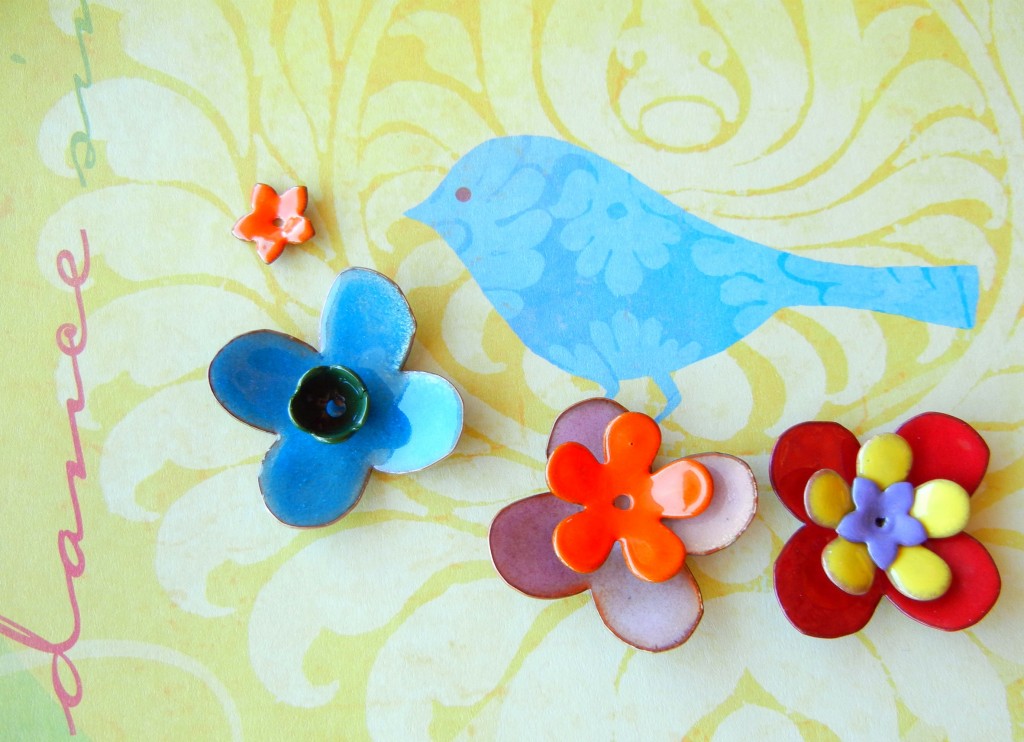
Stackable enameled copper flowers from C-Koop Beads.

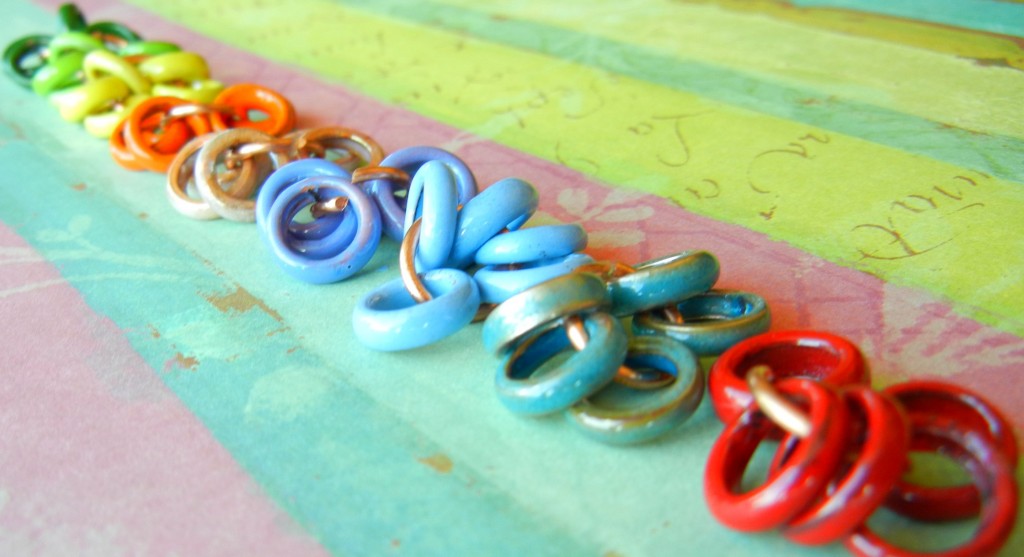
Fun, colorful enameled jewelry components are popping everywhere! I attribute the trend to talented artists whose business smarts have led them to develop enticing product lines of individual beads, gears and charms for designers to turn into finished jewelry. Just one or two enameled elements easily take a piece from ‘pretty’ to ‘pretty amazing.’

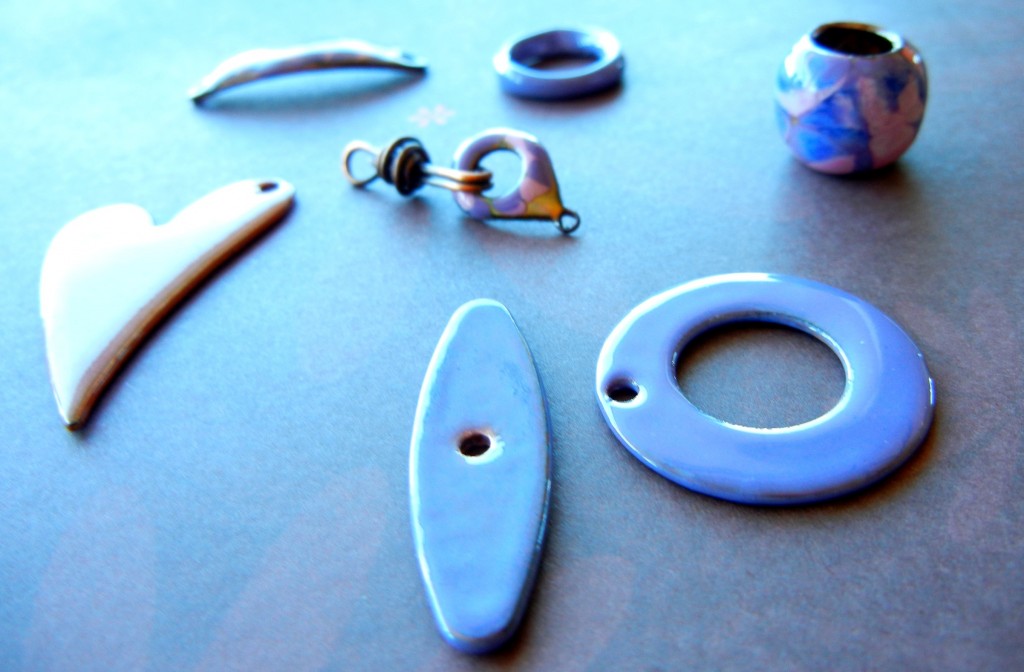
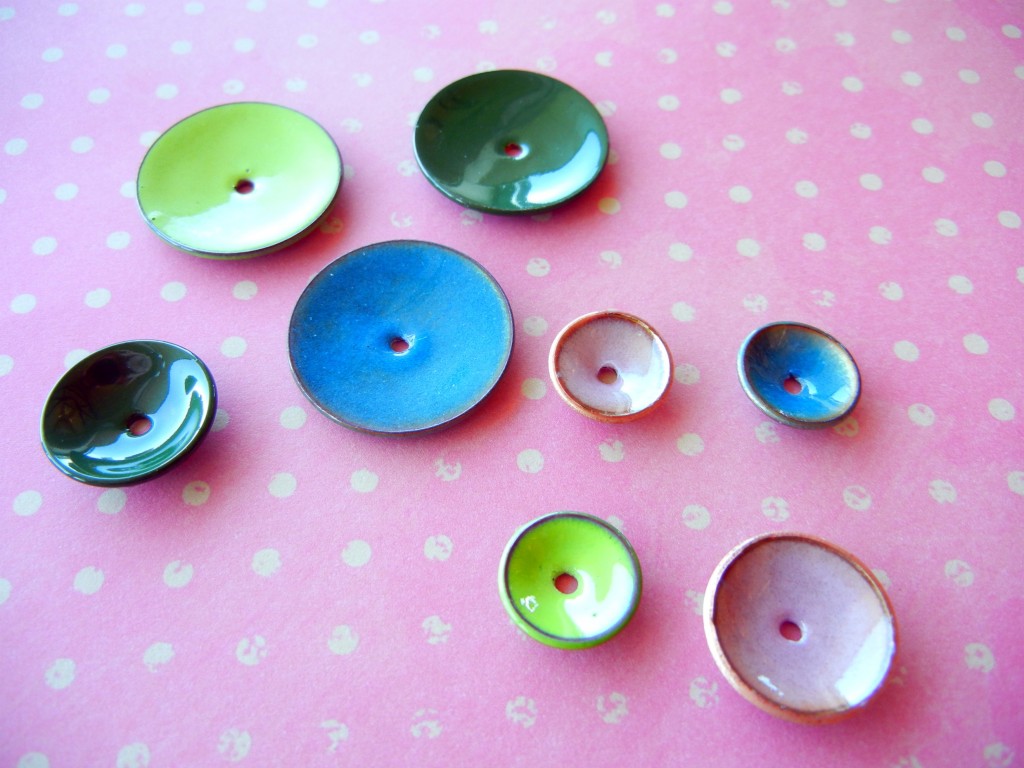
One such enamel artist is C-Koop Beads, aka Sara Lukkonen. Sara began making and selling enameled beads back in the 70’s. When she picked up the torch again in the 90’s (in her chicken coop of a studio!) her business expanded by leaps and bounds. Here are just a few of the components she creates:

So many colors of adorable little rings.

Three sizes of flat and domed disks.

Clasps, connectors, pendants and big-hole beads too!

If you are interested in doing your own enamel work, check out this how-to video from Enamel and Tiffany. It shows the entire torch-enameling process, plus does a great job of making it clear what types of tools and work space you will need. While the video focuses on beads, the process is similar for making other components. Check out our new selection of 18-gauge copper shapes – they are perfect for both torch enameling and etching!

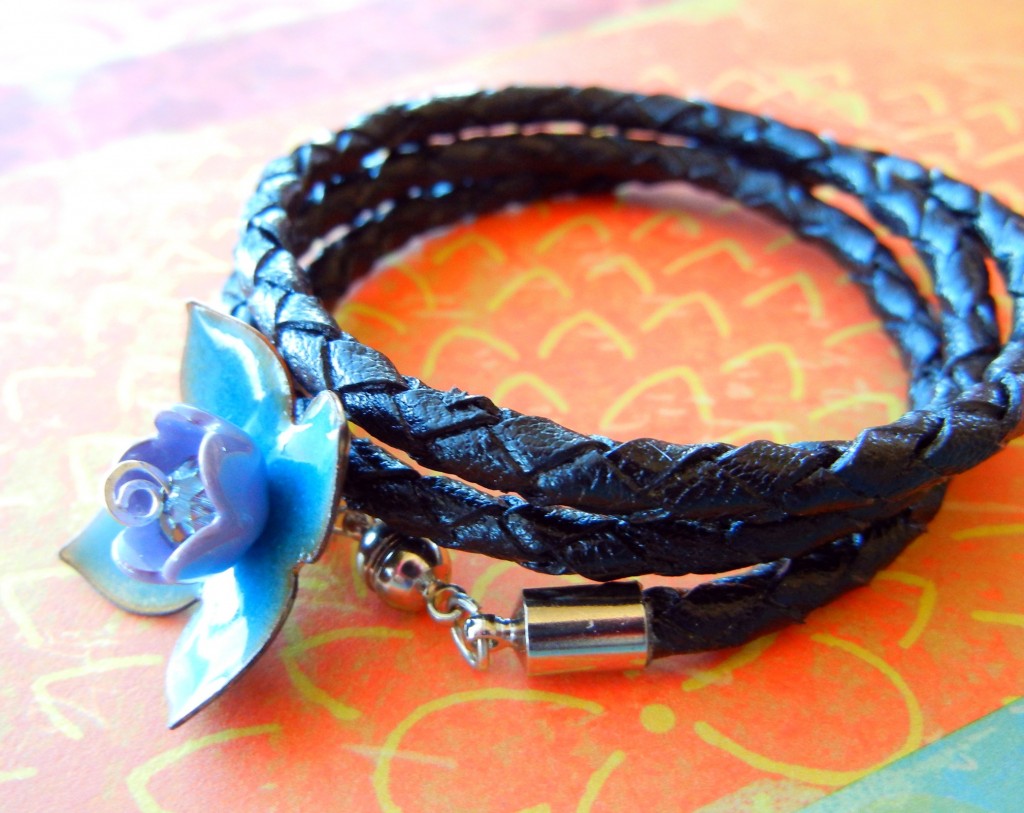
While I know I would love enameling, I don’t have time or space for yet another addiction right now, so I opted to layer a couple of C-Koop flowers on a bracelet instead – yay for instant gratification! ~ Cindy

Black leather bolo cord made this triple-wrap bracelet super quick and easy to make! A 6mm SWAROVSKI ELEMENTS rondelle fit perfectly inside the purple enamel bead cap for a tiny bit of sparkle.

Copper and brass bracelet design challenge results

August 8, 2011

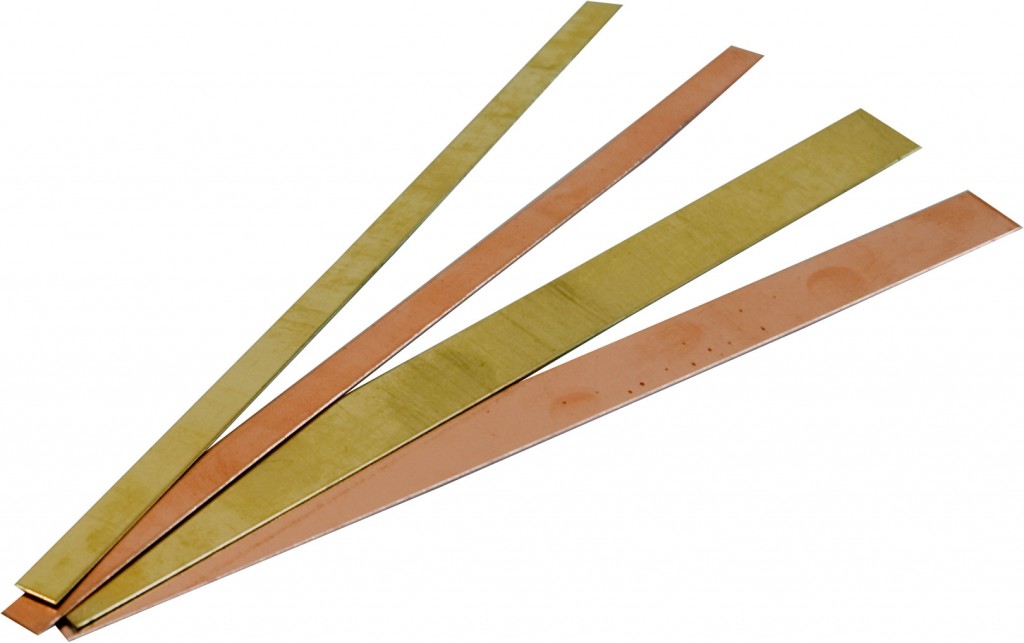
So simple, yet so fun! 6″ long, 1/4 and 1/2″ wide strips to make all kinds of jewelry with.

In July, we sent ten of our blog partners sample packs of our new 24-gauge metal bracelet strips. With summer in full swing, it isn’t surprising that not everyone completed projects (at least not yet) … but the WOW, those who did really brought their A-game!

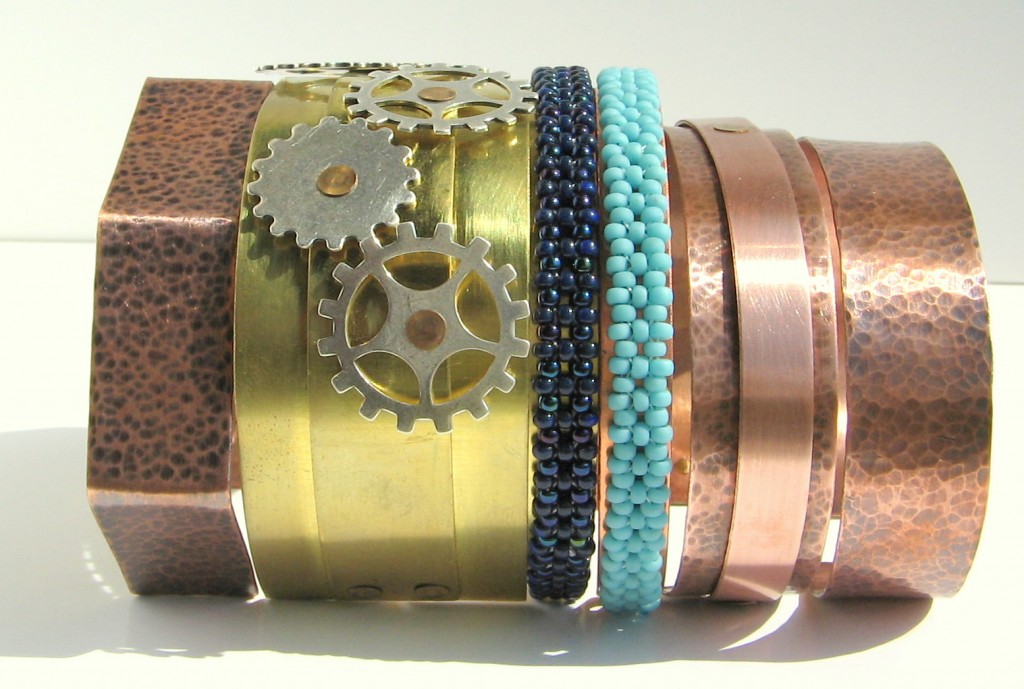
Textured, layered and beaded cuff bracelets by Helena.

Helena Fritz hammered, riveted and even bead-weaved her way to an armful of gorgeous bangle bracelets – her lovely blog has more photos. Helena specializes in beadwork, which makes her first attempt at metalwork even more impressive.

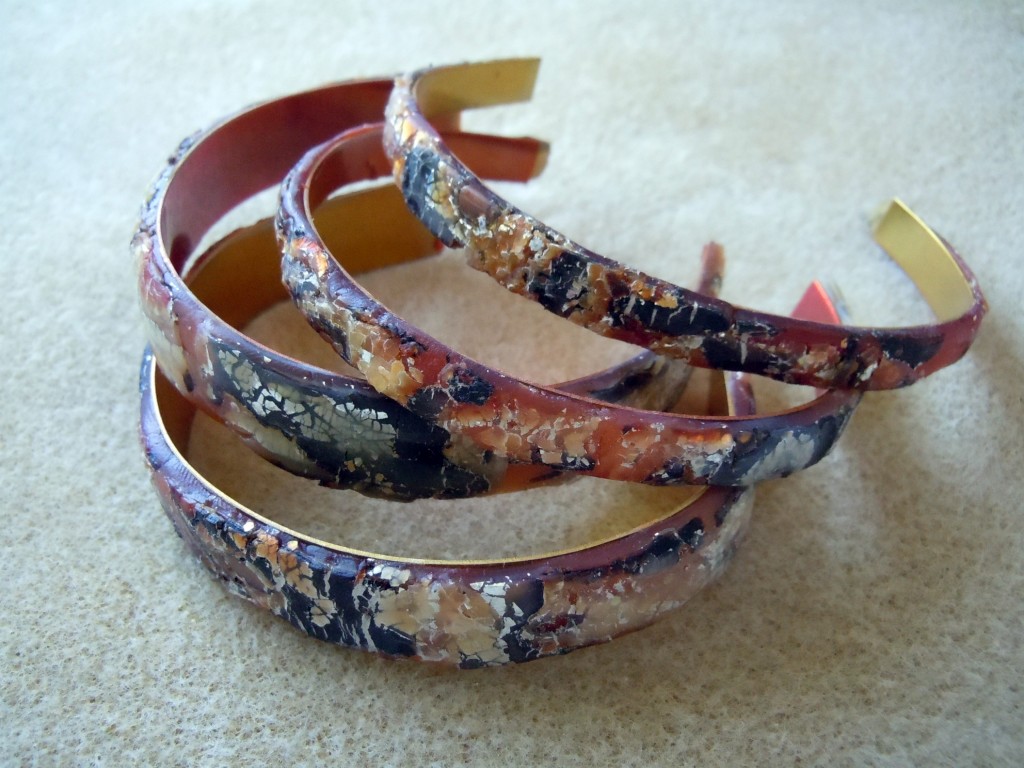
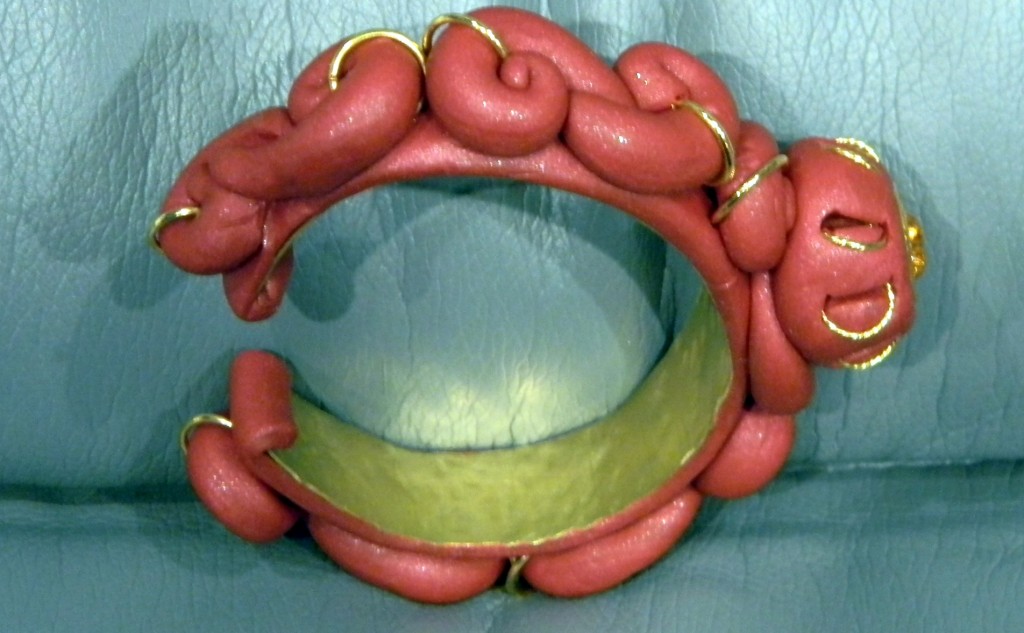
Carole shows her polymer prowess.

Carole Carlson stepped out of her comfort zone and into the world of polymer clay with these fun bracelets. She found that the copper was easier to work with than the brass, which makes sense since it is a softer metal. Check out her blog for more info.

Just one of the bright and bold bracelets Carolyn created.

Carolyn Fiene also used polymer clay, but she preferred the brass as a base. Even though it is harder to form, she felt is held its shape better. Link to her blog showing other designs that combine chain and bezel cups with polymer coming soon.

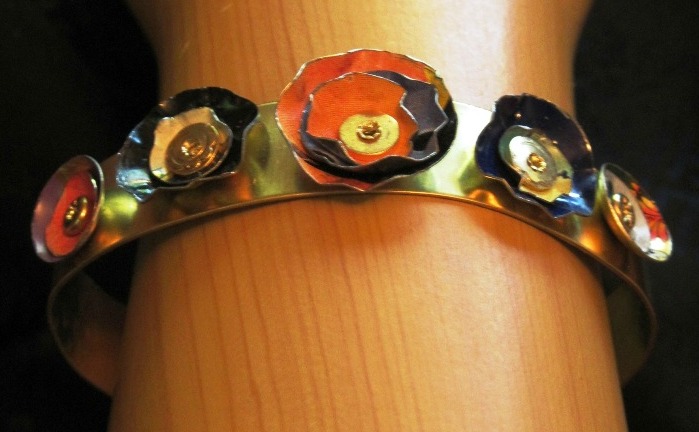
Layers of “ruffled” metal dress up Jan’s brass cuff.

Jan O’Banion made several great designs by layering different elements onto the bracelets. She used recycled tins to make flowers on the “Trashy Tinsel” bracelet above. Visit her blog to get a peek inside her creative world.

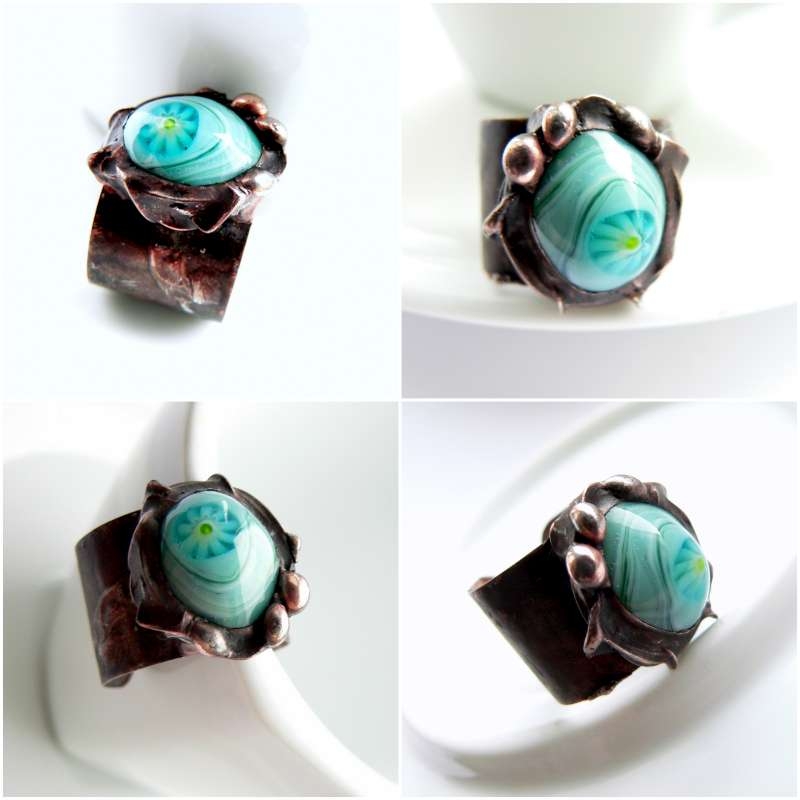
1/2″ wide copper forms the base of this lampwork glass ring by Lubica.

Lubica Vinicenko used the strips as the base of some truly elaborate rings. You can see more pictures at her blog.

As you can see, these metal “bracelet” strips are extremely versatile and fun to experiment with. Am I the only one surprised to see polymer clay and seed beads combined with sheet metal?

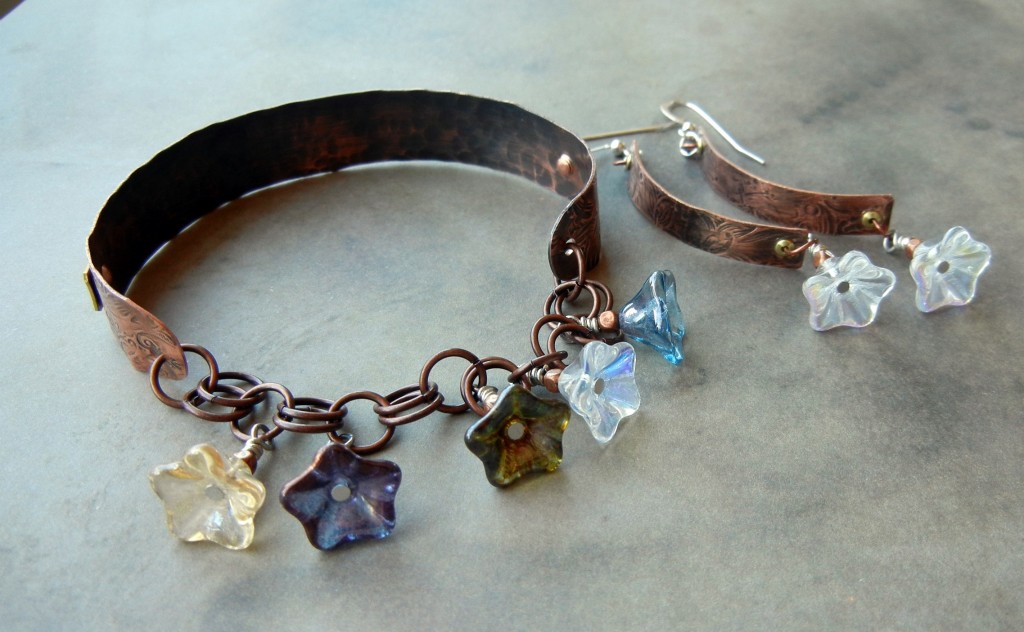
The back of my layered stamped bracelet. I curved short strips with my wood dapping set to make the matching earrings.

I’ve been having a blast stamping and texturing them. You can see the front of – and how I made – the “Earth Laughs in Flowers” bracelet in our design gallery. Texturing metal with
brass texture sheets is great stress relief, I must say!

Although July is already behind us, we’re always happy to see and share what you create. Be sure to send us some photos of what you make with these metal strips! ~ Cindy

PS – Molly Alexander posted her etching and mixed metal results to a photostream on Flickr – be sure to check them out!

Resin + scrapbook paper = fun

August 2, 2011

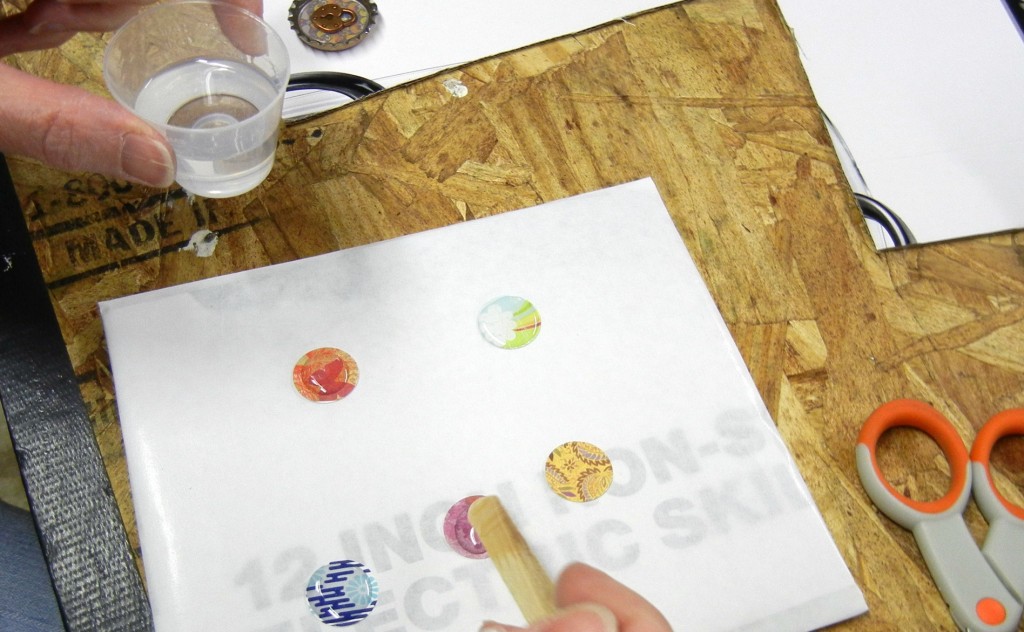
So, if you’ve been reading this blog you know we are very excited about SuperClear Resin for jewelry. As is usually the case, we had a bit leftover after filling some bezels, so we tried applying some to scrapbooking paper just to see what would happen. The results were great! With most epoxy resins, it is recommended that you coat your paper or images with Mod Podge, white glue or other sealer to prevent the resin from bleeding into the paper. However, we found that SuperClear resin worked just fine on uncoated paper. (We still recommend testing yours first! Each type of paper acts a little differently.)

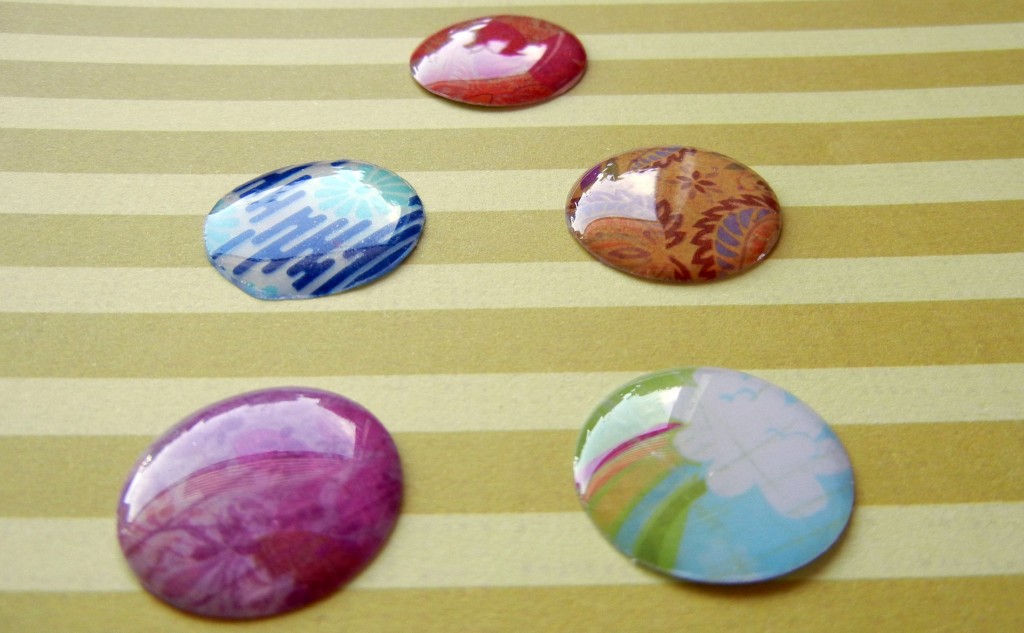
SuperClear resin, when applied sparingly, has enough surface tension to stay domed on the paper.

In the picture above, Mollie is using a wooden craft stick to stir and dab the resin. It works ok. However, it is possible for the moisture content of the wood to have an adverse affect on the resin. We’ve now switched to these
plastic paddles/spatulas, as recommended by Resin Obsession.

The dots were super shiny when they dried – and the colors didn’t bleed!

How do you turn resin-covered paper dots into wearable jewelry? Fortunately Mollie is a clever girl. Here are a couple of the options she came up with:

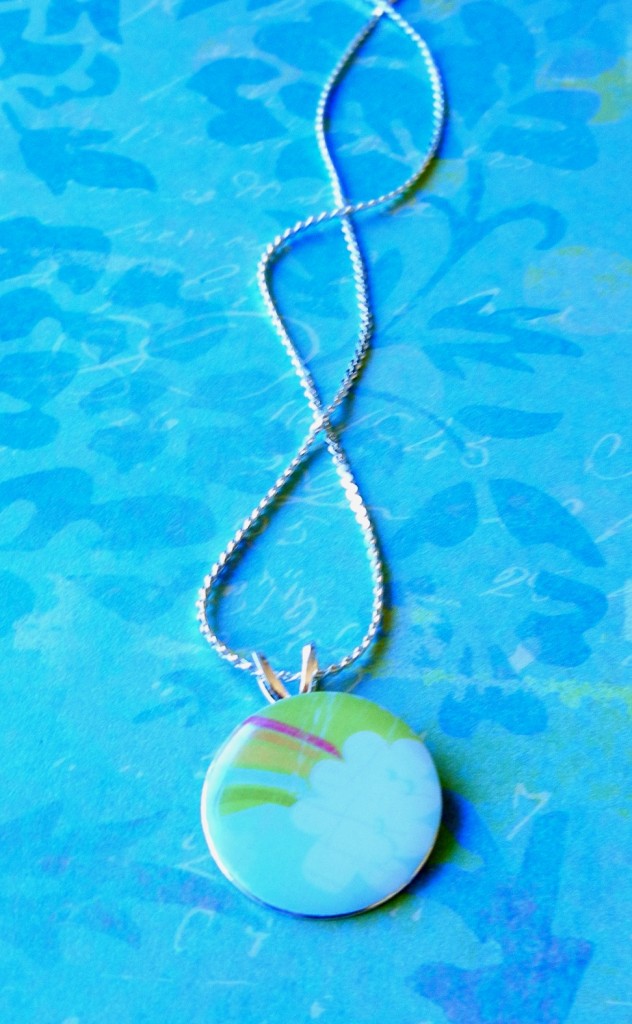
The dot fit perfectly on a round pendant finding with bail.

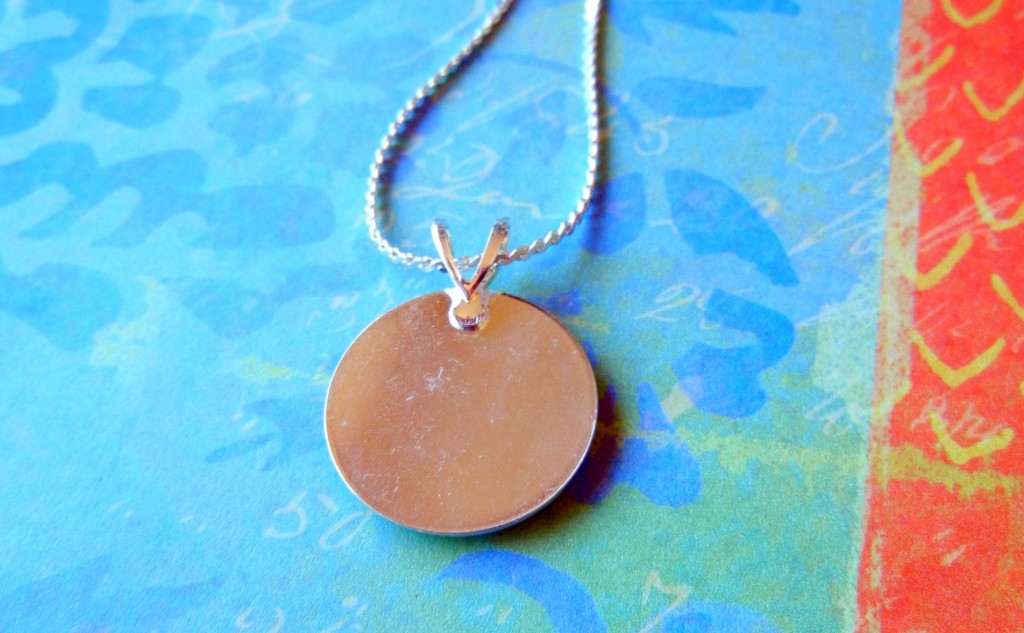
I especially like that the back of the piece is entirely covered with metal – it feels much more finished that way.

Since these gluable pendant findings already have bails attached, you can just slide them onto chains or ribbons and have complete necklaces for under $2 each!

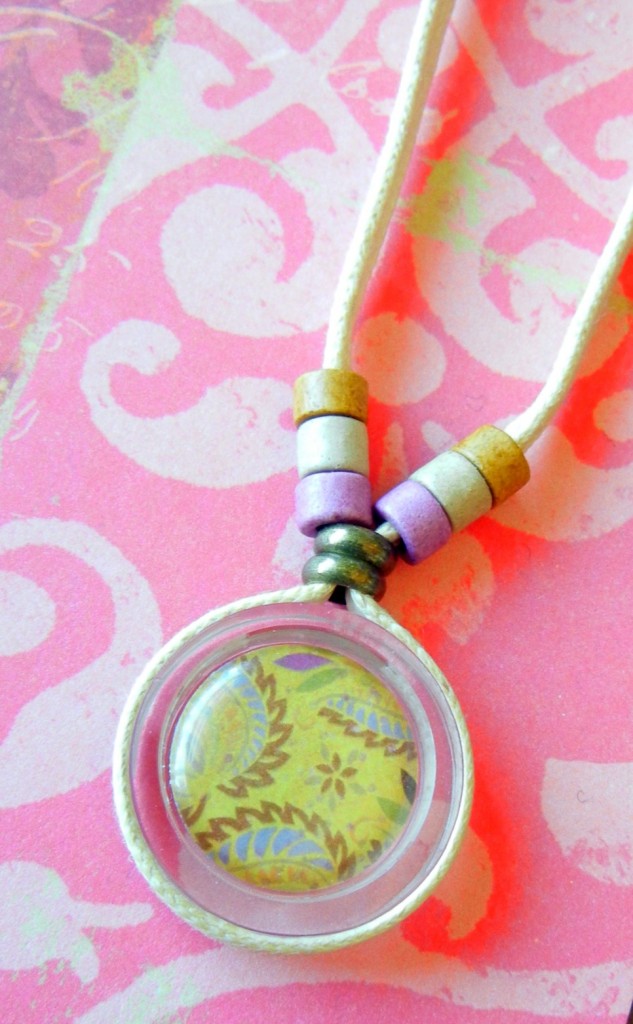
The resin dots also fit perfectly inside glass bezels.

Glass bezels are another unique option. If you plan ahead, you can make the pendant reversible! Since the bezels don’t have holes, Mollie wrapped hers with flat cotton cord and glued it in place.

Have you come up with interesting ways to combine resin with paper? We’d love to hear about it! ~Cindy