Browsing Tag

DIY jewelry

Make Fashionable Ear Cuff Jewelry

October 9, 2013

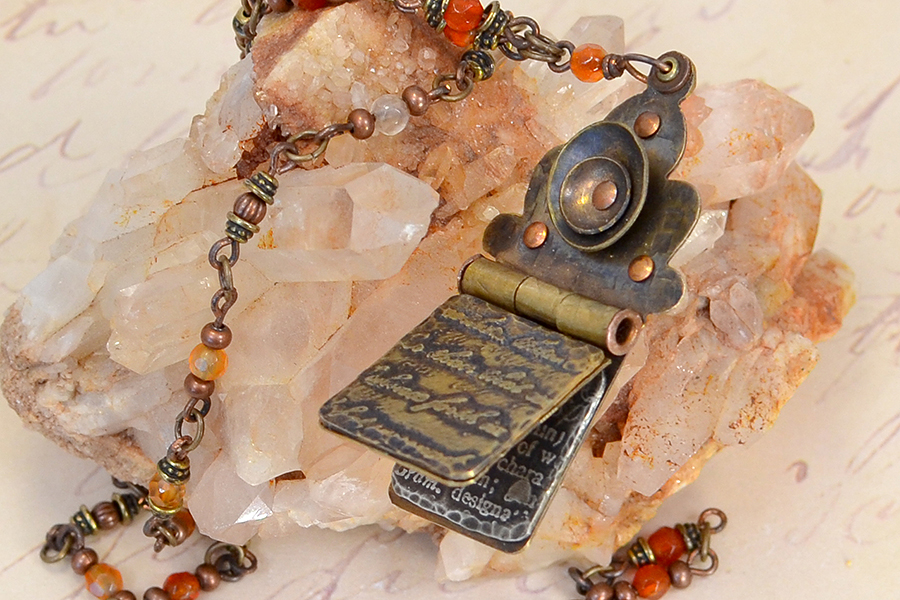
If you haven’t yet jumped on the ear cuff bandwagon, now’s your chance! Some ear cuff designs include an earring post to hold the design in place, but many of today’s styles work for both pierced and non-pierced ears, making them as versatile as they are trendy.

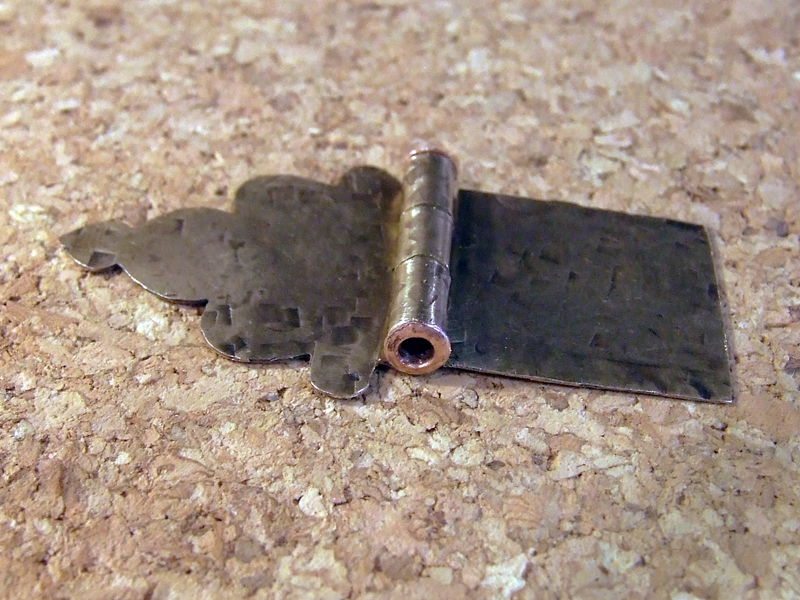
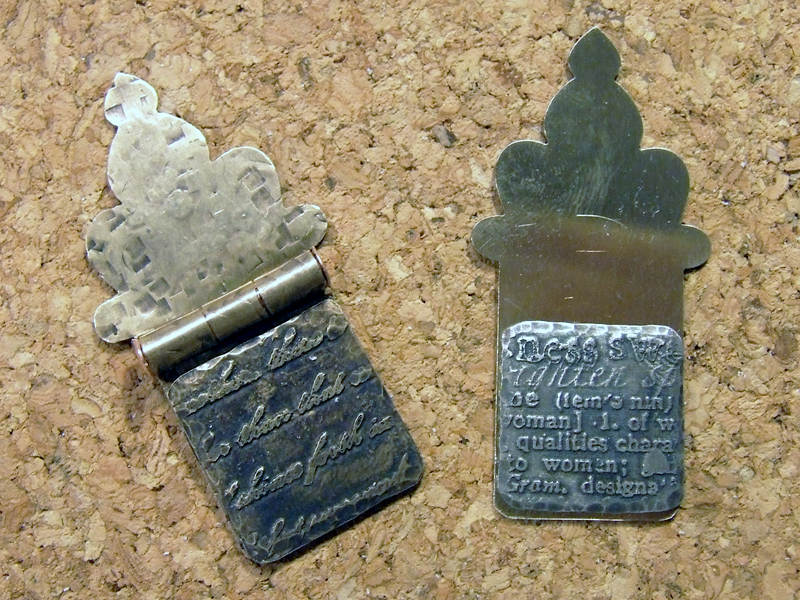
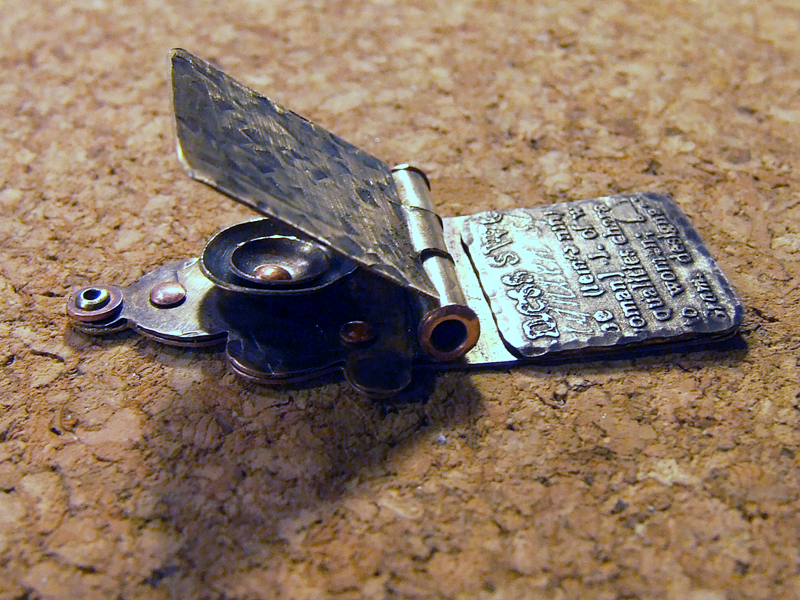
Customer service rep Tracy and Gallery guru Amy made the following Five Ear Cuffs to showcase some of the styles popping up.

Spikes Galore Ear Cuff

Handmade ear cuff featuring spike beads and sparkly glass.

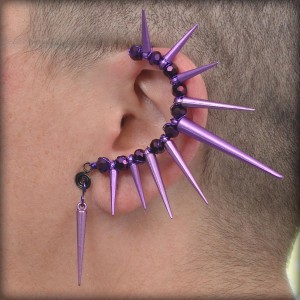
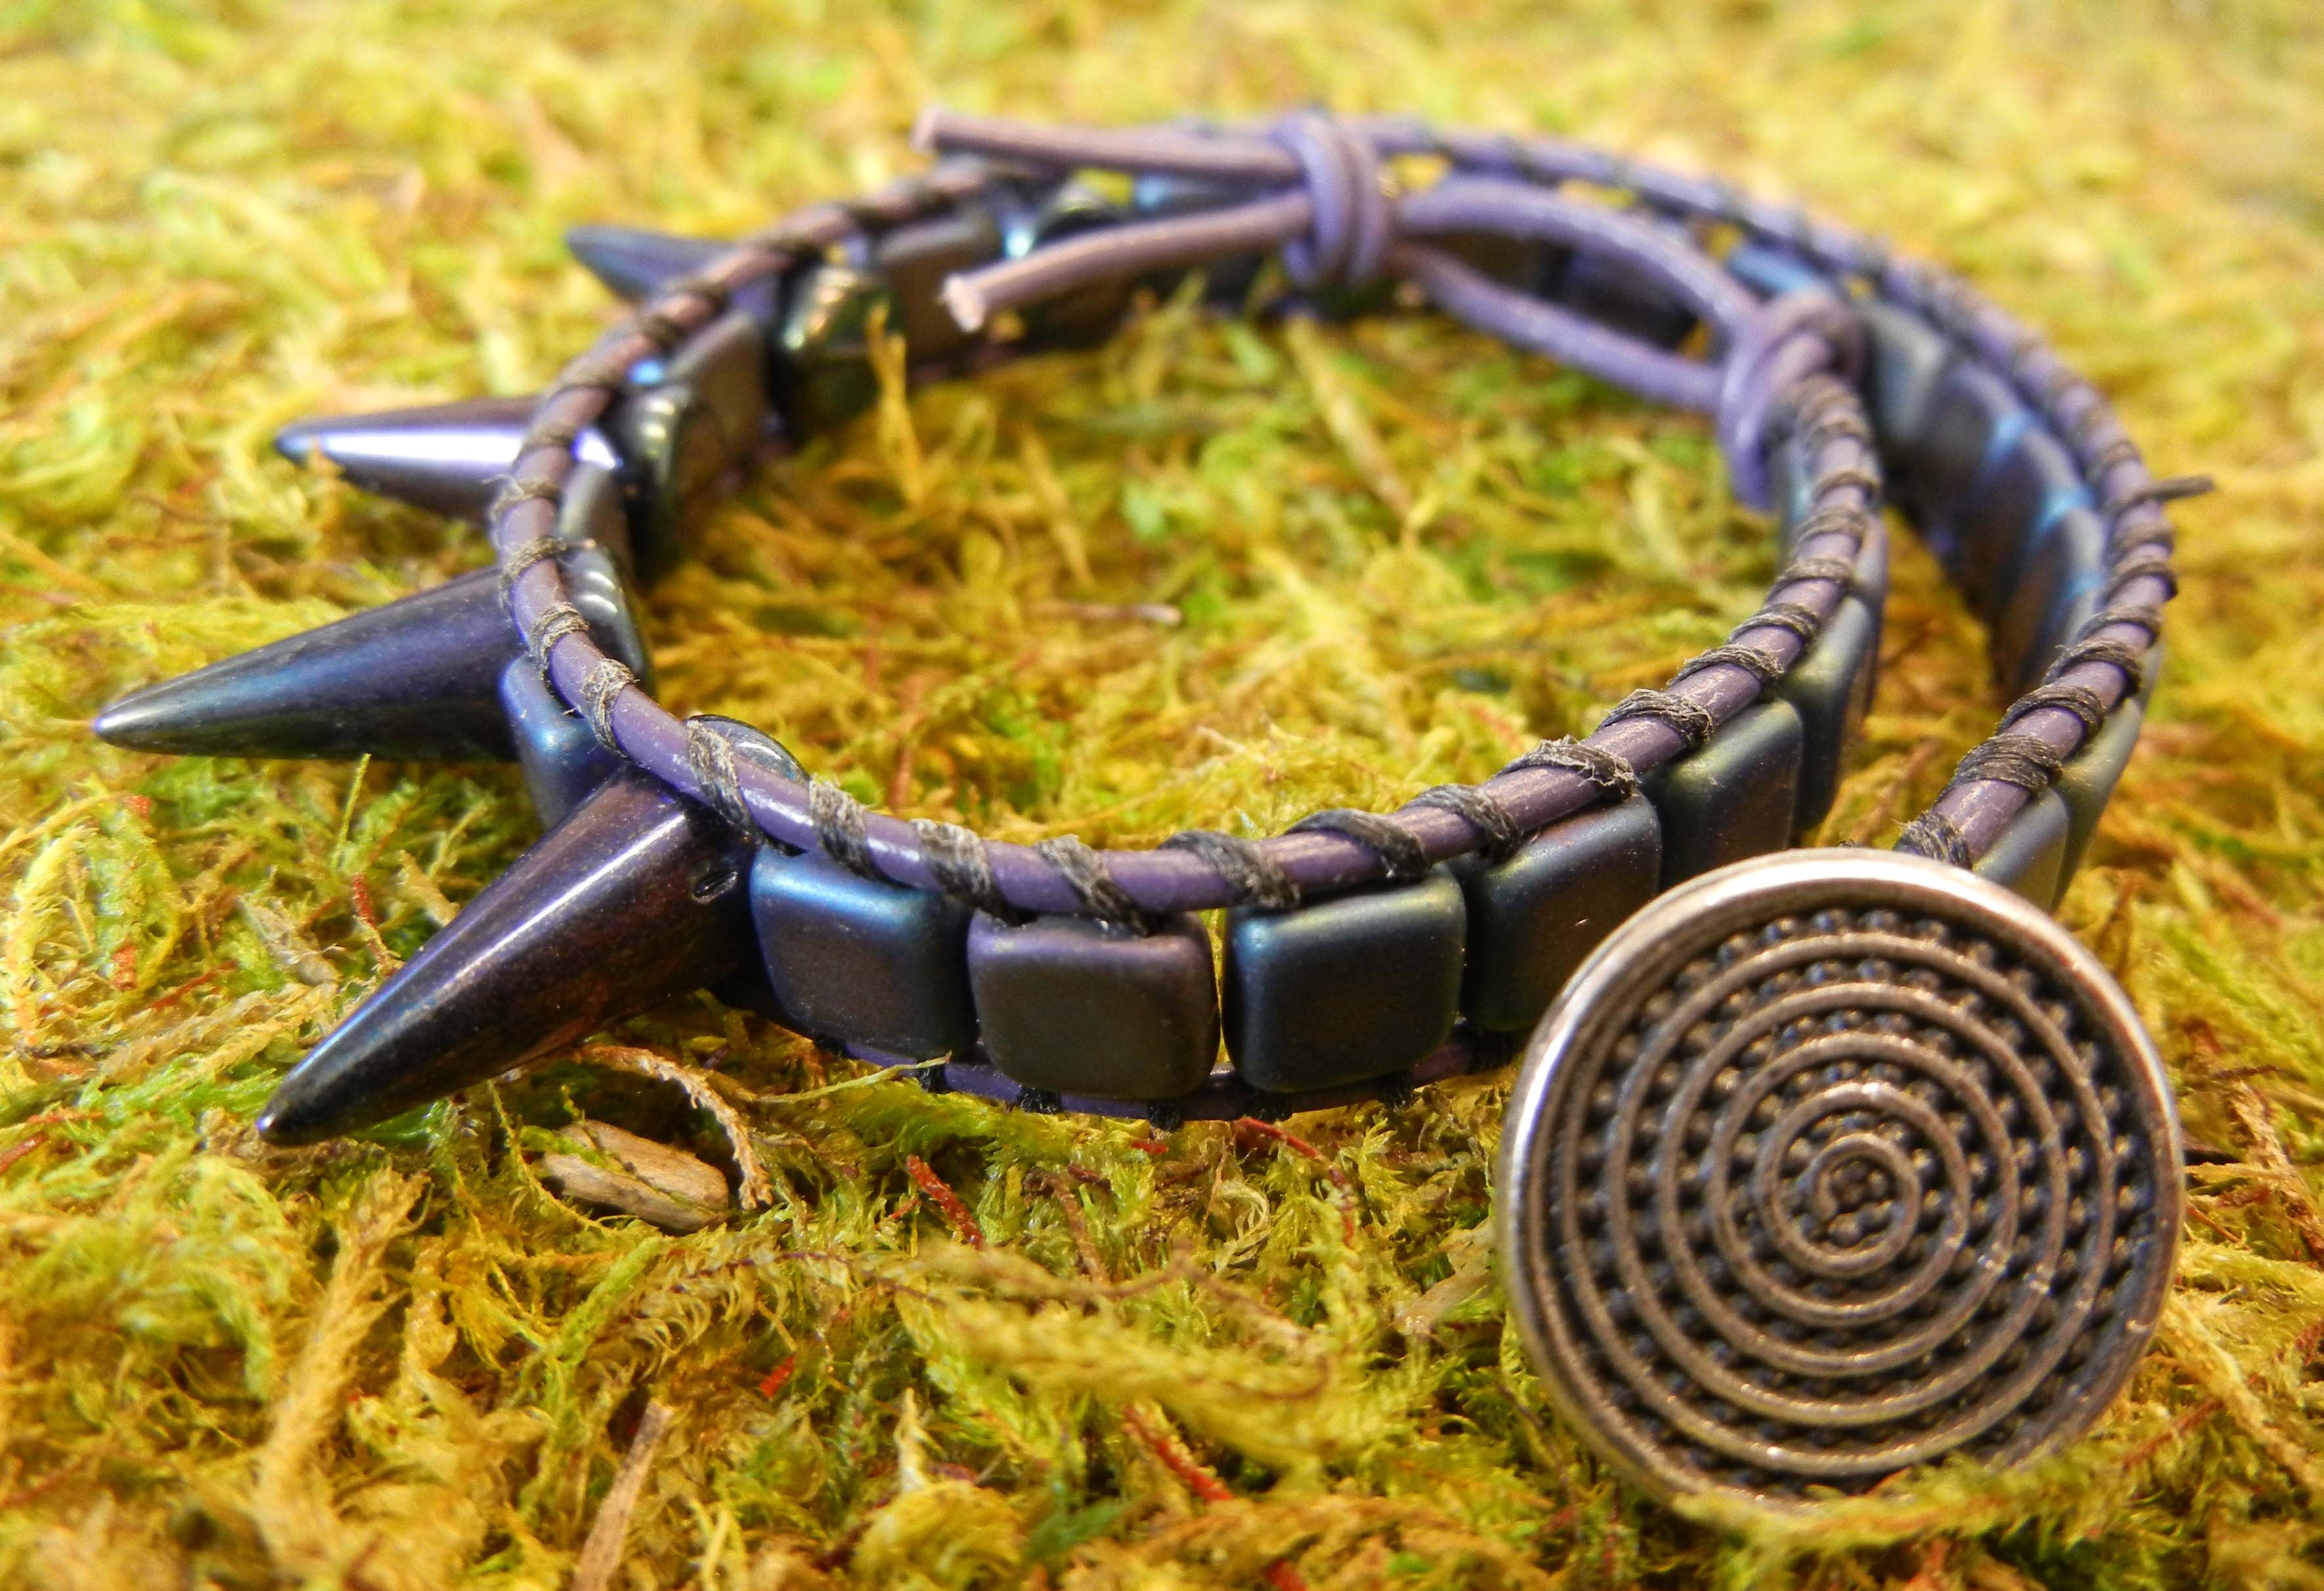
Lightweight plastic spike bead assortments give this ear cuff pizzazz and drama!

Continue Reading…

Easy to Make Rubber Stamped Leather Bracelets

September 30, 2013
rubber stamped leather bracelets

Easy to Make Bracelets

With the holidays fast approaching, why not make some simple handmade gifts for friends and family?

Using rubber stamps and permanent ink pads, you can easily embellish ready-made leather bracelets to create fun and whimsical gifts in just a few minutes.

This DIY tutorial shows you how.

Supplies for DIY stamped leather bracelets

Gather your supplies

Gather your Supplies

You will need the following products and supplies:

Rubber Stamp Angel Policy

If you plan on selling your finished pieces, remember to check out the “angel policy” for the rubber stamps you choose. The manufacturer or stamp artist may have restrictions on using the stamped images on items created for sale.

Center the stamp on the leather bracelet

Plan your Layout

Plan your Design Layout

If you want a certain stamped image to appear in a certain location, like the center of the bracelet, you should plan your design layout.

Depending on the length of leather bracelet you choose, you can plan the layout directly on the bracelet.

Or use the bracelet as a template to trace its shape on paper. Trace several, so you can practice. This is helpful when determining the spacing needed between individual letter stamps when stamping words or names.

Stamp several times so the stamp picks up the ink.

Ink the Stamp

Stamp your Design

Place the rubber stamp on the ink pad and press down so the stamp picks up the ink. Repeat several times. Use plenty of ink for a dark image.

Place inked stamp over the leather bracelet

Center inked stamp over bracelet

Press the stamp down on the leather bracelet

Press the stamp firmly

Press the stamp firmly on the leather bracelet and hold for a few seconds. Then gently lift off the stamp.

Let the StazOn ink dry for several minutes

Allow the ink to dry

To prevent smudging, allow the ink to dry before stamping the next image. It takes about 3-5 minutes for permanent ink to thoroughly dry, if you can wait that long.

Stamp another image onto the leather bracelet

Ink another rubber stamp and press it down on the leather

Use more StazOn ink for a darker image.

Different amounts of ink create a nice contrast

Use plenty of ink for a dark image. Less ink makes for a nice contrast. Or use several different colors of the StazOn ink for your design.

Leather bracelets and StazOn ink make fast and scarey projects.

An easy to make spooky gift

Fixing Mistakes

StazOn ink is permanent. If you make a mistake, you can remove the image with StazOn All Purpose Cleaner. But be cautious, as this cleaner is a solvent and will also remove the dye on the leather bracelet.

When you are finished, use the cleaner to remove the dried ink on the rubber stamps.

Since the StazOn ink is permanent, there is no need to apply a sealer to the bracelet.

Draw your own design on leather bracelets with Sharpies

Draw freehand designs with Sharpie permanent markers

Another fast way to make a bracelet is to draw your own design on the leather using Sharpie permanent marking pens.

DIY rubber stamped leather bracelets

These bracelets are great for all occasions from Halloween and Christmas to Queen for a Day.

With ready-made leather bracelets, StazOn ink pads, and your favorite rubber stamps, you can start making your handmade holiday gifts now.

Amy

Make Your Own Halloween Jewelry

September 24, 2013

Halloween has always been one of my favorite holidays – I suppose because I love having an excuse to wear a costume. Honestly, candy has nothing to do with it! 😉

Apparently I’m not the only one who loves dressing up in ghoulish attire because our Halloween beads & charms are selling as fast as fun-size candy at the grocery store !

Below you’ll find 5 DIY Halloween jewelry tutorials, from cute to classy! You can make these projects with beads and supplies from Rings & Things. Happy jewelry making as the clock ticks towards Halloween …

Mmmwwwuuuaaahaahaahaahaa!

“Charmed” Bracelet

Fun charm bracelet made with TierraCast charms.

“Charmed” Bracelet

This hauntingly cool charm bracelet is made by attaching TierraCast Halloween charms and 4mm round Czech glass firepolish beads to a ready-made chain bracelet blank complete with clasp.
Click here for a full parts list, suggested tools, & tips.

“Ceramic Pumpkin Trio” Earrings

Easy jack o' lantern earrings project.

“Ceramic Pumpkins Trio” Earrings

Who doesn’t love easy earring designs? Choose from 3 different ceramic beads to make your favorite version of these cute seasonal danglers. The kidney wires insure a secure earring design that won’t fall out even during serious bouts of trick or treating!
Parts list, tips, & suggested tools here.

“Craneos y Flores” Bracelet

Gemstone skull bracelet.

“Craneos y Flores” Bracelet

One of our most popular designs this season is the “Craneos y Flores” bracelet which links gemstone skulls and ceramic spacer gear beads. This project is great for el Dia de los Muertos too!
Get the parts list, suggested tools, and tips here.

“Vintaj Pumpkin” Earrings

Autumn harvest earrings project.

“Vintaj Pumpkin” Earrings

These stylish harvest earrings pair Vintaj Natural Brass petal blanks, TierraCast leaves, and large bone beads colored with Vintaj Patina inks. This makes a great mixed media project for those of you who want to expand your jewelry making skills!
Click here for parts, how-to tips, & suggested tools.

“Fang’s” Pin

Metal work framed spider bar pin.

“Fang’s” Pin

For those of you who want to try metal stamping and riveting, this is the perfect project for you! Frame a spooky creature of your choice with a custom stamped brass frame. You’ll create a top-notch bar pin for your party agenda.
Suggested tools, parts list, and design tips can be found here.

Lady skeleton plastic cameo

Lady Skeleton Cameo ~ not a project, but isn’t it cool?

Okay, I admit this lady skeleton cameo isn’t a completed project, but it’s currently my favorite Halloween component. It’s available in two sizes, too! Choose from 25x18mm and 40x30mm.
What cool stuff can you make with it?

If the above projects aren’t enough to get your spine tingling, find more Halloween & Day of the Dead jewelry projects in our Design Gallery.

Keep in mind that you can always take the basic idea of a project and morph it into your own design. Don’t be afraid to experiment … Dr. Jekyll and Dr. Frankenstein would approve! ~ Melissa

Beadalon® Wire Banding Pliers

August 20, 2013

The initial bends when trying to band wire together can be frustrating. I have tried every tool, hoping to find something that would accurately bend wire into two perfectly-placed right angle bends without marring it. Now there is a specialty tool made just for perfect double right angle bends — Beadalon Wire Banding Pliers!

I am a perfectionist in the jewelry I create, and the last thing I want to do is fight with the very beginning of the project and end up with scratched banding, or having the banding bend be just a little off. Not only is it frustrating, but the accuracy of the banding can make or break the entire piece.

This tool is very easy to use — now you can quickly create two right angle bends close together, so you can neatly band the remainder of your wires together. We have created the graphic tutorial below to help you to learn how to use these cool wire banding pliers.

Please visit our Design Gallery for 100’s of free jewelry projects / tutorials, but we apologize that as of 2015 during a site upgrade, the 2 wire wrapping projects projects below have retired.

Wire wrapped bracelet project using Beadalon Wire Banding Pliers

Drusilla’s Bracelet of Submission by Amy Scalise

Wire wrapped bracelet project using Beadalon Wire Banding Pliers

Square Rose Ring by Valorie Nygaard-Pouzar

Although Rings & Things no longer sells any banding pliers, we’ve kept this infographic for those of you who already own some and need a quick refresher:

Make your wire bending projects easier with Beadalon Wire Banding Pliers

Beadalon Wire Banding Pliers Graphic Tutorial

Customizing Tim Holtz idea-ology® Word Bands for a Handmade Look

August 5, 2013
Use Tim Holtz idea-ology® word blanks to create "handmade" stamped bracelet blanks.
With just a few metalworking tools, you can easily turn Tim Holtz idea-ology® word bands into stamped bracelet blanks with a handmade appearance.

I love hand-stamped metal jewelry and given the popularity of this jewelry trend, chances are you do too. Metal stamping takes a few tools, basic stamping instruction, and practice; and sometimes more practice. But even though metal stamping is fairly easy, turning Tim Holtz idea-ology® word bands into bracelet blanks is even easier. Plus who can resist the 12 inspirational quotes?

The following is a DIY tutorial for turning Tim Holtz idea-ology® word blanks into curved bracelet blanks for use in your mixed-media jewelry projects.

You will need these tools and supplies to make a Tim Holtz idea-ology bracelet blank.
Step 1: Gather the tools and supplies necessary to customize your “stamped” metal bracelet blank.

You will need these tools and supplies:

Use the pein side of a chasing hammer and a steel block to add texture to Tim Holtz idea-ology word bands.
Step 2: For a handmade look, add a “hammered” texture to the word band.

Tape the word band, script side up, to the steel block with masking tape. Repeatedly strike the word band with the pein side of the chasing hammer to add a hammered texture. Remove the word band from the steel block.

 Use bracelet-bending pliers to turn the Tim Holtz idea-ology word band into a curved bracelet blank.
Step 3: Shape the word band with nylon-jaw, bracelet-bending pliers.

Use nylon-jaw, bracelet-bending pliers to turn the idea-ology word band into a curved bracelet blank. Place the flat blank lengthwise in the pliers’ jaw with the script side facing the concave half of the jaw. Gently squeeze the pliers. Reposition the blank and repeat until the word band is fully curved.

.

For a splash of color, paint the idea-ology word band's script with Vintaj patina.
Step 4: Add color to the word band script by applying Vintaj patina.

For a splash of color, paint the idea-ology word band’s script with Vintaj patina. Use a paint brush to liberally apply the patina to the word band, making sure patina is applied into all the letter indentations. You can use a mix of patina colors, or a single color. Allow to air dry for a few minutes.

.

 eWipe the surface of the word band with a damp paper towel or baby wipe to remove the excess patina. Be careful not to remove the color in the letter indentations.
Use a baby wipe or damp paper towel to remove the excess patina.

Wipe the word band with a damp paper towel or baby wipe to remove the excess patina. As you wipe, be careful not to remove the color in the letter indentations. Allow the patina to fully dry.

To finish a bracelet, just stitch or rivet the idea-ology word band bracelet blank to a leather cuff.
The finished “handmade” bracelet blank is ready to adorn the bracelet of your choice.

Now your “stamped” bracelet blank is ready to adorn your choice of bracelet (or maybe you turned all 12 word bands into bracelet blanks). In the next Rings & Things Blog post (How to Make Leather Bracelets – Two Finishing Methods), I will share two ways to finish leather cuff bracelets using the customized word bands and our new colorful leather strips. oh, and “word” from Tim Holtz is we can look forward to new styles of word bands coming soon, “Word Bands Observation” and “Word Bands Christmas”.

Make things!

Mollie

Concrete in Jewelry

July 29, 2013

Free tips for using Artisan Encapture Concrete and other jewelry grade concretes for mini mosaics, art concrete projects, concrete jewelry and more by Sondra Barrington of Rings & Things.

An industrial material such as concrete seems unlikely for jewelry, but it works very well! It is relatively lightweight, and very durable. It is great for personalized adornment, because you can embed virtually any charm, bead or found object you want.

Visit our design gallery for free jewelry projects and check our Mosaic Jewelry Board on Pinterest for concrete jewelry inspirations.

Difference Between Cement and Concrete

Cement is a powdered ingredient (mostly calcium silicates) used in concrete. It is strong, but brittle and susceptible to scratching. When mixed with water, it undergoes a series of chemical reactions and slowly crystallizes into a strong, interlocking form. Concrete is a mixture of cement, an aggregate (sand or gravel) and water.

Free tips for using Artisan Encapture Concrete and other jewelry grade concretes for mini mosaics, art concrete projects, concrete jewelry and more by Rings & Things.

cement powder

Jewelry Grade Concrete

EuroTool created EnCapture Artisan Concrete specifically for jewelry artists. This new kit makes it easy for designers to create small mosaics and concrete jewelry. For information on making your own concrete, visit Ganoksin.

Creating with Artisan Concrete

Tips on Using EnCapture Artisan Concrete

Storage of the product is critical. Extreme temperatures may affect the mixture or compound, and can jeopardize the integrity of the activator liquid. For best results store in a dry, cool location and don’t freeze. Keeping the compound dry is essential; once moisture is introduced the chemical reaction starts. Store products in closed containers. The shelf life, when stored properly, is one year (if not longer).

Coloring Concrete

Prismacolor colored pencils can be used to color the surface of concrete! To prepare the surface, wet-sand it using fine-grit, wet/dry sandpaper and let dry for 24 hours. To seal the color, spray with several light coats of Krylon UV sealant.

Free tips for using Artisan Encapture Concrete and other jewelry grade concretes for mini mosaics, art concrete projects, concrete jewelry and more Rings & Things.

Prismacolor Pencils

Safety When Using Concrete in Jewelry

Always use disposable cups and utensils. Throw away unused concrete; do not wash it down the drain (it will clog pipes). Wear a respirator, safety glasses and gloves.

Have Fun & Happy Creating!

Create a Hinged Metal Memory Journal

July 18, 2013

Use a hinge to turn shrine-shaped metal blanks into a journal!

Decide on the layout, location of the hinge and other decorative elements. Using a checkered hammer, apply texture to the top and bottom panels of the journal. Patina, file rough edges and clean.

Hinged Pendant Memory Journal Rings & Things. This free DIY jewelry project features metal etching, metal stamping, dapping and riveting. Antique brass, nickel silver, copper and natural agate were used in creating this design. The one-step looping plier was used for the handmade chain.

Layout

Cut the hinges, which can be as wide or as narrow as you choose. For 3/32 tubing, make hinges that are one-half inch deep. You need an odd number of hinge tabs. Measure, mark and saw tabs into the top panel. Use plenty of cut lube to prevent the saw blade from sticking when cornering.

Hinged Pendant Memory Journal Rings & Things. This free DIY jewelry project features metal etching, metal stamping, dapping and riveting. Antique brass, nickel silver, copper and natural agate were used in creating this design. The one-step looping plier was used for the handmade chain.

Create Hinge Tabs

Using wide, flat nose pliers, crease and fold each tabs up to a 90 degree angle. The position of the fold determines whether the hinge will be visible from the front of the pendant, or only from the back side. Keep the textured sides face up, so the design is consistent.
Carefully roll tabs into cylinders using chain nose pliers or medium bail making pliers. Leave hinges a bit loose until after you have inserted the tubing, then you can tighten for best fit.

Hinged Pendant Memory Journal created by Sondra Barrington of Rings & Things. This free DIY jewelry project features metal etching, metal stamping, dapping and riveting. Antique brass, nickel silver, copper and natural agate were used in creating this design. The one-step looping plier was used for the handmade chain.

Roll Into Cylinders

Use a tube cutting jig to cut a length of tube 1mm longer than the width of your piece (for 1/2mm on each side).

Hinged Pendant Memory Journal created  Rings & Things. This free DIY jewelry project features metal etching, metal stamping, dapping and riveting. Antique brass, nickel silver, copper and natural agate were used in creating this design. The one-step looping plier was used for the handmade chain.

Cut Tubing

Slide tubing down the channel and finesse hinges as needed. Rivet tubing into place to finish the hinge. Open and close hinge to ensure a proper fit.

This free DIY jewelry design by Sondra Barrington features antique brass, nickel silver, metal etching, dapping and creating hinges.

Assemble Hinge and Insert Tubing

Working with the bottom panel, lay out etched metal pieces for the cover and inside page. Cut, file and patina as necessary. Leave sufficient room for the hinge to lay flat against the bottom panel.

Hinged Pendant Memory Journal created by Sondra Barrington of Rings & Things. This free DIY jewelry project features metal etching, metal stamping, dapping and riveting. Antique brass, nickel silver, copper and natural agate were used in creating this design. The one-step looping plier was used for the handmade chain.

Lay out Etched Metal Page

Measure, mark and punch holes for decorative rivets, accents and center piece (using the small side of the hole punch).

Hinged Pendant Memory Journal created by Sondra Barrington of Rings & Things. This free DIY jewelry project features metal etching, metal stamping, dapping and riveting. Antique brass, nickel silver, copper and natural agate were used in creating this design. The one-step looping plier was used for the handmade chain.

Prepare Embellishments

Using two-part epoxy, carefully glue the etched metal panels into place.

Hinged Pendant Memory Journal created Rings & Things. This free DIY jewelry project features metal etching, metal stamping, dapping and riveting. Antique brass, nickel silver, copper and natural agate were used in creating this design. The one-step looping plier was used for the handmade chain.

Lay out Etched Metal Page

Using a dapping set, dome two small round shapes that can nest one inside the other. Patina, file away any rough edges and clean the domed metal. Layer, and rivet domed metal nests onto the top panel. Connect top and bottom panel with rivets. Use a tube rivet at the top so that you can thread a jump ring through it (if you choose).

Hinged Pendant Memory Journal created by Sondra Barrington of Rings & Things. This free DIY jewelry project features metal etching, metal stamping, dapping and riveting. Antique brass, nickel silver, copper and natural agate were used in creating this design. The one-step looping plier was used for the handmade chain.

Rivet Domes Into Place

Carefully clean and polish the pendant before attaching the necklace chain.

Hinged Pendant Memory Journal created by Sondra Barrington of Rings & Things. This free DIY jewelry project features metal etching, metal stamping, dapping and riveting. Antique brass, nickel silver, copper and natural agate were used in creating this design. The one-step looping plier was used for the handmade chain.

Clean Finished Pendant

Handmade jewelry looks great on a custom beaded necklace, on leather cording, silk ribbon or chain. I created a necklace by making individual links using the one-step looping plier, eye pins, metal beads and natural agates. The links were connected using jump rings.

Hinged Pendant Memory Journal created by Sondra Barrington of Rings & Things. This free DIY jewelry project features metal etching, metal stamping, dapping and riveting. Antique brass, nickel silver, copper and natural agate were used in creating this design. The one-step looping plier was used for the handmade chain.

Memory Journal Necklace

This free DIY Memory Journal pendant was created by designer Sondra Barrington of Rings & Things. This necklace features riveting, metal etching, antique brass shrine stamping blanks, dapping, and metal stamping. The chain was created in an ombre pattern using natural agate gemstone beads, TierraCast antique brass bead caps, metal heishi trade beads and the one-step looping plier with antique copper head pins.

Easy to Make Lashed Rhinestone and Leather Bracelet

July 10, 2013

Learn to make a rhinestone and leather bracelet in just minutes.

Create wrapped bracelets with this simple lashing technique.

Making wrapped bracelets just got easier because this simple lashing technique takes just minutes to learn.  You can combine leather cord with rhinestone chain for a sophisticated style or use ball chain and leather for an industrial look.

Continue Reading…

How to Make a Lashed Chain & Leather Bracelet

July 2, 2013

Lashed wrapped leather bracelets aren’t just popular because they look great — they’re also a hit because once you know a couple tricks to get started, they are an easy and fun DIY jewelry project to make! A great twist on this hugely popular style is to lash chain instead of beads to leather cord. Read on to make your own leather and chain wrap bracelets! Continue Reading…

Button, Button, What to do with buttons?

June 18, 2013

I love a good button. I think most bead hoarders have a button tin somewhere as well. The materials used for buttons range from the simple and inexpensive to exotic and pricey. Obviously buttons have a practical use in sewing and clothing design, but they can be great additions to DIY jewelry as well.


button box spill

button box spill

Buttons as beads:

Boston Bracelet and New Leaf Earrings

Boston Bracelet and New Leaf Earrings

By their nature, buttons tend to have either a shank, with an opening for thread, or 2-4 holes for sewing. These holes and openings mean your buttons can substitute for beads and work as connectors in jewelry design. See round TierraCast buttons with a leaf pattern in New Leaf Earrings and bone buttons sewn on the Boston Bracelet.

Buttons as clasps:

Dark and Dangerous Bracelet

Dark and Dangerous Bracelet

Whether for popular wrapped lashed leather bracelets, or for necklace designs, adding a button to one end of your design and creating a simple loop or series of loops at the other end will complete your creation. The Dark and Dangerous Bracelet uses a cast pewter Spiral Button for the closure.

Buttons as Cabochons or Cameos:

Cute as a Button Bracelet

Cute as a Button Bracelet

Disk & Loop Bracelets make up into quick finished jewelry by gluing buttons to the disks. If the button has a shank, you may need to trim it and file the surface, then add your favorite adhesive, and you have quickly created a new accessory. Cute as a Button Bracelet uses an assortment of plastic “accoutrements” by Tim Holtz for decoration.

Copies of Buttons:

Buttons, Molds, and Cast Reproductions

Buttons, Molds, and Cast Reproductions

Have a one-of-a-kind or vintage button that you love, but don’t want to part with? 2-part silicone molding material works great to make a mold of your treasure that you can re-create in polymer or resin and use time after time. Silicone molds were quickly made of the buttons in this picture. Reproductions of the buttons (without the pesky shanks) were easily made with Amazing Resin and SuperClear Resin. For more information on making molds, see our previous blog: Making Your Own Molds is a Hoot.

Buttons you can buy from Rings & Things:

Rings & Things carries buttons in materials such as bone,

Assortment of Bone Buttons in various colors.

Assortment of Bone Buttons in various colors.

plastic,

Plastic Button Assortments

Plastic Button Assortments

cast pewter

A sampling of pewter buttons.

A sampling of pewter buttons.

one lone sterling offering

Sterling Flower Button

Sterling Flower Button

and SWAROVSKI ELEMENTS crystal

Crystal Buttons

Crystal Buttons


Making a Button:

Resin Flower Buttons

Resin Flower Buttons

Do you have an item without holes that you want to use as a button? Easily glue a plastic button shank to your piece to create a button. These work great for turning resin, polymer clay, hand-made glass, and ceramics into useable buttons. Since these shanks are plastic, they don’t have the sharp edges that you sometimes find on metal shank findings. The set shown above are made from resin flowers, colorized with gilders paste, and attached with E-6000.

Changeable buttons:

Cast Resin Button Covers

Cast Resin Button Covers

With a button cover and some glue, you can create a decorative cover that can be transferred from garment to garment, covering the plain or boring buttons used in manufacturing. This set is made with super clear resin, colored with dye and glitter, and attached with E-6000.

Our pinterest board “Buttons” has further inspirations for using buttons and great handmade buttons.


~ Rita